Crochet Seashell Pattern (Free Amigurumi Shell)
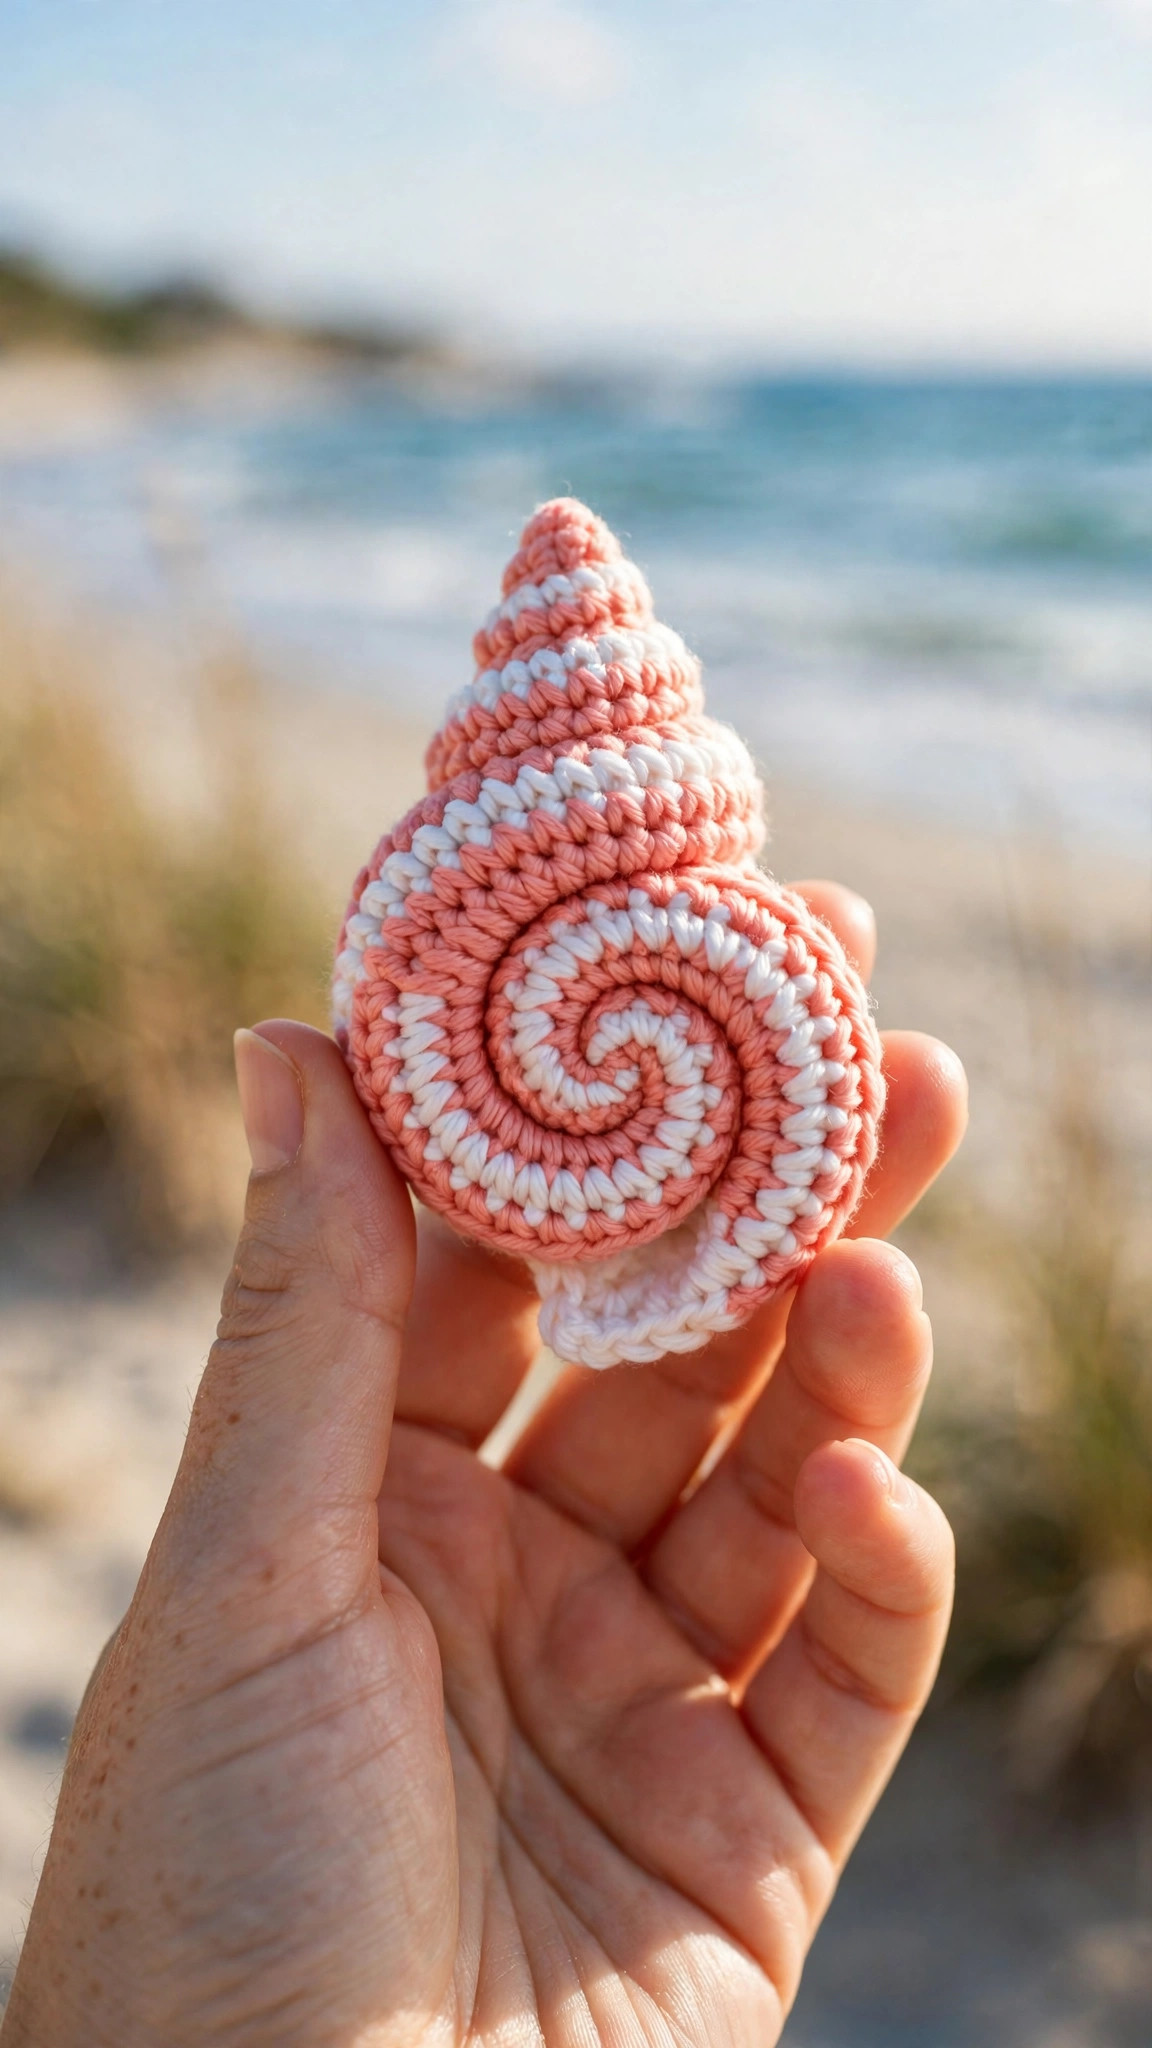
Crochet a spiral seashell with raised ridges and a picot edge in about 2 hours, then add a touch of the beach to any room.

Patterns · Crochet
- Finished size
- 4 in tall
- Making time
- 2 hours
- Hook
- US E-4 (3.5 mm)
- Set
- Shell, ridges
- Skill
- Easy
In this post
- Key Takeaways
- Table of Contents
- Why You Will Love This Crochet Seashell
- Finished Size, Skill Level, and Time
- Materials You Need
- Abbreviations (US Terms)
- Gauge and Sizing Notes
- Part 1: The Shell Cone
- Part 2: Shaping the Opening and the Lip
- Part 3: The Ridges, the Picot Edge, and Finishing
- Variations: Colors, Sizes, and Uses
- Troubleshooting a Shell That Will Not Sit Flat
- Care Instructions
- Frequently Asked Questions
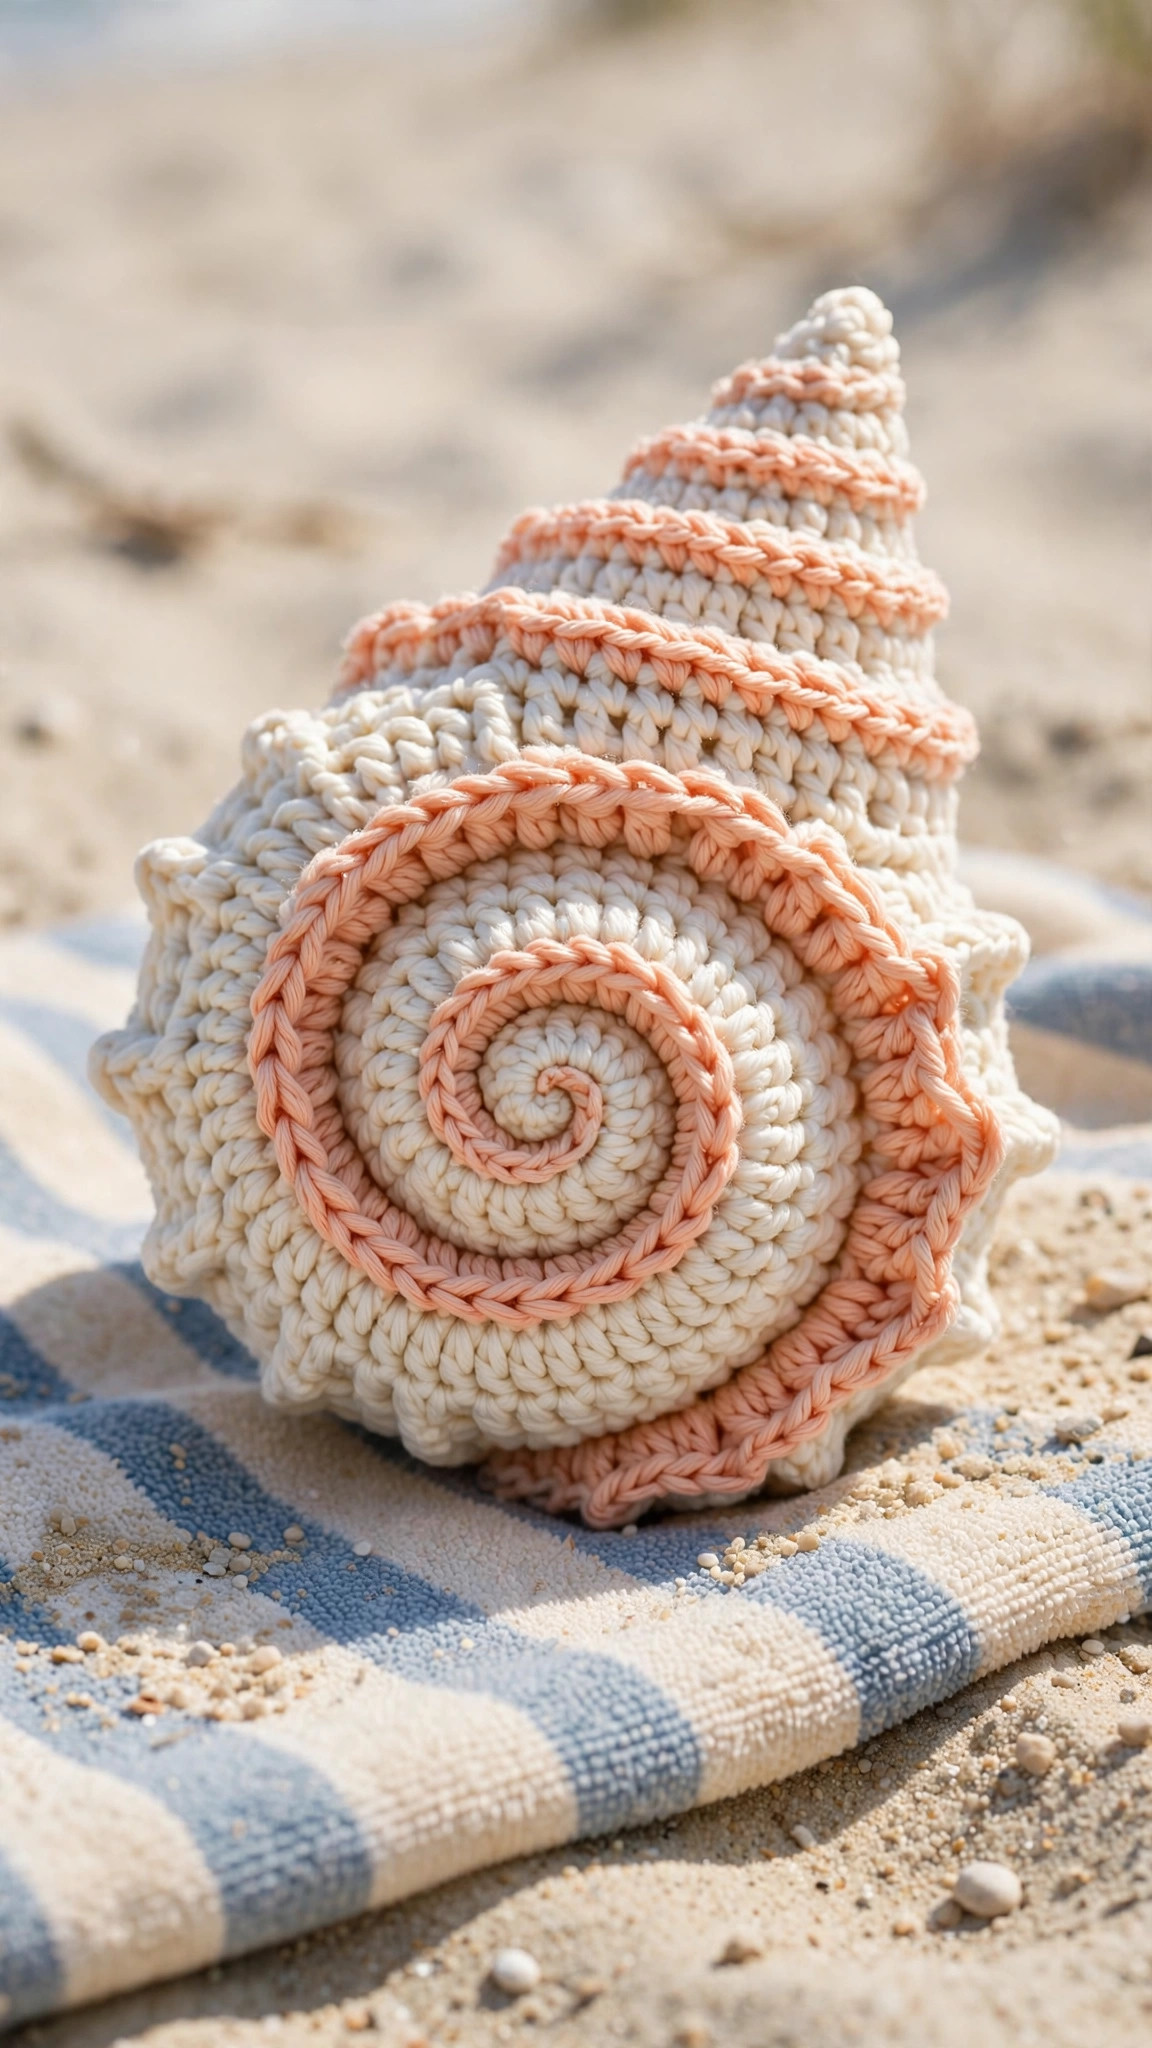
A crochet seashell brings the beach home without a grain of sand in your shoes. This free seashell crochet pattern makes a soft amigurumi shell about 4 inches tall, with a gentle spiral shape, raised ridges, and a pretty picot edge around the opening. It works up in about 2 hours and uses less than one small ball of yarn.
This is an original Little Loop Finds design, written in US terms and completely free. The shell is worked in the round as a cone, starting with a magic ring and growing by steady increases, then shaped with decrease rounds and finished with surface crochet ridges that fan out from the tip. If you can crochet a chain, a single crochet, and a double crochet, you can crochet this seashell.
A quick note on scope: this post is about one specific seashell, a spiral amigurumi shell with ridges and a picot edge, made for decoration, play, and beach themed gifts. It is not a real shell replica and it is not a shell stitch blanket square. If you want another sea creature in the same spirit, our crochet turtle patterns include a sweet sea turtle that pairs beautifully with this shell.
Key Takeaways
- Free original pattern: this seashell crochet pattern is a Little Loop Finds original design, written in US terms, and completely free.
- A spiral amigurumi shell: about 4 inches tall, with raised ridges and a picot edge.
- Beginner friendly and relaxing: simple rounds of single crochet, with the ridges added at the end.
- A 2 hour project: one shell takes about 2 hours, so you can make a whole beach set in a weekend.
- Three ways to use it: beach themed decor, a nursery mobile piece, and a summer gift.
Table of Contents
- Why You Will Love This Crochet Seashell
- Finished Size, Skill Level, and Time
- Materials You Need
- Abbreviations (US Terms)
- Gauge and Sizing Notes
- Part 1: The Shell Cone
- Part 2: Shaping the Opening and the Lip
- Part 3: The Ridges, the Picot Edge, and Finishing
- Variations: Colors, Sizes, and Uses
- Troubleshooting a Shell That Will Not Sit Flat
- Care Instructions
- Frequently Asked Questions
Why You Will Love This Crochet Seashell
A crochet seashell is one of those makes that looks far harder than it is. The spiral shape comes from simple increase rounds, the ridges are just lines of surface crochet worked at the end, and the picot edge is a tiny repeat you will have memorized by the third picot. The result is a shell that looks picked up from a beach shop, soft enough for a child to play with and pretty enough for a shelf.
Finished Size, Skill Level, and Time
- Finished size: about 4 inches tall and 3 inches wide at the opening, lightly stuffed so the shell holds its shape.
- Skill level: Easy. You need a magic ring, chains, single crochet, double crochet, increases, decreases, and surface crochet for the ridges.
- Time: about 2 hours per shell: 1 hour for the cone, 30 minutes for the opening and lip, and 30 minutes for the ridges and finishing.
Materials You Need
| Item | What to get |
|---|---|
| Yarn, color A | DK or light worsted weight (size 3) cotton yarn in cream, 35 yards |
| Yarn, color B | DK or light worsted weight (size 3) cotton yarn in peach or coral, 15 yards |
| Hook | US E-4 (3.5 mm), or the size that gives you the gauge below |
| Notions | Tapestry needle, scissors, stitch markers, polyester fiberfill stuffing, pins |
Cotton yarn is the best choice for a crochet seashell because it is firm, it shows the ridge texture clearly, and it holds the cone shape without going floppy. A smooth DK cotton in cream gives the classic shell look in the photos, and a peach or coral contrast color makes the ridges and the lip stand out. Choose soft pastels for a nursery shell, and brighter coral and aqua for a beach themed gift. Avoid fuzzy yarns, because they hide the ridges, which are the prettiest part of the shell. If the shell is for a small child, use safety stuffing that cannot be pulled out through the stitches, and sew every part on firmly.
Abbreviations (US Terms)
- ch = chain
- sl st = slip stitch
- sc = single crochet
- dc = double crochet
- inc = increase, work 2 sc in the same stitch
- dec = decrease, single crochet 2 together
- st(s) = stitch(es)
- rep = repeat
- RS = right side
Gauge and Sizing Notes
Gauge for a seashell matters because the cone has to grow evenly, and a shell worked too loosely will look saggy instead of plump. Work a swatch of 14 sc stitches and 14 rows in color A, and measure it. It should be about 3.5 inches wide and 3 inches tall. If your swatch is wider than 3.5 inches, go down a hook size. If it is narrower, go up a hook size.
Work the shell in a continuous spiral, without joining the rounds, and move your stitch marker up at the start of every round. Count your stitches at the end of every round, because the increase rounds add exactly 6 stitches each time, and a missed increase will make the cone lean to one side.
Part 1: The Shell Cone
The shell cone is the body of the seashell, worked in the round from the tip to the opening. It starts with a magic ring, grows by 6 stitches on every increase round until it reaches 36 stitches, then works even for a few rounds so the shell has a nice plump belly before the opening is shaped.
The Tip and the Increases
With color A, make a magic ring.
- Round 1: 6 sc in the ring, pull the ring closed. (6 sc)
- Round 2: inc in each st around. (12 sc)
- Round 3: (sc in the next st, inc in the next st) 6 times. (18 sc)
- Round 4: (sc in the next 2 sts, inc in the next st) 6 times. (24 sc)
- Round 5: (sc in the next 3 sts, inc in the next st) 6 times. (30 sc)
- Round 6: (sc in the next 4 sts, inc in the next st) 6 times. (36 sc)
The cone is now about 2.5 inches tall and the tip should be neat and pointed, not blunt. If the tip looks blunt, your magic ring was too loose, so pull the tail tighter and work the first two rounds with a slightly tighter tension next time.
The Belly Rounds
- Rounds 7 to 12: sc in each st around. (36 sc)
Work these 6 rounds without any increases or decreases, moving the stitch marker up at the start of each round. The shell should now be about 4 inches tall, with a smooth plump belly and a pointed tip at the top. Hold the shell up and check the shape: the tip should sit centered above the opening, not off to one side. If it leans, count the stitches in the last round and check that you have 36, because a missed stitch on one side is the usual cause.
Part 2: Shaping the Opening and the Lip
The opening is shaped with decrease rounds that pull the bottom of the cone in gently, so the shell closes partway and leaves a soft oval opening like a real shell. The lip is a contrasting edge worked around the opening, which frames it and gives the shell a finished look.
The Decrease Rounds
- Round 13: (sc in the next 4 sts, dec) 6 times. (30 sc)
- Round 14: (sc in the next 3 sts, dec) 6 times. (24 sc)
- Round 15: (sc in the next 2 sts, dec) 6 times. (18 sc)
Stuff the shell lightly now, before the opening gets any smaller. Use small pinches of fiberfill and push them gently up toward the tip with the blunt end of your hook, so the stuffing fills the cone evenly without lumps. The shell should feel plump and springy, not hard. Add a little more stuffing near the tip if it feels empty there, because the tip is the part that shows most.
- Round 16: (sc in the next st, dec) 6 times. (12 sc)
- Round 17: dec 6 times. (6 sc)
Fasten off, leaving a long tail. Thread the tail onto a tapestry needle and weave it through the front loop of each of the last 6 stitches, then pull it tight to close the small hole at the base of the opening. This closed end is the back of the shell, and it will sit against the shelf or the wall when the shell is displayed. Weave the tail in and trim it close.
The Lip Around the Opening
The opening of the shell is the wide oval at the bottom of the cone, where the decrease rounds ended. With color B, join with a slip stitch at any stitch on the edge of the opening.
- Lip round 1: ch 1, sc in each st around the opening, working 1 sc in each stitch of round 15 and 1 sc in each decrease stitch, for about 18 sc in total. Join with a sl st to the first sc.
- Lip round 2: ch 1, sc in each st around. (18 sc)
The lip should sit flat against the shell and frame the opening neatly. If it ripples, your stitches are too loose, so work the next lip round with a slightly tighter tension. Fasten off color B and weave in the end on the inside of the shell.
Part 3: The Ridges, the Picot Edge, and Finishing
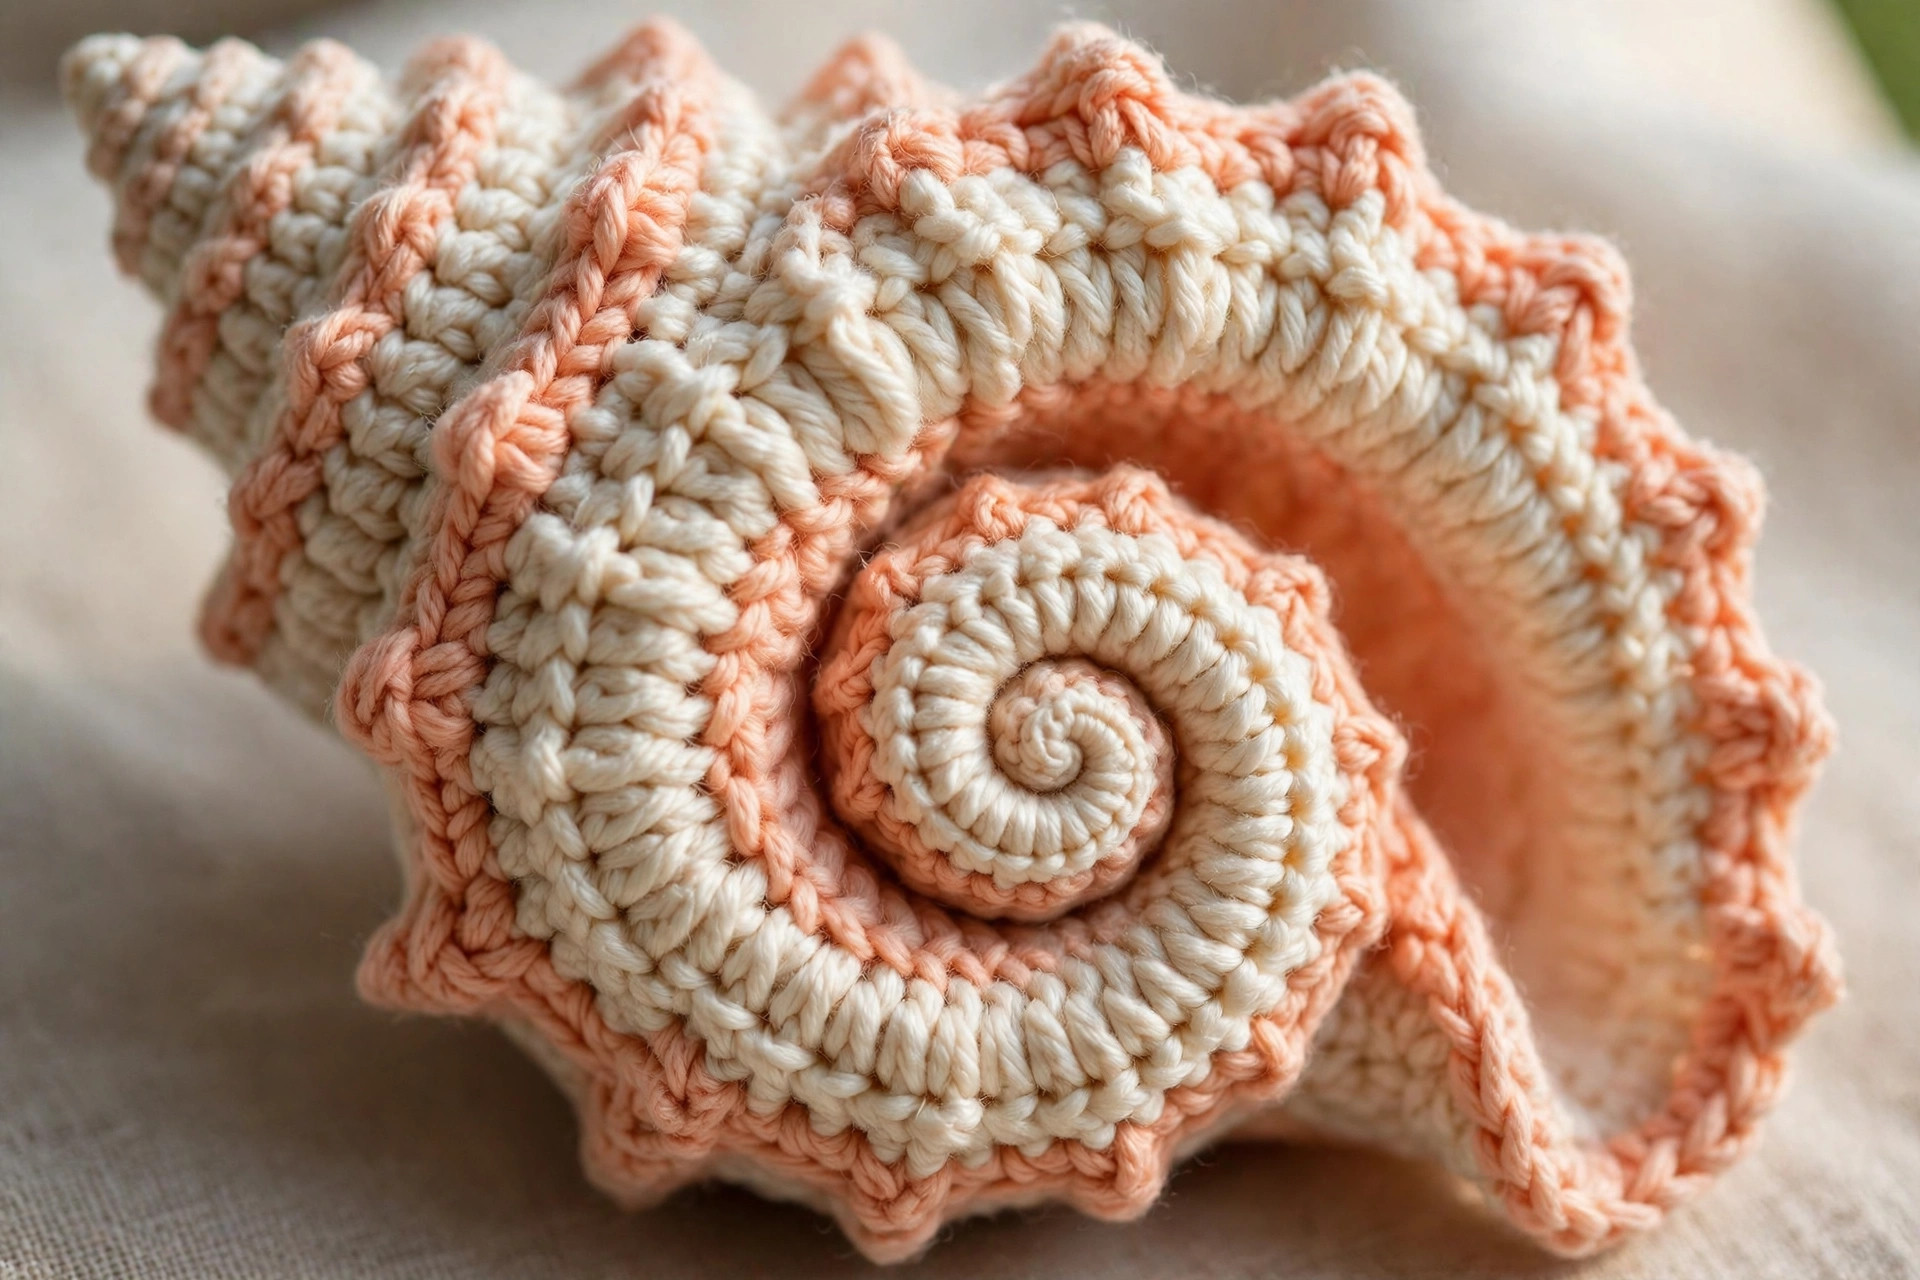
The ridges are what turn a plain cone into a seashell. They are worked as lines of surface crochet running from the tip down to the lip, spaced evenly around the shell, and they catch the light just like the ridges on a real shell.
The Ridges
With color B and your hook, work surface slip stitches from the tip of the shell down to the lip. Start at the tip, insert the hook under a stitch, yarn over, and pull a loop through to the front. Then work slip stitches down the shell in a straight line, following a column of stitches, until you reach the lip. Work 6 ridges in total, spaced evenly around the shell, like the lines on a clock face at 12, 2, 4, 6, 8, and 10 o'clock. Keep the tension even so the ridges lie flat and do not pull the shell in. When all 6 ridges are done, weave the starting and ending tails into the inside of the shell.
The Picot Edge
With color B, join with a slip stitch in any stitch of the lip, on the outer edge of the opening.
- Picot round: (sc in the next st, ch 3, sl st in the first ch, sc in the next st) repeat around the lip. (9 picots)
Each picot uses 2 stitches of the lip, so 18 lip stitches divide neatly into 9 picots with no leftover stitches. The picots should stand up in a neat row around the opening like a tiny scalloped edge. If a picot flops over, work it with a slightly tighter tension, or press it gently into shape with your fingers. Join with a slip stitch to the first sc, fasten off, and weave in the end.
Final Finishing
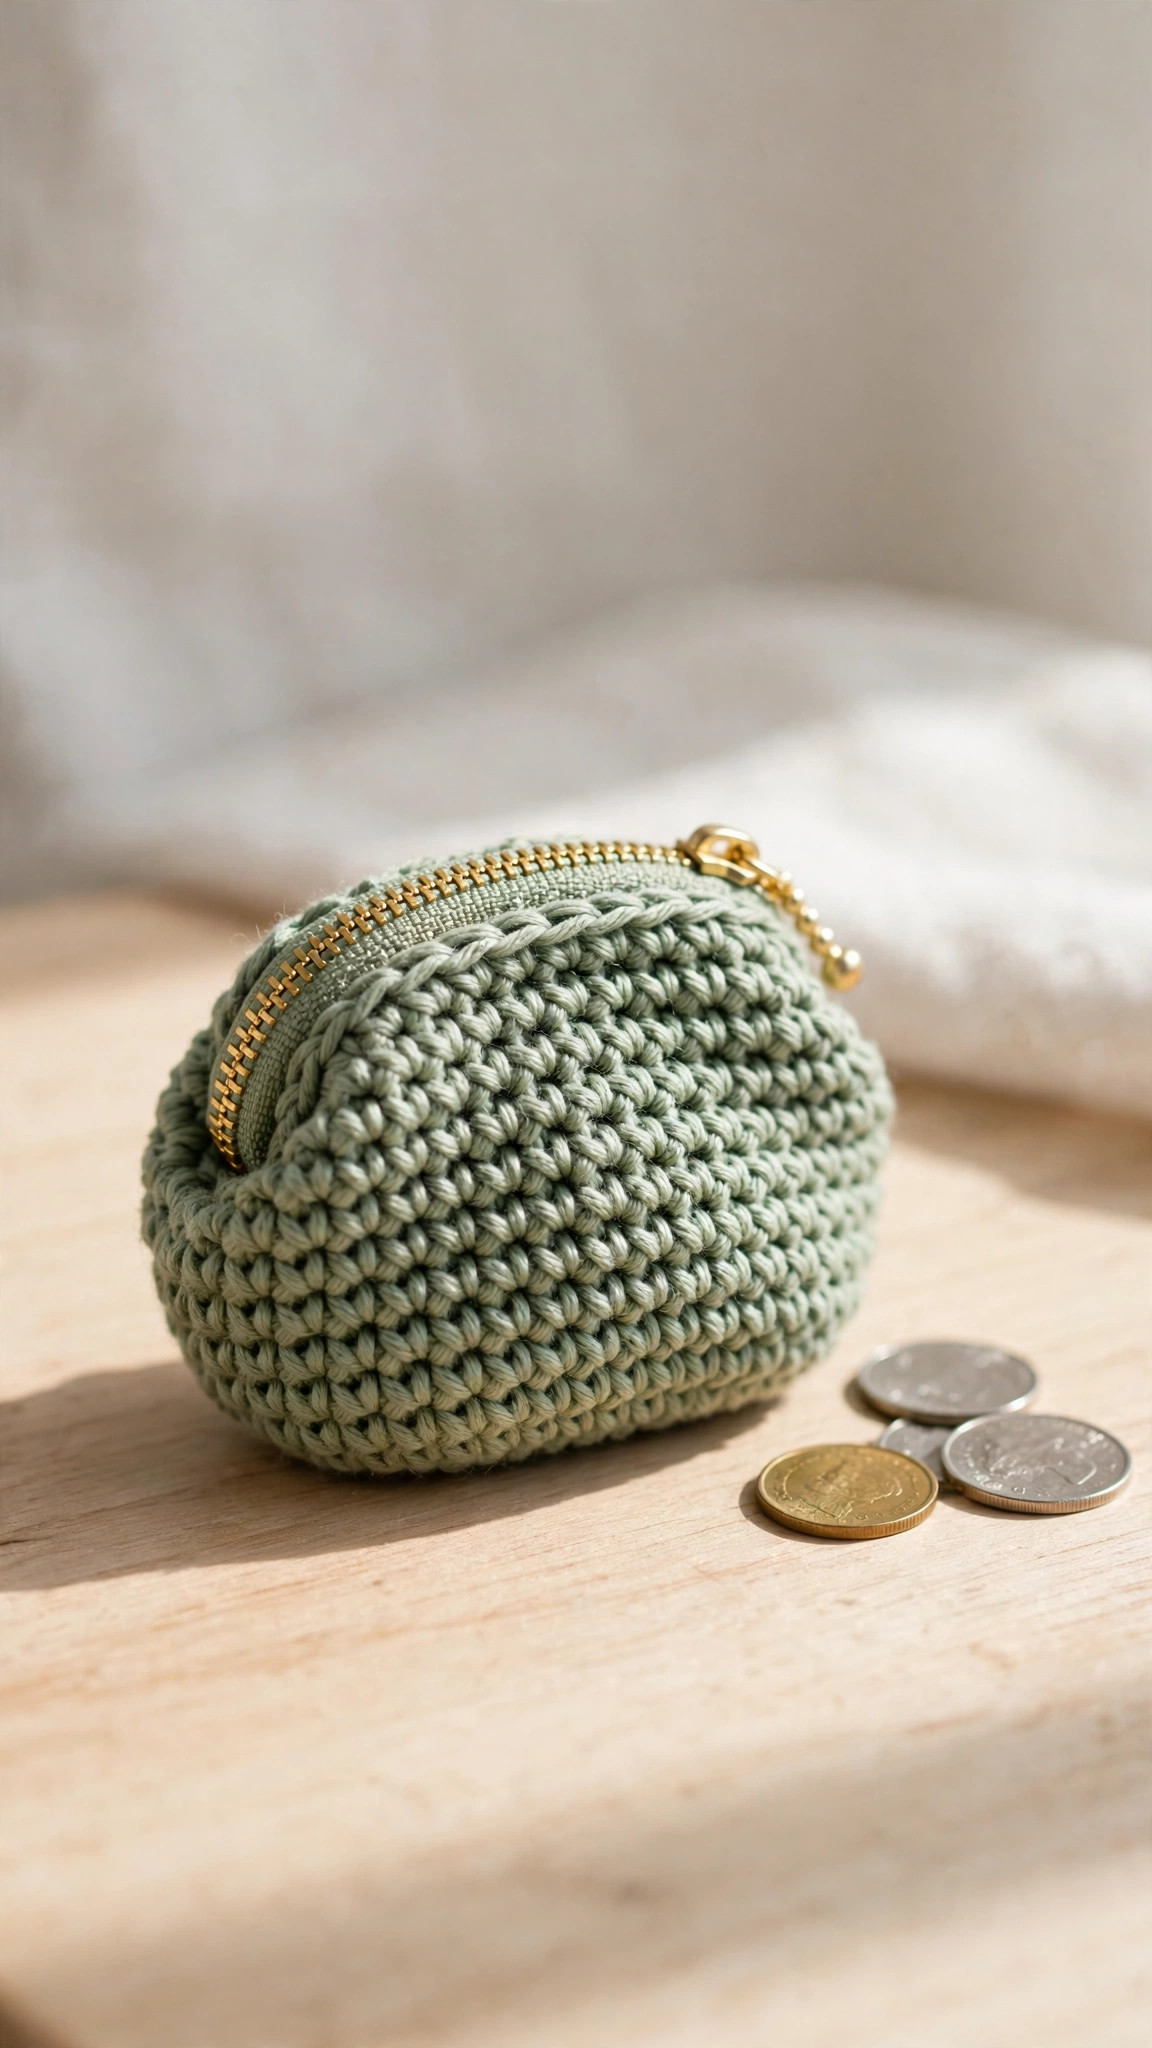
Check the shell from every side. The tip should be pointed, the belly should be plump, the ridges should run straight from the tip to the lip, and the picots should sit evenly around the opening. If the shell will not sit flat, press the back gently against a table and shape it by hand, then let it rest. Weave in every yarn end with a tapestry needle, working the tail through the back of several stitches in the same color, then trim it close. Give the shell a final squeeze to even out the stuffing, and it is ready for the shelf. Our crochet coin purse pattern makes a sweet companion gift in the same pastel colors if you are building a beach themed gift set.
Variations: Colors, Sizes, and Uses
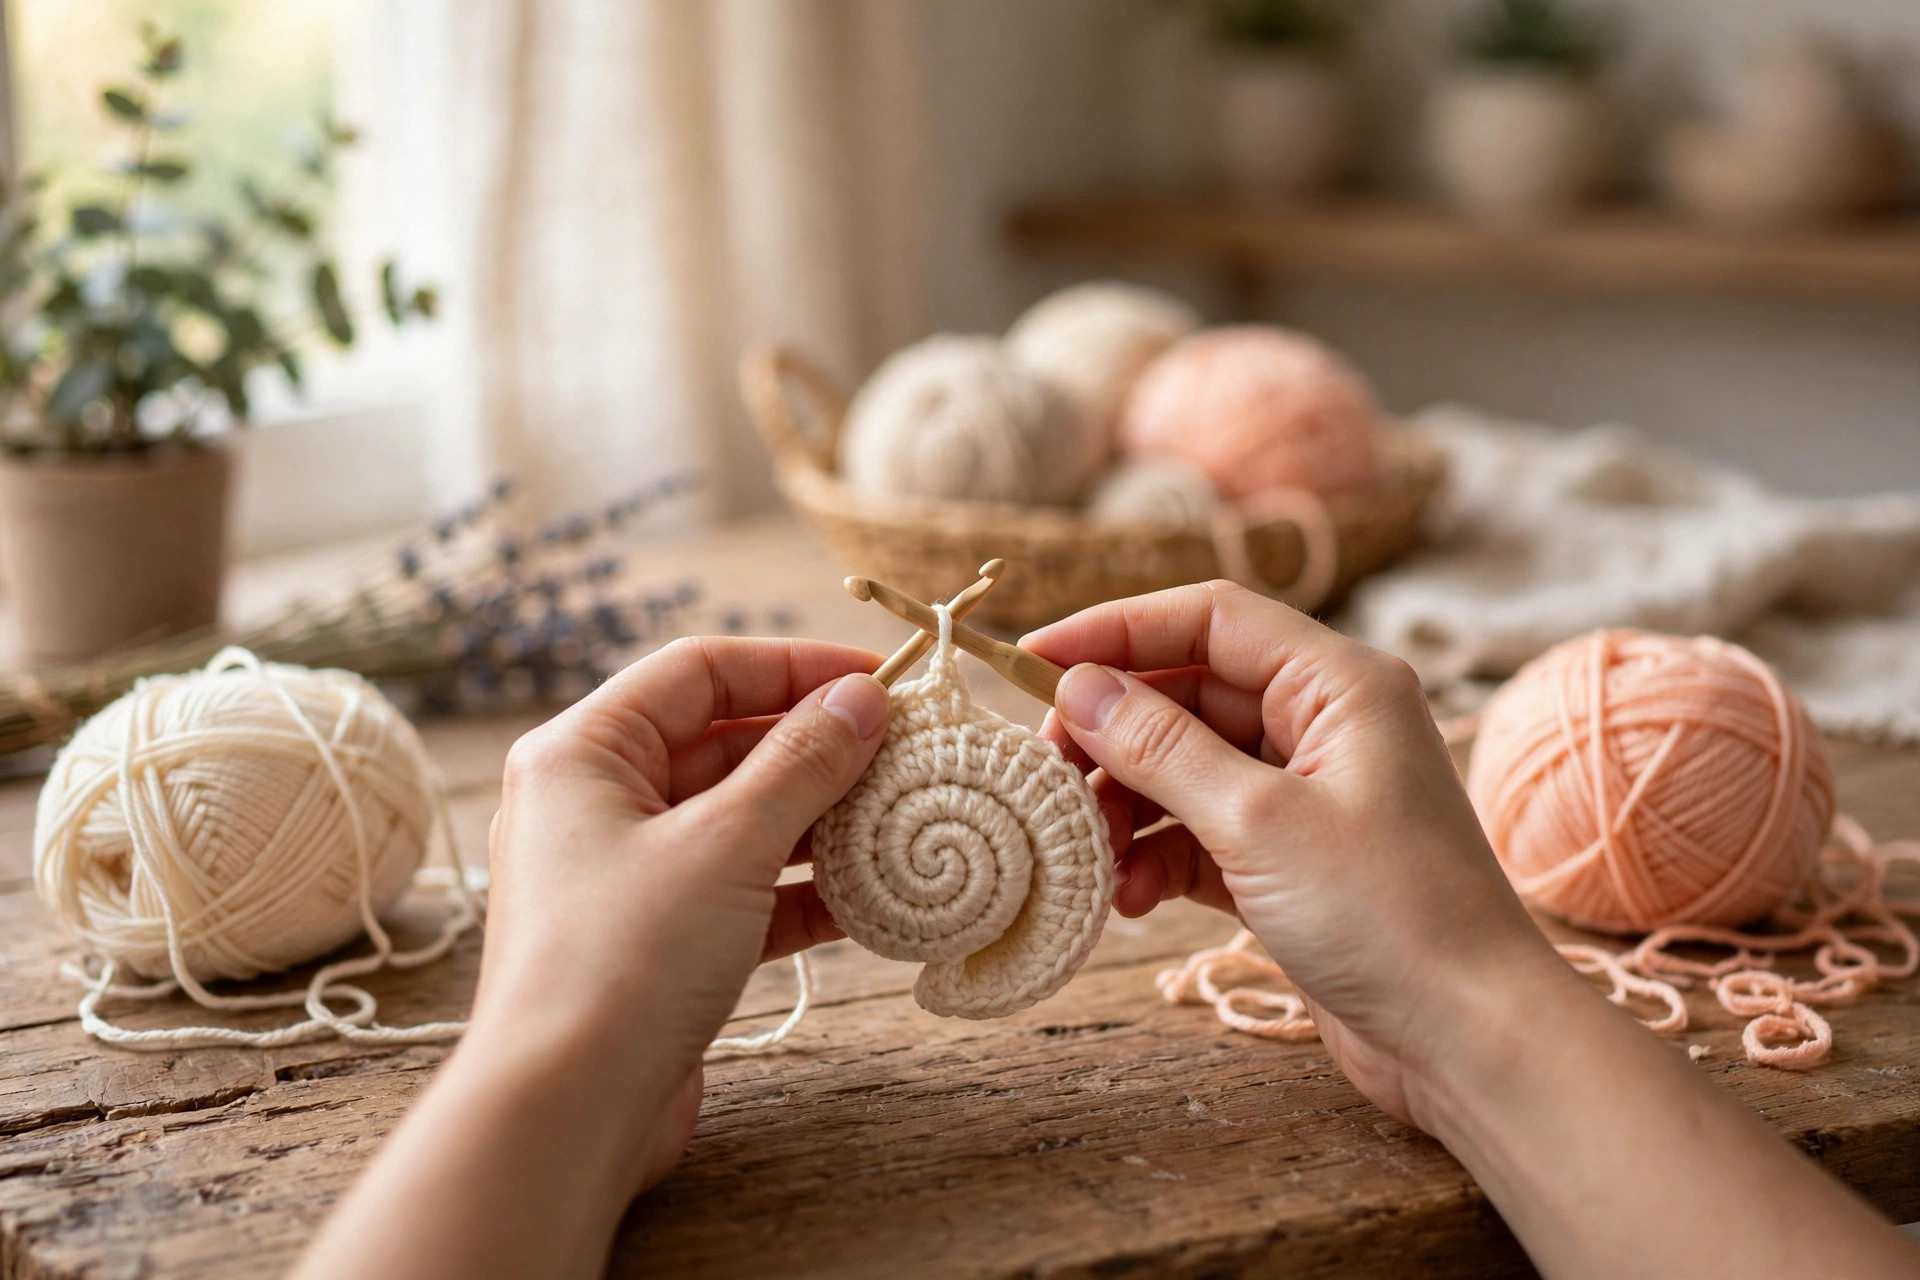
- Classic cream and peach shell: work the shell in cream with peach ridges and lip, the colorway in the photos. Our crochet pineapple pattern makes a fun tropical companion for a summer display.
- Coral beach shell: make the shell in soft coral with white ridges for a bright beach bathroom shelf.
- Aqua nursery shell: make the shell in aqua with cream ridges and hang it from a nursery mobile with a soft ribbon.
- Tiny shell ornaments: work the shell with a smaller hook and stop the increases at round 4, for a 2 inch shell that fits on a Christmas tree or a gift tag.
- Shell garland: make five shells in five pastel colors, thread a ribbon through the lip of each one, and hang the garland across a mantel for a summer party.
Troubleshooting a Shell That Will Not Sit Flat
- My shell leans to one side. A stitch was missed on one side of an increase round, so the cone grew unevenly. Count the stitches in every round and check that each increase round adds exactly 6 stitches.
- My shell looks saggy, not plump. The stuffing is too light, or the gauge is too loose. Add more fiberfill in small pinches, and go down a hook size on your next shell.
- My ridges wander and look wobbly. The surface crochet followed the wrong column of stitches. Pull the ridge out and redo it, following one straight column from the tip to the lip.
- My lip ripples. The lip stitches are too loose, or there are too many of them. Work the lip with a tighter tension, and count the opening stitches first so the lip has the right number.
- My picots flop over. The picot chain is too loose. Work the chain 3 with a tighter tension, and press each picot gently into shape with your fingers when it is done.
Care Instructions
Hand wash a crochet seashell in cool water with a mild detergent, and press the water out gently without wringing. Reshape the tip and the opening while the shell is damp, and let it dry on a clean towel with the opening facing down so the stuffing dries evenly. Do not put it in the dryer on high heat, and keep it out of direct sunlight so the pastel colors do not fade. If the shell is a child's toy, check the ridges and the picots before every wash and re-sew any that feel loose.
Frequently Asked Questions
Is this seashell crochet pattern good for beginners?
Yes, it is a great first amigurumi project. You need a magic ring, single crochet, increases, and decreases, and every round ends with a stitch count. One shell takes about 2 hours, so it is a relaxing weekend make.
What yarn is best for a crochet seashell?
DK or light worsted cotton yarn is the best choice, because it is firm, it shows the ridge texture clearly, and it holds the cone shape. Cream gives the classic shell look in the photos, but coral, peach, and aqua all work well for different displays.
How big is the finished seashell?
The finished shell is about 4 inches tall and 3 inches wide at the opening. A tiny version, stopped at round 4 of the increases, measures about 2 inches tall and works well as an ornament or a gift tag charm.
How do I make the ridges on the shell?
The ridges are surface crochet, worked after the shell is stuffed and closed. You pull loops through the front of the shell in straight lines from the tip to the lip, making 6 ridges spaced evenly around the shell. They are the last decorative step before the picot edge.
Can I make the seashell without stuffing?
Yes, you can leave the shell unstuffed and press it flat, which makes a nice applique for a blanket or a bag. Stuff it lightly if you want it to stand up on a shelf, because the stuffing is what holds the cone shape.
Is the seashell safe for a baby?
The shell itself is soft and safe, but it is best for children over three, because the picot edge and the ridges can be pulled at by very small hands. For a baby, skip the picot edge and use a soft yarn with no small parts, and check the shell often. A spiral snail like our free snail crochet pattern is a similar soft toy with a simpler shape.
Can I sell seashells made from this pattern?
Yes, you may sell finished seashells made from this free pattern, with credit to Little Loop Finds. Please do not sell or republish the pattern text itself. A set of five shells in five pastel colors makes a sweet beach themed bundle, and pairs nicely with a soft sea creature like our crochet octopus plush or a sea turtle from our crochet turtle patterns.
Happy stitching, and may your little shell bring a piece of the beach into your home.