Crochet Chocolate Orange Cover Pattern (Festive Gift)
Crochet a festive striped cover for a chocolate orange in about two hours, then tuck it into a stocking for a handmade Christmas gift.

Patterns · Crochet
- Finished size
- 3.5 in tall
- Making time
- 2 hours
- Hook
- US G/6 (4.0 mm)
- Set
- Cover, hat topper
- Skill
- Easy
In this post
- Key Takeaways
- Table of Contents
- Why You Will Love This Crochet Chocolate Orange Cover
- Finished Size, Skill Level, and Time
- Materials You Need
- Abbreviations (US Terms)
- Gauge and Sizing Notes
- Part 1: The Cover Body
- Part 2: The Drawstring Top and Holly Leaf
- Part 3: The Santa Hat Topper and Finishing
- Variations: Colors, Sizes, and Uses
- Troubleshooting a Cover That Does Not Fit
- Care Instructions
- Frequently Asked Questions
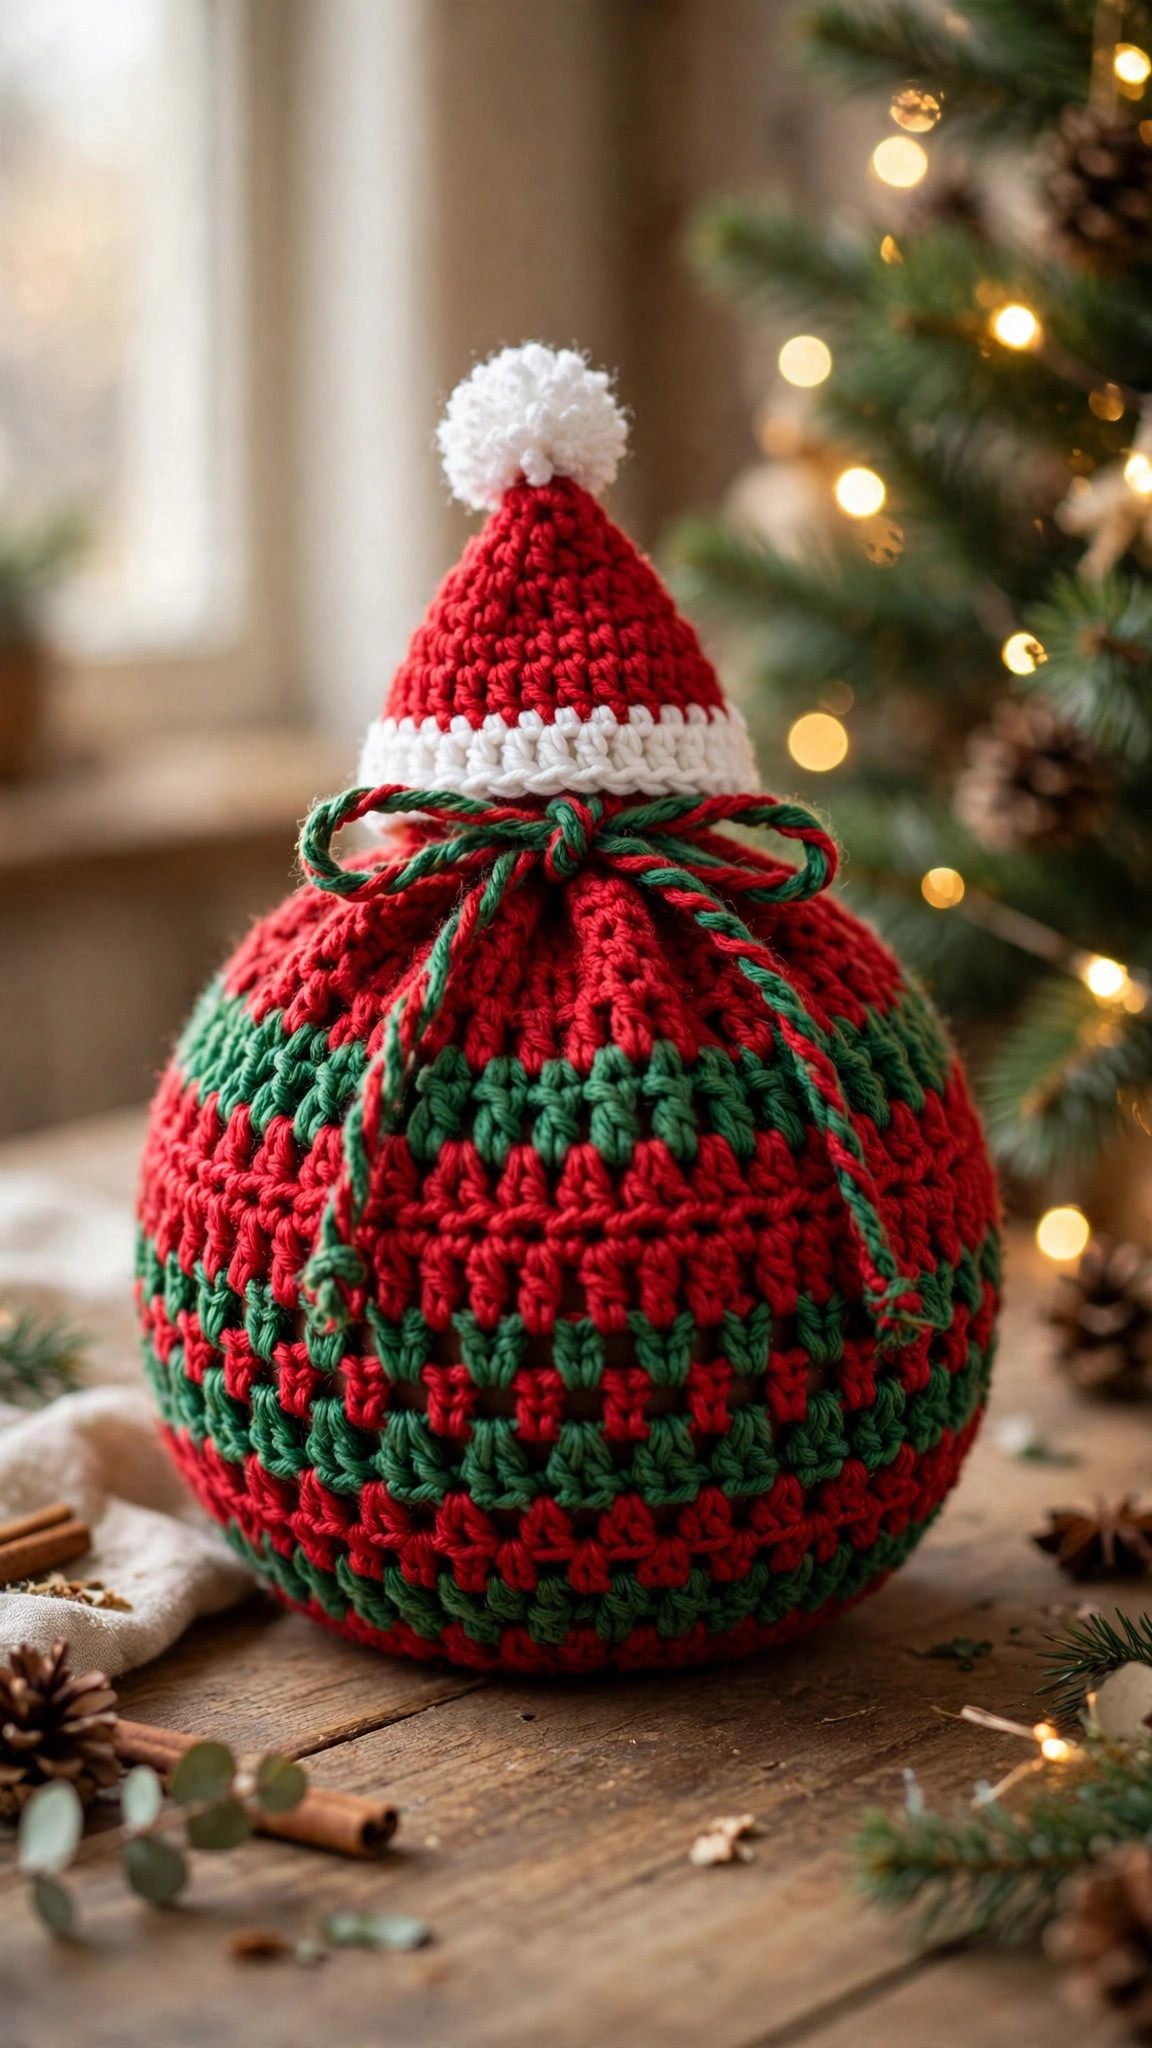
A crochet chocolate orange cover turns a simple chocolate orange into a gift that feels handmade and thoughtful. This free crochet chocolate orange cover pattern makes a snug festive pouch in red and cream stripes, with a drawstring top, a crocheted holly leaf, and a tiny Santa hat topper. It fits a standard chocolate orange about three inches across, and it looks wonderful peeking out of a Christmas stocking.
This is an original Little Loop Finds design, written in US terms and completely free. The cover is worked in rounds from the base up, so there is no seaming on the body, and the stripes change color without any fancy colorwork. If you can single crochet and double crochet in the round, you can make this cover in one cozy evening.
A quick note on scope: this post is about one specific crochet chocolate orange cover, a reusable festive pouch for a chocolate orange. It is not a cover for a real orange, and it is not a hat or a bag pattern. If you want a matching stocking to tuck it into, our crochet christmas stocking pattern is a good match.
Key Takeaways
- Free original pattern: a Little Loop Finds original design, written in US terms, and completely free.
- A festive stocking filler: a snug striped pouch that turns a chocolate orange into a handmade Christmas gift.
- For a standard chocolate orange: fits a round foil wrapped chocolate orange about 3 inches across.
- Quick and easy: one cover takes about 2 hours, worked in simple rounds with no seaming on the body.
- Reusable every year: the drawstring top opens and closes, so the cover can be used again next Christmas.
Table of Contents
- Why You Will Love This Crochet Chocolate Orange Cover
- Finished Size, Skill Level, and Time
- Materials You Need
- Abbreviations (US Terms)
- Gauge and Sizing Notes
- Part 1: The Cover Body
- Part 2: The Drawstring Top and Holly Leaf
- Part 3: The Santa Hat Topper and Finishing
- Variations: Colors, Sizes, and Uses
- Troubleshooting a Cover That Does Not Fit
- Care Instructions
- Frequently Asked Questions
Why You Will Love This Crochet Chocolate Orange Cover
A chocolate orange is already a classic Christmas treat, but a plain foil ball in a stocking looks like an afterthought. Slip it into a handmade crochet cover and it becomes a gift in its own right. The red and cream stripes look like a candy cane, the holly leaf adds a festive touch, and the little Santa hat on top makes people smile before they even open it.
This is also a wonderful stash buster. One cover uses less than half a ball of each color, so you can make a whole basket of them from yarn you already own.
The drawstring top keeps the chocolate orange safe inside the stocking, and the snug fit stops the foil from tearing in a crowded gift bag. When Christmas is over, the cover folds flat and waits for next year.
Finished Size, Skill Level, and Time
- Finished size: about 3.5 inches tall and 3.5 inches across, fitting a standard chocolate orange about 3 inches across. The Santa hat topper adds about 1.5 inches of height.
- Skill level: Easy. You need a magic ring, single crochet, double crochet, and working in the round, plus a simple chain drawstring.
- Time: about 2 hours per cover: 1 hour for the cover body, 30 minutes for the drawstring top and holly leaf, and 30 minutes for the Santa hat topper and finishing.

Materials You Need
| Item | What to get |
|---|---|
| Yarn, red | DK weight yarn in Christmas red, about 40 yards |
| Yarn, cream | DK weight yarn in cream, about 20 yards |
| Yarn, green | DK weight yarn in holly green, about 10 yards |
| Yarn, white | DK weight yarn in white, about 10 yards, for the hat brim and pompom |
| Hook | US G/6 (4.0 mm), or the size that gives you the gauge below |
| Notions | Tapestry needle, scissors, tape measure, stitch markers, 3 small red buttons or beads for berries |
DK weight yarn is the best choice for a crochet chocolate orange cover because it makes a firm fabric that holds its shape around the chocolate, and it is not so bulky that the cover looks heavy. A smooth acrylic or cotton blend works well, because it shows the stripes clearly and it washes easily. Avoid very fuzzy yarns, because they hide the stripes and make the cover look messy.
A standard chocolate orange is about 3 inches across and weighs about 5.5 ounces, so measure yours before you start. A smaller one will swim in the cover, and a larger one will stretch it out of shape.
Abbreviations (US Terms)
- ch = chain
- sl st = slip stitch
- sc = single crochet
- hdc = half double crochet
- dc = double crochet
- inc = increase, work 2 sc in the same stitch
- dec = decrease, single crochet 2 stitches together
- st(s) = stitch(es)
- rep = repeat
- RS = right side
Gauge and Sizing Notes
Gauge matters on a chocolate orange cover because the cover must fit snugly, not loosely. Work a swatch of 10 sc and 10 rows in the red yarn with your 4.0 mm hook. It should be about 2 inches wide and 2 inches tall. If it is wider, go down a hook size. If it is narrower, go up a hook size.
If your chocolate orange is bigger, add one more increase round to the base. If it is smaller, work one fewer. Count your stitches at the end of every increase round, because a base with the wrong stitch count will not sit flat.
Part 1: The Cover Body
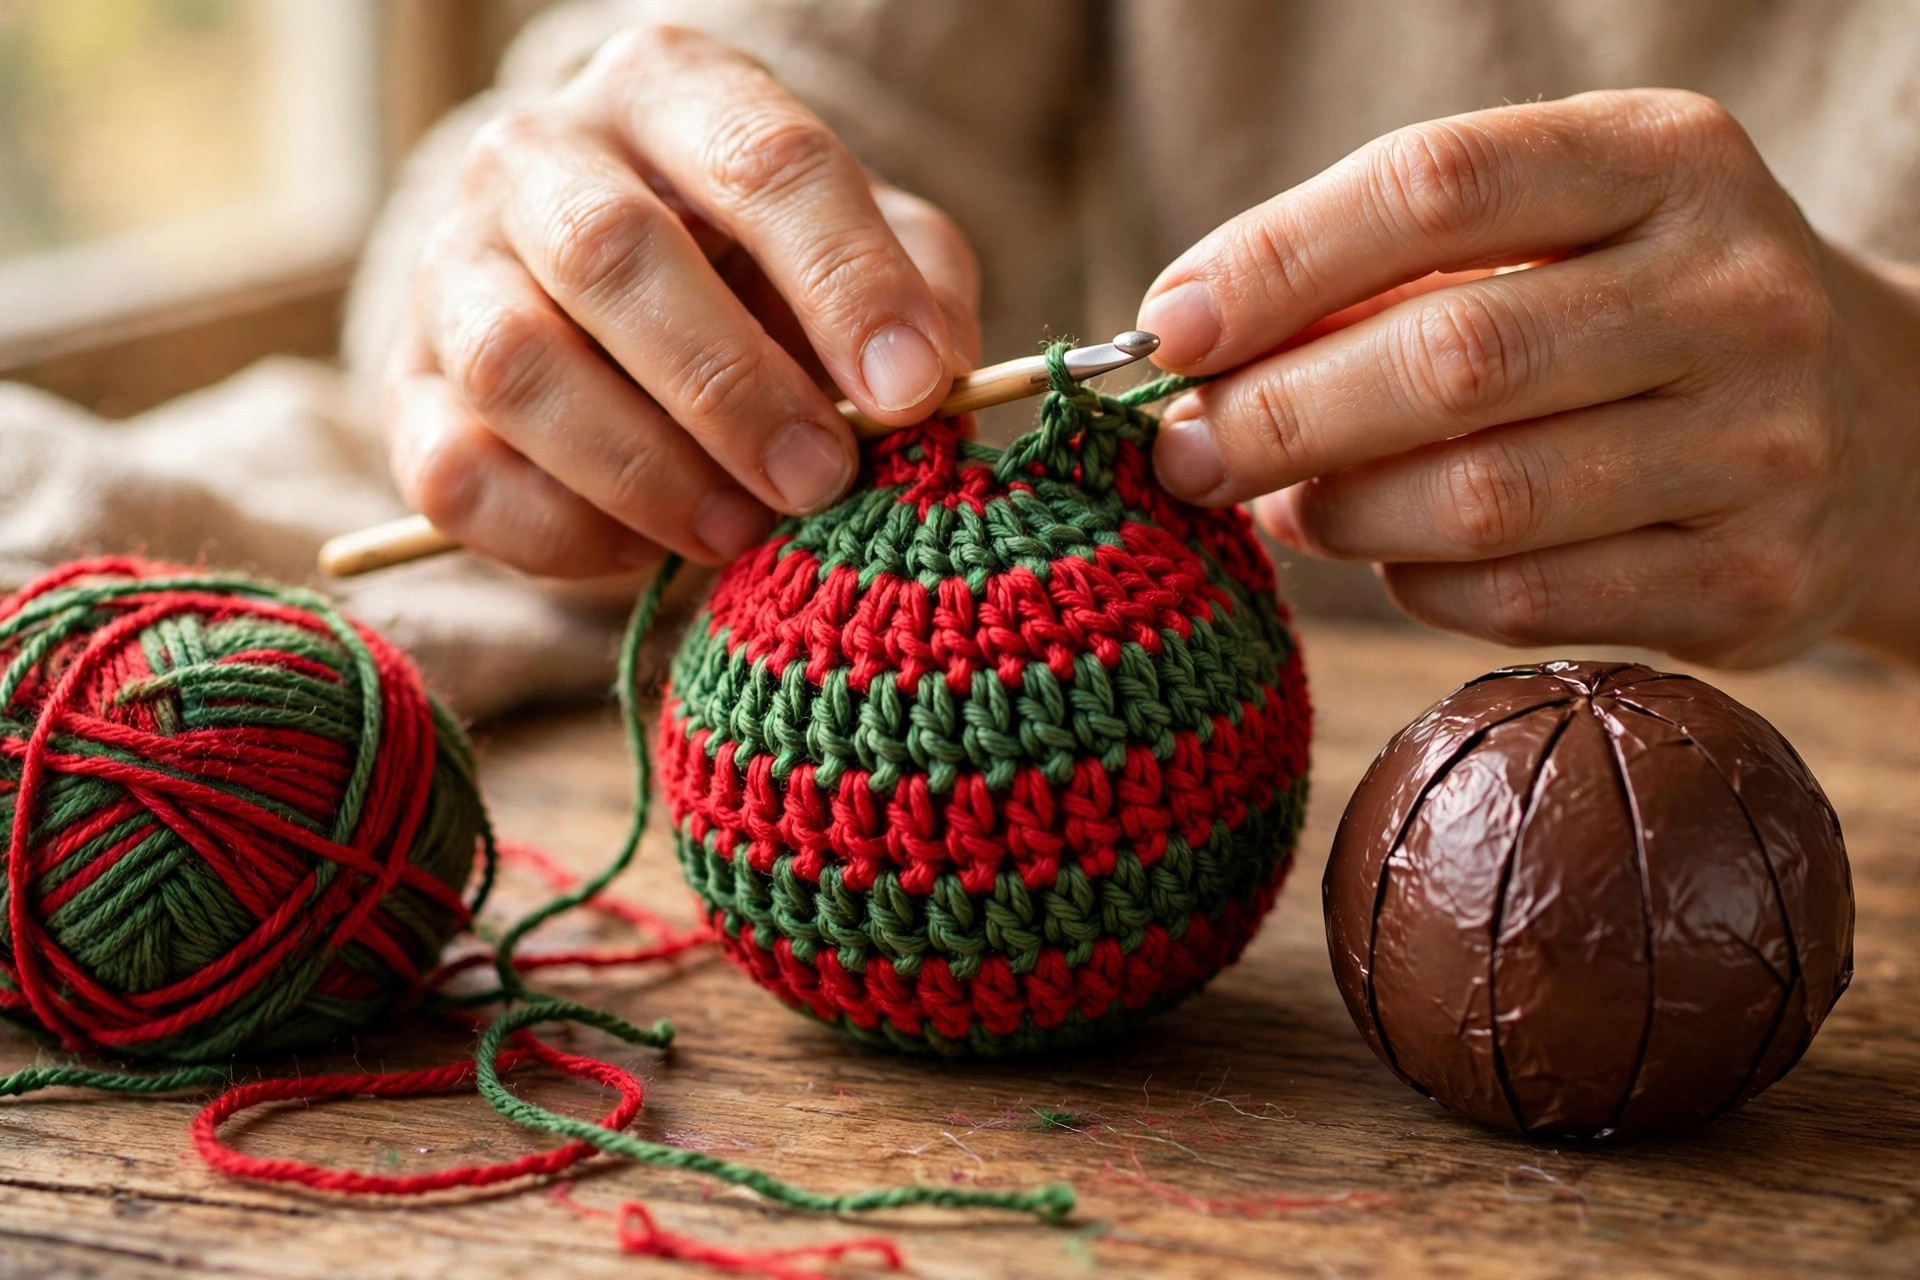
The cover body is worked in rounds from the base up, starting with a flat circle that becomes the bottom of the pouch. The stripes are worked in blocks of rounds, so you change color only a few times. Use a stitch marker to mark the first stitch of each round, and move it up as you go.
The Base and Sides (red and cream stripes)
With the red yarn, make a magic ring.
- Round 1: ch 1, work 6 sc in the ring, pull the ring closed. (6 sts)
- Round 2: inc in each st around. (12 sts)
- Round 3: sc in the first st, inc in the next st, rep around. (18 sts)
- Round 4: sc in the first 2 sts, inc in the next st, rep around. (24 sts)
- Round 5: sc in the first 3 sts, inc in the next st, rep around. (30 sts)
- Round 6: sc in the first 4 sts, inc in the next st, rep around. (36 sts)
- Round 7: sc in the first 5 sts, inc in the next st, rep around. (42 sts)
- Round 8: sc in the first 6 sts, inc in the next st, rep around. (48 sts)
- Round 9: sc in each st around. (48 sts)
- Round 10: sc in each st around. (48 sts)
The base should now be a flat circle about 3 inches across. If it curls, go up a hook size. If it ripples, go down a hook size. Our crochet tape measure cover pattern uses the same flat circle start if you want to practice the increase rounds on a smaller piece first.
Change to the cream yarn.
- Rounds 11 to 12: sc in each st around. (48 sts)
- Change to the red yarn.
- Rounds 13 to 16: sc in each st around. (48 sts)
- Change to the cream yarn.
- Rounds 17 to 18: sc in each st around. (48 sts)
- Change to the red yarn.
- Rounds 19 to 22: sc in each st around. (48 sts)
The sides should now be about 3 inches tall. Slip your chocolate orange inside to check the fit. It should slide in snugly, with the top of the chocolate just below the top edge of the cover. If it sits too high, work one more round in red. If it sits too low, take out one round.
Shaping the Top
The top of the cover narrows slightly so the drawstring can gather it closed.
- Round 23: sc in the first 6 sts, dec over the next 2 sts, rep around. (42 sts)
- Round 24: sc in each st around. (42 sts)
- Round 25: sc in each st around. (42 sts)
Fasten off the red yarn and weave in the ends. Do not fasten off the shape yet, because the drawstring casing comes next, and it is worked in the same red yarn.
Part 2: The Drawstring Top and Holly Leaf
The drawstring casing is a row of chain spaces around the top, and the cord threads through them to pull the cover closed. The holly leaf is worked flat and sewn to the front of the cover.
The Drawstring Casing and Cord
With the red yarn, join at any stitch on round 25.
- Round 26: ch 1, sc in the first st, ch 2, skip 2 sts, sc in the next st, ch 2, skip 2 sts, sc in the next st, rep around. Join with a sl st to the first sc.
- Round 27: ch 1, sc in each sc and each ch-sp around, working 2 sc in each ch-2 sp. Join with a sl st to the first sc. (42 sts)
- Round 28: ch 1, sc in each st around. Join with a sl st to the first sc.
Fasten off and weave in the ends. The casing row is the row of chain spaces in round 26, and the cord will thread through those spaces.
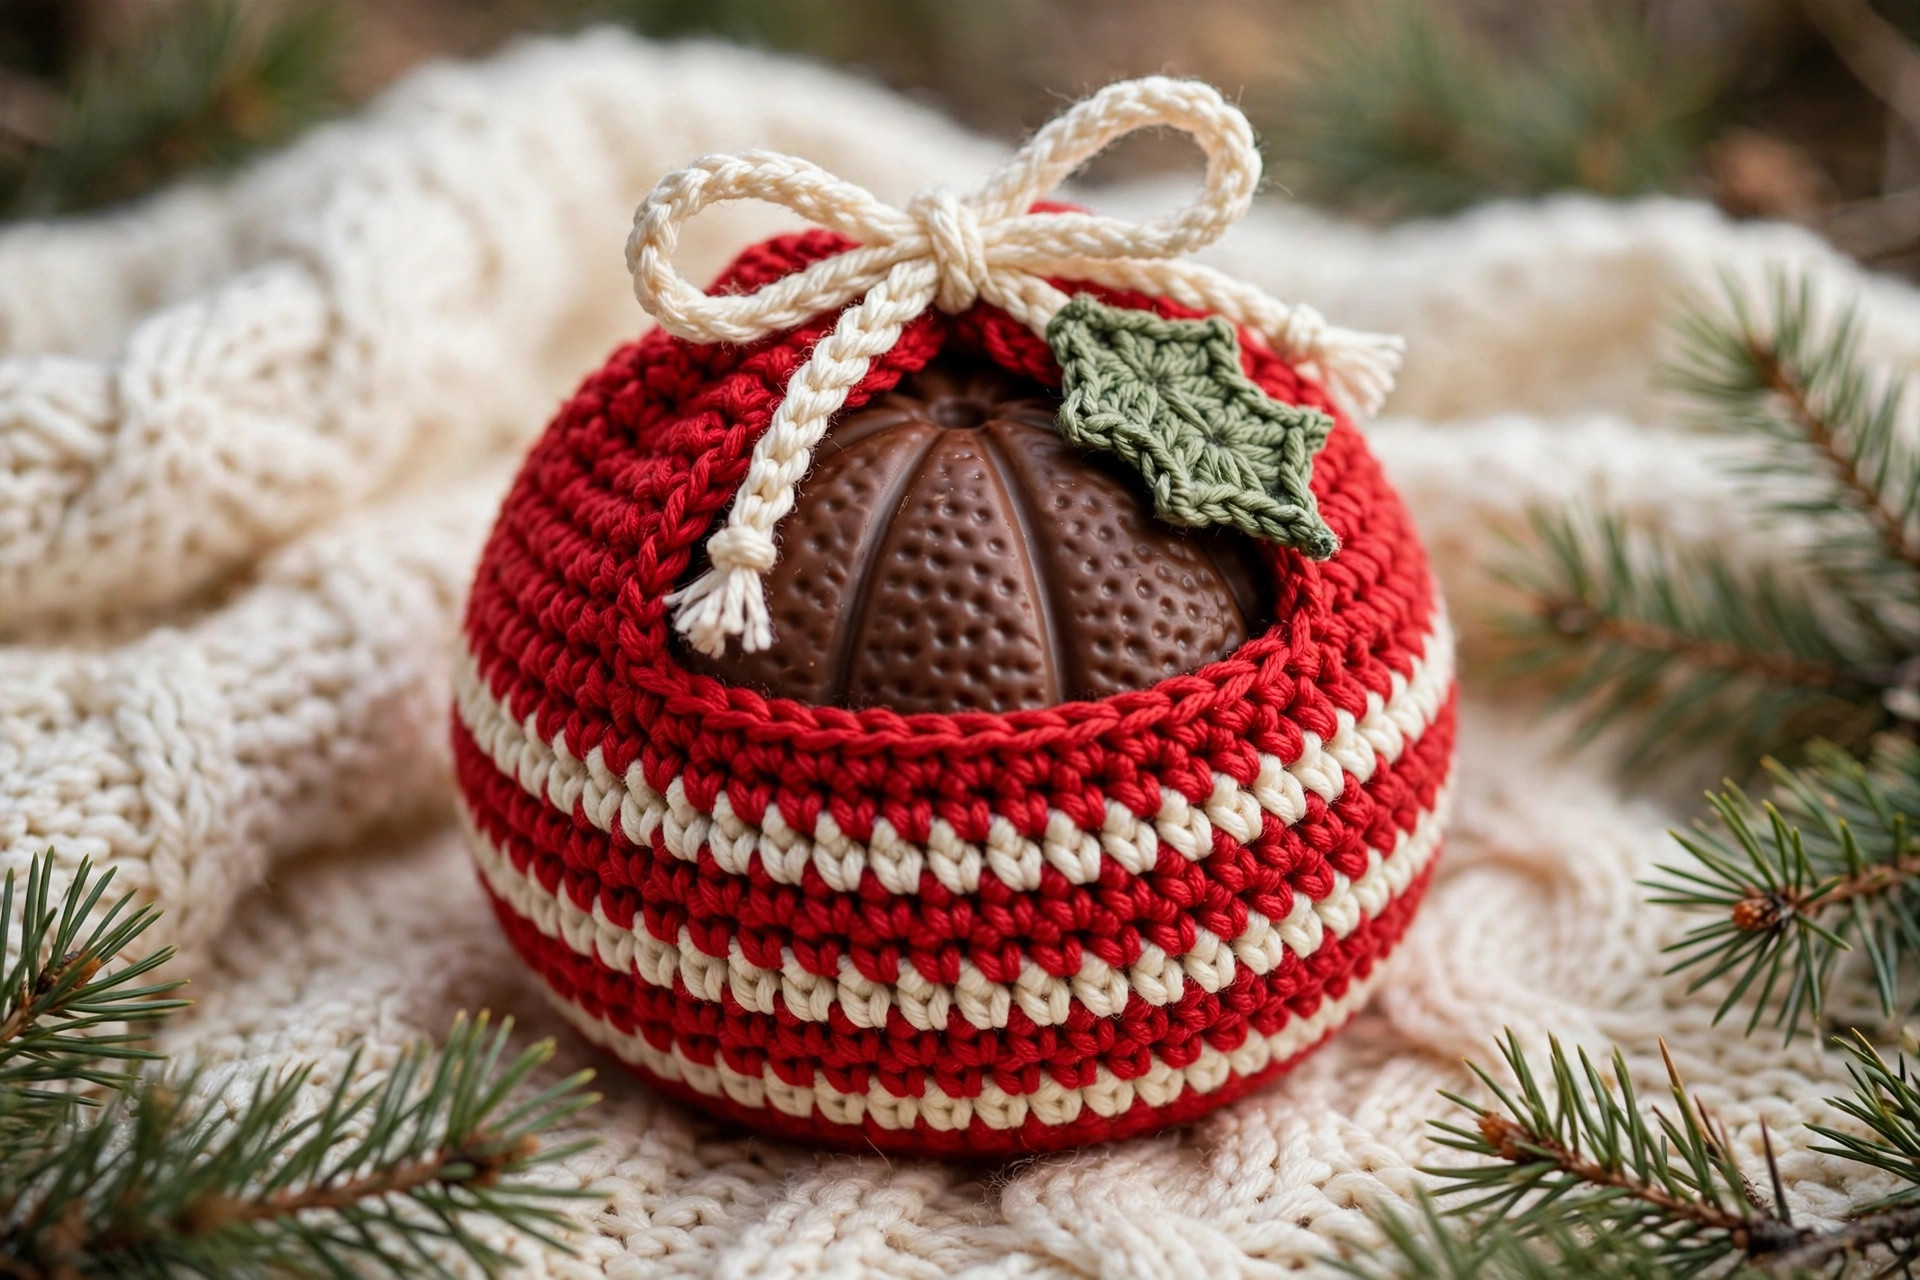
To make the drawstring cord, chain 60 with the cream yarn, then work 1 sl st in each chain back to the start. Thread the cord through the chain spaces of round 26 and pull the two ends out at the front. Tie a small bow to close the cover, and knot the ends so they do not unravel. Our crochet candy cane pattern uses the same cord technique for hanging if you want to practice it first.
The Holly Leaf (make 1)
With the green yarn, ch 10.
- Row 1: sc in the second ch from the hook, sc in each ch across. Turn. (9 sts)
- Row 2: ch 1, sc in the first st, ch 3, skip 1 st, sl st in the next st, ch 3, skip 1 st, sl st in the next st, ch 3, skip 1 st, sc in the last st. Turn.
- Row 3: ch 1, sc in each st and each ch across, working 1 sc in each ch. Turn. (9 sts)
- Row 4: rep row 2.
- Row 5: rep row 3.
Fasten off, leaving a long tail. The leaf should be about 2 inches long with pointed edges. Sew it to the front of the cover, just below the drawstring casing, and sew three small red buttons or beads beside it as holly berries.
Part 3: The Santa Hat Topper and Finishing
The Santa hat topper is a small cone worked in rounds, with a white brim and a white pompom, and it sits on top of the gathered cover. Keep your stitches even and your pompom fluffy.
The Santa Hat Topper
With the white yarn, make a magic ring.
- Round 1: ch 1, work 8 sc in the ring, pull the ring closed. (8 sts)
- Round 2: sc in each st around. (8 sts)
- Round 3: sc in each st around. (8 sts)
Change to the red yarn.
- Round 4: sc in the first 3 sts, inc in the next st, rep around. (10 sts)
- Round 5: sc in each st around. (10 sts)
- Round 6: sc in the first 4 sts, inc in the next st, rep around. (12 sts)
- Round 7: sc in each st around. (12 sts)
- Round 8: sc in the first 5 sts, inc in the next st, rep around. (14 sts)
- Round 9: sc in each st around. (14 sts)
- Round 10: sc in the first 6 sts, inc in the next st, rep around. (16 sts)
- Round 11: sc in each st around. (16 sts)
Fasten off, leaving a long tail. The hat should be about 1.5 inches tall. Fold the tip gently to one side so it flops over like a real Santa hat.
The Pompom and Assembly
To make the pompom, wrap the white yarn around three fingers about 20 times, slide the loops off, tie them tightly in the middle with a short length of white yarn, and cut all the loops open. Trim the pompom into a neat ball about 0.75 inches across. Sew it firmly to the tip of the hat with the tying yarn.
Place the chocolate orange inside the cover and pull the drawstring closed. Set the Santa hat on top of the gathered opening, covering the knot, and sew it in place with the long red tail. The hat should sit at a slight tilt.
Give the finished cover a gentle steam or press with a cool iron through a cloth if the stripes look uneven, and trim any loose ends. The cover is now ready to tuck into a stocking or to sit on top of a wrapped present.
Variations: Colors, Sizes, and Uses
- Classic red and cream: work the cover exactly as written, with red stripes, a cream stripe, and a green holly leaf.
- Green and gold cover: work the body in holly green with gold stripes and a red holly berry cluster for a different Christmas look. Our crochet christmas tree pattern in the same colors makes a matching gift set.
- Snowman cover: work the whole body in white with a black drawstring and a tiny orange carrot nose on the front.
- Smaller chocolate cover: for a small chocolate orange, work one fewer increase round in the base, stopping at 42 stitches, and work two fewer side rounds.
- Gift tag cover: skip the Santa hat and tie a small paper gift tag to the drawstring instead. A matching crochet christmas coasters free patterns set in the same yarn makes a lovely host gift.
Troubleshooting a Cover That Does Not Fit
- My cover is too tight for the chocolate. Your gauge is too tight, or your chocolate is bigger than standard. Go up a hook size, or add one more increase round.
- My cover is too loose and baggy. Your gauge is too loose, or your chocolate orange is smaller than standard. Go down a hook size, or work one fewer increase round.
- My base curls up like a bowl. The increase rounds are too tight. Check that you worked every increase, and count your stitches at the end of round 8.
- My base ripples and will not lie flat. The increase rounds are too loose, or you added too many stitches. Count your stitches at the end of each increase round.
- My drawstring will not pull closed. The casing row is too tight, or the cord is too thick. Work the chain spaces loosely, and use the same DK yarn for the cord, not a thicker yarn.
Care Instructions
Keep a crochet chocolate orange cover dry, and store it flat between Christmases. If it gets dusty, shake it gently outdoors. If it needs washing, hand wash it in cool water with a mild detergent, press the water out without wringing, and let it dry flat away from direct heat. Do not machine wash or tumble dry it, because the stripes can stretch and the holly leaf can lose its shape.
Frequently Asked Questions
What size chocolate orange does this cover fit?
This cover fits a standard chocolate orange about 3 inches across and about 5.5 ounces. Measure yours before you start, and add or remove one increase round if it is a different size.
Is this crochet chocolate orange cover pattern good for beginners?
Yes, it is a good beginner project. You need a magic ring, single crochet, and working in the round, and the whole cover takes about 2 hours. The stripes are simple color changes, with no fancy colorwork.
Can I make the cover without the Santa hat topper?
Yes, the cover works perfectly without the hat. Just pull the drawstring closed and tie a bow, and the cover is finished. The holly leaf alone gives it a festive look.
What yarn is best for a chocolate orange cover?
DK weight yarn is the best choice, because it makes a firm fabric that holds its shape around the chocolate. A smooth acrylic or cotton blend shows the stripes clearly and washes easily.
Can I sell covers made from this pattern?
Yes, you may sell finished covers made from this free pattern, with credit to Little Loop Finds. Do not sell or republish the pattern text itself. A set of covers in different colors makes a lovely stall item at a Christmas market.
How do I keep the cover looking good year after year?
Store it flat and dry between Christmases, and hand wash it only if it needs it. The drawstring can be retied each year, and the Santa hat can be brushed lightly to keep the pompom fluffy.
Happy stitching, and may your little chocolate orange cover make someone's Christmas morning a little sweeter.