Crochet Duster Pattern (Long Open-Front Cardigan)
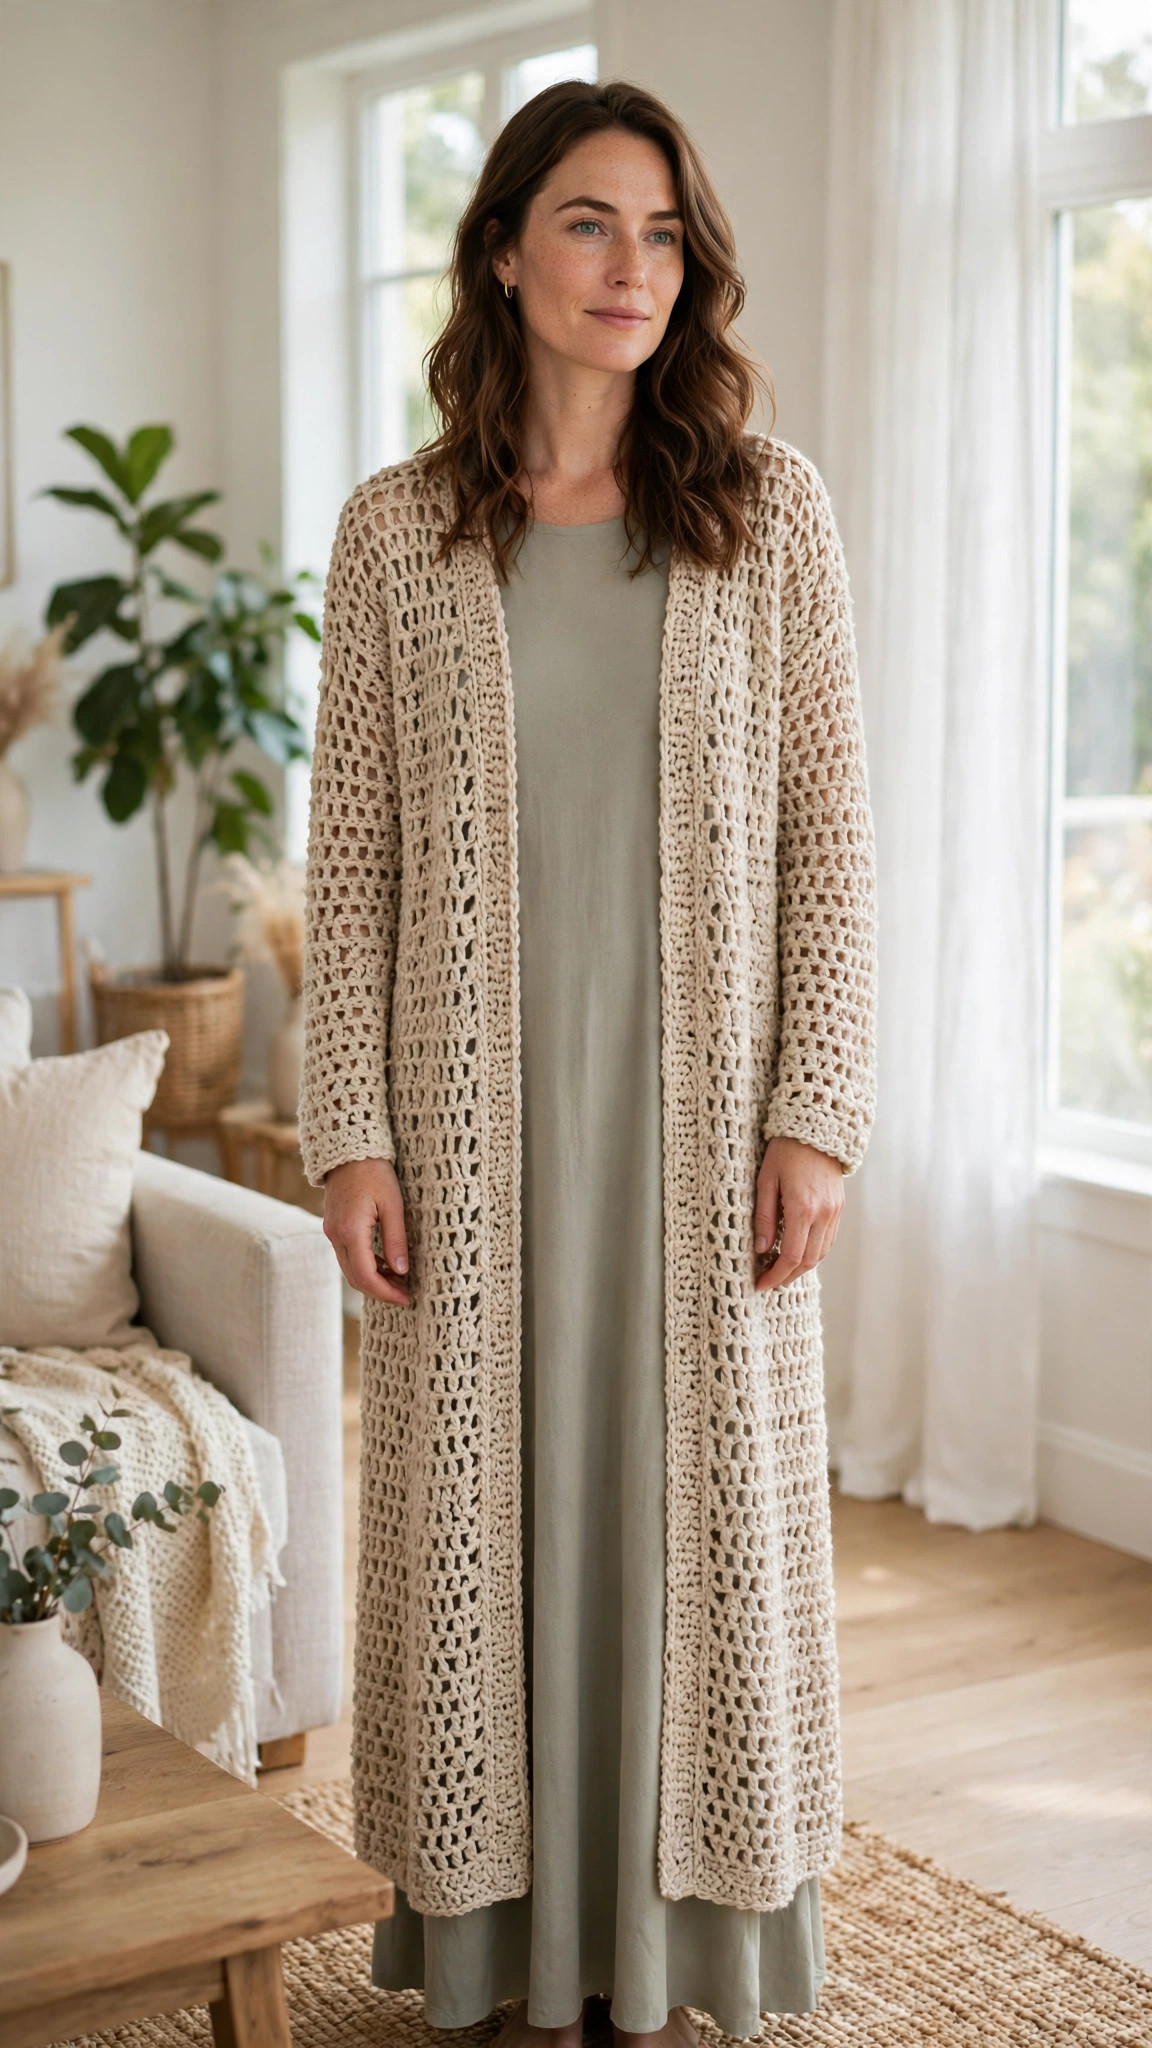
Crochet a long open-front duster cardigan in worsted yarn with an airy mesh stitch in about twenty hours, then layer it over everything you own.

Patterns · Crochet
- Finished size
- 52 in long
- Making time
- 20 hours
- Hook
- US I/9 (5.5 mm)
- Set
- Duster, sleeves
- Skill
- Intermediate
In this post
- Key Takeaways
- Table of Contents
- Why You Will Love This Crochet Duster
- Finished Size, Skill Level, and Time
- Materials You Need
- Abbreviations (US Terms)
- Gauge and Sizing Notes
- Part 1: The Back Panel
- Part 2: The Front Panels and Shoulder Seams
- Part 3: The Sleeves, Edging, and Finishing
- Variations: Colors, Sizes, and Uses
- Troubleshooting a Duster That Does Not Drape Right
- Care Instructions
- Frequently Asked Questions
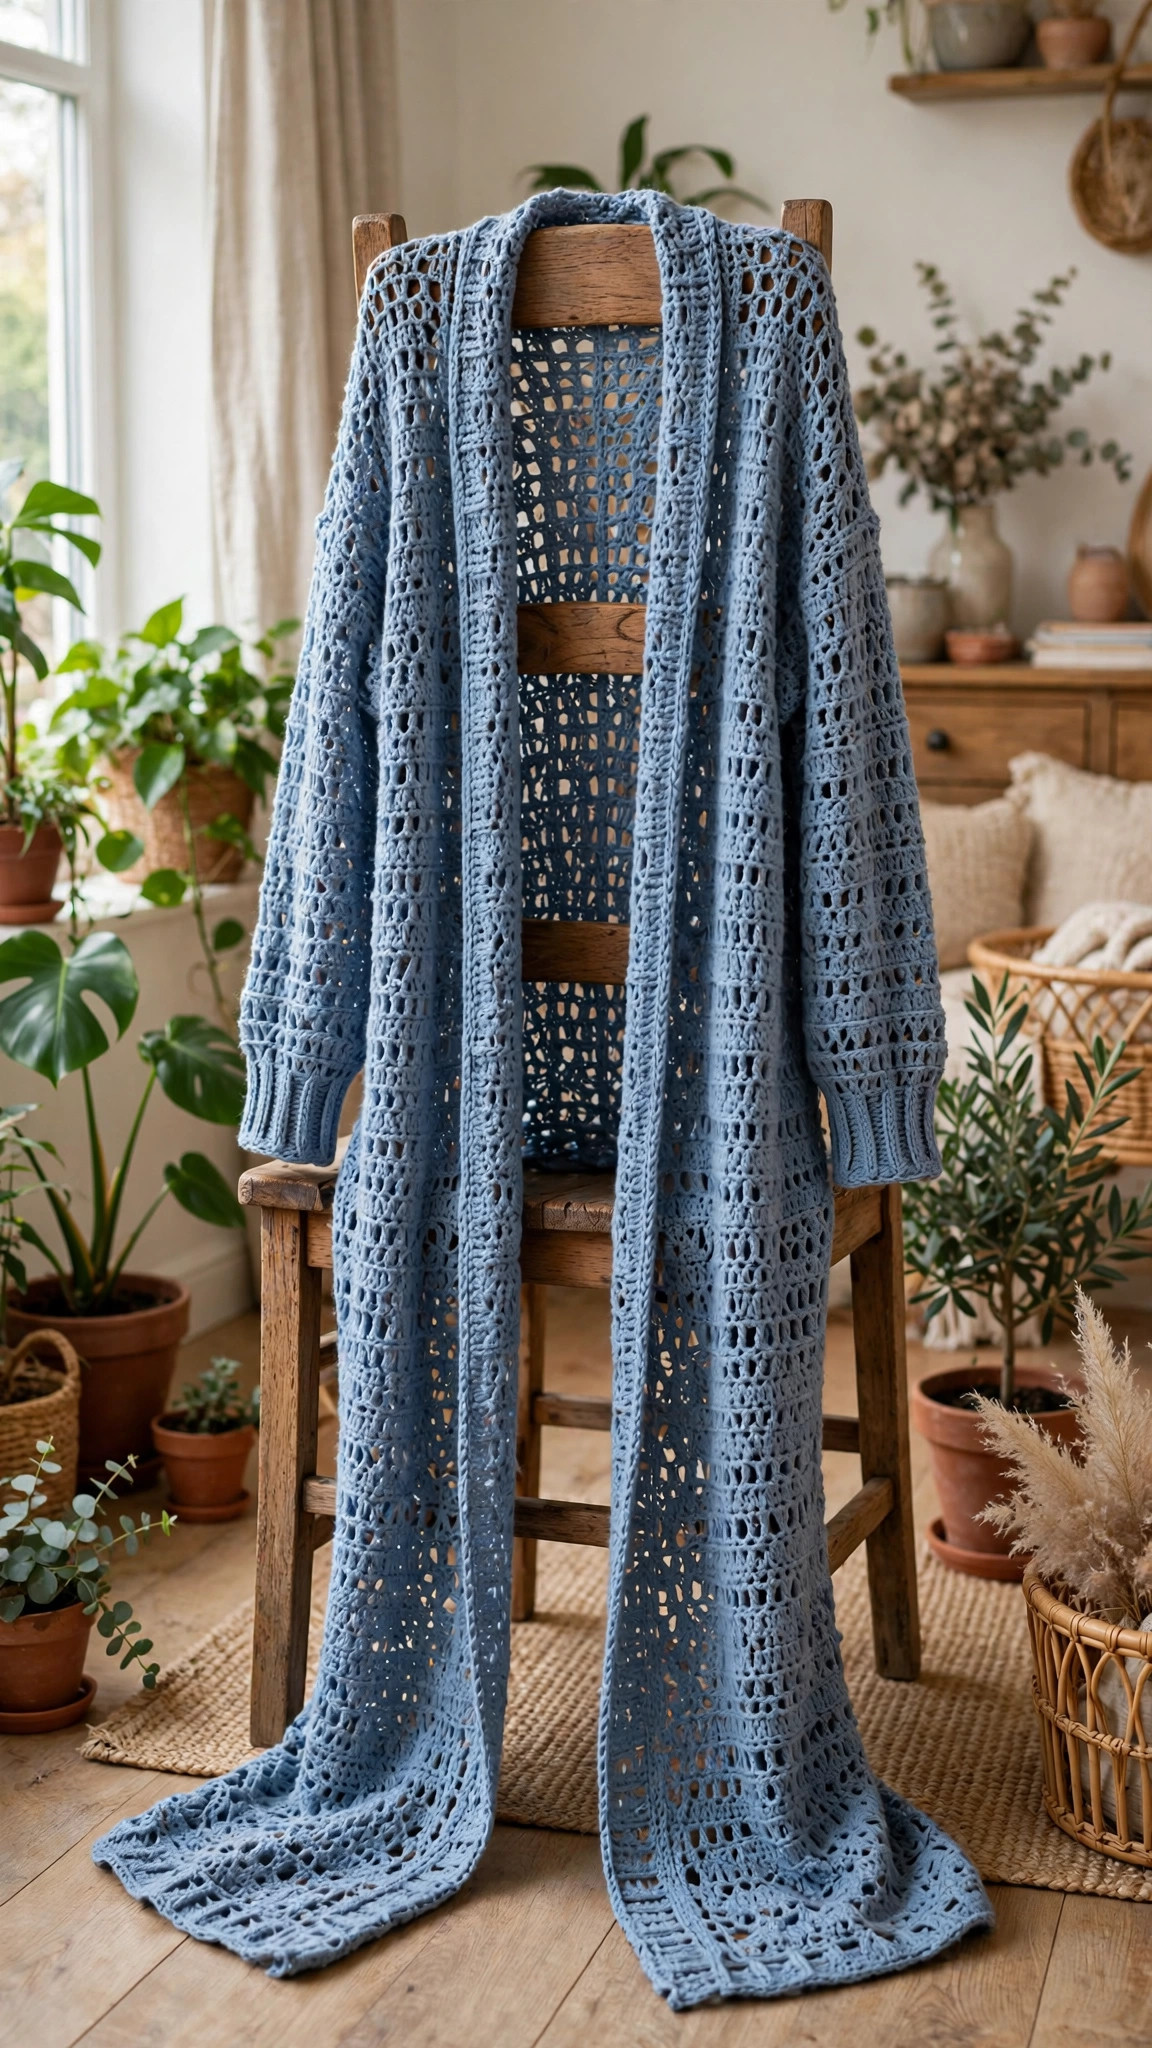
A crochet duster is the layering piece your wardrobe has been missing. This free crochet duster pattern makes a long, open-front cardigan that falls to your ankles, with an airy open stitch, wide front panels, and long sleeves. It drapes beautifully over a dress, jeans, or leggings, and it turns a simple outfit into something finished.
This is an original Little Loop Finds design, written in US terms and completely free. The duster is worked in three flat panels, a back and two fronts, plus two simple sleeves. The open mesh stitch grows quickly, so a long garment never feels like a slow project.
A quick note on scope: this post is about one specific kind of duster, a long open-front layering cardigan with no buttons and no closure. It is not a short cardigan, and it is not a coat with a collar. If you want a shorter layering piece, our crochet cardigan sweater pattern is a hip length version in the same stitch.
Key Takeaways
- Free original pattern: a Little Loop Finds original design, written in US terms, and completely free.
- A long open-front duster: a floor-length layering cardigan with no buttons and no closure.
- Three panels plus sleeves: a back, two fronts, and two simple sleeves, joined with easy seaming.
- Airy open stitch: double crochet and chain spaces make a light fabric that drapes beautifully.
- A 20 hour project: one duster takes about 20 hours, spread over a couple of weeks.
Table of Contents
- Why You Will Love This Crochet Duster
- Finished Size, Skill Level, and Time
- Materials You Need
- Abbreviations (US Terms)
- Gauge and Sizing Notes
- Part 1: The Back Panel
- Part 2: The Front Panels and Shoulder Seams
- Part 3: The Sleeves, Edging, and Finishing
- Variations: Colors, Sizes, and Uses
- Troubleshooting a Duster That Does Not Drape Right
- Care Instructions
- Frequently Asked Questions
Why You Will Love This Crochet Duster
A duster is the easiest way to look put together. Throw it over a plain dress and you have an outfit. The long line makes you look taller, and the soft drape moves beautifully when you walk.
This duster is also a very satisfying project to crochet. The open mesh stitch is just double crochet and chain spaces in a simple rhythm, so you can work on it while you watch a show. The panels are big rectangles with no shaping to worry about, and the sleeves are simple tubes. There is nothing fiddly here, just steady, relaxing rows that grow into a garment you will actually wear.
A handmade duster is a wardrobe staple for every season. Layer it over a sundress in spring, wear it on a cool summer evening, and pull it on over a sweater in autumn. One duster, made in a color you love, will earn its place in your closet for years.
Finished Size, Skill Level, and Time
- Finished size: about 52 inches long from shoulder to hem, with a 44 inch bust and a 22 inch sleeve. The pattern is written for a size medium, and the sizing notes below explain how to adjust it.
- Skill level: Intermediate. You need a foundation chain, double crochet, chain spaces, simple seaming, and a sleeve worked in the round.
- Time: about 20 hours per duster: 8 hours for the back panel, 6 hours for the fronts, 4 hours for the sleeves, and 2 hours for edging and finishing.
Materials You Need
| Item | What to get |
|---|---|
| Yarn, main color | Worsted weight yarn (category 4), 1,200 yards, in oatmeal, dusty blue, or charcoal |
| Yarn, contrast color | Worsted weight yarn, 100 yards, optional, for the front edging |
| Hook | US I/9 (5.5 mm), or the size that gives you the gauge below |
| Notions | Tapestry needle, scissors, tape measure, stitch markers, pins |
Worsted weight yarn is the best choice for a duster because it has enough body to hold the long drape, but it is light enough that the finished garment does not pull on your shoulders. A smooth acrylic or a soft wool blend both work well. Avoid very heavy or very fuzzy yarns, because a floor-length garment in heavy yarn will stretch out of shape, and fuzzy yarn hides the open mesh stitch.
A 5.5 mm hook is the usual match for worsted yarn, but check your gauge first, because the drape of the whole garment depends on it. If your stitches are very tight, the duster will feel stiff and boxy. If they are too loose, it will stretch longer every time you wear it. Buy all your yarn at once, from the same dye lot, because dye lots can vary.
Abbreviations (US Terms)
- ch = chain
- sl st = slip stitch
- sc = single crochet
- hdc = half double crochet
- dc = double crochet
- ch-sp = chain space
- st(s) = stitch(es)
- rep = repeat
- RS = right side
- WS = wrong side
Gauge and Sizing Notes
Gauge matters on a duster, because a small difference adds up over 52 inches of length. Work a swatch in the open mesh stitch, 12 double crochet stitches wide and 7 rows tall. It should be about 4 inches wide and 4 inches tall. If it is wider, go down a hook size. If it is narrower, go up a hook size.
The pattern as written fits a size medium, with a bust of about 40 to 44 inches and a length of 52 inches. For a smaller duster, work the back panel 4 stitches narrower and each front panel 2 stitches narrower. For a larger duster, add the same amounts. For a shorter duster, work fewer rows on all three panels. For a longer one, work more rows, but allow about 100 extra yards for every 4 inches of length.
Measure your favorite long cardigan before you start, and compare it to the numbers in this pattern. Lay each panel flat and measure it as you work, because the open mesh stitch can grow if your tension relaxes, and it is much easier to fix a panel early than to finish a duster that is 4 inches too long.
Part 1: The Back Panel
The back panel is a big rectangle in open mesh stitch, worked from the hem up to the shoulders. It is the largest piece, and it sets the length for the whole garment. Work it first, and use it as the guide for the two front panels.
The Back Panel
With the main color, ch 66.
- Row 1: dc in the 4th ch from the hook, *ch 1, skip 1 ch, dc in the next ch, rep from * across. Turn. (32 dc, 31 ch-1 sps)
- Row 2: ch 3 (counts as dc), *ch 1, skip 1 ch-sp, dc in the next dc, rep from * across. Turn.
- Rows 3 to 84: rep Row 2 until the panel measures about 50 inches long, or your chosen length minus 2 inches for the hem edging. Do not fasten off.
Each row adds about 0.6 inches of length, so 84 rows makes a panel about 50 inches long. Count your double crochet stitches at the end of every tenth row, because a missed chain space will make the panel narrower at the top than at the bottom.
Shaping the Shoulders
The shoulders are shaped with two short rows at the top of the back panel, so the duster sits neatly.
- Row 85: ch 3, work the mesh stitch across the first 10 dc, then turn, leaving the rest of the row unworked.
- Row 86: ch 3, work the mesh stitch across the 10 dc. Fasten off.
- Row 85 (other side): join the yarn at the last 10 dc of Row 84, ch 3, and work the mesh stitch across those 10 dc. Turn.
- Row 86 (other side): ch 3, work the mesh stitch across the 10 dc. Fasten off.
The center 12 dc between the two shoulder sections form the back of the neck. Lay the panel flat and check that the two shoulders are the same width. Our free crochet ruana pattern uses the same open mesh stitch if you want to practice the repeat on a smaller piece first.
Part 2: The Front Panels and Shoulder Seams
The two front panels are narrower versions of the back panel, worked the same way in open mesh stitch. They join to the back panel at the shoulders before you add the sleeves.
The Front Panels (make 2)
With the main color, ch 34.
- Row 1: dc in the 4th ch from the hook, *ch 1, skip 1 ch, dc in the next ch, rep from * across. Turn. (16 dc, 15 ch-1 sps)
- Row 2: ch 3 (counts as dc), *ch 1, skip 1 ch-sp, dc in the next dc, rep from * across. Turn.
- Rows 3 to 84: rep Row 2 until the panel measures the same length as the back panel, about 50 inches. Do not fasten off.
Each front panel should be about 11 inches wide and 50 inches long, half the width of the back panel. Lay the two front panels next to the back panel and check that all three are the same length.
Shaping the Front Neckline
The front neckline is shaped with a simple step, so the duster opens gracefully at the front.
- Row 85: ch 3, work the mesh stitch across the first 10 dc, then turn, leaving the rest of the row unworked. This is the shoulder side.
- Row 86: ch 3, work the mesh stitch across the 10 dc. Fasten off.
Work both front panels the same way, with the shoulder on the outer edge and the neckline on the inner edge. Held together, they should mirror each other, with the shoulders on the outside and the straight neckline edges facing each other.
Joining the Shoulder Seams
Lay the back panel flat with the right side facing up. Lay the two front panels on top of it, right sides together, lining up the shoulder sections. With the main color and a tapestry needle, whipstitch each front shoulder to the matching back shoulder, working one stitch into each stitch across the 10 stitch shoulder.
Lay the joined body flat and check that the shoulders sit evenly, with no puckers and no gaps. If one shoulder pulls tight, take it out and re-sew it more loosely.
Part 3: The Sleeves, Edging, and Finishing
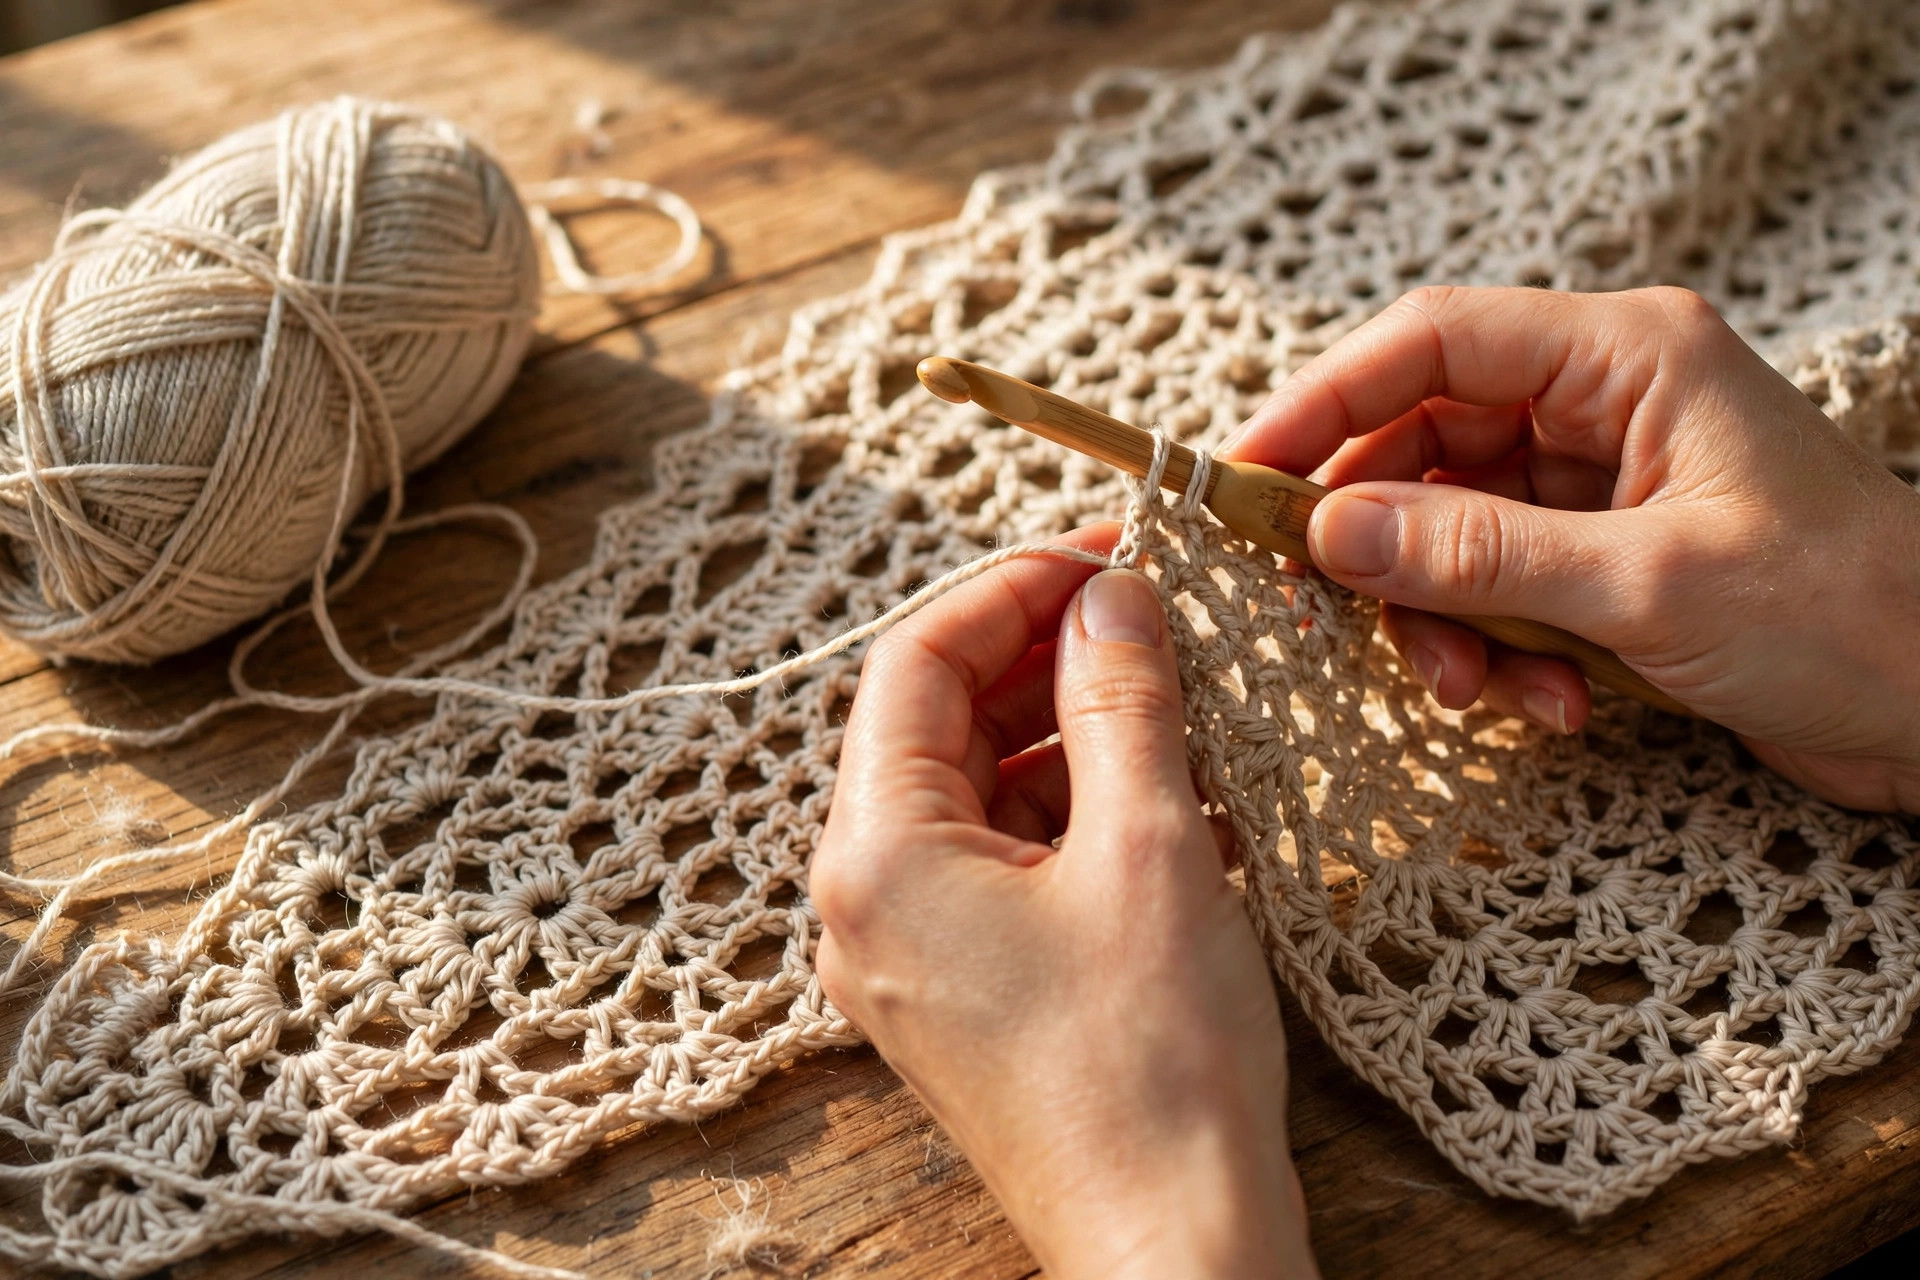
The sleeves are simple tubes worked in the round in the same open mesh stitch, then seamed into the armholes. The final edging is a neat row of single crochet around the front opening and hem, which stops the open mesh from stretching and gives the duster a finished look.
The Sleeves (make 2)
With the main color, ch 40, join with a sl st to form a ring, taking care not to twist the chain.
- Round 1: ch 3 (counts as dc), *ch 1, skip 1 ch, dc in the next ch, rep from * around. Join with a sl st to the top of the ch-3. (20 dc, 19 ch-1 sps, plus the joining space)
- Rounds 2 to 32: ch 3, *ch 1, skip 1 ch-sp, dc in the next dc, rep from * around. Join with a sl st to the top of the ch-3.
- Round 33: ch 3, *ch 1, skip 1 ch-sp, dc in the next dc, dc in the next ch-sp, rep from * around to decrease gently toward the cuff. Join with a sl st to the top of the ch-3.
- Rounds 34 to 36: ch 3, work the mesh stitch around, keeping the decreased stitch count. Join with a sl st to the top of the ch-3.
Fasten off, leaving a long tail for seaming. Each sleeve should be about 22 inches long and 13 inches around at the top. Try one sleeve on to check the length before you make the second one. Our crochet coat pattern uses the same sleeve construction if you want a warmer, heavier layering piece.
Setting In the Sleeves
Lay the duster body flat with the right side facing out. Fold each sleeve in half and mark the top center with a stitch marker. Line up the marker with the shoulder seam, and pin the sleeve into the armhole, easing it in evenly. With the main color and a tapestry needle, whipstitch the sleeve into the armhole, working one stitch into each stitch around. Sew the underarm seam closed, from the cuff up to the armhole, with the same whipstitch.
Try the duster on before you fasten off the second sleeve, and re-pin any sleeve that pulls.
The Front and Hem Edging
With the main color, or the contrast color if you want a pretty border, join the yarn at the bottom corner of the right front panel.
- Round 1: ch 1, work 1 sc in each st and each ch-sp up the front edge, around the neckline, down the other front edge, and across the hem, working 3 sc in each corner. Join with a sl st to the first sc.
- Round 2: ch 1, sc in each st around the whole edge. Join with a sl st to the first sc.
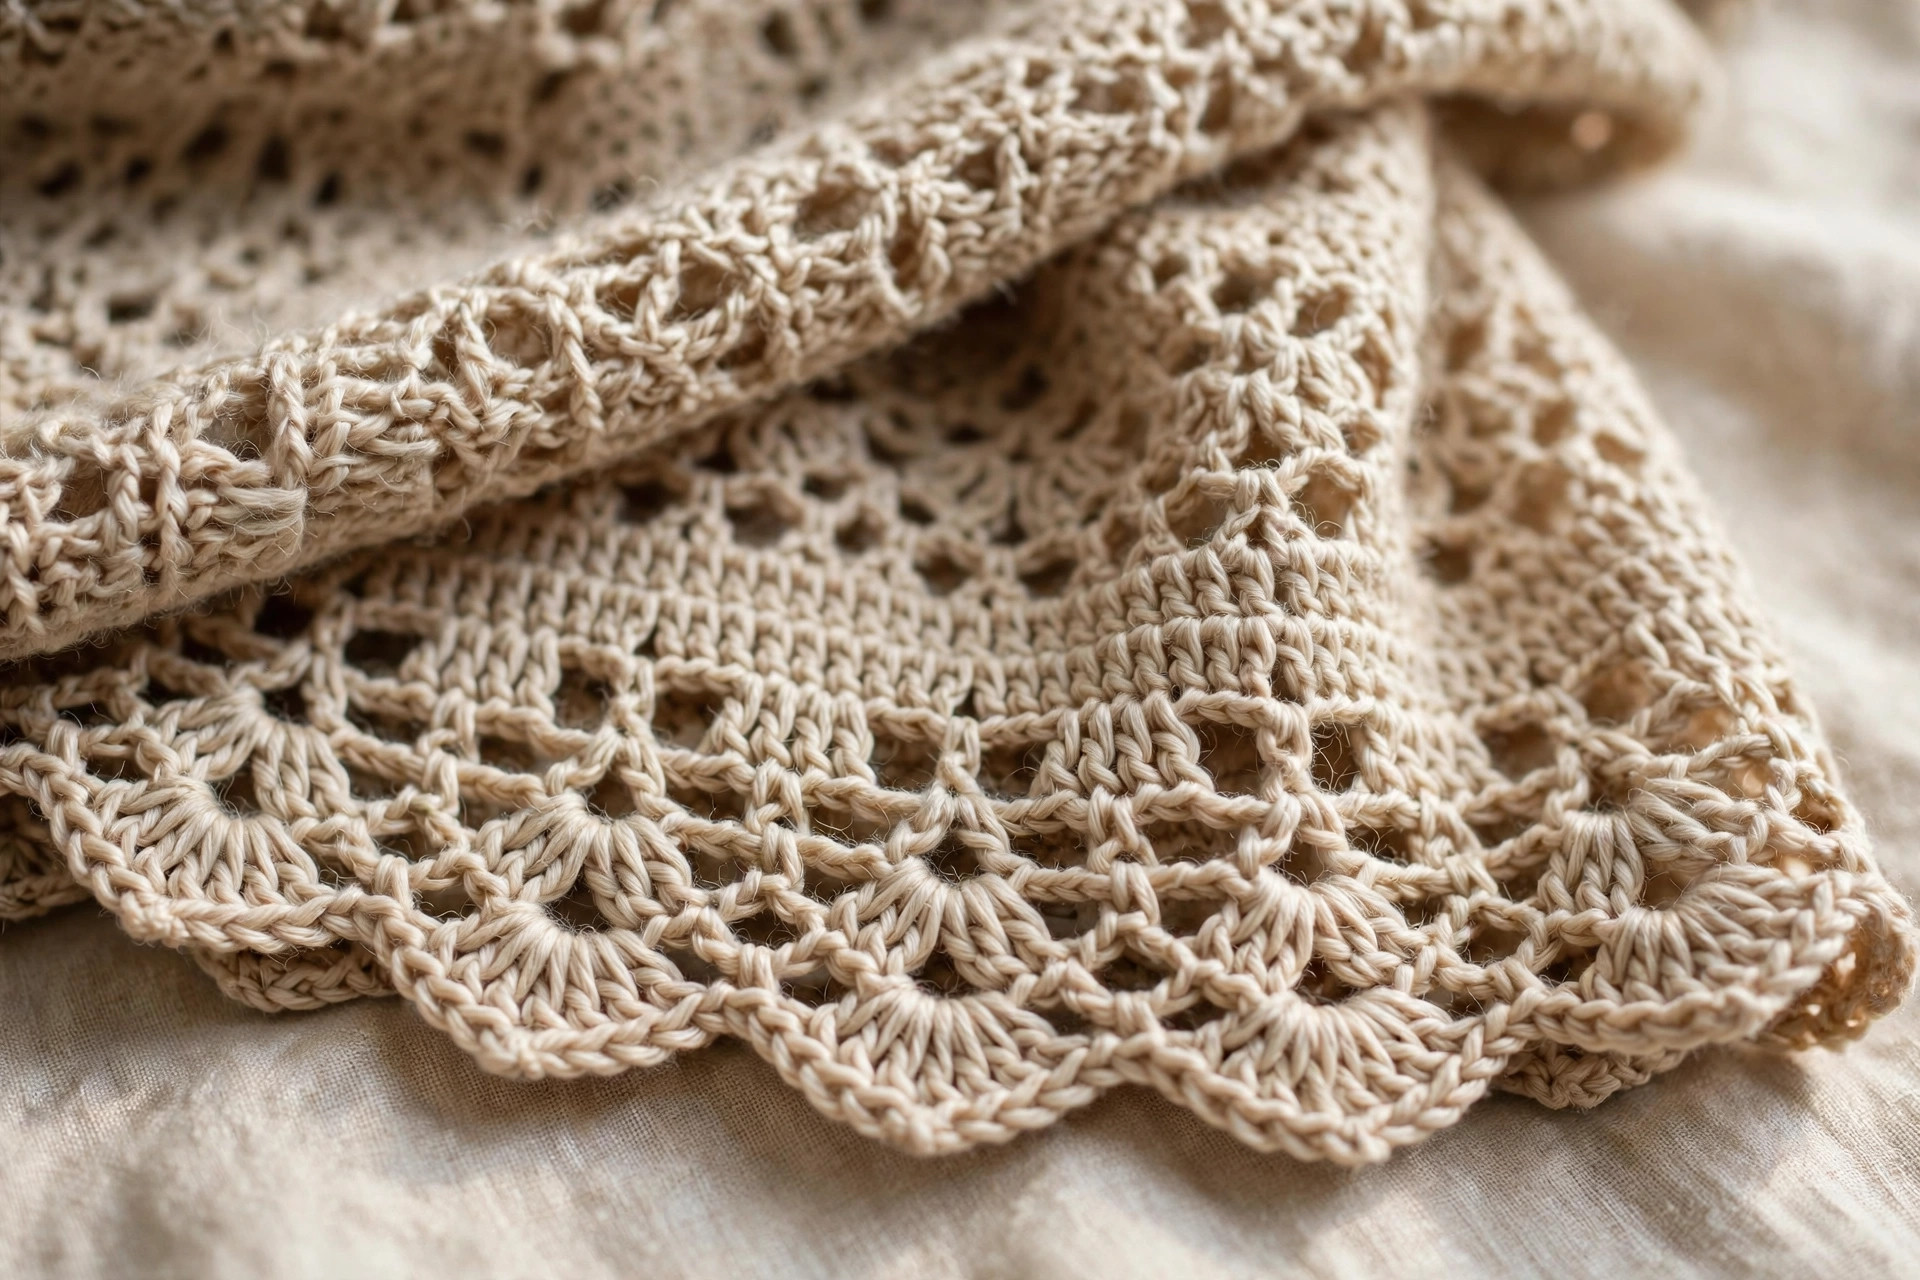
Fasten off and weave in all the ends. The edging should lie flat all the way around the duster, with no rippling and no pulling. If it ripples, you worked too many stitches. If it pulls tight, you worked too few. Give the finished duster a gentle steam with an iron held above the fabric to even out the stitches and set the drape.
Variations: Colors, Sizes, and Uses
- Classic oatmeal duster: work the whole duster in warm oatmeal with a matching edge for a neutral piece that goes with everything.
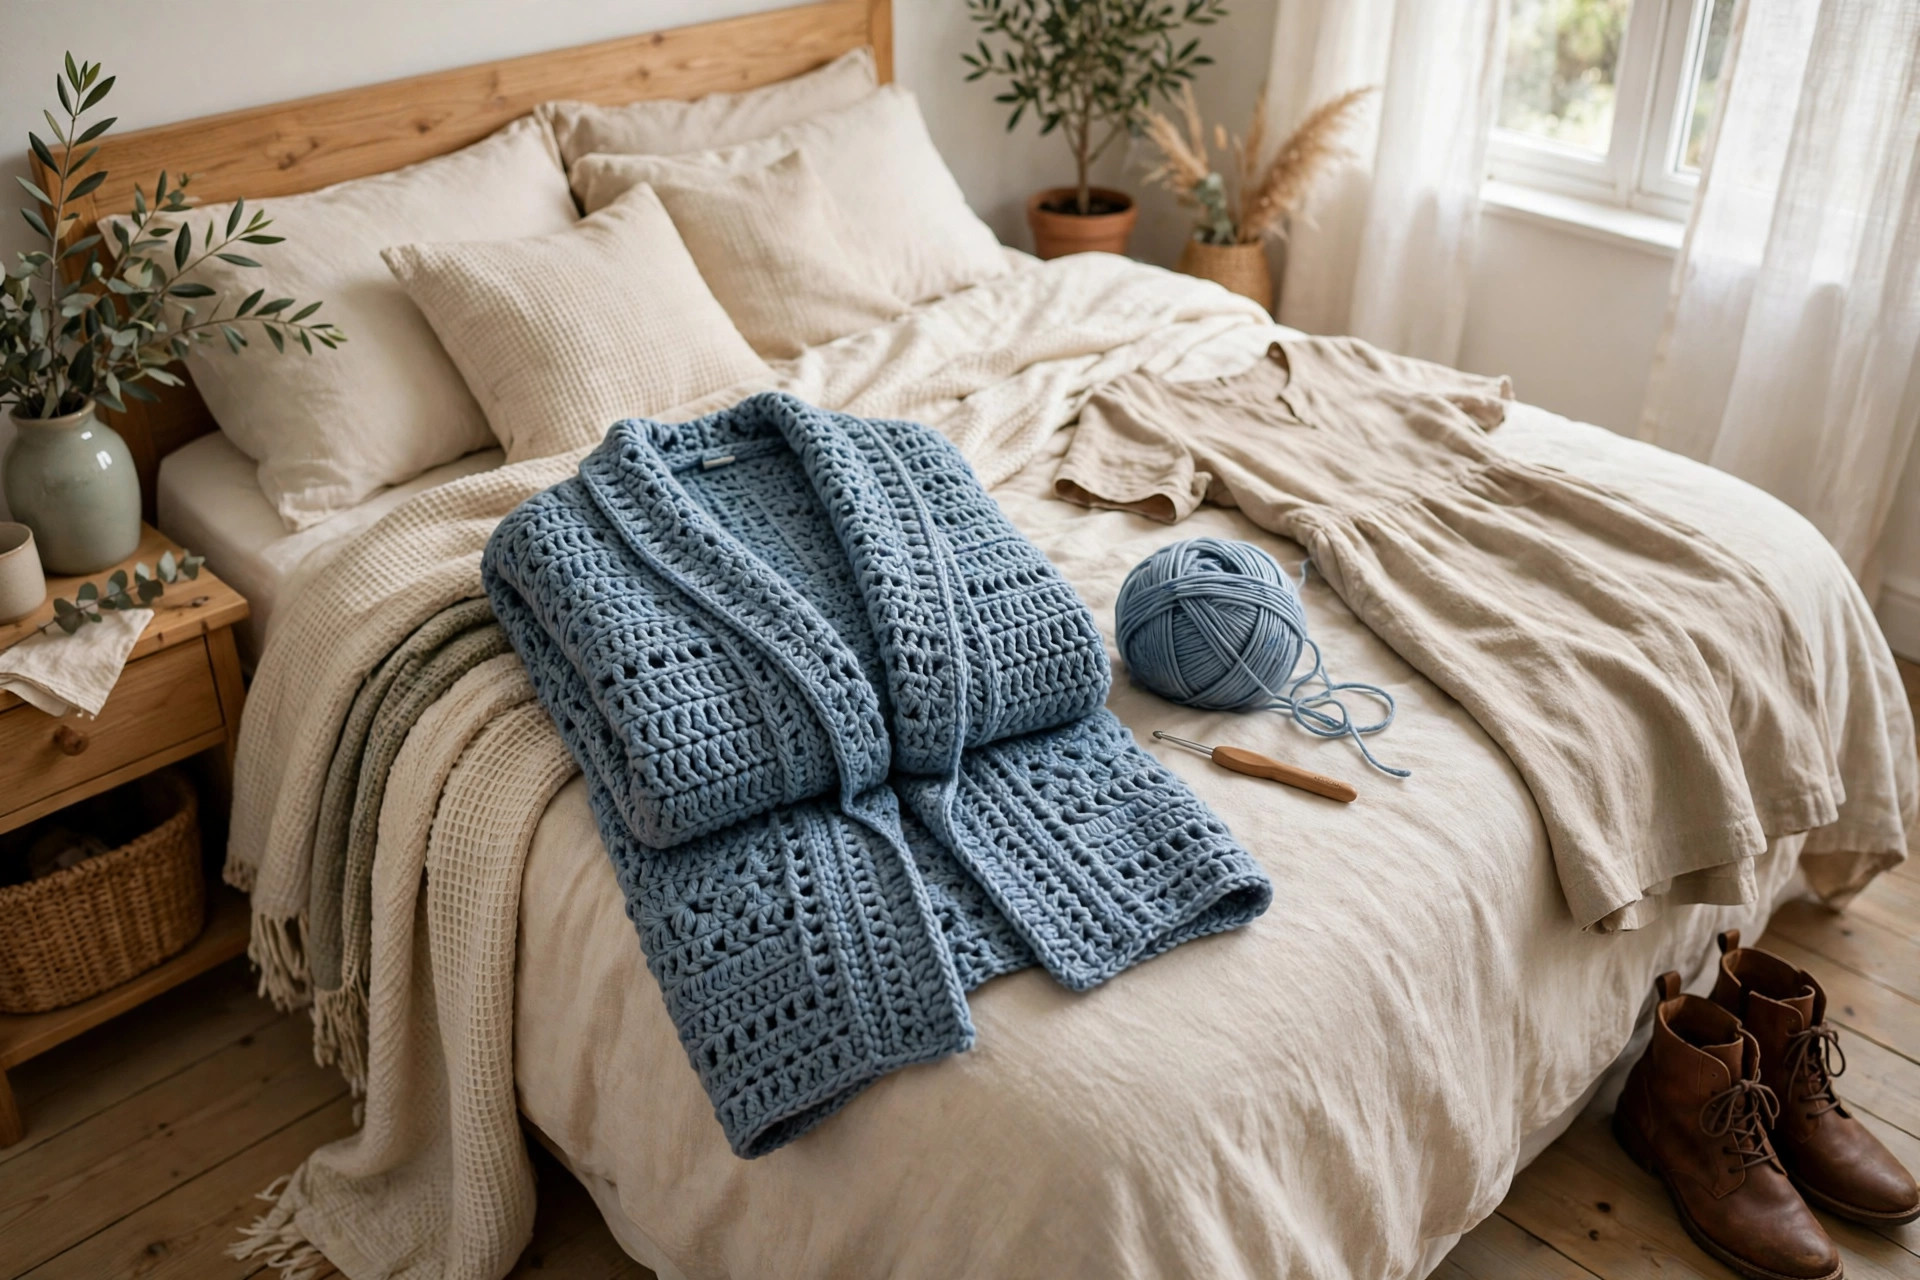
- Dusty blue duster: work the panels in dusty blue with a cream front edging for a soft, fresh look.
- Charcoal evening duster: work the duster in charcoal at a longer length, 56 inches, for a dramatic evening layer over a black dress.
- Shorter knee length duster: work 68 rows instead of 84 on all three panels for a knee length version using about 200 fewer yards of yarn.
- Sleeveless duster vest: skip the sleeves and work 2 rounds of edging around each armhole for a light summer layer. A matching crochet vest pattern uses the same open mesh.
- Striped duster: change colors every 12 rows for soft stripes down the whole garment, using 3 colors in rotation.
Troubleshooting a Duster That Does Not Drape Right
- My duster is too long after I wear it. Work the panels 2 inches shorter than you want, because the duster will grow a little with wear, and store it folded, never hung.
- My front edges curl and roll. Work both edging rounds, and give the edges a gentle steam to set them.
- My sleeves are too tight at the cuff. Skip the decrease in Round 33 and work the mesh stitch straight to the end.
- My duster gapes open at the bust. Work each front panel 2 stitches wider, and wear a belt or a pin to hold the front closed.
- My shoulder seams pull and pucker. Take the seam out and re-sew it loosely, working one stitch into each stitch with a relaxed tension.
Care Instructions
Hand wash your crocheted duster in cool water with a mild detergent, and press the water out gently without wringing. Lay it flat to dry on a clean towel, reshaping it while it is damp. Do not put it in the washing machine or the dryer, and never hang it to dry, because the wet yarn will stretch it out of shape. Store it folded on a shelf, not on a hanger. If it grows a little with wear, wash it and reshape it flat.
Frequently Asked Questions
What is a crochet duster?
A crochet duster is a long, open-front cardigan, usually ankle length, with no buttons and no closure. It is a layering piece, worn open over a dress, jeans, or leggings.
How is a duster different from a cardigan?
A duster is a type of cardigan, but it is much longer, usually falling below the knee or to the ankle, while a regular cardigan ends at the hip or waist. A duster is also usually worn open, with no buttons, while many cardigans close at the front.
What yarn is best for a crochet duster?
Worsted weight yarn, category 4, is the best choice, because it has enough body to hold a long drape without stretching too much. A smooth acrylic or a soft wool blend both work well. Avoid very heavy yarns, because a floor-length garment in heavy yarn will stretch out of shape, and avoid fuzzy yarns.
How long does it take to crochet a duster?
About 20 hours, spread over a couple of weeks. The back panel takes about 8 hours, the two front panels take about 6 hours, the sleeves take about 4 hours, and the edging, seaming, and finishing take about 2 hours.
Can I make the duster shorter or longer?
Yes, the length is easy to change. Work fewer rows on all three panels for a shorter duster, or more rows for a longer one. A knee length version needs about 68 rows instead of 84, and uses about 200 fewer yards of yarn.
Can I sell dusters made from this pattern?
Yes, you may sell finished dusters made from this free pattern, with credit to Little Loop Finds. Do not sell or republish the pattern text itself.
Happy stitching, and may your new duster become the layering piece you reach for every single day.