Lily of the Valley Crochet Pattern
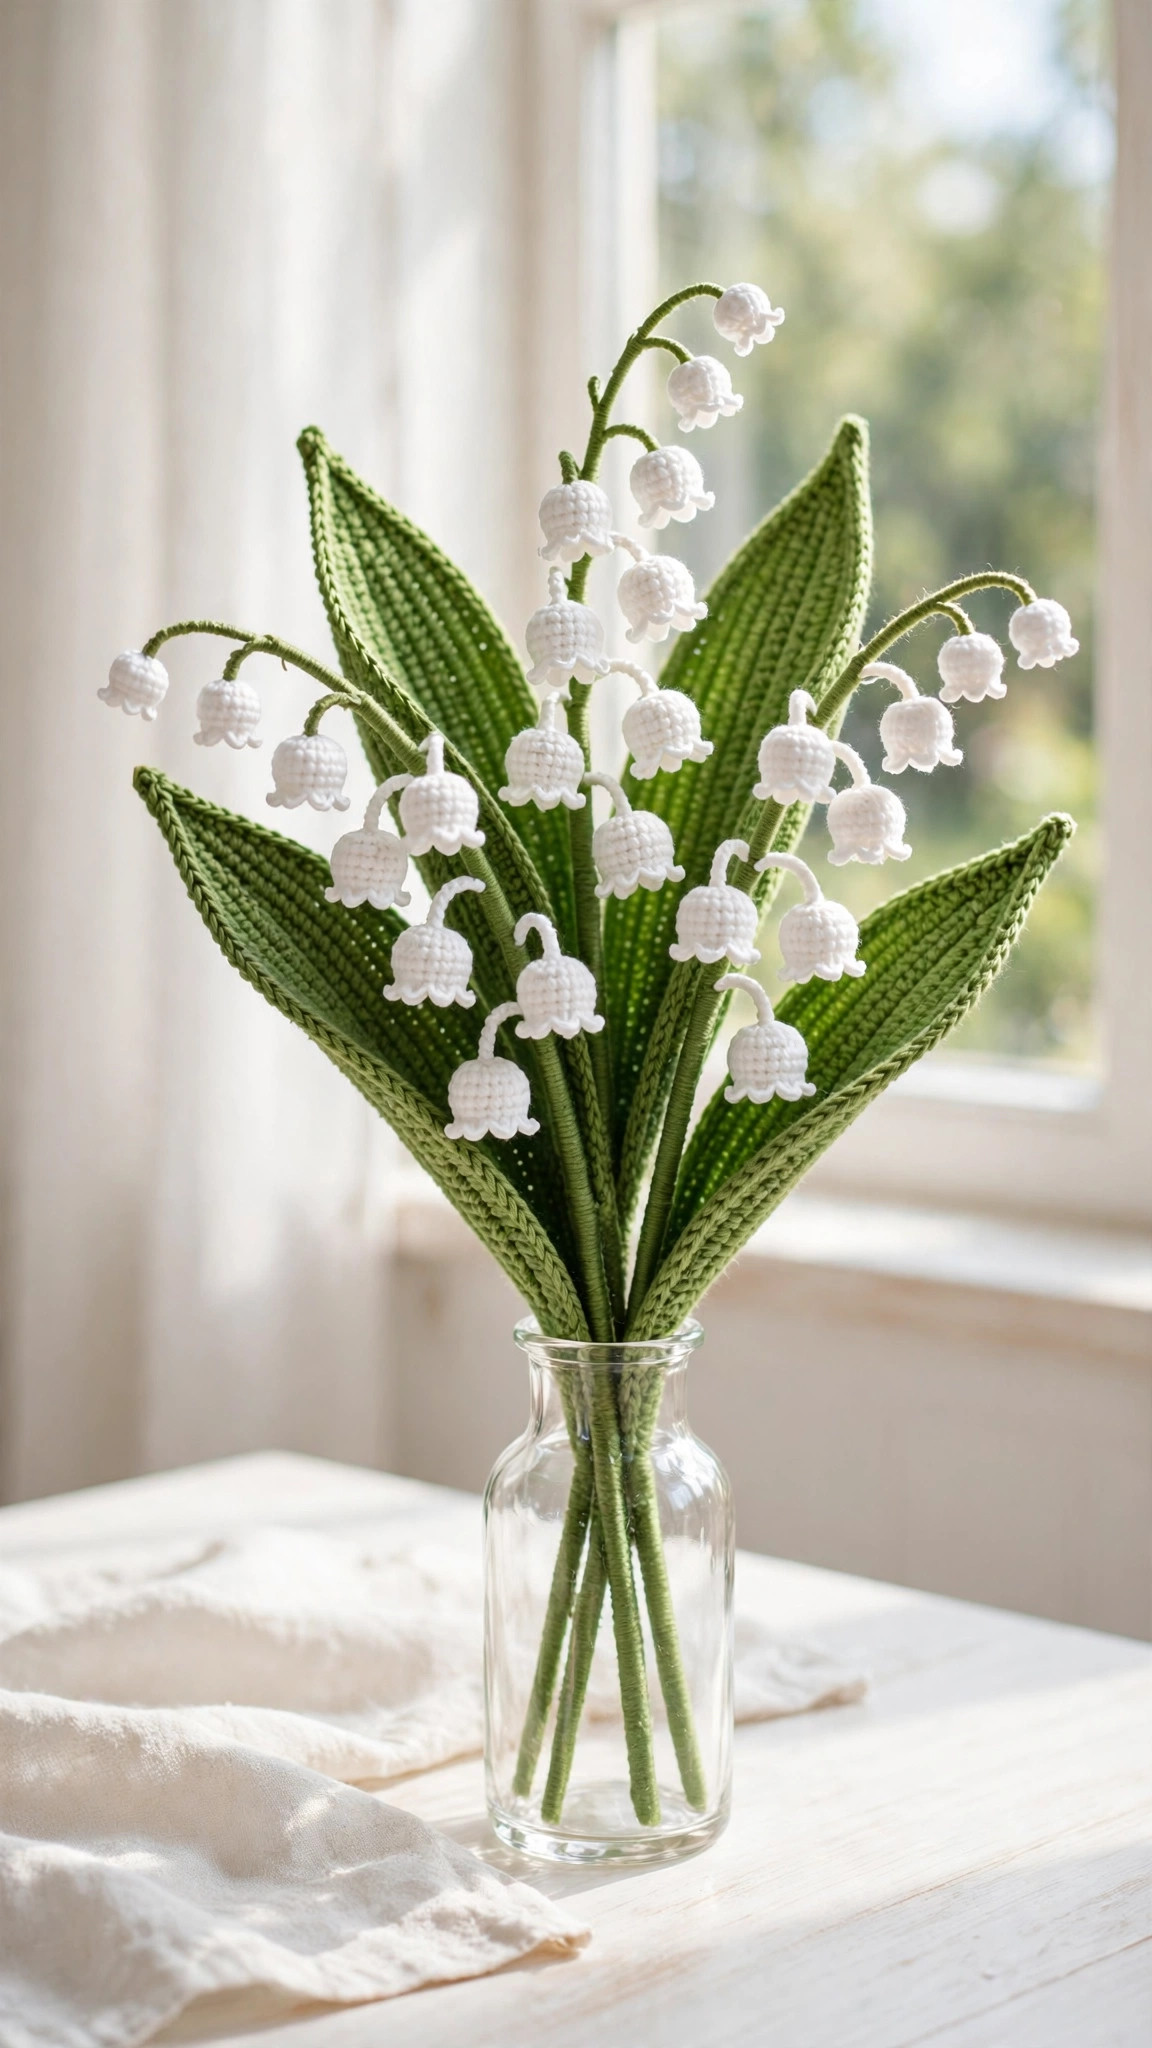
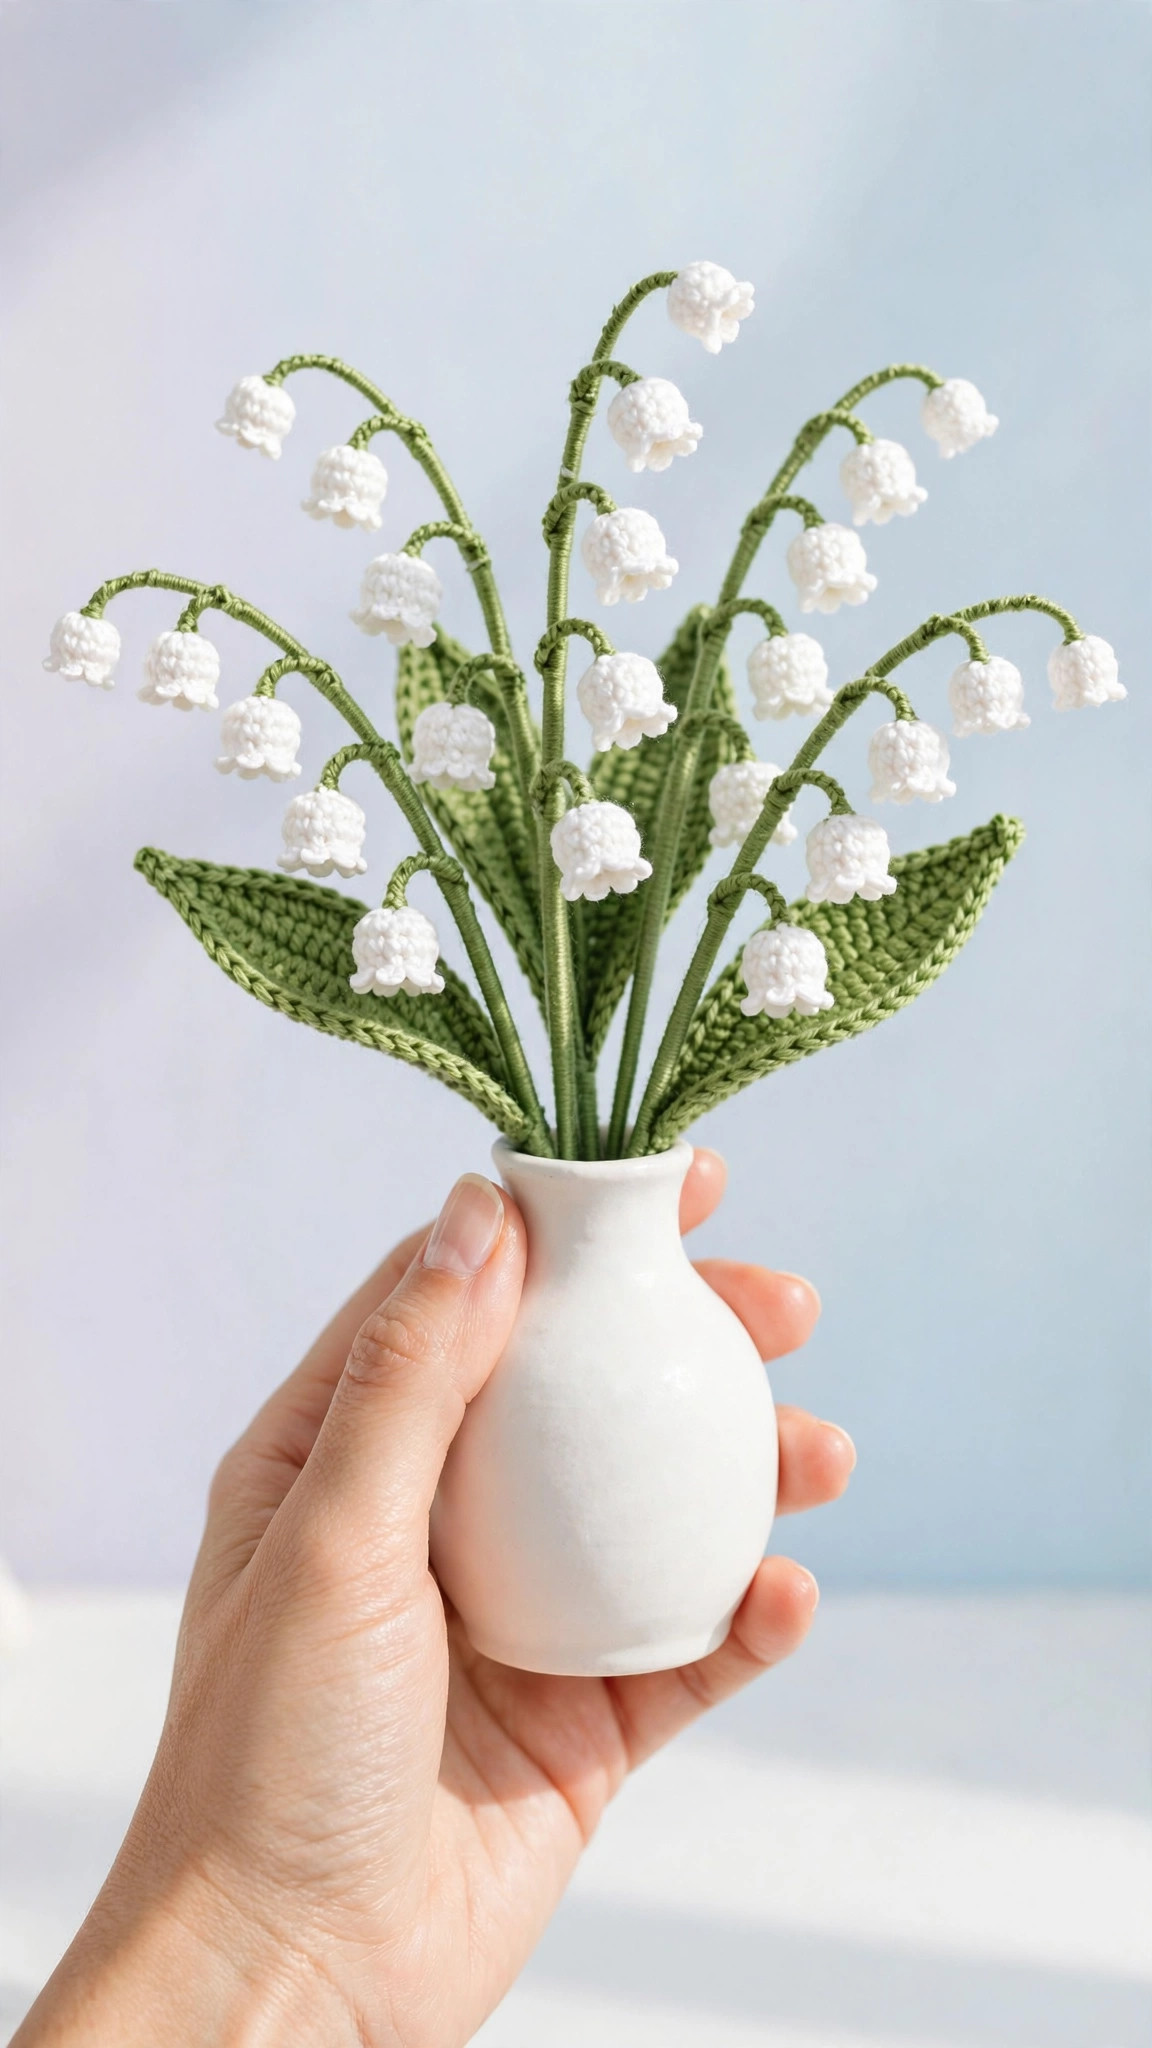
Real lily of the valley is beautiful, brief and toxic to pets — this crochet version is none of those problems. Each wired stem carries five to seven tiny scalloped bells and two long curved leaves, and a small bouquet takes just one relaxed weekend.

Flowers · Crochet
- Finished size
- 10 in (25 cm) stem
- Making time
- 45 min per stem
- Hook
- 2.75 mm (US C-2)
- Pieces
- 6 bells, stem & 2 leaves
- Skill
- Confident beginner
In this post
There is something quietly magical about lily of the valley. Those tiny white bells nodding on an arching green stem, the broad leaves curving underneath — it looks like it wandered straight out of a fairy tale. The only catch? The real plant is toxic to cats, dogs and people, its season is heartbreakingly short, and a fresh bunch can be surprisingly expensive for something that wilts within days.
This crochet version solves all of that. With a little white and green cotton yarn, a small hook and an evening or two of peaceful stitching, you can make stems that bloom forever, arch exactly the way you want them to, and sit safely on any table.
This pattern looks like the real thing at a glance: five to seven little bells at slightly different heights along one curved stem, each with a scalloped picot edge, and two long leaves sweeping out from the base. Floral wire inside holds the arch. Make one stem for a bud vase, or five for a small bouquet.
Love floral makes? Our beginner-friendly crochet flower pattern is great practice first.
Contents
- Why you'll love this pattern
- Materials you'll need
- Size, gauge and skill level
- Abbreviations — US terms
- The pattern (US terms)
- Finishing: wiring and bouquet assembly
- Tips for realistic stems
- More ways to use your stems
- FAQ
- Read next
Why you'll love this pattern
It is pet-safe and child-safe. Real lily of the valley contains cardiac glycosides and every part of the plant is poisonous if eaten. These crochet stems give you the same look on a shelf, desk or nursery dresser with none of the risk.
It is a brilliant scrap buster. One stem uses roughly 12 yards of white and 15 yards of green yarn. The part ball left over from a dishcloth project and the last of a green skein are more than enough for a small bouquet.
The bells are quick and rhythmic. Each bell is just five short rounds — about five minutes once your hands know the pattern, perfect for podcast or film stitching.
It looks impressive but asks very little of you. No exotic stitches — just single crochet, half double crochet, increases and a simple picot. The realism comes from shaping, wiring and bell spacing.
It is endlessly giftable. A single stem tied with ribbon makes a sweet thank-you, and a small vase of stems is a housewarming or get-well gift that never needs water. Brides love them too, because fresh lily of the valley carries a very un-classic price tag.
Materials you'll need
Light fingering or sport-weight cotton gives the crispest bells and leaves that hold their curve. Mercerised cotton is my first choice — the slight sheen looks wonderful on the little white cups. Acrylic works too, but choose a smooth, non-fluffy yarn: fibres and halo blur the bell shape.
| Supply | What to get |
|---|---|
| White yarn | Fingering or sport-weight cotton, approx. 60 yds (55 m) for 5 stems |
| Green yarn | Same weight, leaf green or sage, approx. 75 yds (68 m) for 5 stems |
| Crochet hook | US C-2 (2.75 mm) — or size to get firm fabric |
| Floral wire | 22-gauge green, one 18 in (46 cm) length per stem |
| Floral tape | Green, for wrapping stems (optional, neatest finish) |
| Stuffing | A pea-sized pinch of fibre fill per bell (optional) |
| Tapestry needle | Blunt, with an eye large enough for your yarn |
| Scissors | Small and sharp |
| Pliers / wire cutters | For cutting and bending the wire |
| Small vase | Bud vase or small bottle, 4–6 in (10–15 cm) tall |
| Stitch marker | One, to mark the start of bell rounds |
A bouquet of five stems uses less than one 50 g ball of each colour. If you already make floral projects like our flower coaster crochet pattern, you probably have everything you need in your stash.
Size, gauge and skill level
Finished size: Each stem measures about 10 in (25 cm) tall once arched. Each bell is about 3/4 in (2 cm) tall and wide at the mouth. Each leaf is about 5 in (13 cm) long and 1 1/2 in (4 cm) wide. Five stems fill a small bud vase; seven to nine make a fuller arrangement.
Gauge: Gauge is not critical here, but fabric firmness is. Worked in fingering cotton with a 2.75 mm hook, the first three rounds of the bell should measure about 3/4 in (2 cm) across. If your bells look loose or holey, drop a hook size — they should hold their cup shape with little or no stuffing, and firm leaves curve rather than flop.
Skill level: Confident beginner to easy intermediate. You need to work in the round, increase, chain and slip stitch. The picot edging is explained in full, and it is simpler than it looks — if you can chain three, you can make a picot.
Time: About 45 minutes per complete stem (six bells, one stem, two leaves, plus assembly). A five-stem bouquet takes around 3 to 4 hours.
Abbreviations — US terms
This pattern is written in US crochet terms throughout.
| Abbreviation | Meaning |
|---|---|
| ch | chain |
| sc | single crochet |
| hdc | half double crochet |
| dc | double crochet |
| sl st | slip stitch |
| inc | increase — work 2 sc in the same stitch |
| st(s) | stitch(es) |
| rnd | round |
| rep | repeat |
| MR | magic ring (adjustable loop) |
| picot | ch 3, sl st back into the first ch made |
| FO | fasten off |
A note on the picot, because it makes the flower: chain 3, then slip stitch into the first of those chains. That tiny loop gives each bell its pointed scallop.
The pattern (US terms)
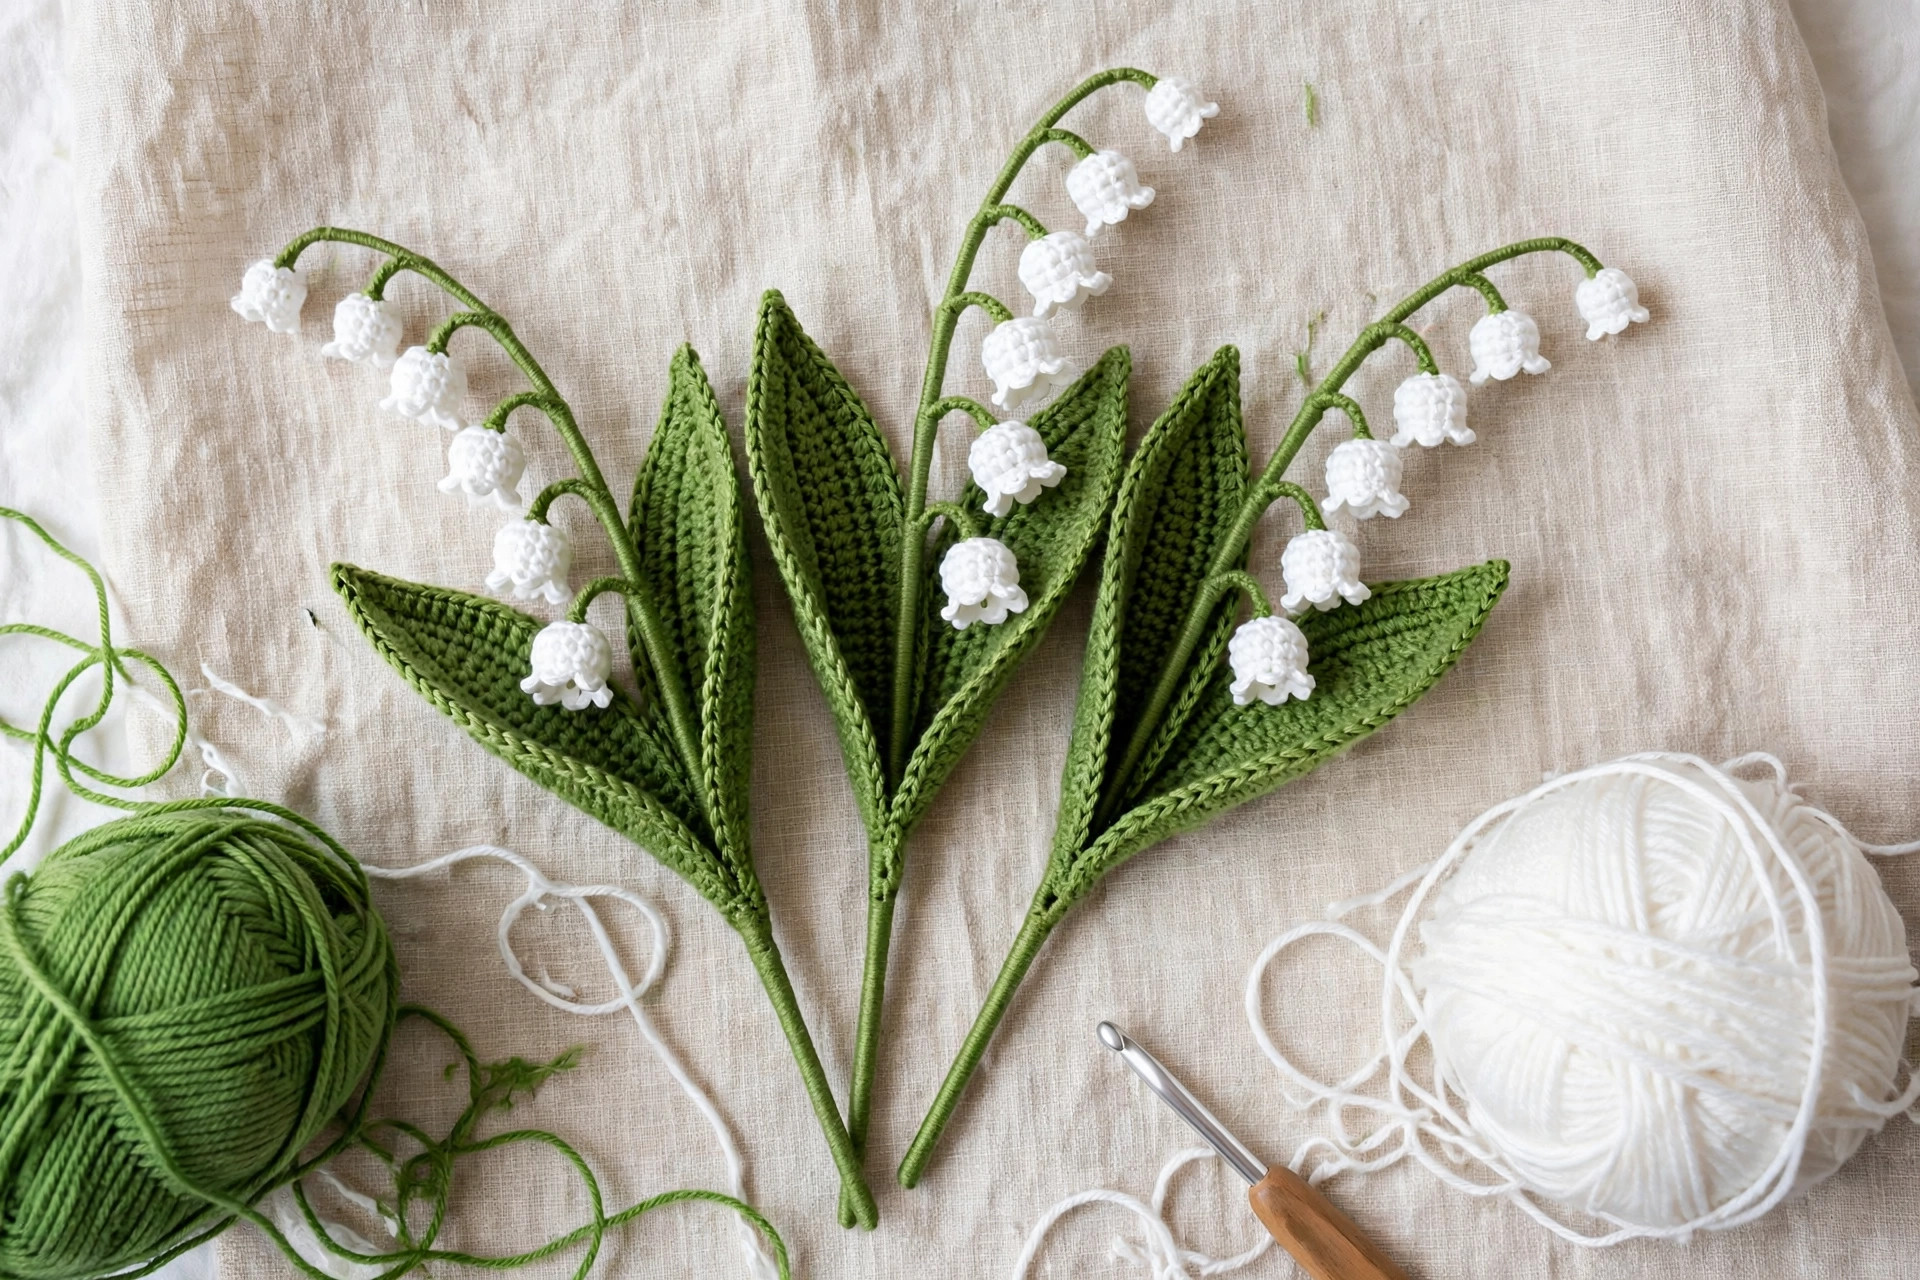
For each stem you will make 5 to 7 bells, 1 stem with little branches, and 2 leaves. I like 6 bells per stem — full without crowding the arch — but vary the number from stem to stem (5 on one, 7 on the next) and your bouquet will look far more natural.
The bell flower (make 5–7 per stem)
Work in white, in continuous rounds. Use a stitch marker to track the first stitch of each round.
Rnd 1: Into a MR, work 6 sc. Pull the ring closed. (6 sts)
Rnd 2: Inc in each st around. (12 sts)
Rnd 3: Sc in each st around. (12 sts)
Rnd 4: Sc in each st around. (12 sts)
Your little cup should now curve inward slightly, like a thimble. That is exactly right.
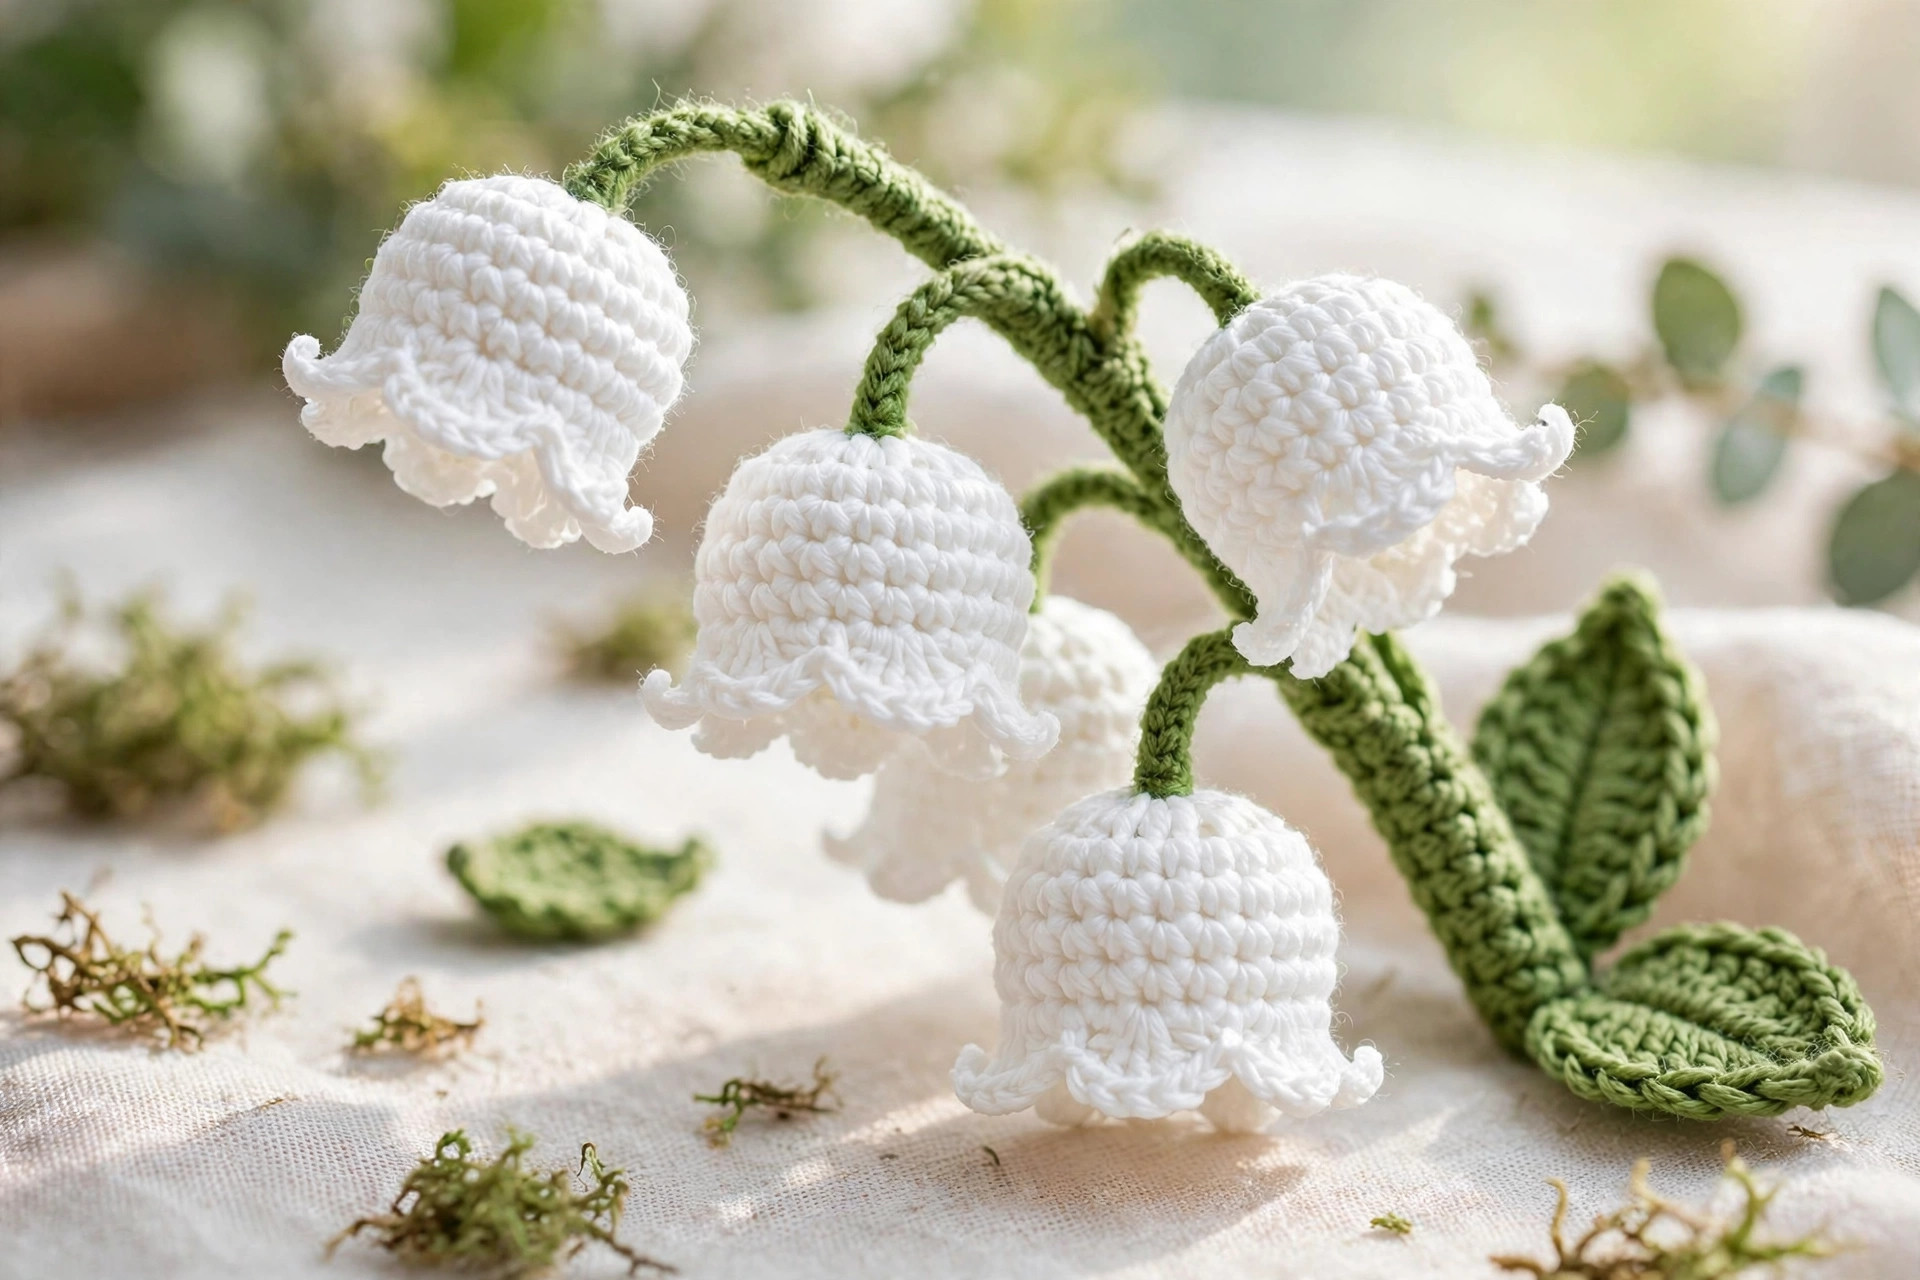
Rnd 5 — the scalloped picot edge: *Sl st in the next st, (hdc, picot, hdc) all in the next st; rep from * 5 more times. Join with a sl st to the first sl st. (6 scallops, 12 sts worked plus 6 picots)
FO, leaving a 4 in (10 cm) tail. For a plumper bell, tuck in a pea-sized pinch of stuffing — no more, or the bell will bulge instead of drape. Keep the tail; it makes sewing the bell to its branch neater later.
Turn one bell upside down: closed rounded top, flared scalloped mouth. That is your flower. Work assembly-line style — all the bells, then all the stems, then all the leaves — rather than finishing one whole stem at a time.
The stem
Work in green. The stem is a slim cord with short branches, each carrying one bell. You add the branches as you work back along the stem, so there is no fiddly sewing of tiny stalks afterwards.
Foundation: Ch 30 — a stem about 7 in (18 cm) long before wiring and arching, with room at the base for the leaves.
Row 1: Sc in the 2nd ch from the hook and in each ch across. (29 sc) Ch 1, turn.
Now work back along the row, adding a branch at six spaced points. For 5 or 7 bells, add branches at fewer or more of these positions — the stem itself does not change.
Row 2 (branch row): Sc in the first 3 sts. *Ch 4 for a branch, sc in the 2nd ch from the hook and in the next 2 ch (3 sc along the branch), then sc in the next 4 sts of the stem; rep from * 4 more times, ending with sc in the last 2 sts after the final branch. (29 stem sts, plus 6 branches of 3 sc each)
Fasten off, leaving a long tail of about 12 in (30 cm) for assembly. The branches will stick out at angles for now — that is fine, you will position them when the bells go on.
Attaching the bells: Thread the stem tail onto your tapestry needle. Sew the end of a branch firmly to the back of a bell's closed top (the magic ring end) with 3 or 4 small stitches, so the bell hangs with its scalloped mouth facing downwards and slightly outwards. Work along the stem, one bell per branch, with the bells nearest the base sitting lowest, as real flowers graduate down the stem. Vary each bell's angle a fraction; perfect uniformity is what gives crochet flowers away. If a bell twists, one tiny extra stitch through its side into the branch will hold it at the angle you want.
The leaf (make 2 per stem)
Work in green. Each leaf is worked from tip to base, then edged in one pass so both sides match.
Foundation: Ch 16.
Row 1: Sc in the 2nd ch from the hook, hdc in the next ch, dc in each of the next 3 ch, 2 dc in the next ch, dc in each of the next 3 ch, hdc in each of the next 2 ch, sc in each of the next 2 ch, 3 sc in the last ch. Now work back along the opposite side of the foundation chain as a mirror image: sc in each of the next 2 ch, hdc in each of the next 2 ch, dc in each of the next 3 ch, 2 dc in the next ch, dc in each of the next 3 ch, hdc in the next ch, sc in the last ch. (33 sts) Do not turn.
Row 2 (edging): Ch 1. Working in the round around the whole leaf, sc in each st up the first side to the tip, work 3 sc in the centre tip stitch, then sc in each st down the second side to the base. (35 sc)
FO, leaving a 6 in (15 cm) tail for sewing. The leaf will want to curl gently lengthways — encourage it. Real leaves are never flat, and that soft fold makes the crochet version convincing. Make the second leaf the same way.
Our maple leaves crochet pattern uses a similar work-around-the-chain technique on a bigger scale.
Finishing: wiring and bouquet assembly
This step transforms a nice crochet stem into one that behaves like a flower. Do not skip the wire — it is the difference between stems that slump and stems that hold their elegant arch for years.
Wiring the stem: Cut an 18 in (46 cm) length of 22-gauge floral wire. Lay it along the back of the stem, from just below the top branch to about 3 in (7.5 cm) past the base — the extra length anchors the stem in the vase. Whipstitch the wire to the back of the stem every 1/2 in (1.5 cm) with green yarn, keeping stitches small and on the back only. Or wrap stem and wire together tightly with green floral tape, stretching it gently so it sticks to itself. Tape gives the smoothest finish and tames the branch joins too.
Adding the leaves: Sew one leaf to each side of the stem base with the leaf tails. Angle them outwards and slightly downwards, curving in opposite directions. Two leaves per stem is botanically right and looks best, but a third smaller leaf (foundation ch of 12 instead of 16) adds fullness at the back of a bouquet.
Shaping: Bend the top third of each stem into a gentle arch so the bells hang and nod, and curve the leaves with your fingers. In a good bouquet, no two arches are identical.
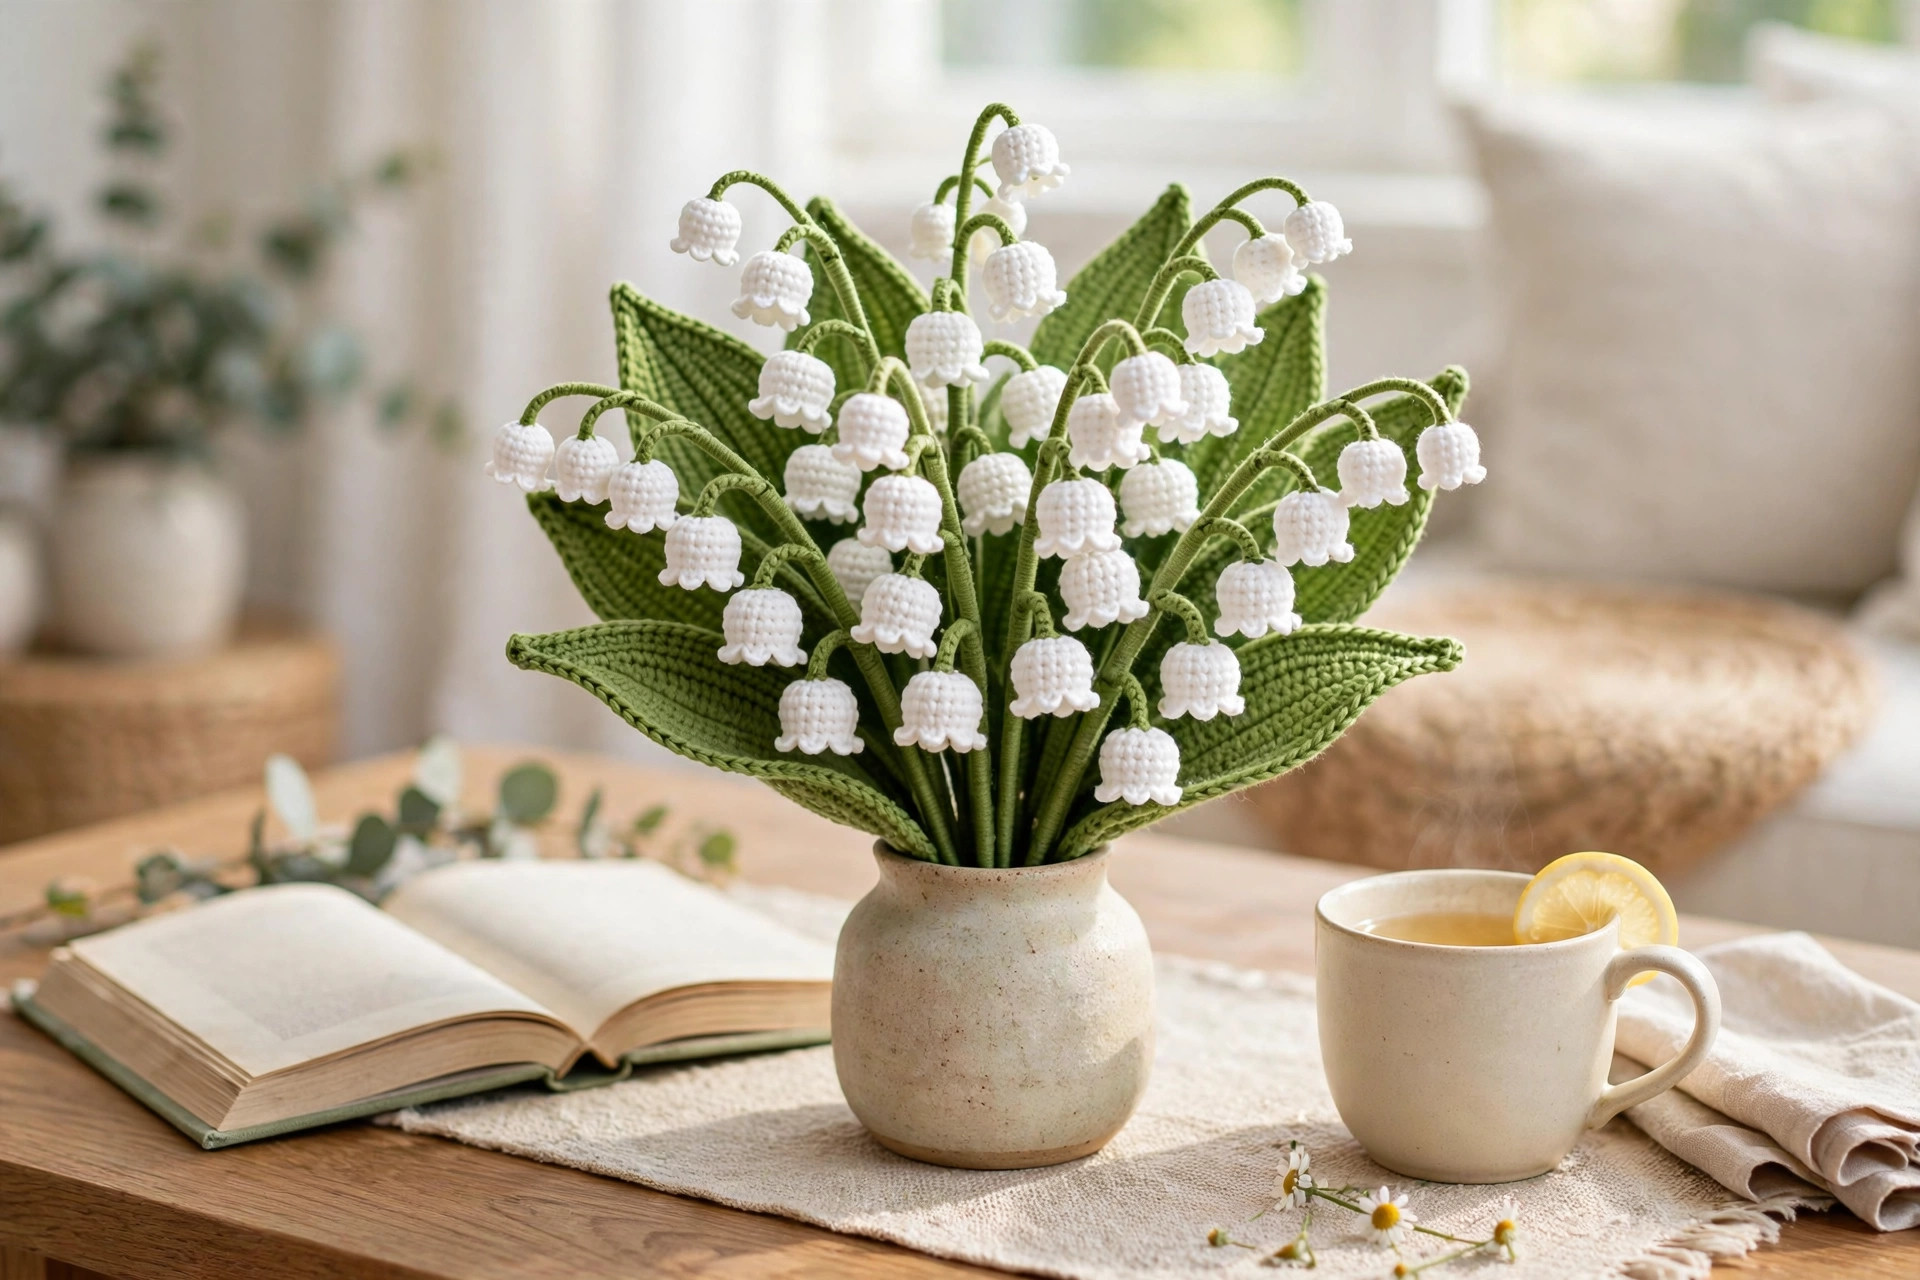
Bouquet assembly: For a small vase bouquet, make 5 stems. Fold the wire ends so the stems sit at slightly different heights — tallest about 10 in (25 cm), shortest about 8 in (20 cm). Put the tallest in the centre and the others around it, best bells facing outwards. A ribbon bow around the vase neck — narrow white satin or natural twine — suits this flower beautifully.
Tips for realistic stems
Keep your tension firm. Loose bells look like tiny buckets; firm bells look like porcelain. Loose crocheter? Drop to a 2.25 mm or 2.0 mm hook for the bells.
Mind the bell spacing. Real bells graduate — closer near the tip, further apart lower down. If your branch row feels too regular, sew the lowest bell 1 stitch lower than its branch suggests. Small irregularities read as nature, not mistakes.
Steam, do not iron. A quick pass of steam from a kettle or garment steamer relaxes the leaves and sets the curve. Never press the bells flat; you will lose the cup shape.
Try a soft colour variation. One pale blush pink stem among white ones is a real variety (rosea) and looks charming in a spring bouquet.
More ways to use your stems
A bookmark: Make one stem without wire, press it flat under a heavy book overnight, and it becomes the loveliest bookmark — a thoughtful extra tucked into a gifted book.
A garland: Make 7 to 9 unwired stems and sew them at intervals along a green cord or simple crochet chain, leaves alternating direction. Draped over a mantel or nursery shelf it is fresh and pretty — and our crochet garland pattern has more ideas for stringing makes together.
A bridal bouquet: Lily of the valley is one of the most requested — and most expensive — fresh bridal flowers. Fifteen to twenty wired stems wrapped in white satin ribbon make a bouquet that photographs beautifully, never wilts, and becomes a keepsake instead of compost. Matching single stems make lovely buttonholes too.
Table and gift styling: Lay a stem across a folded napkin, or tie one to a gift with twine instead of a bow.
Pair them with other yarn plants: Crochet stems look wonderful on a shelf that gets no light at all. Combine these with the pots in our crochet hanging plants pattern for greenery that never needs watering, or pair the vase with the blooms in the flower bouquet blanket crochet pattern for a matching throw-and-vase set.
FAQ
Is real lily of the valley really poisonous? Yes. Every part of the real plant — flowers, leaves, stems and berries — is toxic to people, cats and dogs if eaten. That is exactly why the crochet version is such a good idea: the same beloved look on shelves pets and small children can reach, with nothing to worry about.
How long does one stem take to make? About 45 minutes once you know the pattern, including six bells, the stem, two leaves and wiring. Your first stem may take a little over an hour. Bells take roughly 5 minutes each, so five stems are an easy weekend project.
What yarn works best for crochet lily of the valley? Smooth fingering or sport-weight cotton, ideally mercerised, gives the crispest bells and prettiest sheen. Avoid fluffy or haloed yarns, which blur the scalloped edge. Smooth acrylic works well too — just keep your tension firm.
Can a beginner make this pattern? A confident beginner can, yes. You only need single crochet, half double crochet, increases, chains and slip stitches, with clear stitch counts throughout. The picot edge is just chain 3 and a slip stitch. New to working in the round? Make one practice bell first — by the third, you will feel at home.
How do I stop the bells from twisting on the stem? Sew each bell on with 3 or 4 firm stitches through the back of its closed top, then add one small anchoring stitch through the side of the bell into the branch, at the angle you want. That second stitch locks in the direction the bell faces, so it nods instead of spinning.
How many stems do I need for a bouquet? Five stems fill a small bud vase nicely. For a fuller hand-tied bouquet, make 9 to 12; for a bridal bouquet, 15 to 20. Vary the bells per stem (5, 6 and 7) and the finished heights, so the arrangement looks gathered rather than manufactured.
Can I sell bouquets made from this pattern? Yes — you are welcome to sell finished bouquets and stems you have made yourself, at craft fairs and in your own shop. A credit line naming Little Loop Finds as the pattern source is appreciated. Please do not share or resell the written pattern itself.
Read next
- Start with the basics in our crochet flower pattern — simple blooms, perfect practice for working in the round.
- Turn floral scraps into something useful with the flower coaster crochet pattern.
- Grow your yarn greenery with the crochet hanging plants pattern — no watering, ever.
- Love the leaf technique? Try the bolder shapes in the maple leaves crochet pattern.
Happy stitching!
The box below contains an Etsy link. If you buy through it, we may earn a small commission at no extra cost to you. Learn more.
No time to make one?
Short on time? Shop ready-made crochet lily of the valley bouquets on Etsy
Browse on Etsy (opens Etsy in a new tab)