Free Snowman Crochet Pattern: Easy Amigurumi Snowman
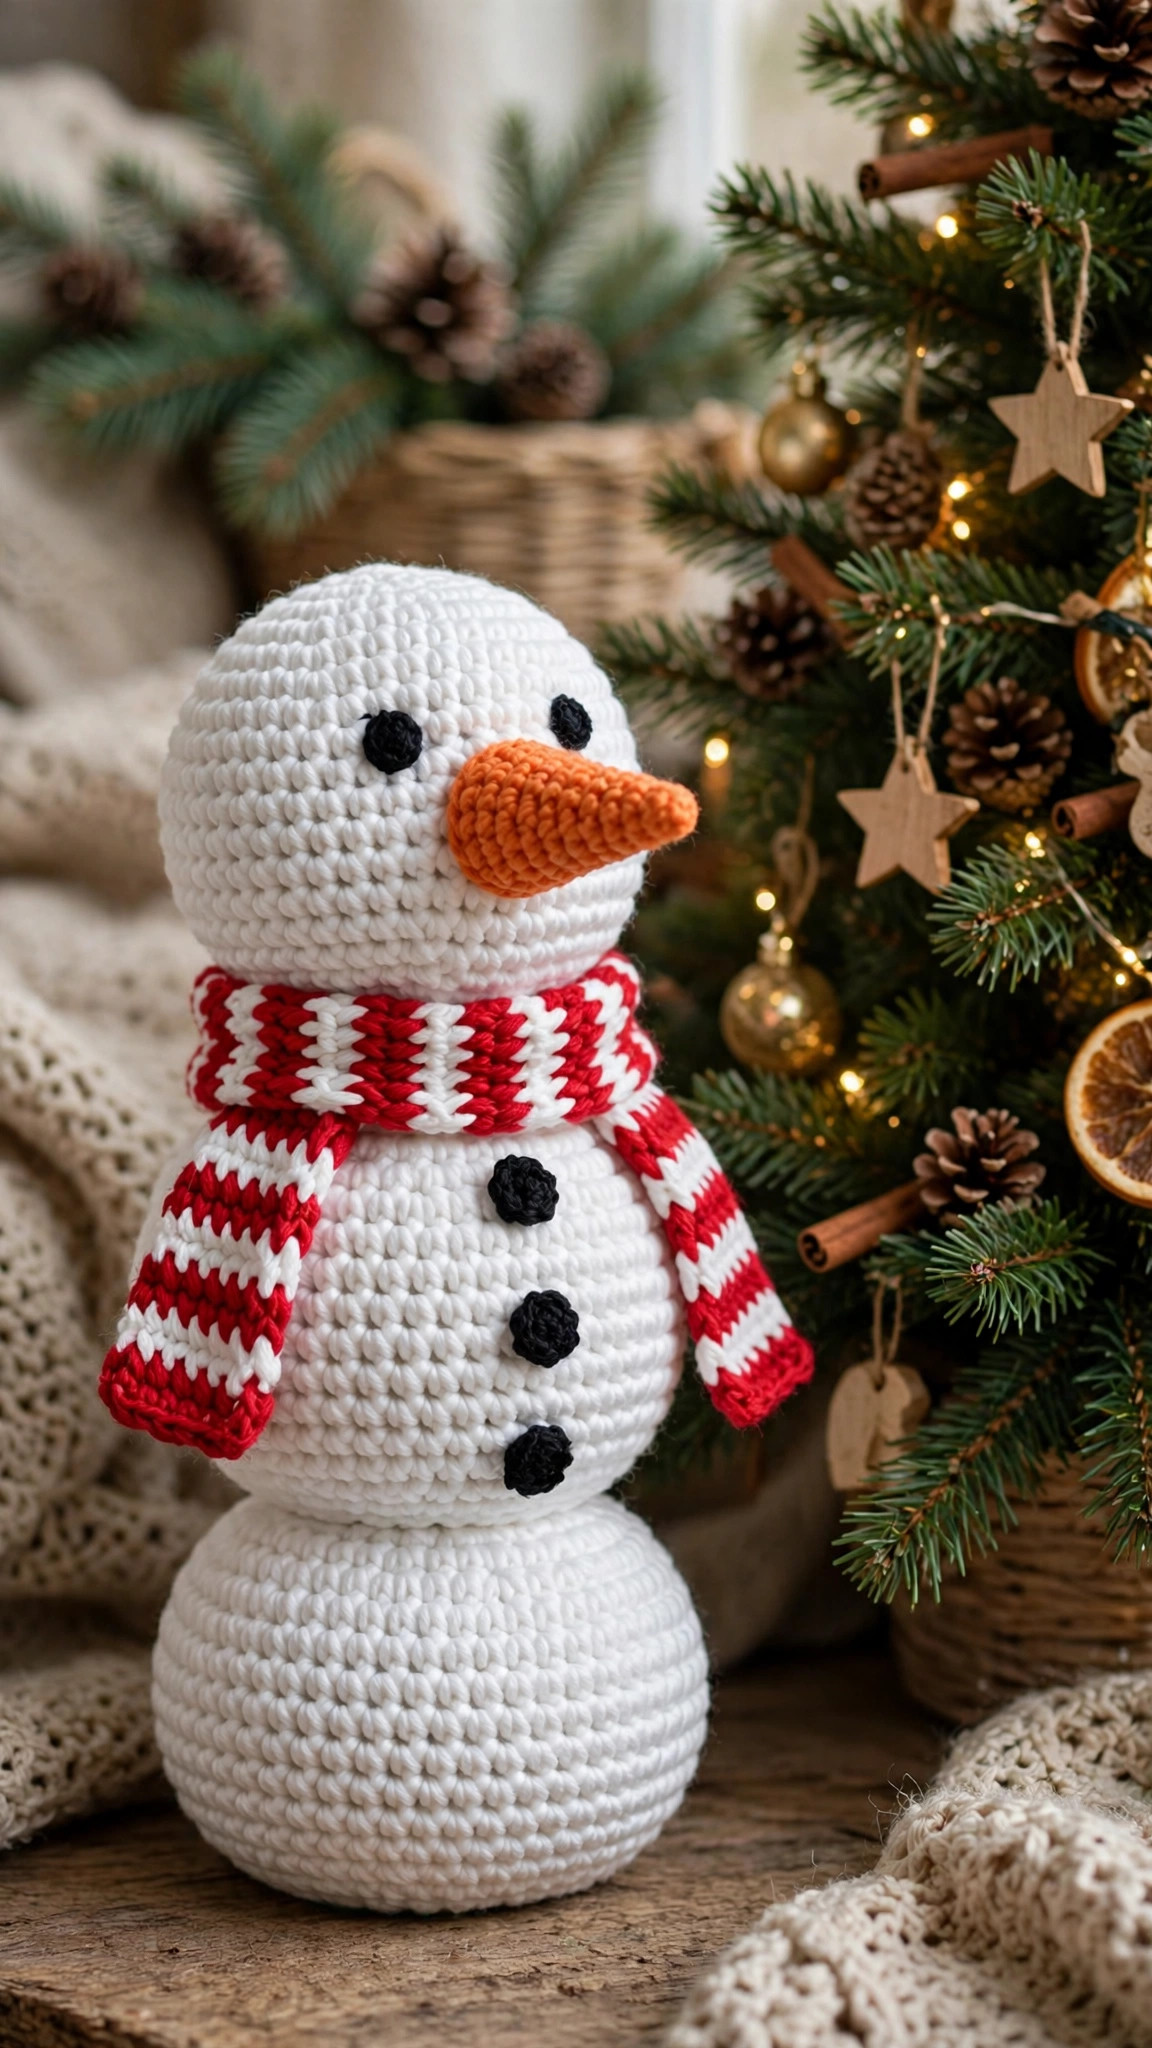
A round, cheerful amigurumi snowman with a carrot cone nose, coal buttons, a red-and-green striped scarf and a tiny top hat — worked in easy single-crochet spirals as two stacked spheres, with full stitch counts for every round.

Amigurumi · Crochet
- Finished size
- About 20 cm / 8 in tall
- Making time
- About 2.5–3.5 hours
- Hook
- 3.5 mm, worsted-weight yarn
- Pieces
- 10 pieces to assemble
- Skill
- Easy
In this post
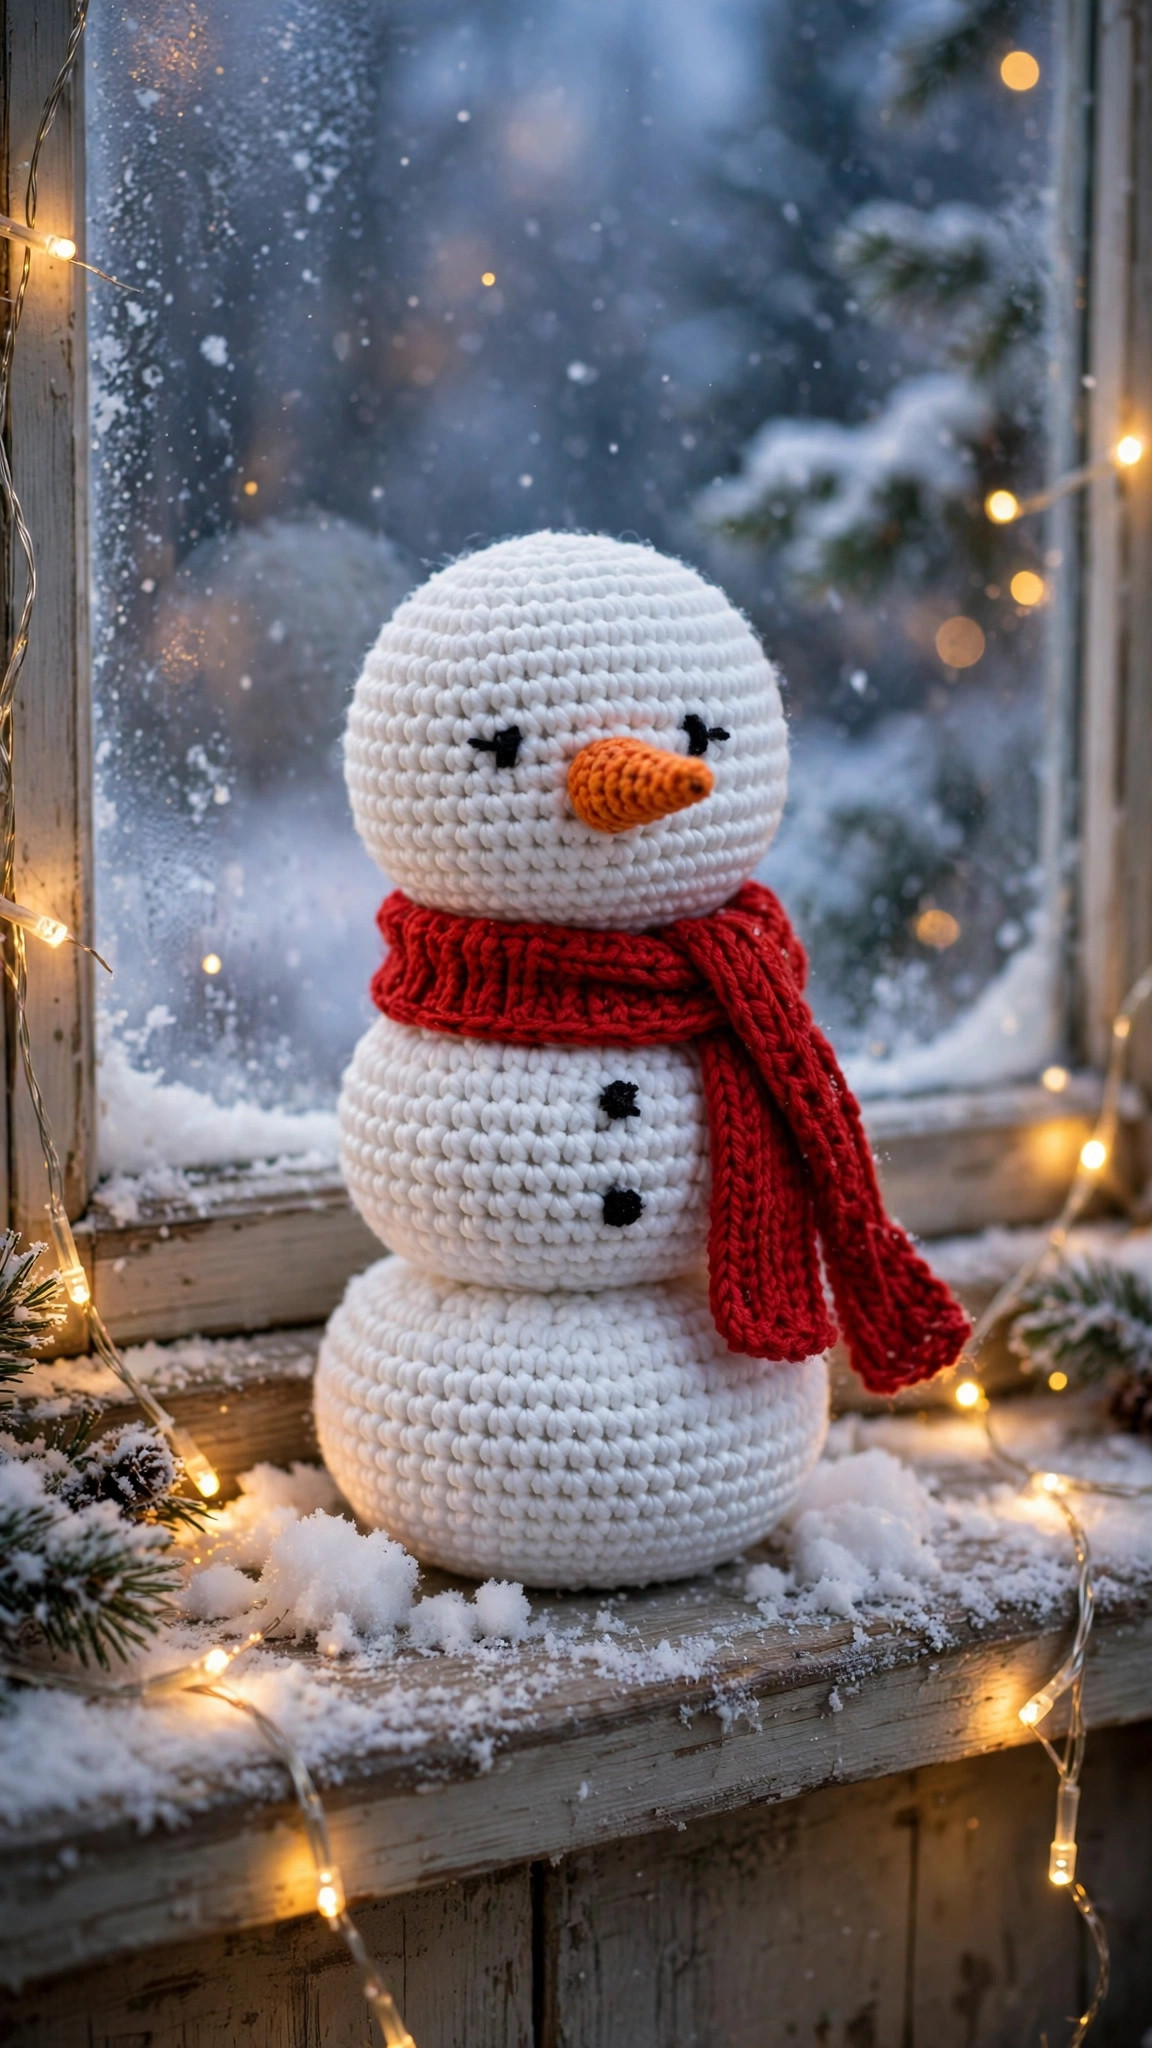
A handmade snowman is different from shop-bought decorations. He gets a name, a spot on the mantel that is his alone, and he is the first thing small hands reach for. This free snowman crochet pattern makes that snowman: round, cheerful, about 20 cm (8 in) tall, with a carrot nose, coal buttons, a striped scarf with fringe, and a tiny top hat at a jaunty angle.
This is an original Little Loop Finds design, from our own stitch math, in easy single crochet spirals. The body is two stacked spheres — a large, lightly weighted base and a smaller head sewn on top — so he stands steadily. Every round carries its stitch count in bold; all shaping is increases and invisible decreases.
Contents
- Why you'll love this snowman
- Materials you'll need
- Size, gauge and skill level
- Abbreviations — US terms
- The pattern (US terms)
- Finishing and assembly
- Tips for a snowman that stands and charms
- FAQ
- What to crochet next
Why you'll love this snowman
First, he actually stands up. The base is firmly stuffed and lightly weighted with a sealed pouch of pellets or coins, then rolled to settle a flat sitting spot. He holds his pose all season, yet stays soft enough for a cuddle.
Second, the construction is simple. No pinched waist, no colourwork in the body: just two white spheres in plain spirals. All the character arrives with the small pieces — nose, buttons, scarf, hat — each a ten-minute job.
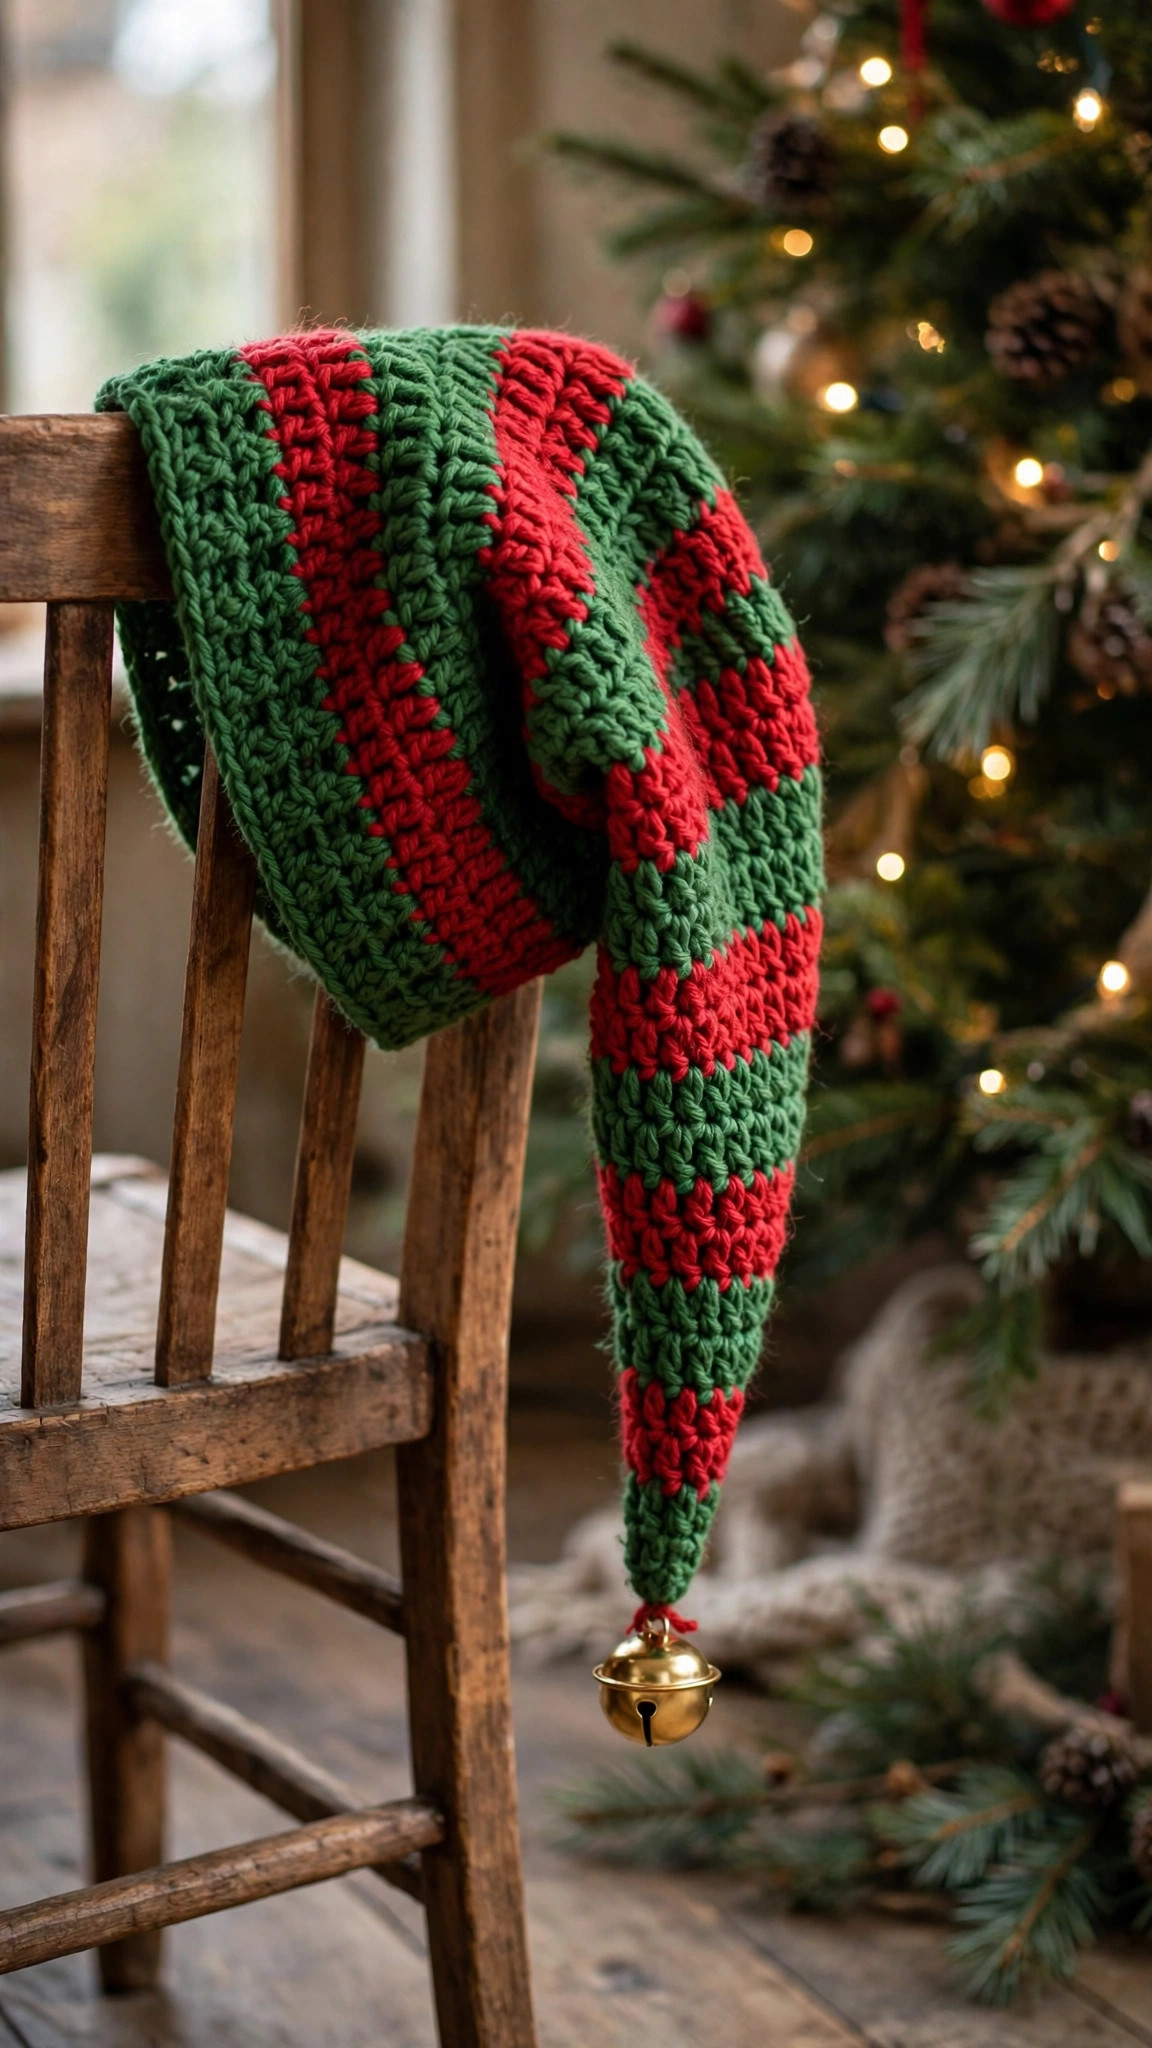
Third, he is endlessly giftable. A snowman reads as winter rather than one particular holiday, so he suits neighbours, teachers and gift-exchange cousins alike. Bag him with a candy cane and he is a present. Our free crochet Santa hat pattern makes a sweet companion for the same shelf.
Finally, the variation is built in. This version wears a tiny top hat; below we show how to swap it for earmuffs — two discs and a band — if your snowman leans more cute than dapper.
Materials you'll need
Worsted-weight yarn works up quickly, holds a sphere shape, and shows every stitch so you can count with confidence. Choose a smooth acrylic or acrylic-cotton blend in bright white — avoid fluffy yarns for the body; you want that crisp snowball look. The accents are small amounts you may already own.
| Supply | What to get |
|---|---|
| Main yarn | Worsted (category 4), white, about 70 g / 140 yards |
| Orange yarn | Worsted, carrot orange, about 8 g, for the nose |
| Scarf yarn | Worsted, red and green, about 12 g of each |
| Black yarn | Worsted, black, about 20 g, for hat and buttons |
| Brown yarn | Worsted, dark brown, about 6 g, for the arms |
| Hook | 3.5 mm (US E-4) crochet hook |
| Eyes | 9 mm black safety eyes, one pair |
| Stuffing | Polyester fibre fill, about 50 g |
| Weighting | Sealed pouch of poly pellets, or 3–4 clean coins |
| Notions | Yarn needle, stitch marker, sharp scissors, pins |
A note on hook size: 3.5 mm is smaller than the ball band suggests, on purpose — tight stitches stop stuffing glowing through white yarn. If your hands ache, try 4.0 mm, but hold the fabric to the light first; if you can see through it, the smaller hook matters.
A note on weighting: never put loose pellets or coins straight inside amigurumi. Seal them in a little fabric pouch first, then bury the pouch in the centre of the stuffing, where it stays safe and put.
Size, gauge and skill level
Skill level: Easy — magic ring, single crochet, increase, decrease, and rows for the scarf; nothing else. First amigurumi? Make the nose first as a confidence boost.
Finished size: About 20 cm (8 in) tall without the hat, about 23 cm (9 in) wearing it. The base is about 11 cm (4.25 in) across; looser tension gives closer to 22 cm.
Gauge: Not critical, but density matters. As a guide, 10 sc measure about 5 cm (2 in) with a 3.5 mm hook, and the fabric should feel firm with no holes. If daylight shows between stitches, drop to a 3.0 mm hook.
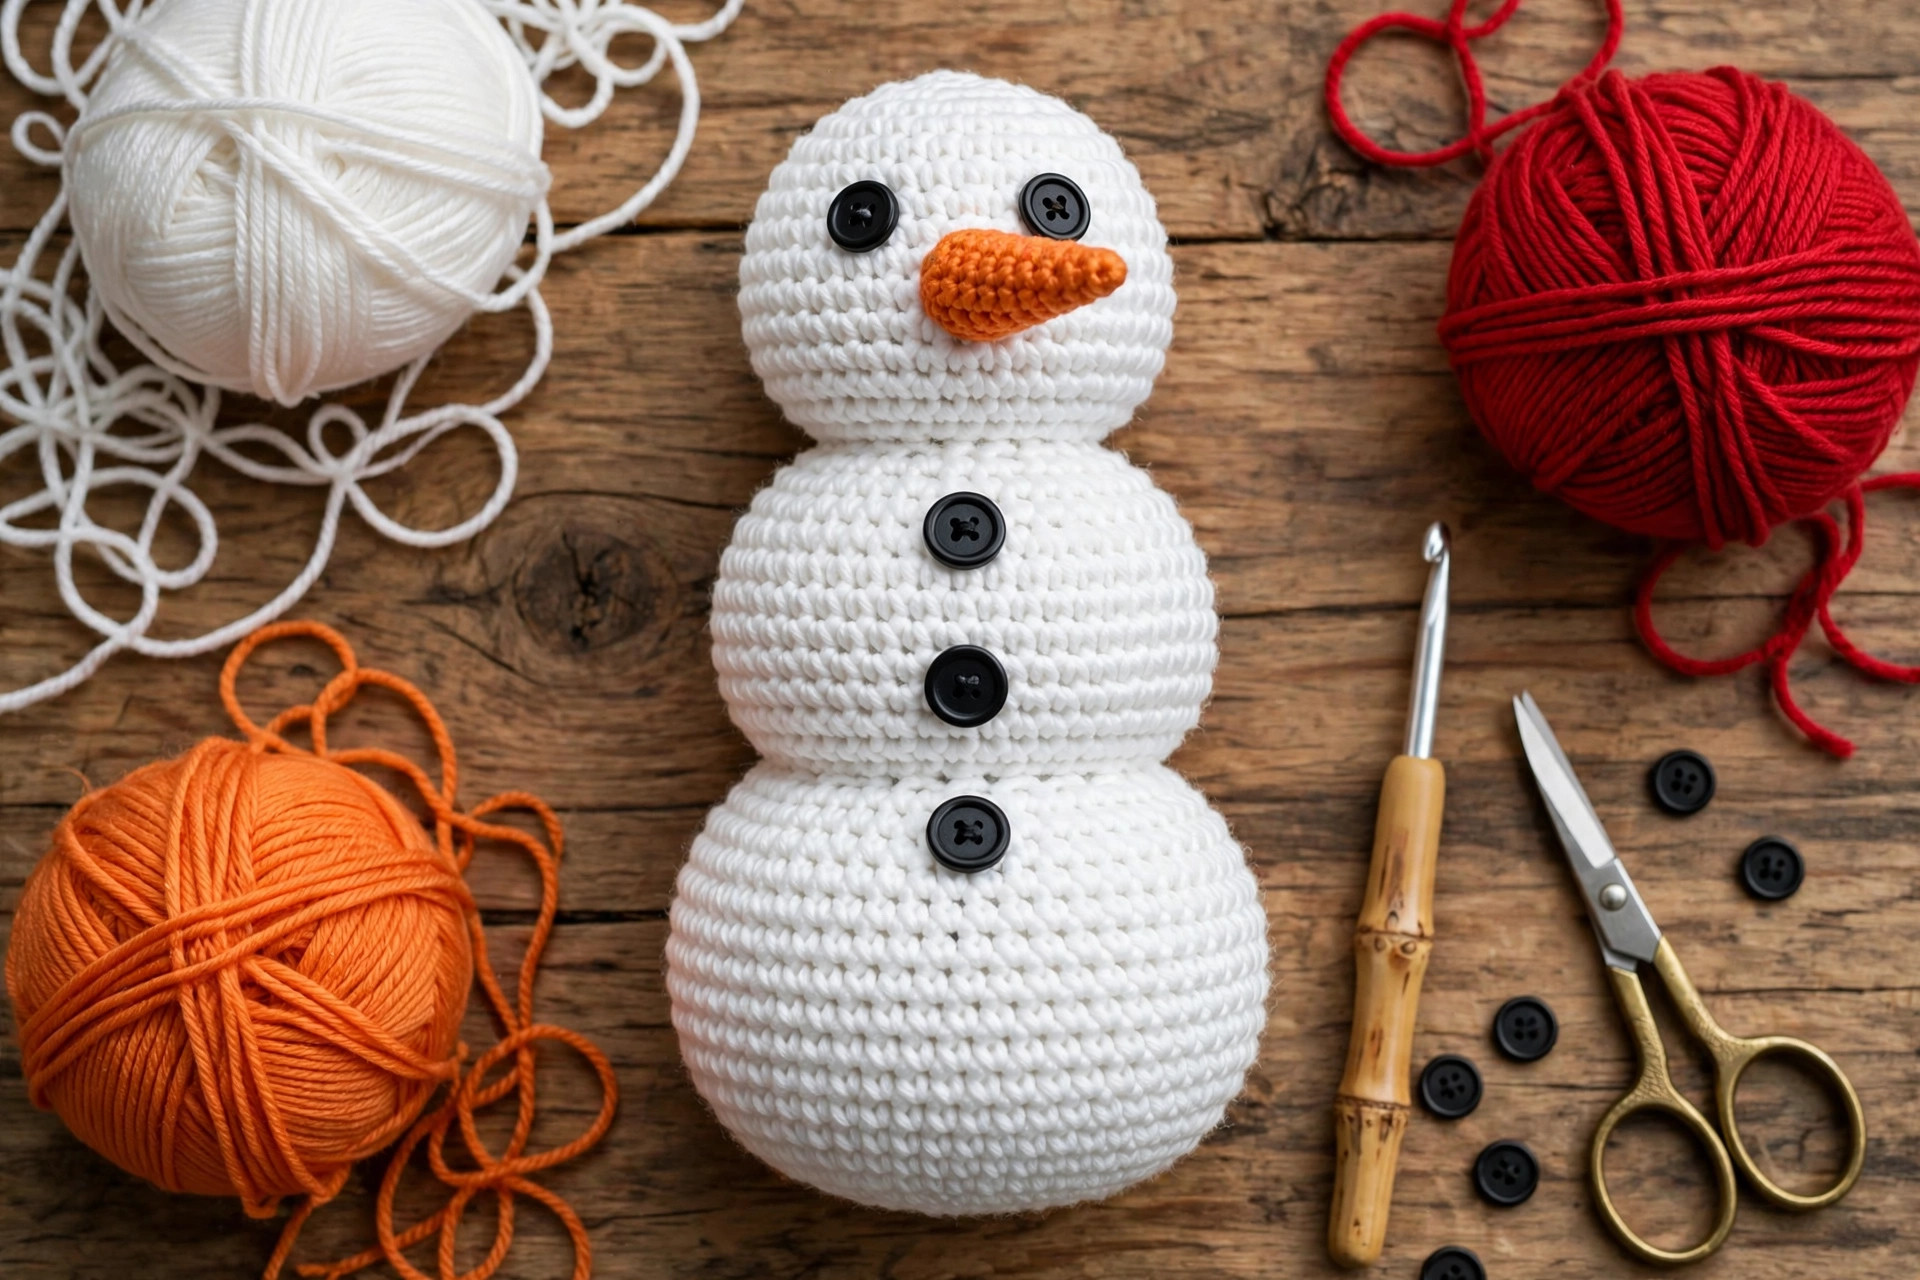
The pieces: 10 in total — 1 body, 1 head, 1 nose, 3 buttons, 2 arms, 1 scarf and 1 top hat (crown and brim, joined). Assembly: weight the body, build the face, join head to body, then dress him.
Abbreviations — US terms
US terms throughout. (UK note: a US single crochet is a UK double crochet.)
| Abbreviation | Meaning |
|---|---|
| MR | magic ring |
| sc | single crochet |
| hdc | half double crochet |
| inc | increase — 2 sc in the same stitch |
| dec | decrease — sc 2 together, invisible decrease recommended |
| BLO | back loop only |
| st(s) | stitch(es) |
| rnd(s) | round(s) |
| ch | chain |
| FO | fasten off |
Invisible decrease: Insert your hook into the front loop only of the next stitch, then into the front loop only of the stitch after it. Yarn over, pull through both front loops, yarn over, pull through both loops. Use this everywhere the pattern says "dec" — it keeps the spheres smooth.
A note on rounds: Work everything except the scarf in continuous spirals — do not join or turn. Mark the first stitch of each round and move the marker up. The bold number is your count; check it at increase and decrease rounds.
The pattern (US terms)
Work the pieces in order: body, head, then the small pieces. Leave a long tail, about 30 cm (12 in), on every piece to be sewn on — that tail is your sewing thread, perfectly colour-matched.
The body — white
The large base sphere, worked top down. The head hides the magic ring, and the weighting pouch goes in before the bottom closes.
- R1: MR, 6 sc (6)
- R2: inc in each st around (12)
- R3: [sc, inc] × 6 (18)
- R4: [2 sc, inc] × 6 (24)
- R5: [3 sc, inc] × 6 (30)
- R6: [4 sc, inc] × 6 (36)
- R7: [5 sc, inc] × 6 (42)
- R8: [6 sc, inc] × 6 (48)
- R9–R16: sc in each st around (48) — 8 rounds even
- R17: [6 sc, dec] × 6 (42)
- R18: sc in each st around (42)
- R19: [5 sc, dec] × 6 (36)
- R20: [4 sc, dec] × 6 (30)
- R21: [3 sc, dec] × 6 (24)
Pause while the opening is wide. Push the sealed weighting pouch into the very bottom and pack stuffing firmly around and over it, in small teased-apart tufts. The base should feel solid — that firmness is what he stands on.
- R22: [2 sc, dec] × 6 (18)
- R23: [sc, dec] × 6 (12)
- R24: dec × 6 (6)
FO. Thread the tail through the front loop of each remaining stitch, pull tight to close, and weave the end inside. He should stand without wobbling; if he leans, a squash and roll of the base persuades him upright.
The head — white
The smaller sphere, made separately so you can build the face calmly in your lap before joining.
- R1: MR, 6 sc (6)
- R2: inc in each st around (12)
- R3: [sc, inc] × 6 (18)
- R4: [2 sc, inc] × 6 (24)
- R5: [3 sc, inc] × 6 (30)
- R6: [4 sc, inc] × 6 (36)
- R7–R12: sc in each st around (36) — 6 rounds even
Pause before decreasing. Push the safety eyes in between Rounds 10 and 11, about 7 stitches apart. Check they sit level, then press the washers on at the back until they click. The nose sits centred between and just below them.
- R13: [4 sc, dec] × 6 (30)
- R14: sc in each st around (30)
- R15: [3 sc, dec] × 6 (24)
- R16: [2 sc, dec] × 6 (18)
Stuff firmly, pushing fill into the cheeks so the face stays round — a hollow-cheeked snowman looks tired, and nobody wants that.
- R17: [sc, dec] × 6 (12)
- R18: dec × 6 (6)
FO, leaving a long tail for sewing. Close the 6 stitches as for the body, keeping this tail free.
The carrot nose — orange
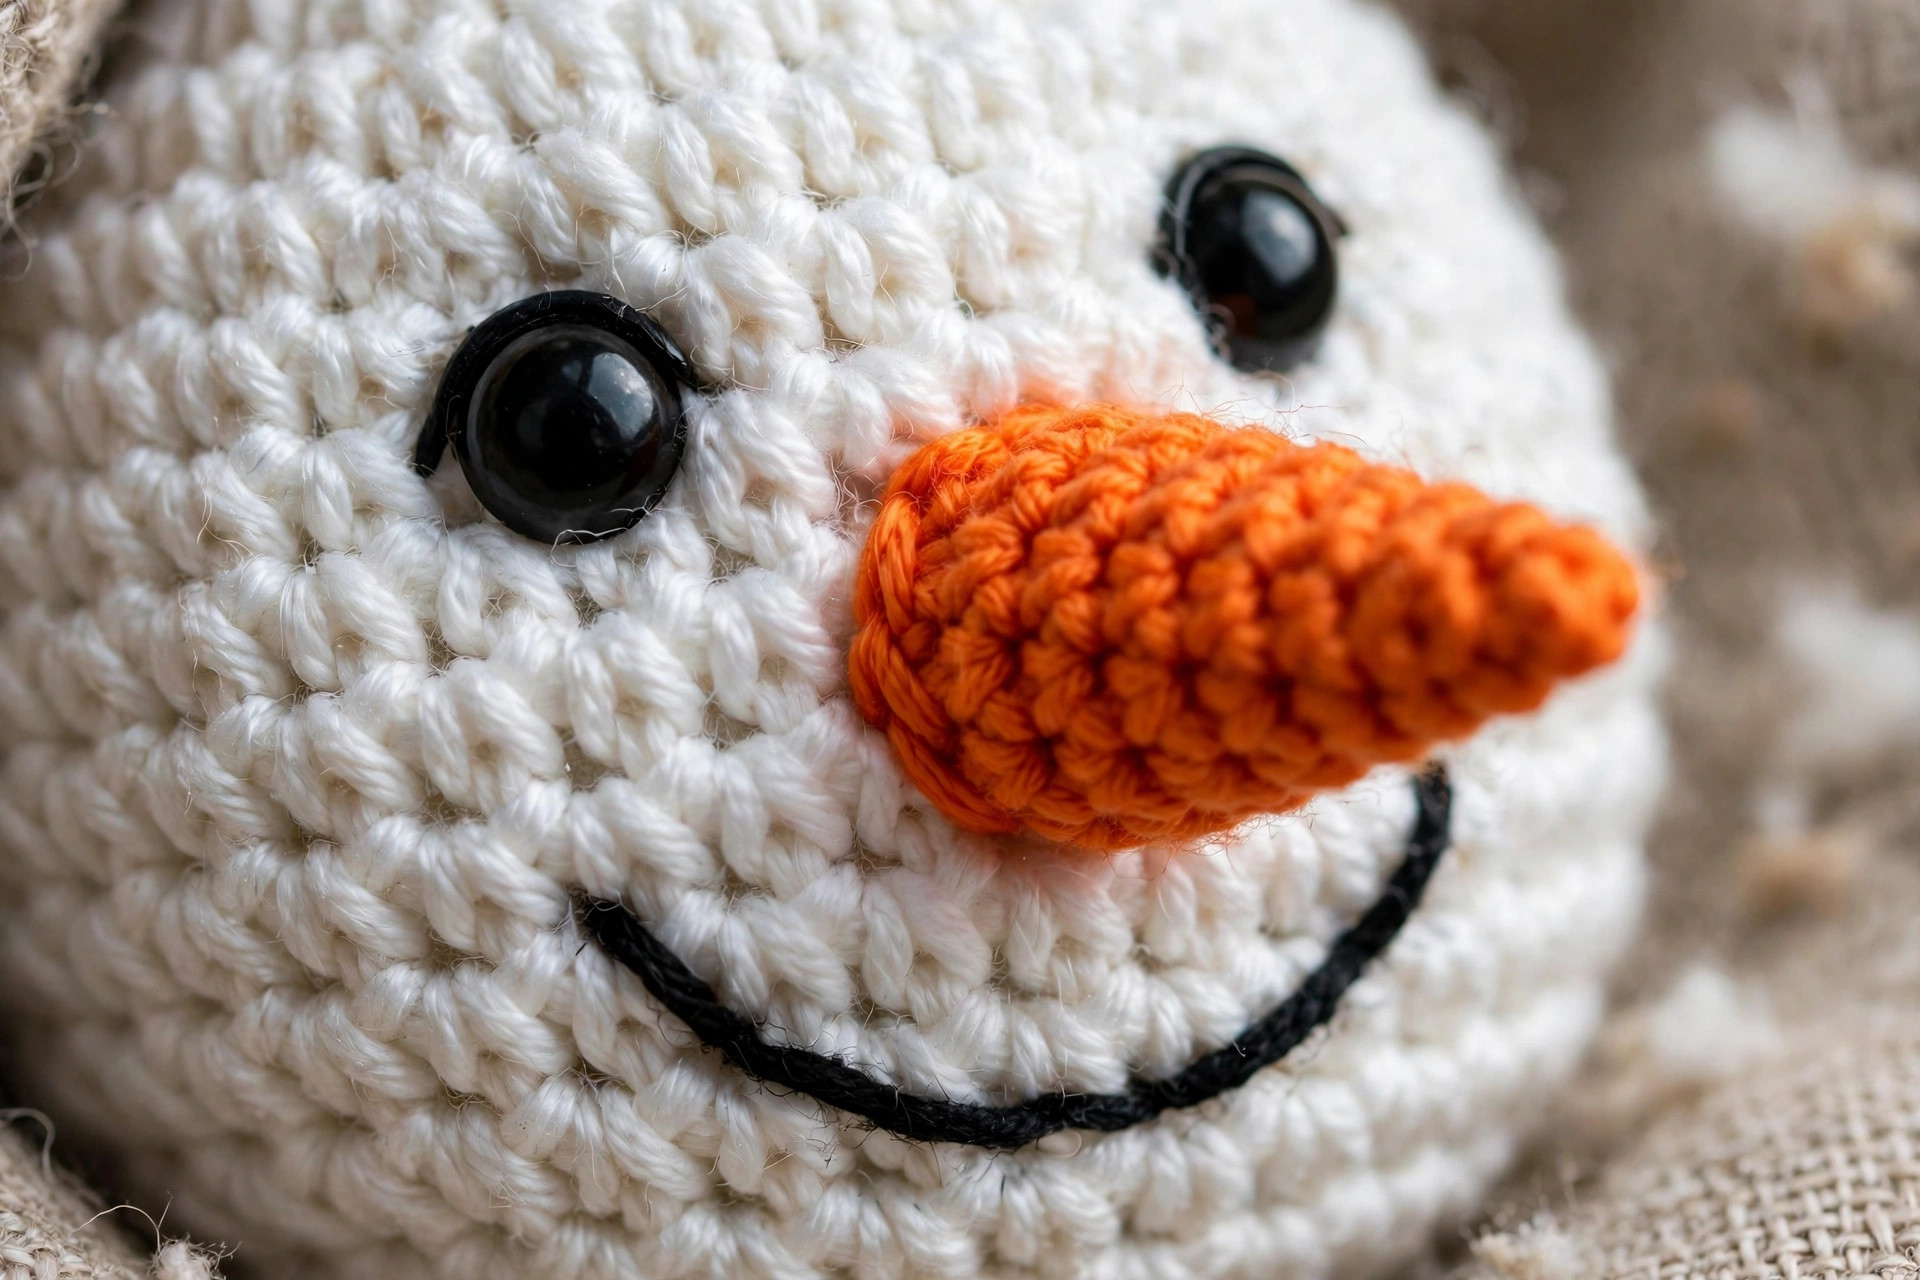
A small cone worked from tip to wide base. The open base sews to the face, so the cone points cheerfully outwards.
- R1: MR, 4 sc (4)
- R2: [sc, inc] × 2 (6)
- R3: sc in each st around (6)
- R4: [2 sc, inc] × 2 (8)
- R5: sc in each st around (8)
- R6: [3 sc, inc] × 2 (10)
- R7: sc in each st around (10)
FO, leaving a long tail. Add a pea-sized pinch of stuffing, or leave the cone empty. A slightly bendy carrot is charming; a rock-hard one looks like a traffic cone.
The coal buttons — black, make 3
Small flat discs for the classic coal-button front. The same disc, enlarged by one round, becomes an earmuff below.
- R1: MR, 6 sc (6)
- R2: inc in each st around (12)
FO, leaving a long tail. Flatten each disc firmly between your fingers.
The twig-look arms — dark brown, make 2
Each arm is a slim brown tube, deliberately unstuffed so it bends like a twig and sews on flat.
- R1: MR, 6 sc (6)
- R2–R7: sc in each st around (6) — 6 rounds even
FO, leaving a long tail. Pinch the open end flat. For twig fingers, add two tiny diagonal stitches near the far end with the tail. A plain angled tube reads instantly as a twig in dark brown against white.
Safety note: these arms are soft yarn tubes — no wire, pipe cleaner or sticks inside, deliberately. Never insert anything sharp into a toy a child might hug; crocheted branches give the same silhouette safely.
The striped scarf — red and green
Worked flat in rows of single crochet with four-row stripes, the scarf drapes softly and hangs down the front. Finished size: about 42 cm (16.5 in) long and 4 cm (1.5 in) wide, before fringe.
- Foundation: With red, ch 7.
- Row 1: sc in the 2nd ch from the hook and in each ch across (6)
- Rows 2–4: ch 1, turn, sc in each st across (6) — stay in red
- Rows 5–8: Change to green, ch 1, turn, sc in each st across (6)
- Rows 9–12: Change back to red, sc in each st across (6)
- Rows 13–60: Continue alternating 4 rows red and 4 rows green, ending with red (6)
Change colour on the final yarn over of the last stitch in the old colour, and carry the unused colour loosely up the side edge — the floats hide in the edge and you save dozens of ends. FO and weave in the tails.
Fringe: cut 12 strands about 10 cm (4 in) long, six red and six green. At each end, fold three strands in half, pull the loop through an edge stitch, pass the ends through and tug snug — three tassels per end — then trim level.
The tiny top hat — black, with a red band
The hat is this snowman's main outfit: a cylinder crown sewn onto a flat brim, with a red band as the crown's final round.
The crown:
- R1: MR, 6 sc (6)
- R2: inc in each st around (12)
- R3: [sc, inc] × 6 (18)
- R4: [2 sc, inc] × 6 (24)
- R5: In BLO, sc in each st around (24) — the crisp top rim
- R6–R9: sc in each st around (24) — 4 rounds even
- R10: Change to red, sc in each st around (24) — the hat band
FO, leaving a long tail. The crown needs no stuffing — just a finger-press to keep its sides straight.
The brim:
- R1: MR, 6 sc (6)
- R2: inc in each st around (12)
- R3: [sc, inc] × 6 (18)
- R4: [2 sc, inc] × 6 (24)
- R5: [3 sc, inc] × 6 (30)
- R6: [4 sc, inc] × 6 (36)
FO and weave in the end. In assembly, centre the crown on the brim and sew around.
Variation — earmuffs instead of a hat: Work two button discs in red or green with one extra round — [sc, inc] × 6 after Round 2, to reach (18) — plus a band: ch 16, hdc in the 3rd ch from hook and in each ch across (14). Sew a disc to each end, tacked at ear height.
Finishing and assembly
Work in this order: face, head onto body, buttons, arms, scarf, hat.
1. Sew on the carrot nose. Pin the cone centred between and just below the eyes, level with about Round 11. Sew around the base, adding the pinch of stuffing halfway if the cone is empty. A nose tilted slightly up gives the happiest expression.
2. Embroider the smile. With black yarn, work a curve of five or six small stitches under the nose, like tiny coal dots, or one backstitch curve. Bury the ends inside the head.
3. Sew the head to the body. Sit the head centrally on the body, face forward, and pin. Sew two full passes around the join, adding a tuft of stuffing into the neck before the final stitches if it feels wobbly.
4. Add the coal buttons. Sew one disc centre front just below the scarf line, and the other two in a vertical line down the base, a finger's width apart.
5. Attach the arms. Sew each pinched end to the body's side, just under the head join, angled up at about 45 degrees — the classic cheerful wave. The tubes settle into a natural droop within a day.
6. Dress him in the scarf. Wrap it once around the neck join — it hides the seam beautifully — cross the ends at the front, and let both fringed ends hang to one side. Tack it at the back of the neck.
7. Finish and fit the hat. Centre the crown on the brim, red band down, and sew around the join. Sit the hat at a slight tilt — straight hats look like they are waiting for inspection; tilted hats look like they are having fun. Tack the brim down with three or four stitches.
8. Final tidy. Weave in remaining ends, travelling at least 2 cm inside the stuffing before trimming. Roll both spheres between your palms and turn him slowly. From every angle he should look pleased to see you.
Tips for a snowman that stands and charms
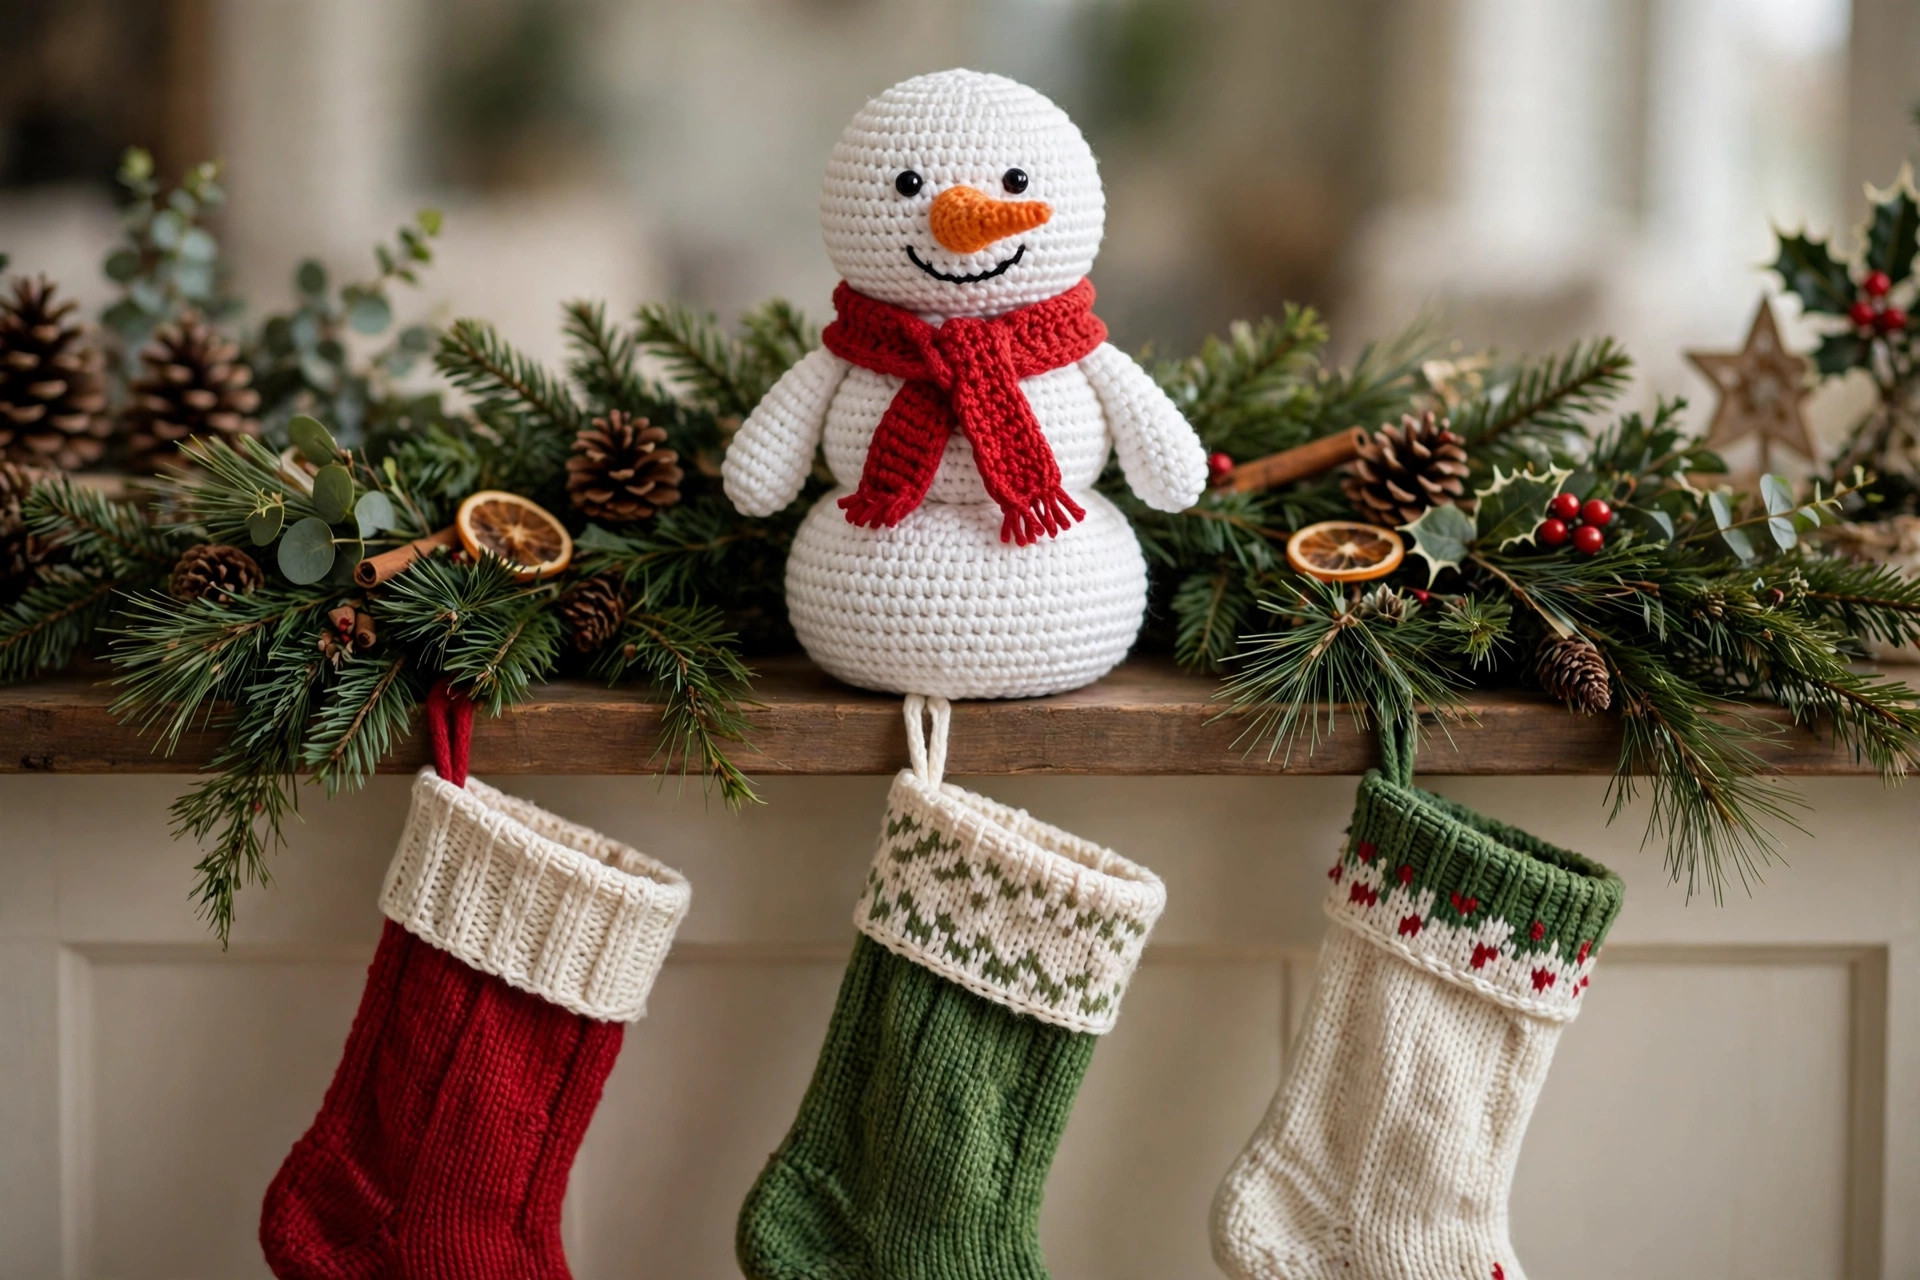
Weight the base, always. Two minutes that transform the finished piece: a sealed pouch buried low drops his centre of gravity so he stands through vibrations, curious cats and enthusiastic dusting.
Stuff in layers, not lumps. Tease every tuft into a cloud first and add a little at a time. Lumpy stuffing in white yarn shows as shadows.
Pin the whole face before sewing any of it. The nose down one round makes him babyish; up one round, grand and serious. Photograph the pinned face before picking up the needle.
Make a family while the white yarn is out. A second snowman takes half the time; use the head counts for a baby body. Add our crochet reindeer pattern free and Christmas spiral ornaments for a whole mantel scene.
Safety note for small children. For under-threes, embroider the eyes instead of safety eyes, sew buttons with extra passes, and skip the weighting pouch.
FAQ
Is this snowman crochet pattern really free and original?
Yes — a complete, original Little Loop Finds design with its own stitch counts, published in full here. Make as many as you like for gifts; no sign-up, no missing second half.
How long does the snowman take to make?
About 2.5 to 3.5 hours: the body about an hour, the head 40 minutes, the small pieces about an hour together, and assembly about half an hour — the hat tilt is not a step to rush.
How do I make sure my snowman stands up?
Bury a sealed pouch of pellets or coins low in the base, stuff the base firmly, and roll it to settle a flat sitting spot. Sew the head on dead centre, too — an off-centre head tips even a weighted snowman.
Can I make the snowman bigger or smaller?
Yes — change yarn and hook together, keeping every count the same. Bulky yarn with a 5.5 mm hook gives roughly 28 cm (11 in); DK with a 3.0 mm hook, about 14 cm (5.5 in). Eyes to scale: 12 mm or 6 mm.
Can I sell snowmen I make from this pattern?
Yes — you may sell finished snowmen made by hand in small quantities, crediting Little Loop Finds as designer. Please do not republish the pattern text or photos. Disclose weighted bases, and use embroidered eyes for under-threes.
What to crochet next
Your snowman has started a scene:
- Hang something handmade with this crochet Christmas stocking pattern — roomy, classic and quick.
- String the mantel with a crochet garland pattern to frame his big debut.
- Build confidence with this one piece crochet teddy bear pattern, in the same friendly single crochet.
Happy crocheting — may your snowman never melt and his hat stay at exactly the angle that makes everyone smile.
The box below contains an Etsy link. If you buy through it, we may earn a small commission at no extra cost to you. Learn more.
No time to make one?
Short on time? Find handmade crochet snowmen from independent makers on Etsy.
Browse on Etsy (opens Etsy in a new tab)