Crochet Reindeer Pattern Free: Cute Amigurumi Deer
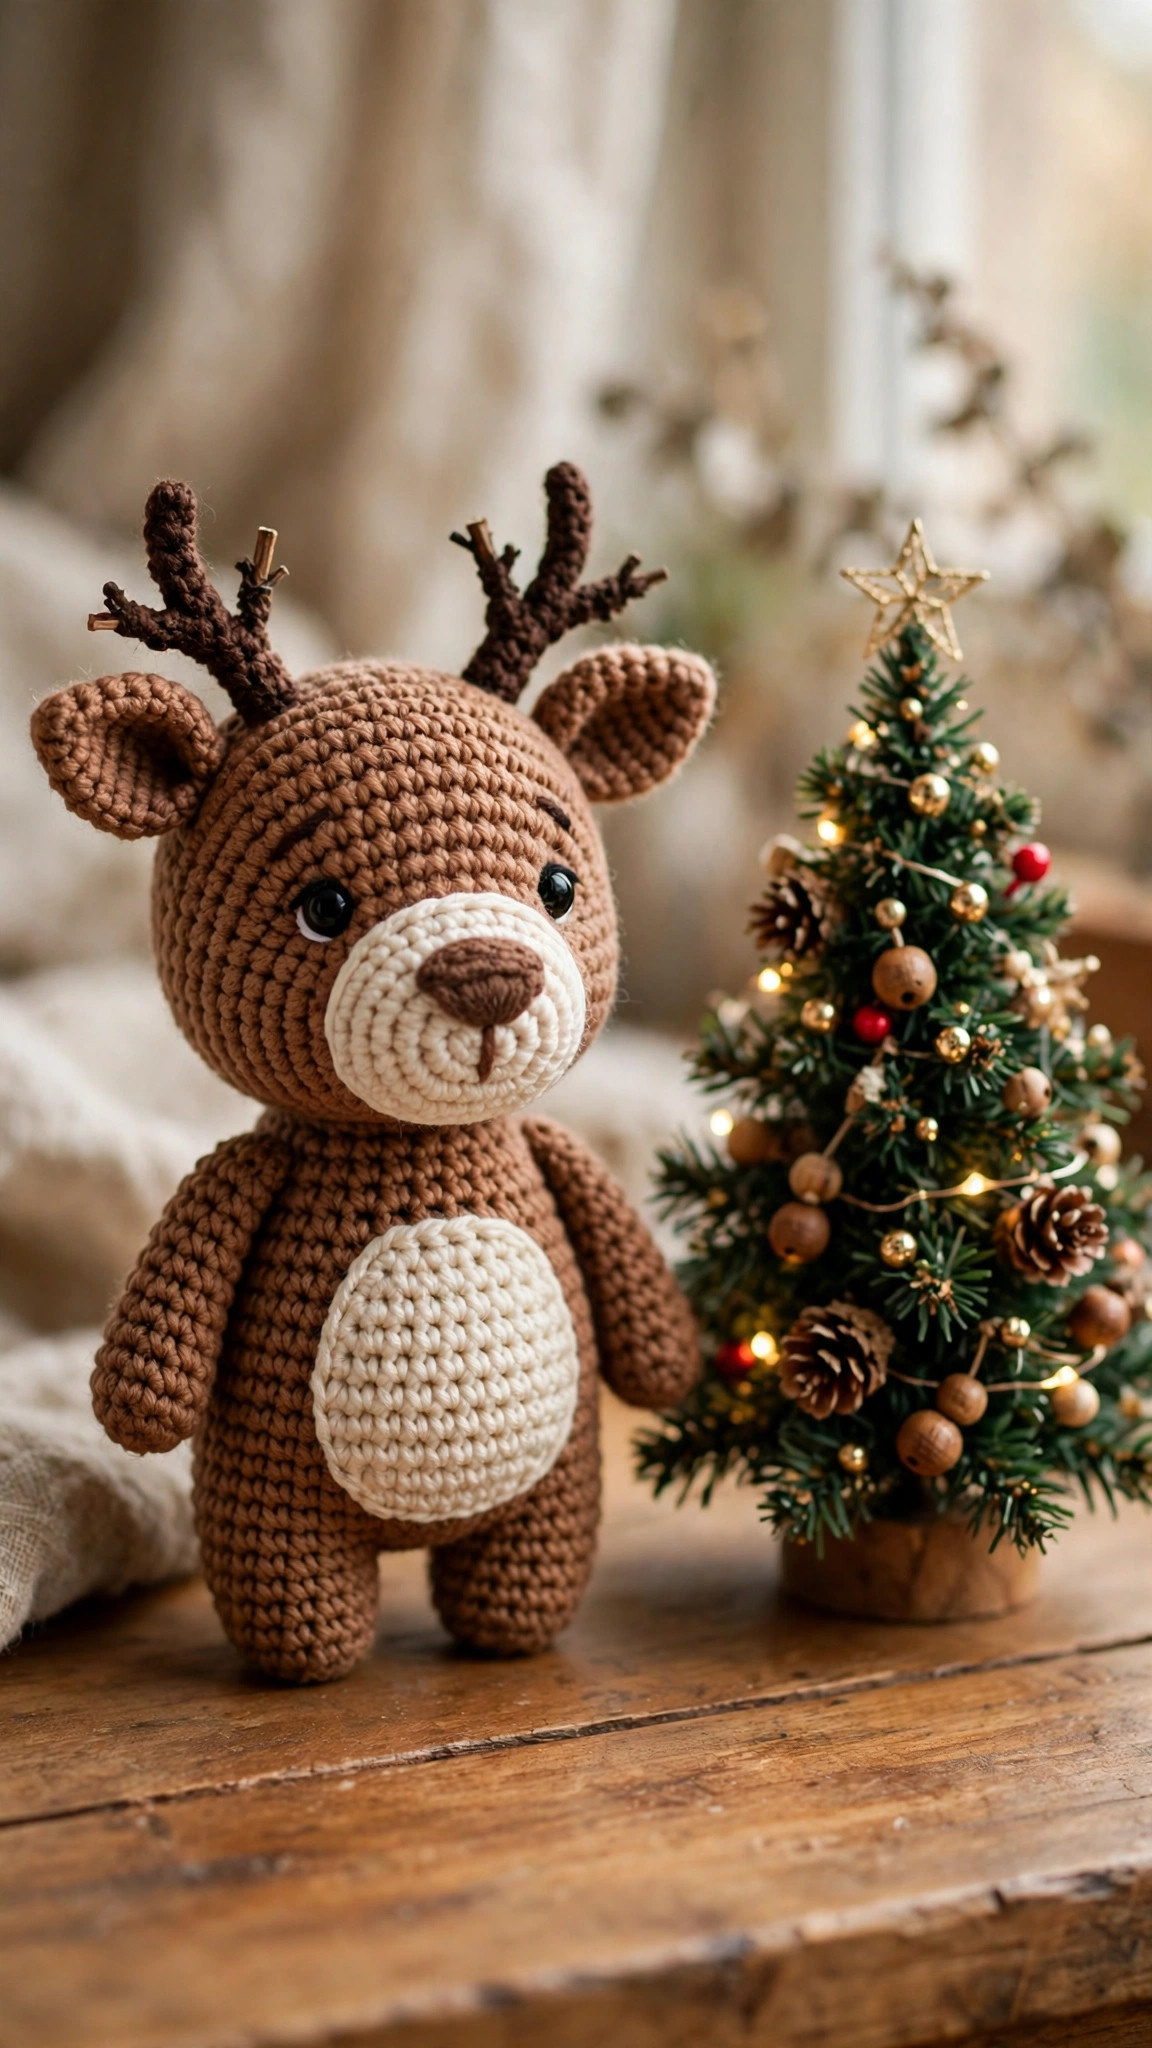
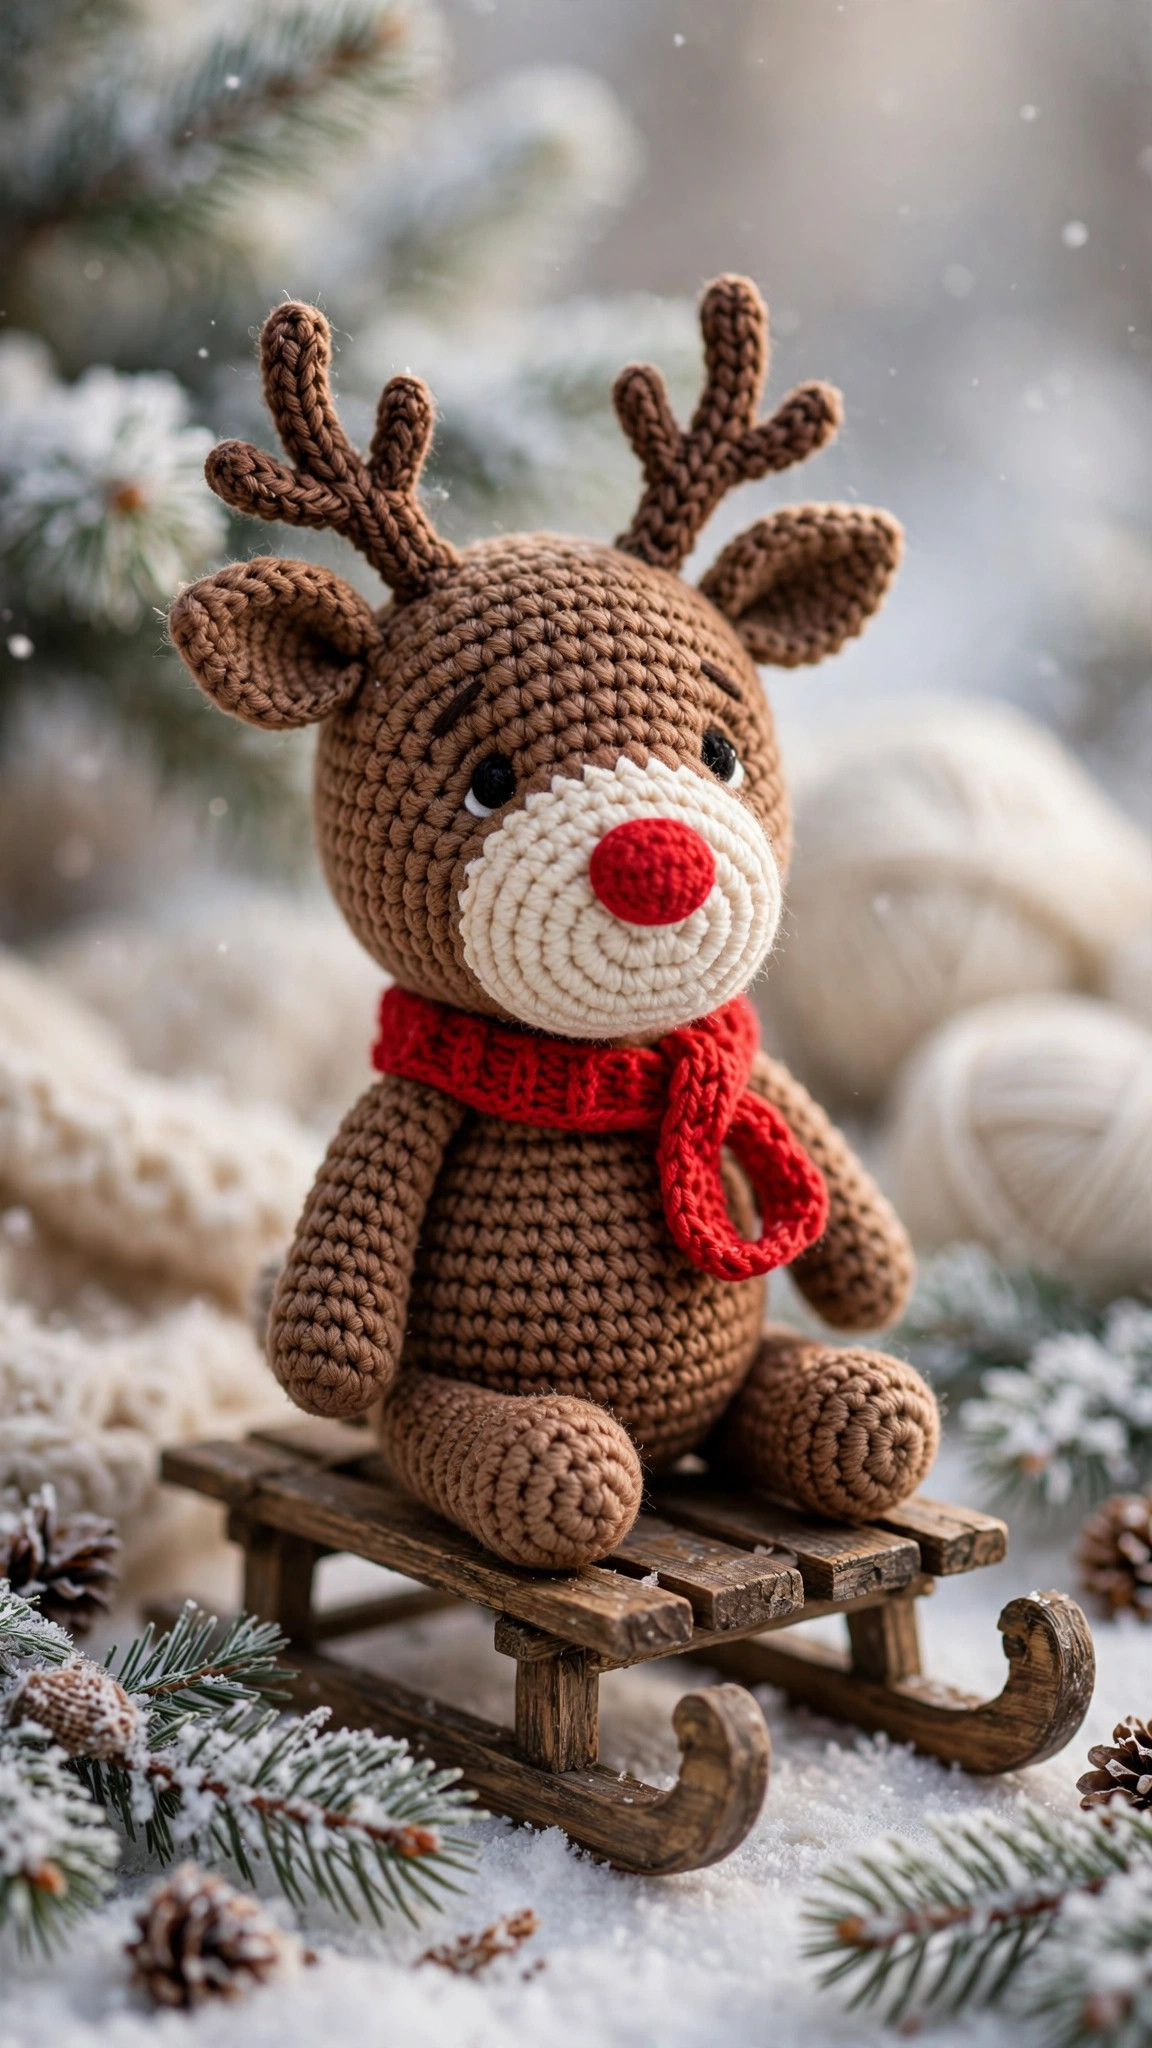
A sweet standing amigurumi reindeer with an oval body, a cream muzzle and belly patch, dark little hooves and two branched antlers that stand up with no wire — worked in easy single-crochet spirals, with full stitch counts for every round.

Amigurumi · Crochet
- Finished size
- About 22 cm / 8.5 in tall
- Making time
- About 4–5 hours
- Hook
- 3.5 mm, worsted-weight yarn
- Pieces
- 13 pieces to assemble
- Skill
- Easy
In this post
Some makes turn a shelf into Christmas, and a reindeer tops that list — the antlers, the cream muzzle, the slightly surprised expression. This crochet reindeer pattern free design is our take on the classic: a standing deer about 22 cm (8.5 in) tall, with an oval body, round head, cream belly patch and branched antlers that stand up on their own, no wire at all.
An original Little Loop Finds pattern with our own stitch math, worked in easy single crochet spirals in US terms, every round's count in bold. Finish the face two ways: a dark brown embroidered nose, or a plain red nose.
Contents
- Why you'll love this crochet reindeer
- Materials you'll need
- Size, gauge and skill level
- Abbreviations — US terms
- The pattern (US terms)
- Finishing and assembly
- Tips for a reindeer that looks right
- FAQ
- What to crochet next
Why you'll love this crochet reindeer
First, the proportions do quiet, clever work. The head is a touch large for the body and the muzzle sits low — the shorthand for "baby animal" — so this deer looks sweet rather than stern. The oval body, widest just below the middle, stands with settled weight instead of wobbling.
Second, the antlers are beginner-friendly: a short six-stitch tube with two tiny five-stitch point stubs sewn on at angles. No wire, no inserts — tight stitches and the short length do the stiffening. Fifteen minutes each.
Third, it is a forgiving weekend make. Body and head are familiar spiral work with relaxing plain rounds; the small pieces are one-per-evening makes.
Finally, it gifts beautifully. Stand one on the mantel, sit a pair by the tree, or make a herd in browns, grey and cream. Pair it with our free snowman crochet pattern for a proper handmade scene.
Materials you'll need
Worsted-weight yarn is the sweet spot: fast to grow, yet fine enough for neat antler tubes. Choose a smooth acrylic or acrylic-cotton blend — fluffy yarn will fight you on a tube six stitches around. Colour does the storytelling: warm mid-brown, cream, dark chocolate.
| Supply | What to get |
|---|---|
| Main yarn | Worsted weight (category 4), warm brown, about 70 g / 140 yards |
| Cream yarn | Worsted weight, cream, about 20 g / 40 yards — muzzle and belly patch |
| Dark yarn | Worsted weight, dark chocolate brown, about 25 g / 50 yards |
| Nose yarn | Small amount of red or dark brown yarn or embroidery thread |
| Hook | 3.5 mm (US E-4) crochet hook |
| Eyes | 10 mm black safety eyes, one pair |
| Stuffing | Polyester fibre fill, about 50 g |
| Notions | Yarn needle, stitch marker, sharp scissors |
| Optional | Pins, a chopstick for stuffing the antler trunks |
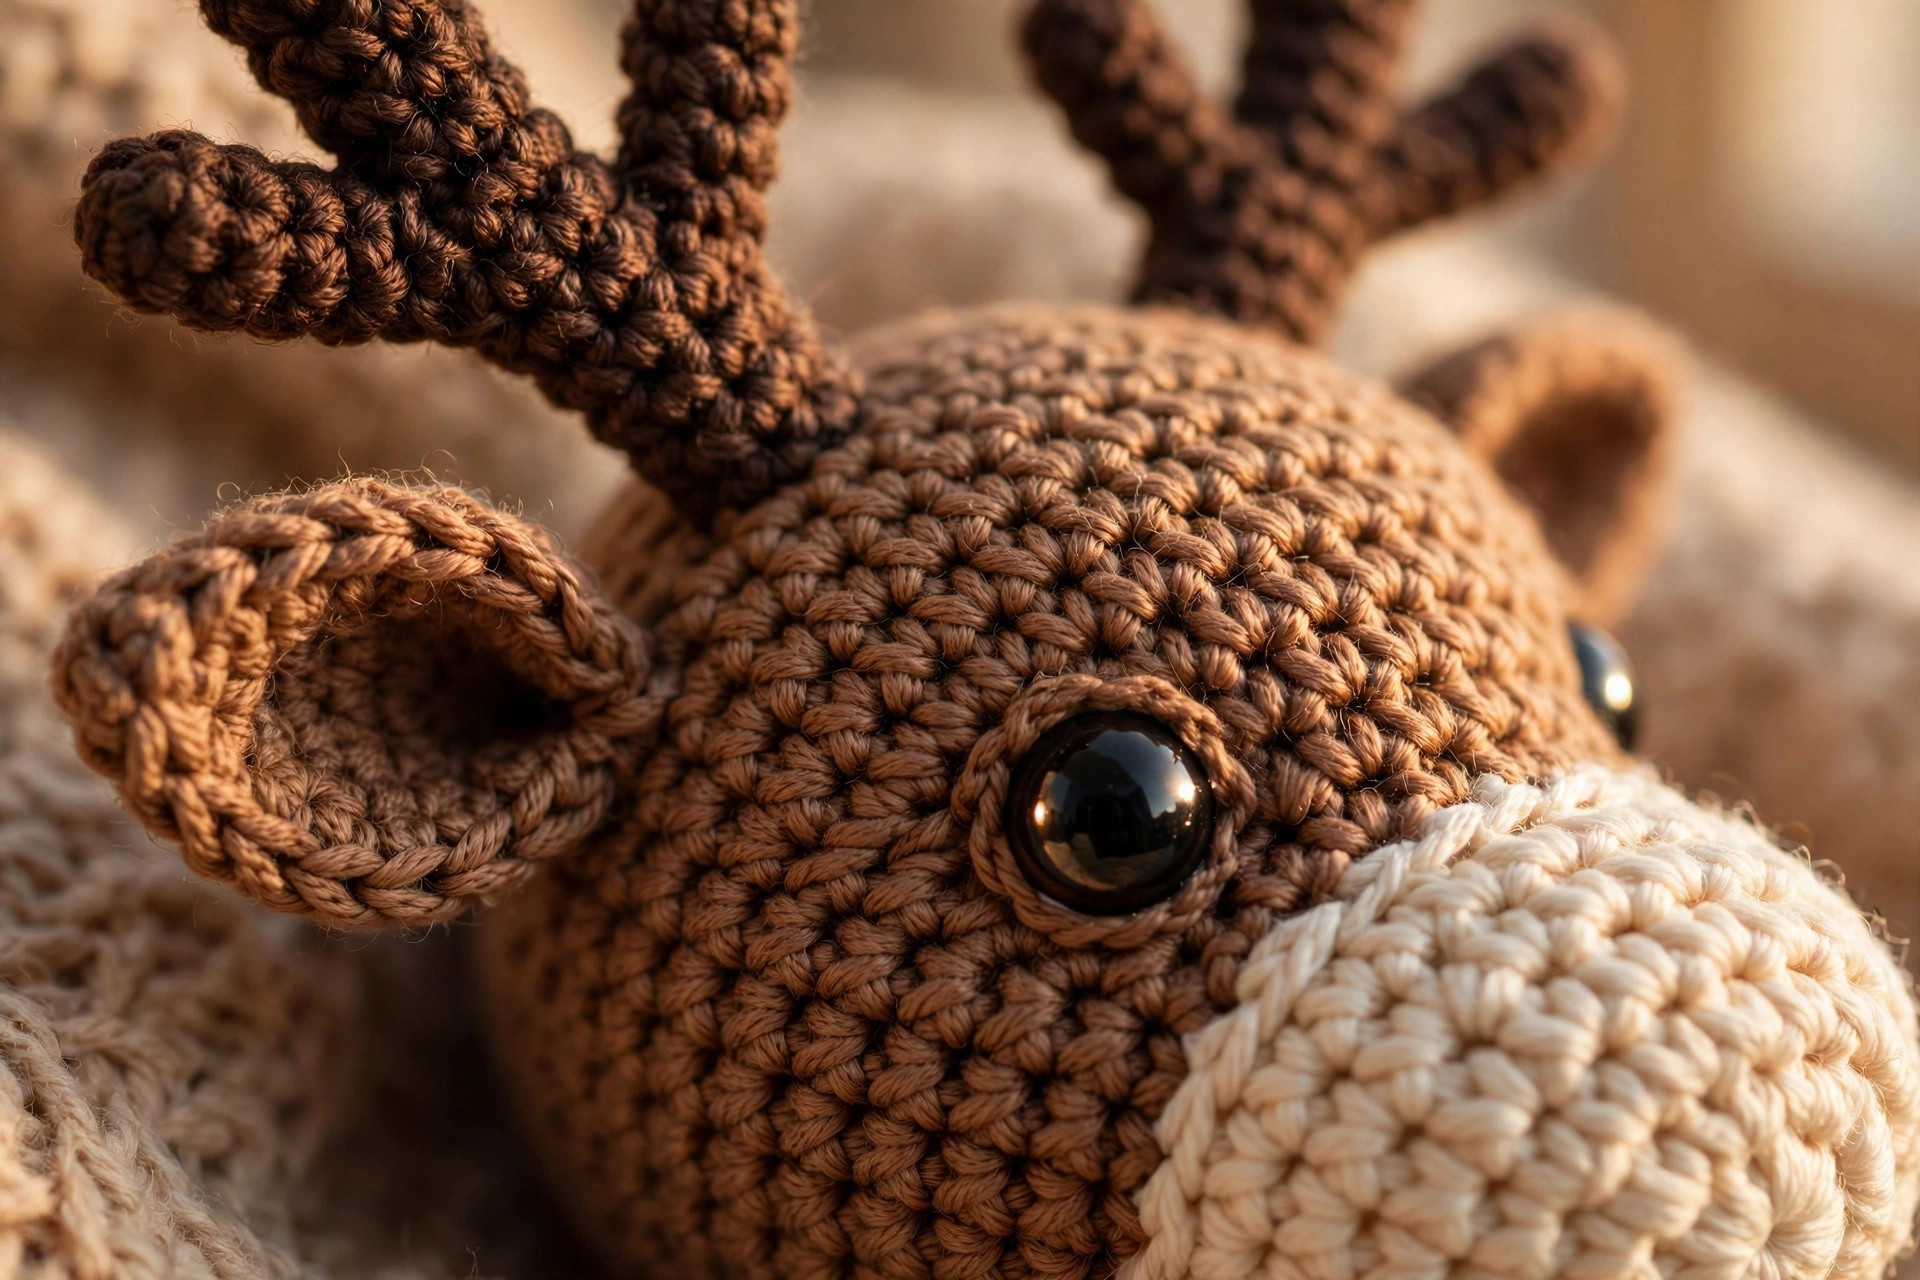
A note on hook size: 3.5 mm is smaller than the ball band suggests, on purpose. Tight stitches stop stuffing showing through, and on the antlers that tightness is structural. If your hands ache, use 4.0 mm for body and head, but keep antlers at 3.5 mm.
Size, gauge and skill level
Skill level: Easy. You need a magic ring, single crochet, increase and invisible decrease — all explained below — and no other stitches. New to amigurumi? The one piece crochet teddy bear pattern is a shorter warm-up in the same technique.
Finished size: About 22 cm (8.5 in) tall from hoof to antler tip, 19 cm (7.5 in) to the top of the head, body about 9 cm (3.5 in) across.
Gauge: Not critical, but density matters. As a guide, 10 sc measure about 5 cm (2 in) with a 3.5 mm hook, and the fabric should feel firm with no holes when stretched. If you see daylight between stitches, drop to a 3.0 mm hook.
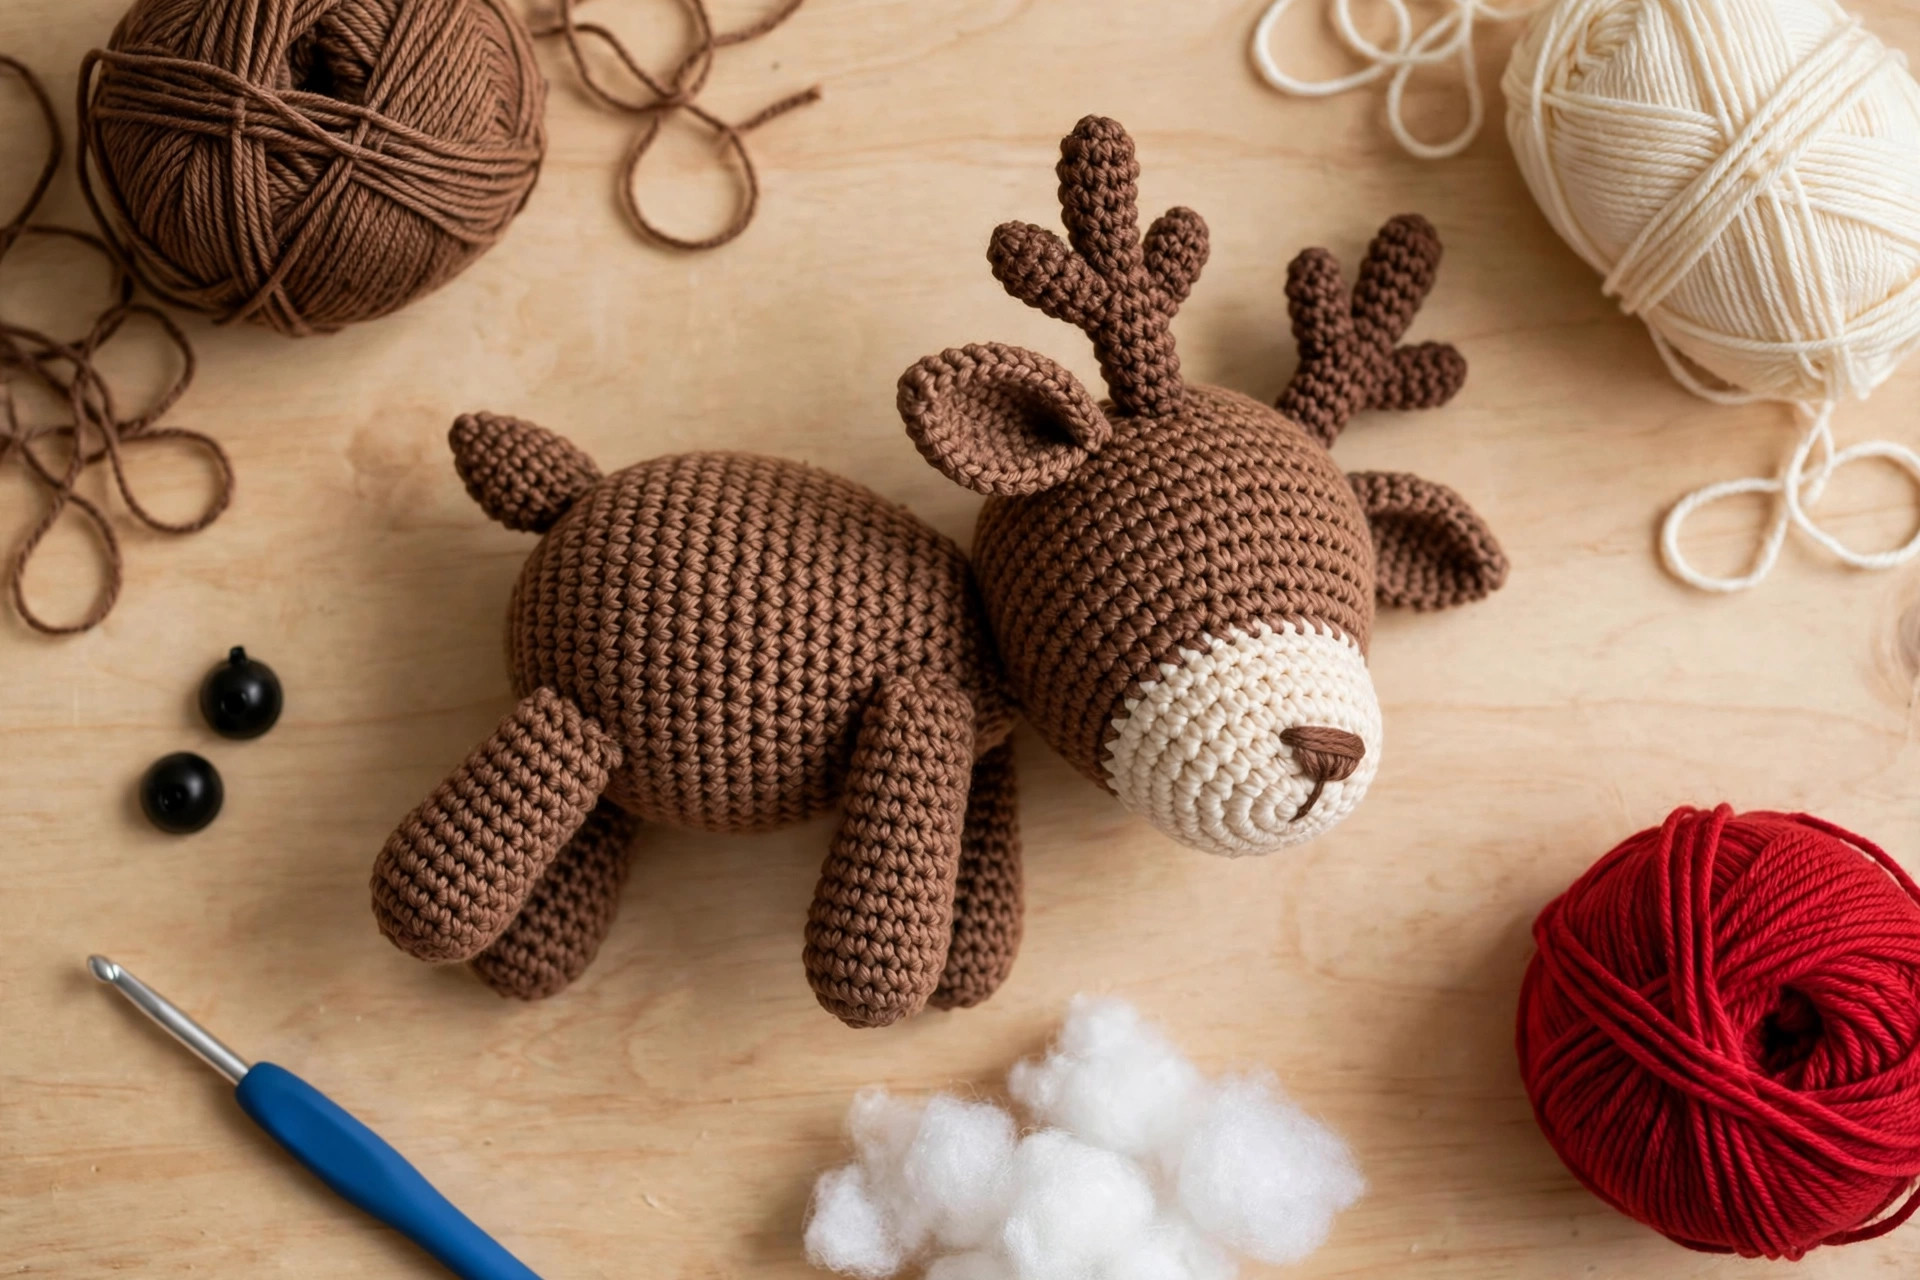
The pieces: 13 in total — 1 body, 1 head, 1 muzzle, 1 belly patch, 2 ears, 2 antlers (each a trunk plus 2 stubs), 2 arms, 2 legs and 1 tail. Assembly order: face, head to body, ears and antlers, limbs, patch and tail.
Abbreviations — US terms
US terms throughout. (UK note: a US single crochet is a UK double crochet.)
| Abbreviation | Meaning |
|---|---|
| MR | magic ring |
| sc | single crochet |
| inc | increase — 2 sc in the same stitch |
| dec | decrease — single crochet 2 together, invisible decrease recommended |
| st(s) | stitch(es) |
| rnd(s) | round(s) |
| FO | fasten off |
Invisible decrease: Insert your hook into the front loop only of the next stitch, then into the front loop only of the stitch after it. Yarn over, pull through both loops, yarn over, pull through both loops. Use this for every "dec."
A note on rounds: Work in continuous spirals — do not join or turn. Mark the first stitch of each round and move the marker up. The bold number is your stitch count for that round.
The pattern (US terms)
Work the pieces in order. Leave a long tail, about 30 cm (12 in), on every piece to be sewn on; it is your sewing thread, perfectly colour-matched.
The body — warm brown
A plump oval, widest just below the middle, worked from the base up.
- R1: MR, 6 sc (6)
- R2: inc in each st around (12)
- R3: [sc, inc] × 6 (18)
- R4: [2 sc, inc] × 6 (24)
- R5: [3 sc, inc] × 6 (30)
- R6: [4 sc, inc] × 6 (36)
- R7–R14: sc in each st around (36) — 8 rounds even
- R15: [4 sc, dec] × 6 (30)
- R16: sc in each st around (30)
- R17: [3 sc, dec] × 6 (24)
- R18: sc in each st around (24)
Stuff now, firmly, in small teased-apart tufts. Pack the lower half firmer than the top, and flatten the base with your palm — a flattened bottom is the difference between standing and toppling.
- R19: [2 sc, dec] × 6 (18)
- R20: [sc, dec] × 6 (12)
- R21: dec × 6 (6)
FO. Thread the tail through the front loop of each remaining stitch, pull tight to close, weave the end inside — the head covers it.
The head — warm brown
A friendly round sphere. Do not rush the plain rounds — they give the face its height.
- R1: MR, 6 sc (6)
- R2: inc in each st around (12)
- R3: [sc, inc] × 6 (18)
- R4: [2 sc, inc] × 6 (24)
- R5: [3 sc, inc] × 6 (30)
- R6: [4 sc, inc] × 6 (36)
- R7–R12: sc in each st around (36) — 6 rounds even
- R13: [4 sc, dec] × 6 (30)
- R14: sc in each st around (30)
- R15: [3 sc, dec] × 6 (24)
Pause and plan the face: eyes between Rounds 10 and 11, about 8 stitches apart; muzzle centred below them, top edge around Round 12. Pin the muzzle on and check the spacing looks kind, not startled. Then stuff firmly, cheeks too.
- R16: [2 sc, dec] × 6 (18)
- R17: [sc, dec] × 6 (12)
- R18: dec × 6 (6)
FO, leaving a long tail for sewing — this tail sews the head to the body. Pull the 6 stitches closed as for the body.
The muzzle — cream
A shallow, lightly stuffed cup that frames the nose embroidery.
- R1: MR, 6 sc (6)
- R2: inc in each st around (12)
- R3: [sc, inc] × 6 (18)
- R4: [2 sc, inc] × 6 (24)
- R5: sc in each st around (24)
FO, leaving a long tail. Do not stuff yet — it gets a pinch of filling as you sew it on, and too much turns a muzzle into a snout.
The belly patch — cream
A flat cream circle, stretched a whisper taller than wide as you pin it, so it reads as an oval.
- R1: MR, 6 sc (6)
- R2: inc in each st around (12)
- R3: [sc, inc] × 6 (18)
- R4: [2 sc, inc] × 6 (24)
- R5: [3 sc, inc] × 6 (30)
FO, leaving a long tail. Press it flat between your palms. It sits low on the front of the body, top edge about level with the body's widest point.
The ears — dark brown, make 2
Small, soft ovals set below the antlers. Dark brown photographs best; warm brown also works.
- R1: MR, 6 sc (6)
- R2: [sc, inc] × 3 (9)
- R3: [2 sc, inc] × 3 (12)
- R4: sc in each st around (12)
FO, leaving a long tail. Do not stuff. Flatten each ear and pinch the open edge together; sewing that pinched edge on gives a natural, cupped shape.
The antlers — dark brown, make 2
Each antler has three parts: a trunk tube and two point stubs. Crochet all three, stuff the trunk lightly, then sew the stubs on at angles in assembly — one up and forwards from near the tip, one up and backwards a little lower. Worked tightly, the trunk stands on its own.
The trunk — make 1 per antler:
- R1: MR, 6 sc (6)
- R2–R6: sc in each st around (6) — 5 rounds even
FO, leaving a long tail. Push a pea of stuffing down the trunk with a chopstick, or thread a doubled strand of dark yarn through the centre as a soft core. The point stubs — make 2 per antler (4 in total):
- R1: MR, 5 sc (5)
- R2–R3: sc in each st around (5) — 2 rounds even
FO, leaving a long tail. Do not stuff; sewing flattens each stub's base neatly against the trunk. Set all six parts aside — you will join them in assembly, where you can judge the angles against the head.
The arms — warm brown, make 2
Two small arms worked from the hand up, angled slightly forwards.
- R1: MR, 6 sc (6)
- R2: [sc, inc] × 3 (9)
- R3–R6: sc in each st around (9) — 4 rounds even
- R7: [sc, dec] × 3 (6)
FO, leaving a long tail. Stuff only the lower half lightly, then flatten the top edge — it sews flush and lets the arm hang naturally.
The legs — dark brown feet, then warm brown, make 2
Short, sturdy legs for a reindeer that sits as much as it stands — with dark brown feet that read as little hooves.
- R1: In dark brown, MR, 6 sc (6)
- R2: inc in each st around (12)
- R3: sc in each st around (12) — change to warm brown at the end of this round
- R4–R6: sc in each st around (12) — 3 rounds even
- R7: [2 sc, dec] × 3 (9)
FO, leaving a long tail. Stuff firmly — legs take the reindeer's weight — and flatten the top edge before sewing. For a clean colour change, work the final yarn over of the last dark stitch with the warm brown yarn.
The tail — warm brown
A tiny finishing flick — shelf reindeer get admired from every angle.
- R1: MR, 6 sc (6)
- R2: [sc, inc] × 3 (9)
- R3: sc in each st around (9)
- R4: [sc, dec] × 3 (6)
FO, leaving a long tail. Stuff lightly or leave it soft.
Finishing and assembly
Work in this sequence: face first, head onto body, then ears and antlers, then arms, legs, belly patch and tail. Pin everything before sewing — moving a pin takes seconds; unpicking takes patience.
1. Build the face while the head is still separate. Pin the muzzle centred, top edge around Round 12, add a pinch of stuffing and sew around its edge. Push a 10 mm safety eye through each side between Rounds 10 and 11, about 8 stitches apart and level, then press the washers on until they click.
2. Embroider the nose. Red yarn for cheerful, dark brown for classic. Work five or six horizontal satin stitches across the top centre of the muzzle — a rounded oval about four stitches wide — then one short vertical stitch down from its bottom centre for a mouth line. Bury the ends inside.
3. Sew the head to the body. Sit it on the closed top of the body, centred, face forward, tilted very slightly down — that tiny tilt makes the expression gentle. Pin, check both sides, then sew two full passes around the join, pulling each stitch snug.
4. Build and attach the antlers. Sew the first stub to the front of the trunk, two rounds down from the tip, angled up; the second to the back, two rounds lower, also angled up. Mirror for the second antler. Sew each antler to the top of the head around Rounds 4 to 5, wide apart, tilted slightly outwards — two passes, because antlers are what small hands grab first.
5. Attach the ears. Pinch each ear closed and sew it just below and behind its antler, around Rounds 6 to 7, angled outwards a little.
6. Attach the arms and legs. Sew the legs to the lower front of the body, about 6 stitches apart, angled forwards so the dark feet show. Sew the arms to the sides just below the head join, angled forwards. Sew around each flattened top edge twice.
7. Add the belly patch and tail. Pin the patch low on the front of the body, stretched a whisper taller than wide, and sew around its edge. Sew the tail to the back, centred, halfway up.
8. Final tidy. Weave in every end by travelling at least 2 cm inside the stuffing before trimming. Roll the body between your palms, stand your reindeer up, and adjust the antlers. A crochet Christmas stocking hung beside it completes the scene.
Tips for a reindeer that looks right
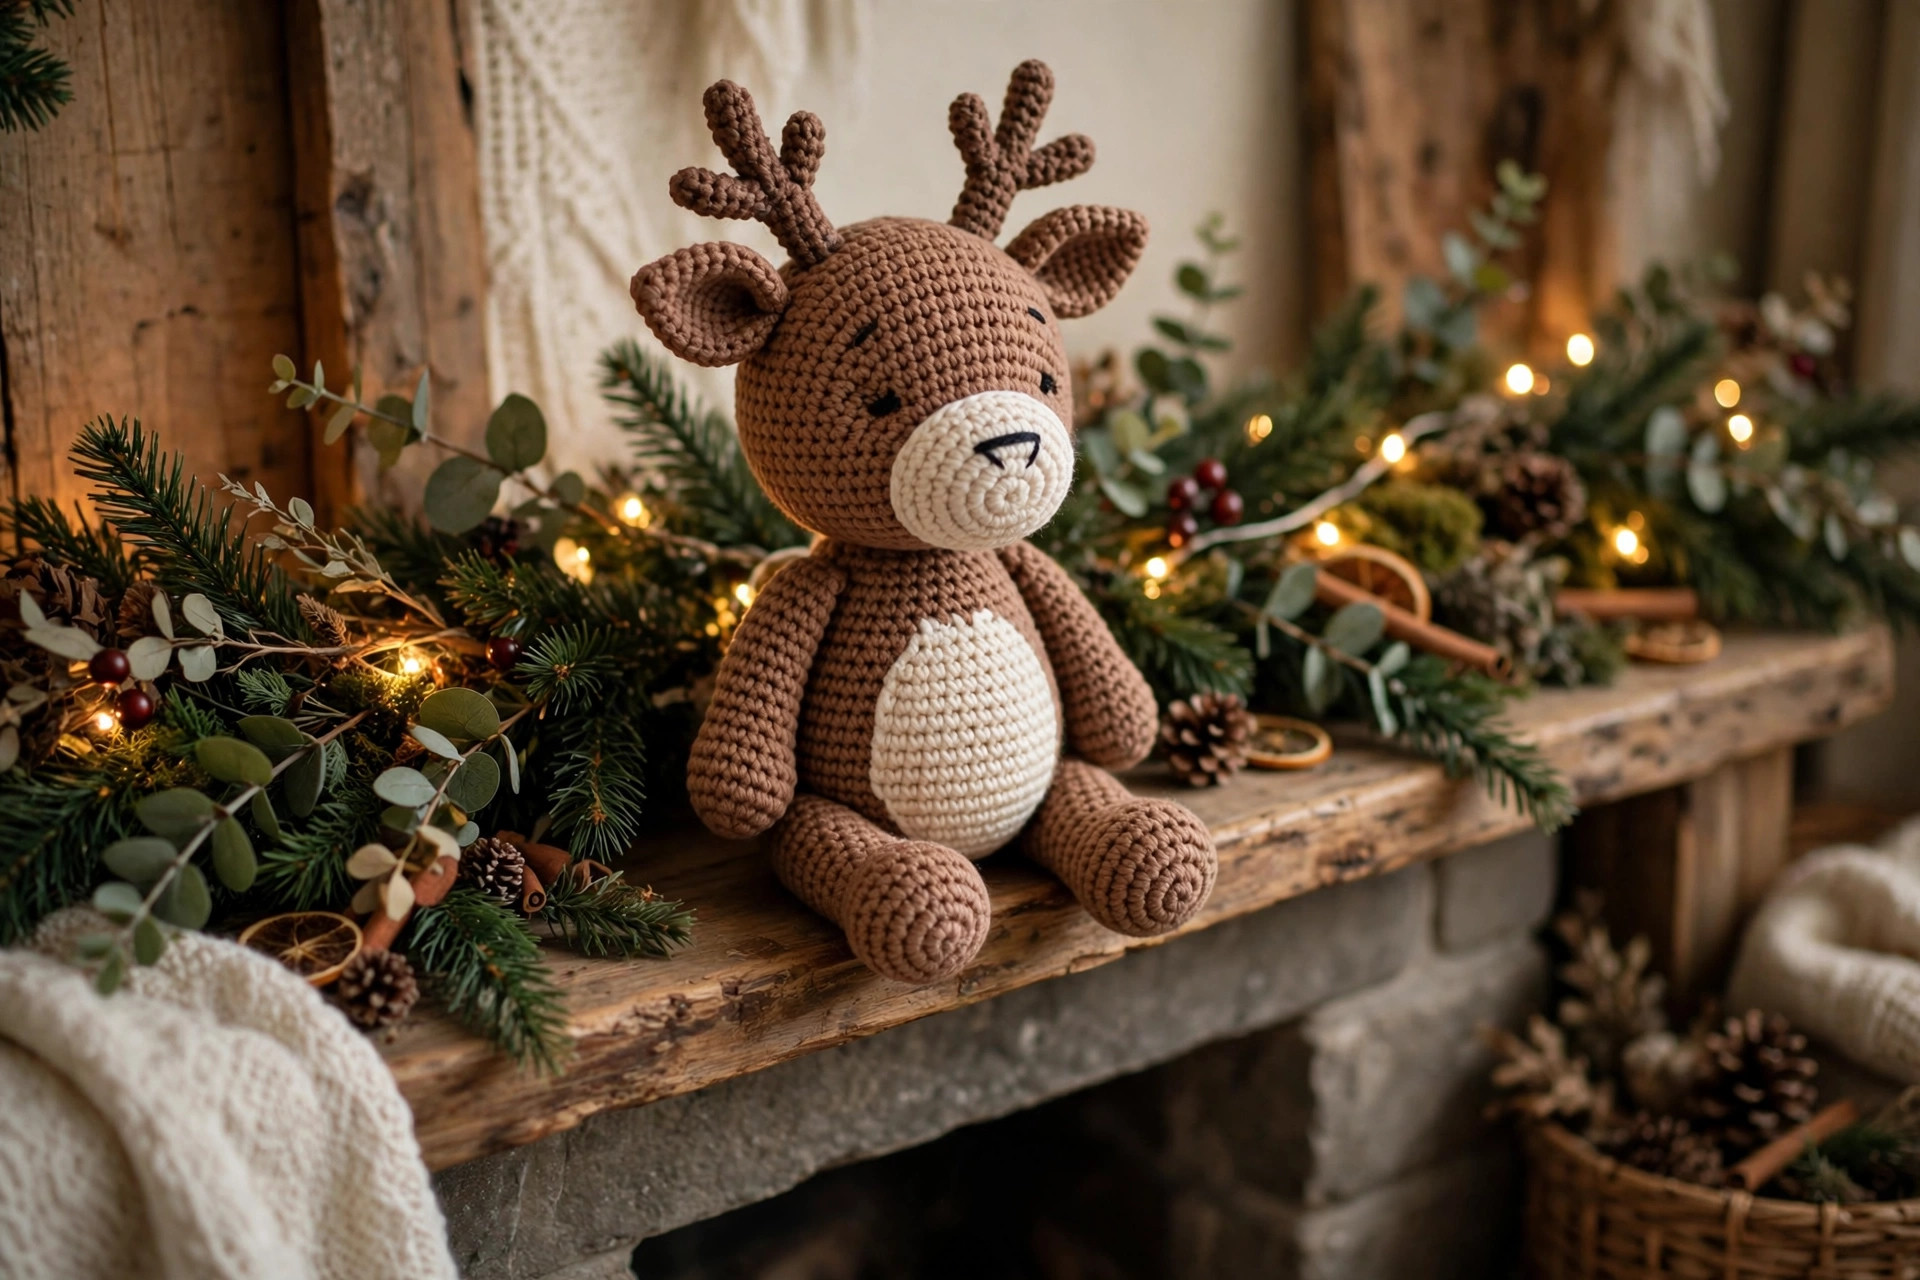
Antler stiffness without wire. Tight stitches on a 3.5 mm hook, a short trunk, and a light core of stuffing or doubled yarn. If an antler still leans, it is usually the sewing — add a second pass of stitches around its base.
Pin the whole face before sewing any of it. Muzzle down one round and the deer looks babyish; up one round, stern. Eyes one stitch too wide read as surprised. Two minutes with pins is the highest-value time here.
Stuff the base firmer than the top. Pack the bottom third of the body firmly, keep the top softer, flatten the base as you go. If your reindeer still prefers sitting, let it sit.
Change colour on the last yarn over. Finish the final stitch of the old colour with the new colour. One clean line instead of a speckled step — on the hoof line it really shows.
Make the herd in stages. Bodies one evening, heads the next, a project bag of ears, stubs and tails for odd half-hours. Assembly day goes twice as fast when every piece is waiting.
Safety note for small children. For a child under three, embroider the eyes instead — two small black satin-stitch ovals in the same positions, nothing that can work loose.
FAQ
Is this crochet reindeer pattern really free and original?
Yes — a complete, original Little Loop Finds design with its own stitch counts for every piece, published in full here for free. Make as many as you like for yourself and for gifts.
How long does the reindeer take to make?
About 4 to 5 hours: body and head roughly 45 minutes each, small pieces about an hour and a half, assembly around an hour. Split it across two evenings and it feels easy.
Do the antlers really stand up without wire?
They do: tight stitches on a 3.5 mm hook, a trunk only six stitches around and five rounds tall, and a whisper of stuffing or a doubled yarn strand through the centre. Short plus tight equals upright. Scaling up in chunkier yarn? Sew them on with two firm passes and a slight backward tilt.
Can I give my reindeer a red nose?
Absolutely — it is written into the finishing steps as an equal option. Red yarn gives the bright, storybook look; dark brown a classic woodland deer, with identical stitches either way. A tiny cream inner-ear detail is another easy variation.
Can I make the reindeer bigger or smaller?
Yes — change yarn and hook together, keep every count the same. Bulky yarn with a 5.0 to 6.0 mm hook gives roughly 32 cm (12.5 in); DK yarn with a 3.0 mm hook, about 16 cm (6.25 in). Scale the eyes too — 12 mm or 6 mm — and keep the antler hook small at any size.
Can I sell reindeer I make from this pattern?
Yes — you may sell finished reindeer made by hand from this pattern in small quantities, crediting Little Loop Finds as the designer. Please do not copy or republish the pattern text and photos themselves.
What to crochet next
Your reindeer needs company, in the same easy spiral style:
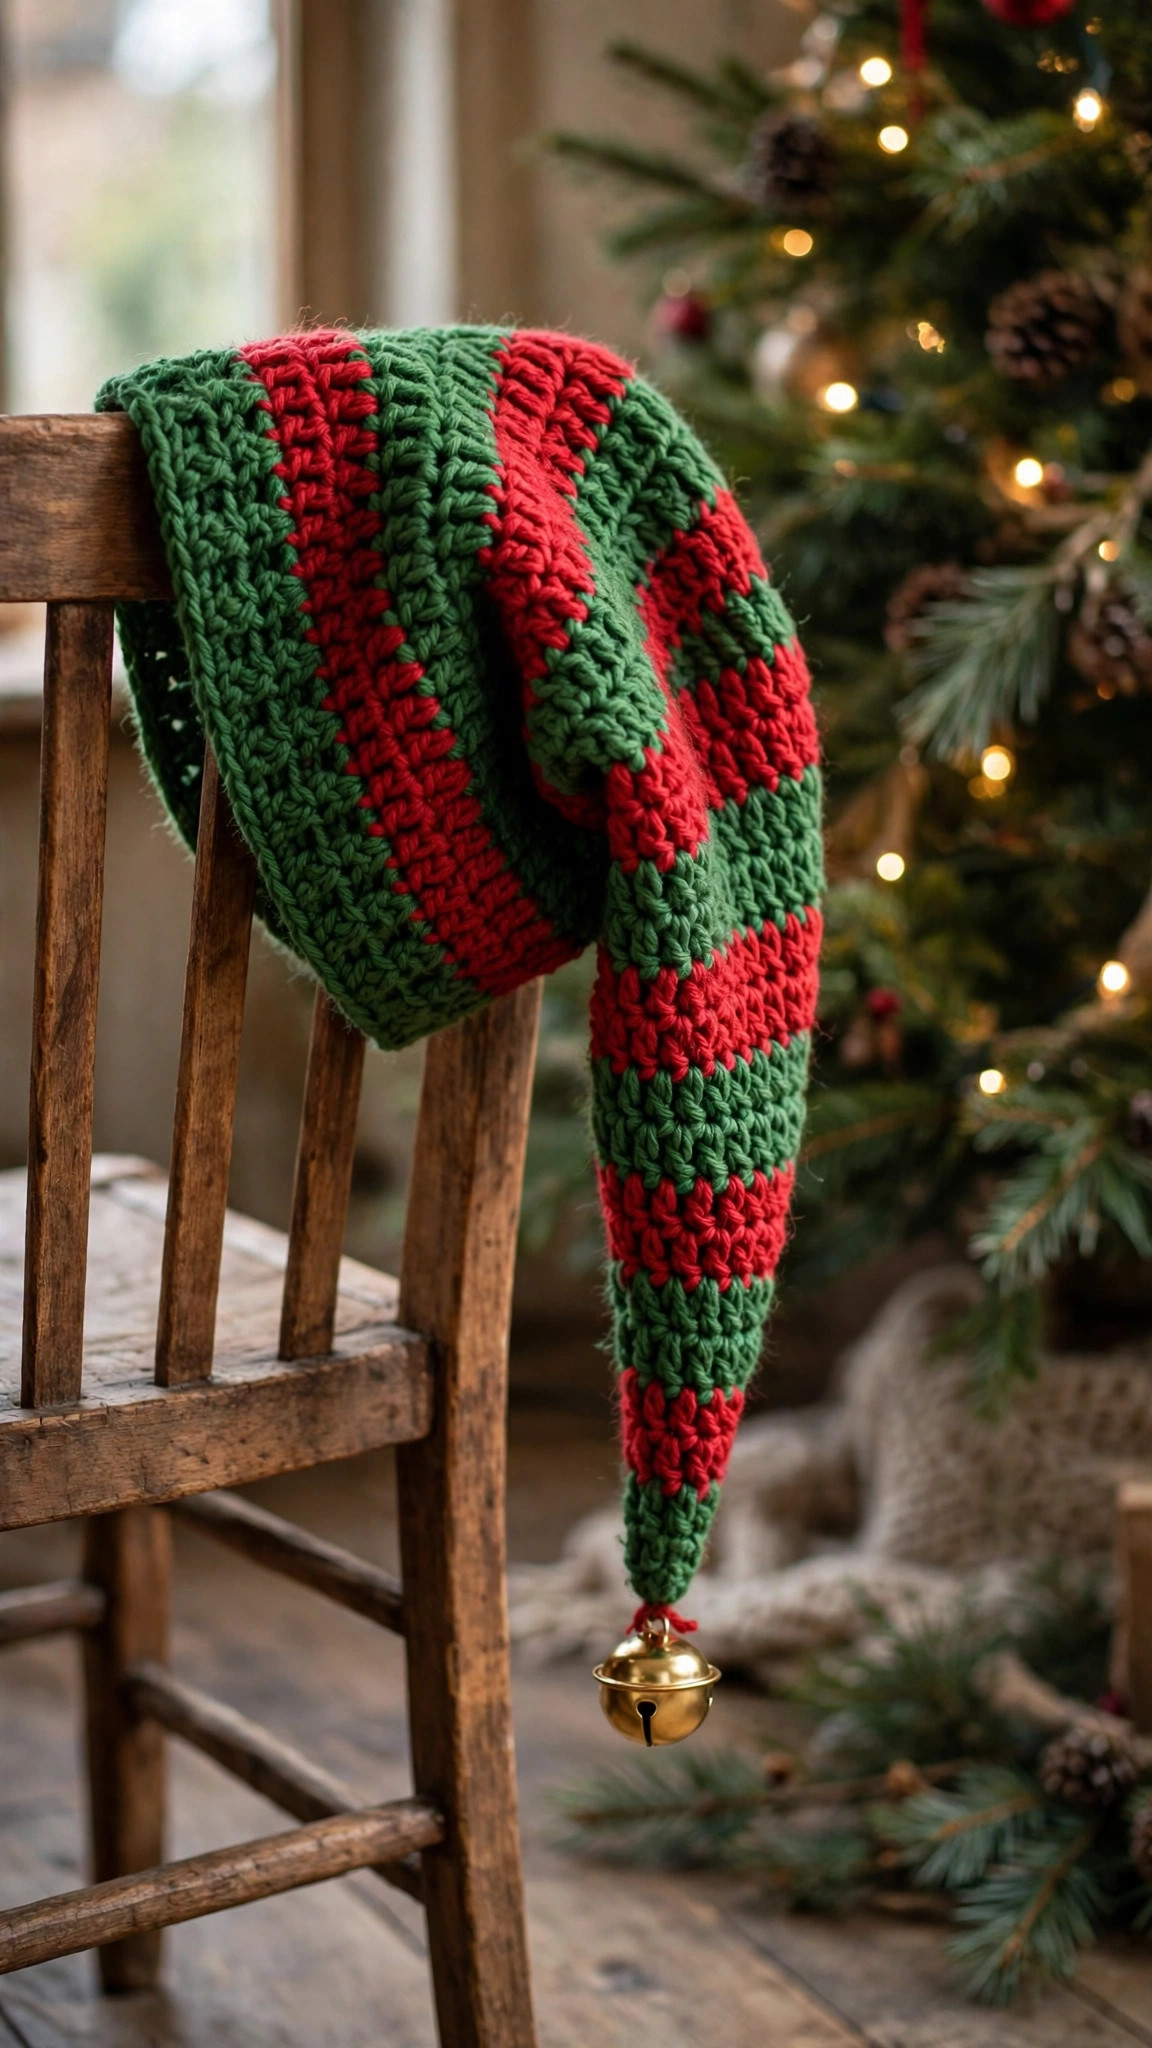
- Dress the maker, not the shelf, with a crochet elf hat pattern — a quick festive make for photos and parties.
- Try another woodland favourite with the highland cow crochet pattern — horns, a shaggy fringe and a boopable muzzle.
- Go long and floppy with our crochet ferret free pattern — a whole noodle of an amigurumi, mask and sock legs included.
Happy crocheting — may your antlers stand tall.
The box below contains an Etsy link. If you buy through it, we may earn a small commission at no extra cost to you. Learn more.
No time to make one?
Short on time? Find handmade crochet reindeer from independent makers on Etsy.
Browse on Etsy (opens Etsy in a new tab)