Free Crochet Shrug Pattern: Easy One-Piece Bolero
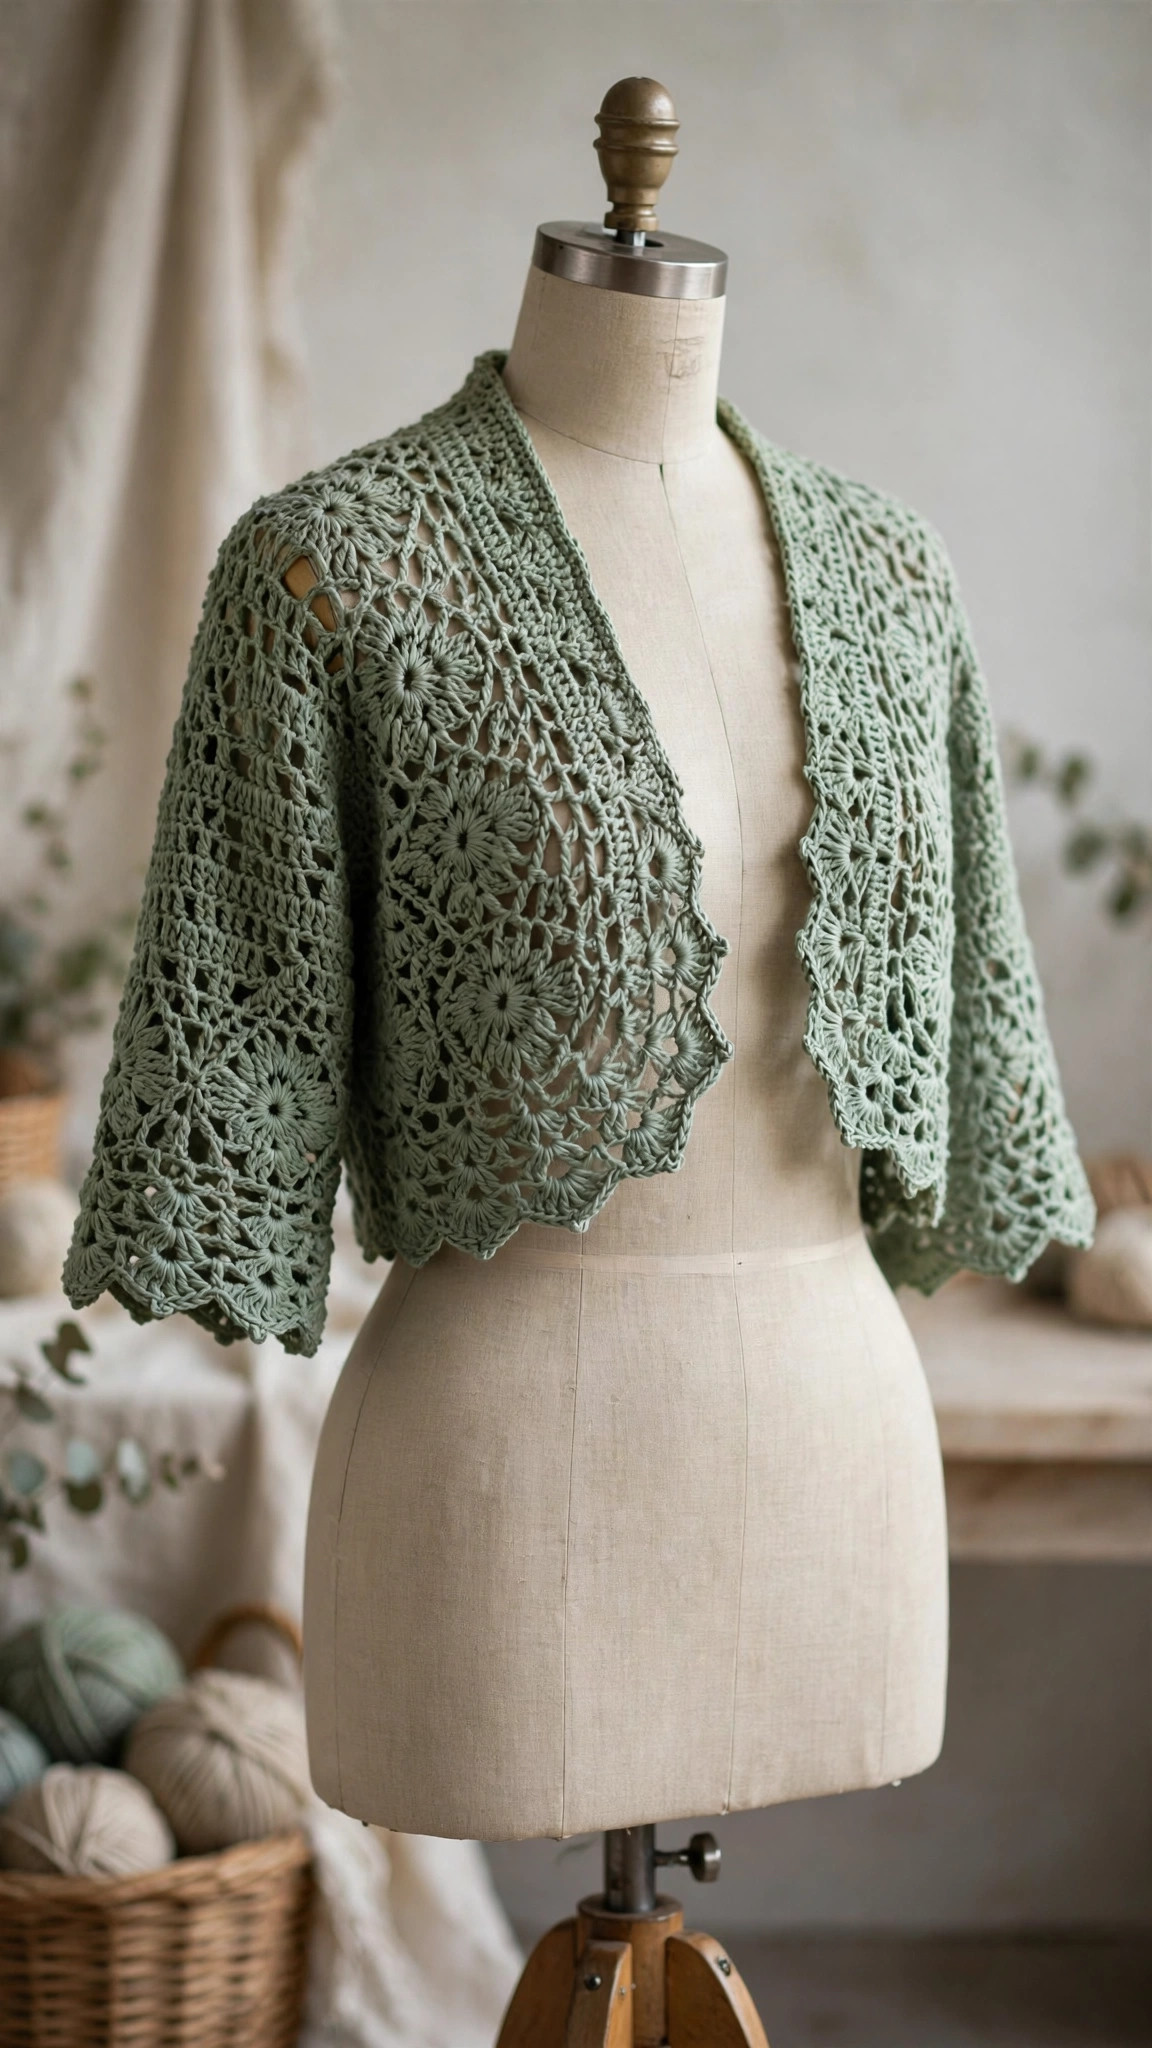
One lacy V-stitch rectangle, folded and seamed partway along both long edges to form the sleeves — an easy one-piece bolero shrug in sizes S/M and L/XL, with full stitch counts and an arm-span custom-fit method.

Wearables · Crochet
- Finished size
- Sizes S/M and L/XL
- Making time
- About 4–6 hours
- Hook
- 5.5 mm, worsted or DK yarn
- Pieces
- 1 rectangle, 2 sleeve seams
- Skill
- Easy
In this post
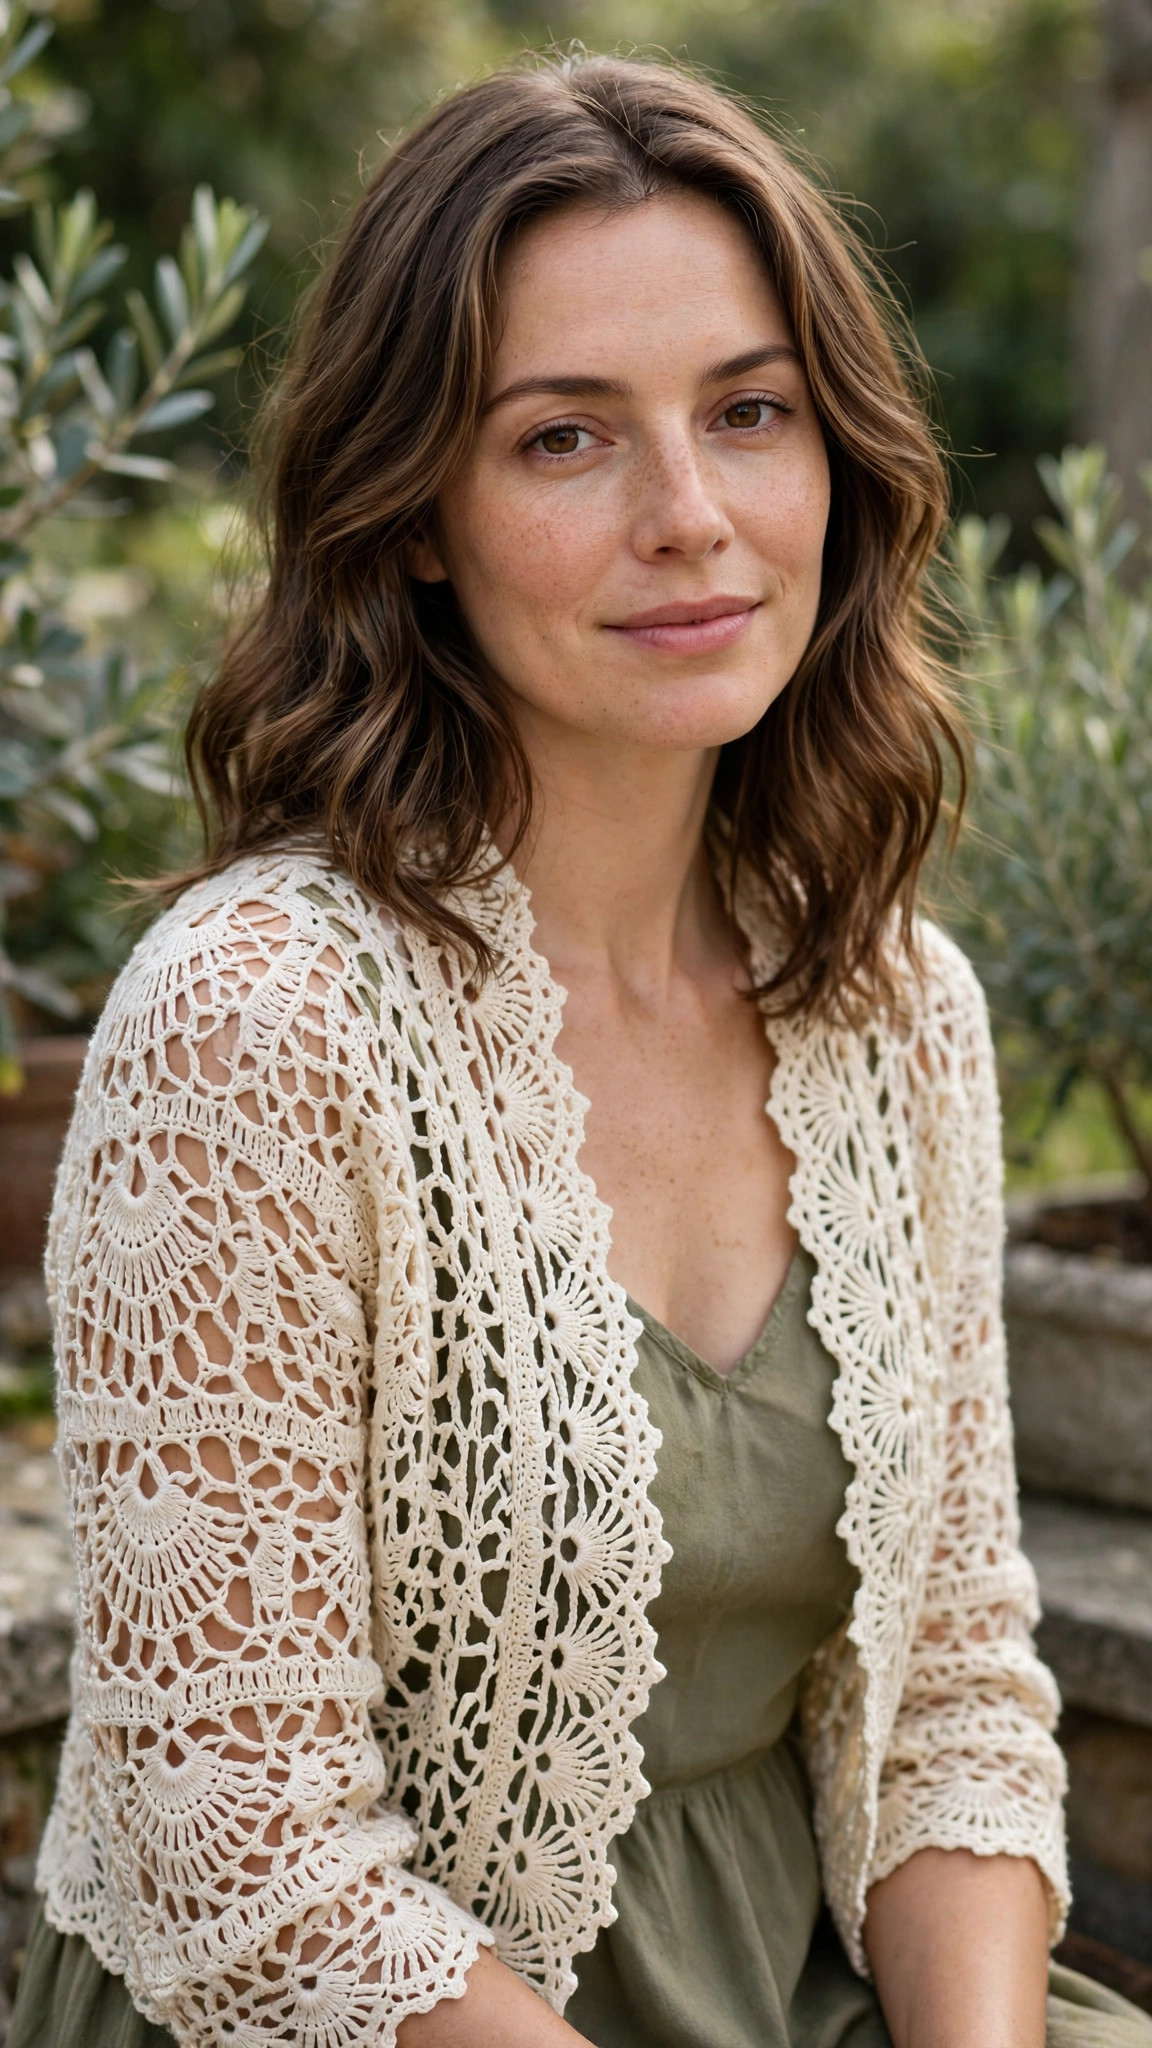
Some patterns ask you to make two fronts, two sleeves, and a back, then hold your breath while you sew them together and hope the shoulders match. This free crochet shrug pattern is not one of those. You crochet one simple rectangle, in one lacy stitch, from one end to the other. Then you fold each end so the long edges meet, seam a short way in from both ends to form the sleeves, and work a pretty edging around the opening left behind. That is the whole garment — no shaping, no sleeves to set in, no shoulder seams.
This is an original Little Loop Finds design, from our own measurements and stitch math. The body is a gentle V-stitch mesh: open enough to feel airy and show off what you wear underneath, but close enough to be a real layer on a cool evening. Single crochet firms up the edges, and a simple scallop finishes the opening and cuffs.
The pattern comes in two sizes, S/M and L/XL, with different chains, rows, and measurements for each, plus a custom-fit method based on your own arm span. Make your first in cream or sage, as photographed — and do not be surprised when you start a second in a colour for the other half of your wardrobe.
Contents
- Why you'll love this crochet shrug
- Materials you'll need
- Size, gauge and skill level
- Abbreviations — US terms
- The pattern (US terms)
- Finishing and assembly
- Tips for a shrug that fits beautifully
- FAQ
- What to crochet next
Why you'll love this crochet shrug
First, the construction really is as kind as it sounds. Beginners often stall where a cardigan asks for armhole shaping and sleeve caps, and this shrug simply removes that point. You repeat one relaxing row until the rectangle reaches the right depth, then folding and seaming do the clever work. If you can double crochet and chain, you can make this.
Second, it is wonderfully wearable. A shrug covers shoulders and upper arms without hiding an outfit — the layer we reach for over a sundress, a wedding-guest dress, or a plain vest top. It takes the edge off air conditioning, softens a sleeveless dress for evening, and packs down to almost nothing.
Third, it is fast and forgiving. The open stitch grows quickly, there are no increases or decreases to track, and small tension wobbles disappear under the edging and blocking.
Finally, it adapts endlessly: cotton for summer, soft acrylic for everyday wear, a gentle halo yarn for evenings. Lengthen the seaming for a closer sleeve, shorten it for a looser bolero, or add extra edging for a frillier finish. If one-piece garments are your happy place, our crochet circle vest pattern uses a similarly clever idea in a different shape.
Materials you'll need
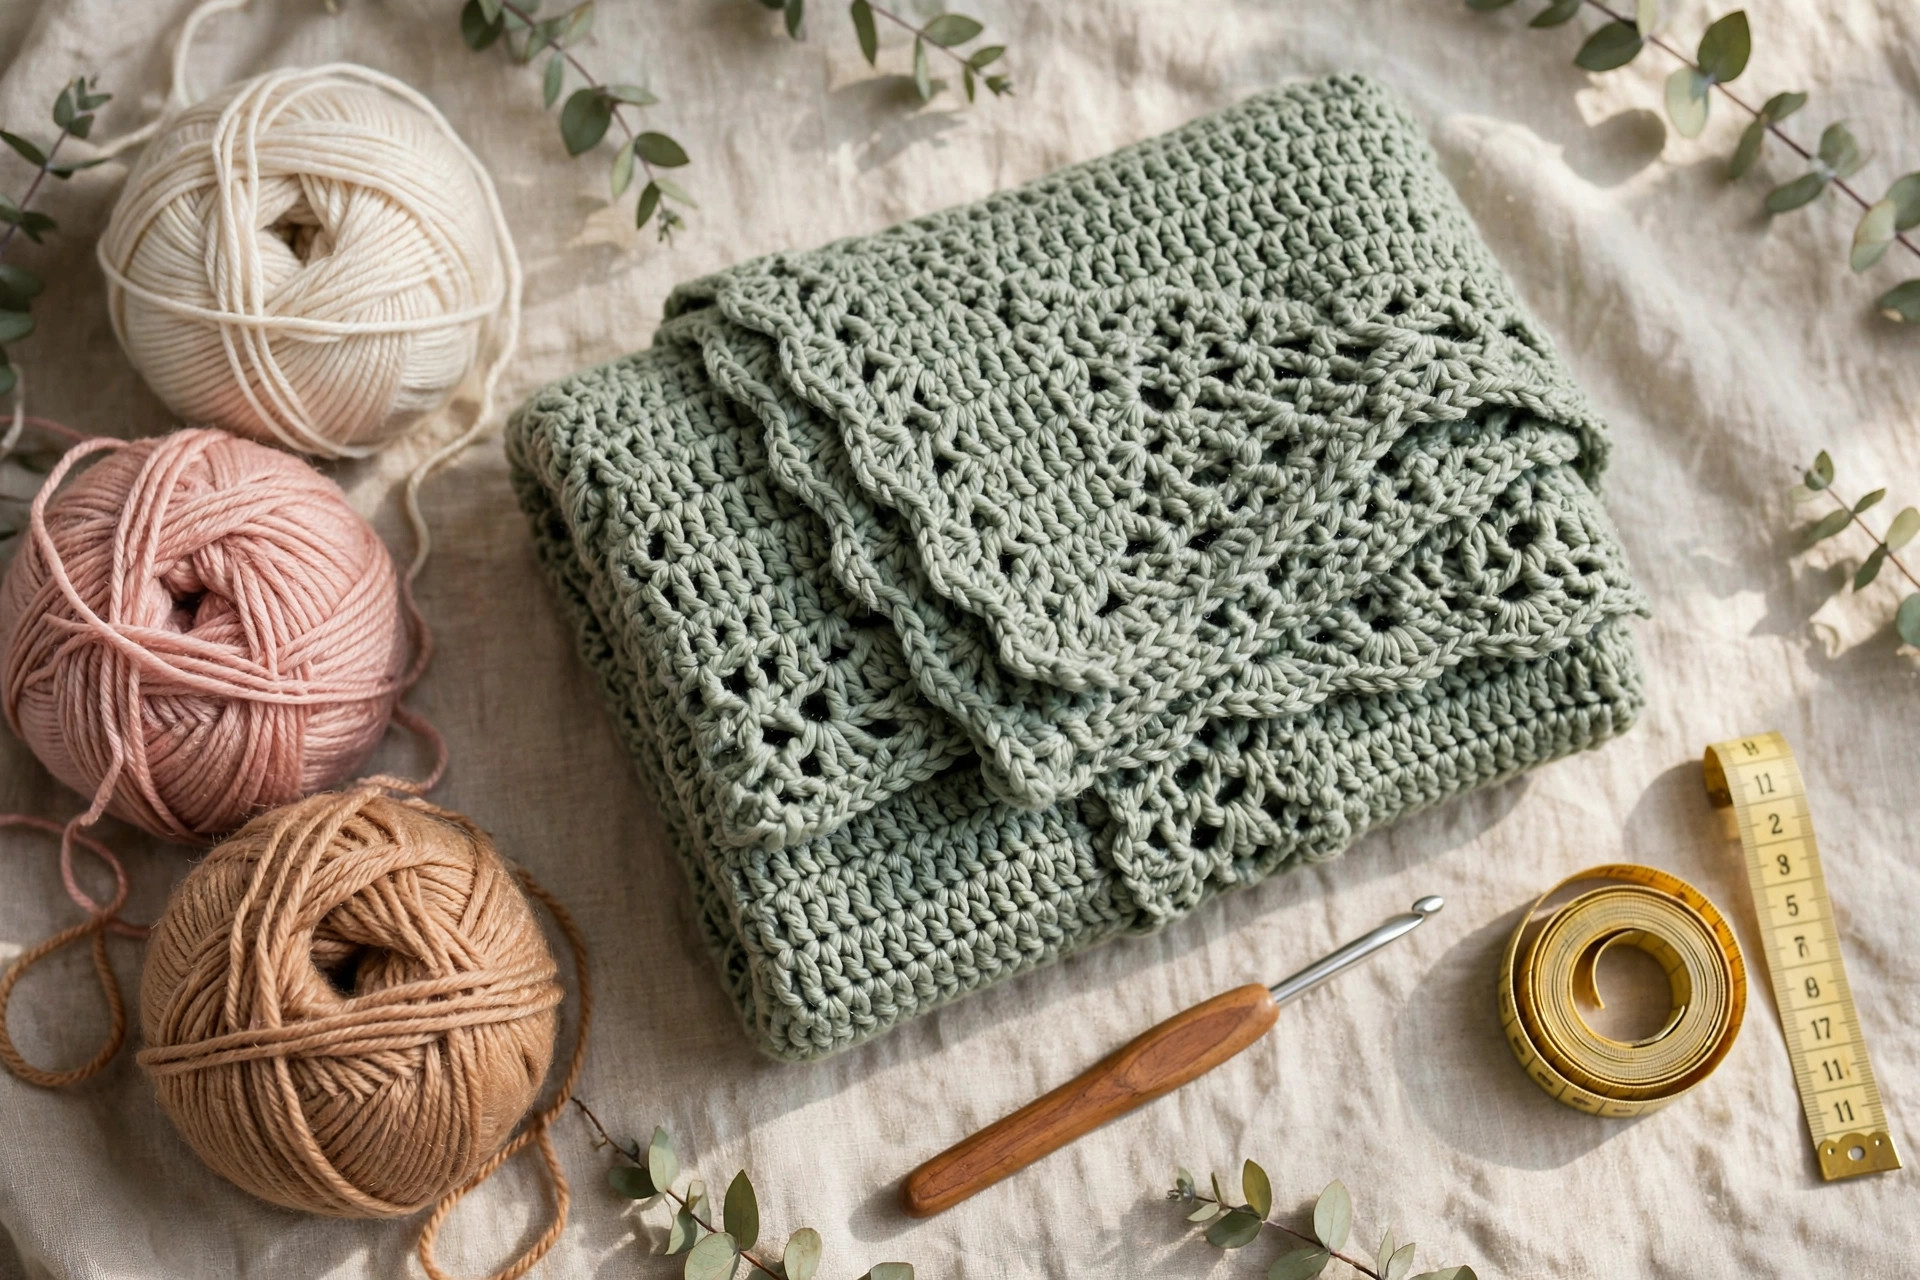
Worsted-weight yarn is our first recommendation: a clear, readable stitch, satisfying speed, and just enough warmth. DK also works, for a lighter, drapier shrug — same 5.5 mm hook, but work to measurements rather than row counts, and expect a few more rows. Either way, choose a smooth yarn with good drape: soft acrylic, an acrylic-cotton blend, or cotton with a little give. Avoid stiff, rope-like yarns, which fight the sleeve fold, and fluffy yarns at first, which hide your V-stitches.
Cream, stone, and sage go with almost everything. Save variegated yarn for a second shrug — a solid shows the scallops best.
| Supply | What to get |
|---|---|
| Main yarn | Worsted (category 4), about 350 g / 620 yards for S/M, 450 g / 800 yards for L/XL — or DK, about 300 g / 750 yards for S/M, 380 g / 950 yards for L/XL |
| Hook | 5.5 mm (US I-9) |
| Measuring tape | Soft dressmaker's tape |
| Notions | Yarn needle, stitch markers or safety pins, scissors |
| Blocking kit | Rustproof pins and foam mats, or a clean towel |
| Optional | A 5.0 mm hook, if your edging flares |
Amounts include a margin for swatch and edging. Custom-fitting to a longer arm span? Buy one extra ball while the dye lot lasts.
Size, gauge and skill level
Skill level: Easy. You need chain, double crochet, single crochet, slip stitch, and a V-stitch — two double crochets separated by a chain in the same place. There is no shaping anywhere.
Finished sizes: Written as S/M (L/XL) throughout — S/M first, L/XL in brackets, as in ch 145 (169). Highlight your size before you start.
- Rectangle before seaming: 92 cm / 36 in wide by 51 cm / 20 in deep for S/M; 108 cm / 42.5 in wide by 60 cm / 23.5 in deep for L/XL.
- Body opening left unseamed: 36 cm / 14 in of each long edge for S/M; 42 cm / 16.5 in for L/XL.
- Sleeve seam length: 28 cm / 11 in from each end for S/M; 33 cm / 13 in for L/XL.
- Finished back length: about 51 cm / 20 in for S/M; 60 cm / 23.5 in for L/XL, sitting cropped like a bolero.
Gauge: 5 V-stitches and 7 rows measure 10 cm / 4 in in pattern with worsted yarn and a 5.5 mm hook, after light blocking.
Gauge swatch: Chain 25 and work Row 1 below — you should have 6 V-stitches and an edge double crochet at each end. Work Rows 2 to 9, fasten off, lay the swatch flat, and measure the middle 5 V-stitches and 7 rows. Smaller than 10 cm? Go up to a 6.0 mm hook. Larger? Drop to 5.0 mm. Half a centimetre here becomes several across a back, so this is worth fifteen minutes.
Custom fit — measure your arm span: Stand relaxed, arms out to the sides. Have a helper measure from where you want one cuff to end, across your back, to the same point on the other forearm: that is your rectangle's width, and mid-forearm cuffs suit most people. For depth, measure from one shoulder down your back to where you want the lower edge, plus about 5 cm / 2 in, because the top edge folds towards the neck when worn. Most adults land between 48 and 62 cm / 19 and 24.5 in. Chain a multiple of 3, plus 1, giving your width at swatch gauge — roughly 5 chains per 2 cm — and work rows to your depth. Seaming and edging below use proportions, so they suit a custom rectangle too.
Abbreviations — US terms
US terms throughout. (UK note: a US double crochet is a UK treble crochet; a US single crochet is a UK double crochet.)
| Abbreviation | Meaning |
|---|---|
| ch | chain |
| dc | double crochet |
| sc | single crochet |
| sl st | slip stitch |
| V-st | V-stitch — (dc, ch 1, dc) in the same stitch or space |
| st(s) | stitch(es) |
| sk | skip |
| rep | repeat |
| FO | fasten off |
V-stitch, slowly: Work a double crochet, chain 1, then a second double crochet into the same place. After Row 1, work each new V-stitch into the chain-1 space at the heart of the V below, not into the double crochet tops. That keeps the mesh even.
Turning chains: The chain-3 at each row's start counts as the first edge double crochet. At a row's end, work into its third chain.
The pattern (US terms)
Work the rectangle in one piece, cuff to cuff. The foundation chain runs across the full width — one cuff, up one sleeve, across the back, down the other sleeve — and each row builds the depth. Work loosely; a lacy stitch pulled tight loses its drape. Check the width after Row 3: restarting three rows beats restarting thirty.
Foundation and Row 1 — setting up the V-stitches
Foundation chain: Ch 145 (169). Count in groups of twenty, marking each group with scrap yarn if it helps. A chain a stitch or two out will throw every V-stitch that follows, so this count cannot be fudged.
- Row 1: Dc in the 4th ch from your hook (the 3 skipped chains count as the first edge dc). Sk the next 2 ch, V-st in the next ch. Rep from * to * until 3 ch remain, sk the next 2 ch, dc in the last ch. Counts: 46 (54) V-sts, plus 1 edge dc at each end — 94 (110) dc in total, not counting chains.
If your V count is out by one, recount now — it is almost always a chain that was not skipped.
Rows 2 onwards — the row you will repeat
Every remaining row is the same, which makes this lovely evening crochet: after three rows, your hands know the way.
- Row 2: Ch 3 (counts as first dc), turn. V-st in the ch-1 space of the first V-st below. V-st in the ch-1 space of the next V-st. Rep from * to * across. Dc in the top of the turning chain below. Counts: 46 (54) V-sts, plus 1 edge dc at each end, as Row 1.
- Rows 3 to 36 (42): Rep Row 2 until you have 36 (42) rows in total, counting Row 1. Counts stay the same every row: 46 (54) V-sts and 2 edge dc.
Measure the depth near the end, laid flat without stretching. At gauge, 36 (42) rows give 51 (60) cm / 20 (23.5) in. If custom-fitting, stop at your chosen depth, even a row or two either side of the count. In DK, rows may run shorter and you may need 2 to 4 extra — trust the tape over the count.
Checking the rectangle, and the seaming diagram in words
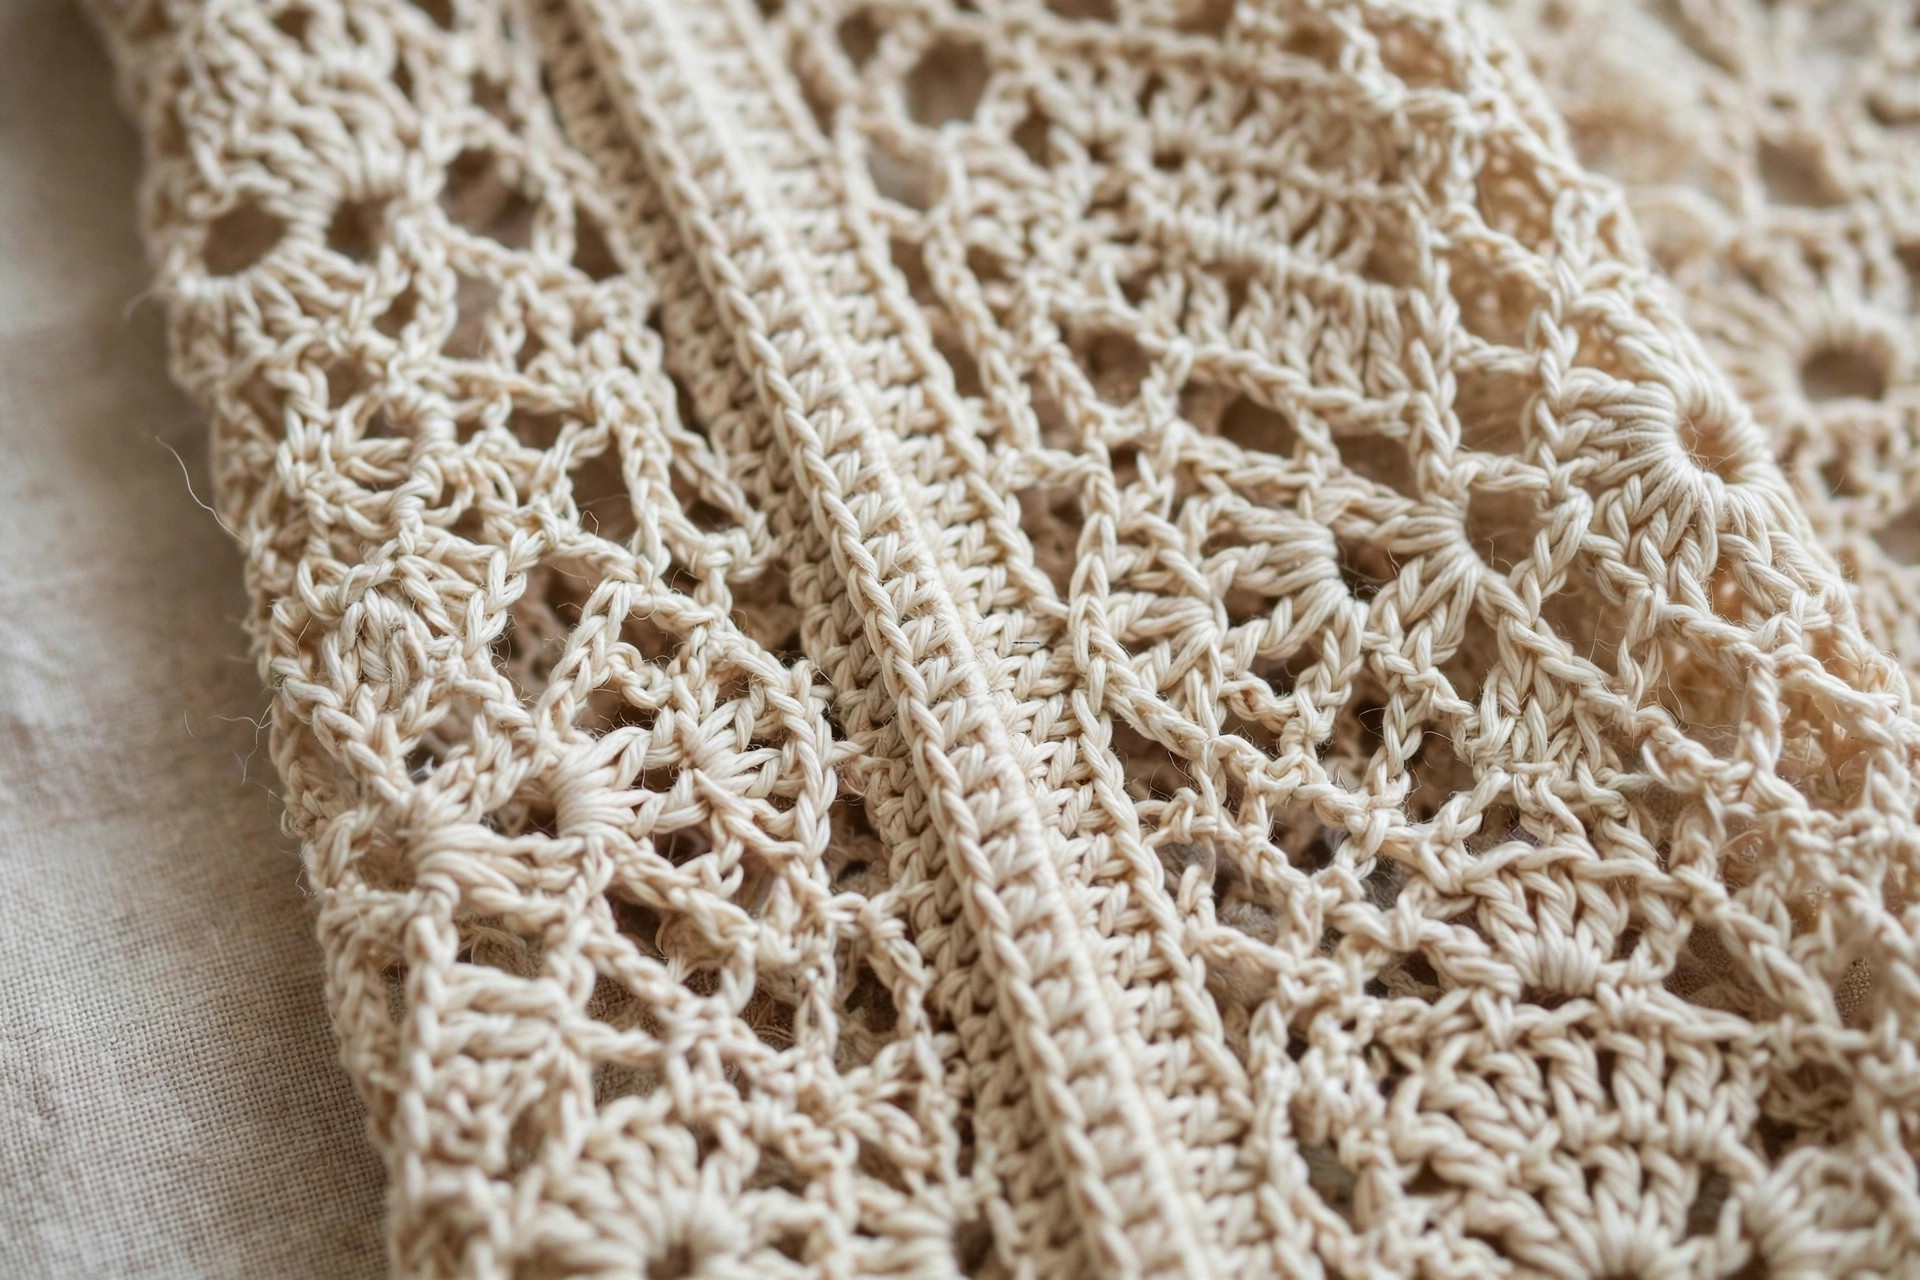
Before fastening off, lay the rectangle flat and check three things. Width: close to 92 (108) cm / 36 (42.5) in, or your arm-span figure, measured gently — a centimetre or two under is normal, as lacy work relaxes in blocking. Edges: both long edges the same length and reasonably straight; a slight wave is fine, a strong curve means your edge stitches were tighter or looser than the Vs. Fit: hold it behind your shoulders, a cuff end in each hand, and check the ends land where you want your cuffs. This is your last cheap moment to add or unpick rows. Happy? Fasten off with a short tail — sleeves are seamed with separate yarn.
Now the seaming diagram, in words. Lay the rectangle flat, wrong side up, one long edge at the top, the other at the bottom, short edges — your future cuffs — at left and right. Imagine it divided lengthways into three sections: for S/M, each side is 28 cm / 11 in and the middle 36 cm / 14 in; for L/XL, the sides are 33 cm / 13 in and the middle 42 cm / 16.5 in. Pin the four boundary points, top and bottom.
At the left end, fold the rectangle so the top long edge meets the bottom long edge, but only within that left section — the end curls into a tube. The far-left short edge becomes a circle: your cuff opening; the tube is your sleeve. Repeat at the right end. The middle stays flat — the back of your shrug — and the unjoined long edges form the body opening. Pin both sleeves where the edges meet, from each end to your markers — 28 (33) cm / 11 (13) in — and try it on, pins and all, before sewing. Moving a pin now costs nothing.
Finishing and assembly
Work in this order: seam both sleeves, edge the body opening, edge the cuffs, then block.
1. Seam the sleeves. Thread a needle with yarn about three times the seam length. From the cuff end towards the marker, join the long edges with mattress stitch, or firm slip stitches through both edges from the wrong side for a more defined seam. Stay in line with the edge double crochets and V-stitch bases, checking every few centimetres that both edges travel together evenly — lacy fabric creeps, and spare fabric bunched into the last centimetre will pucker. Stop at your marker, fasten off, repeat on the second sleeve, and weave tails in along the seam.
2. Edge the body opening. Turn the shrug right side out; the opening is the loop formed by the unseamed middle sections of both long edges. Join yarn at an underarm point, where a seam ends, so the join hides. Round 1: single crochet evenly around, roughly 1 sc in each row end and 2 sc across each V-stitch base, aiming for a multiple of 3 — adjust with an occasional extra sc; the scallop is forgiving. Join with a sl st. Round 2: ch 1, sc in the same stitch, sk 2 sts, 5 dc in the next st, sk 2 sts, sc in the next st. Rep around, join, FO. A gentle scallop — the detail everyone assumes was difficult.
3. Edge the cuffs. Join yarn at one cuff's seam. Round 1: sc evenly around the short edge, roughly 1 sc per row end or stitch, keeping the cuff relaxed, not gathered. Join with a sl st. Round 2: the same scallop — sk 2 sts, 5 dc in the next st, sk 2 sts, sc in the next st — adjusting once, skipping 1 or 3 stitches a single time, if the count does not land neatly. Join, FO, repeat on the second cuff. For a firmer, ribbed cuff, swap Round 2 for two rounds of single crochet in the back loops only, gathering the cuff slightly for a tailored finish.
4. Weave in every end. Thread each tail through at least three changes of direction before trimming — open work lets ends wriggle free.
5. Block the shrug. Blocking opens the V-stitches into even diamonds, settles the edges, and sets the scallops. Soak in lukewarm water for fifteen minutes, lift out supporting the whole weight, and roll in a clean towel to press out water — never wring it. Lay flat to your finished measurements and pin the scallops out point by point. Leave until completely dry.
Tips for a shrug that fits beautifully
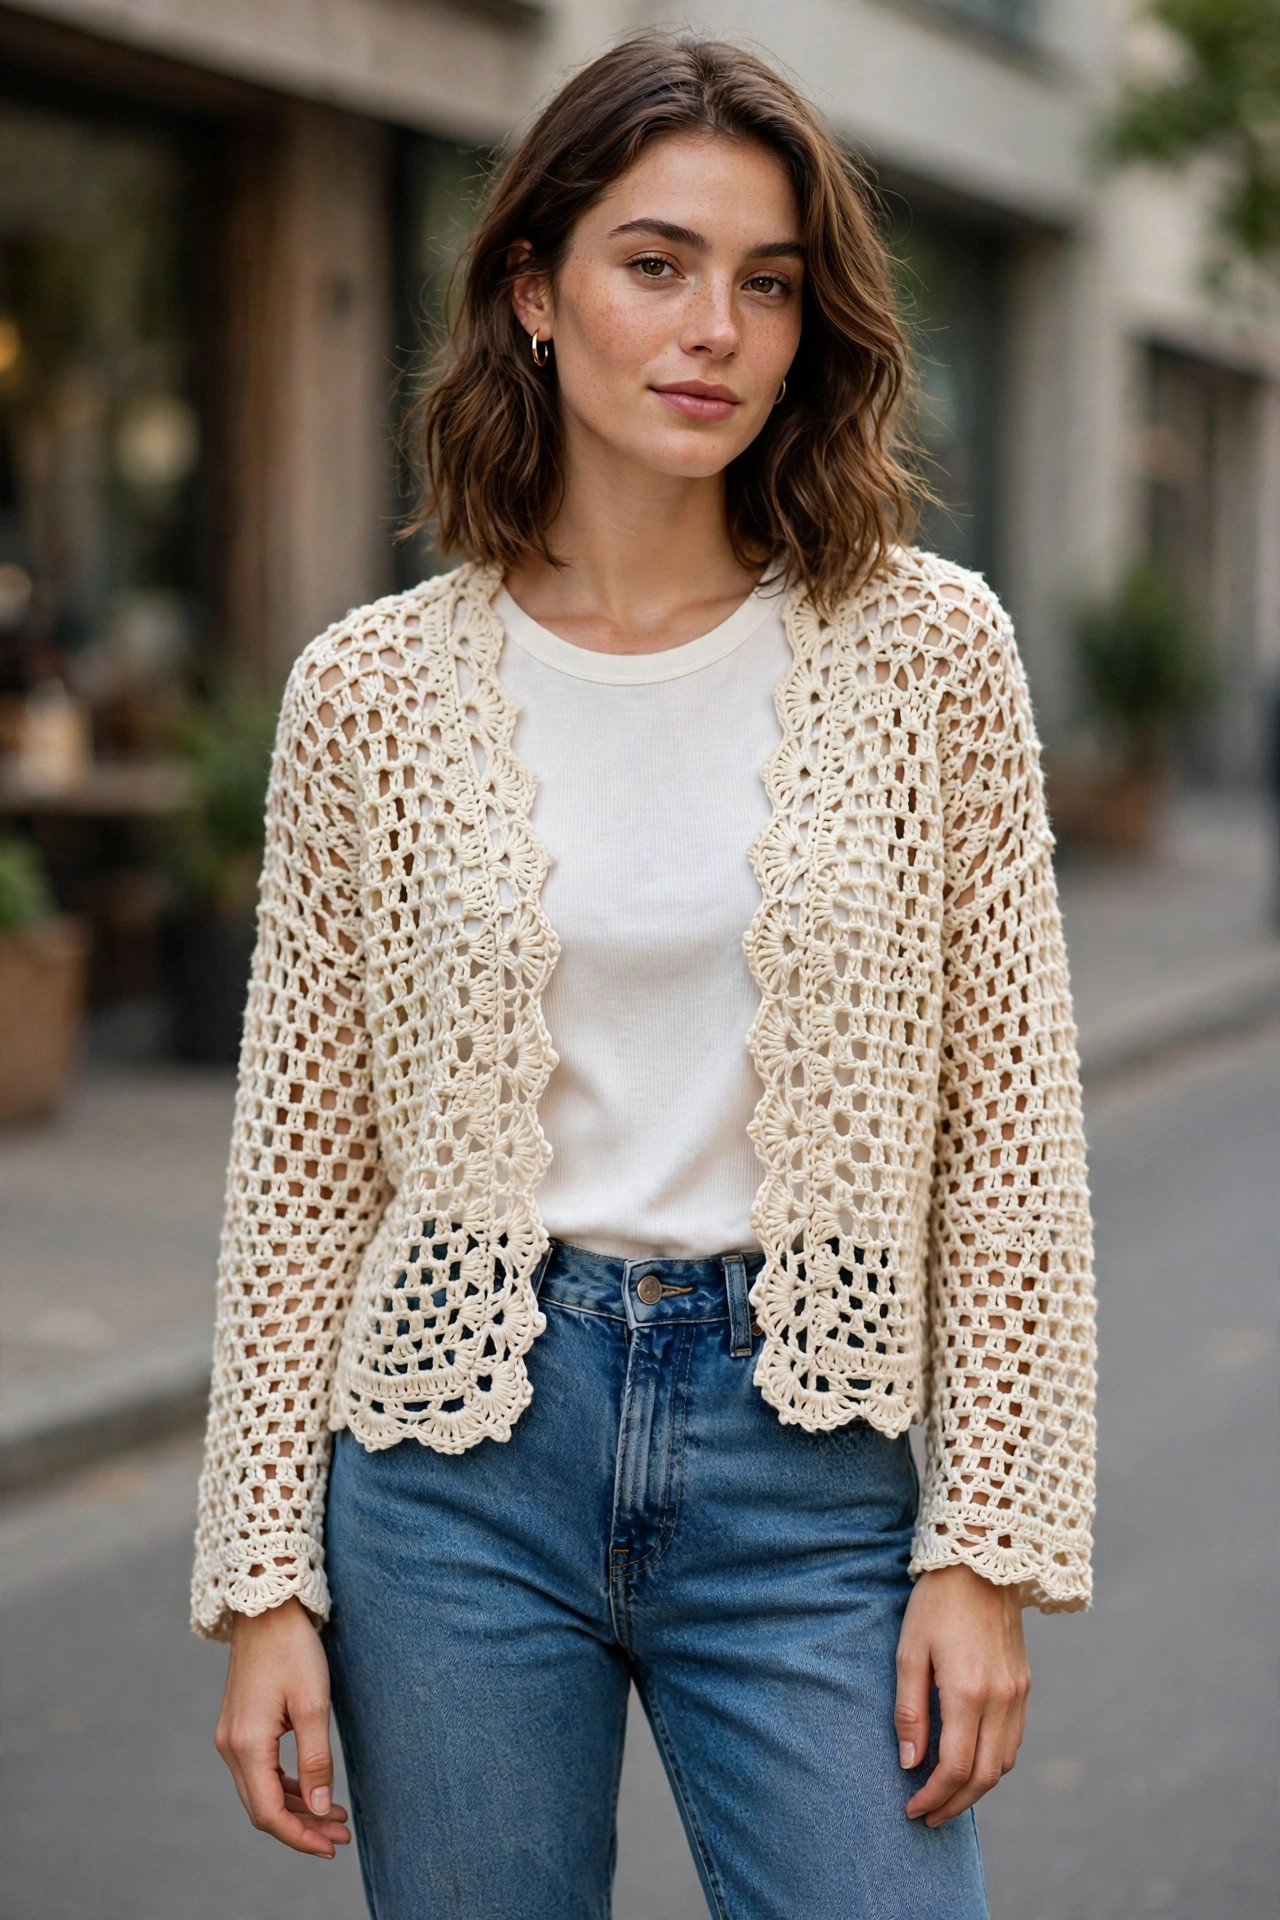
Fit is made at the tape measure, not at the hook. Two people who both wear a medium can have arm spans differing by ten centimetres, and the rectangle method absorbs that difference as a shaped pattern often cannot.
Try it on pinned before you seam. Slip it on over the outfit you will wear it with, and reach forwards. If the back pulls tight, let the seams out a centimetre or two.
Mind the middle. If the opening gaps or the shrug slides backwards, seam the sleeves a little less far in, or add one small button, hook, or pretty pin at the front as a deliberate feature.
Choose yarn for drape, not just softness. Let a metre hang from your hand: a soft curve means a good shrug; a strand sticking out like wire will stand away from your body.
Take your time on the first edging round. It sets the scallop spacing, and an even base round makes scallops look regular. Adjust spacing early, not in the final centimetres.
Make the second one differently. Stripe the last rows at each end so the stripes land on the sleeves, add a second scallop round, or hold two fine strands together for a marled effect.
FAQ
Is this crochet shrug pattern really free and original?
Yes. It is published in full here, and it is an original Little Loop Finds design — our own proportions, V-stitch counts, and seaming measurements. Make as many as you like for yourself and for gifts.
How long does a crochet shrug take to make?
About 4 to 6 hours: 3 to 4 hours of V-stitch for the rectangle, 20 minutes seaming, 45 minutes edging, and blocking is mostly waiting.
Can a beginner really make this shrug?
Yes — it is one of the friendliest first garments there is. No shaping, no sleeve-setting, and only one row to learn, which the swatch teaches you first. This and a simple crochet shawl pattern free are where we point new garment-makers.
What is the best yarn for a crochet shrug?
A smooth worsted or DK yarn with good drape: soft acrylic, acrylic-cotton, or a cotton blend. Worsted is quicker and warmer; DK is finer and floatier over dresses. Either way, make the swatch.
My shrug keeps slipping off my shoulders — how do I fix it?
Usually the opening is a touch too generous. Seam each sleeve 1 to 2 cm further in, or add a small button, snap, or pin at the front. Also check you blocked to the written measurements, not larger.
Can I make this shrug longer, more like a cropped cardigan?
You can deepen the rectangle by up to about 10 cm. Beyond that it bunches under the arms, because there is still no shaping — at that point a shaped pattern, such as an oversized sweater crochet pattern free of ours, will serve you better.
Can I sell shrugs I make from this pattern?
Yes — you may sell finished shrugs made by hand from this pattern in small quantities, crediting Little Loop Finds as the designer. Please do not republish the pattern text and photos.
What to crochet next
If a one-piece layer has won you over, try next:
- Our free crochet ruana pattern — the shrug's bigger, swishier cousin, worn open over everything.
- A shaped crochet cardigan sweater pattern — proper sleeves and fronts, still in our friendly row-by-row style.
- A simple shawl in the same relaxing openwork rhythm.
Happy crocheting — may your shrug finish in time for the next cool evening that calls for it.
The box below contains an Etsy link. If you buy through it, we may earn a small commission at no extra cost to you. Learn more.
No time to make one?
Short on time? Find handmade crochet shrugs and boleros from independent makers on Etsy.
Browse on Etsy (opens Etsy in a new tab)