Free Crochet Santa Hat Pattern: Easy Holiday Classic
A classic red Santa hat with a fluffy white brim and yarn pom pom: original design, US terms, three sizes, and beginner friendly.

Hats · Crochet
- Finished size
- 3 sizes, toddler to adult
- Making time
- About 3 hours (adult)
- Hook
- 5.0 mm, worsted yarn
- Set
- Red body, white brim
- Skill
- Beginner
In this post
- Table of contents
- Why you'll love this Santa hat crochet pattern
- Materials you'll need
- Size, gauge and skill level
- Abbreviations, US terms
- The Santa hat crochet pattern (US terms)
- Finishing touches and assembly
- Tips and tricks
- Variations to try next
- Troubleshooting tips
- Frequently asked questions
- More free patterns to try
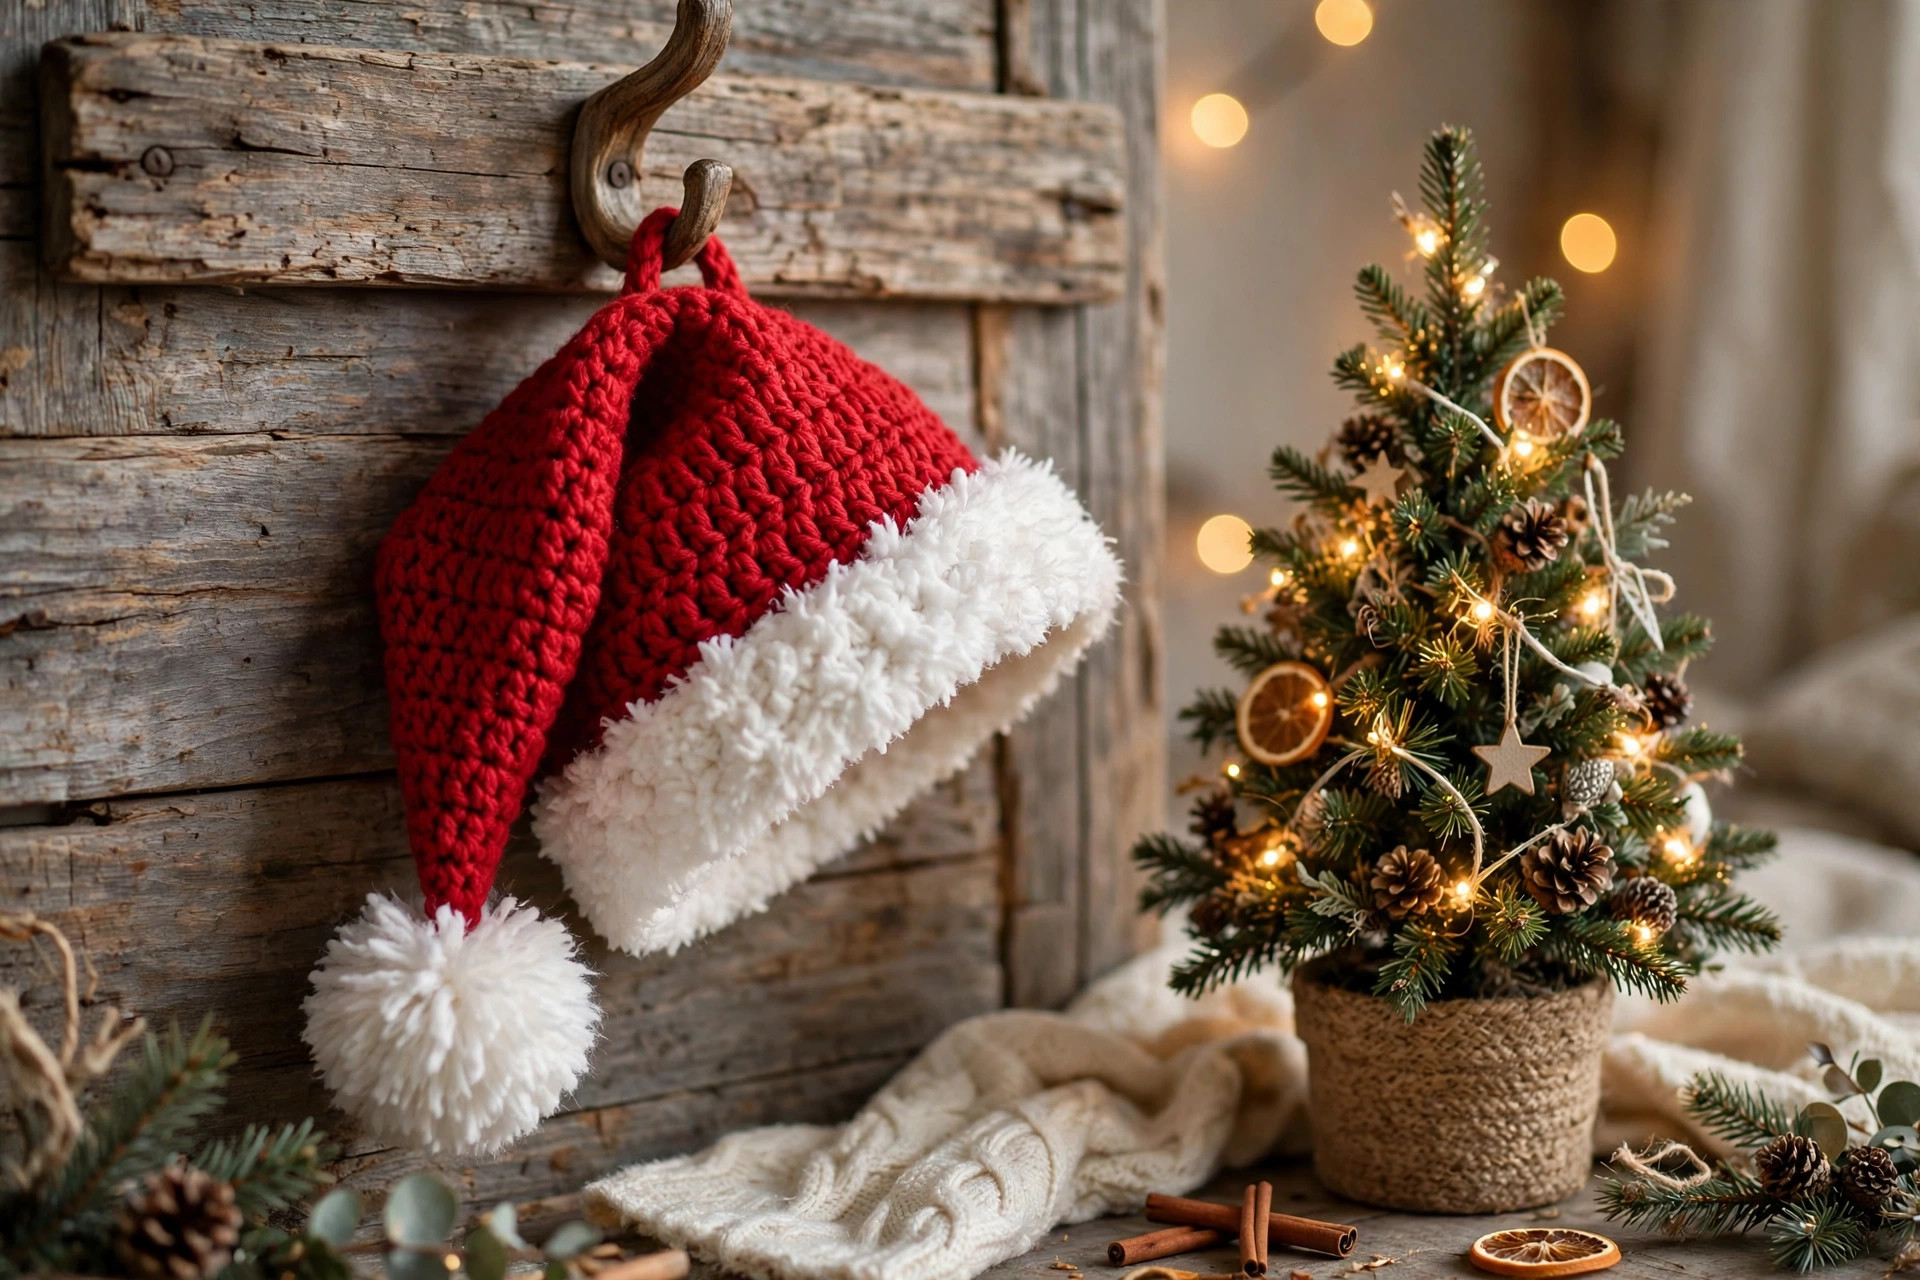
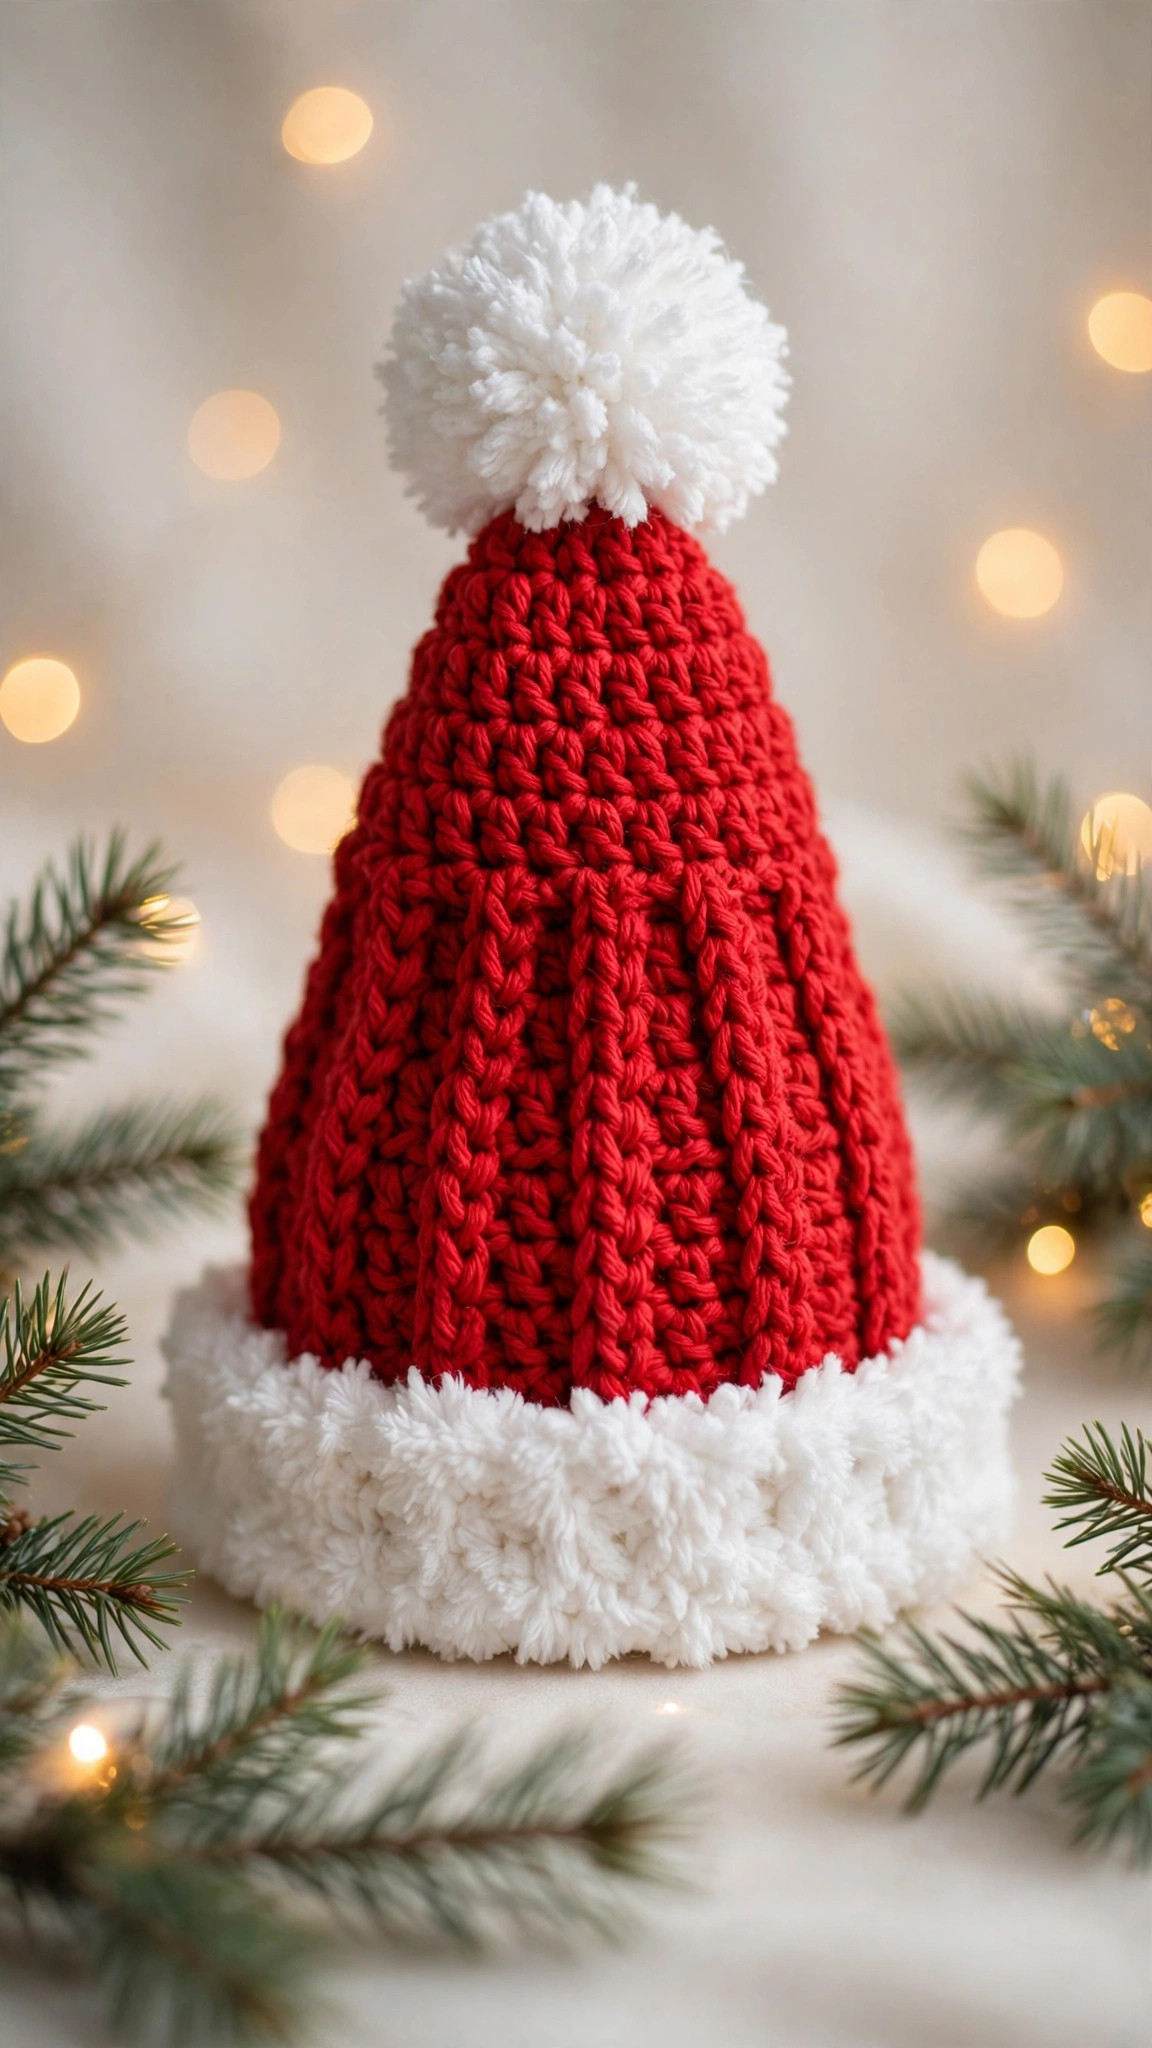
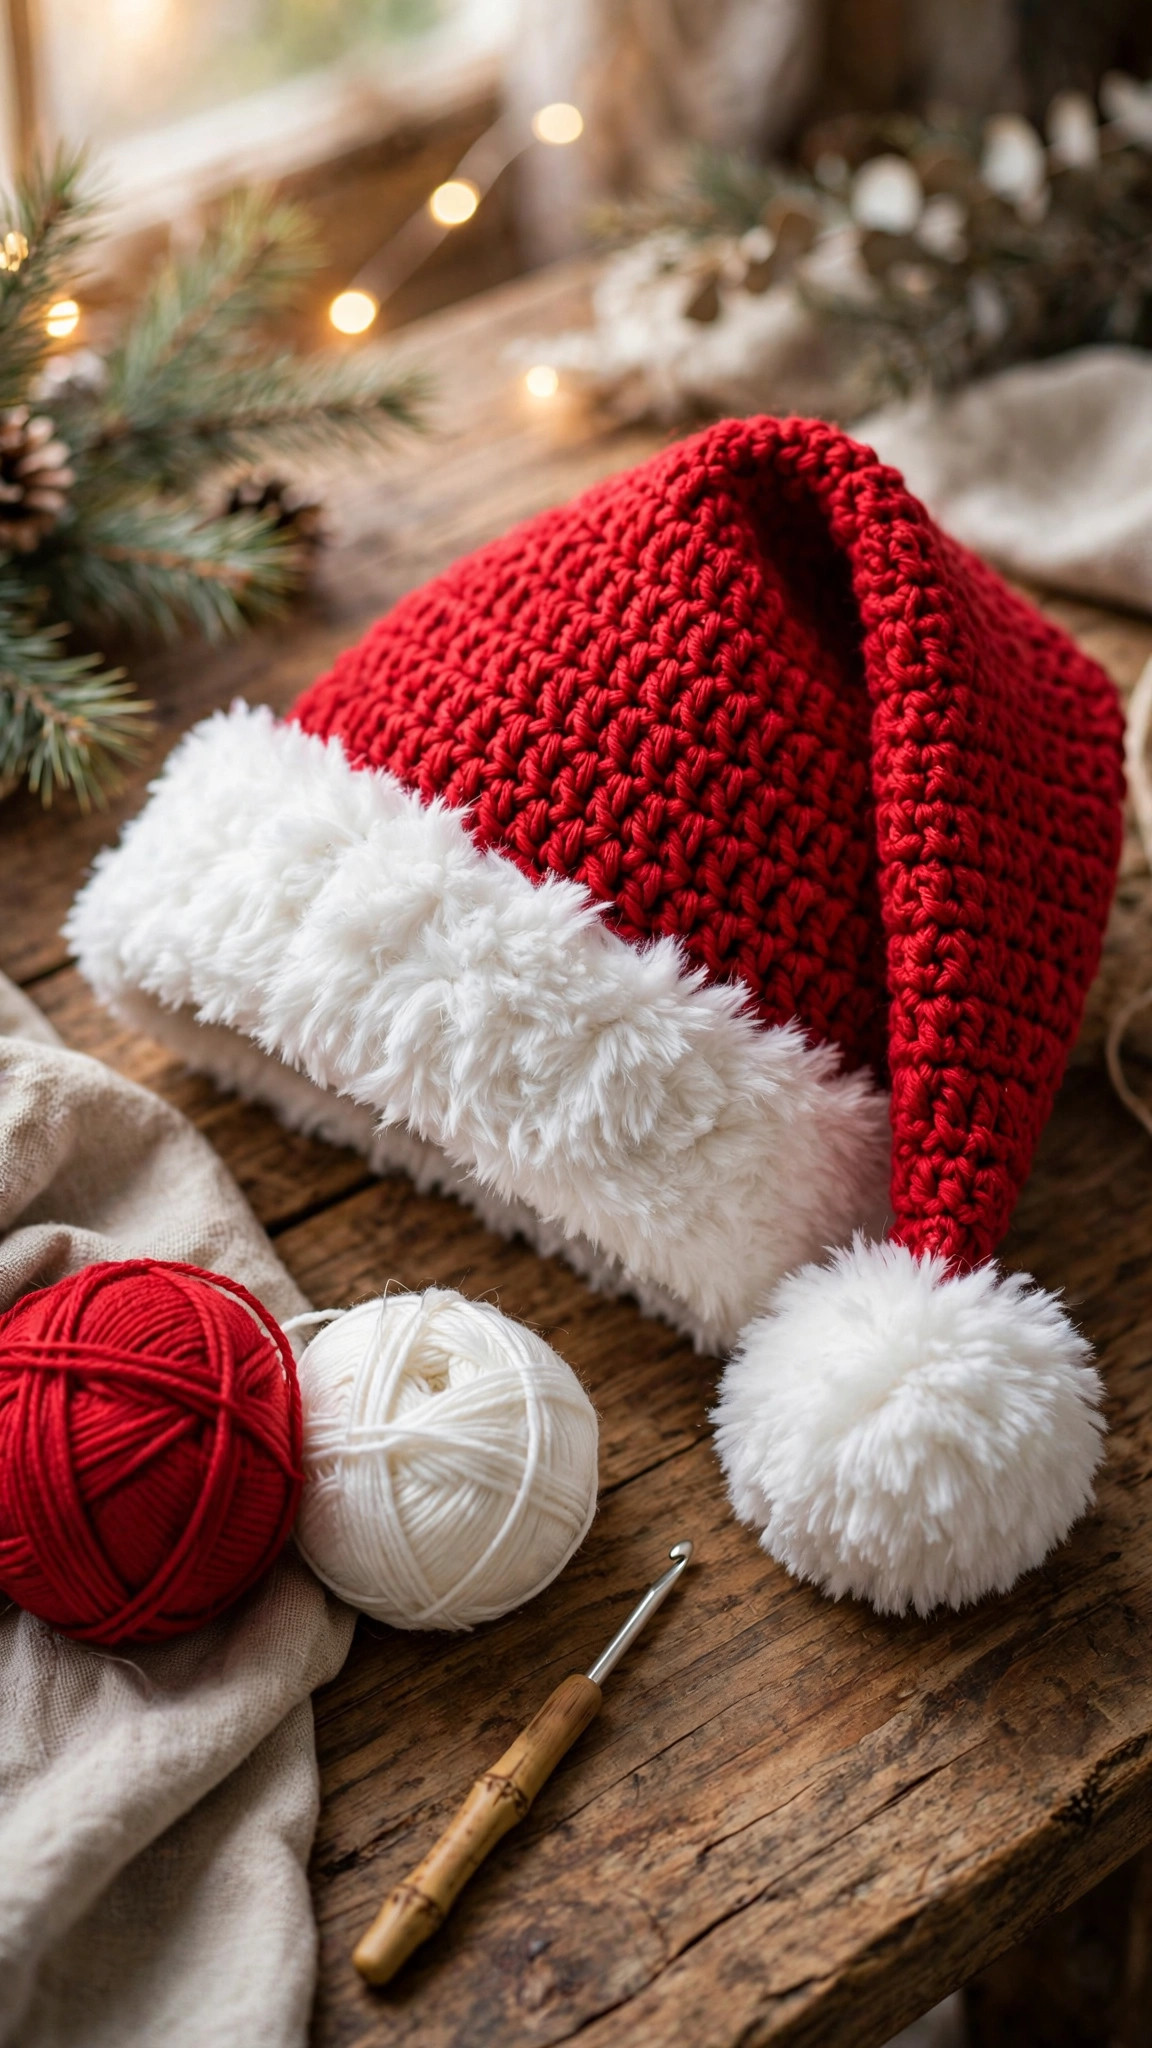
Nothing says the holidays like a handmade Santa hat. This free crochet Santa hat pattern makes the classic Christmas hat everyone knows and loves: a cosy red cone with a fluffy white brim and a big yarn pom pom on top. It is an original design, worked in simple half double crochet from the top down, and it is one of the quickest festive makes you will ever finish.
The pattern comes in three sizes, toddler, child, and adult, so you can make a matching set for the whole family, a stack of gifts for a holiday party, or a photo-ready lineup for your Christmas card. The extra length in the body is what gives this hat its signature Santa flop: the tip folds gently to one side instead of standing up straight, exactly like the real thing.
If you have never made a hat before, this is the perfect first one. There is no shaping to stress over, no sewing pieces together, just rounds and rounds of easy stitches while you watch holiday movies.
Table of contents
- Why you'll love this Santa hat crochet pattern
- Materials you'll need
- Size, gauge and skill level
- Abbreviations, US terms
- The Santa hat crochet pattern (US terms)
- Finishing touches and assembly
- Tips and tricks
- Variations to try next
- Troubleshooting tips
- Frequently asked questions
- More free patterns to try
Why you'll love this Santa hat crochet pattern
Every December, the same thing happens: someone needs a Santa hat for the school concert, the office party, or the dog, and the store-bought ones are thin, itchy, and one-size-fits-nobody. A crocheted Santa hat solves all of that. It is warm, it actually fits, and the handmade texture looks infinitely better than flat felt.
The construction is the simplest a hat can be. You start with a magic ring at the tip, increase in plain rounds until the crown is wide enough, then crochet straight down for the length, switch to white for the brim, and sew on a pom pom. That is the entire pattern. If you can half double crochet and join a round, you can make this hat tonight.
It is also a gift-making machine. The toddler size takes about two hours, the yarn is inexpensive, and everyone on your list, from grandparents to toddlers to the family pet, can wear one. Make a whole matching set in an evening and your holiday photos are sorted for the year. If you are building a collection of winter wearables, our free crochet hat pattern is the classic year-round base to master first, and the crochet elf hat pattern pairs with this Santa hat for the full North Pole look.
Materials you'll need
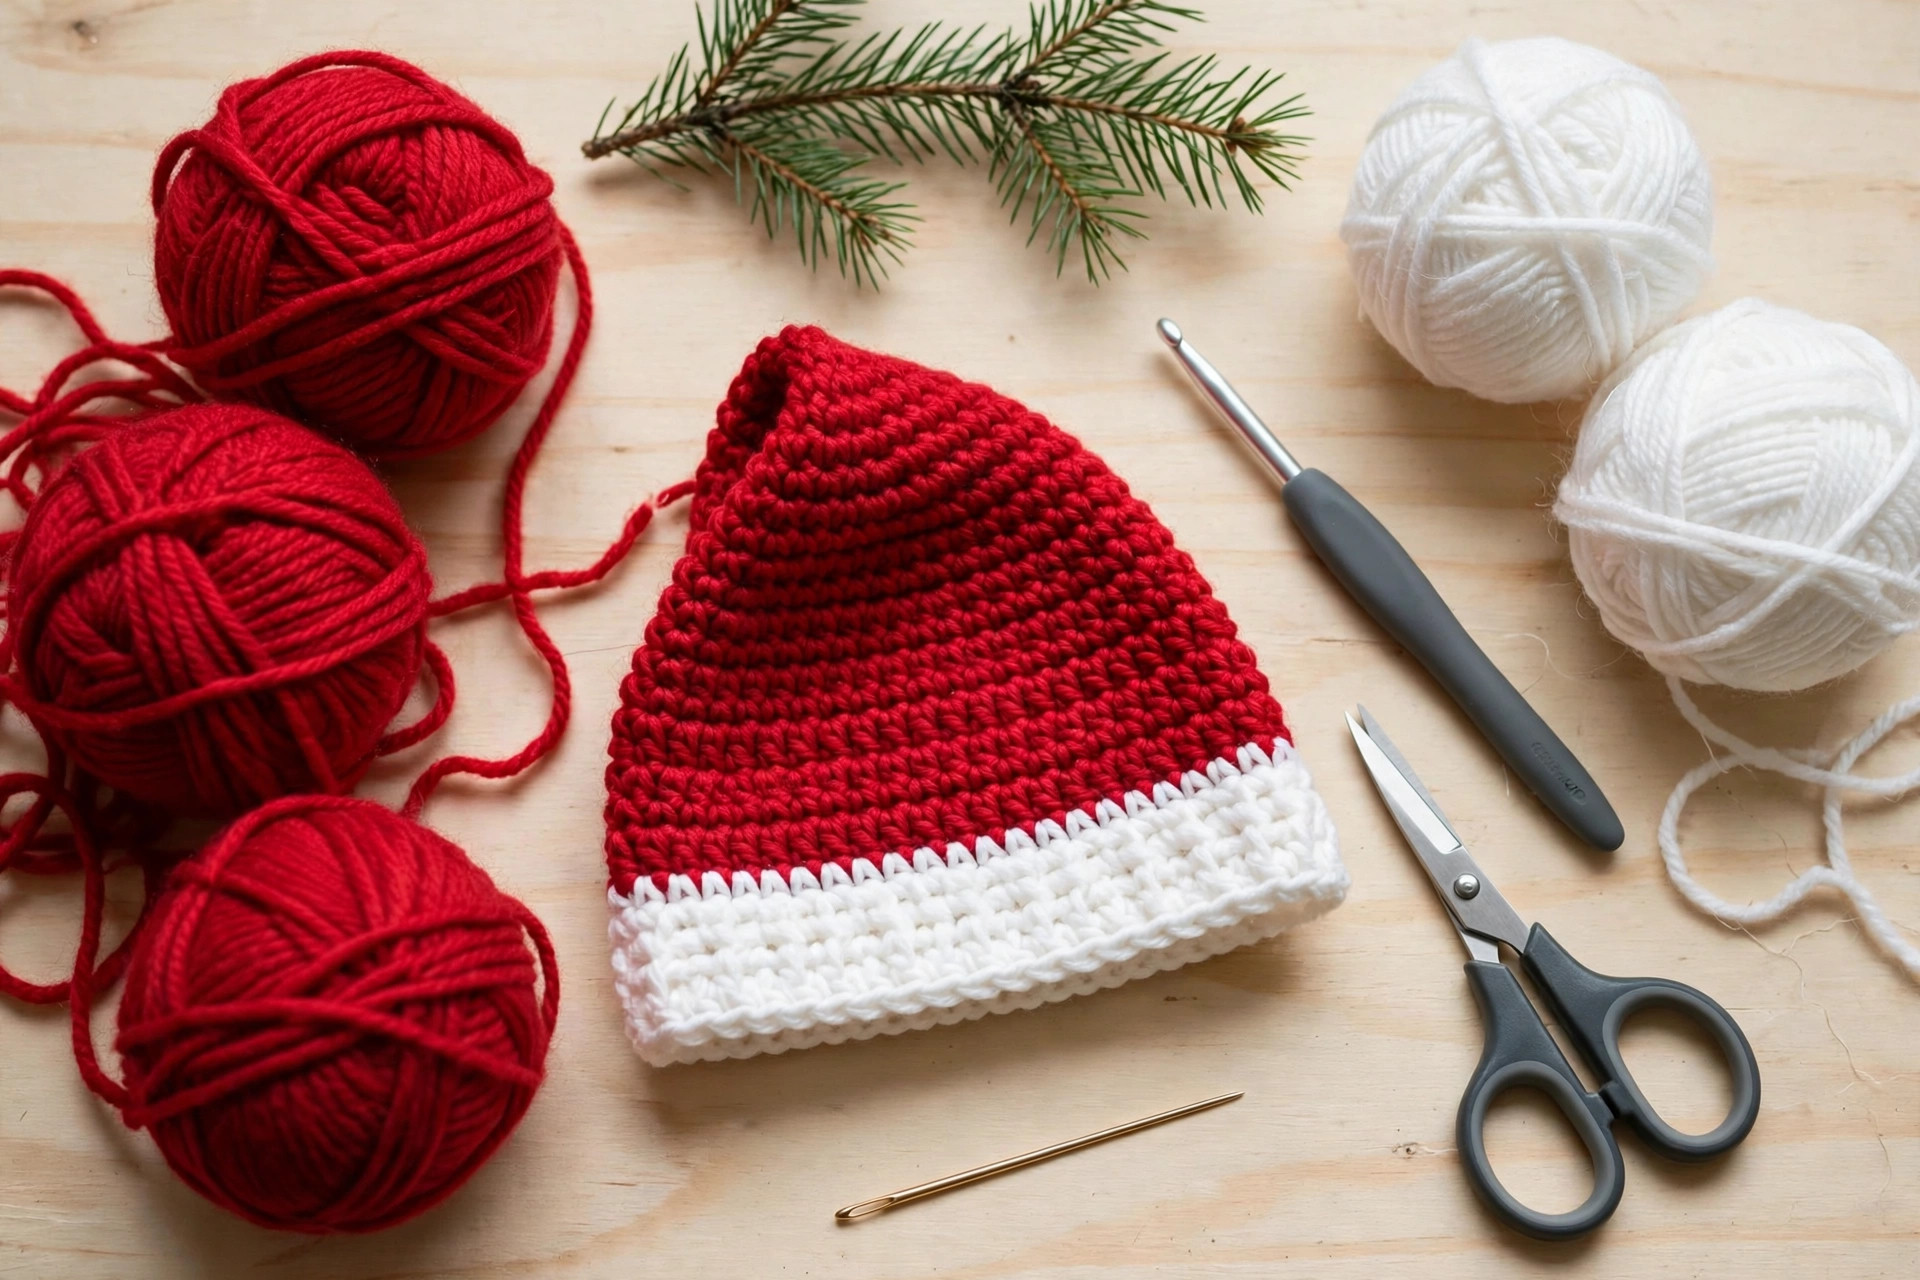
| Supply | What to get |
|---|---|
| Red yarn | Worsted-weight (#4) yarn in red, about 150 yds / 137 m (adult), 120 yds / 110 m (child), 90 yds / 82 m (toddler) |
| White yarn | Worsted-weight (#4) yarn in white, about 70 yds / 64 m (adult), 60 yds / 55 m (child), 50 yds / 46 m (toddler), for the brim and pom pom |
| Crochet hook | 5.0 mm (H) |
| Tapestry needle | For sewing on the pom pom and weaving in ends |
| Notions | Scissors, stitch markers, a pom pom maker or a 3.5 in piece of cardboard |
Pick a true Santa red: cherry, crimson, or classic Christmas red. The body shows best in a smooth acrylic or acrylic blend, which holds the long cone shape and survives being squashed in a gift bag. The white needs to read as fluffy against the red, so choose a soft, bright white rather than cream. If you want extra fluff on the brim, a fuzzy white yarn works, but plain worsted is easier for beginners and still looks great.
A note on the hook: 5.0 mm with worsted yarn gives a warm, slightly dense fabric that keeps its shape. If your hats usually come out loose and slouchy, drop to a 4.5 mm hook for a firmer cone.
Size, gauge and skill level
The hat is worked top-down in joined rounds: chain 2 at the start of each round (this does not count as a stitch), work the round, and join with a slip stitch to the first half double crochet. All three sizes use the same increase sequence; you simply stop increasing sooner for the smaller sizes, then work the body longer for the bigger sizes so the tip flops.
| Size | To fit head | Crown stitches | Approx. time |
|---|---|---|---|
| Toddler | 17-19 in / 43-48 cm | 56 | About 2 hours |
| Child | 19-21 in / 48-53 cm | 64 | About 2.5 hours |
| Adult | 21-23 in / 53-58 cm | 72 | About 3 hours |
- Finished size (adult): crown fits a 21-23 in (53-58 cm) head, about 11 in (28 cm) from tip to brim, with the tip folding to the side for the classic Santa flop. The child size is about 10 in (25 cm) long, the toddler about 9 in (23 cm).
- Gauge: 13 hdc and 10 rounds = 4 in (10 cm) in worsted yarn with a 5.0 mm hook. The brim should fit snugly around the forehead, so check your gauge before you commit to the full body.
- Skill level: beginner. You should know how to chain, half double crochet, and join a round. The pom pom is the only non-crochet step, and it is just wrapping and tying yarn.
If this is your very first hat, do not overthink the flop. The extra body length does the work for you: gravity pulls the tip to one side on its own.
Abbreviations, US terms
| Abbreviation | Meaning |
|---|---|
| MR | magic ring |
| ch | chain |
| hdc | half double crochet |
| sc | single crochet |
| sl st | slip stitch |
| inc | increase: 2 stitches in the same stitch |
| st(s) | stitch(es) |
| R | round |
| FO | fasten off |
| [ ] | total stitch count at the end of the round |
A note on joined rounds: the chain 2 at the start of each round never counts as a stitch. Join each round with a slip stitch to the first hdc, not to the chain, so your stitch counts stay clean and the seam runs straight.
The Santa hat crochet pattern (US terms)
Work the red body first from the tip down, then switch to white for the brim. Instructions give the toddler size first, with the child and adult sizes in parentheses, like this: toddler (child, adult). Where only one number appears, it applies to all three sizes.
The red body: tip to crown
With red yarn, start at the tip of the hat.
- R1: MR, ch 2, 8 hdc in ring, join with sl st to first hdc. [8]
- R2: ch 2, 2 hdc in each st around, join. [16]
- R3: ch 2, (hdc, inc) x8, join. [24]
- R4: ch 2, (2 hdc, inc) x8, join. [32]
- R5: ch 2, (3 hdc, inc) x8, join. [40]
- R6: ch 2, (4 hdc, inc) x8, join. [48]
- R7: ch 2, (5 hdc, inc) x8, join. [56]
Toddler size: stop increasing here and continue with the even rounds below. Child and adult sizes: work the next increase rounds.
- R8 (child, adult): ch 2, (6 hdc, inc) x8, join. [64]
- R9 (adult only): ch 2, (7 hdc, inc) x8, join. [72]
Now work the long body of the hat, even, with no increases. This length is what creates the Santa flop:
- Toddler, R8-R18: ch 2, hdc in each st around, join. [56]
- Child, R9-R21: ch 2, hdc in each st around, join. [64]
- Adult, R10-R24: ch 2, hdc in each st around, join. [72]
Try the hat on now, if you can. The body should reach past the ears with the tip folding over to one side. If it feels short, add two more even rounds before the brim.
The white brim
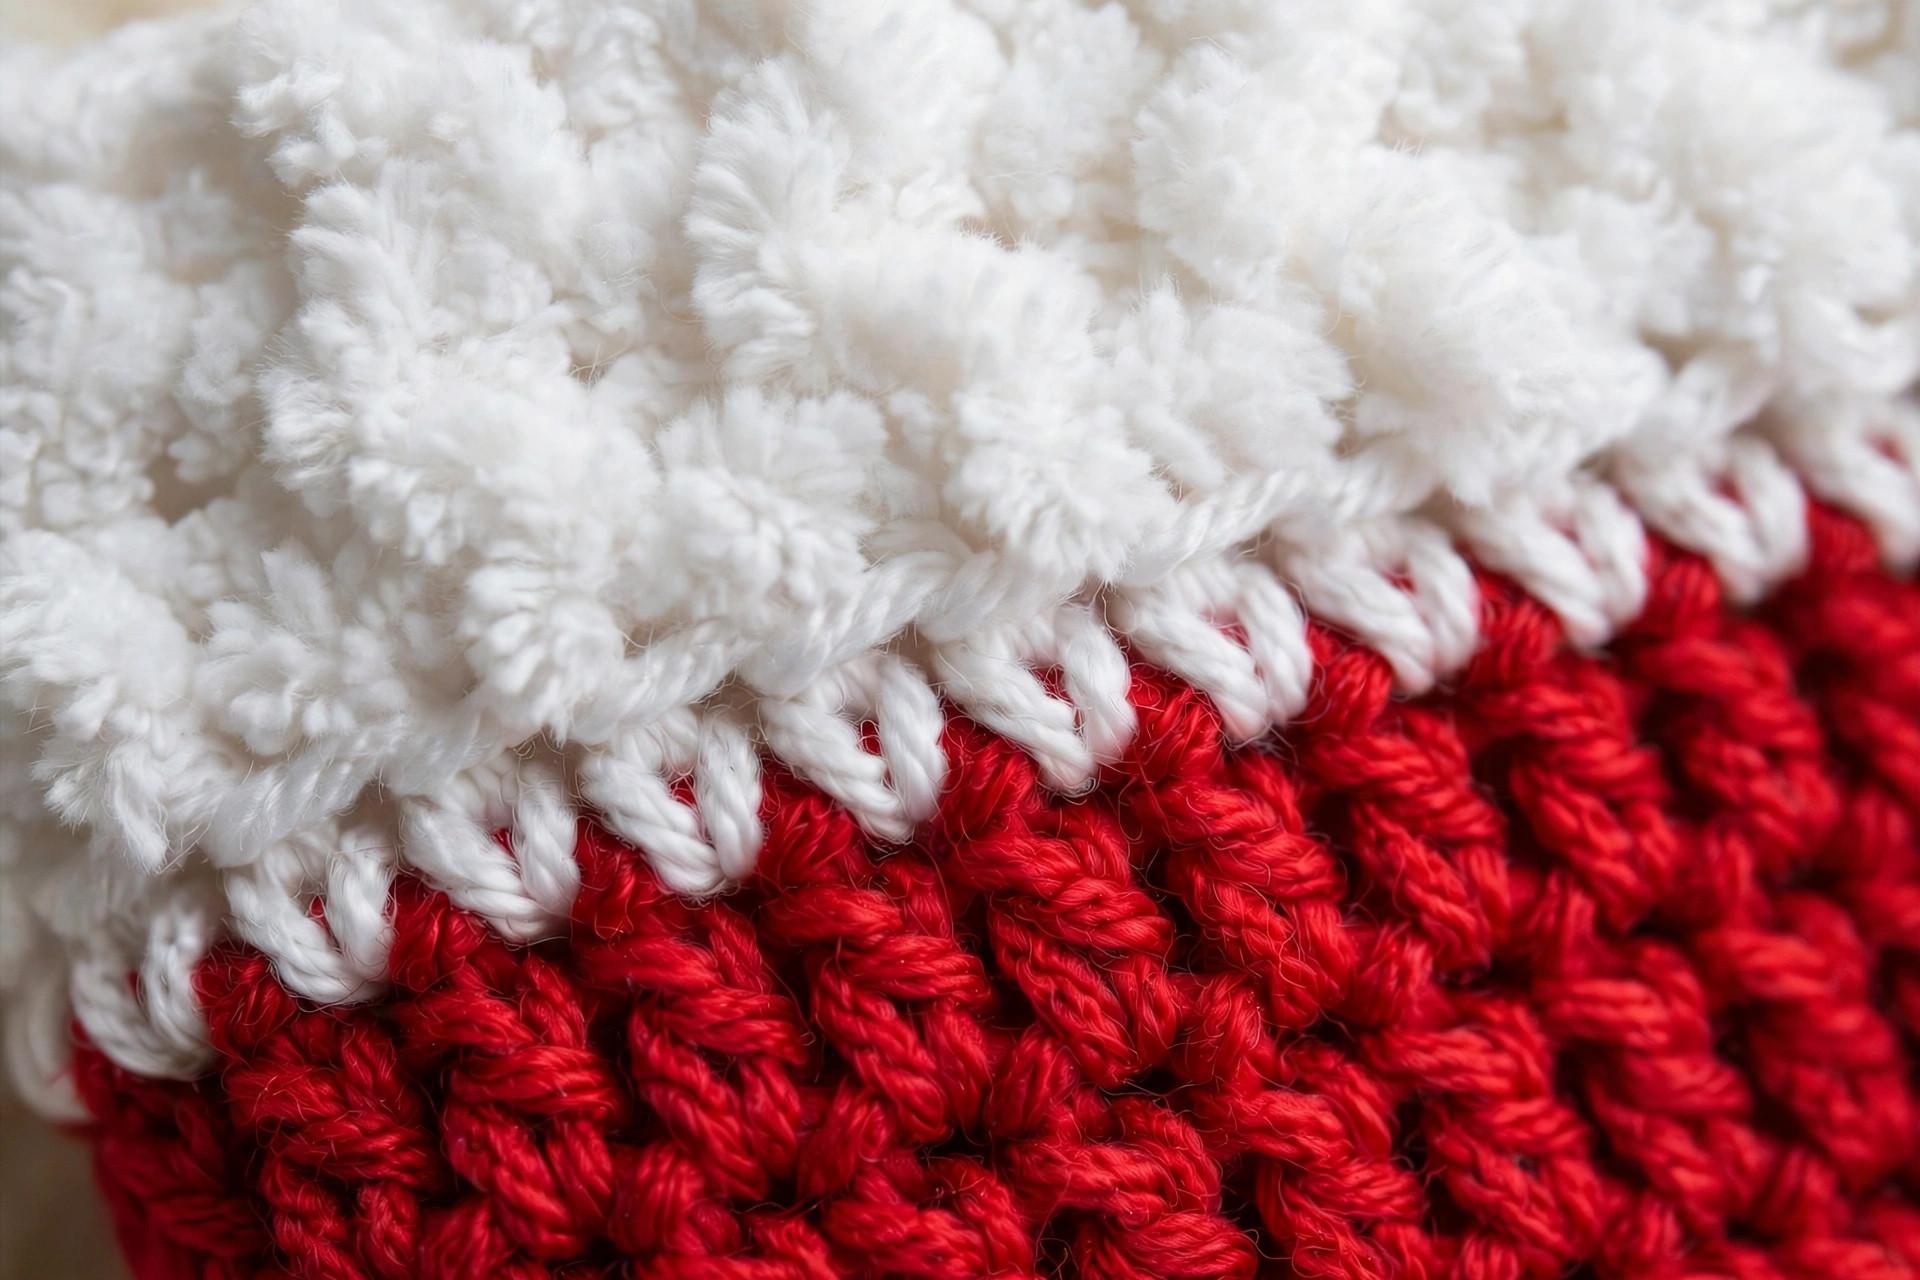
Switch to white yarn. Join with a slip stitch in any stitch of the last red round and chain 2.
- Toddler, R19-R22: ch 2, hdc in each st around, join. [56]
- Child, R22-R25: ch 2, hdc in each st around, join. [64]
- Adult, R25-R28: ch 2, hdc in each st around, join. [72]
For a firmer brim edge, work the final round in slip stitches instead of hdc. FO and weave in the ends.
The pom pom
- Wrap white yarn around a 3.5 in pom pom maker or piece of cardboard about 80 times for a full pom pom. More wraps make a denser pom pom.
- Slide the wraps off carefully and tie a long piece of yarn tightly around the middle, knotting it several times. This knot is what holds the pom pom together, so pull it very tight.
- Cut through all the loops on both sides, then trim the ball into an even round shape. Leave the long tying tails uncut.
- Use the tying tails to sew the pom pom firmly to the tip of the hat, passing the needle through the magic ring centre several times. Knot securely on the inside and weave in the ends.
Finishing touches and assembly
Cinch the tip. The magic ring at R1 can loosen with wear. Thread the tail through the first-round stitches and pull gently to close any gap, then weave the end in securely on the inside.
Sew the pom pom on firmly. Thread the pom pom's tying tails onto the tapestry needle and pass through the tip stitches at least six times, pulling each pass snug. A pom pom that wobbles will not survive a holiday season of being pulled on and off, so err on the side of over-sewing here.
Set the flop. Put the hat on and let the tip fall naturally to one side. If you want the flop to stay put in photos, tack the folded tip to the body with two or three small stitches of red yarn where they touch. This is invisible from the outside and keeps the classic look all day.
Weave every end. Thread each tail onto the tapestry needle and run it through nearby stitches for at least 2 inches, changing direction once so it locks in place. Trim flush. Pay special attention to the red-to-white colour change round: weave those tails on the inside of the hat so they never peek out.
Steam the body lightly (optional). Hold a steaming iron a few inches above the red cone, never touching it, for a few seconds, then smooth the fabric with your hands. This relaxes the stitches and gives the body a soft, even drape.
Tips and tricks
A few details that take this hat from homemade to handmade:
Wind the brim rounds snugly. The brim is what keeps the hat on a moving toddler. If your tension loosens when you switch colours, consciously crochet the first white round a touch tighter, or drop half a hook size for the brim only.
Make the pom pom bigger than you think. A skimpy pom pom is the number one reason a Santa hat looks cheap. Aim for a full, round ball about 3 to 3.5 inches across: it balances the long red body perfectly.
Keep the seam at the back. The joined-round seam runs in a straight line up the hat. Mark it with a stitch marker as you work and rotate the hat so the seam sits at the back when worn: the front stays perfectly smooth.
Try the ribbed brim variation. For a stretchier, more textured brim, work the white rounds alternating one round of front-loop hdc with one round of back-loop hdc. It looks like knit ribbing and grips the forehead nicely.
Work the colour change cleanly. When you switch from red to white, finish the last red stitch by pulling the white through the final yarn-over. This gives you a crisp colour line with no red showing through the first white round.
Variations to try next
One Santa hat is never enough in December:
- Family photo set. Make the adult, child, and toddler sizes in matching red and white for the sweetest Christmas card you will take all year. The pattern is quick enough to finish all three in a weekend.
- Grinch version. Work the body in bright green with a white brim and pom pom for a playful Grinch-inspired twist. Our grinch hat pattern has the full green-and-white styling if you want the complete look.
- Mini tree topper. Follow the toddler instructions with a 3.5 mm hook and DK yarn, stuff the tip lightly with fibre fill, and slip it over the top of a small Christmas tree. A pom pom topper beats a star every time.
- Pet Santa hat. Work the toddler size with only 48 stitches (stop increasing at R6), shorten the body by four rounds, and add a chin strap of chain stitches with a button. Measure your pet's head first: comfort comes before cuteness.
- Vintage Santa. Work the brim in a soft cream instead of bright white, and make the pom pom slightly smaller, for an old-fashioned Christmas card look. Faded reds and creams photograph beautifully.
Troubleshooting tips
- The brim rides up and will not stay down. The brim is too loose. Go down half a hook size for the white rounds, or work one fewer brim round so it grips tighter.
- The hat is too short and the tip stands up. You worked too few even rounds. The flop needs length: add two or three more even rounds to the red body before the brim.
- The tip flops the wrong way in photos. The fold follows the seam and gravity. Turn the seam to the back, set the fold with your hand, and add two tacking stitches to hold it.
- The pom pom looks flat or lopsided. You trimmed too aggressively on one side, or the tying knot was loose. Retie the centre knot as tightly as you can before trimming, and trim a little at a time, rotating the ball.
- The colour change line looks jagged. You carried the red up instead of cutting it, or joined the white mid-stitch. Cut the red with a 4-inch tail, join the white with the final yarn-over of the last red stitch, and weave both tails in neatly.
- The magic ring at the tip keeps opening. Some ring tails slip. After cinching, weave the tail through the first-round stitches twice in opposite directions before trimming.
- The body twists around the brim. Your stitch counts drifted during the long even section. Count your stitches every four or five rounds: catching a missed stitch early saves a whole evening of rework.
Frequently asked questions
Is this free crochet Santa hat pattern really free?
Yes, the complete pattern above is free, with no email signup and no PDF purchase required.
What skill level is this Santa hat pattern?
Beginner. If you can chain, half double crochet, and join a round, you have every skill this pattern needs. The pom pom is just wrapped and tied yarn.
How long does it take to crochet the Santa hat?
About 3 hours for the adult size: roughly 2 hours for the red body, 30 minutes for the brim, and 30 minutes for the pom pom and finishing. The toddler size takes about 2 hours.
How much yarn do I need?
For the adult size, about 150 yds of red and 70 yds of white (brim plus pom pom). The child size needs about 120 yds of red and 60 yds of white, and the toddler about 90 yds of red and 50 yds of white.
Can I make the hat longer and floppier?
Yes. Add two to four more even rounds to the red body before the white brim. Every extra round adds about half an inch of flop, and the tip will fold further to the side.
Will the brim stay on a toddler's head?
The pattern's brim is sized to fit snugly. For extra security on little ones, work the brim one hook size smaller, or add a soft elastic thread carried along with the white yarn for gentle grip.
Can I sell the finished Santa hats I make?
Yes! You may sell finished hats made from this pattern in small batches (craft fairs, markets, gifts). Please credit Little Loop Finds as the pattern designer.
More free patterns to try
If this classic was fun, the holiday parade continues. Our batch-mate the crochet cat beanie pattern is another quick wearable with serious gift appeal, and the free crochet newsboy hat pattern uses similar crown shaping for a completely different vintage look. For the full Christmas morning, pair the hat with our crochet Christmas stocking pattern: one evening of stitching, and the mantle is done.