Crochet Cat Beanie Pattern: Adorable Cat-Ear Hat
A cosy ribbed cat-ear beanie with pointy ears, pink inner ears, and an optional embroidered face: original design, US terms, child and adult sizes.

Hats · Crochet
- Finished size
- Adult fits 21-23 in head
- Making time
- About 3 hours (adult)
- Hook
- 5.0 mm, worsted yarn
- Set
- 2 sizes, original design
- Skill
- Advanced Beginner
In this post
- Table of contents
- Why you'll love this cat beanie crochet pattern
- Materials you'll need
- Size, gauge and skill level
- Abbreviations, US terms
- The cat beanie crochet pattern (US terms)
- Finishing touches and assembly
- Tips and tricks
- Variations to try next
- Troubleshooting tips
- Frequently asked questions
- More free patterns to try
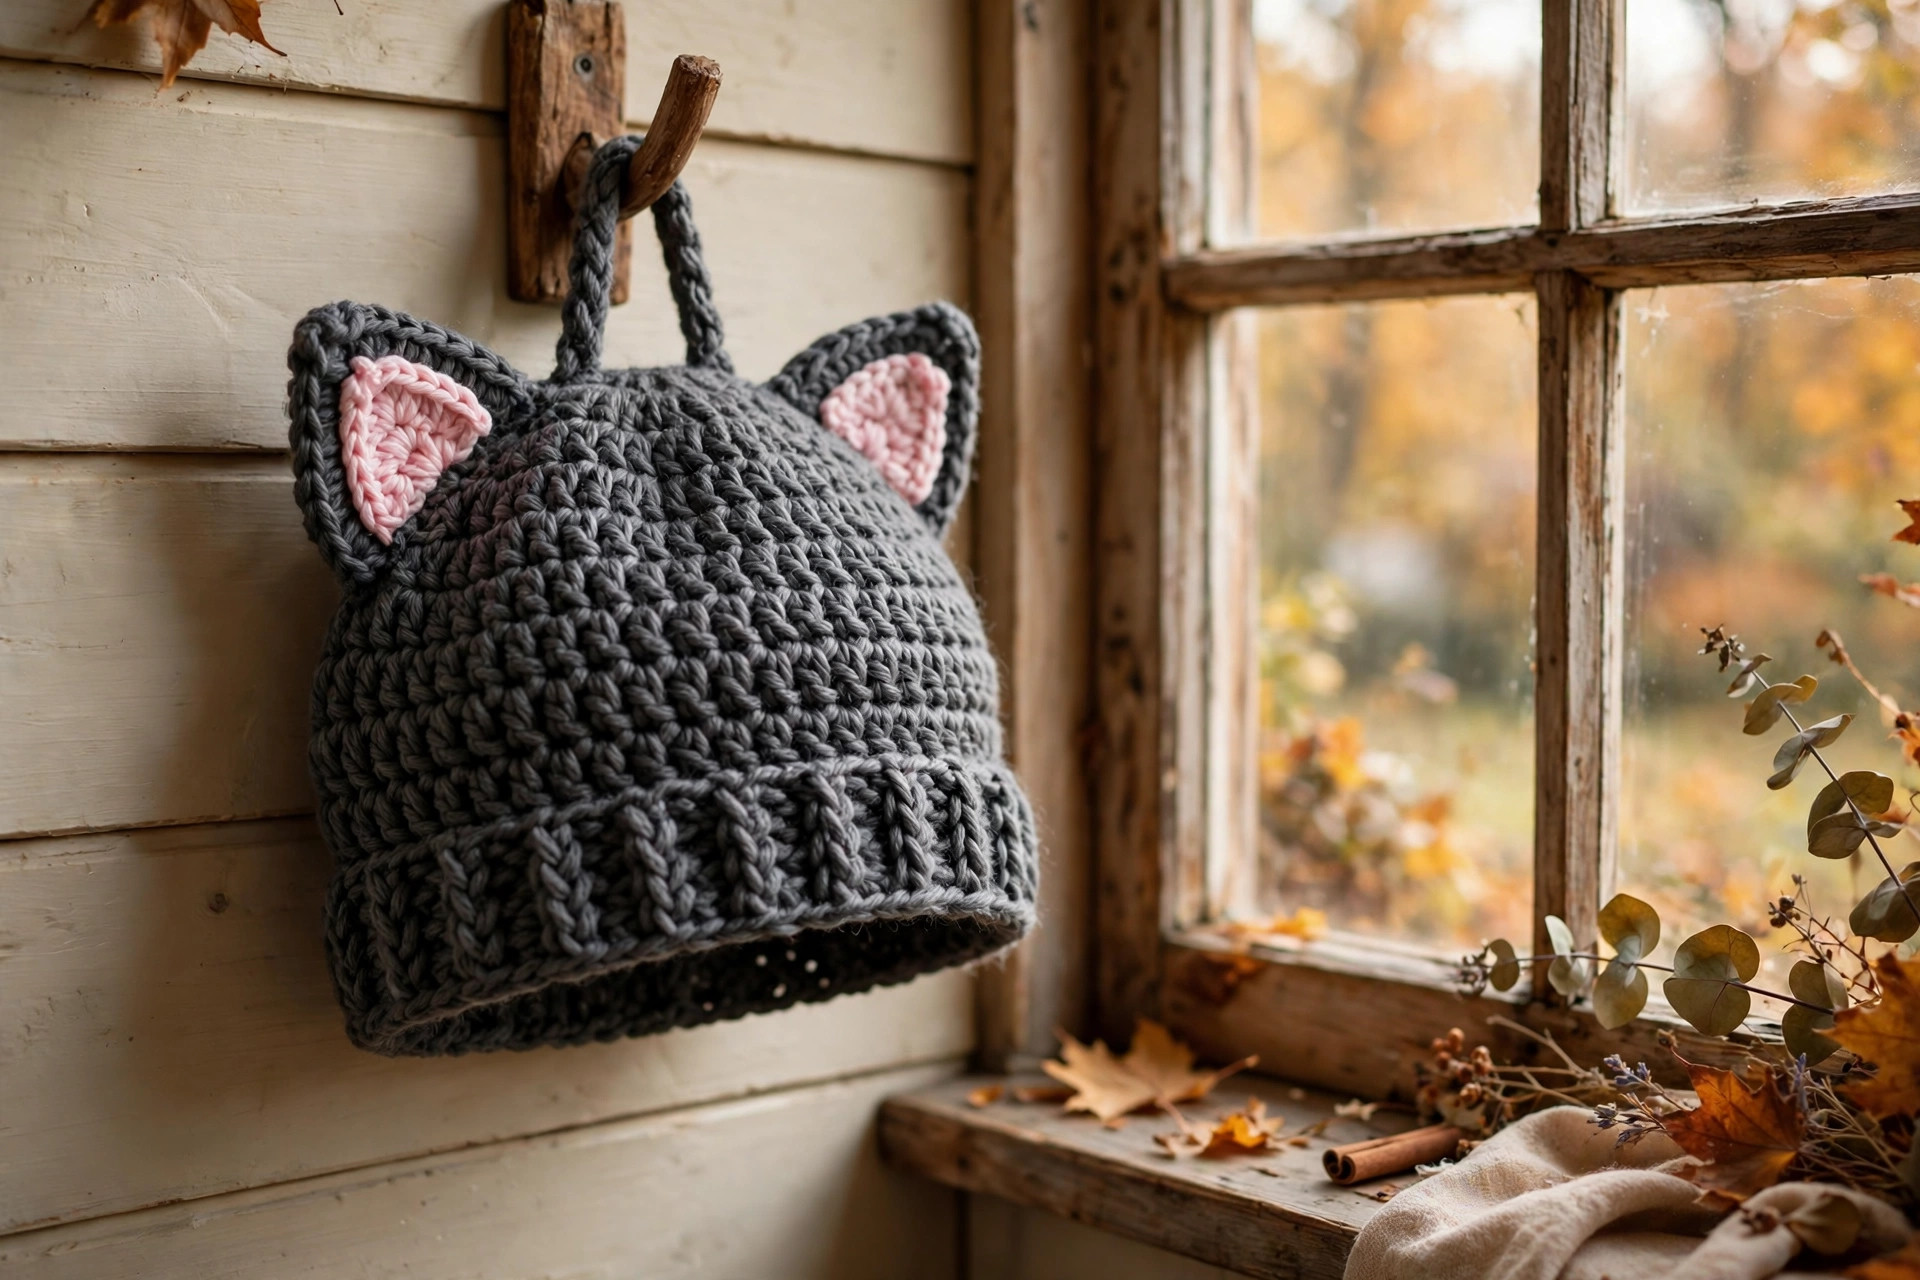
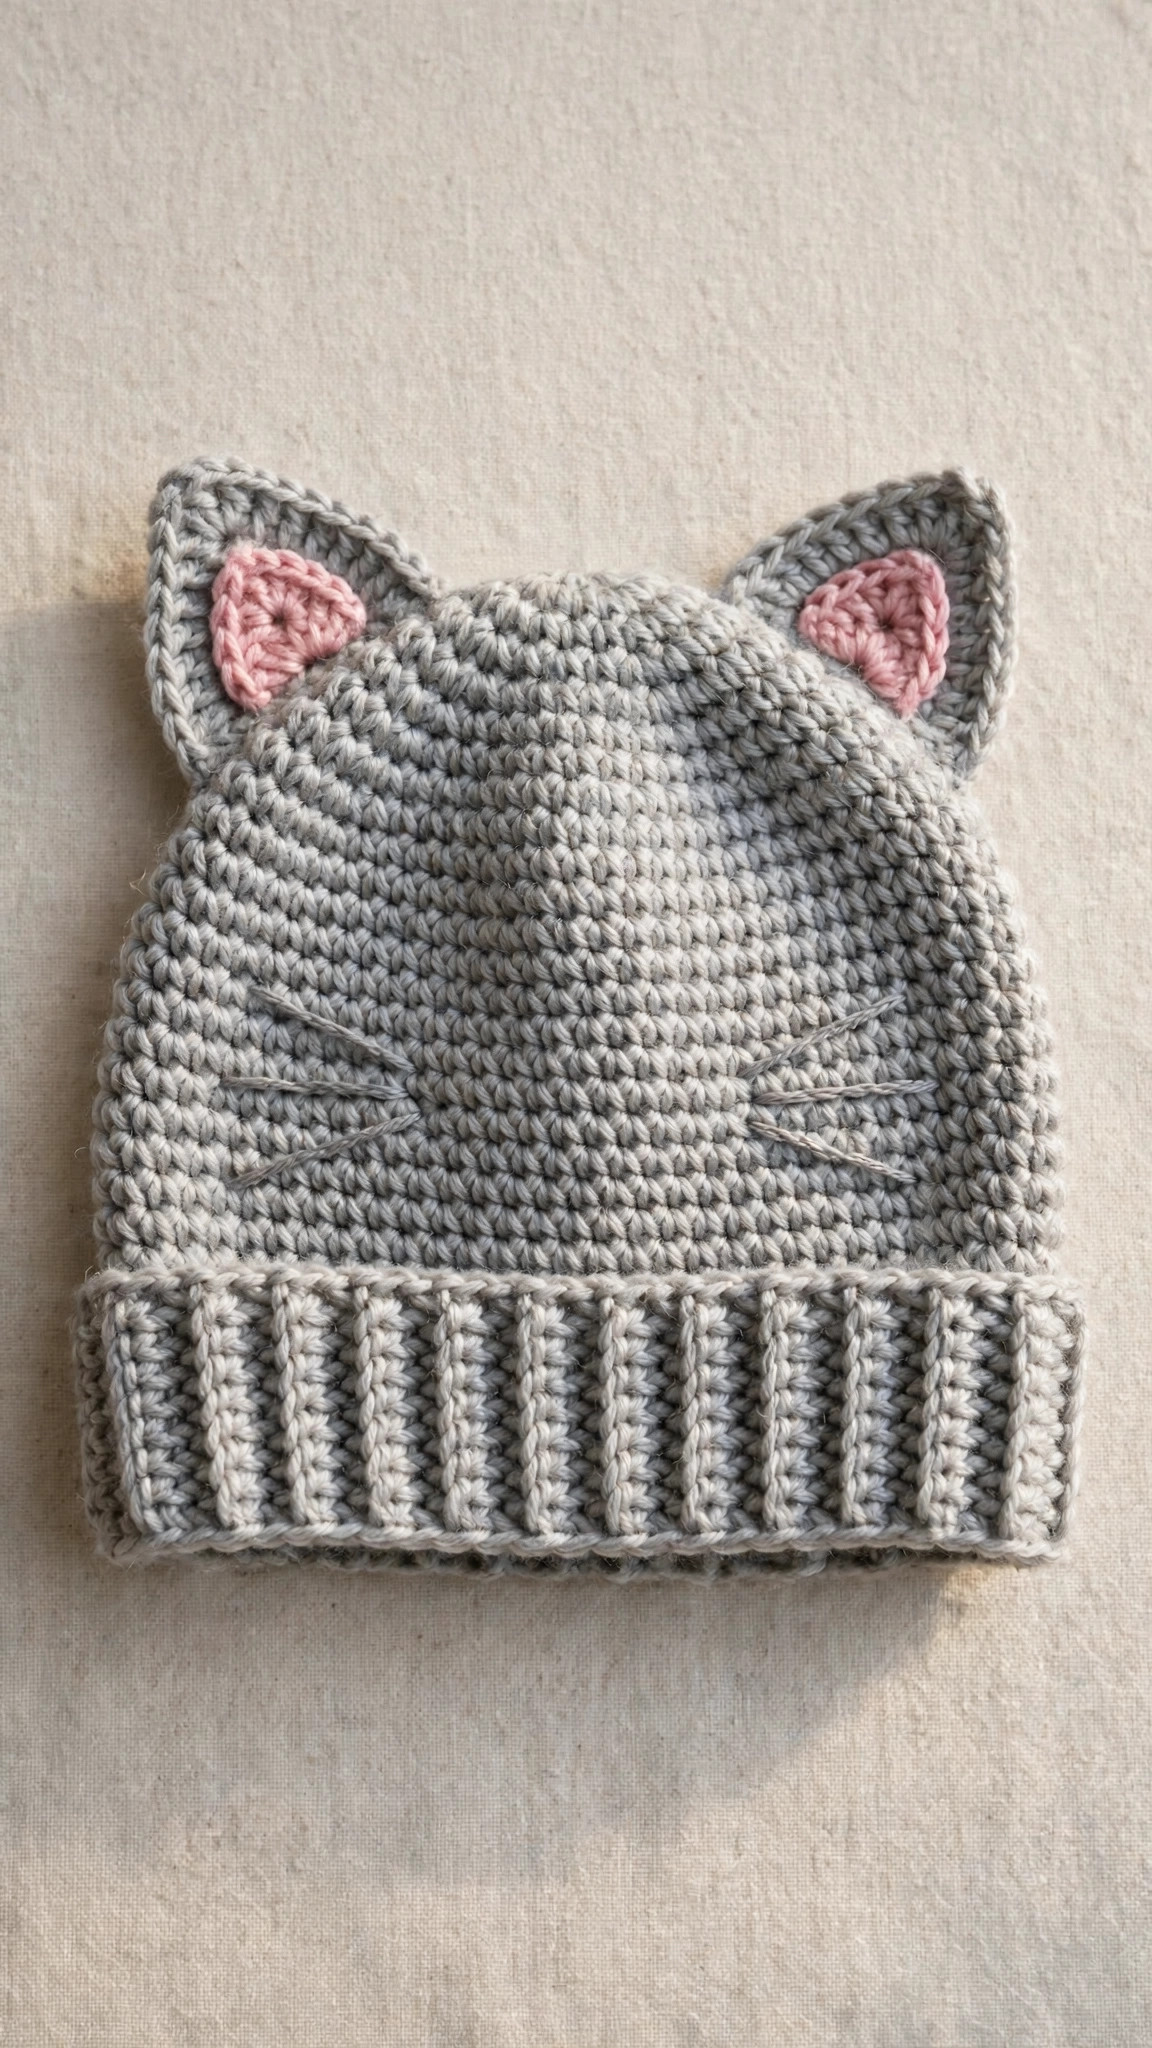
If you have ever wanted a hat with built-in attitude, this is it. This free crochet cat beanie pattern makes an adorable cat-ear hat: a cosy ribbed beanie topped with two perky triangle ears, pink inner ears, and optional embroidered whiskers. It is an original design, worked mostly in simple half double crochet, and it has that rare quality of looking complicated while being genuinely easy.
The construction is clever but forgiving. You start with a ribbed brim worked flat in back-loop single crochet, join it into a ring, then work the crown in plain rounds with no shaping at all. The top gets sewn shut in one straight seam, which magically creates the two pointed corners where the ears sit. The ears themselves are tiny triangles you whip up in minutes, and a little pink triangle sewn onto each one gives them that unmistakable cat look.
Make it in classic gray for the everyday cat lover, black for Halloween, or pink for maximum cute. Kids go wild for it, adults wear it unironically, and it makes a fantastic gift because it works up fast. Fair warning: once the ears go on, everyone will want one.
Table of contents
- Why you'll love this cat beanie crochet pattern
- Materials you'll need
- Size, gauge and skill level
- Abbreviations, US terms
- The cat beanie crochet pattern (US terms)
- Finishing touches and assembly
- Tips and tricks
- Variations to try next
- Troubleshooting tips
- Frequently asked questions
- More free patterns to try
Why you'll love this cat beanie crochet pattern
The cat beanie is the rare novelty hat that people actually wear. The ribbed brim keeps it snug and comfortable, the crown is a plain beanie you could wear on its own, and the ears add just enough personality to make it a conversation piece. It never reads as a costume you will wear once: in gray or cream it is an everyday winter hat with charm, in black it is instant Halloween, and in pastel pink it is pure kawaii.
It is also a brilliant skill builder disguised as a fun project. You will practice back-loop ribbing, working a crown off a band, seaming, and small-piece shaping, all in one small project. If you have been collecting cat-themed makes, our free crochet cat hat patterns roundup is full of feline inspiration, and this beanie is the cosiest of the bunch.
And then there is the gifting angle. A cat beanie works up in an evening, uses one main skein, and fits almost anyone. Make a stack of them in different colours and you have birthdays, stocking stuffers, and market-table inventory sorted in a single weekend.
Materials you'll need
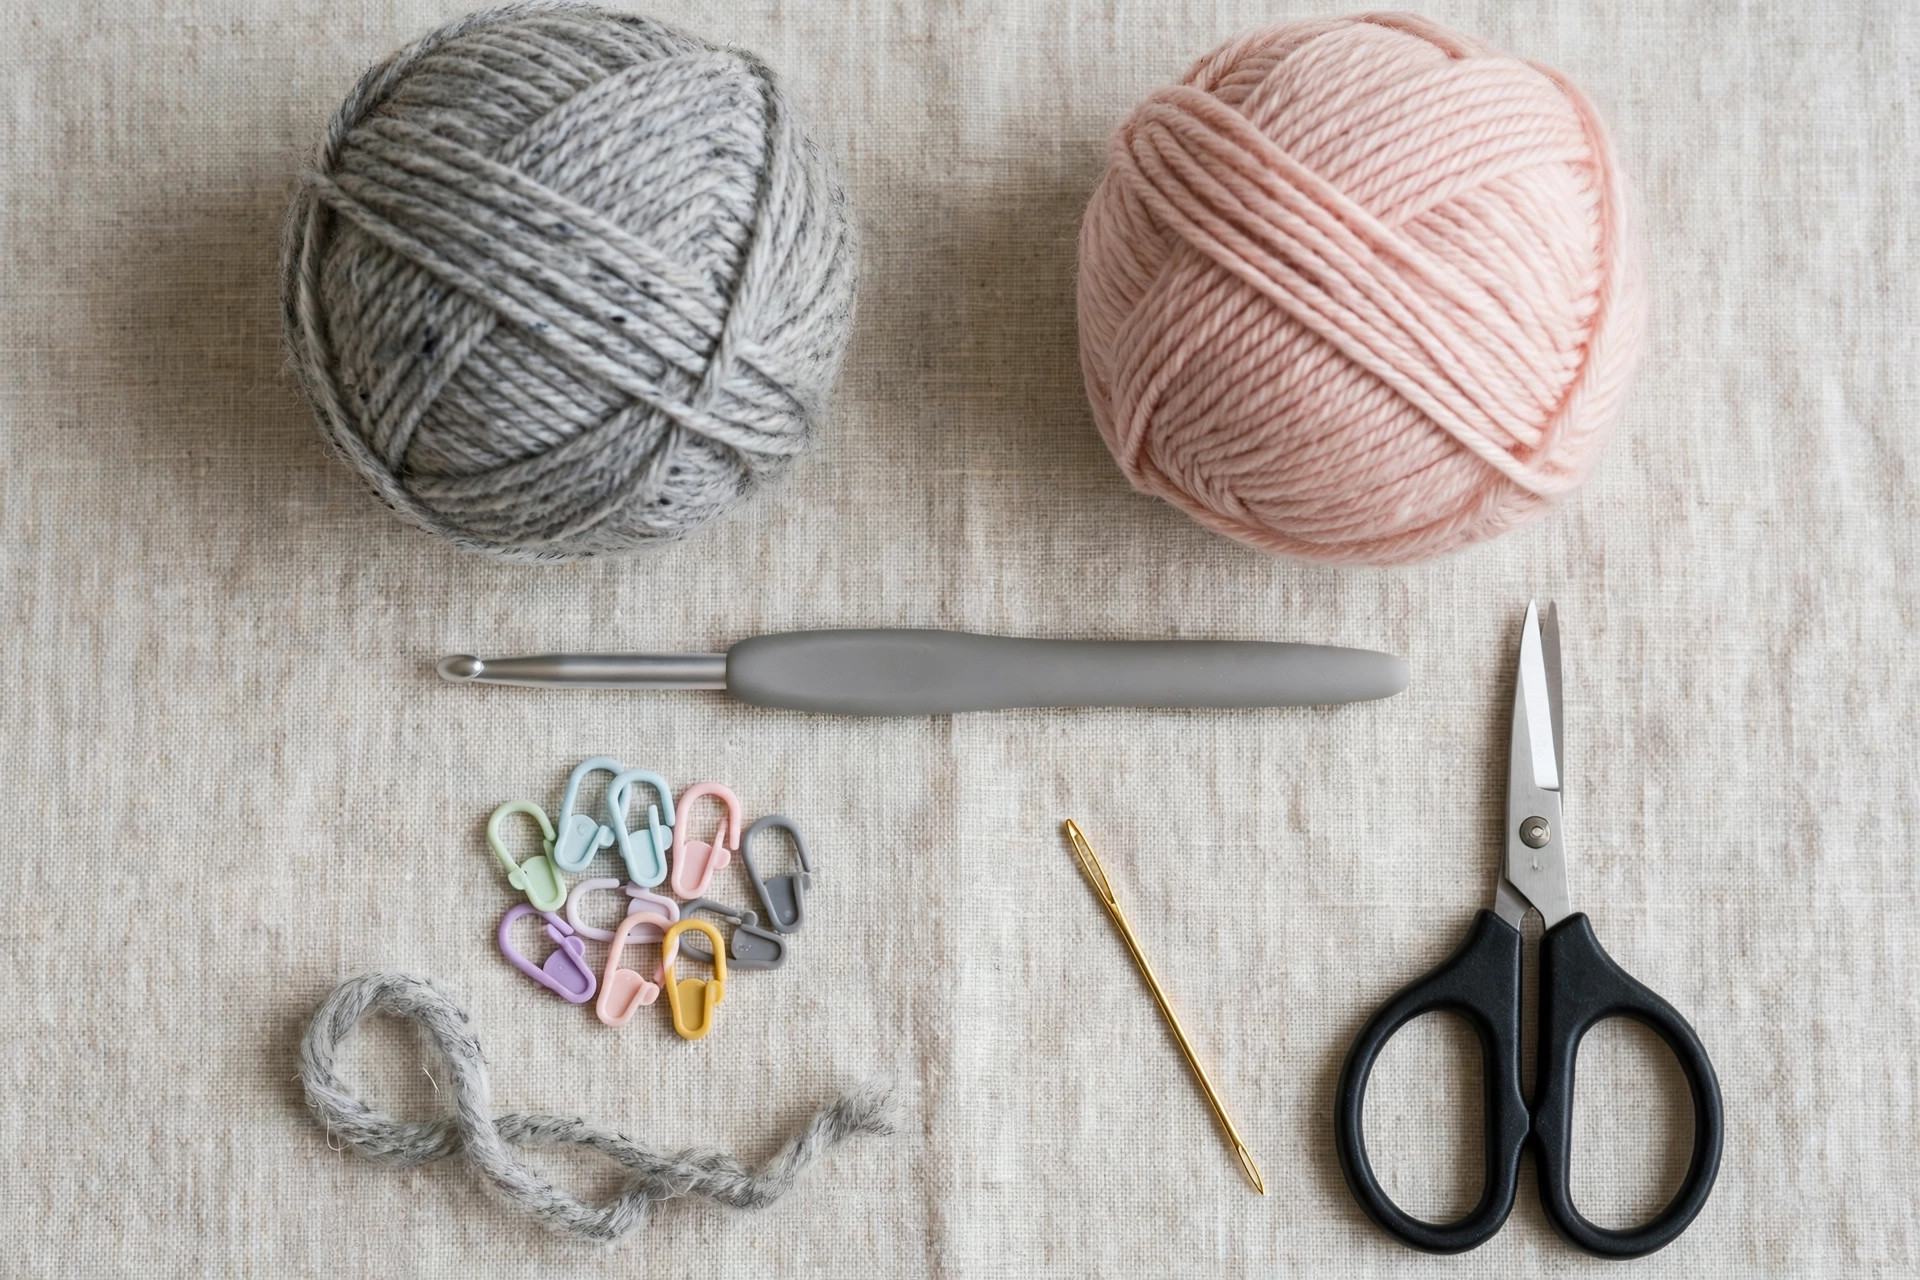
| Supply | What to get |
|---|---|
| Main color yarn | Worsted-weight (#4) yarn, about 140 yds / 128 m (adult), 100 yds / 91 m (child) |
| Pink yarn | A small amount of worsted-weight pink yarn for the inner ears and nose |
| Dark yarn | A small amount of black or dark brown yarn for the whiskers |
| Crochet hook | 5.0 mm |
| Tapestry needle | For sewing the top seam and ears, and weaving in ends |
| Notions | Scissors, stitch markers |
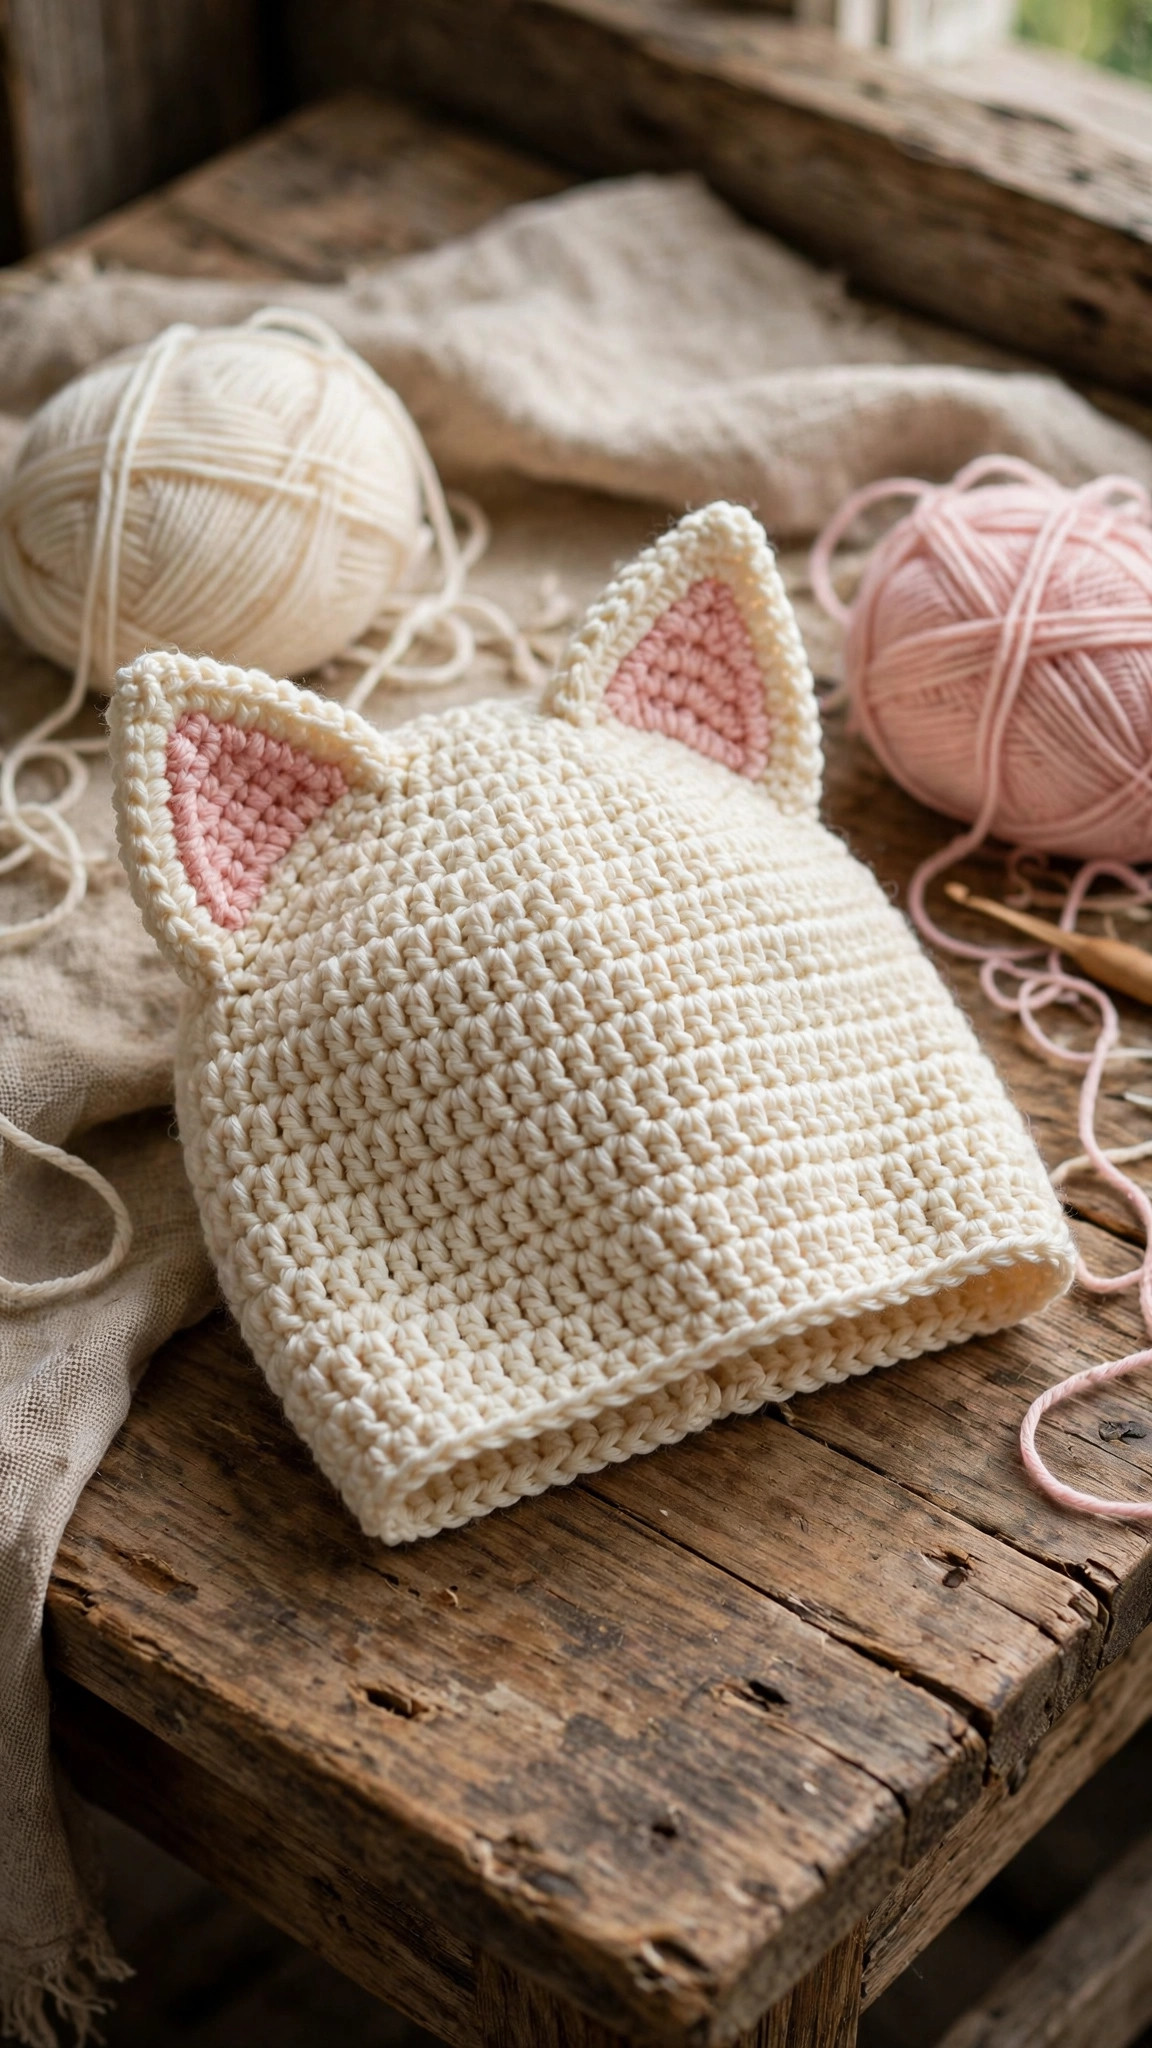
Choose a main color with personality: heather gray is the classic cat, black is dramatic, cream is soft and sweet. Acrylic or an acrylic blend is ideal because it holds the ear points crisply and survives regular washing. The pink can be any scrap you have; a soft blush pink photographs beautifully against gray.
A note on the hook: 5.0 mm gives a warm, dense fabric that keeps its shape. If you crochet loosely, drop to 4.5 mm so the ears stand up instead of flopping.
Size, gauge and skill level
The brim is worked flat and joined into a ring, then the crown is worked in rounds off the top edge of the band. Child size first, adult in parentheses.
| Size | To fit head | Crown stitches | Approx. time |
|---|---|---|---|
| Child | 18-20 in / 46-51 cm | 48 | About 2 hours |
| Adult | 21-23 in / 53-58 cm | 56 | About 3 hours |
- Finished size (adult): fits a 21-23 in (53-58 cm) head, about 8 in (20 cm) tall from brim to the top seam, with ears adding about 2.5 in (6 cm) of height. The child size fits an 18-20 in (46-51 cm) head.
- Gauge: 13 hdc and 10 rounds = 4 in (10 cm) in worsted yarn with a 5.0 mm hook. The brim band is your real fitting tool here: wrap it around the head before you join it, since band length decides the hat size more than stitch counts do.
- Skill level: advanced beginner. You should be comfortable with single crochet, half double crochet, working in the back loop, and basic seaming. The embroidered face is optional and beginner friendly.
If you have made a plain beanie before, this is a comfortable next step: the crown is just straight rounds, and the ears are tiny practice pieces.
Abbreviations, US terms
| Abbreviation | Meaning |
|---|---|
| ch | chain |
| sc | single crochet |
| hdc | half double crochet |
| sl st | slip stitch |
| blo | back loop only |
| sc2tog | single crochet 2 together (decrease) |
| sc3tog | single crochet 3 together (decrease) |
| st(s) | stitch(es) |
| R | round or row |
| FO | fasten off |
| [ ] | total stitch count at the end of the row or round |
A note on the brim: the ribbing is made by working single crochet into the back loop only, every row. The unworked front loops form the ridges that give the brim its stretch and texture.
The cat beanie crochet pattern (US terms)
Work the ribbed brim first, join it into a ring, then work the crown in rounds. Sizes are given as child (adult); where only one number appears, it applies to both sizes.
Brim: the ribbed band
With the main color, work the band flat.
- Foundation: ch 10.
- Row 1: sc in 2nd ch from hook and in each ch across. [9]
- Row 2: ch 1, turn, sc in blo of each st across. [9]
- Repeat Row 2 until the band wraps comfortably around the head with a little stretch: about 18 (21) inches long, roughly 46 (54) rows. Wrap it around the head to check before you join; this is your one chance to adjust the fit.
- Join the band: hold the first and last rows together with the right side out, and sl st through both layers across the short ends. Do not fasten off; you will work the crown from the top edge of this ring.
Crown: the beanie body
Work in rounds around the top edge of the joined band.
- R1: ch 2 (this does not count as a stitch), work hdc evenly around the top edge of the band, placing 1 hdc into the end of every other band row, until you have 48 (56) sts total. Join with sl st to the first hdc. [48 (56)]
- R2 onward: ch 2, hdc in each st around, join with sl st to first hdc. [48 (56)]
- Work even rounds until the piece measures about 6 (7) inches from the bottom edge of the brim. Try it on: it should reach just past the crown of the head.
- FO, leaving a 12-inch tail for seaming the top.
Closing the top
This single seam is what creates the cat-ear points.
- Flatten the crown so the round join seam sits at one side edge, centered between what will become the two ears.
- Thread the 12-inch tail onto the tapestry needle. Sew the top shut with a whipstitch through both layers, working in a straight line from one corner to the other.
- Knot securely on the inside and weave in the end. The two pointed corners at the ends of the seam are where the ears will sit.
Ears: pointy triangles (make 2)
With the main color, work each ear flat in rows.
- Foundation: ch 10.
- Row 1: sc in 2nd ch from hook and in each ch across. [9]
- Row 2: ch 1, turn, sc2tog, sc 5, sc2tog. [7]
- Row 3: ch 1, turn, sc2tog, sc 3, sc2tog. [5]
- Row 4: ch 1, turn, sc2tog, sc, sc2tog. [3]
- Row 5: ch 1, turn, sc3tog. [1]
- FO, leaving an 8-inch tail for sewing.
Inner ears: pink triangles (make 2)
With pink yarn, work a smaller triangle for each ear.
- Foundation: ch 6.
- Row 1: sc in 2nd ch from hook and in each ch across. [5]
- Row 2: ch 1, turn, sc2tog, sc, sc2tog. [3]
- Row 3: ch 1, turn, sc3tog. [1]
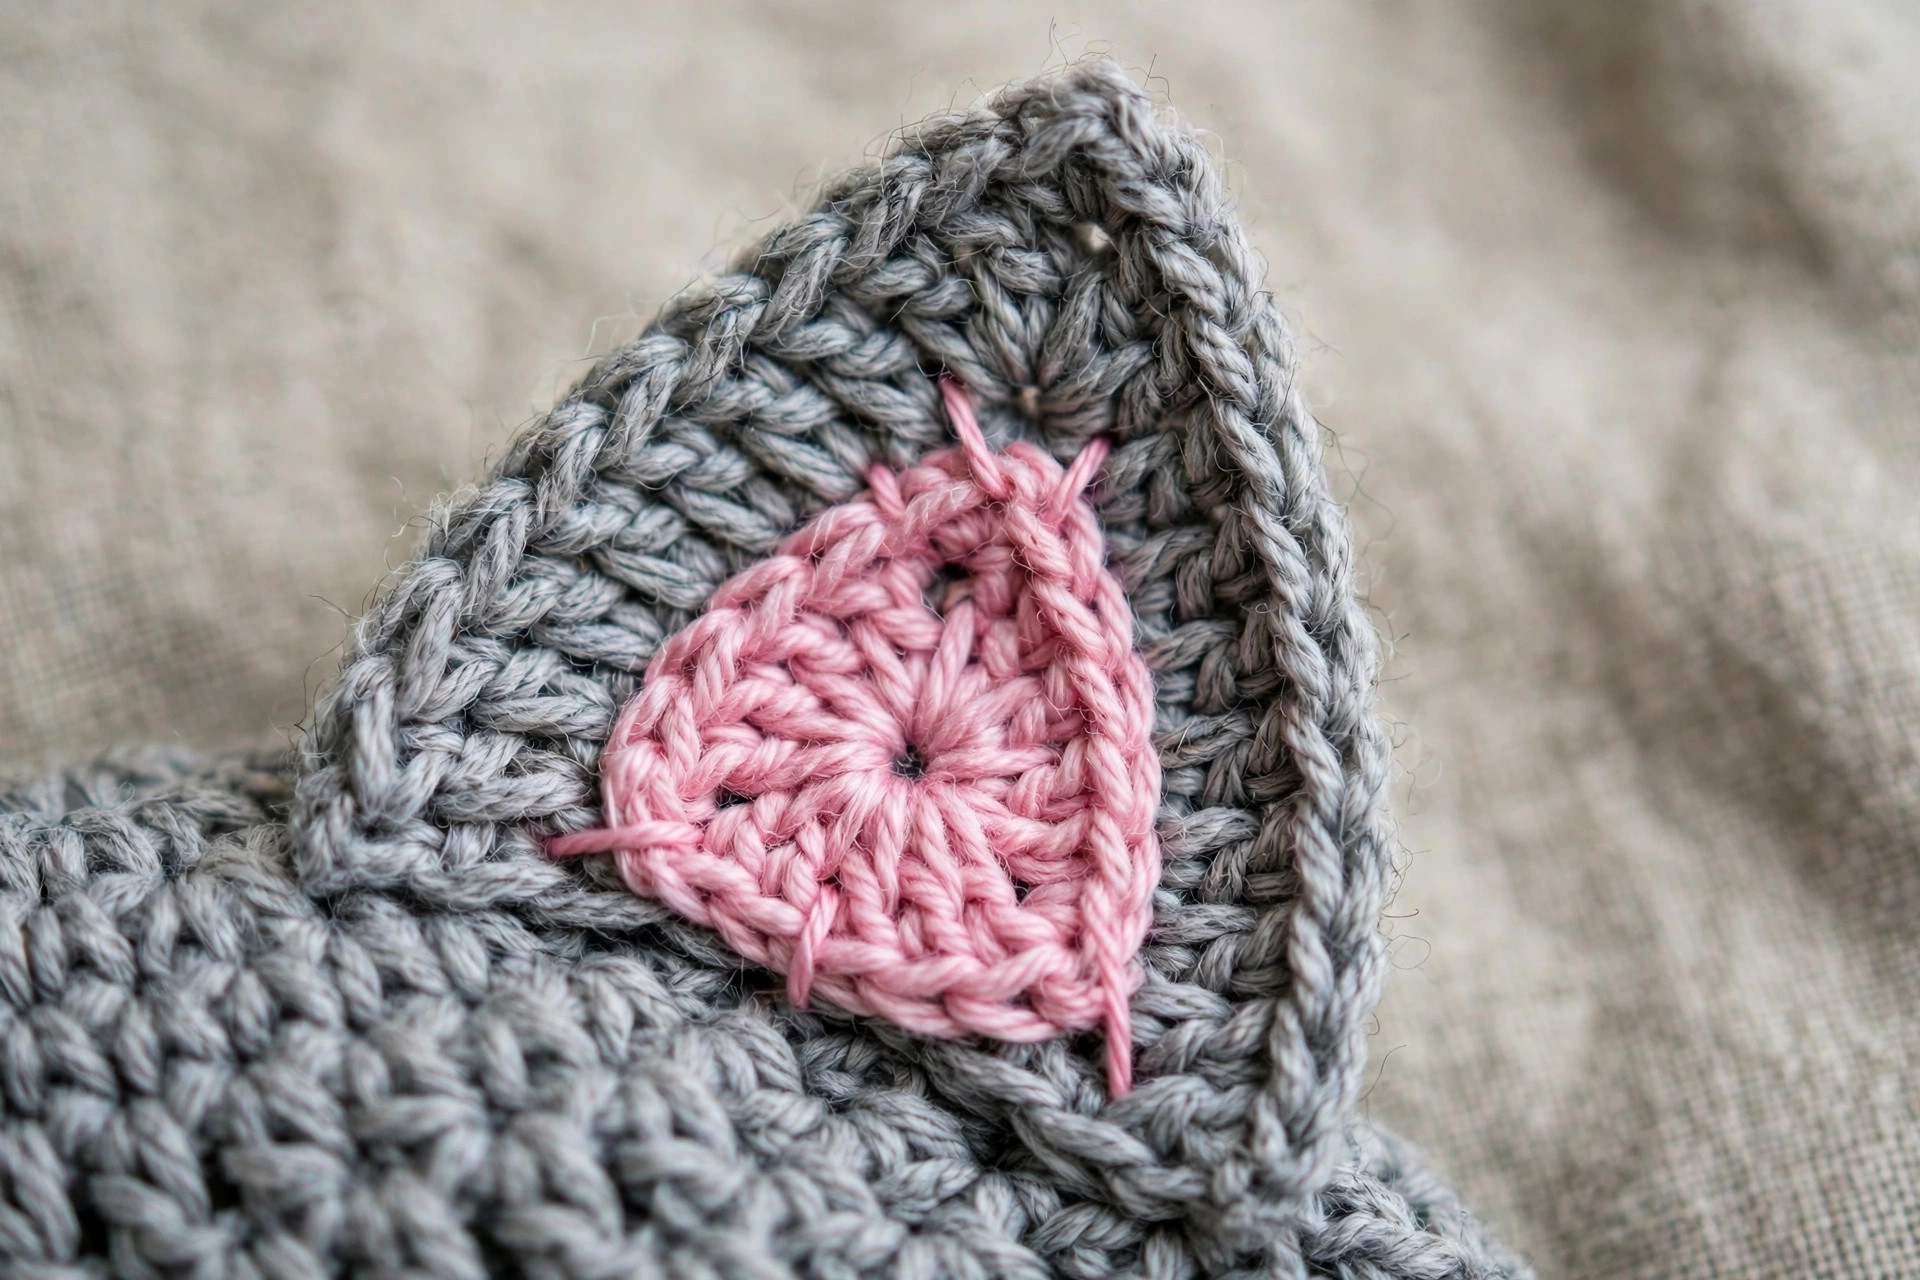
- FO, leaving an 8-inch tail. Sew the pink triangle centered on one face of each gray ear, using small whipstitches around the edges.
Finishing touches and assembly
Attach the ears. Position each ear on one of the pointed corners of the seamed top, with the pink inner ear facing forward. The bottom edge of the ear should overlap the crown by about half an inch. Sew around the base of each ear with the 8-inch tail, going through the ear and the crown beneath it. Add a few extra stitches at the front and back of the base so the ear stands upright.
Embroider the face (optional). With pink yarn, stitch a small triangle nose at the center front of the crown, about 1.5 inches below the top seam: three short straight stitches forming a triangle, then one vertical stitch down from its point. With dark yarn, add three whiskers on each side: straight stitches about 1.5 inches long, fanning slightly outward. Knot all embroidery tails on the inside.
Weave every end. Thread each tail onto the tapestry needle and run it through nearby stitches for at least 2 inches, changing direction once so it locks in place. Trim flush.
Steam the ears (optional). Hold a steaming iron a few inches above each ear, never touching the yarn, and let the steam relax the stitches for a few seconds. Pinch the ear into a crisp point while it is warm and let it cool: acrylic will hold the shape.
Tips and tricks
A few details that elevate this beanie from cute to professional:
Fit the band before you join it. The band is the whole sizing system. Wrap it around the head with a slight stretch: it should feel snug but not tight. Too loose and the hat will slide down over the eyes; too tight and it will ride up. Adjusting later is nearly impossible, so take the thirty seconds now.
Keep the top seam straight. A wobbly seam makes lopsided ears. Mark the two corner points with stitch markers before you sew, and check from the front that the seam runs level as you go.
Angle the ears slightly outward. Ears sewn perfectly upright look a little stern. Tilt each ear outward by just a few degrees for a friendlier, more playful expression.
Use a smaller hook for the ears if yours flop. The ears are small, so even a little looseness shows. If your first ear will not stand up, remake it with a 4.5 mm hook and slightly tighter tension.
Photograph the face before you commit. Lay the whiskers and nose in place with pins and take a photo. Faces are hard to judge up close; the camera shows you instantly whether the nose sits too high or a whisker wanders.
Variations to try next
One cat is never enough:
- Midnight cat. Work the whole hat in black with pink inner ears for a dramatic Halloween version. Add the embroidered face in white yarn so it shows up.
- Kitten set. Make the adult and child sizes in matching colors for the sweetest parent-and-child photo you will take all winter.
- Bunny beanie. Work the ears twice as tall (repeat the decrease rows starting from a chain of 14) and skip the pink triangles: instant bunny, same hat.
- Striped tabby. Change colors every 3 rounds in the crown for a tabby stripe effect. Carry the unused color up the inside to avoid extra ends.
- Dino spikes instead of ears. Sew small triangles down the center back seam instead of cat ears for a dinosaur version. Our crochet dinosaur hat pattern shows the same playful spirit with a totally different silhouette.
Troubleshooting tips
- The brim band is too tight to pull over the head. Your ribbing has less stretch than expected, or the band is too short. Add more rows before joining, or go up half a hook size for the band only.
- The hat slides down over the eyes. The band is too long. Undo the join, remove a few rows, and rejoin. This is a five-minute fix if you catch it before the crown is worked.
- The ears flop forward. They are sewn too high on the seam or your tension is loose. Reposition each ear so its base sits half an inch below the top seam, and add tacking stitches at the back of the base.
- The top seam looks lumpy. You caught uneven amounts of fabric in the whipstitches. Undo the seam, re-flatten the crown with the join centered at the side, and sew with small, even stitches.
- The crown stitches are uneven where they meet the band. The transition round is always a little bumpy. It evens out after two or three rounds, and the brim covers the join line anyway.
- The pink inner ear puckers. You pulled the whipstitches too tight or the pink triangle is smaller than the space it covers. Sew with relaxed tension, easing the pink piece flat as you go.
- The embroidered whiskers look crooked. Embroidery is forgiving: pull the stitches out and redo them. Use the photo trick from the tips section to check placement before you knot the tails.
Frequently asked questions
Is this crochet cat beanie pattern really free?
Yes, the complete pattern above is free, with no email signup and no PDF purchase required.
What skill level is this cat beanie pattern?
Advanced beginner. If you can work single crochet in the back loop, half double crochet in rounds, and sew pieces together neatly, you have every skill this pattern needs.
How long does it take to crochet the cat beanie?
About 3 hours for the adult size: roughly an hour for the brim, an hour for the crown, and an hour for the ears, face, and finishing. The child size takes about 2 hours.
How much yarn do I need?
For the adult size, about 140 yds of the main color plus small amounts of pink and dark yarn for the inner ears, nose, and whiskers. The child size needs about 100 yds of the main color.
Can I make the ears bigger and floppier?
Yes. Start the ear with a chain of 14 instead of 10 (13 stitches in Row 1) and work the same decrease rhythm until one stitch remains. Use a 4.5 mm hook so the larger ear still has enough body to hold its shape.
Can I sell the finished cat beanies I make?
Yes! You may sell finished beanies made from this pattern in small batches (craft fairs, markets, gifts). Please credit Little Loop Finds as the pattern designer.
More free patterns to try
If this kitty was fun, keep the hook moving. The free ribbed beanie pattern uses the same cosy band technique for a classic everyday hat, the crochet cat pattern free makes an adorable amigurumi companion for your beanie, and our batch-mate the free crochet santa hat pattern brings the same playful energy to the holiday season. A cat beanie for October, a Santa hat for December: your gift list is writing itself.