Free Crochet Balaclava Pattern: Cosy Winter Ski Mask
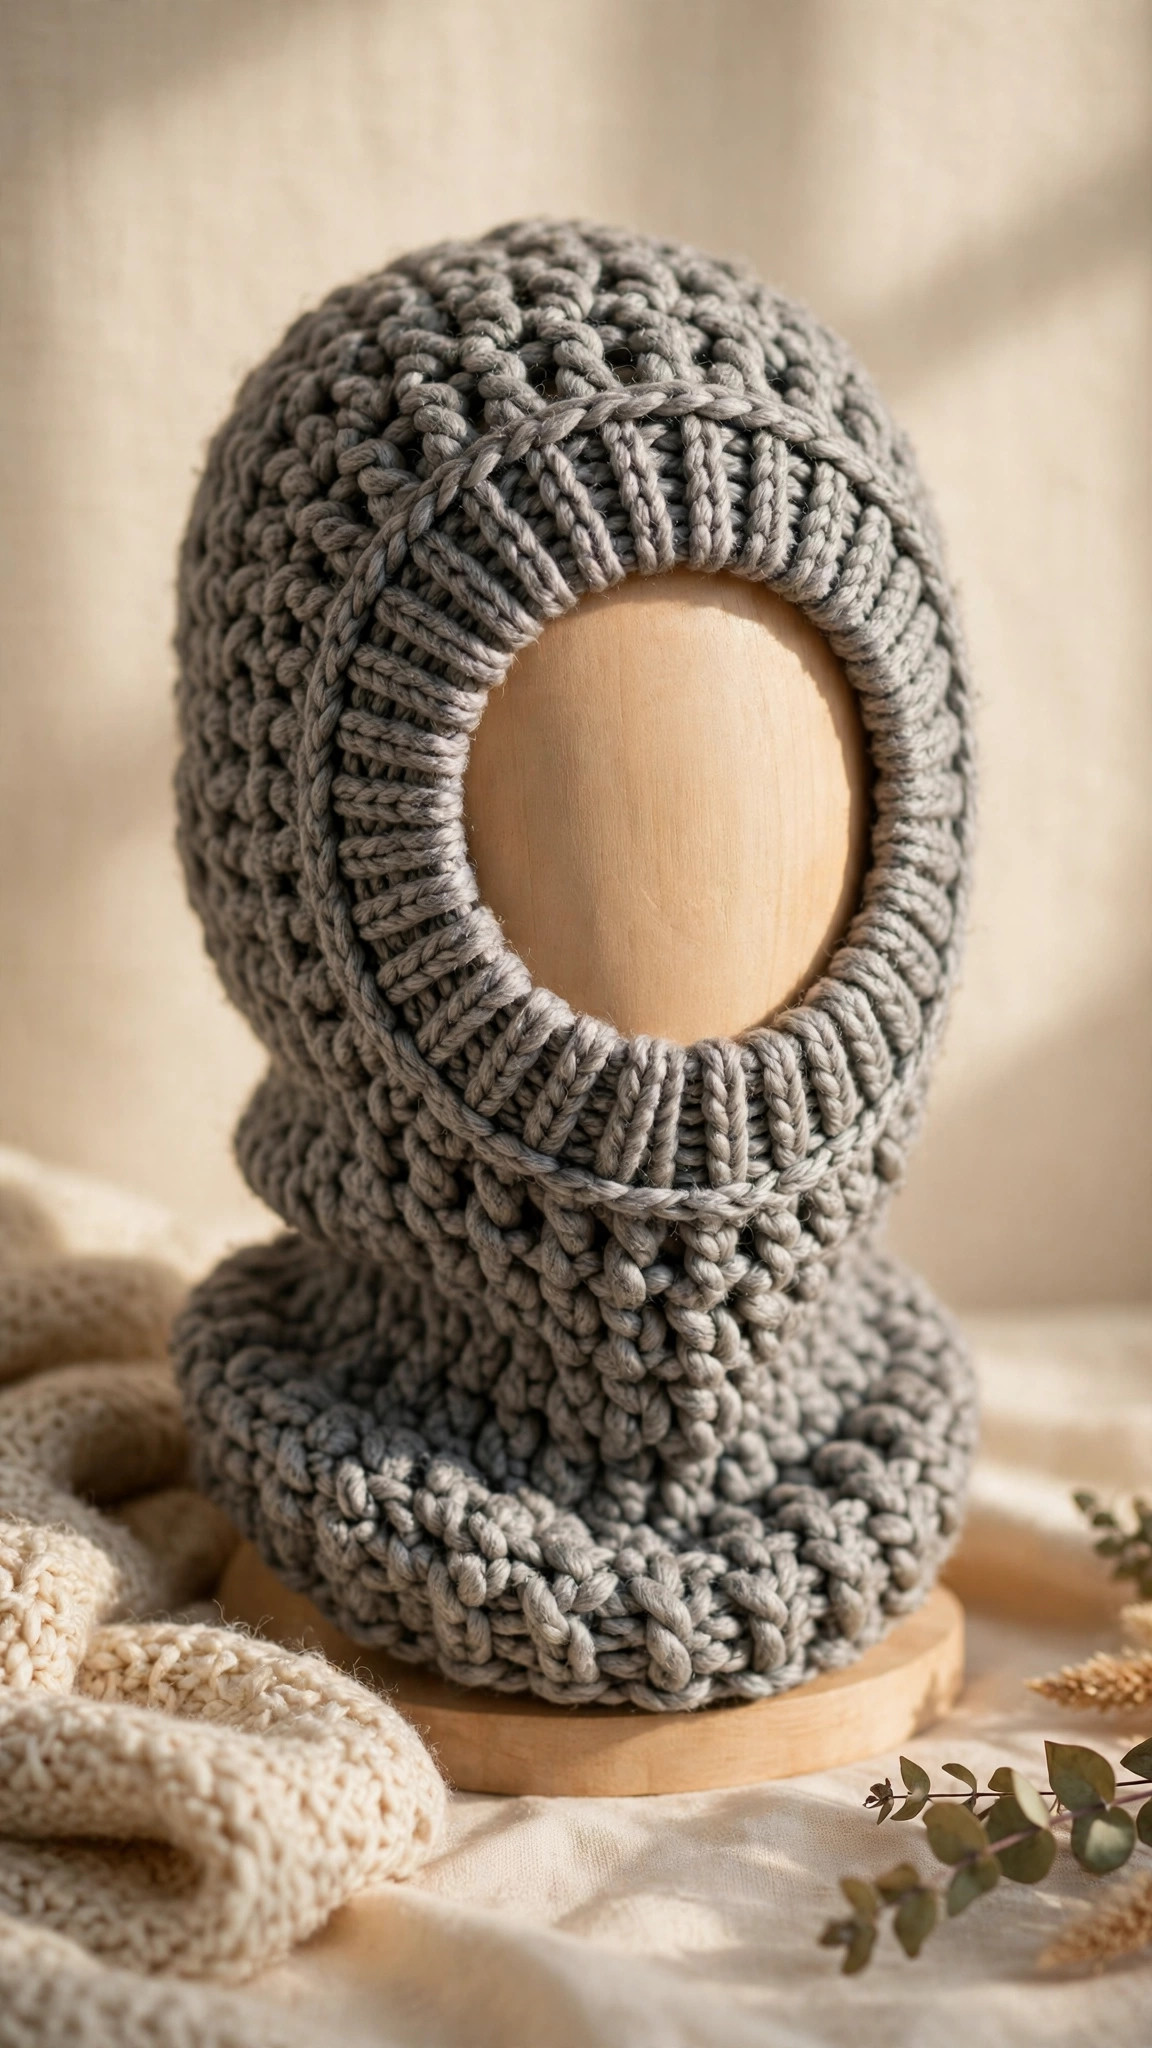
A cosy crocheted ski mask with a ribbed neck and a neat face opening: original design, US terms, child and adult sizes, in worsted yarn.

Hats · Crochet
- Finished size
- Adult fits 21-23 in head
- Making time
- About 5 hours (adult)
- Hook
- 5.5 mm, worsted yarn
- Set
- 2 sizes, original design
- Skill
- Advanced Beginner
In this post
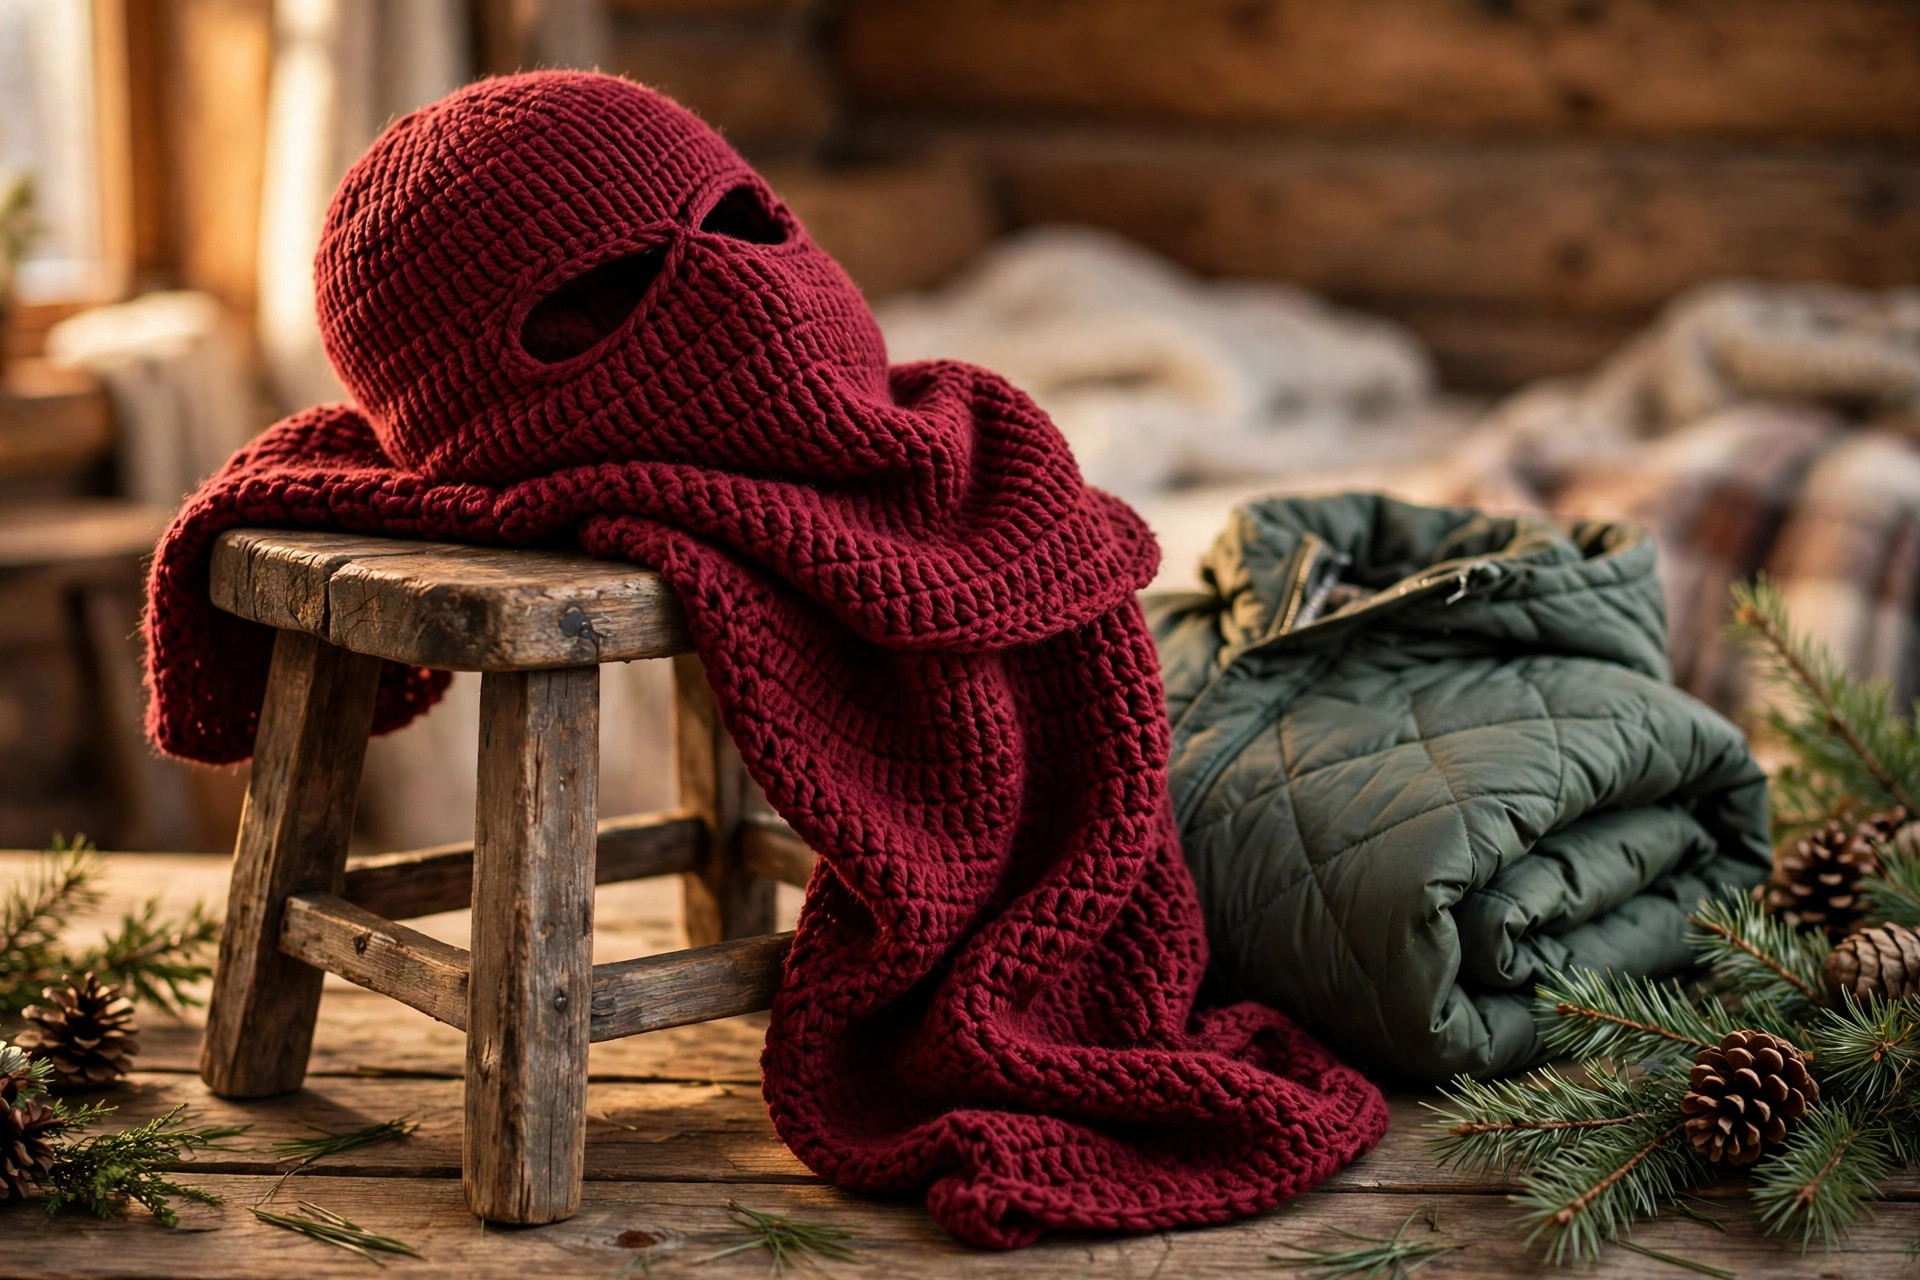
There is a special kind of cold that only a balaclava fixes: the wind that finds the gap between your hat and your scarf, no matter how carefully you tuck everything in. This free crochet balaclava pattern solves it in one piece: an original design worked bottom-up in soft worsted yarn, with a ribbed neck, a neat face opening, and a gently shaped crown.
The construction is simpler than it looks. You crochet a ribbed tube for the neck, work the face section in rows to leave a clean vertical opening, bridge across the top, then decrease to close the crown just like a beanie top. A tidy single-crochet border frames the face opening. No seaming, no cutting, no fiddly assembly.
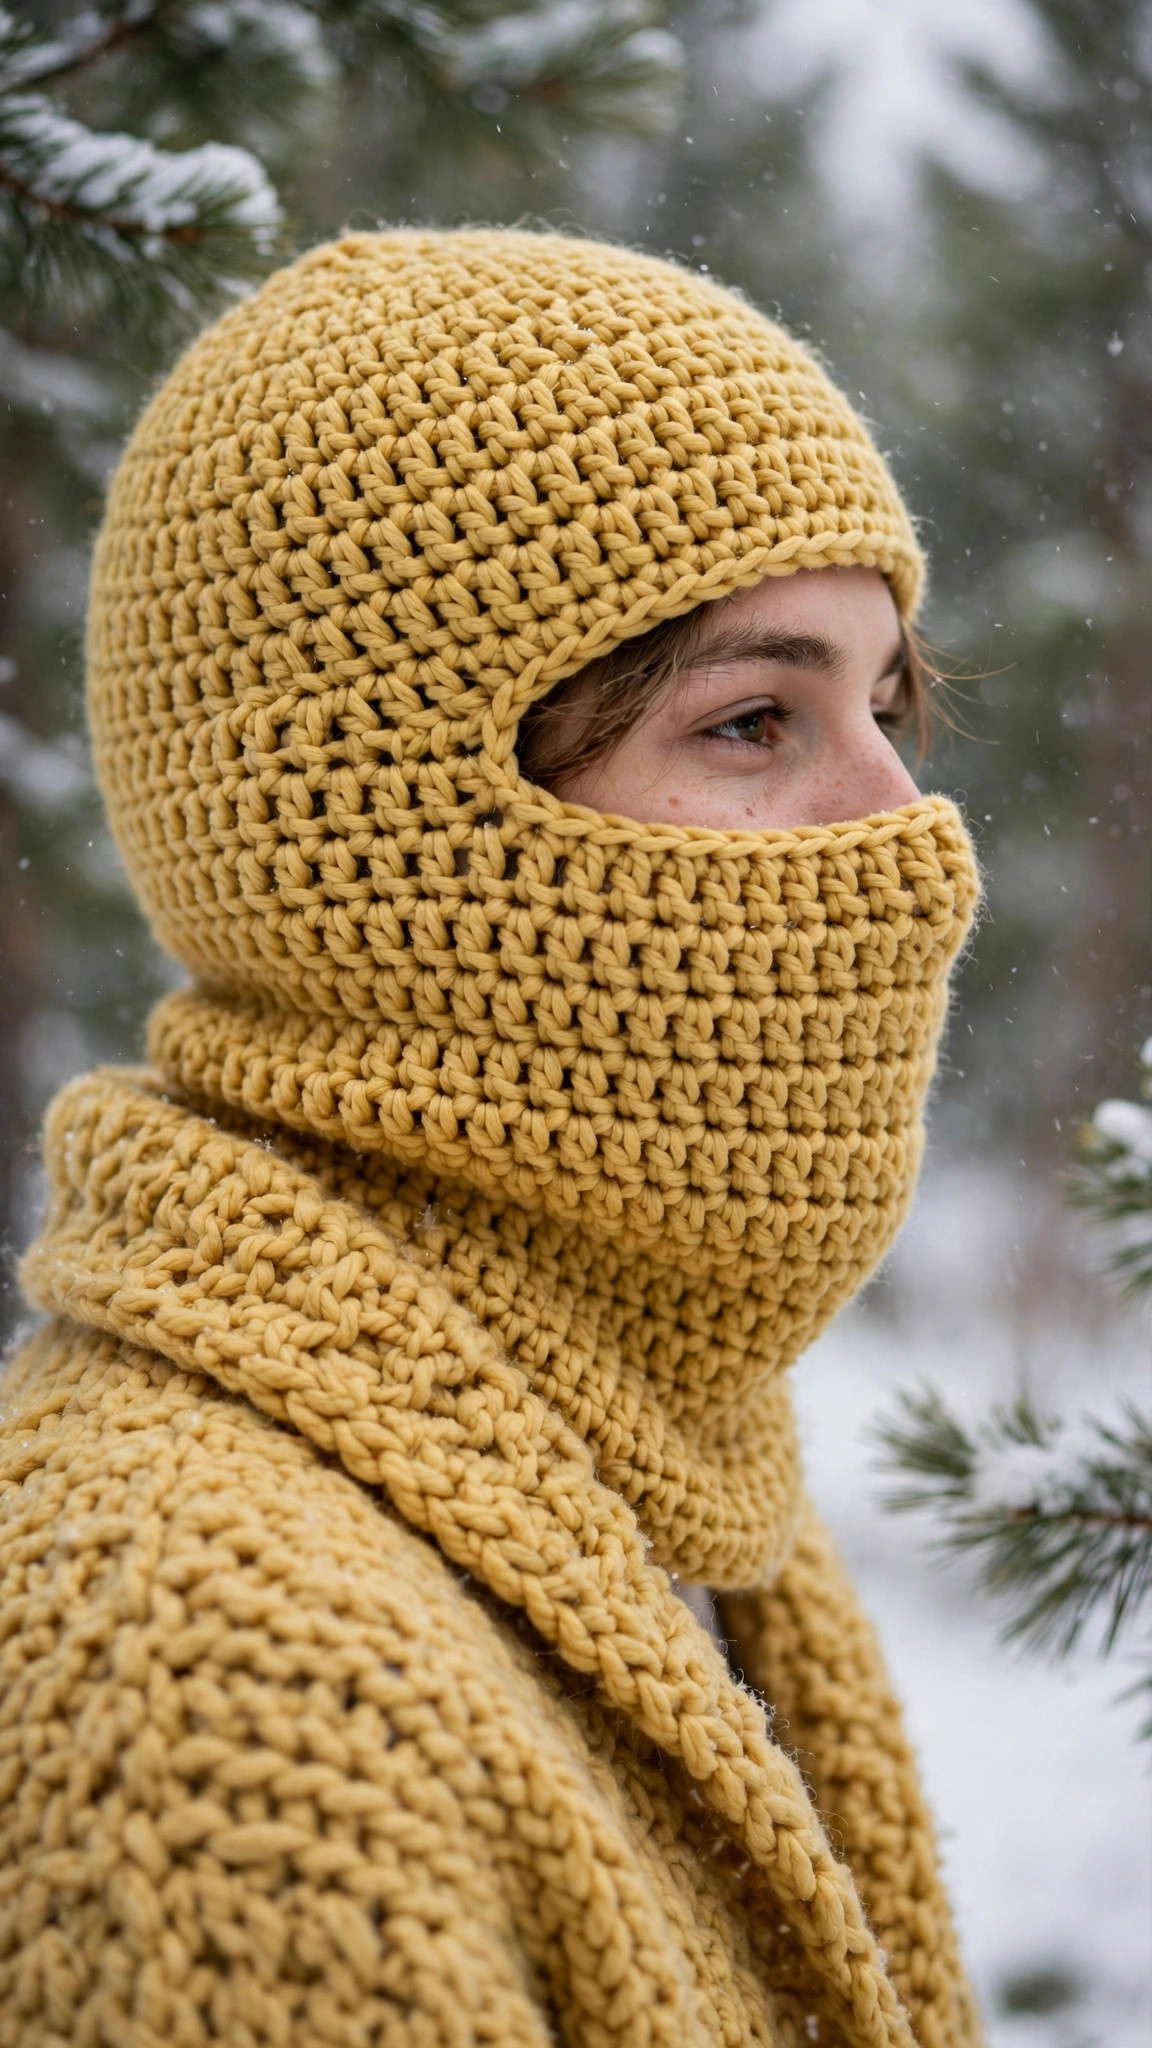
Make one in a classic charcoal or forest green for the school run, or go bold with mustard, rust, or burgundy for ski weekends. With two sizes, child and adult, the whole family can match.
Table of contents
- Why you'll love this balaclava crochet pattern
- Materials you'll need
- Size, gauge and skill level
- Abbreviations, US terms
- The balaclava crochet pattern (US terms)
- Finishing touches
- Tips and tricks
- Variations to try next
- Troubleshooting tips
- Frequently asked questions
- More free patterns to try
Why you'll love this balaclava crochet pattern
A shop-bought balaclava is either too tight, too itchy, or made of something that pills after two wears. A handmade one fits your actual head and uses yarn you love against your skin. This pattern is designed to be the balaclava you reach for every frosty morning.
The no-seam construction is the real selling point. Because the face opening is built into the rows as you work, there is no cutting and no awkward sewing. The border round tidies everything into a professional-looking frame, and the ribbed neck sits flat under a coat collar instead of bunching up.
It is also a genuinely practical gift. Skiers, cyclists, dog walkers, and kids waiting at cold bus stops all need one, and a handmade balaclava in their favourite colour beats another pair of socks every time.
Materials you'll need
| Supply | What to get |
|---|---|
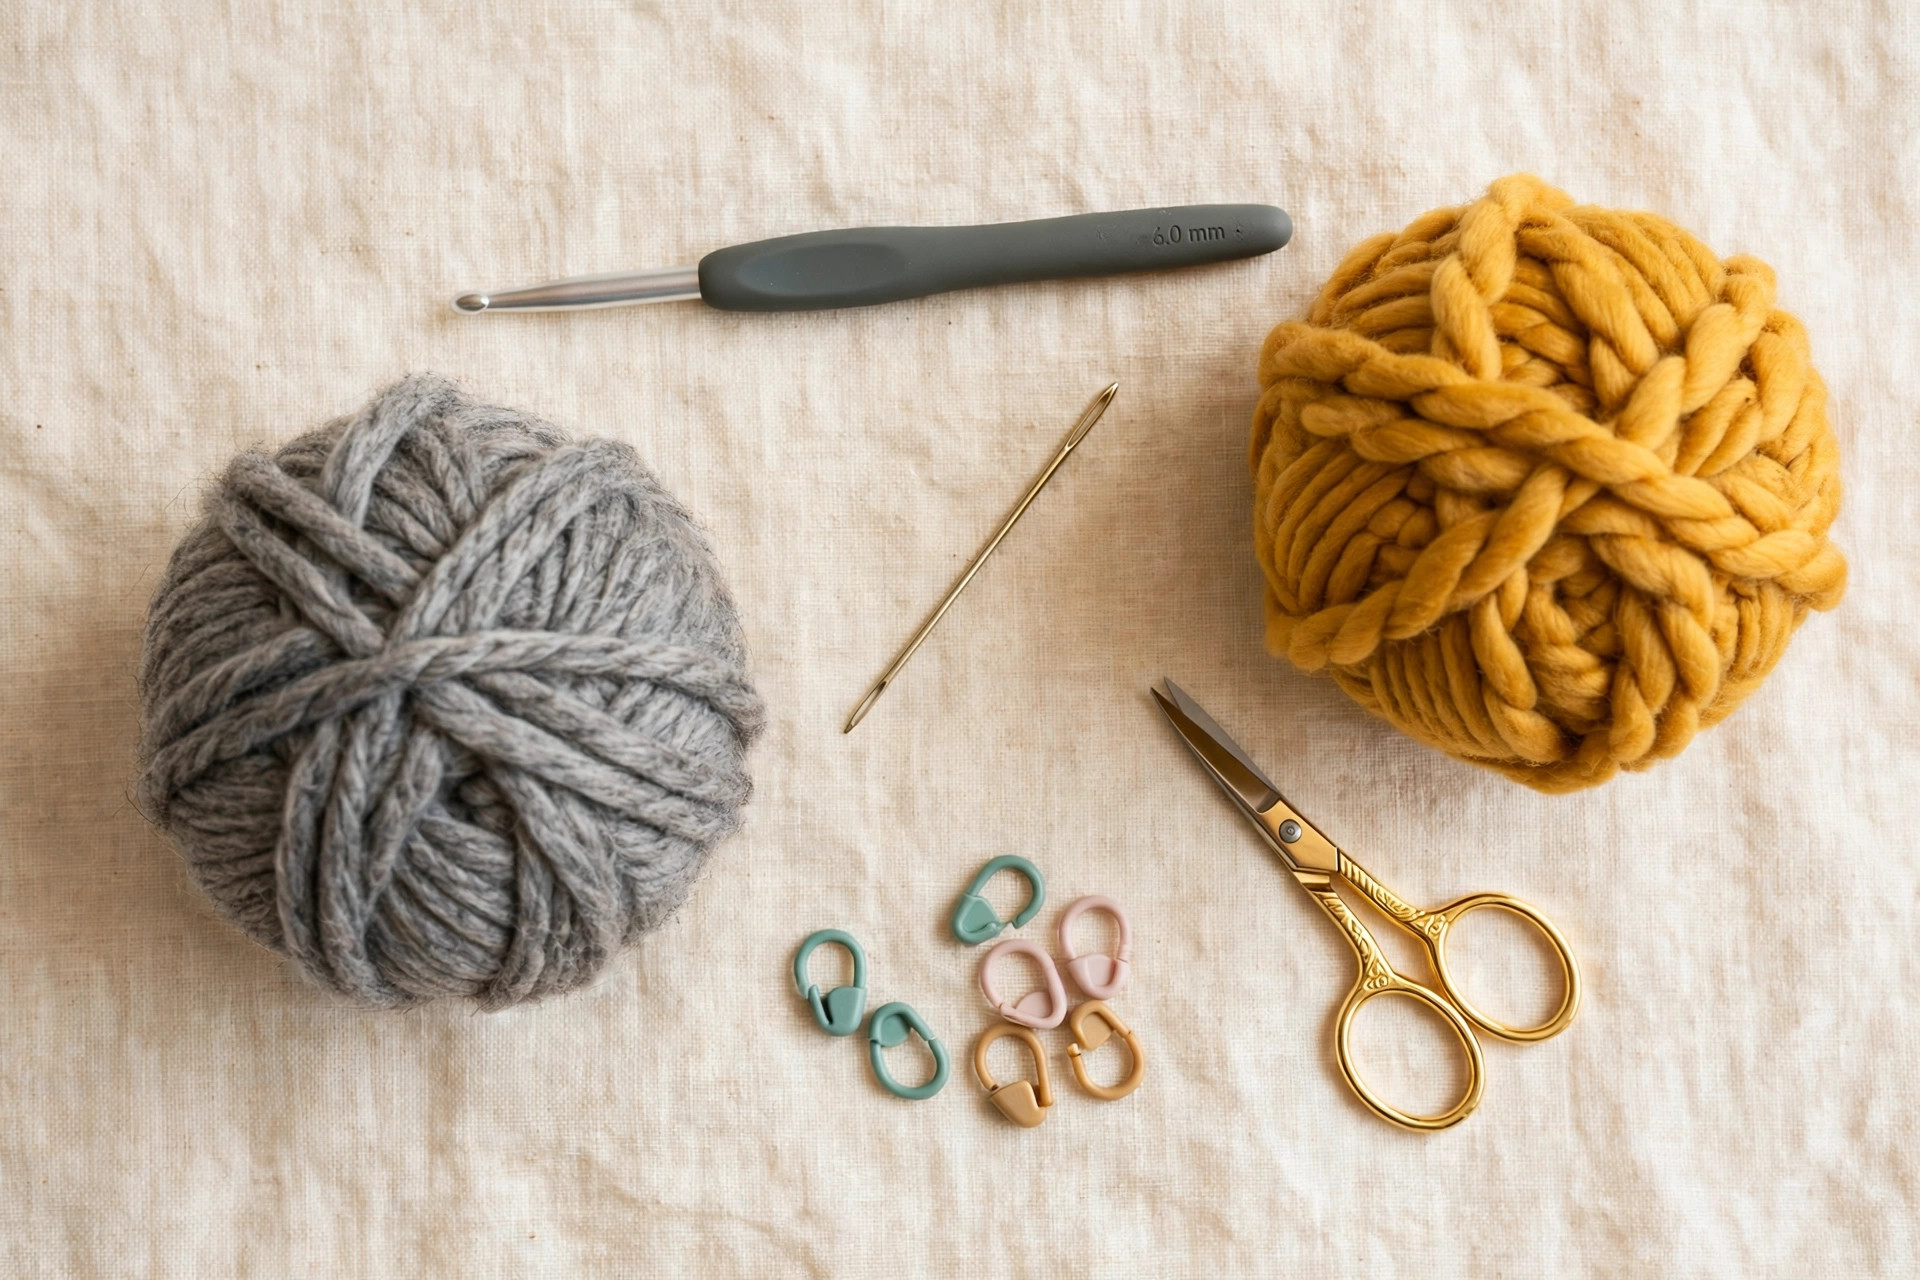
| Main yarn | Worsted-weight (#4) yarn, about 380 yds / 350 m (adult), 300 yds / 275 m (child); one solid colour |
| Crochet hooks | 5.5 mm (I) for the body, 5.0 mm (H) for the ribbed neck and face border |
| Tapestry needle | For weaving in ends and cinching the crown |
| Notions | Scissors, 2 stitch markers for marking the face opening |
Pick a yarn that feels good on your face, because it will be there all winter. A soft acrylic or acrylic-wool blend is ideal: warm, washable, and it holds the ribbing's stretch. A solid or heathered colour shows off the construction best.
A note on the hooks: the 5.5 mm hook gives the body a warm but breathable fabric, while the slightly smaller 5.0 mm hook keeps the neck ribbing snug and the face border neat. If you crochet loosely, try a 5.0 mm for the body so the wind does not whistle through.
Size, gauge and skill level
The balaclava is worked with a little negative ease so it hugs the head without squeezing. Measure around the head just above the eyebrows and pick the size that matches.
| Size | To fit head | Neck stitches | Approx. time |
|---|---|---|---|
| Child | 18-20 in / 46-51 cm | 60 | About 4 hours |
| Adult | 21-23 in / 53-58 cm | 70 | About 5 hours |
- Finished size (adult): neck circumference about 20 in (51 cm) unstretched, stretching comfortably to 23 in; total height about 13 in (33 cm) from neck edge to crown. The child size measures about 17 in (43 cm) around the neck and 11 in (28 cm) tall.
- Face opening (adult): about 4 in (10 cm) wide and 6 in (15 cm) tall, framed by a three-round single crochet border. The child opening is about 3.5 in wide and 5 in tall.
- Gauge: 14 hdc and 10 rows = 4 in (10 cm) in worsted yarn with a 5.5 mm hook. Fit matters here more than in a slouchy hat: too loose and cold air gets in, too tight and it is miserable to wear, so check your gauge before the neck is finished.
- Skill level: advanced beginner. You should be comfortable with half double crochet, front and back post stitches for the ribbing, simple decreases, and working in both rounds and rows. The face opening sounds fancy but it is just skipping stitches and chaining across a gap.
If your head measures between sizes, size down: the ribbed neck stretches, and a snug balaclava is a warm balaclava.
Abbreviations, US terms
| Abbreviation | Meaning |
|---|---|
| ch | chain |
| hdc | half double crochet |
| sc | single crochet |
| sl st | slip stitch |
| fpdc | front post double crochet |
| bpdc | back post double crochet |
| dec | decrease: hdc 2 together |
| st(s) | stitch(es) |
| R | round or row |
| pm | place marker |
| FO | fasten off |
| [ ] | total stitch count at the end of the round or row |
A note on joined rounds: the chain 2 at the start of each round never counts as a stitch. Join each round with a slip stitch to the first hdc, not to the chain, so your stitch counts stay clean and the seam runs straight.
The balaclava crochet pattern (US terms)
Work the ribbed neck first, then the face section in rows, then bridge the opening and decrease the crown. Instructions give the child size first with the adult size in parentheses, like this: child (adult). Where only one number appears, it applies to both sizes.
Neck: ribbed tube
With the 5.0 mm hook, chain 60 (70). Join with a slip stitch to the first chain, taking care not to twist. Place a marker for the start of the round.
- R1: ch 2 (does not count as a st), hdc in each ch around, join with sl st to first hdc. [60 (70)]
- R2: ch 2, (fpdc in next st, bpdc in next st) around, join. [60 (70)]
- R3-R6: ch 2, (fpdc in next st, bpdc in next st) around, join. [60 (70)]
The neck should measure about 3 in (7.5 cm) tall. It will look narrow now; the ribbing stretches a lot when worn.
Face section: rows with an opening
Switch to the 5.5 mm hook.
- R7: ch 2, hdc in each st around, join. [60 (70)]
Now mark the face opening. Count 24 (28) sts from the round marker and pm in the next st; count 12 (14) more sts and pm in the next st. The 12 (14) sts between the markers sit at the centre front and will be skipped to form the face opening.
- R8: ch 2 (does not count), turn, skip the marked sts, hdc in the st after the second marker and in each st around to the first marker, turn. [48 (56)]
- R9-R20 (R9-R22): ch 2, turn, hdc in each st across, turn. [48 (56)]
You have now worked 13 (15) rows, and the skipped stitches form a vertical slit about 5 (6) in tall at the centre front. This is the face opening.
Bridge and crown: close the top
- Bridge row: ch 2, turn, hdc in each st across the 48 (56) sts, then ch 12 (14) across the face opening gap, join with sl st to the first hdc of the row to close the round. [60 (70)]
- R21 (R23): ch 2, hdc in each st around, working one hdc into each chain across the bridge, join. [60 (70)]
- R22 (R24): ch 2, hdc in each st around, join. [60 (70)]
Now decrease for the crown. Work the child or adult sequence below.
Child crown decreases:
- D1: ch 2, (8 hdc, dec) x6, join. [54]
- D2: ch 2, (7 hdc, dec) x6, join. [48]
- D3: ch 2, (6 hdc, dec) x6, join. [42]
- D4: ch 2, (5 hdc, dec) x6, join. [36]
- D5: ch 2, (4 hdc, dec) x6, join. [30]
- D6: ch 2, (3 hdc, dec) x6, join. [24]
- D7: ch 2, (2 hdc, dec) x6, join. [18]
- D8: ch 2, (hdc, dec) x6, join. [12]
- D9: ch 2, dec x6, join. [6]
Adult crown decreases:
- D1: ch 2, (8 hdc, dec) x7, join. [63]
- D2: ch 2, (7 hdc, dec) x7, join. [56]
- D3: ch 2, (6 hdc, dec) x7, join. [49]
- D4: ch 2, (5 hdc, dec) x7, join. [42]
- D5: ch 2, (4 hdc, dec) x7, join. [35]
- D6: ch 2, (3 hdc, dec) x7, join. [28]
- D7: ch 2, (2 hdc, dec) x7, join. [21]
- D8: ch 2, (hdc, dec) x7, join. [14]
- D9: ch 2, dec x7, join. [7]
FO, leaving a 10 in tail. Thread the tail through the remaining stitches twice, pull firmly to cinch the crown closed, and secure on the inside. This is the same decrease shaping as a basic beanie top: our free crochet hat pattern uses it too.
Face border: frame the opening
With the 5.0 mm hook and right side facing, attach yarn with a slip stitch at the bottom corner of the face opening (where the rows meet R7).
- Rnd 1: ch 1, 2 sc in the corner, sc in the end of each row up the side of the opening, 2 sc in the top corner, sc in each chain across the bridge, 2 sc in the top corner, sc in the end of each row down the other side, 2 sc in the bottom corner, join with sl st to first sc.
- Rnd 2-3: ch 1, sc in each sc around, join with sl st to first sc.
FO and weave in the end. The border should lie flat around the opening with no rippling.
Finishing touches
Weave every end. Thread each tail onto the tapestry needle and run it through nearby stitches for at least 2 inches, changing direction once so it locks in place. Trim flush. Pay special attention to the tail at the bridge chains and the face border join, since these spots take strain when the balaclava is pulled on.
Check the face opening. Try the balaclava on and look in a mirror. The opening should frame your face comfortably: eyes, nose, and mouth clear, with the border sitting flat against your cheeks. If the border ripples, you worked too many stitches in Rnd 1; if it pulls, too few. It is worth reworking this small section to get it right.
Shape the crown. The cinched top can look a little gathered. Turn the balaclava inside out, gently tug the crown into a smooth dome with your fingers, and let it rest. The stitches relax into shape after the first wear.
Compare with a classic ski mask. If you want to see how this construction differs from a traditional seamed version, our crochet ski mask pattern free uses a folded-and-seamed method, which is a fun contrast to this pattern's built-in opening.
Tips and tricks
Small details make the difference between a balaclava that gets worn and one that gets tolerated:
Mark the centre front clearly. The face opening must sit dead centre, or the whole balaclava twists on the head. Before you skip the marked stitches, double-check that the opening is opposite the round join (the back seam). Count twice, crochet once.
Keep the bridge chains snug. When you chain across the face opening, it is tempting to chain loosely. Work those chains at your normal tension: loose chains make a saggy top edge that the border cannot fully fix.
Try it on at the bridge stage. After the bridge row and two even rounds, slip the balaclava on. The face opening should sit comfortably with the neck ribbing under your chin. This is your last easy chance to add or remove a row in the face section.
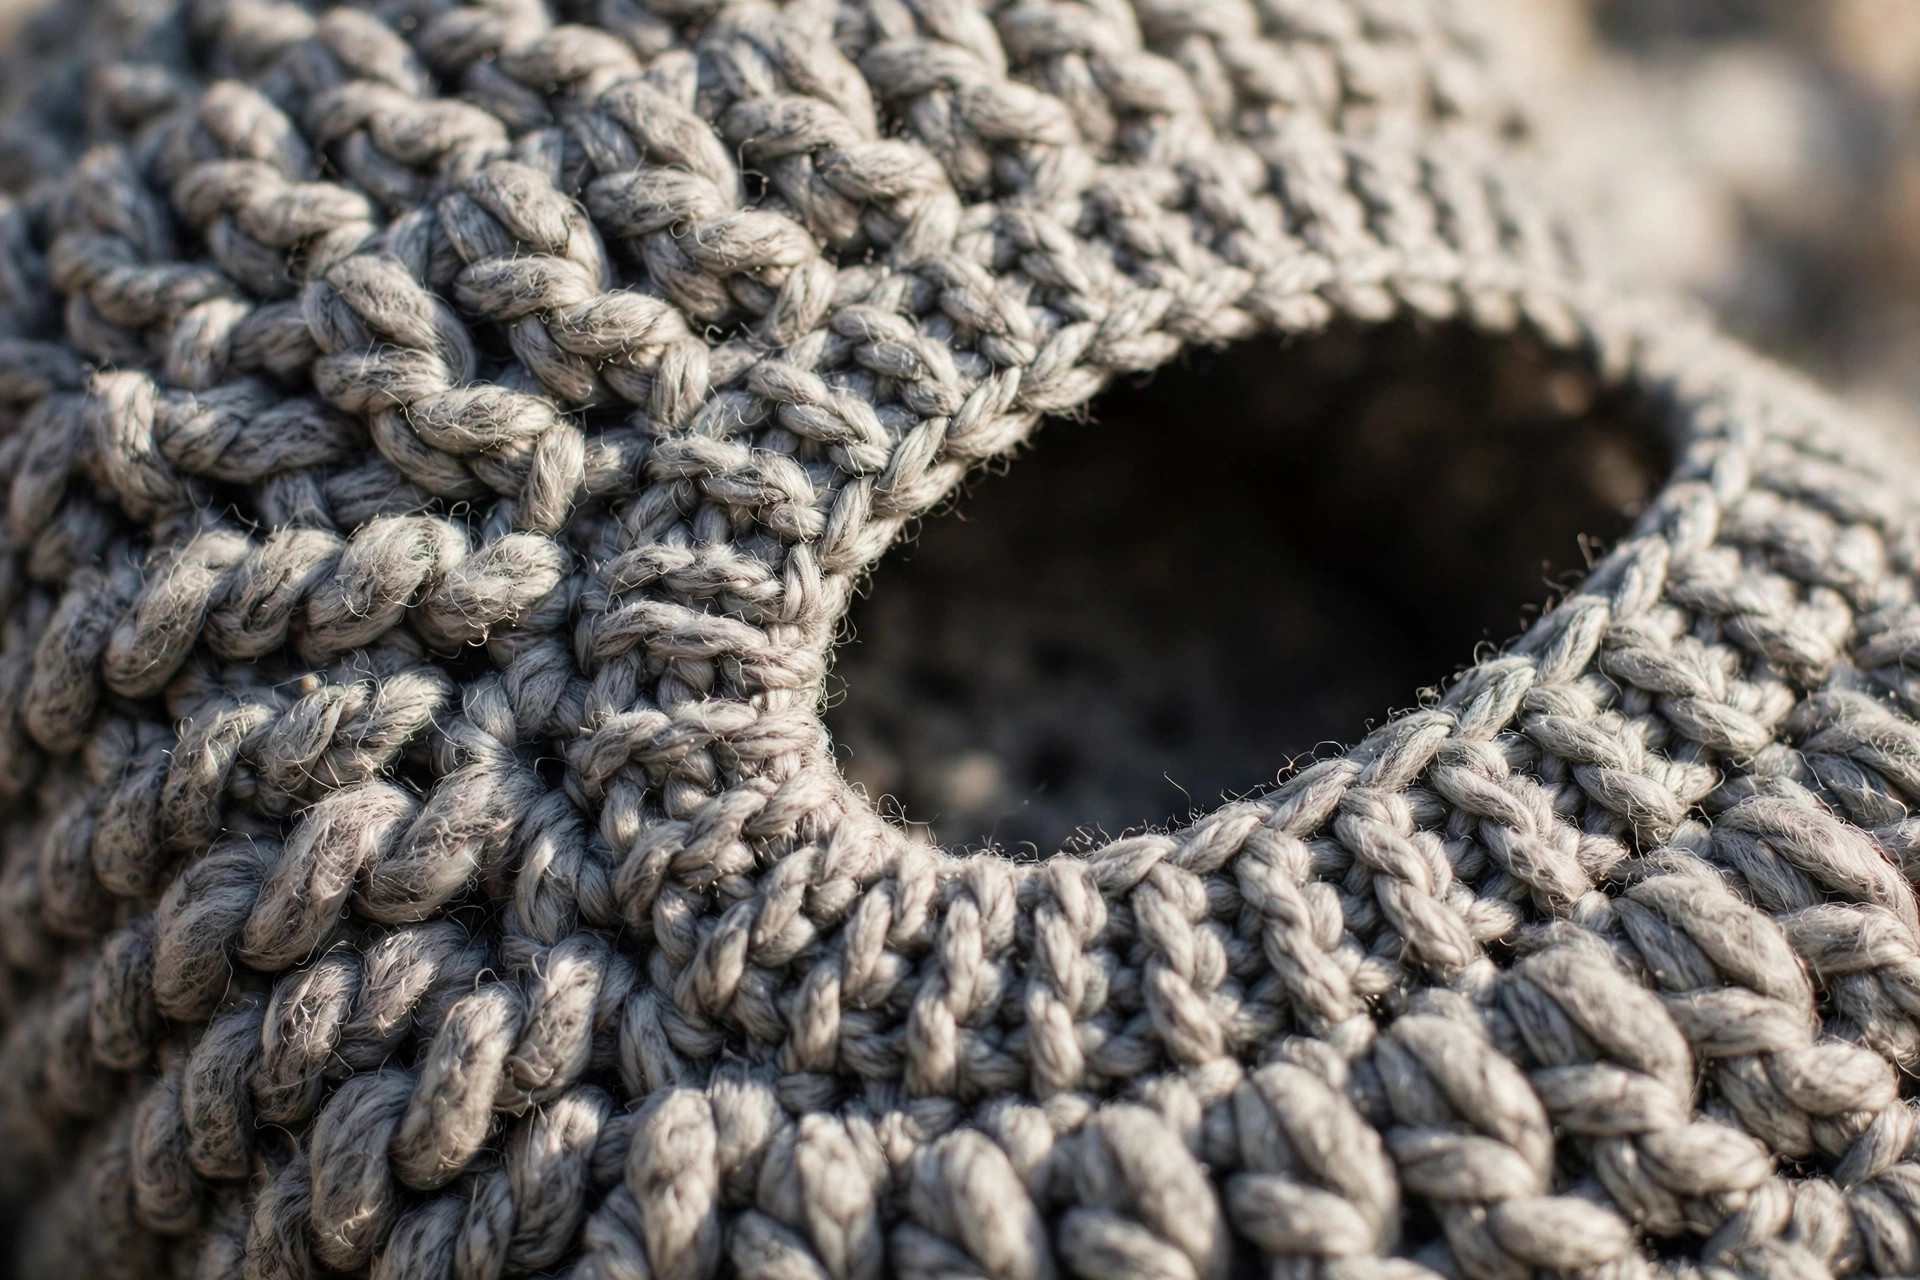
Work the border in a smaller hook. The 5.0 mm hook for the face border is deliberate: it firms up the opening so it keeps its shape instead of stretching out over a season of wear. Do not be tempted to use the bigger hook here.
Mind your post stitches. The fpdc and bpdc ribbing only looks crisp if you work around the post of the stitch below, not into the top loops. If your ribbing looks flat, check your hook placement.
Variations to try next
One balaclava is never enough when winter is long:
- Two-tone neck. Work the ribbed neck in a contrast colour and the body in your main colour for a sporty colour-blocked look. The join between sections is hidden in the texture change.
- Extra-long neck. Add four more ribbing rounds for a dickie-style balaclava that tucks deep into a coat. Skiers and motorcyclists love this version.
- Kids' brights. Make the child size in a high-visibility colour like neon orange or bright turquoise so little ones are easy to spot on the sledging hill. Pair it with our batch-mate the crochet cat beanie pattern for siblings who want matching-but-different winter hats.
- Fold-back brim option. Work the neck ribbing for 5 inches instead of 3, then fold the extra ribbing up into a cosy doubled collar. It adds warmth and looks great in a heathered yarn.
- Windproof front panel. For truly brutal weather, work the face section rows in front-loop-only hdc. The subtle ridge texture traps a little more air.
Troubleshooting tips
- The face opening is off-centre. The markers were not placed opposite the round join. Count the stitches again: the opening's centre stitch should be exactly half the stitch count away from the join. Re-mark and rework from R8.
- The bridge edge sags. The bridge chains were worked too loosely. Undo the bridge row and rework it with firmer tension, or go down to the 5.0 mm hook for that row only.
- The face border ripples. Too many stitches in Rnd 1. Aim for roughly one single crochet per row end along the sides and one per chain across the top; skip an occasional row end if the edge is wavy.
- The face border pulls and puckers. Too few stitches in Rnd 1. Add a stitch here and there along the sides until the border lies flat, or work Rnd 1 with the 5.5 mm hook instead.
- The crown looks pointy. You may have started the decreases too high. Add one or two even rounds before D1 next time for a rounder crown.
- The neck is too tight to pull on. Your ribbing tension is very firm, or the foundation chain was tight. Rework R1-R6 with the 5.5 mm hook, or chain loosely and go up a hook size for the foundation chain only.
- The neck is too loose and gapes. Size down, or work the neck with the 5.0 mm hook throughout and keep the post stitches snug. Ribbing should stretch to fit, not hang.
Frequently asked questions
Is this crochet balaclava pattern really free?
Yes, the complete pattern above is free, with no email signup and no PDF purchase required.
What skill level is this balaclava pattern?
Advanced beginner. If you can work half double crochet, front and back post stitches, simple decreases, and switch between rounds and rows, you have every skill this pattern needs.
How long does it take to crochet the balaclava?
About 5 hours for the adult size: roughly 90 minutes for the ribbed neck, 2 hours for the face section and bridge, and 90 minutes for the crown and face border. The child size takes about 4 hours.
How much yarn do I need?
For the adult size, about 380 yds of worsted-weight yarn. The child size needs about 300 yds. These are generous estimates, so one or two skeins should comfortably cover it.
Can I make the face opening bigger or smaller?
Yes. For a larger opening, skip more stitches (try 16 for adult) and work more rows in the face section. For a smaller, cosier opening, skip fewer (try 12) and work fewer rows. Adjust the bridge chain to match the number you skipped.
Will this balaclava fit over a ponytail?
The standard crown is a smooth dome, so a high ponytail will press against it. For ponytail wearers, stop the decreases at D6, work two even rounds, then cinch loosely around a hair tie: it makes a neat ponytail hole.
Can I sell the finished balaclavas I make?
Yes! You may sell finished balaclavas made from this pattern in small batches (craft fairs, markets, gifts). Please credit Little Loop Finds as the pattern designer.
More free patterns to try
Winter accessories are addictive, so keep the hooks moving. The free crochet santa hat pattern uses the same crown decrease shaping for festive December makes, and the neck warmer crochet pattern pairs perfectly with this balaclava for a full layering set on the coldest days.