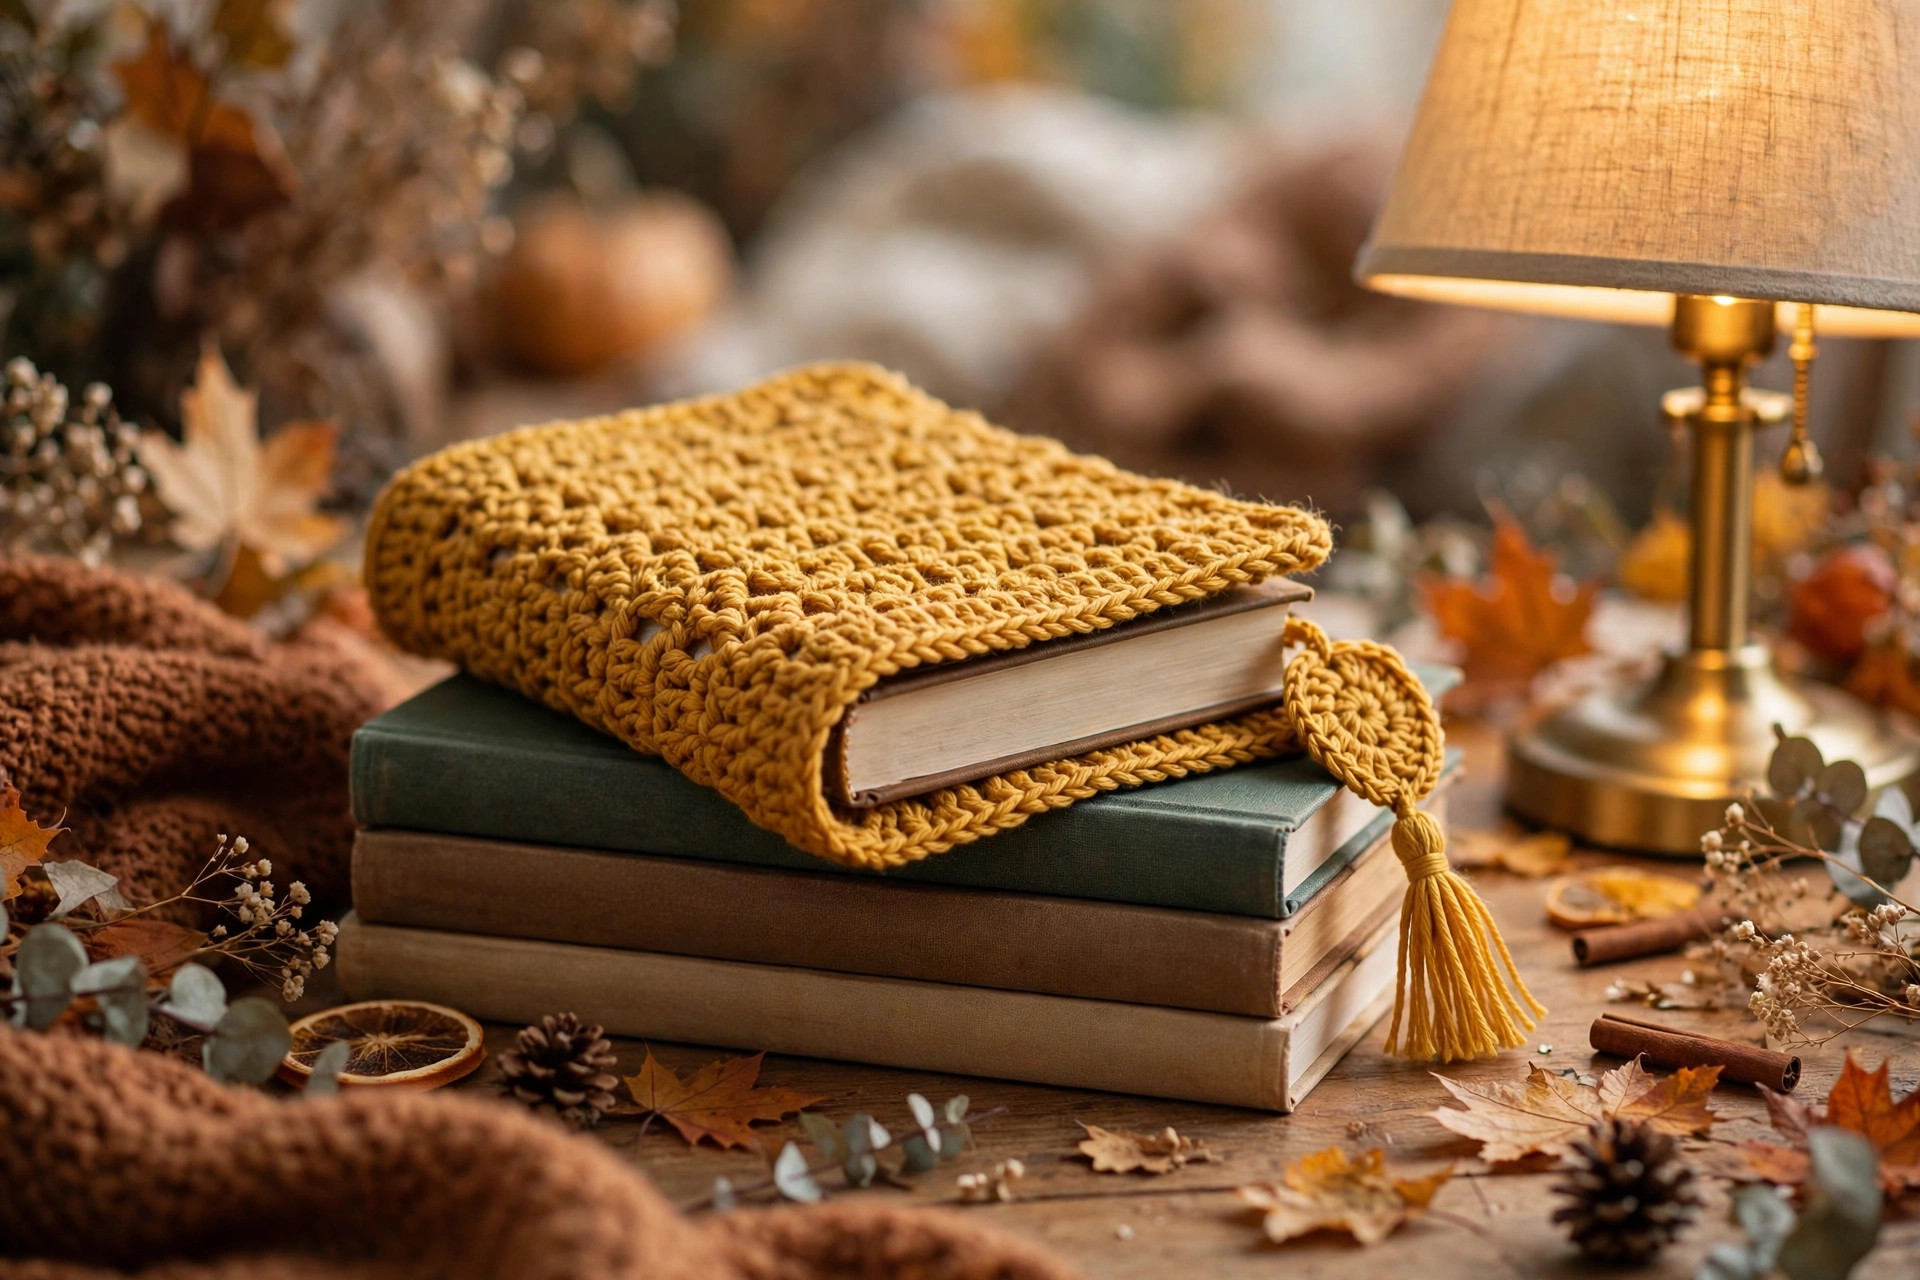
Book Sleeve Crochet Pattern: Cosy Padded Book Pouch
A padded book pouch from one single-crochet rectangle, folded and seamed, with a button flap: original design, US terms, beginner friendly.

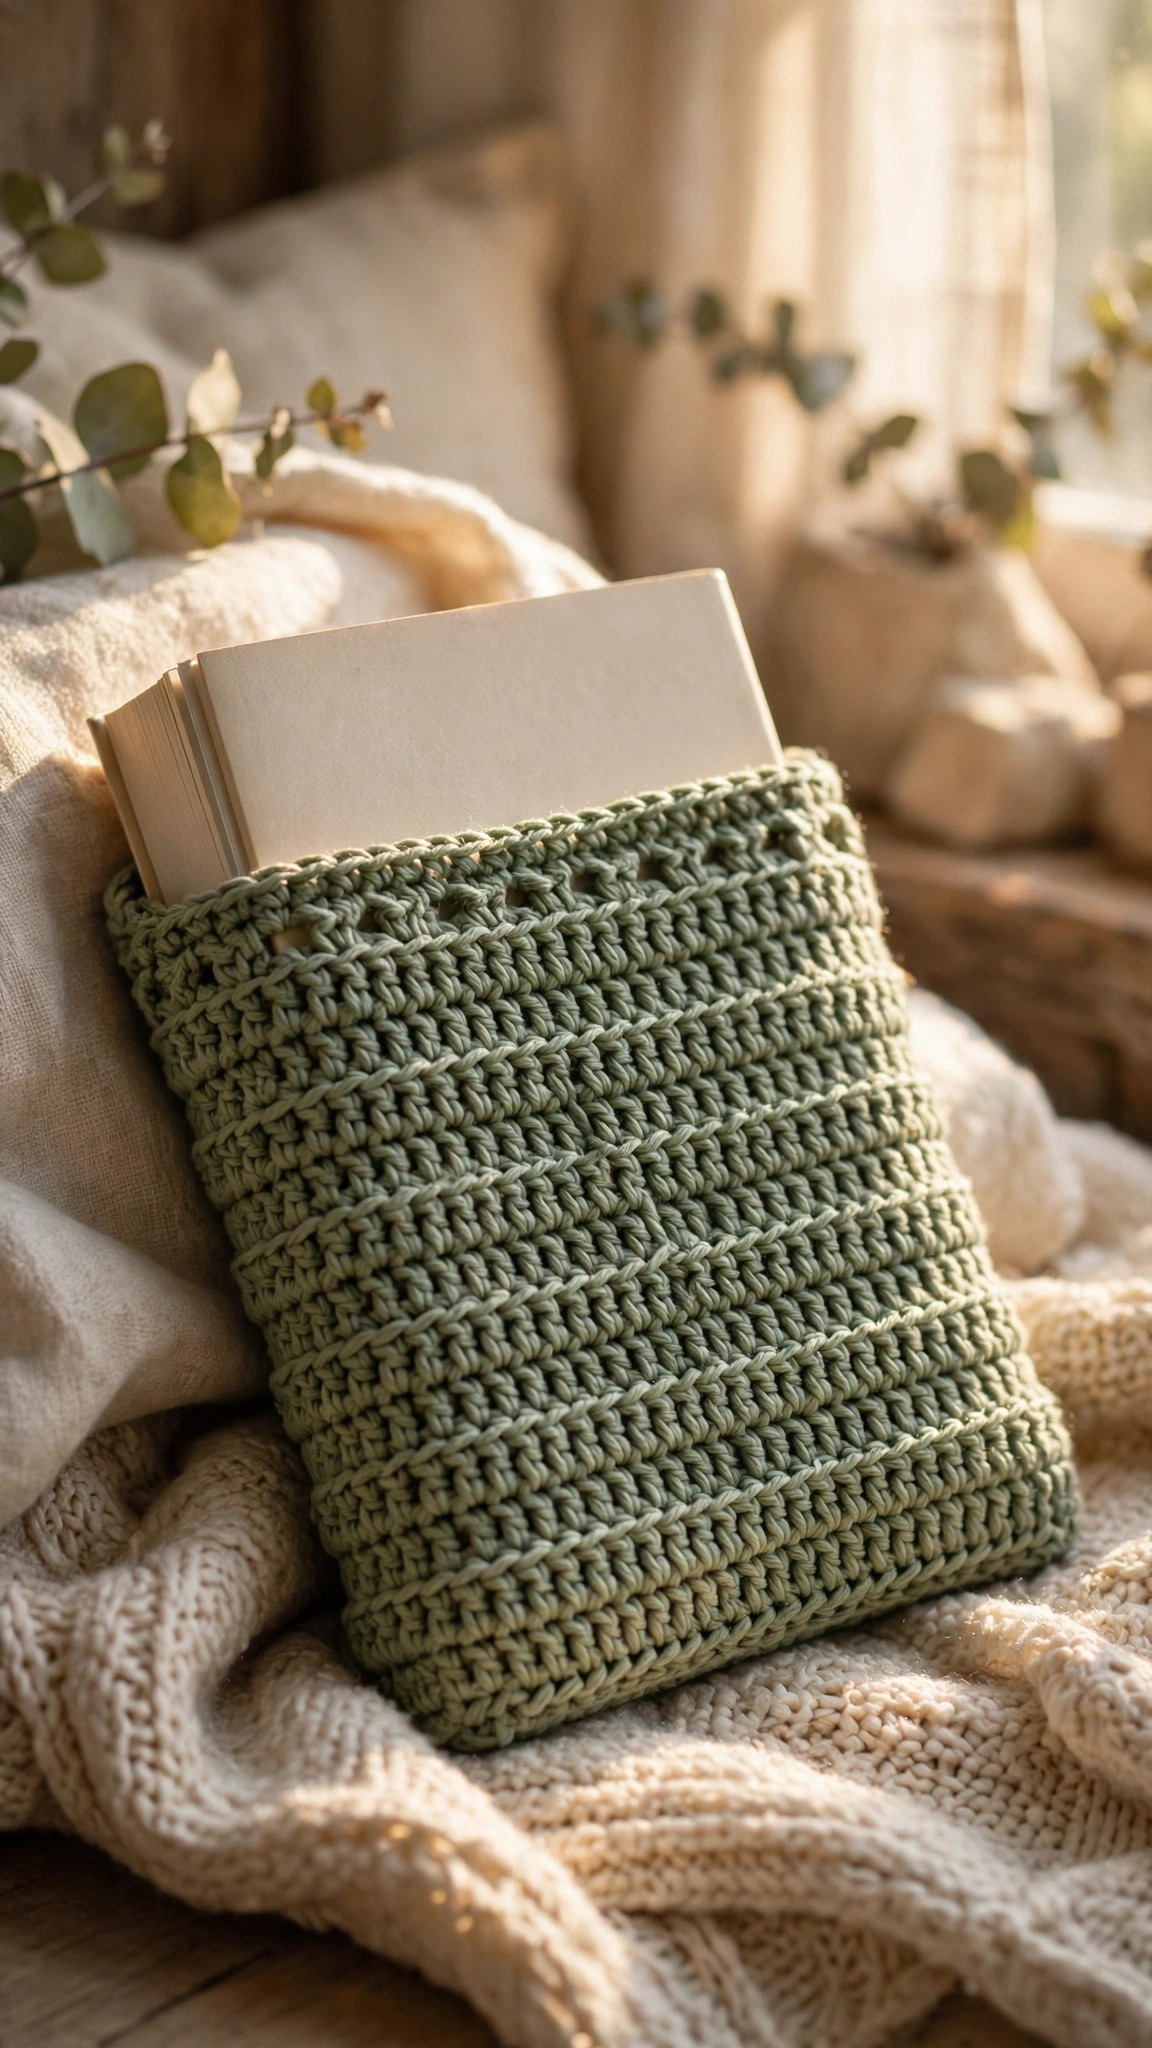
Accessories · Crochet
- Finished size
- Fits books up to 5.5 x 8.5 in
- Making time
- About 2 hours
- Hook
- 4.5 mm, cotton yarn
- Set
- 1 size, original design
- Skill
- Beginner
In this post
- Table of contents
- Why you'll love this book sleeve crochet pattern
- Materials you'll need
- Size, gauge and skill level
- Abbreviations, US terms
- The book sleeve crochet pattern (US terms)
- Finishing touches
- Tips and tricks
- Variations to try next
- Troubleshooting tips
- Frequently asked questions
- More free patterns to try
Every reader knows the heartbreak of pulling a beloved paperback out of a tote bag to find the cover bent, the pages dog-eared, and a mysterious coffee ring blooming across the back. A book sleeve is the simple, charming fix: a padded little pouch that keeps your current read safe from keys, snacks, and the general chaos of your bag. This free book sleeve crochet pattern makes one in an evening, and it looks like something from a bookshop gift display.
This is an original design, written in US crochet terms for confident beginners. The whole sleeve is one single-crochet rectangle: you fold it, seam two sides, add a button loop and a wooden button, and you are done. There is no complicated shaping, no rounds to join, and no counting beyond the first row. If you can chain and single crochet, you can make this sleeve today.
It also makes a wonderful gift. Readers are famously hard to buy for, but a handmade sleeve in their favourite colour, sized to their current novel, always lands. Make one for the friend who annotates, one for the commuter with three books on the go, and keep one for yourself, because your bag is not getting any tidier.
Table of contents
- Why you'll love this book sleeve crochet pattern
- Materials you'll need
- Size, gauge and skill level
- Abbreviations, US terms
- The book sleeve crochet pattern (US terms)
- Finishing touches
- Tips and tricks
- Variations to try next
- Troubleshooting tips
- Frequently asked questions
- More free patterns to try
Why you'll love this book sleeve crochet pattern
The genius of this design is that it looks tailored and feels substantial, but the construction could not be simpler. One rectangle, two seams, one button: that is the entire project. The single crochet fabric is naturally dense, so it cushions the book without any lining, and the optional felt pad (explained below) turns it into a genuinely padded sleeve that survives the bottom of a work tote.
It is also one of the fastest satisfying makes in crochet. Because the stitch is just single crochet repeated, you can work it while half-watching a show, and most people finish the rectangle in a single sitting. The folding and seaming stage is the fun part: you watch a flat strip of fabric turn into a proper little pouch, and the button loop gives it that finished, shop-bought look.
Beginners love this pattern because every skill in it transfers somewhere else. The rectangle-and-seam construction is the same idea behind our crochet pencil case pattern, and the fold-over flap with a loop closure works exactly like the crochet phone case pattern free on this site. Master this sleeve and a whole family of pouches, cases, and covers opens up.
Materials you'll need
| Supply | What to get |
|---|---|
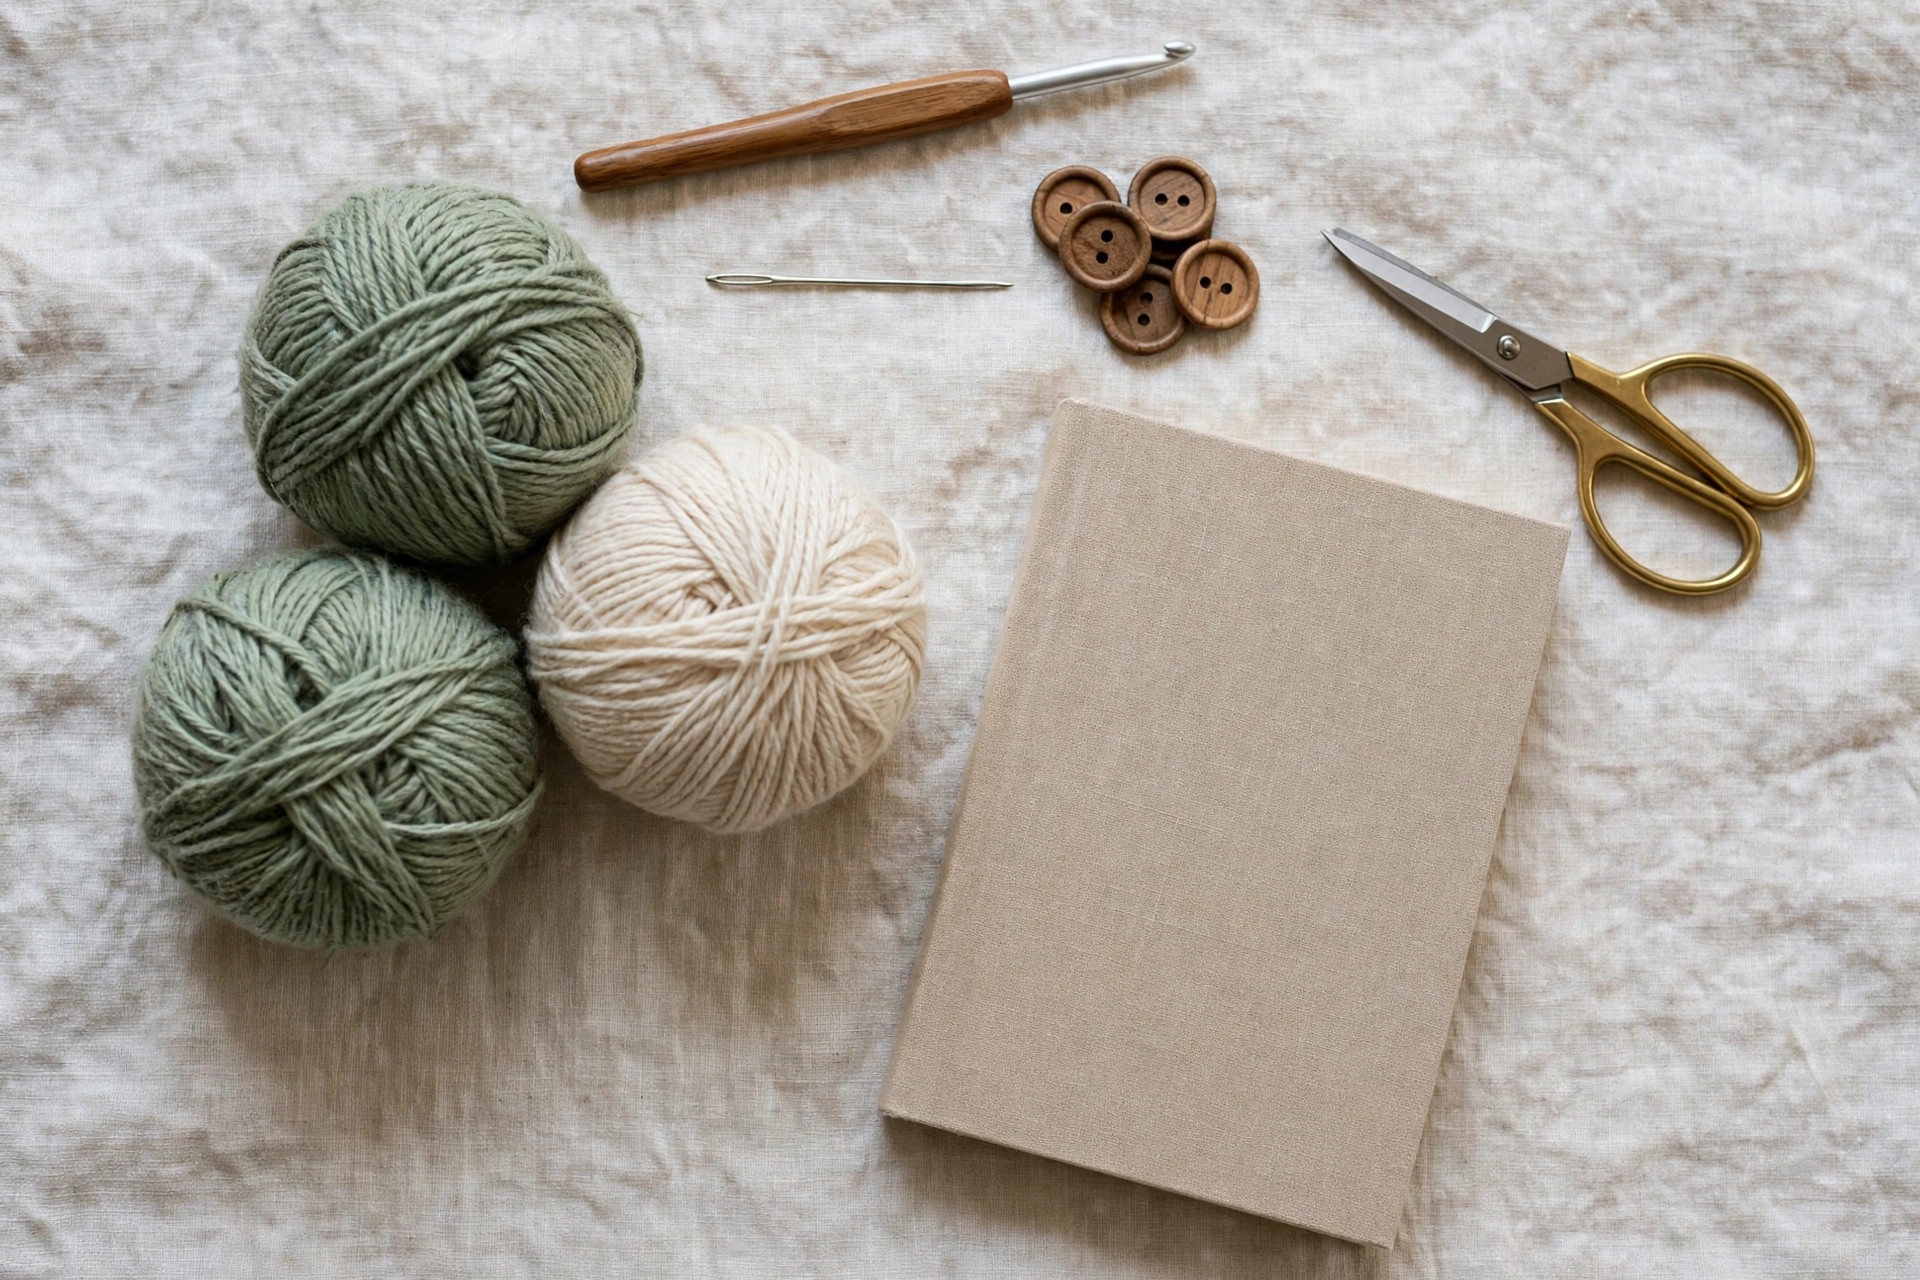
| Main yarn | Worsted-weight (#4) cotton yarn, about 110 yds / 100 m |
| Crochet hook | 4.5 mm |
| Wooden button | One 1 in / 2.5 cm button with two or four holes |
| Tapestry needle | For seaming the sides and weaving in ends |
| Notions | Scissors, stitch markers or safety pins, tape measure |
| Optional padding | A 5 x 7 in piece of craft felt or quilt batting |
Cotton is the best choice here because it makes a firm, structured fabric that holds its shape in a bag, and it washes well when the sleeve picks up tote-bag grime. Acrylic works too and comes in more colours, but it stretches a little with use, so work your seams firmly if you go that route. The wooden button is not just decoration: its weight helps the flap sit flat, and the natural look suits every colour of yarn.
A note on the hook: 4.5 mm with worsted cotton gives a dense single-crochet fabric with almost no gaps, which is exactly what you want for padding. If you crochet loosely, drop to 4.0 mm so the stitches stay tight and protective.
Size, gauge and skill level
This pattern is written for one size that fits standard paperbacks up to 5.5 in wide and 8.5 in tall (14 x 21.5 cm), which covers mass-market paperbacks and most trade paperbacks. The sizing math in Step 1 lets you adapt it to any book, from chunky hardcovers to slim poetry collections.
- Finished size: about 6 in wide x 8.5 in tall (15 x 21.5 cm) when closed, with a 3 in (7.5 cm) fold-over flap.
- Gauge: 16 sc and 18 rows = 4 in (10 cm) with a 4.5 mm hook in worsted cotton. Gauge matters less here than in garments, but check it once: if your fabric has visible gaps between stitches, go down a hook size so the sleeve actually protects the book.
- Skill level: beginner. You need chain, single crochet, slip stitch, and basic seaming with a tapestry needle. The button loop is just a chain joined back on itself.
If this is your very first project beyond a dishcloth, you picked well: a rectangle has no increases, no decreases, and nowhere to lose your place.
Abbreviations, US terms
| Abbreviation | Meaning |
|---|---|
| ch | chain |
| sc | single crochet |
| sl st | slip stitch |
| st(s) | stitch(es) |
| FO | fasten off |
| [ ] | total stitch count at the end of the row |
A note on turning: chain 1 at the start of each row. This turning chain does not count as a stitch; work your first single crochet into the very first stitch of the row.
The book sleeve crochet pattern (US terms)
Work the rectangle first, then fold, seam, and finish. Read Step 1 even if you are making the standard size: the measuring habit is what makes every future sleeve fit perfectly.
Step 1: measure your book (and size the rectangle)
Grab the book this sleeve is for and measure it: the width across the front cover, and the height from top to bottom. For the standard size given here, those numbers are about 4.25 in wide and 7 in tall.
Your foundation chain needs to make a rectangle as wide as the book plus 1 in of ease, so the book slides in without a fight. At the stated gauge, 16 sc = 4 in, so each stitch is about 0.25 in wide. For the standard 5.25 in finished width: 5.25 / 0.25 = 21 stitches, plus the turning chain logic below gives the chain-25 start.
The rectangle length is twice the book height plus 3 in for the flap. For a 7 in tall book: 7 + 7 + 3 = 17 in. The pattern below works 19 in of length for an 8 in tall book with a little growing room; adjust your row count up or down using your own book height in the same formula.
Step 2: the main rectangle
With your main colour and 4.5 mm hook:
- Foundation: ch 25.
- Row 1: sc in the 2nd ch from the hook and in each ch across. [24]
- Row 2: ch 1 (does not count as a st), turn, sc in each st across. [24]
- Rows 3 to 86: repeat Row 2 until the piece measures 19 in (48 cm) from the foundation edge. Count a quick check at Row 20: you should be at about 4.5 in.
Keep your edges straight by working into the very first stitch of every row and the very last stitch; missing the last stitch is the classic way rectangles turn into trapezoids. Place a stitch marker in the first stitch of Row 1 so you can find it later when seaming.
When the rectangle reaches 19 in, FO, leaving a 20 in tail for seaming one side. Cut a second 20 in length of yarn for the other side.
Step 3: fold and seam the sides
Lay the rectangle flat with the right side facing up (pick whichever side looks neater; that is your right side). Fold the foundation edge upward so the folded section measures 8 in from the fold to the raw side edges: this folded part becomes the front pocket that holds the book. The middle 8 in is the back panel, and the top 3 in will fold down later as the flap.
Pin both side edges through both layers, placing pins every inch or so. Thread your tapestry needle with one of the reserved tails and whipstitch up one side, catching both layers with small, even stitches about 0.25 in from the edge. Keep your tension firm but not puckering. Repeat on the other side with the second length of yarn. Weave in the seam tails.
Slide your book in to check the fit now: it should slide in with gentle ease, not squeeze and not swim.
Step 4: the button loop
The top 3 in of the rectangle is the flap. Find the centre stitch of the top edge and mark it with a stitch marker. Join your yarn with a slip stitch in that centre stitch.
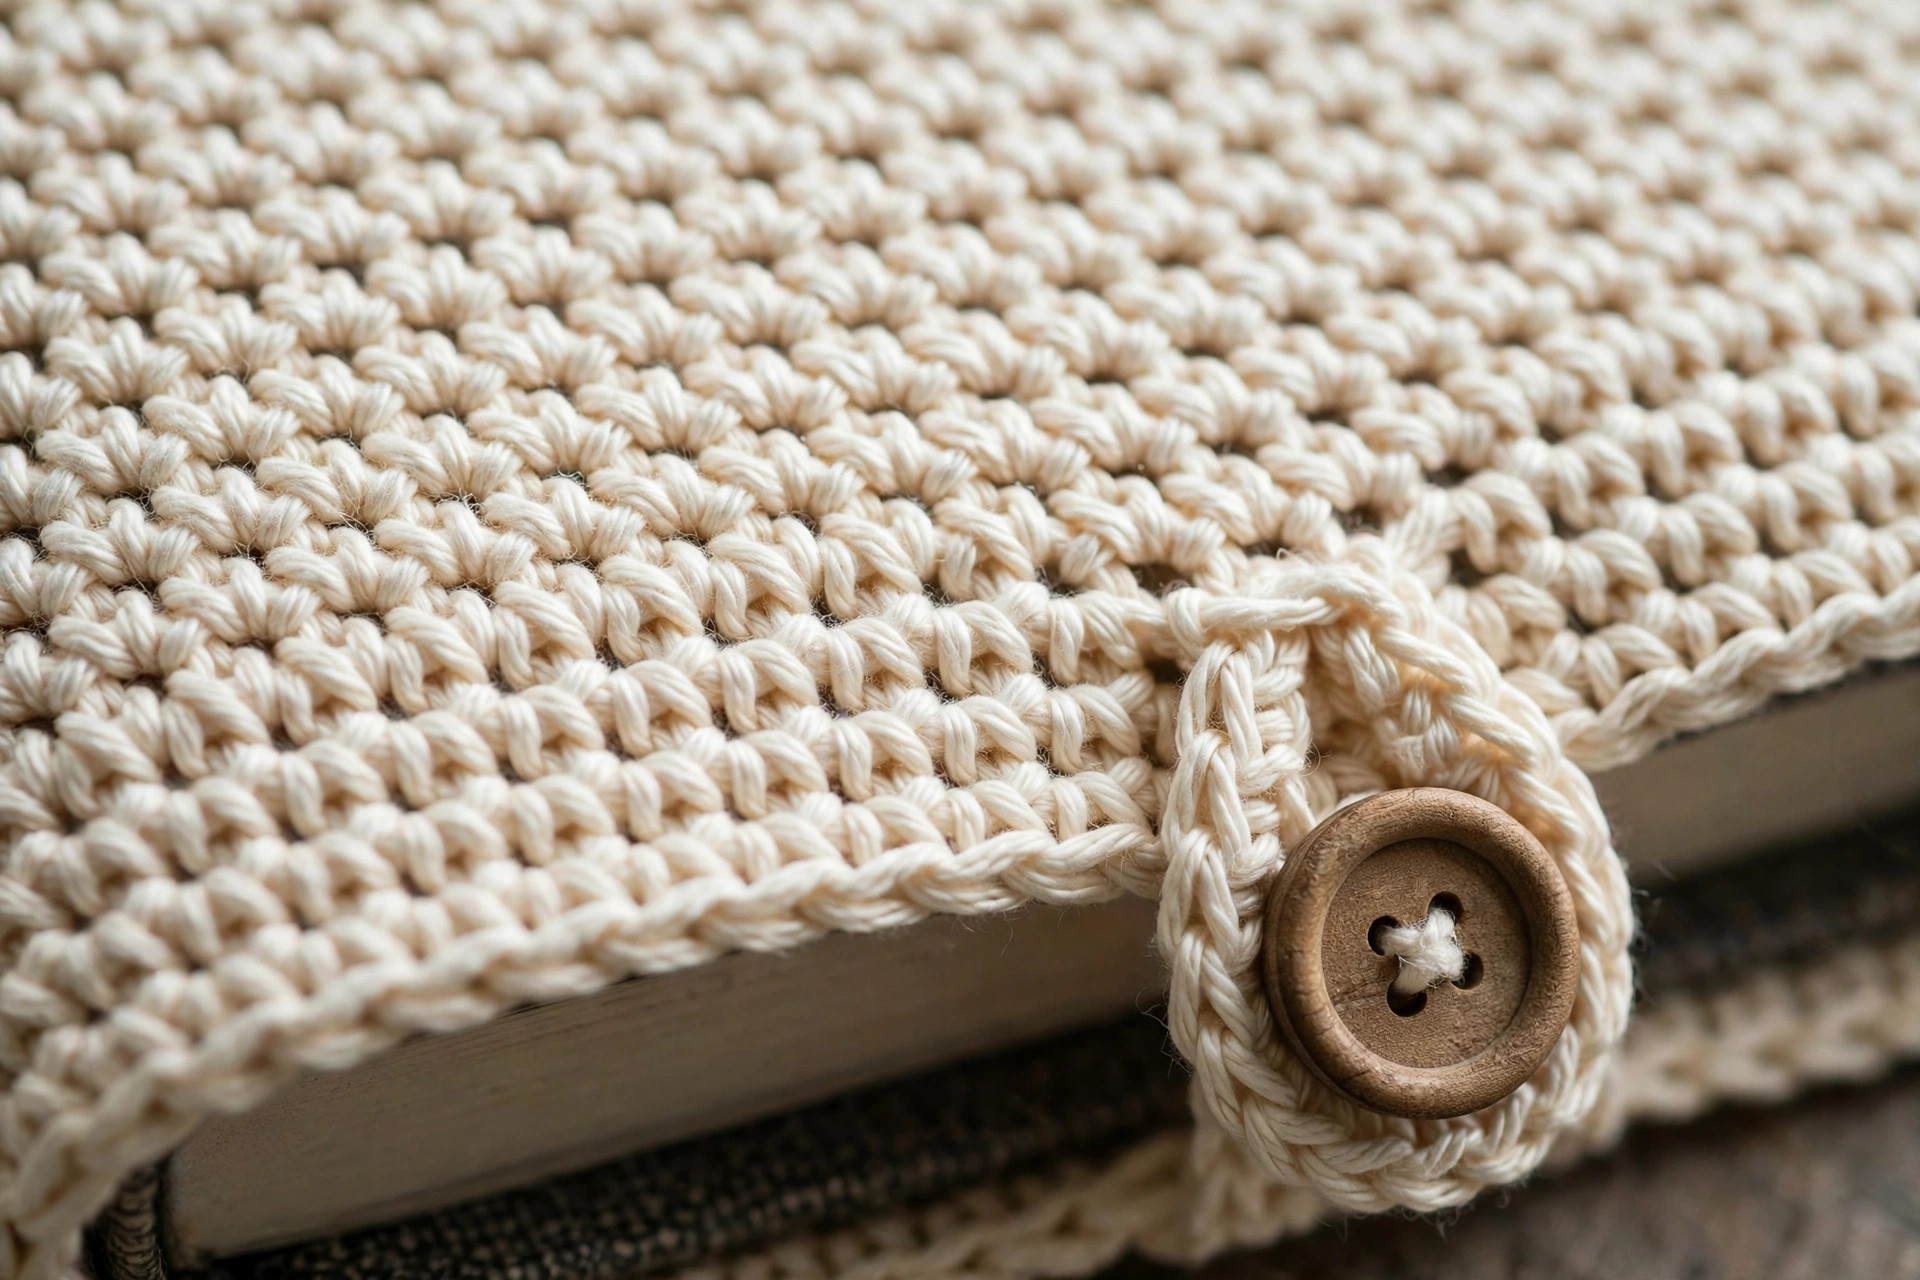
- Loop: ch 12, sl st into the same centre stitch to form a loop. FO and weave in the end securely, since this loop gets tugged every time the sleeve opens.
Test the loop around your wooden button: it should stretch over snugly. If it is loose, undo it and chain 10 instead; if it will not reach, chain 14. Two chains make a surprising difference, so adjust in small steps.
Step 5: sew on the button
Fold the flap down over the front pocket, exactly as it will sit when closed. Mark the spot on the pocket front where the centre of the loop lands, about 2.5 in below the pocket opening. Sew the wooden button firmly at that mark: pass through the button holes at least four times, then wrap the thread around the stitches under the button twice to form a little shank, which gives the loop room to sit flat. Knot on the inside and weave in the end.
Optional: add the padding
For a genuinely padded sleeve, cut your felt or batting to 5 x 7 in and slide it inside the back panel before you seam the second side in Step 3, or slip it between the back panel and the book afterwards. It stays put by friction; no sewing needed. This is the upgrade that makes the sleeve feel like the padded commercial ones, and it costs almost nothing.
Finishing touches
Weave in every end. Thread each tail onto the tapestry needle and run it through the backs of nearby stitches for at least 2 in, changing direction once so it locks. Trim flush with the fabric.
Check the flap fold. Fold the flap down and press the crease firmly with your fingers along the pocket opening. If the flap wants to spring back up, the button loop is probably too short: lengthen it by two chains.
Give it a light block (optional). If the rectangle curled while you worked, lay the finished sleeve flat, mist it lightly with water, pat it into shape, and let it dry completely. Cotton responds beautifully to this and the sleeve will look crisp.
Do a bag test. Put your book in the sleeve, close the flap, and toss it in your actual tote bag with your actual keys. Open it and check: no bent cover, no button snagging. That is the whole quality control department, and it takes ten seconds.
Tips and tricks
Small details that make this sleeve look professional instead of homemade-in-a-hurry:
Count the foundation chain twice. The chain is the only place stitch counts can go wrong, and everything downstream depends on it. Count 25, then count again before you work Row 1. A miscounted foundation is the number one reason sleeves come out trapezoid-shaped.
Keep the turning chain loose. A tight chain-1 at the row start pulls the edge in and makes wavy sides. Work it with a relaxed hand, or chain 1 a touch taller than you think you need.
Seam from the fold upward. Starting your whipstitch at the bottom fold and working toward the opening keeps both layers aligned. If you start at the top, the layers creep and the bottom corners end up mismatched.
Choose the button before the loop. Buttons vary, and the loop must fit the actual button, not an imagined one. Buy or pick the button first, then chain the loop to fit it, testing as you go.
Mark the right side early. Single crochet looks nearly identical on both sides, so decide which face is the outside before you fold, and put a safety pin on it. Seaming with the wrong side out is a discovery nobody enjoys.
Variations to try next
One sleeve is a project; a shelf of them in different colours is a personality:
- Two-tone stripes. Change colour every 6 rows for classic stripes, carrying the unused colour up the side edge. The seam hides the carried yarn completely.
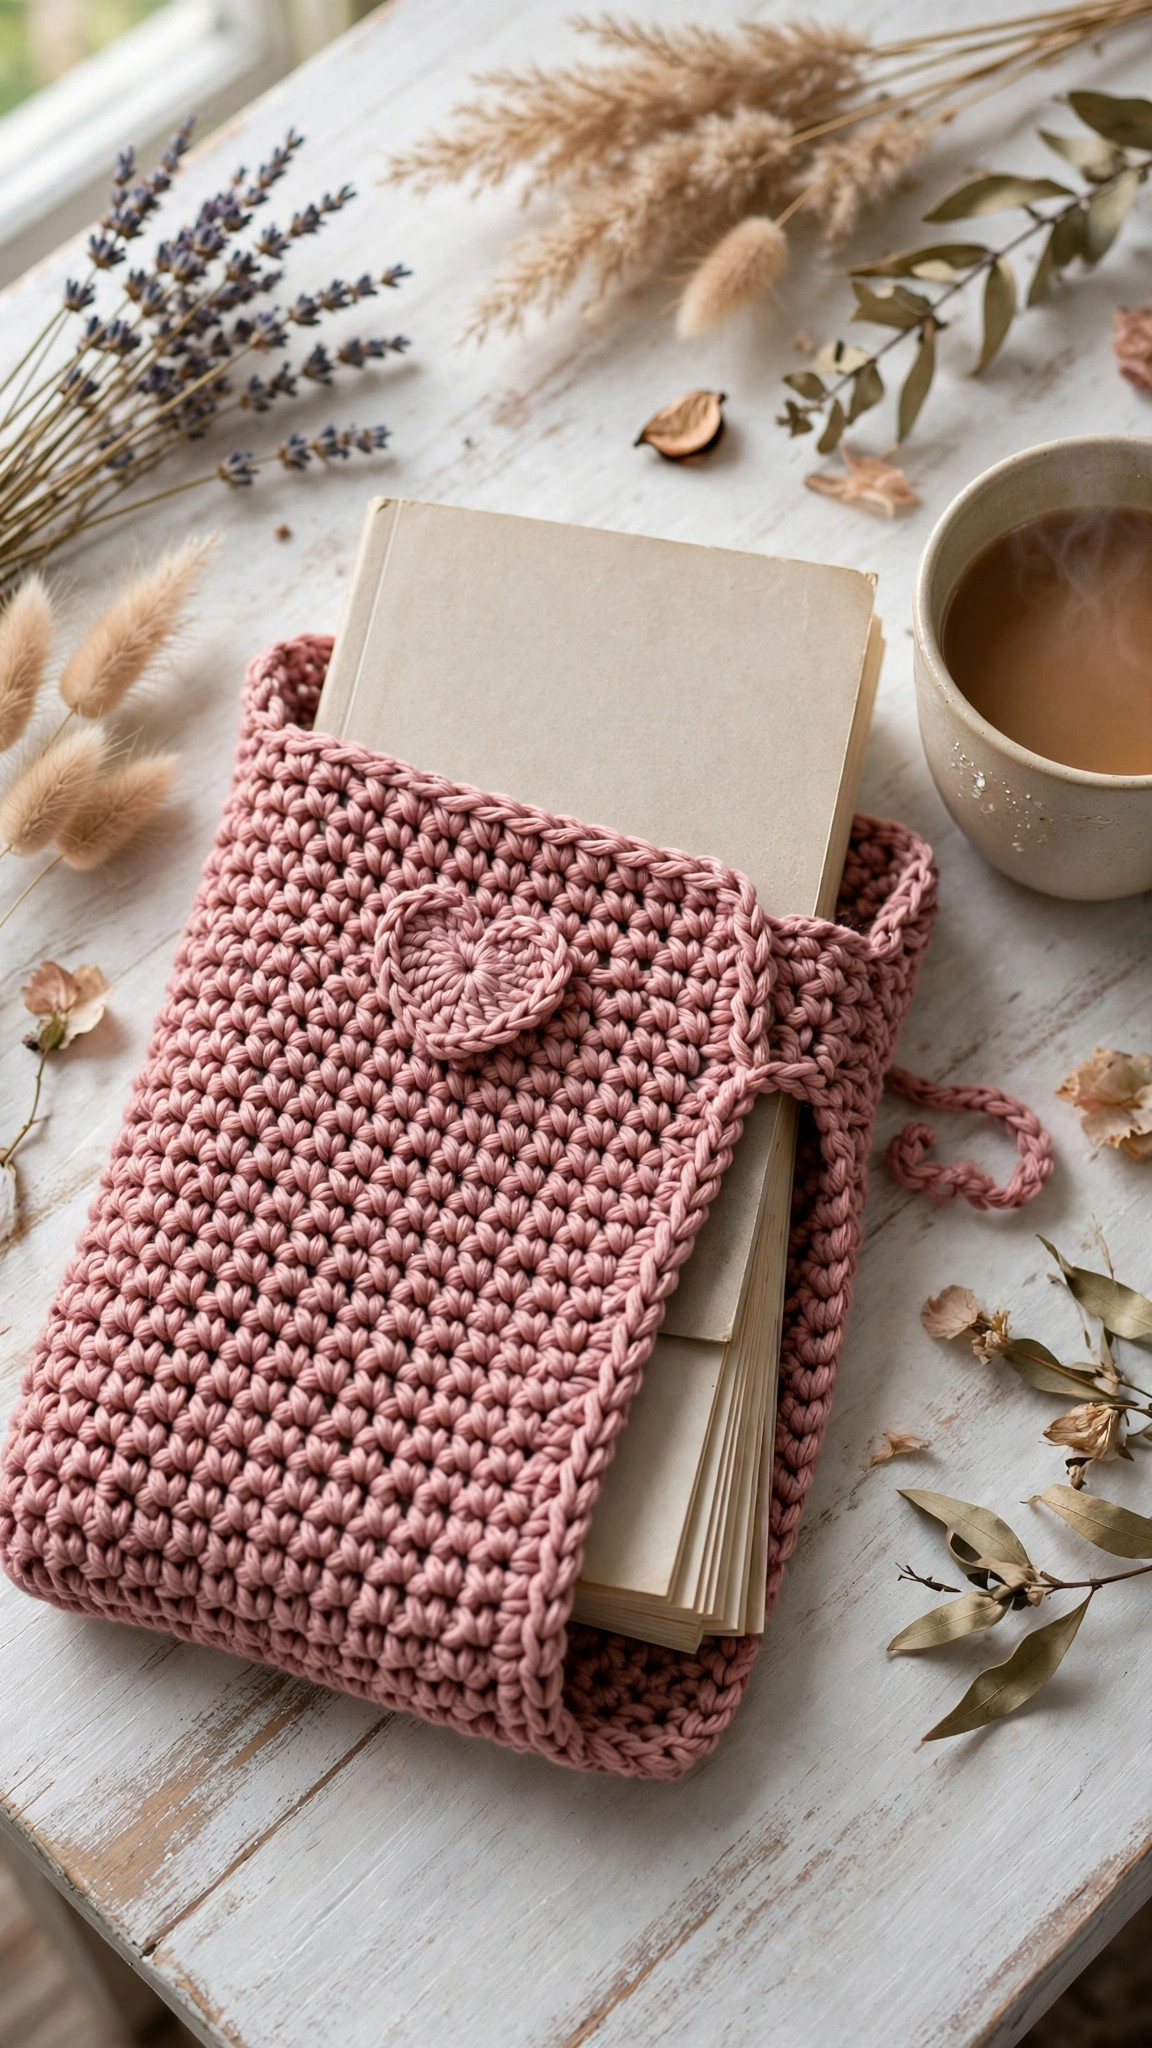
- Heart applique. Crochet a tiny heart (magic ring, a few double crochet clusters) and sew it to the flap, like the dusty rose version in the photos. It takes fifteen minutes and doubles the gift appeal.
- Envelope fold, no button. Skip Steps 4 and 5 and make the flap 5 in long instead of 3, tucking it inside the pocket like an envelope. Sleeker look, nothing to snag.
- E-reader size. Measure your e-reader and use the Step 1 formula: width plus 1 in, twice the height plus a 3 in flap. Add the felt padding always for screens; a little extra protection is worth it.
- Holiday reader gift set. Make the sleeve in deep red or forest green and pair it with our batch-mate, the free crochet pattern santa hat, for a bookish Christmas gift that looks deliberate and generous.
Troubleshooting tips
- The book will not fit in the sleeve. The rectangle is too narrow or your gauge is tighter than stated. Check the pocket width against the book: you need the book width plus a full inch. For the next one, add 4 stitches to the foundation chain.
- The sleeve is loose and sloppy. The rectangle is too wide, or acrylic yarn stretched with handling. Go down a hook size, or work 4 fewer foundation chains. A snug sleeve protects better than a roomy one.
- The side seams gape near the opening. The whipstitches are spaced too far apart at the top, where the stress is. Unpick the top inch of each seam and redo it with smaller, closer stitches.
- The button loop is too loose and the flap flops open. Chain 2 fewer and remake the loop; test the fit around the actual button before weaving in the end.
- The flap curls upward instead of lying flat. The loop is too short and pulling the flap tip up, or the fabric needs blocking. Lengthen the loop first, then mist and press the flap flat while it dries.
- The rectangle edges are wavy. You are missing the last stitch of some rows or adding extra stitches at the turning edge. Count your stitches every 10 rows: the number should be 24 every single time.
Frequently asked questions
Is this book sleeve crochet pattern really free?
Yes, the complete pattern above is free, with no email signup and no PDF purchase required.
What size book does this sleeve fit?
The written size fits standard paperbacks up to 5.5 in wide and 8.5 in tall. For any other book, use the Step 1 formula: foundation width equals book width plus 1 in, and rectangle length equals twice the book height plus 3 in for the flap. Measure your gauge, convert inches to stitches, and the same instructions work unchanged.
What is the best yarn for a crochet book sleeve?
Worsted-weight cotton is ideal: it makes a dense, structured fabric that cushions the book and keeps its shape in a bag. Avoid fuzzy or novelty yarns; they pill against book covers.
How long does it take to crochet the book sleeve?
About 2 hours total: roughly 90 minutes for the rectangle, and 30 minutes for folding, seaming, the button loop, and finishing. It is a genuine one-evening project, which is why it is such a good last-minute gift.
Can I really make it padded?
Yes. Slip a 5 x 7 in piece of craft felt or quilt batting inside the back panel, as described in the optional step. It adds real cushioning against keys and hard objects, stays in place by friction, and is removable for washing. For e-readers and tablets, always include it.
Can I sell the finished book sleeves I make?
Yes! You may sell finished sleeves made from this pattern in small batches (craft fairs, markets, gifts). Please credit Little Loop Finds as the pattern designer.
More free patterns to try
If you enjoyed the fold-and-seam construction, keep the momentum going. The crochet cross bookmark pattern free tucks inside the very book this sleeve protects, a perfect pairing for gifts, and the free crochet bag patterns collection scales the same pouch idea up to tote size. Readers never have just one project on the go, and neither should you.