Free Crochet Hoodie Pattern in Sizes S to XL
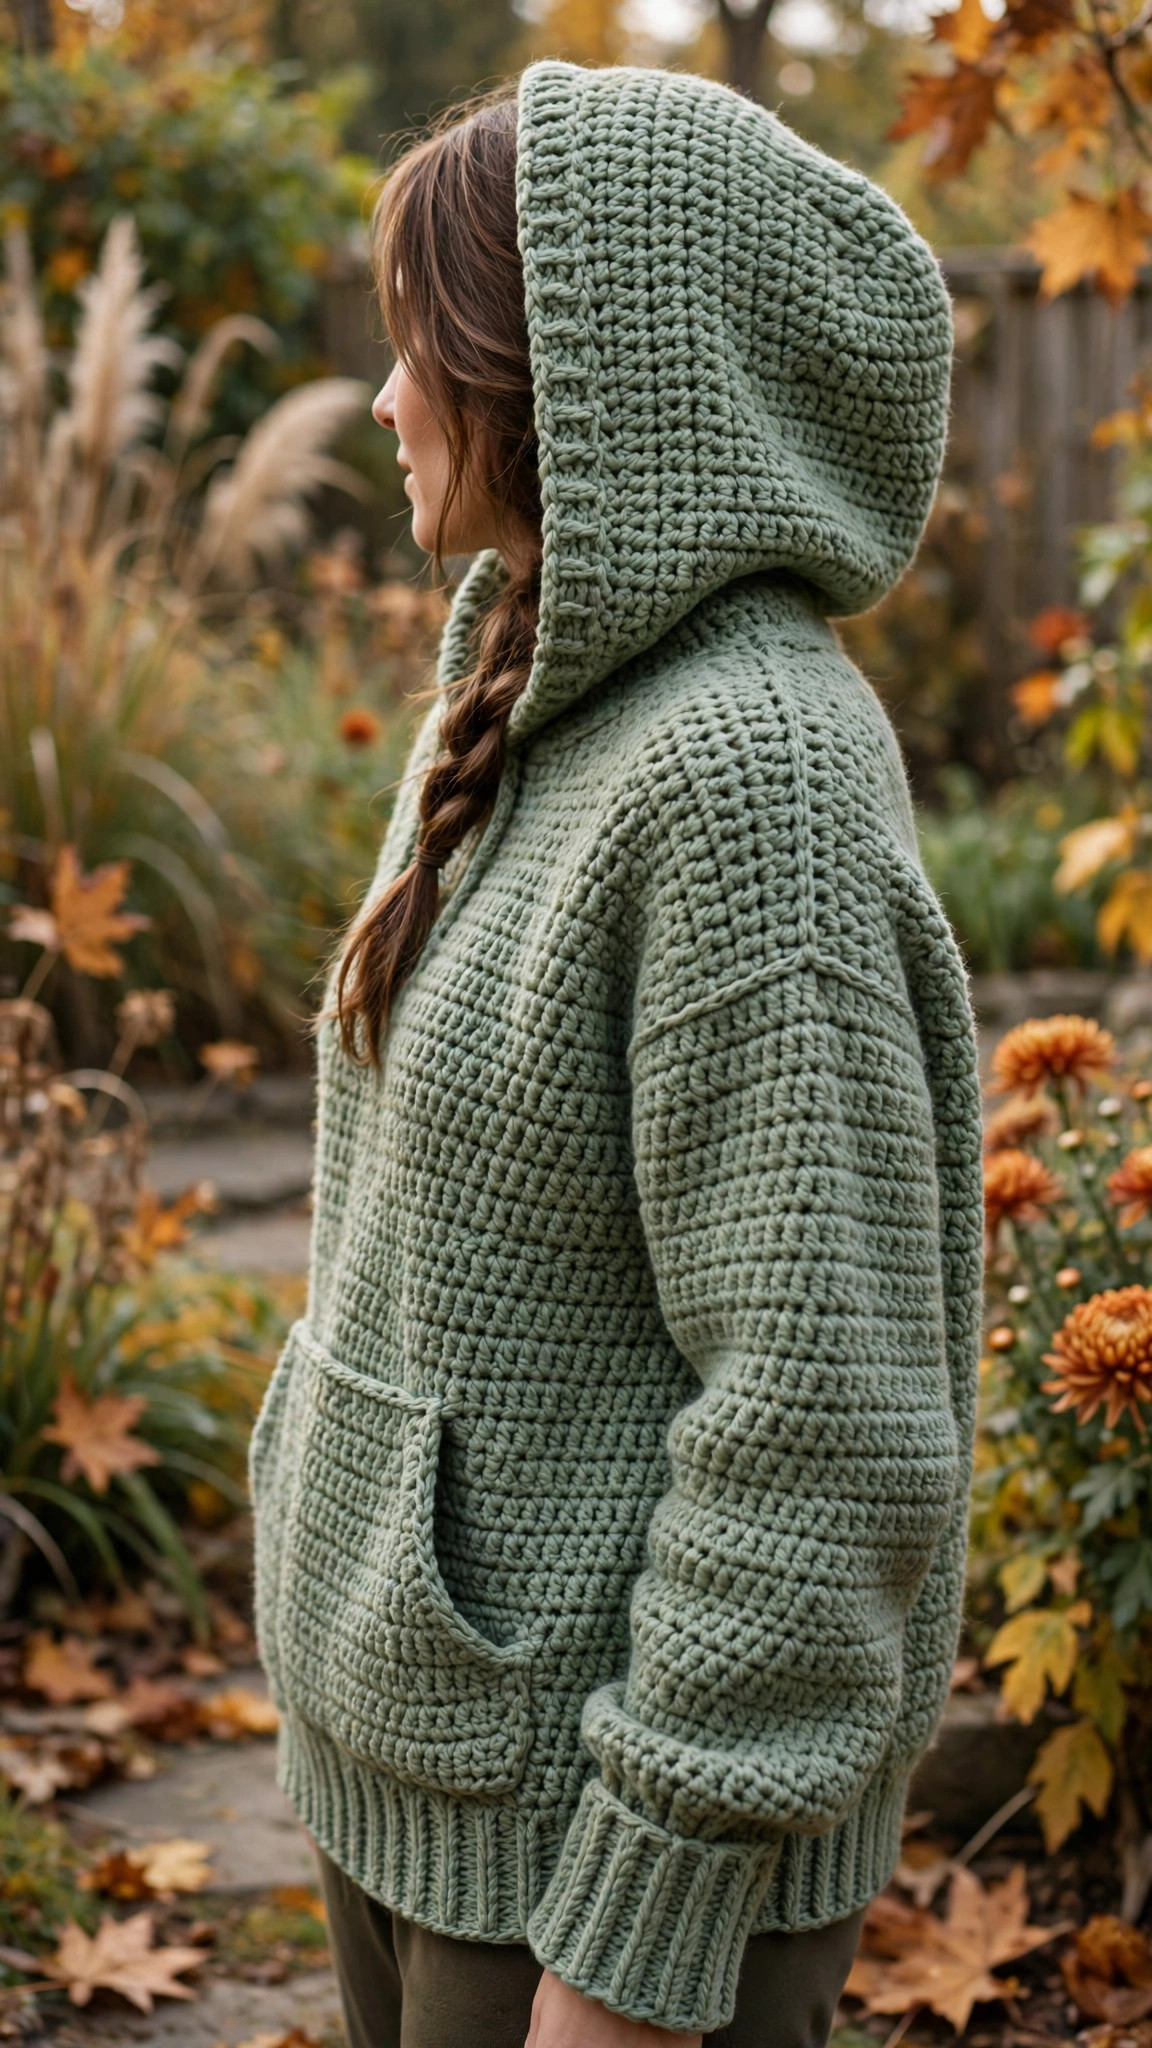
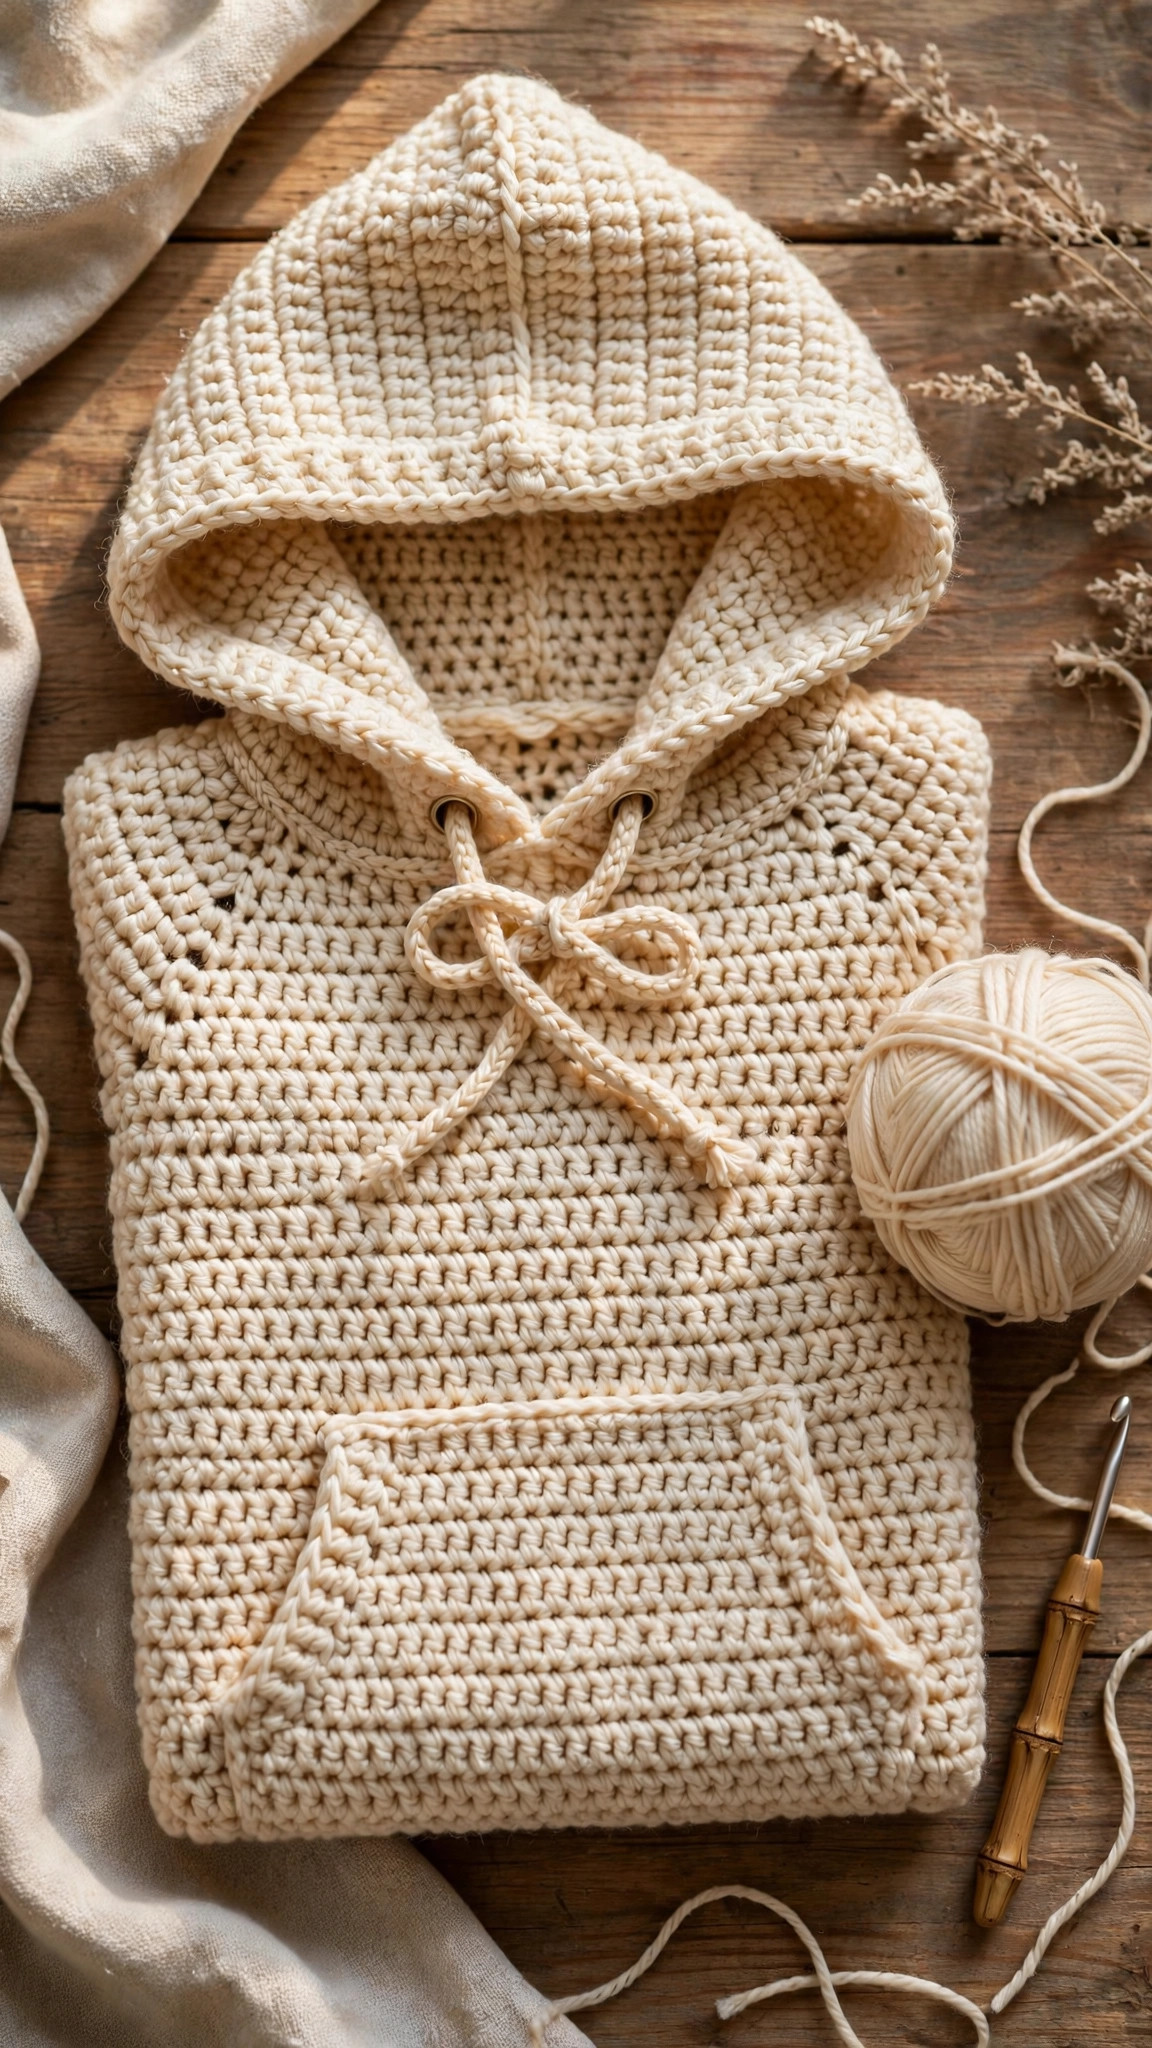
The everyday layer, handmade: a cosy seamed pullover hoodie with a deep drawstring hood, a roomy kangaroo pocket and stretchy ribbed cuffs and hem, worked in plain half double crochet panels in sizes S to XL with every stitch count included.

Wearables · Crochet
- Finished size
- 36-48 in bust, sizes S-XL
- Making time
- About 18-24 hours
- Hook
- 5.5 mm, worsted-weight yarn
- Pieces
- Back, front, 2 sleeves, hood, pocket
- Skill
- Easy
In this post
A good hoodie is the layer you reach for every day — school run, dog walk, chilly evening on the porch. This free crochet hoodie pattern gives you that layer, handmade: a cosy pullover with a proper drawstring hood, a roomy kangaroo pocket, and stretchy ribbed cuffs and hem. It looks like an expert project. It is really just flat panels of plain half double crochet, seamed together.
This is an original Little Loop Finds design, worked in pieces so nothing gets unwieldy: a back panel, a front panel with an easy shaped neck, two flat sleeves and a straight hood, seamed in order, with pocket and cord added last. No working in the round, no charts, and every decrease is a plain hdc2tog. Sizes S, M, L and XL, with stitch counts for every step.
Contents
- Why you'll love this hoodie
- Materials you'll need
- Size, gauge and skill level
- Abbreviations — US terms
- The pattern (US terms)
- Finishing your hoodie
- Tips for a hoodie that fits and lasts
- FAQ
- What to crochet next
Why you'll love this hoodie
The construction is honest. One-piece garments get heavy and hard to count halfway through. Panels stay light, and each can be measured flat against the size table. If a sleeve ends up a row short, you fix one small piece — not a whole sweater.
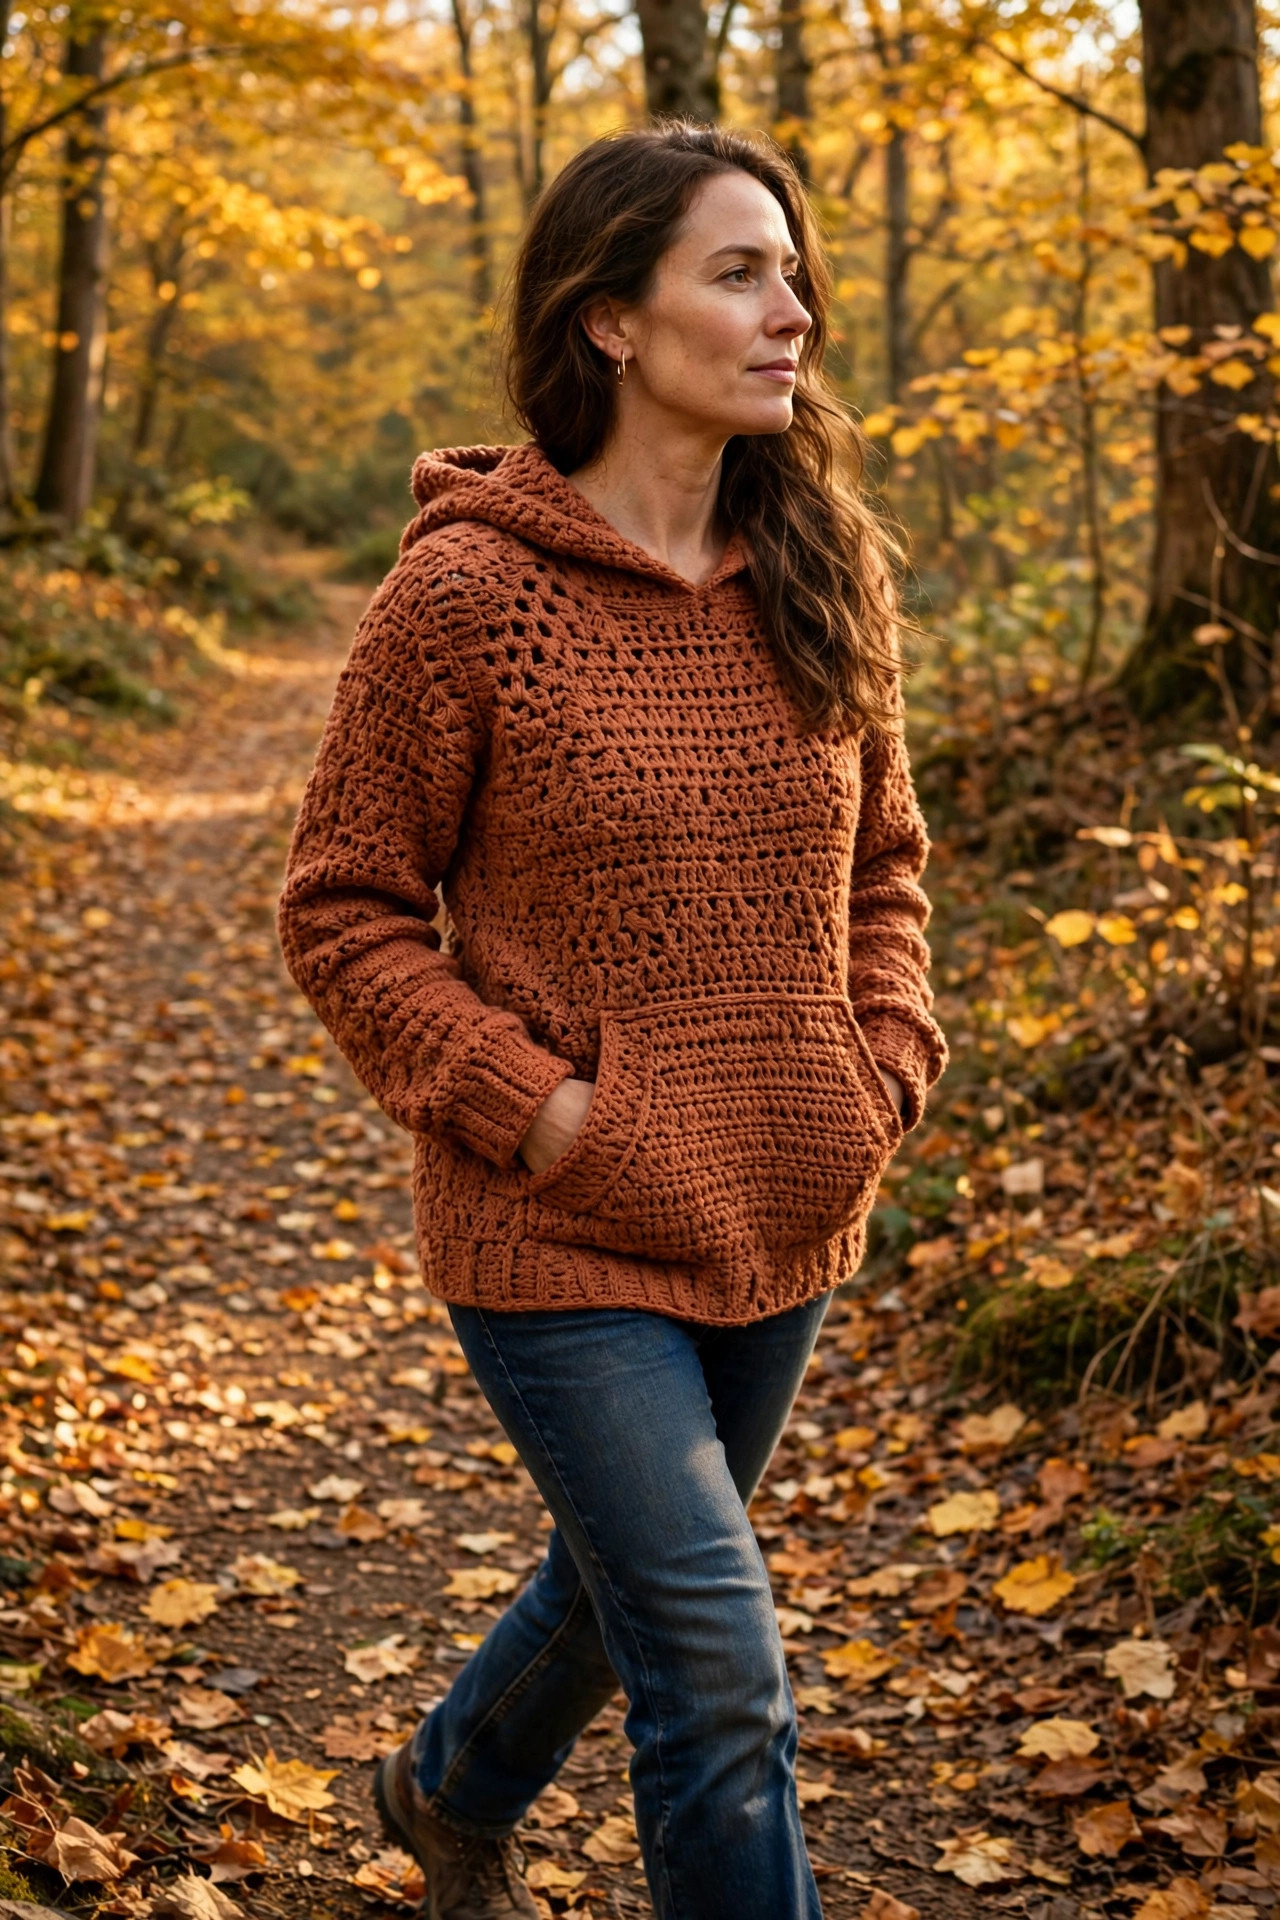
The fit is forgiving where it matters. Back-loop ribbing stretches over hips and hands, then springs back. The body has comfortable positive ease for layering. If you live in your oversized sweater, this hoodie has the same relaxed spirit, with a hood and pocket added.
The details earn their keep. The hood is deep enough to actually pull up, with a cord to snug against the wind. The kangaroo pocket is sewn on last, so you can position it perfectly level. And as a first garment it is a kind step after scarves and hats — good preparation for a crochet cardigan sweater later.
Materials you'll need
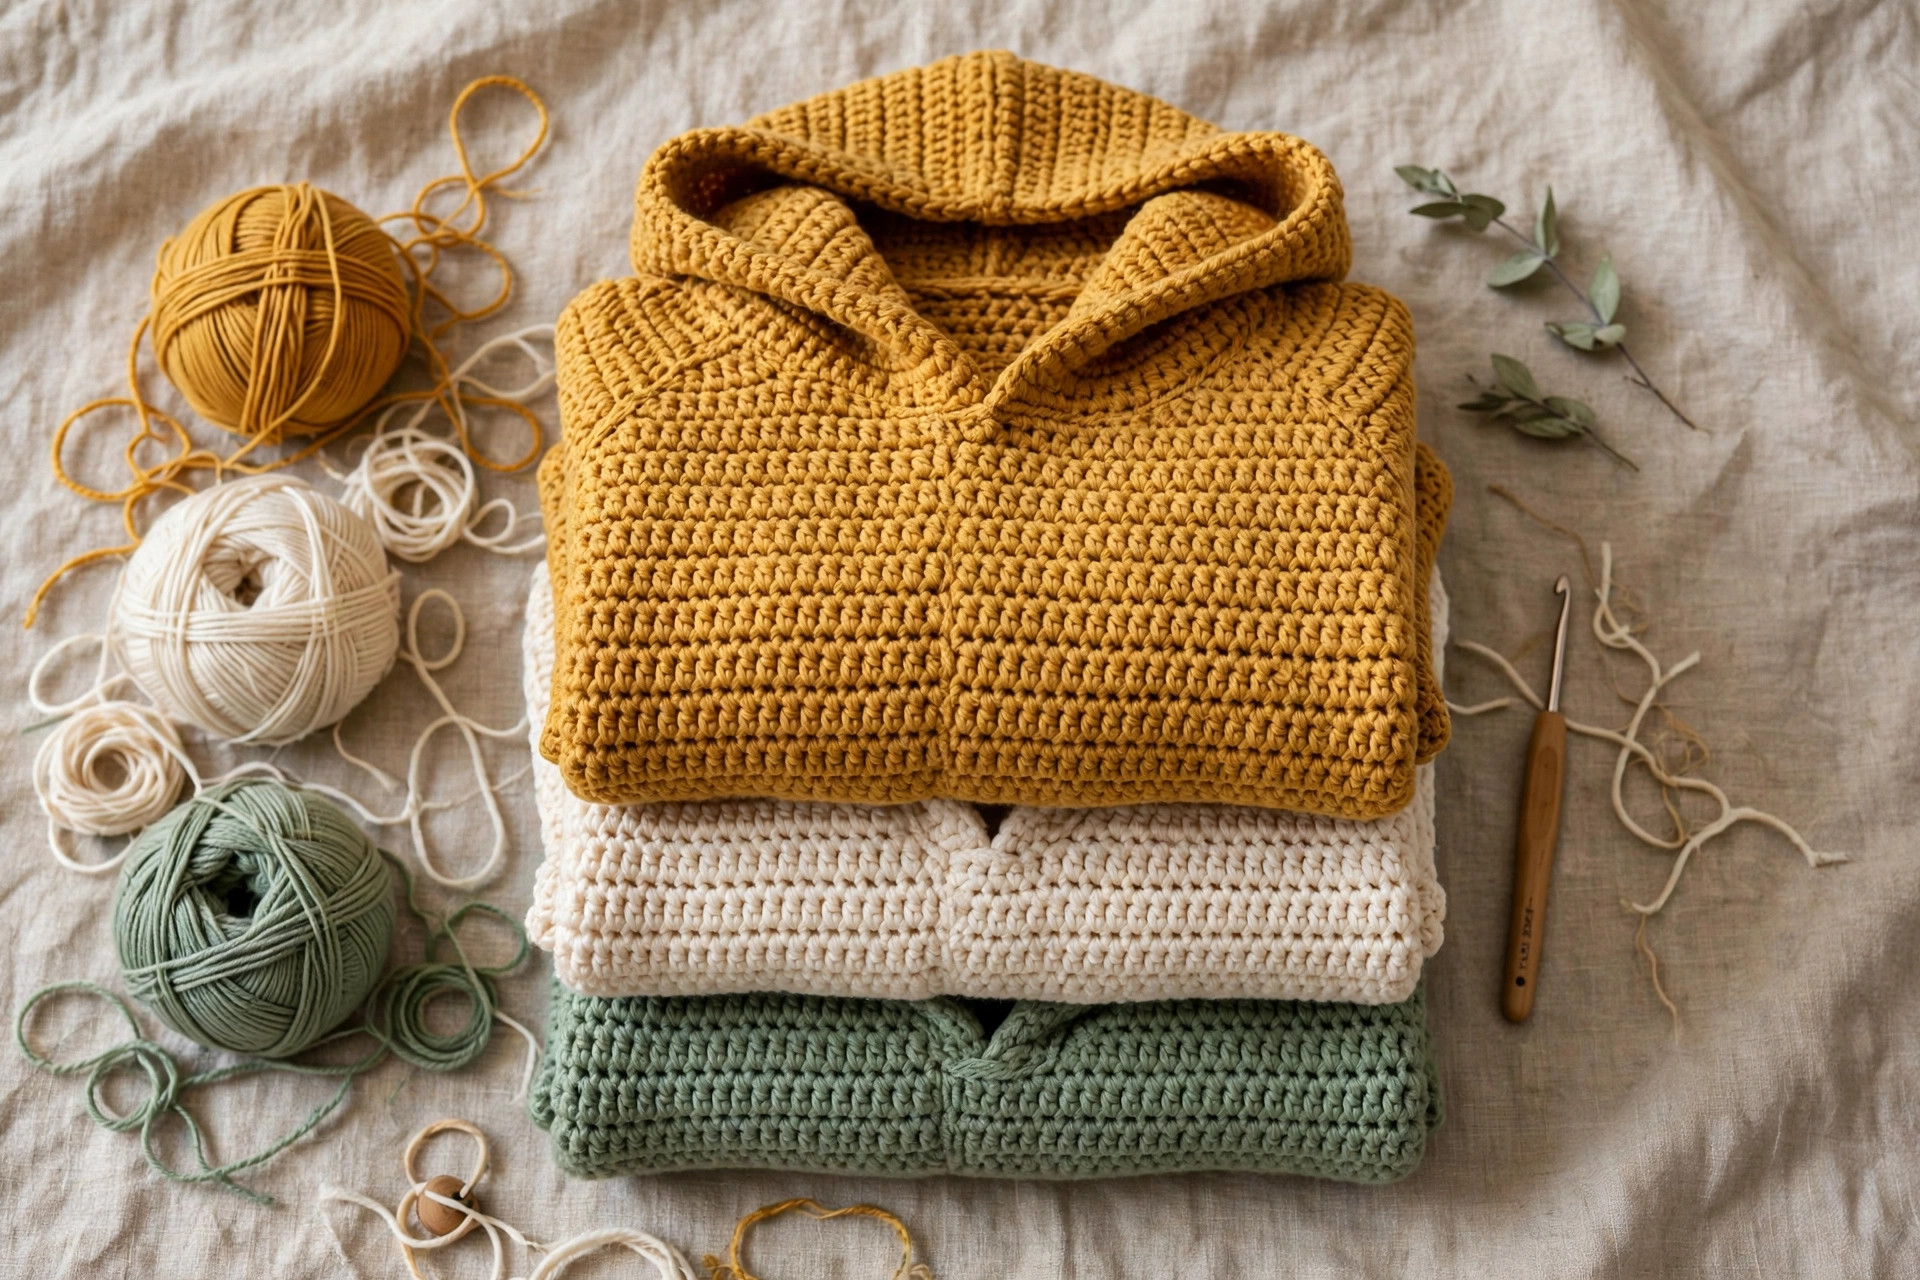
Worsted weight yarn is the right partner: warm without bulk, quick to grow, easy to seam. Choose a smooth, tightly plied acrylic or acrylic-wool blend in a solid or heathered shade — very dark or fuzzy yarn makes counting much harder. Yardage: about 1,100 yards for S, 1,250 for M, 1,400 for L and 1,550 for XL. Buy it all at once, from one dye lot if you can.
| Supply | What to get |
|---|---|
| Yarn | Worsted weight (category 4) acrylic or acrylic-wool blend, approx. 1,100 (1,250, 1,400, 1,550) yards by size |
| Hook | 5.5 mm (US I-9) crochet hook |
| Notions | Yarn needle with a large eye for seaming and weaving in ends |
| Measuring | Tape measure for panel measurements and gauge checking |
| Cutting | Sharp scissors |
| Markers | 4–6 stitch markers for neck, armhole and pocket placement |
| Optional | Row counter; contrast yarn for the drawstring cord |
Size, gauge and skill level
Skill level: Easy. Know how to chain, single crochet, half double crochet, work into the back loop only, decrease with hdc2tog (explained below), and seam flat pieces with a yarn needle.
Finished sizes: Instructions are written as S (M, L, XL) throughout.
| Size | To fit bust | Finished bust | Body length | Sleeve length |
|---|---|---|---|---|
| S | 32–34 in | About 36 in | About 23 in | About 16 in |
| M | 36–38 in | About 40 in | About 23.5 in | About 17 in |
| L | 40–42 in | About 44 in | About 24.5 in | About 17.5 in |
| XL | 44–46 in | About 48 in | About 25 in | About 18.5 in |
Measure your bust at its fullest point and choose a size giving 2 to 4 inches of positive ease — hoodies should skim, not cling. Between sizes, size up for layering, down for a neater fit. Adjust length by adding or removing plain rows at the lower edge of both body panels, before the neck shaping.
Gauge: 14 half double crochet stitches and 10 rows = 4 inches, with a 5.5 mm hook, after light blocking. Swatch at least 6 inches square, block it, and measure the middle 4 inches. Too many stitches means your work is small — go up a hook size. Too few means it is big — go down a size.
Abbreviations — US terms
US terms throughout. (UK note: a US half double crochet is a UK half treble; a US single crochet is a UK double crochet.)
| Abbreviation | Meaning |
|---|---|
| ch | chain |
| sc | single crochet |
| hdc | half double crochet |
| hdc2tog | half double crochet 2 together (decrease) |
| BLO | back loop only |
| st(s) | stitch(es) |
How to work hdc2tog: Yarn over, insert hook into the first stitch, yarn over and pull up a loop (3 loops). Yarn over, insert hook into the next stitch, yarn over and pull up a loop (5 loops). Yarn over and pull through all 5 loops.
Turning chains: Chain 2 at the start of every hdc row. It does not count as a stitch. Work the first hdc into the very first stitch and the last hdc into the last stitch, never into the chain — that keeps edges straight and counts true.
The pattern (US terms)
Instructions are written for S (M, L, XL). Where one number appears, it applies to all sizes. Work in this order: back, front, two sleeves, hood, pocket. Assembly follows in Step 6.
Before you start: the ribbing method
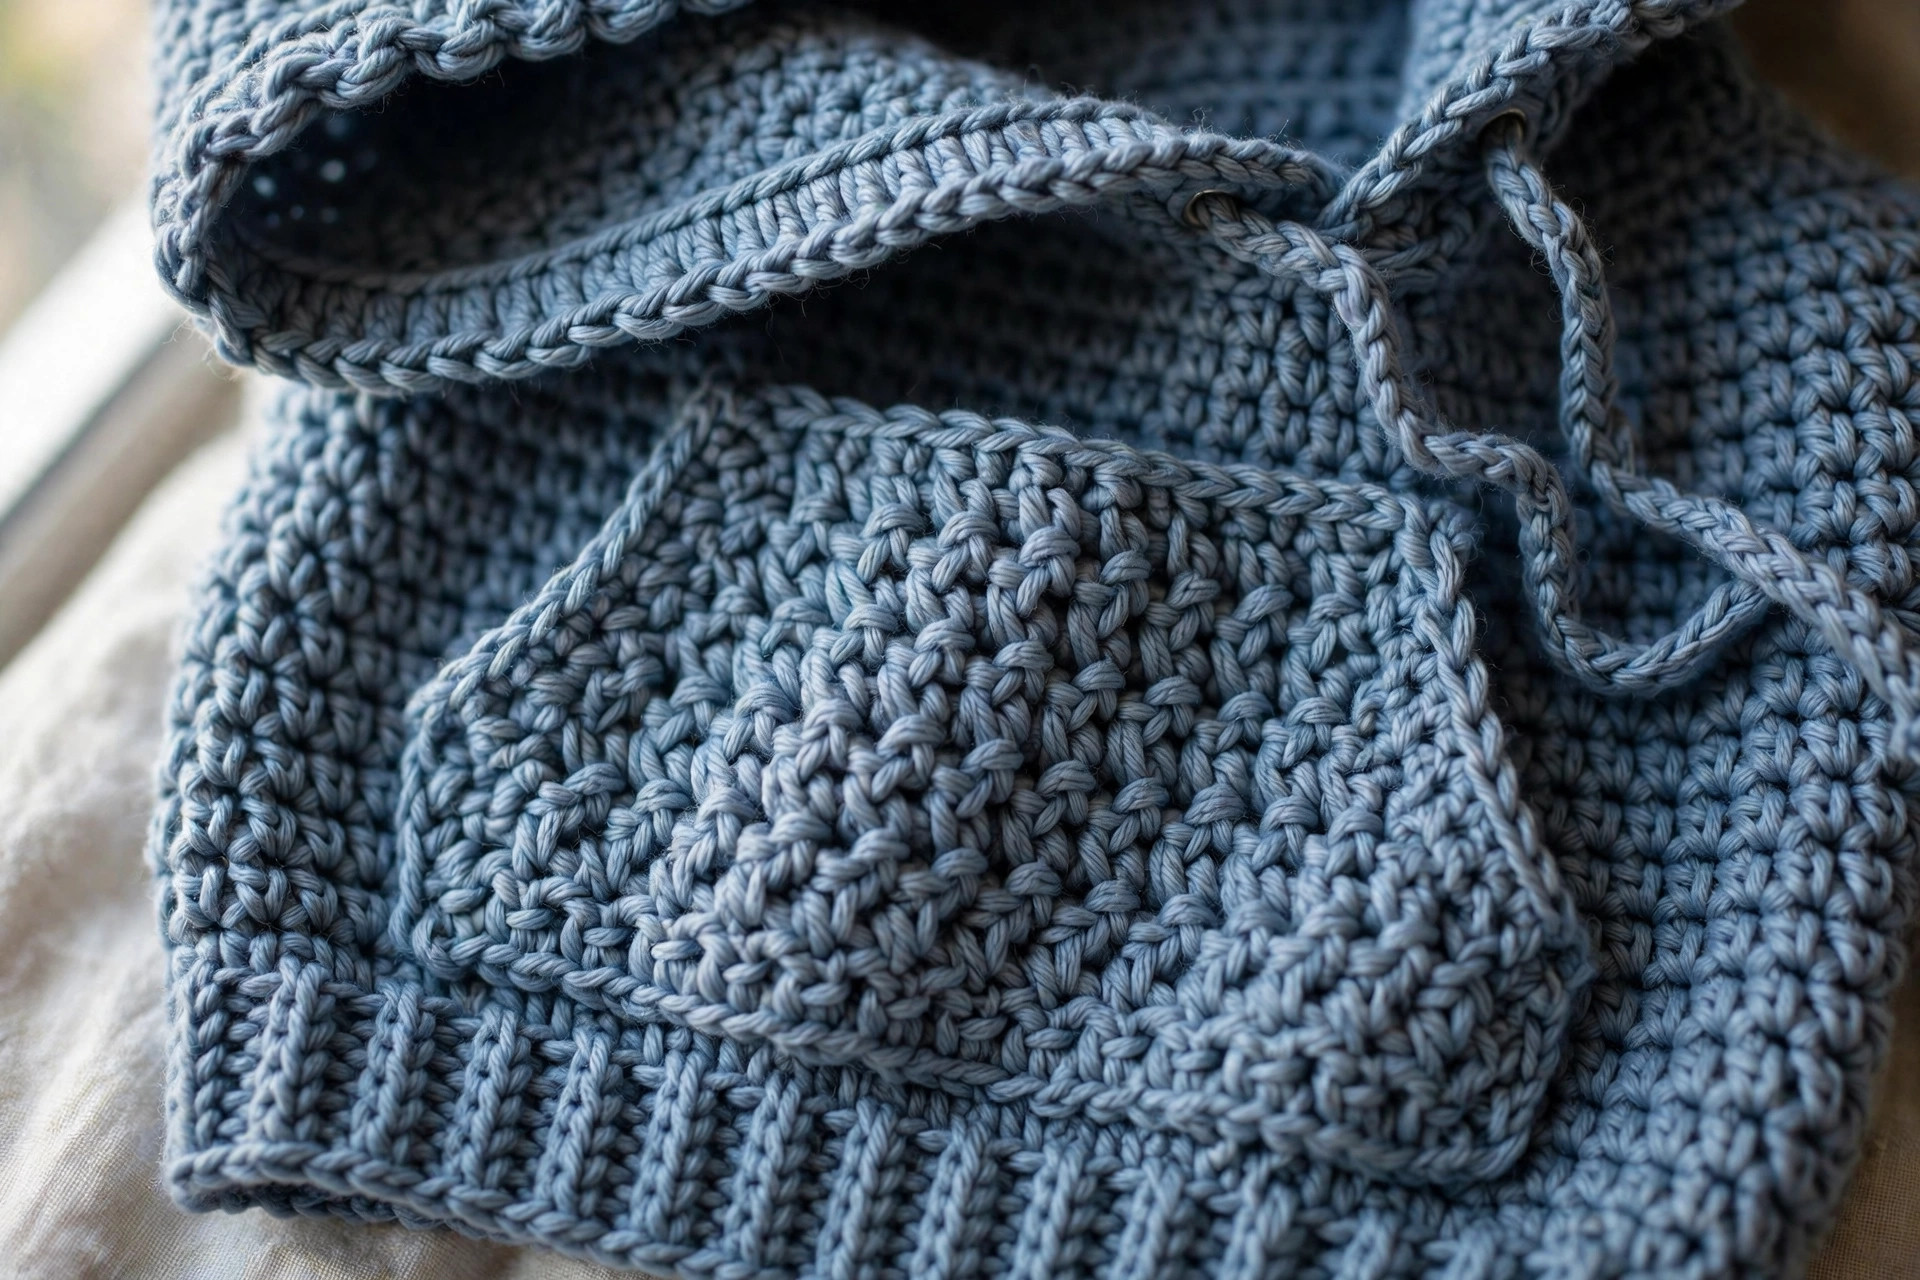
Hem and cuffs use the same ribbing: a short strip of back-loop single crochet, with the main piece crocheted across its long edge, one stitch per rib row. It looks knitted, stretches generously, and needs no elastic.
Rib foundation (every rib): Ch 9. Row 1: sc in the 2nd ch from the hook and in each ch across, turn. (8 sc) Row 2: ch 1 (does not count), sc in BLO of each st across, turn. (8 sc) Repeat Row 2 for the row count given for each piece. The strip is about 2 inches wide — right for a hem or cuff.
Step 1: Back panel
Hem rib: Work the rib foundation for 63 (70, 77, 84) rows. Do not fasten off. The strip now has one row end per body stitch.
Body Row 1: Ch 2, work 1 hdc into the end of each rib row across, turn. 63 (70, 77, 84) hdc
Body Rows 2–52 (2–54, 2–56, 2–58): Ch 2, hdc in each st across, turn. 63 (70, 77, 84) hdc
That is 52 (54, 56, 58) hdc rows, about 20.75 (21.5, 22.5, 23.25) inches above the ribbing. Fasten off. Check the width at three heights: about 18 (20, 22, 24) inches across.
Step 2: Front panel and neck shaping
Work hem rib and body exactly as for the back until you have 44 (46, 48, 50) hdc rows. 63 (70, 77, 84) hdc
Now shape the neck over 8 rows per side: one set-up row, six decrease rows, one plain row. Both sides finish at the back panel's shoulder count, so shoulder seams match stitch for stitch.
Left front:
- Set-up row: Ch 2, hdc across the first 26 (29, 32, 35) sts, turn, leaving the rest unworked. 26 (29, 32, 35) hdc
- Next 6 rows: Ch 2, hdc across, working one hdc2tog at the neck edge in every row — at the end of the row on right-side rows, at the start on wrong-side rows. Counts after each row: 25 (28, 31, 34); 24 (27, 30, 33); 23 (26, 29, 32); 22 (25, 28, 31); 21 (24, 27, 30); 20 (23, 26, 29) hdc.
- Final row: Ch 2, hdc in each st across. 20 (23, 26, 29) hdc
That is 8 rows above Row 44 (46, 48, 50), matching the back's 52 (54, 56, 58) rows. Fasten off.
Right front: Skip the centre 11 (12, 13, 14) sts of the last full front row — the bottom of the neck opening. Join yarn in the next stitch and mirror the left: set-up row of 26 (29, 32, 35) hdc, six rows with one hdc2tog at the neck edge, one plain row. 20 (23, 26, 29) hdc
Check the maths: 20 (23, 26, 29) shoulder + 6 decreased + 11 (12, 13, 14) centre + 6 decreased + 20 (23, 26, 29) shoulder = exactly 63 (70, 77, 84). If your front adds up, your neckline will too.
Step 3: Sleeves (make 2)
Cuff rib: Work the rib foundation for 30 (34, 38, 42) rows. Do not fasten off.
Row 1: Ch 2, work 1 hdc into the end of each rib row across, turn. 30 (34, 38, 42) hdc
Rows 2–4: Ch 2, hdc in each st across, turn.
Increase Row (Row 5): Ch 2, 2 hdc in the first st, hdc to the last st, 2 hdc in the last st, turn. 32 (36, 40, 44) hdc
Repeat the increase row every 5th row — Rows 10, 15, 20, 25 and 30 — five more times, adding 2 stitches each time: 34 (38, 42, 46) after Row 10; 36 (40, 44, 48) after Row 15; 38 (42, 46, 50) after Row 20; 40 (44, 48, 52) after Row 25; 42 (46, 50, 54) hdc after Row 30.
Remaining rows: Work plain hdc rows until the sleeve has 40 (42, 44, 46) rows in total. Fasten off. The top edge is about 12 (13, 14.25, 15.5) inches wide. Make the second sleeve identically, laying it against the first before fastening off.
Step 4: The hood
Work the hood after the shoulder seams (Step 6, part 1), picking stitches up directly around the neck for the neatest finish. With the right side facing, join yarn at the right front neck edge where the shaping began.
Row 1: Ch 2, work 54 (56, 58, 60) hdc evenly around the neck opening: up the right front neck, across the centre front stitches, across the back neck — 23 (24, 25, 26) stitches — and down the left front neck. Mark the centre back stitch first so both sides stay balanced, and space stitches evenly so the edge lies flat. Turn.
Rows 2–30: Ch 2, hdc in each st across, turn. 54 (56, 58, 60) hdc
Thirty rows is about 12 inches of hood depth. Stop at Row 26 for a shallower hood, or Row 34 for an oversized one.
Top seam: Fasten off with a 24-inch tail. Fold the top edge in half, wrong sides together, matching the corners. Whipstitch or slip stitch the folded edge closed through both thicknesses. The fold becomes the back of the hood. Turn right side out and shape the top into a soft curve, not a point.
Step 5: Kangaroo pocket
Row 1: Ch 37. Hdc in the 3rd ch from the hook and in each ch across, turn. 36 hdc (skipped chains do not count, as throughout)
Rows 2–12: Ch 2, hdc in each st across, turn. 36 hdc
Rows 13–17 (angled top): Ch 2, hdc2tog over the first 2 sts, hdc to the last 2 sts, hdc2tog, turn. Five rows, 2 stitches decreased per row: 34, 32, 30, 28, then 26 hdc.
Edging: Work 1 round of sc evenly around the pocket, with 2 extra sc in each bottom corner. Join, fasten off, and leave a long sewing tail. The angled top rows form the hand openings — they are meant to slope.
Step 6: Assembly
1. Shoulder seams. Front over back, wrong sides out. Whipstitch or slip stitch each front shoulder — 20 (23, 26, 29) sts — to the matching stitches at each end of the back panel's top edge. The centre 23 (24, 25, 26) back stitches stay unjoined: that is the back neck the hood counts are built around.
2. Hood. Complete Step 4 now, picking up around the joined neck opening.
3. Sleeves. Mark each armhole: measure down 15 (16, 18, 19) rows from the shoulder seam along the side edge and place a marker. Pin a sleeve top edge evenly into the opening, centred on the shoulder seam, and sew in. Repeat on the other side.
4. Side and sleeve seams. From the hem, seam up each side to the armhole marker, then continue along the sleeve underside to the cuff — one long seam per side, one stitch in from the edge. Check from the right side every few inches that rows line up.
5. Pocket. Centre the pocket on the front, bottom edge one row above the hem ribbing, and pin all sides before sewing. Sew the bottom, straight sides and top edge firmly to the front. Leave the angled rows at each top corner unsewn — those openings are where hands go in. Test with your own hand before fastening off.
6. Drawstring cord. Ch 120 (about 45 inches), then sl st in the 2nd ch from the hook and in each ch across, for a cord with more body than a plain chain. Weave it in and out of the stitches along the hood's face edge, starting and ending at centre front, so both ends hang evenly. Knot each end, or add a wooden bead.
Finishing your hoodie
Weave in ends properly — garments move and get washed, and a casually tucked end works out by the third wear. Travel about two inches along a seam or row edge, back the other way, then once more at a slight angle. Trim only after weaving.
Blocking makes a real difference on seamed garments. Lay the hoodie flat to the size-table measurements, smooth the seams, shape the hood, and mist lightly if your yarn allows. Leave flat until dry. Acrylic blends take gentle steam from a distance — never a hot iron directly on acrylic. A tight feel at the back neck usually just needs the hood fold rearranged.
Tips for a hoodie that fits and lasts
Measure panels, not hope. Check each panel's width and length as it comes off the hook. A back panel an inch narrow will not be rescued by seaming — re-check gauge and adjust your hook first.
Keep a row tally. Write down rows for every panel and sleeve. The classic mistake — one sleeve two rows longer than the other — happens on the night someone was sure they would remember. If you are still building garment confidence, a few projects from our easy beginner crochet patterns collection will make every step here feel familiar.
Seam in good light, on a table. Pin pieces flat before sewing, matching row ends deliberately at the shoulder, armhole marker and hem.
Wash it like you mean to keep it. Follow the ball band; when in doubt, cool wash and dry flat. Never hang a wet hoodie by its shoulders — the water's weight drags the body longer. Folded storage beats hangers.
Plan yarn before your first chain. Buy the full quantity at the start, plus an extra ball if you can. Big panels show dye-lot differences cruelly, and joins hide at seam edges, not mid-back.
FAQ
Is this hoodie suitable as a first garment?
Yes, if you are comfortable with half double crochet and ready to count. No working in the round, no chart, no stitch pattern — just flat panels, one simple decrease, and seams, using the same skills as scarves and blankets. Make your swatch carefully and the rest follows.
How long does a crochet hoodie take?
About 18 to 24 hours, usually spread over two to four weeks of evenings. The body panels are the long stretch; sleeves, hood and pocket feel quick by comparison.
Can I make it longer or cropped?
Easily. Add or remove plain body rows at the lower edge of both body panels, before any neck shaping, keeping front and back identical. Each row adds about 0.4 inches. Removing 10 rows crops it by about 4 inches. For extra length, add rows and yarn, and keep the pocket bottom one row above the ribbing.
What yarn works best for a lighter hoodie?
Keep the weight and gauge, change the fibre. Cotton-acrylic blends drape cooler and feel lighter than wool blends — a good spring version. Pure cotton has less spring, so ribbing relaxes faster.
My neck opening looks too wide — did I miscount?
Probably not. Before the hood is added, the neck opening always looks wide on a flat panel — it has to go over a head. Finish the hood and try it on; the hood's weight settles the neckline. Still wide? Work a round of single crochet around the neck first, taking a few stitches together at the front corners.
How do I stop the hood forming a point?
Ease the top seam rather than pulling it tight: match the corners, pin the middle, and sew with the fabric relaxed. Then shape the hood flat during finishing, smoothing the seam into a gentle curve, and let it dry that way.
What to crochet next
Your everyday layer is done — keep the momentum going with these reader favourites in similar yarns and stitches:
- Carry it all with a roomy crochet hobo bag for market days and yarn shopping.
- Add a cosy crochet pocket scarf to finish cold-weather outfits.
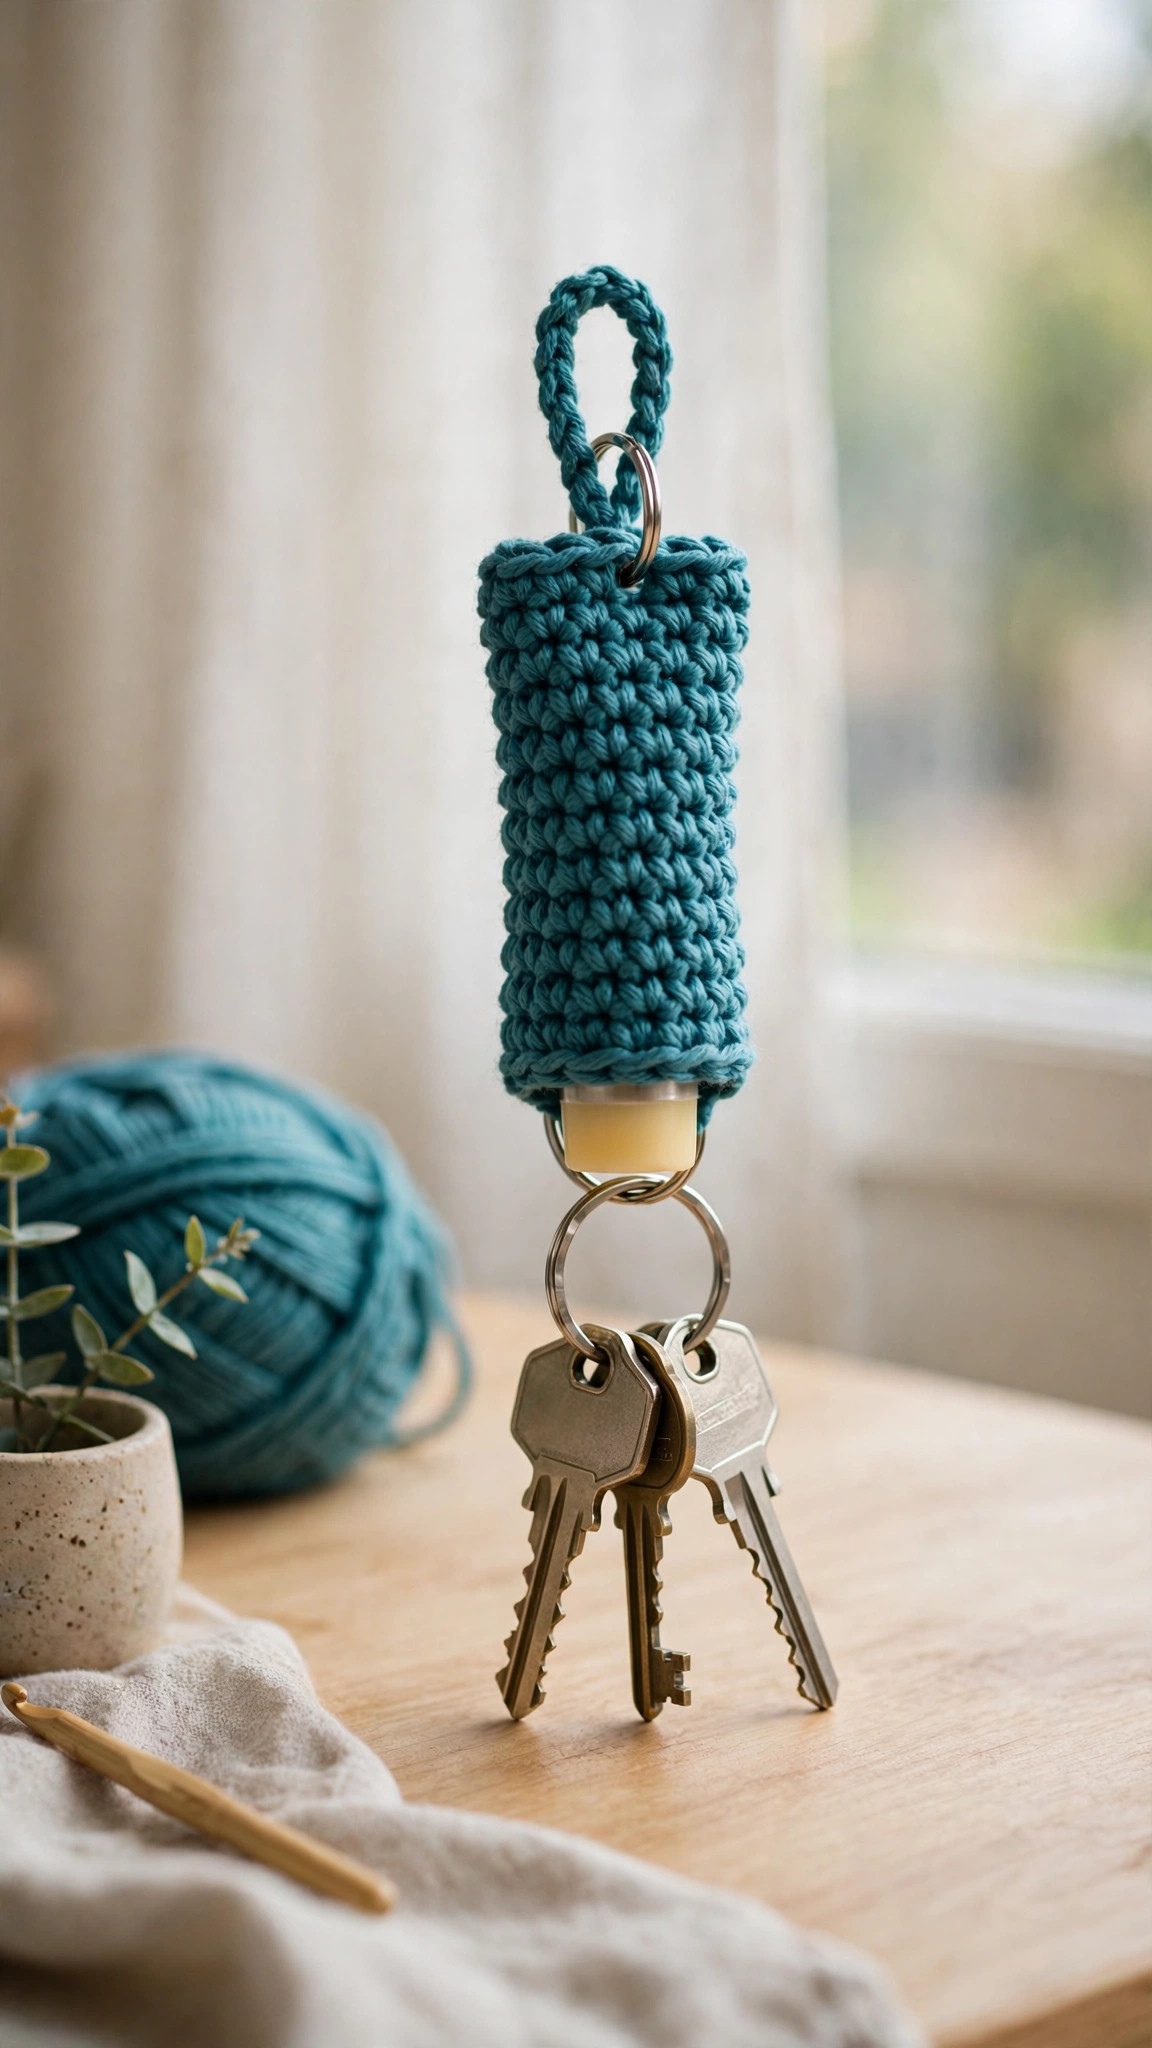
- Make the tiny gift everyone actually uses with this crochet chapstick holder pattern.
Happy crocheting — may your hoodie be worn on repeat all season!
The box below contains an Etsy link. If you buy through it, we may earn a small commission at no extra cost to you. Learn more.
No time to make one?
Short on time? Find handmade crochet hoodies from independent makers on Etsy.
Browse on Etsy (opens Etsy in a new tab)