Crochet Ferret Free Pattern: Cute Amigurumi Plush
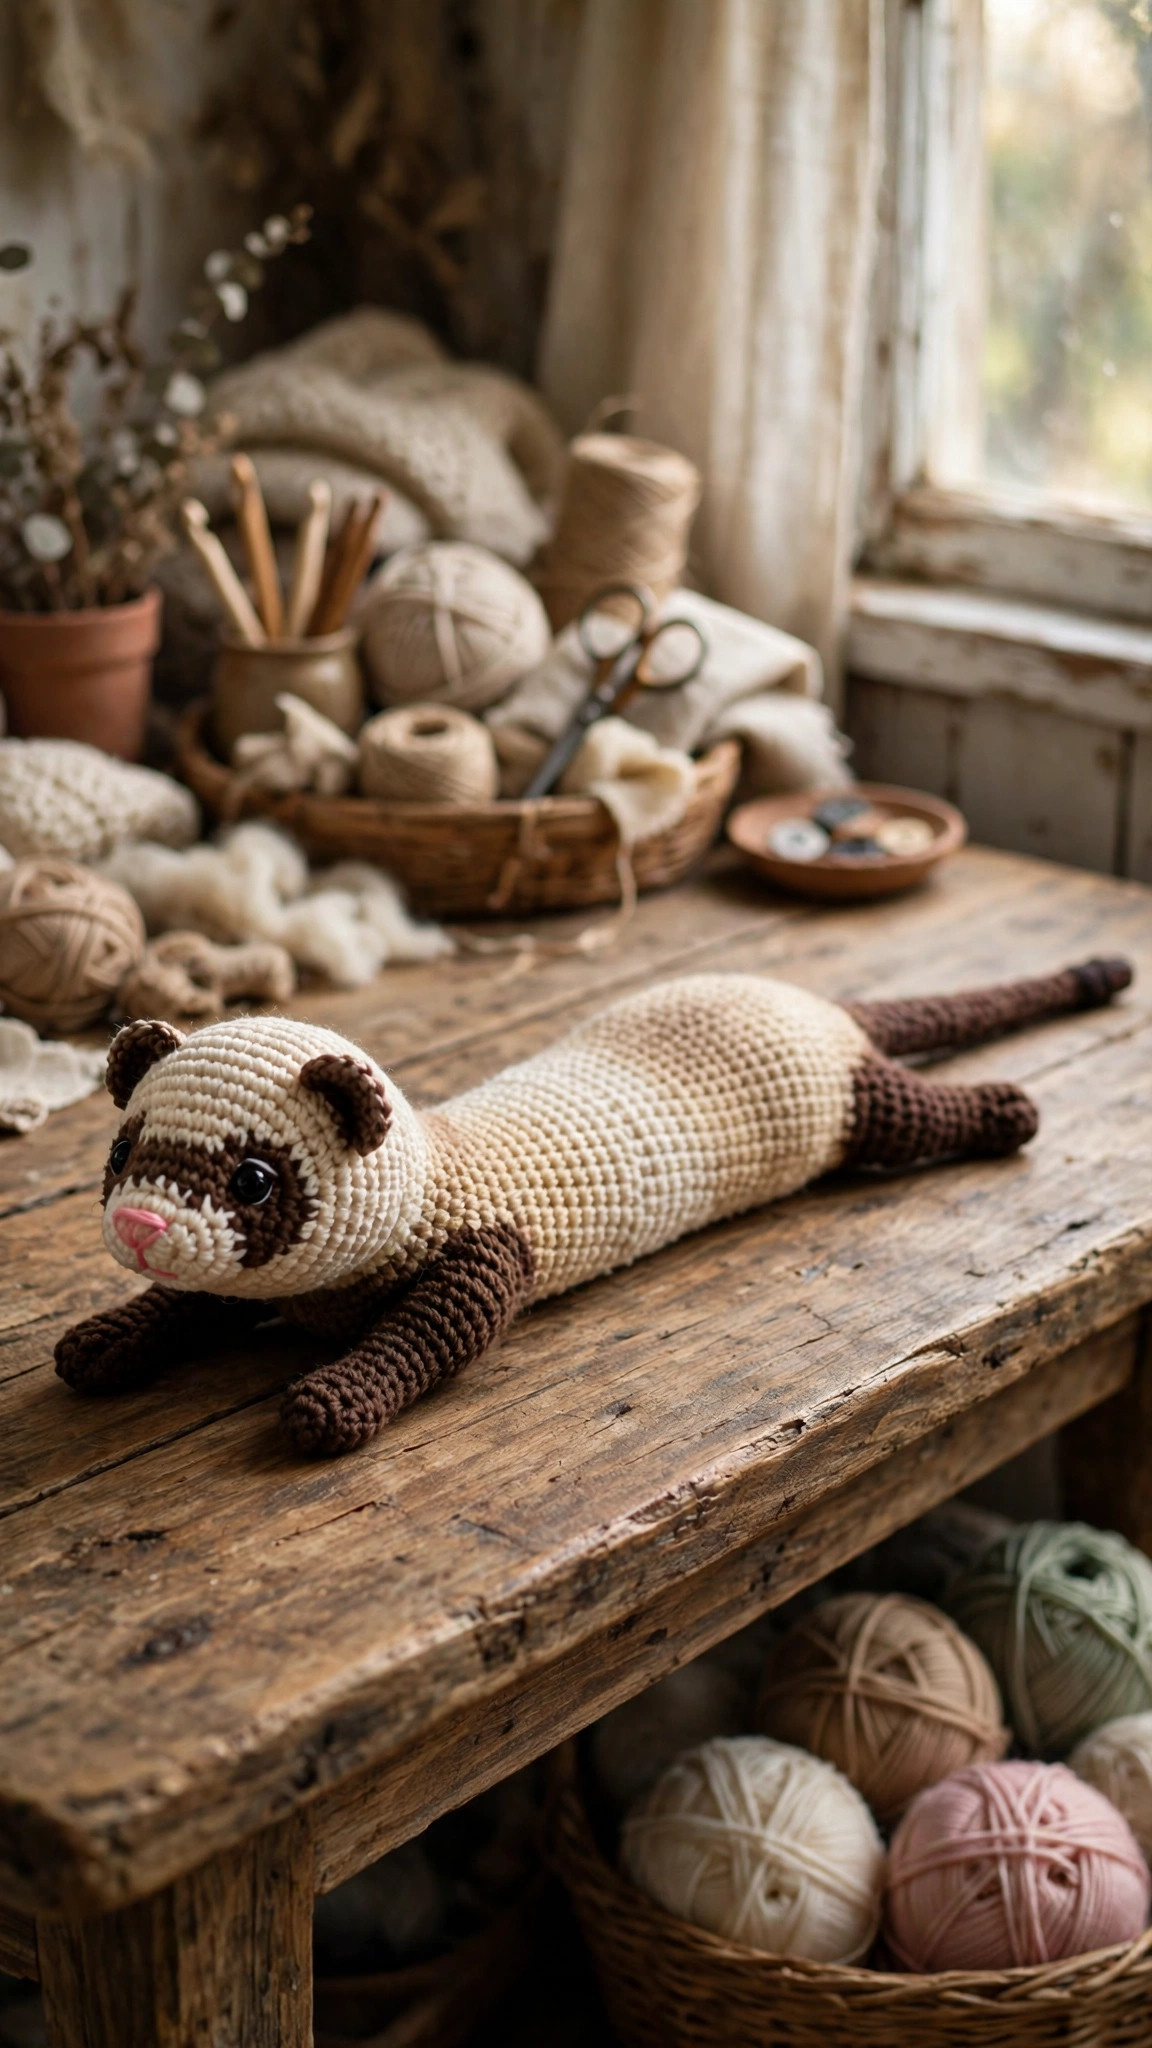
A long, floppy amigurumi ferret with a dark eye mask, tiny round ears, dark sock legs and a dark-tipped tail — worked in easy single-crochet spirals from 12 small pieces, with full stitch counts for every round.

Amigurumi · Crochet
- Finished size
- About 28 cm / 11 in long
- Making time
- About 3–4 hours
- Hook
- 3.5 mm, worsted-weight yarn
- Pieces
- 12 pieces to assemble
- Skill
- Easy
In this post
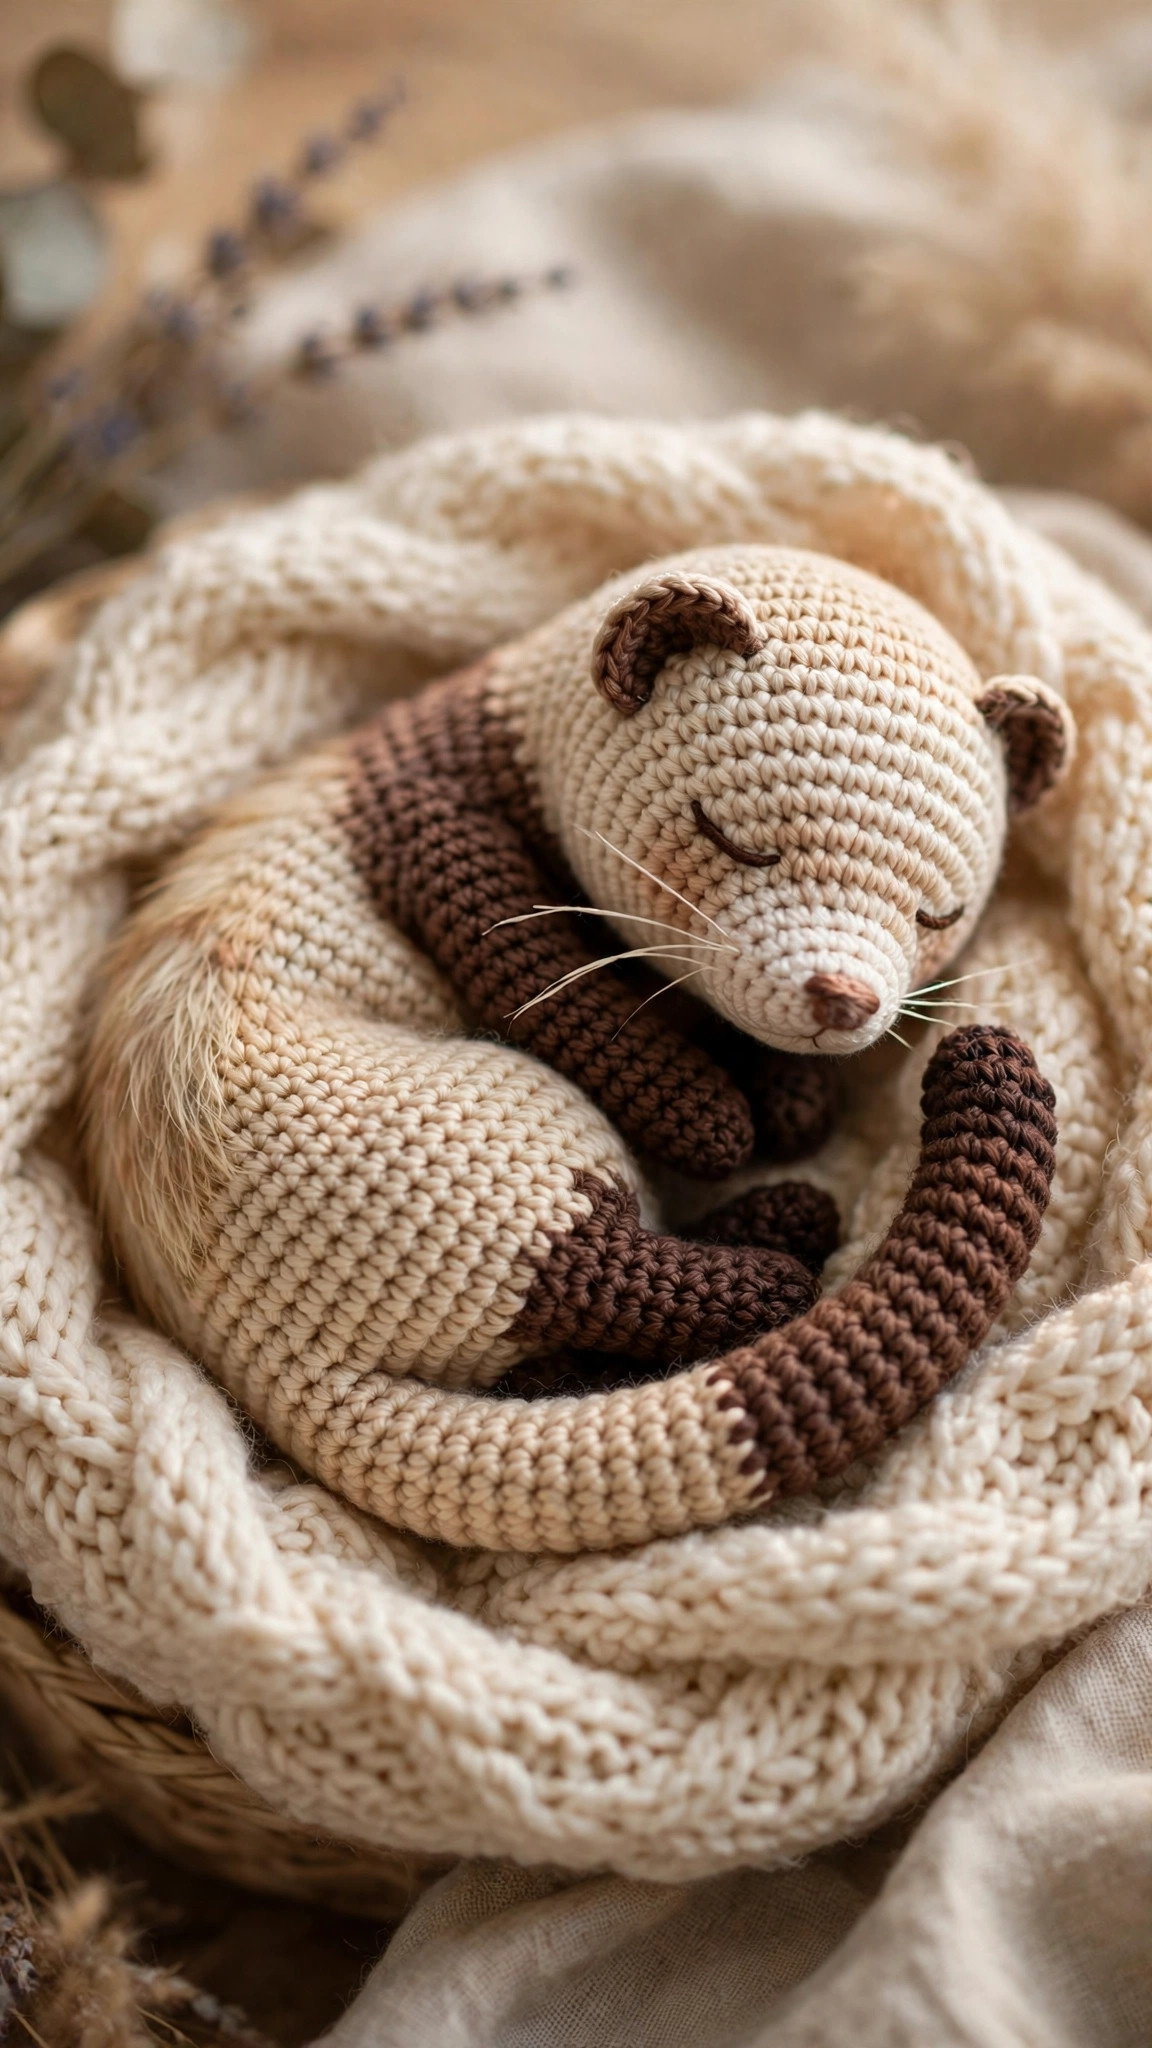
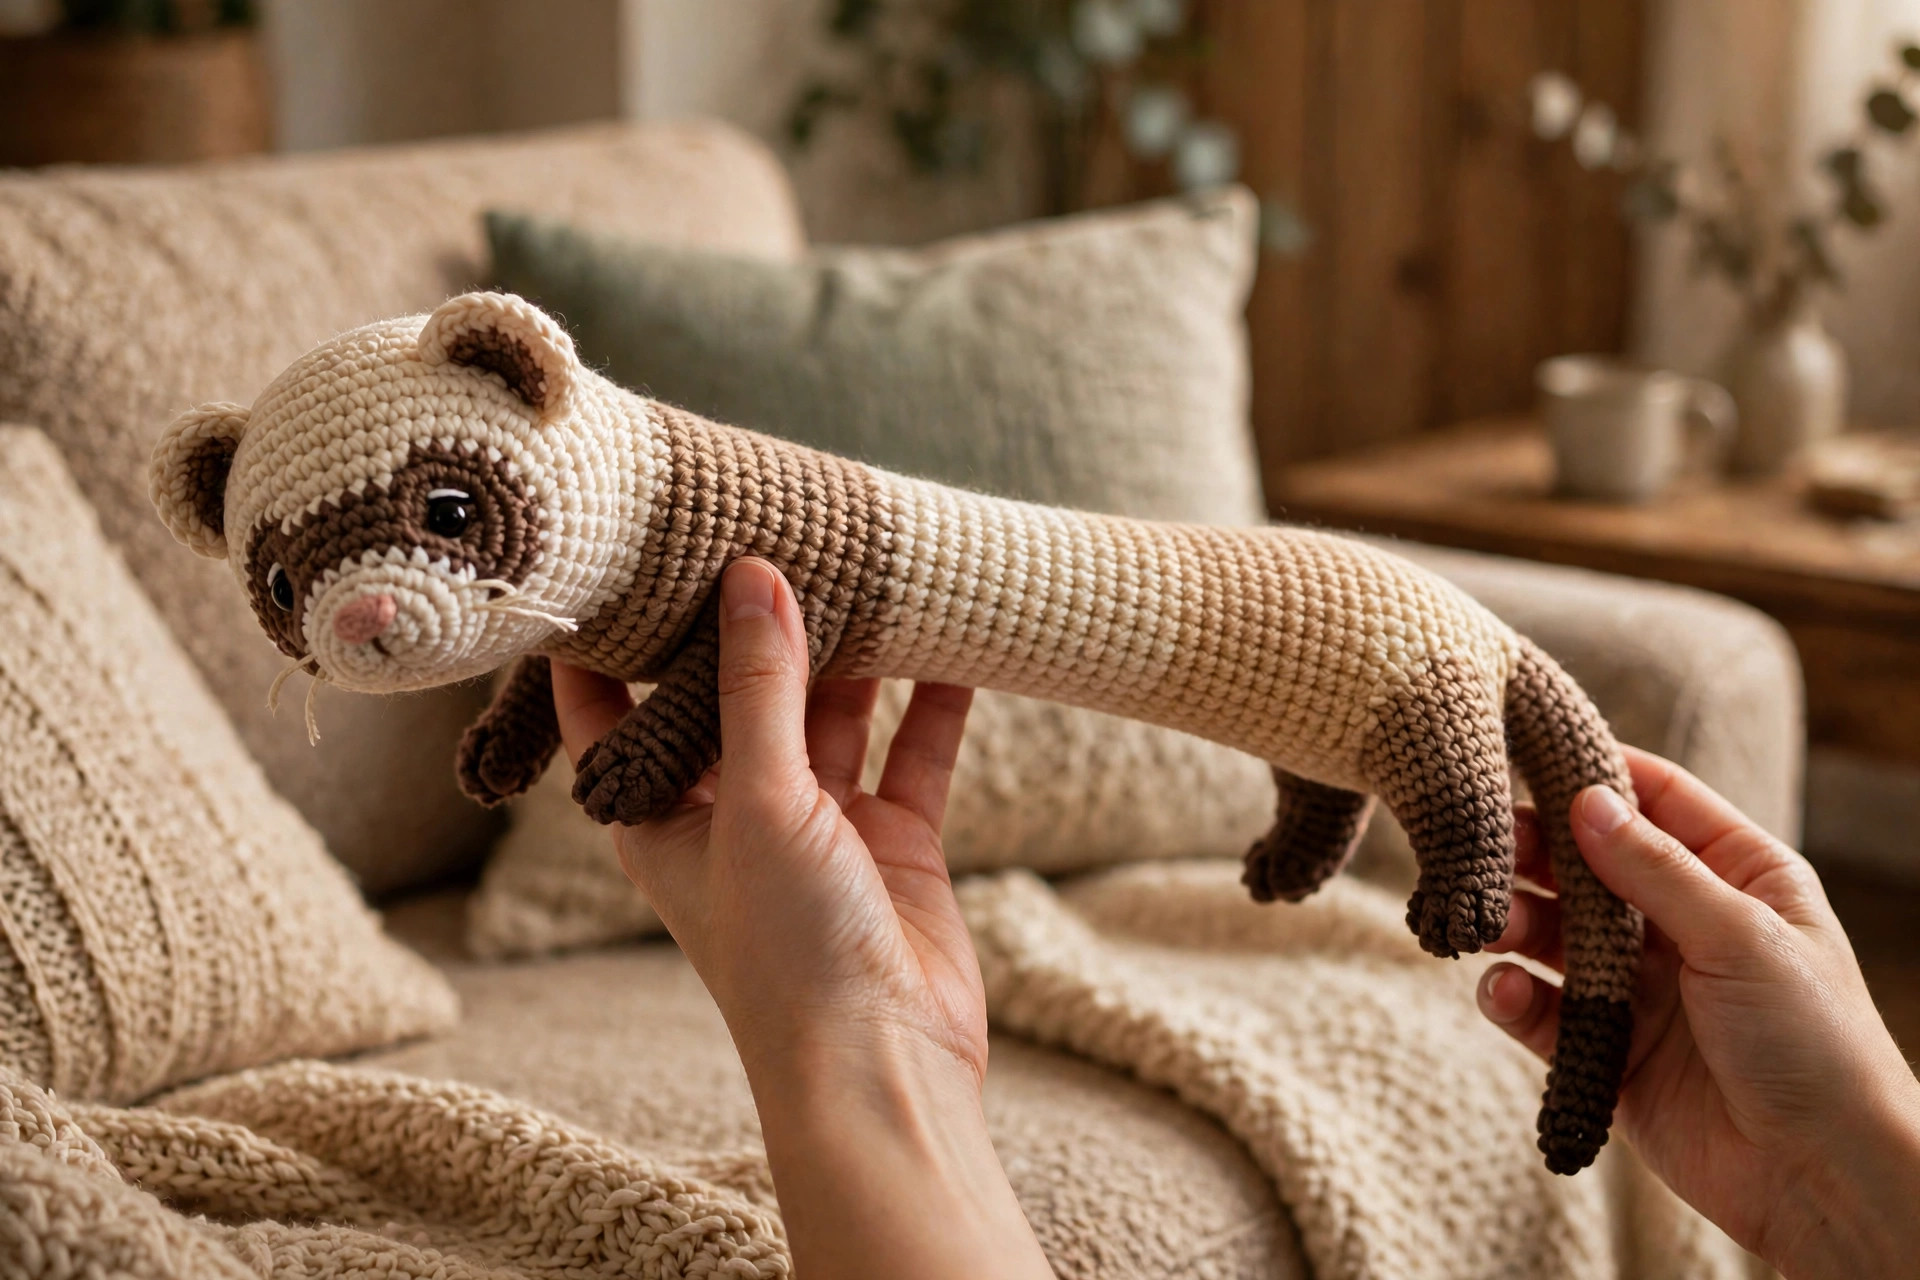
Ferrets are happiness in the shape of a noodle — long, wriggly, bendy, and always mid-adventure. This crochet ferret free pattern captures that energy in yarn: a long tube body that drapes and flops like the real thing, a round head with a small muzzle, tiny dark ears, four short legs, and a tapered tail with a dark tip. Stretch it out, curl it into a sleepy donut, or drape it over your arm — it poses every way a real ferret does.
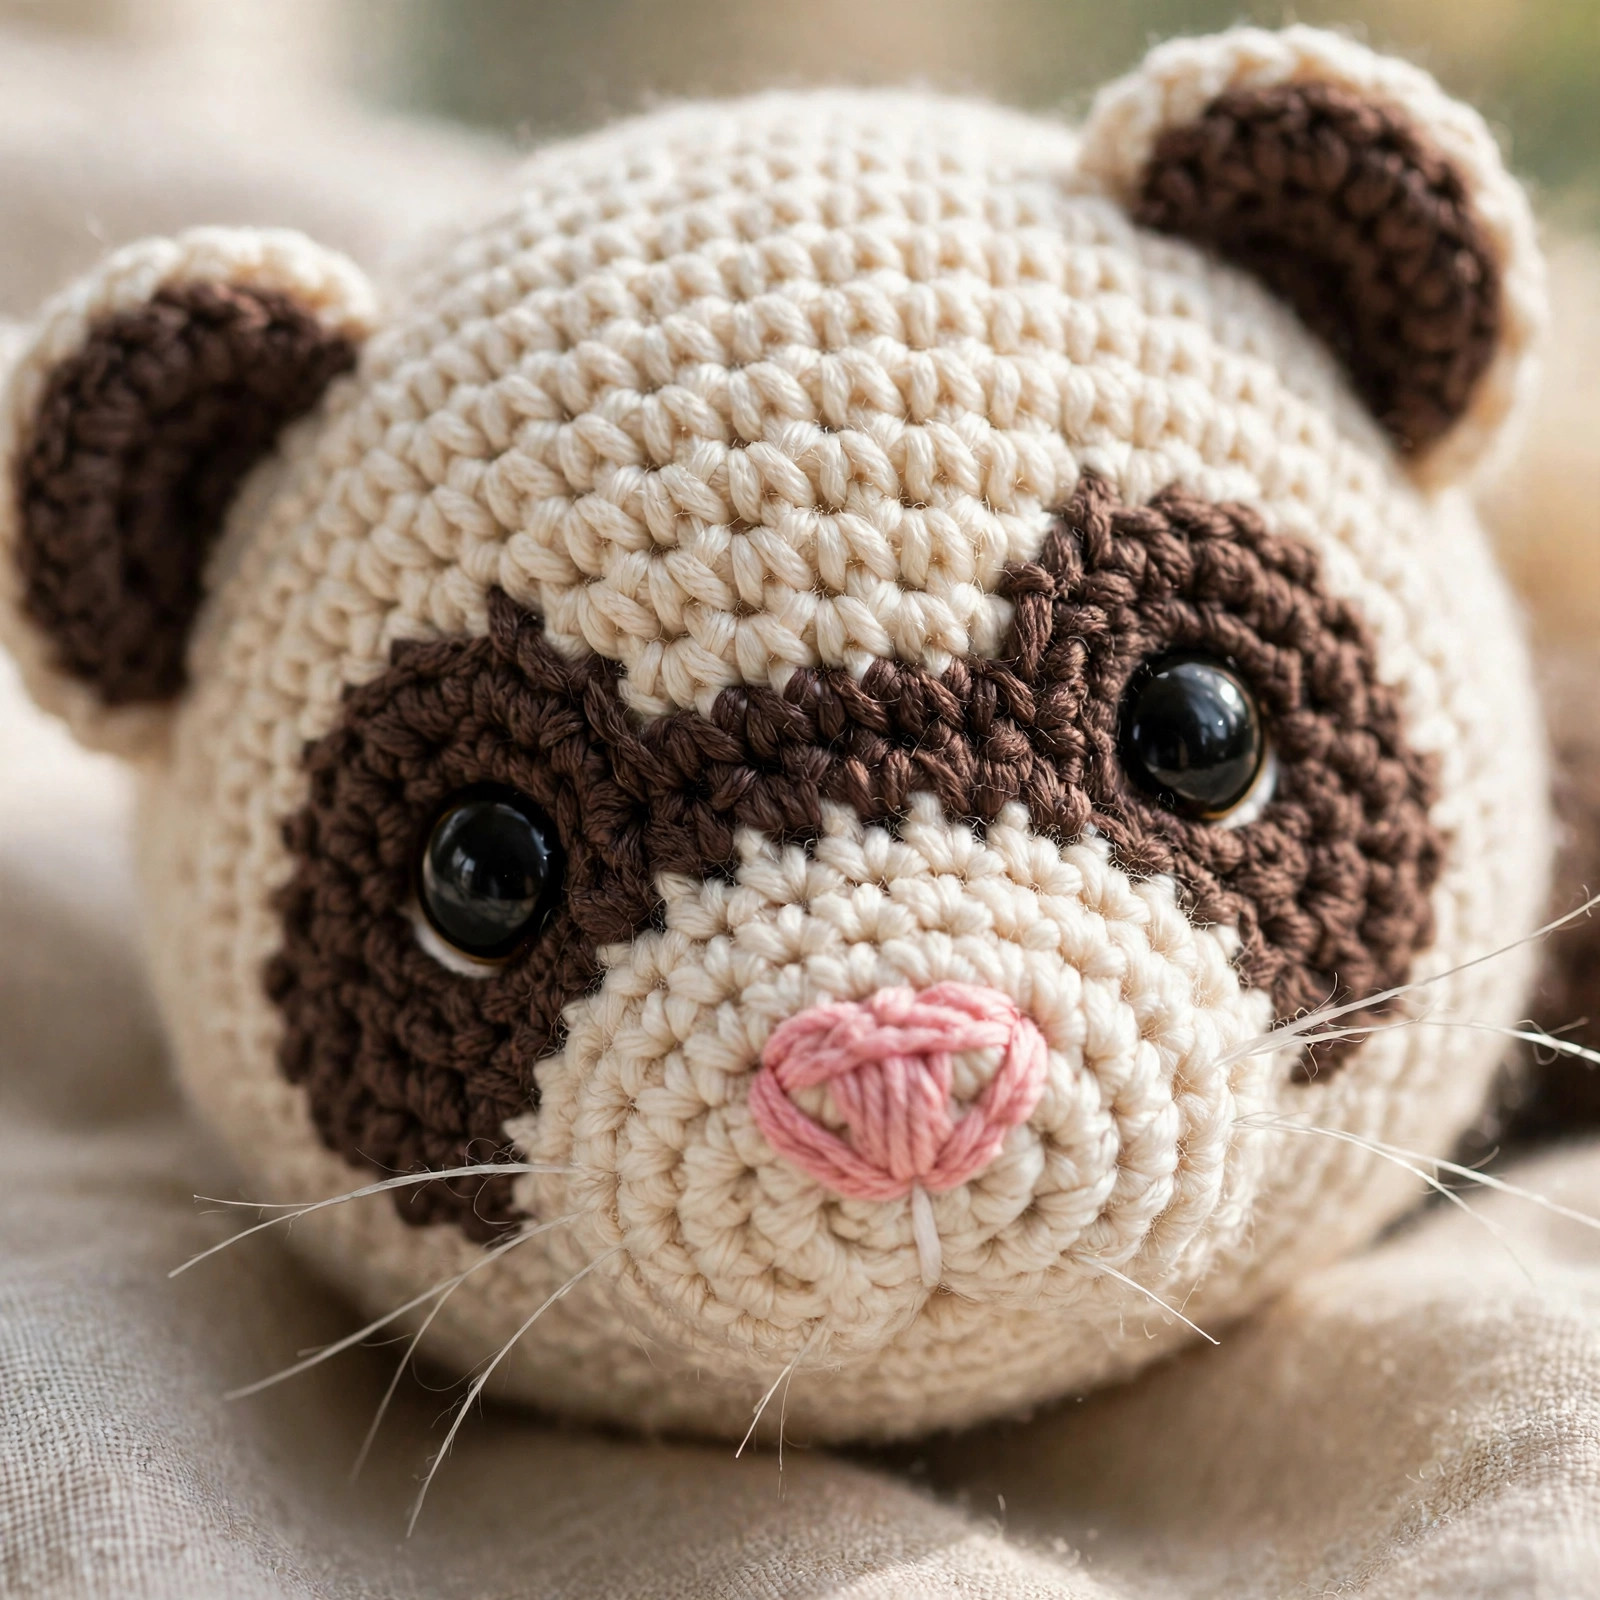
This is an original Little Loop Finds design, worked in simple single crochet spirals with our own stitch math. Every round has its stitch count written out, and all the shaping uses ordinary increases and invisible decreases — no charts, no wire, no complicated joins. The optional dark eye patches are tiny five-stitch circles sewn on before you add the safety eyes, and they make all the difference: they turn "cute long plush" into "that is unmistakably a ferret."
Make yours in classic sable colours — cream and tan with dark brown legs, ears and tail tip — or try white, silver-grey or chocolate.
Contents
- Why you'll love this crochet ferret
- Materials you'll need
- Size, gauge and skill level
- Abbreviations — US terms
- The pattern (US terms)
- Finishing and assembly
- Tips for a ferret that looks right
- FAQ
- What to crochet next
Why you'll love this crochet ferret
First, the shape is honest. Many long-animal plushies come out too fat, too short or too stiff. This body is deliberately slim — 30 stitches around — and deliberately long, with eighteen plain rounds in the middle. That proportion gives the classic ferret drape: stuff it softly and it bends, curls and flops instead of standing up like a rolling pin.
Second, it is genuinely relaxing. Past the body's increase rounds, you have eighteen rounds of plain single crochet. The legs are tiny nine-stitch tubes, and the ears are three rounds each.
Third, the face does the heavy lifting — and it is simple. A lightly stuffed muzzle, two dark eye patches, a pink nose and a tiny mouth turn plain rounds into a personality. Photograph the pinned face before sewing: moving a pin is easier than unpicking stitches.
Finally, ferrets make brilliant gifts, and a lovely memorial make in a much-loved pet's colours. If long bodies are your thing, try our crochet weiner dog next.
Materials you'll need
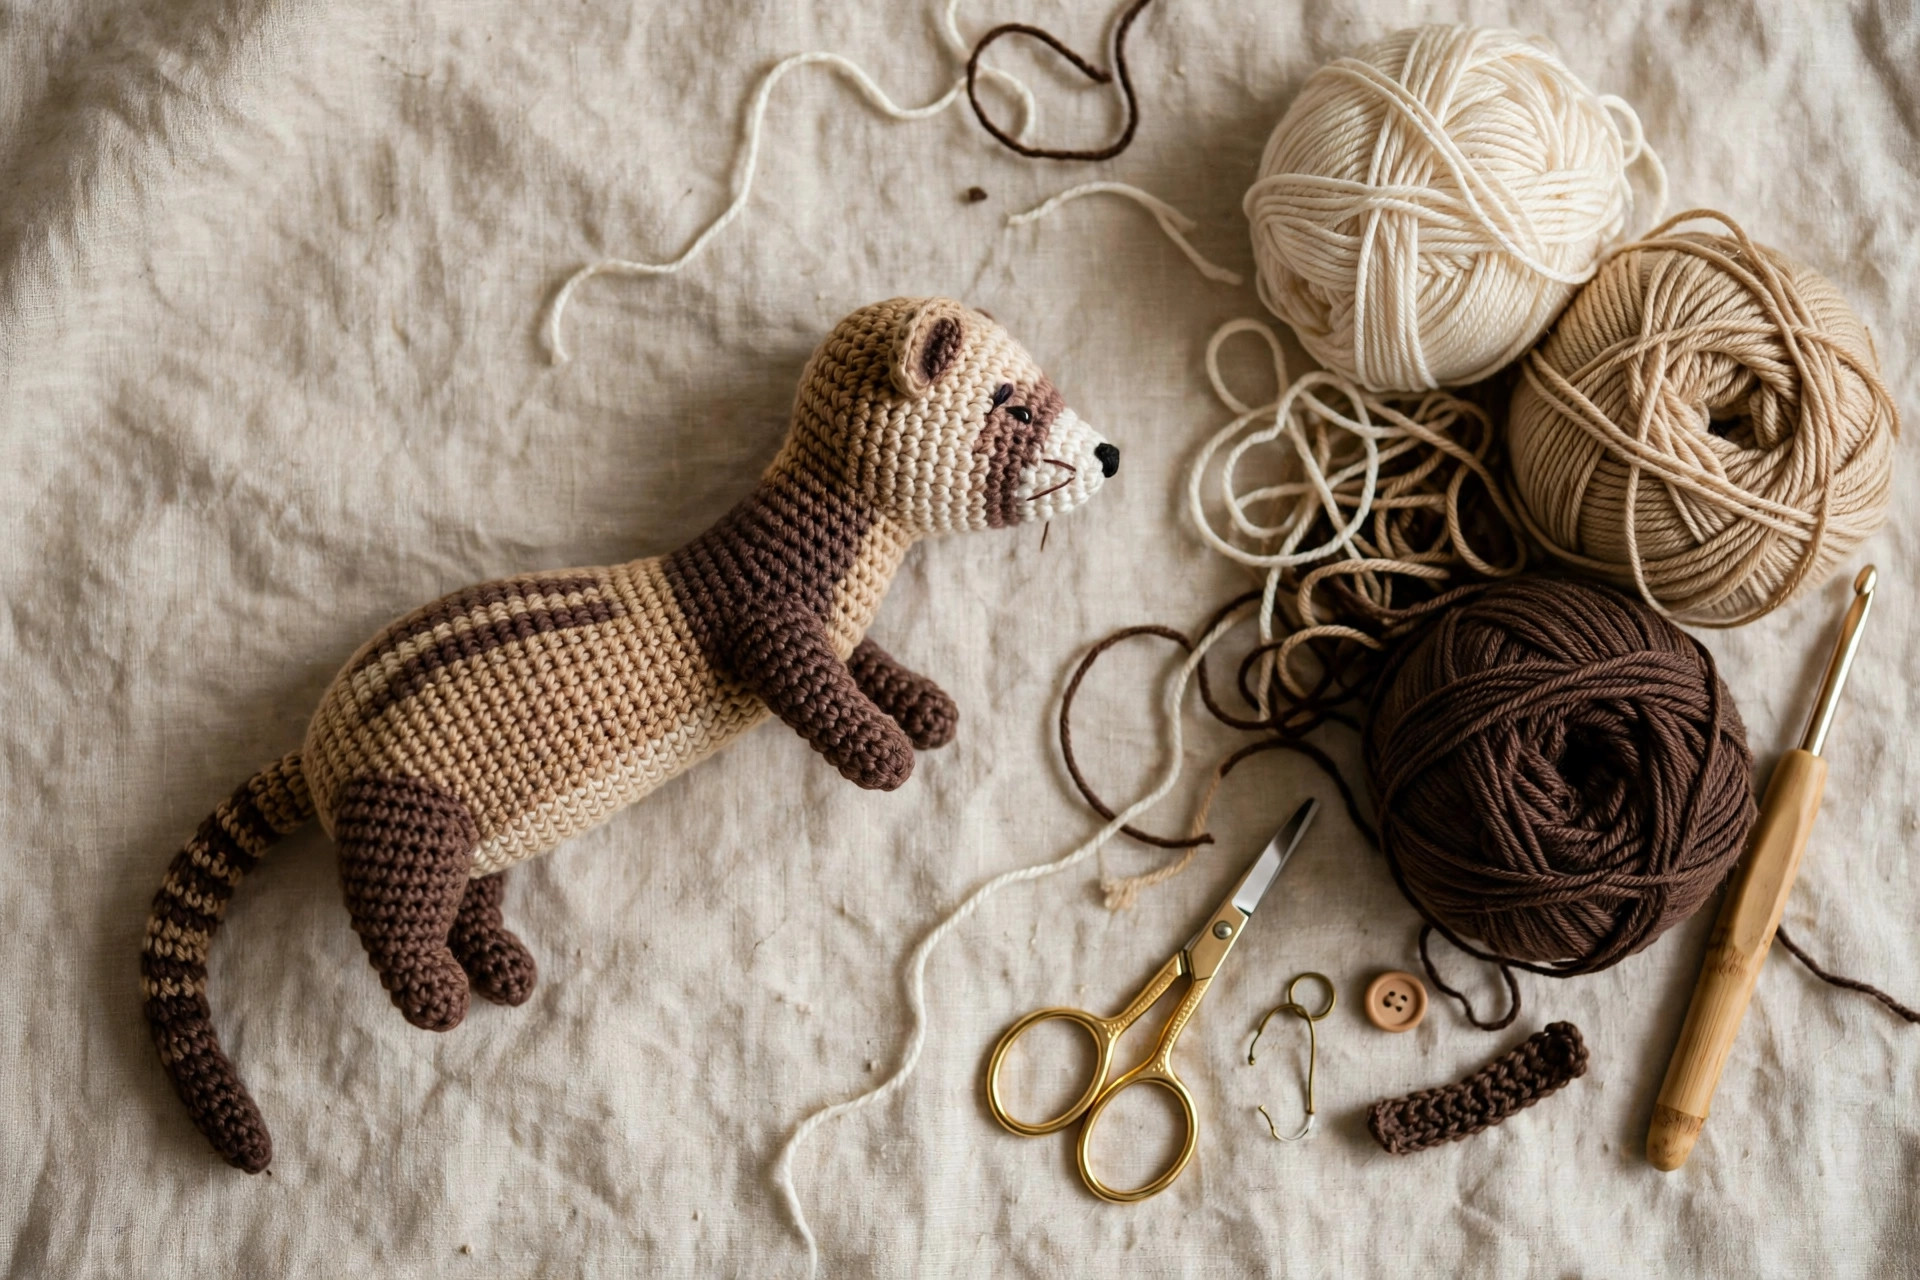
Worsted-weight yarn gives the best balance of size, speed and stitch definition. Choose a smooth acrylic or acrylic-cotton blend — it slides easily for tight stitches and comes in exactly the warm neutrals a ferret needs. Avoid fluffy yarn for your first one; you want to see every stitch top clearly.
The dark brown does a lot of work for a few grams. Legs, ears, eye patches and tail tip are what make the markings read at a glance, so do not skip them.
| Supply | What to get |
|---|---|
| Main yarn | Worsted weight (category 4) in warm cream or light tan, about 65 g / 130 yards |
| Contrast yarn | Worsted weight in dark chocolate brown, about 25 g / 50 yards, for legs, ears, mask patches and tail tip |
| Nose yarn | Small amount of dusty pink yarn or embroidery thread for the nose and mouth |
| Hook | 3.5 mm (US E-4) crochet hook |
| Eyes | 9 mm black safety eyes, one pair |
| Stuffing | Polyester fibre fill, about 40 g — a generous double handful |
| Notions | Yarn needle with a large eye, stitch marker, sharp scissors |
| Optional | Pins for positioning the face and legs, a chopstick or stuffing tool for the tail and legs |
A note on hook size: 3.5 mm with worsted yarn is smaller than the ball band suggests, on purpose. Tight stitches stop stuffing showing through as white speckles. If your stitches fight you, try a 4.0 mm hook — but check your fabric against the light for gaps first.
Size, gauge and skill level
Skill level: Easy. You need a magic ring, single crochet, increase, and decrease — all explained below, and there are no other stitches in the pattern. If this is your first amigurumi, the crochet cat pattern is a shorter warm-up using the same technique.
Finished size: About 28 cm (11 in) from nose to tail base, the tail adding roughly 7 cm (2.75 in) more. The body is about 5 cm (2 in) across. At a looser tension, expect closer to 32 cm (12.5 in).
Gauge: Not critical, but density matters. As a guide, 10 single crochet stitches measure about 5 cm (2 in) with a 3.5 mm hook, and the fabric should feel firm with no holes when stretched. If you see daylight between stitches, drop to a 3.0 mm hook.
The pieces: 12 in total — 1 body, 1 head, 1 muzzle, 2 mask patches, 2 ears, 4 legs and 1 tail. Eleven are tiny, and assembly below gives the easy order: face first, then head to body, then ears, legs and tail.
Abbreviations — US terms
US terms throughout. (UK note: a US single crochet is a UK double crochet.)
| Abbreviation | Meaning |
|---|---|
| MR | magic ring |
| sc | single crochet |
| inc | increase — 2 sc in the same stitch |
| dec | decrease — single crochet 2 together, invisible decrease recommended |
| st(s) | stitch(es) |
| rnd(s) | round(s) |
| FO | fasten off |
Invisible decrease: Insert your hook into the front loop only of the next stitch, then into the front loop only of the stitch after it. Yarn over, pull through both front loops, yarn over, pull through both loops. Use this everywhere the pattern says "dec."
A note on rounds: Work in continuous spirals — do not join or turn. Mark the first stitch of each round and move the marker up as you go. The bold number is your stitch count for that round; count at every increase and decrease round.
The pattern (US terms)
Work the pieces in order — body, head, then the small pieces in one sitting. Leave a long tail, about 30 cm (12 in), on every piece to be sewn on. That tail is your sewing thread, perfectly colour-matched.
The body — main colour
The body is one long tube. You start at the neck end with the magic ring — the head sewn over it hides it completely — and the decrease rounds form the rounded rear. Optional saddle: work Rounds 11 to 18 in a deeper tan or soft brown, then change back for Round 19. The counts do not change.
- R1: MR, 6 sc (6)
- R2: inc in each st around (12)
- R3: [sc, inc] × 6 (18)
- R4: [2 sc, inc] × 6 (24)
- R5: [3 sc, inc] × 6 (30)
- R6–R23: sc in each st around (30) — 18 rounds even
Pause around Round 12: the tube should already feel surprisingly long. That is correct — ferrets are mostly body.
- R24: [3 sc, dec] × 6 (24)
- R25: sc in each st around (24)
- R26: [2 sc, dec] × 6 (18)
Stuff now, in small teased-apart tufts pushed down with a chopstick. Aim for soft and bendy, like a squashy beanbag sausage: held in the middle, both ends should droop gently.
- R27: [sc, dec] × 6 (12)
- R28: dec × 6 (6)
FO. Thread the tail through the front loop of each remaining stitch, pull tight to close, and weave the end inside the body.
The head — main colour
The head is a gentle sphere tapering towards the chin, so it tilts forwards in that alert, curious ferret way.
- R1: MR, 6 sc (6)
- R2: inc in each st around (12)
- R3: [sc, inc] × 6 (18)
- R4: [2 sc, inc] × 6 (24)
- R5: [3 sc, inc] × 6 (30)
- R6–R9: sc in each st around (30) — 4 rounds even
- R10: [3 sc, dec] × 6 (24)
- R11: sc in each st around (24)
- R12: [2 sc, dec] × 6 (18)
Do not fasten off yet. Mark the face: the muzzle sits centred, level with Rounds 9 to 11, eyes just above it. Pin the mask patches now — about 6 stitches apart, angled slightly so the inner edges sit a touch lower. That tilt makes the expression mischievous rather than surprised.
Stuff the head firmly — firmer than the body — pushing stuffing into the sides, not just the middle.
- R13: sc in each st around (18)
- R14: [sc, dec] × 6 (12)
- R15: dec × 6 (6)
FO, leaving a long tail for sewing. Close the 6 stitches as for the body, but keep this tail — you will sew with it.
The muzzle — main colour or pale cream
Work in the main colour, or paler cream if your main colour is mid-brown — the contrast helps the nose embroidery show up.
- R1: MR, 6 sc (6)
- R2: inc in each st around (12)
- R3: [sc, inc] × 6 (18)
- R4: sc in each st around (18)
FO, leaving a long tail. The muzzle is a shallow cup, not a ball: add only a pea-sized pinch of stuffing when sewing it on.
The mask patches — dark brown, make 2 (optional but recommended)
- R1: MR, 5 sc (5)
FO, leaving a long tail. Flatten the tiny disc between your fingers. In assembly, sew one at each eye position and push the safety eye through its centre, so the dark circle frames the eye like a real mask. Skipping them gives a younger, softer look.
The ears — dark brown, make 2
Ferret ears are small, round and set wide apart. Resist making them bigger — oversized ears turn a ferret into a mouse.
- R1: MR, 6 sc (6)
- R2: [sc, inc] × 3 (9)
- R3: sc in each st around (9)
FO, leaving a long tail. Do not stuff. Flatten each ear and pinch the open edge closed; sewing that pinched edge to the head gives the ear its natural cupped shape.
The legs — dark brown, make 4
All four legs are identical — short, dark "socks" that contrast beautifully with the pale body.
- R1: MR, 6 sc (6)
- R2: [sc, inc] × 3 (9)
- R3–R5: sc in each st around (9) — 3 rounds even
FO, leaving a long tail. Add a tiny pinch of stuffing to each leg, or flatten the tops unstuffed before sewing — flattened legs suit a curled-up sleeper best.
The tail — dark brown tip, then main colour
The tail is worked from the tip, so the closed magic-ring end is the point and the open end is sewn to the body. To change colour neatly, work the last yarn over of the final dark stitch with the new colour.
- R1: In dark brown, MR, 6 sc (6)
- R2: [sc, inc] × 3 (9)
- R3: sc in each st around (9) — change to main colour at the end of this round
- R4–R11: sc in each st around (9) — 8 rounds even
FO, leaving a long tail. Stuff very lightly, or not at all — a heavily stuffed tail sticks out at an odd angle, while a light one lies along the body and curves.
Finishing and assembly
Work in this sequence: face first, head onto body, then ears, legs and tail.
1. Build the face while the head is still separate. Pin the muzzle centred level with Rounds 9 to 11, add its pinch of stuffing, and sew around its edge. Sew one mask patch at each eye position, about 6 stitches apart. Push a 9 mm safety eye through the centre of each patch and into the head, check both eyes sit level, then press the washers on until they click.
2. Embroider the nose and mouth. With pink yarn, work three or four horizontal satin stitches on the top centre of the muzzle, forming a soft rounded triangle. From its bottom centre, work one short vertical stitch down, then a tiny diagonal stitch each way for a "Y" mouth.
3. Sew the head to the body. Sit the head on the magic-ring end of the body, tilted slightly forwards. Pin it and check the side profile: a smooth line into the long back, chin tucked a little. Sew two full passes around the join, pulling each stitch snug.
4. Attach the ears. Pinch each ear closed and sew it to the side of the head, level with the top of the eyes and set well back — around Rounds 5 to 6 of the head. Angle them slightly outwards; from the front, both ears should just peek out beyond the head's curve.
5. Attach the legs. Front legs go under the body just behind the head join, angled slightly forwards. Back legs go about two-thirds along the body, angled slightly backwards. That splay makes a stretched-out ferret look mid-stride rather than parked. Sew around each opening twice.
6. Attach the tail. Sew the open end to the body's rear end, centred so it continues the curve of the back. Curve it gently to one side as you finish, and it will hold a natural bend.
7. Final tidy. Weave in ends by travelling at least 2 cm inside the stuffing before trimming. Roll the ferret between your palms to even the stuffing, bend it into a curl, then stretch it out long. It should do both without a fight.
Tips for a ferret that looks right
Stuff the body in layers, not lumps. Tease every tuft into a cloud first, add a little at a time, and push it further than you think — stuffing settles towards the middle.
Count the head, relax about the body. If a plain body round ends at 29 or 31 stitches, correct it next round and carry on. On the head, eye spacing is measured in stitches, so a miscount shows. Count head rounds twice.
Pin the whole face before sewing any of it. Moving the muzzle down one round makes the ferret look babyish; up one round, stern. Two minutes of pinning is the highest-value time in the project.
Mind your colour changes. Always change yarn on the final yarn over of the last stitch in the old colour. A mid-stitch change leaves a speckled step that stands out on a pale ferret.
Make a whole business. A group of ferrets is called a business — truly. Work one in sable, one in white, one in silver-grey, and curl them together in a basket.
Safety note for small children. For a child under three, embroider the eyes instead of using safety eyes: black satin stitches over the mask patches give the same look, with nothing that can come loose.
FAQ
Is this crochet ferret pattern really free and original?
Yes. It is a complete, original Little Loop Finds design with its own stitch counts for every piece, published in full on this page. Make as many ferrets as you like for yourself and for gifts.
How long does a crochet ferret take to make?
About 3 to 4 hours. The body is nearly half of that — the eighteen plain rounds are steady rather than slow. The head takes about 45 minutes, the small pieces under an hour, and assembly 30 to 40 minutes.
What yarn works best for this ferret?
A smooth worsted-weight acrylic or acrylic-cotton blend in cream or light tan, plus a little dark brown for the markings. Smooth yarn shows the stitches and stuffs cleanly. Save variegated yarn for a second ferret — it breaks up the clean mask-and-socks markings.
Can I make the ferret bigger or smaller?
Yes — change yarn and hook together and keep the counts the same. Bulky yarn with a 5.0 to 6.0 mm hook gives a ferret of roughly 40 cm (16 in); DK yarn with a 3.0 mm hook gives one of about 20 cm (8 in). Change the safety eyes to match — 12 mm or 6 mm respectively.
My body tube keeps twisting — what am I doing wrong?
Probably nothing. A slight twist is natural in spirals and disappears once the body is stuffed and rolled between your palms. If it is strong, check you are not accidentally working into the back loop only, and that your marker moves up every round.
How do I wash a finished crochet ferret?
Hand wash in cool water with mild detergent, squeeze — do not wring — in a towel, reshape into a gentle curve, and dry flat away from heat. Reshape the muzzle and ears while damp; they lose definition first.
Can I sell ferrets I make from this pattern?
Yes — you may sell finished ferrets made by hand from this pattern in small quantities, crediting Little Loop Finds as the designer. Please do not copy or republish the pattern text and photos themselves.
What to crochet next
Your ferret needs company — a whole shelf of small animals in the same easy spiral style:
- Sew a shaggy friend with our highland cow crochet pattern — loop stitches, horns and a very boopable muzzle.
- Try a classic first plush with this one piece crochet teddy bear pattern, a brilliant confidence-builder for new amigurumi makers.
- Add black-and-white contrast with a crochet panda bear — the eye-patch technique will feel very familiar after this ferret.
Happy crocheting — may your ferret steal socks and nap in the most inconvenient place in the house, exactly as a ferret should.
The box below contains an Etsy link. If you buy through it, we may earn a small commission at no extra cost to you. Learn more.
No time to make one?
Short on time? Find handmade crochet ferrets from independent makers on Etsy.
Browse on Etsy (opens Etsy in a new tab)