Crochet Mandala Pattern (Easy Wall Hanging, Free)
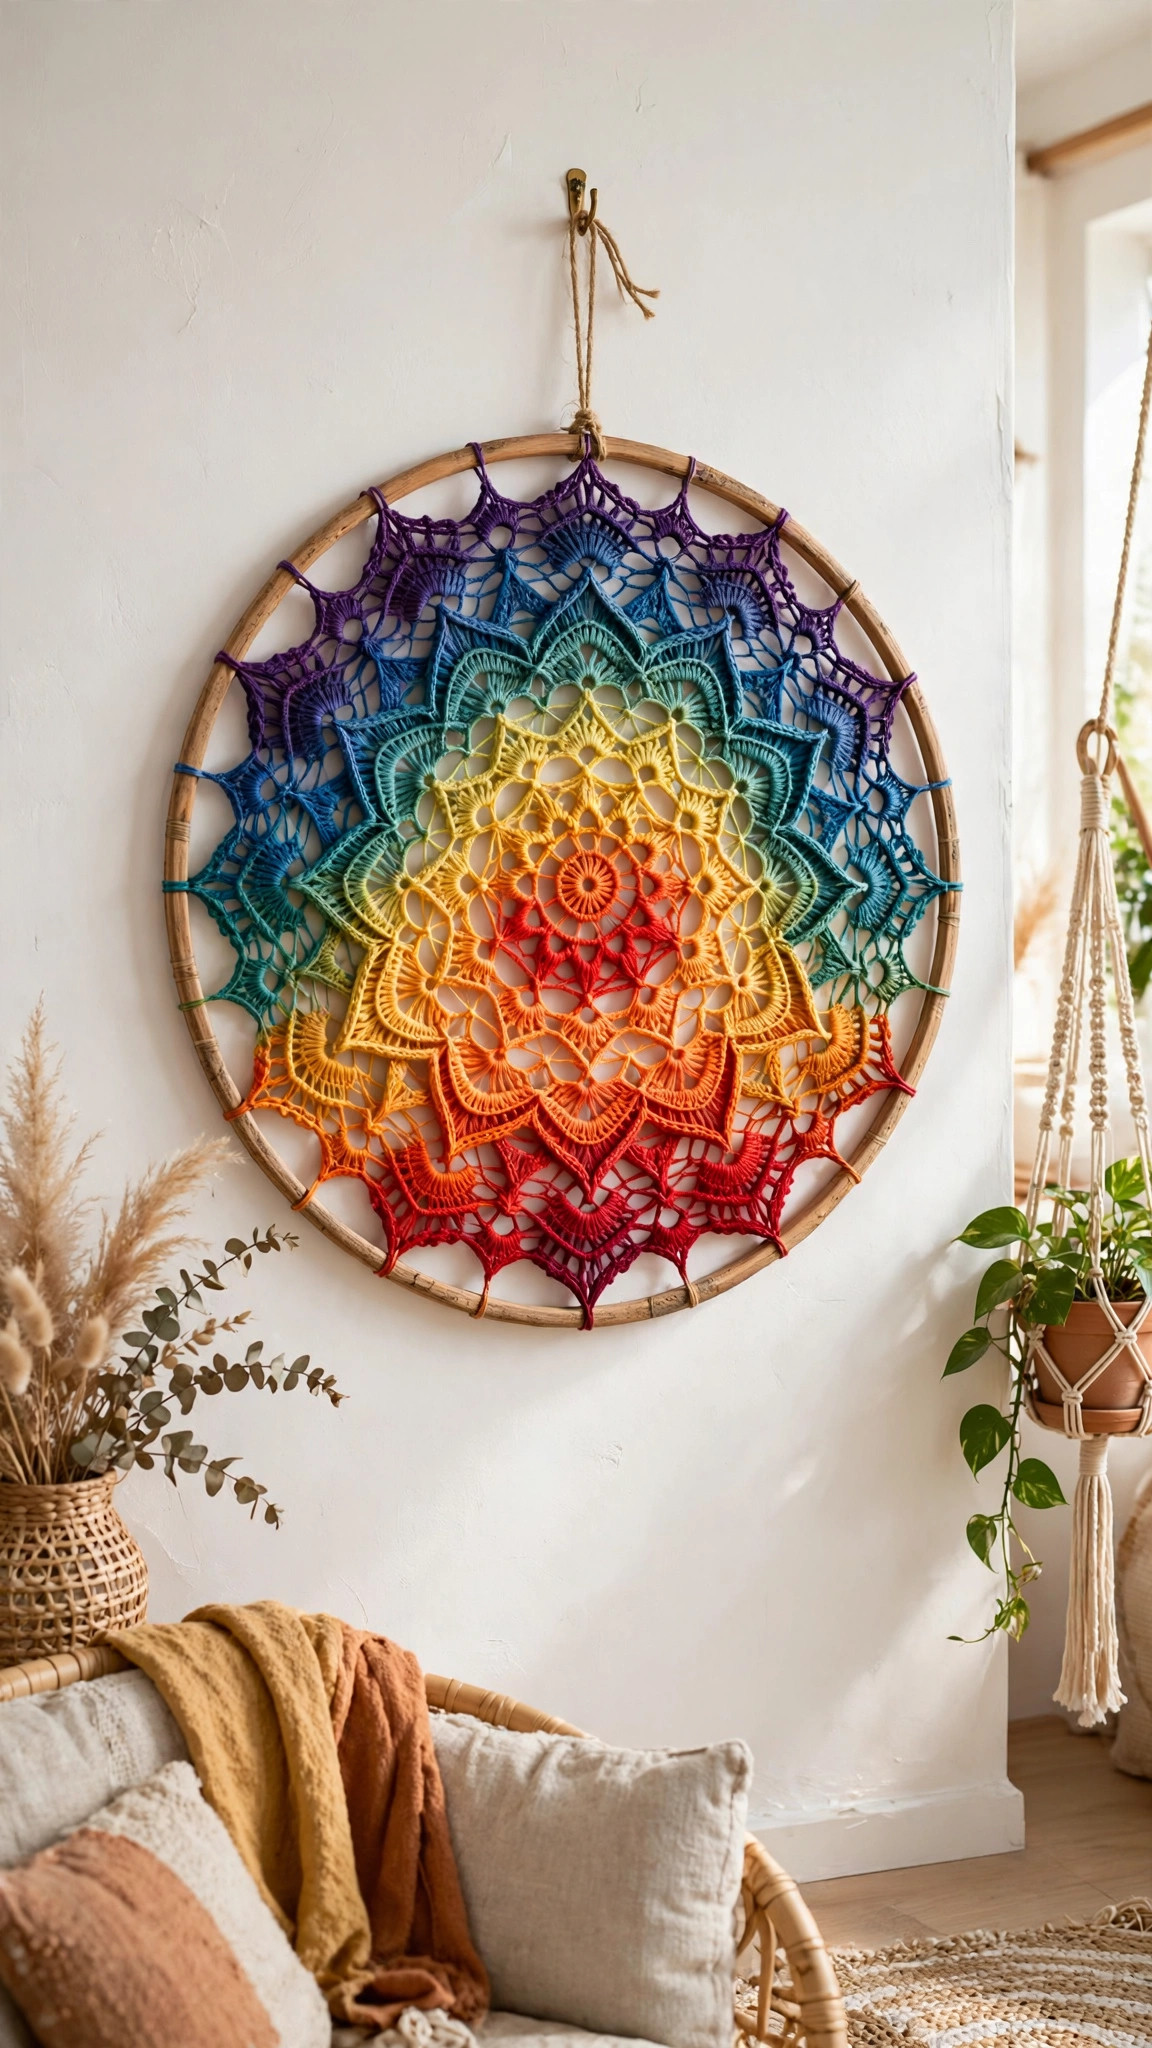
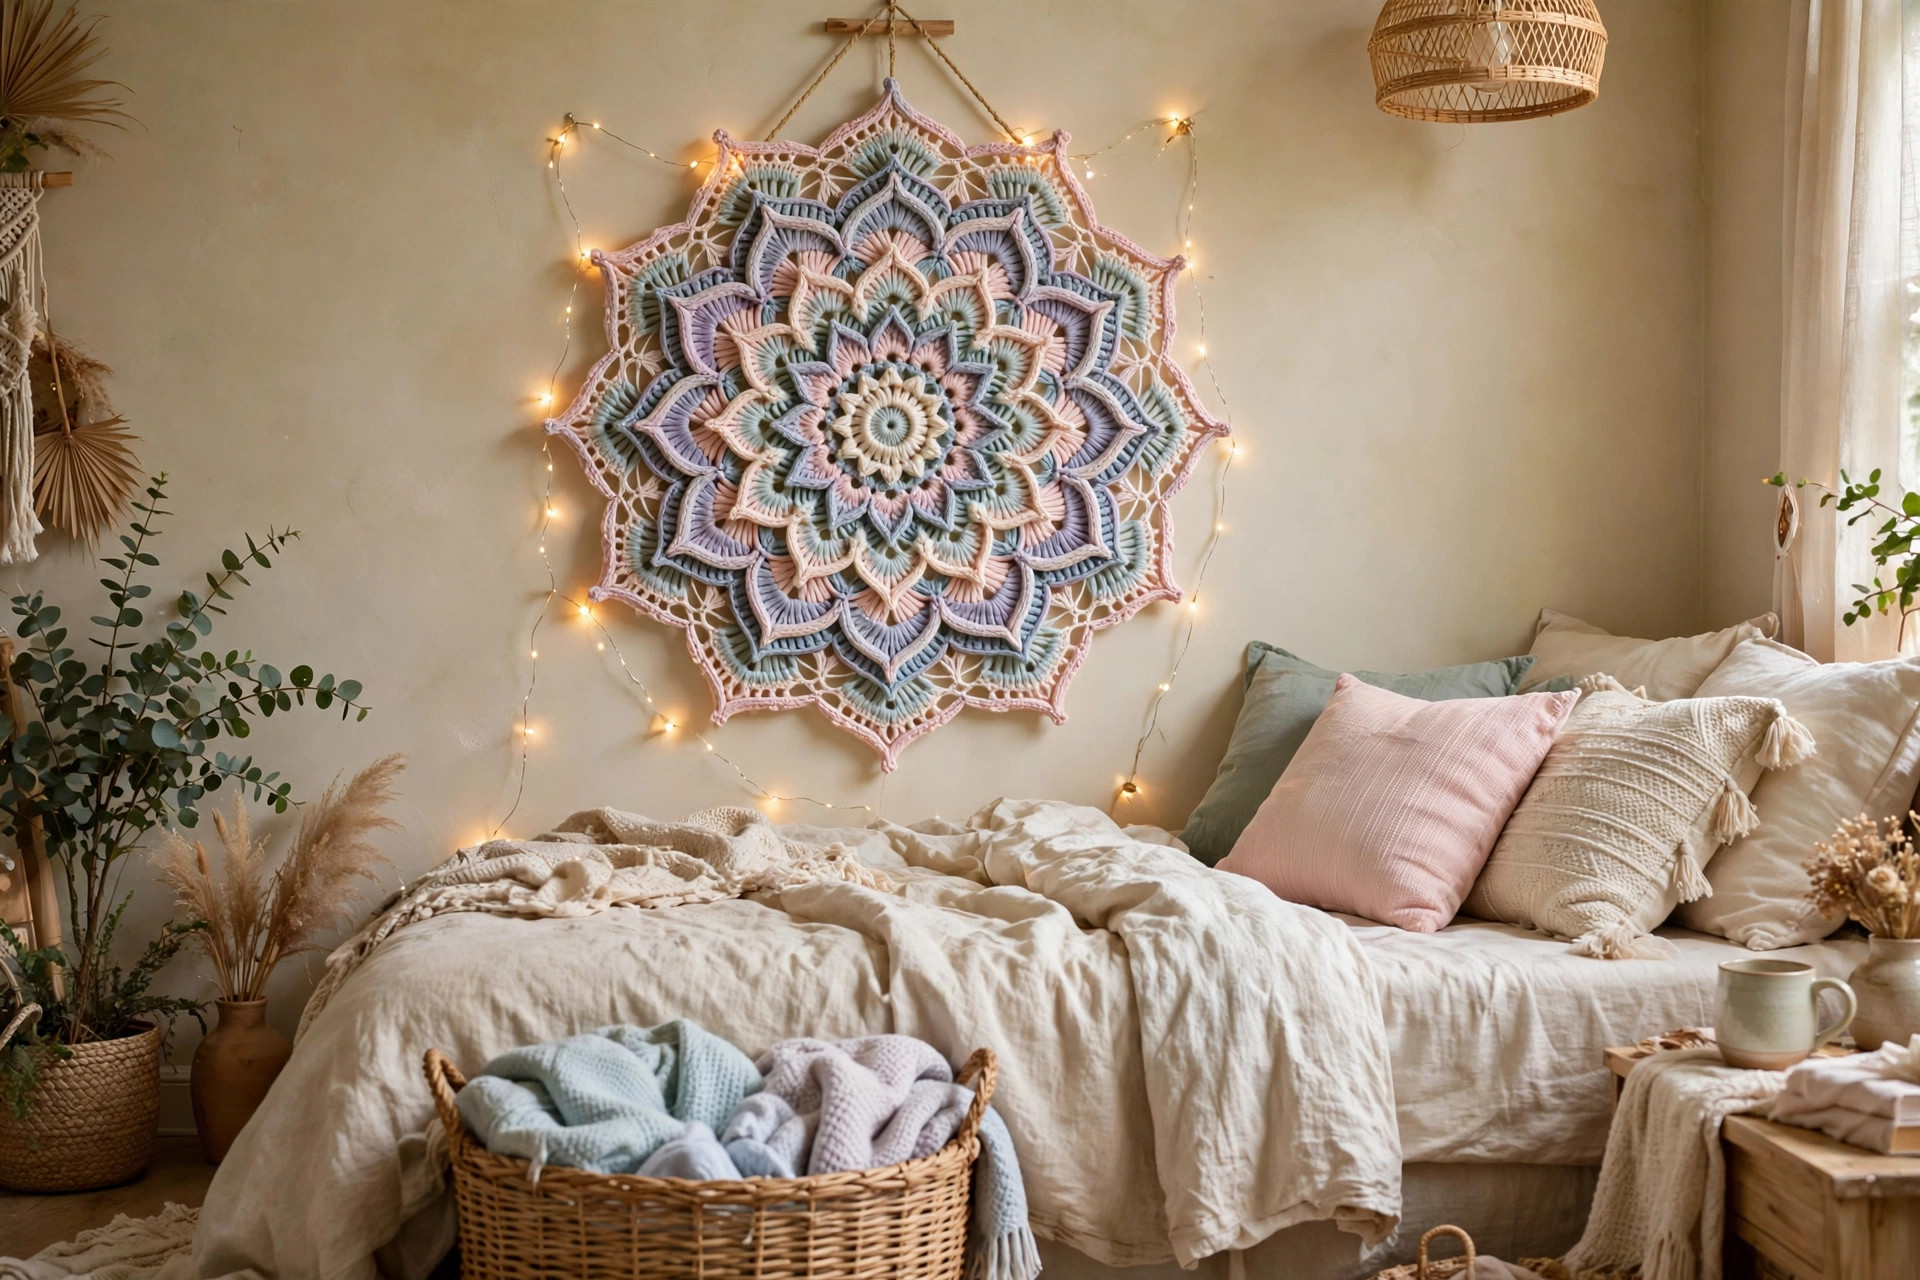
Stitch a colorful crochet mandala wall hanging with a lace flower center, popcorn texture, and a picot edge.

Patterns · Crochet
- Finished size
- 14 in across after blocking
- Making time
- 3 to 4 hours
- Hook
- US H-8 (5.0 mm)
- Set
- Center flower, lace rounds, picot edge
- Skill
- Easy
In this post
- Key Takeaways
- Table of Contents
- Why You Will Love This Mandala
- Finished Size, Skill Level, and Time
- Materials You Need
- Abbreviations (US Terms)
- Gauge and Sizing Notes
- Part 1: Center Flower
- Part 2: Lace Rounds and Popcorns
- Part 3: Picot Edge, Blocking, and Hanging
- Variations: Colors, Sizes, and Uses
- Troubleshooting Mandalas That Ripple or Cup
- Care Instructions
- Frequently Asked Questions
A crochet mandala is one of the most relaxing things you can make with a hook and some yarn. It starts as a tiny circle, grows round by round into a lace flower, and ends as a beautiful wall hanging that looks far more complicated than it is. This free crochet mandala pattern walks you through every round, so you can stitch a mandala you will be proud to hang on your wall.
This is an original Little Loop Finds design, written in US terms and completely free. The mandala uses simple stitches arranged in a clever rhythm: chains, single crochet, half double crochet, double crochet, and treble crochet, with popcorn stitches for texture. There is no colorwork to carry and no sewing, just one continuous piece that grows in your hands. If you can crochet a granny square, you can crochet this mandala.
A quick note on scope: this post is about a flat crochet mandala motif for wall art and home decor, not a mandala blanket and not a mandala rug. If you want a blanket next, our christmas blanket crochet pattern uses the same round-by-round construction on a much bigger scale.
Key Takeaways
- Free original pattern: this crochet mandala pattern is a Little Loop Finds original design, written in US terms, and completely free.
- Relaxing round-by-round build: one circle that grows into a lace flower, with a clear stitch count at the end of every round.
- Beginner friendly lace: simple stitches in an easy rhythm, with popcorn texture and picot points for a finished look.
- Quick weekend project: about 3 to 4 hours from first stitch to a finished wall hanging, including blocking.
- Wonderfully giftable: perfect for housewarmings, birthdays, and anyone who loves boho home decor.
Table of Contents
- Why You Will Love This Mandala
- Finished Size, Skill Level, and Time
- Materials You Need
- Abbreviations (US Terms)
- Gauge and Sizing Notes
- Part 1: Center Flower
- Part 2: Lace Rounds and Popcorns
- Part 3: Picot Edge, Blocking, and Hanging
- Variations: Colors, Sizes, and Uses
- Troubleshooting Mandalas That Ripple or Cup
- Care Instructions
- Frequently Asked Questions
Why You Will Love This Mandala
Crocheting a mandala feels like meditation with a hook. The rounds repeat in a soothing rhythm, the colors change at just the right moment, and the finished piece slowly appears in your lap like a flower opening. It is the kind of project you reach for on a quiet evening, when you want to make something beautiful without having to think too hard.
A mandala is also a wonderful way to use up leftover yarn. Each round uses only a small amount, so you can work through your stash one color at a time and end up with a rainbow piece that cost you nothing new. Hung in a wooden hoop or on a dowel rod, a mandala turns a plain wall into a focal point, and it makes a thoughtful handmade gift that people actually want to display.
Finished Size, Skill Level, and Time
- Finished size: about 14 inches across after blocking, in DK weight yarn. The pattern also gives notes for a small 8 inch version and a large 20 inch version.
- Skill level: Easy. You need a magic ring, chains, slip stitches, single crochet, half double crochet, double crochet, and treble crochet, plus a simple popcorn stitch that the pattern explains.
- Time: about 3 to 4 hours total: roughly 1 hour for the center flower, 1 hour for the lace rounds, and 1 hour for the picot edge, blocking, and hanging.
Materials You Need
| Item | What to get |
|---|---|
| Yarn, main colors | DK weight (size 3) cotton or acrylic in 4 to 5 colors, about 60 yards of each |
| Yarn, accent color | Small amount in a contrast color for the picot edge, about 30 yards |
| Hook | US H-8 (5.0 mm), or the size that gives you a flat, even fabric |
| Hoop or dowel | One 14 inch wooden embroidery hoop or dowel rod, plus string for hanging |
| Notions | Tapestry needle, scissors, stitch markers, pins and a blocking mat |
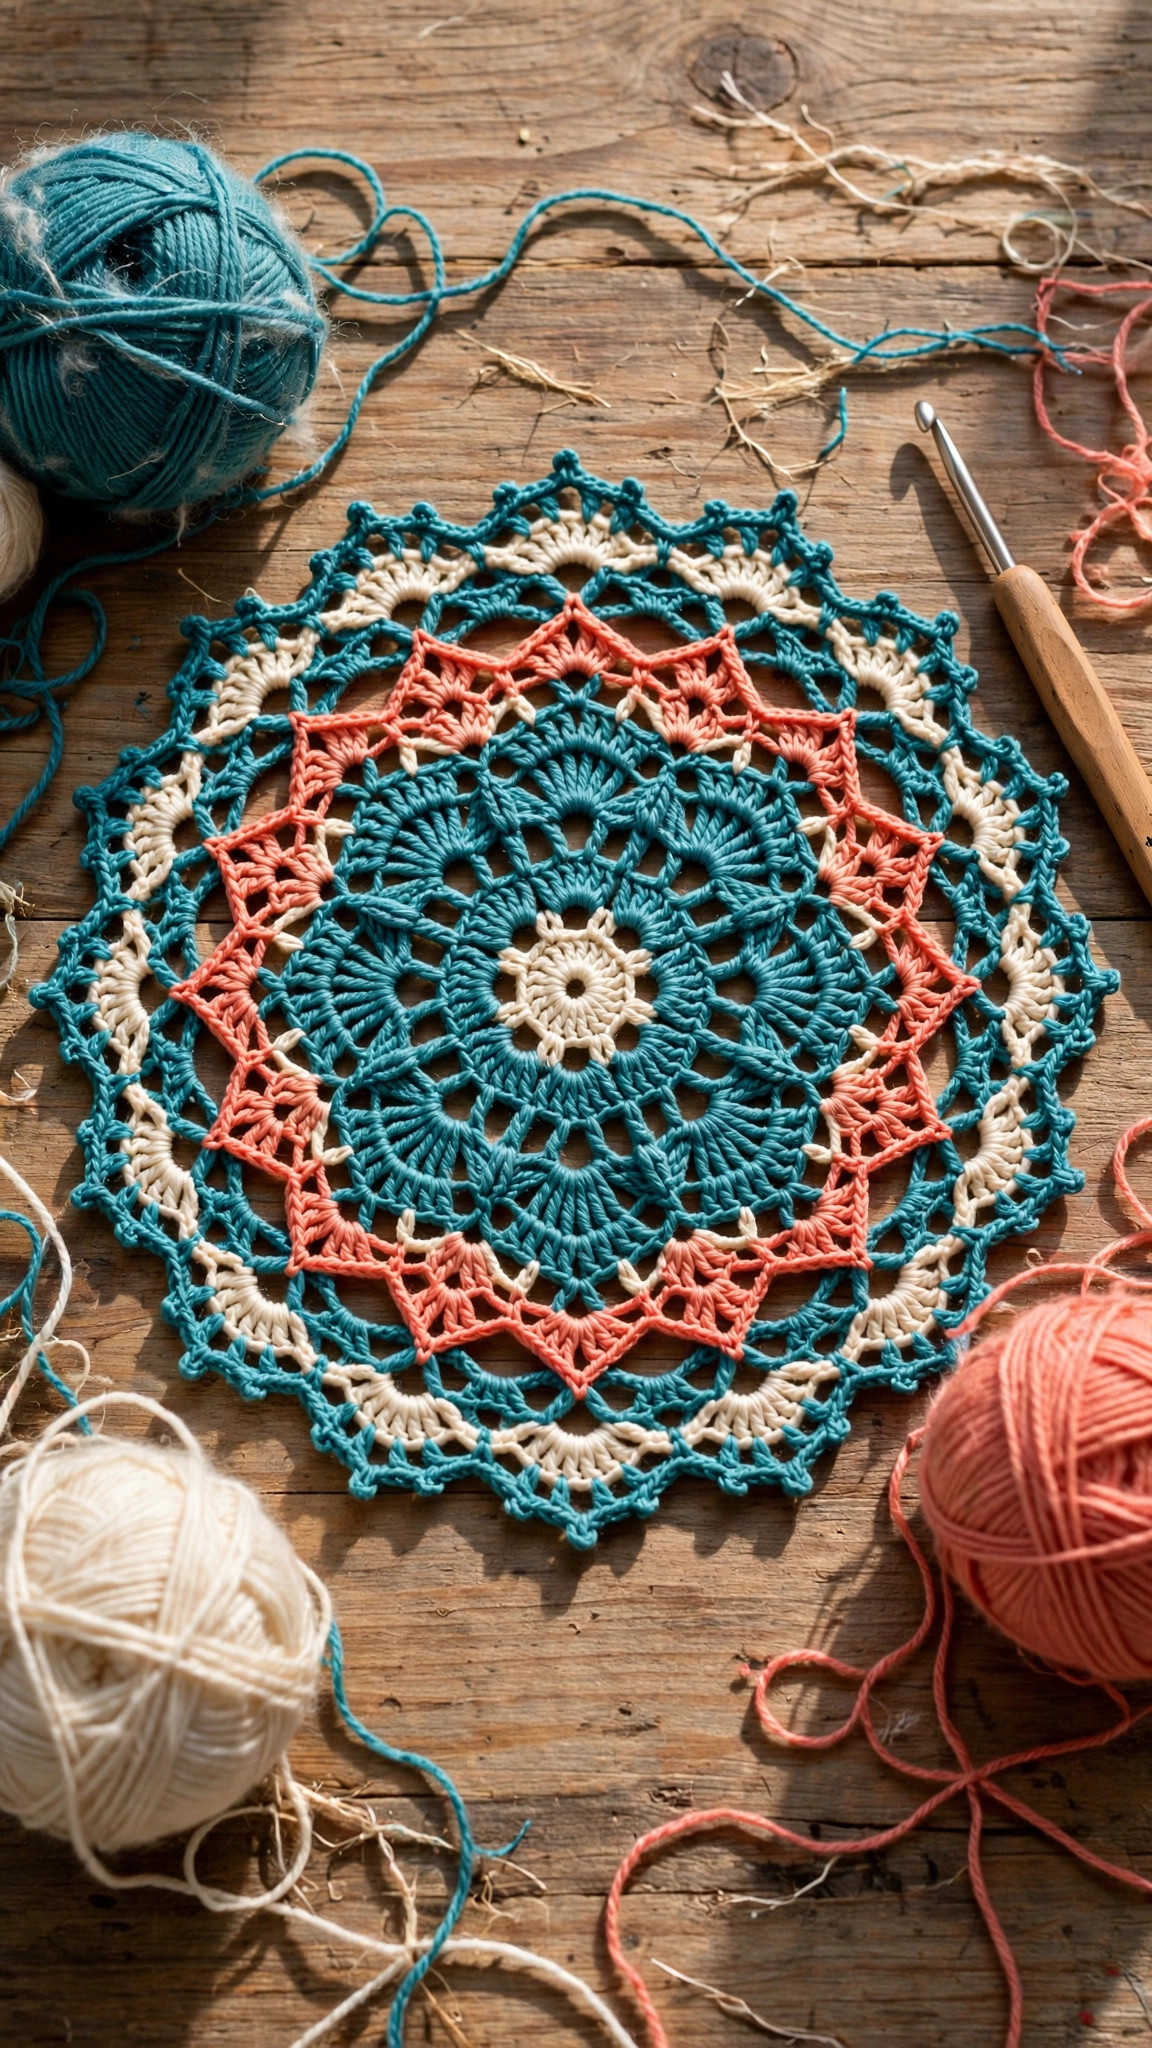
Cotton yarn is the best choice for a mandala wall hanging because it holds its shape, shows crisp stitch definition, and blocks beautifully. Acrylic is a good second choice, because it comes in bright colors and is easy to wash. Choose smooth yarns in colors that make you happy, because a mandala is a piece of art, and the color story is half the fun.
Abbreviations (US Terms)
- ch = chain
- sl st = slip stitch
- sc = single crochet
- hdc = half double crochet
- dc = double crochet
- tr = treble crochet
- pc = popcorn stitch (5 dc in the same stitch, remove hook, insert in first dc, pull loop through)
- picot = ch 3, sl st in first ch
- inc = increase (2 stitches in the same stitch)
- st(s) = stitch(es)
- rnd(s) = round(s)
- rep = repeat
- sk = skip
- sp = space
- MR = magic ring
Gauge and Sizing Notes
Gauge for this mandala is less about exact numbers and more about keeping the piece flat. Work the first 5 rounds and lay the mandala on a table. If the edges ripple like a ruffle, your stitches are too loose or you have too many increases, so go down a hook size. If the edges cup upward like a bowl, your stitches are too tight or you have too few increases, so go up a hook size. A flat mandala is a happy mandala, and a quick check at round 5 saves you from frogging 15 rounds later.
To make a smaller mandala, stop after Part 2 and add the picot edge for a piece about 8 inches across. To make a larger one, repeat the lace rounds in Part 2 two more times, adding one extra chain space between each repeat, for a piece about 20 inches across. The stitch counts in each round are given so you can check your work as you go.
Part 1: Center Flower
The mandala begins with a small flower worked in the round. Work in continuous rounds with a slip stitch join at the end of each round, and change colors where the pattern tells you to. Use a stitch marker to mark the first stitch of each round until the rhythm feels familiar.
Center Flower
With Color A, MR, ch 1.
- Rnd 1: 8 sc in MR. Join with a sl st to the first sc. (8 sts)
- Rnd 2: ch 1, 2 sc in each st around. Join. (16 sts)
- Rnd 3: ch 3 (counts as dc), dc in same st, (ch 1, 2 dc in next st) rep around, ch 1. Join with a sl st to the top of the ch 3. (16 dc, 8 ch-1 sps)
- Rnd 4: sl st into the next ch-1 sp, ch 3, 4 dc in same sp, (ch 1, 5 dc in next ch-1 sp) rep around, ch 1. Join. (8 petals)
- Fasten off Color A.
The center should look like a little flower with eight fat petals. If it cups upward, pull the magic ring a little looser and smooth the piece flat with your hands. Change to Color B.
- Rnd 5: Join Color B with a sl st in any ch-1 sp between petals, ch 1, sc in same sp, (ch 3, sc in next ch-1 sp) rep around, ch 3. Join with a sl st to the first sc. (8 ch-3 sps)
- Rnd 6: sl st into the next ch-3 sp, ch 3, 2 dc in same sp, (ch 1, 3 dc in next ch-3 sp) rep around, ch 1. Join. (24 dc, 8 ch-1 sps)
- Rnd 7: ch 1, sc in each st and ch-1 sp around. Join. (32 sts)
- Fasten off Color B.
Your mandala should now be about 5 inches across and lying flat. Take a moment to admire it, because the hardest part is behind you. The rounds from here on are variations on the same idea: groups of double crochet separated by chain spaces, with a new texture in every few rounds.
Part 2: Lace Rounds and Popcorns
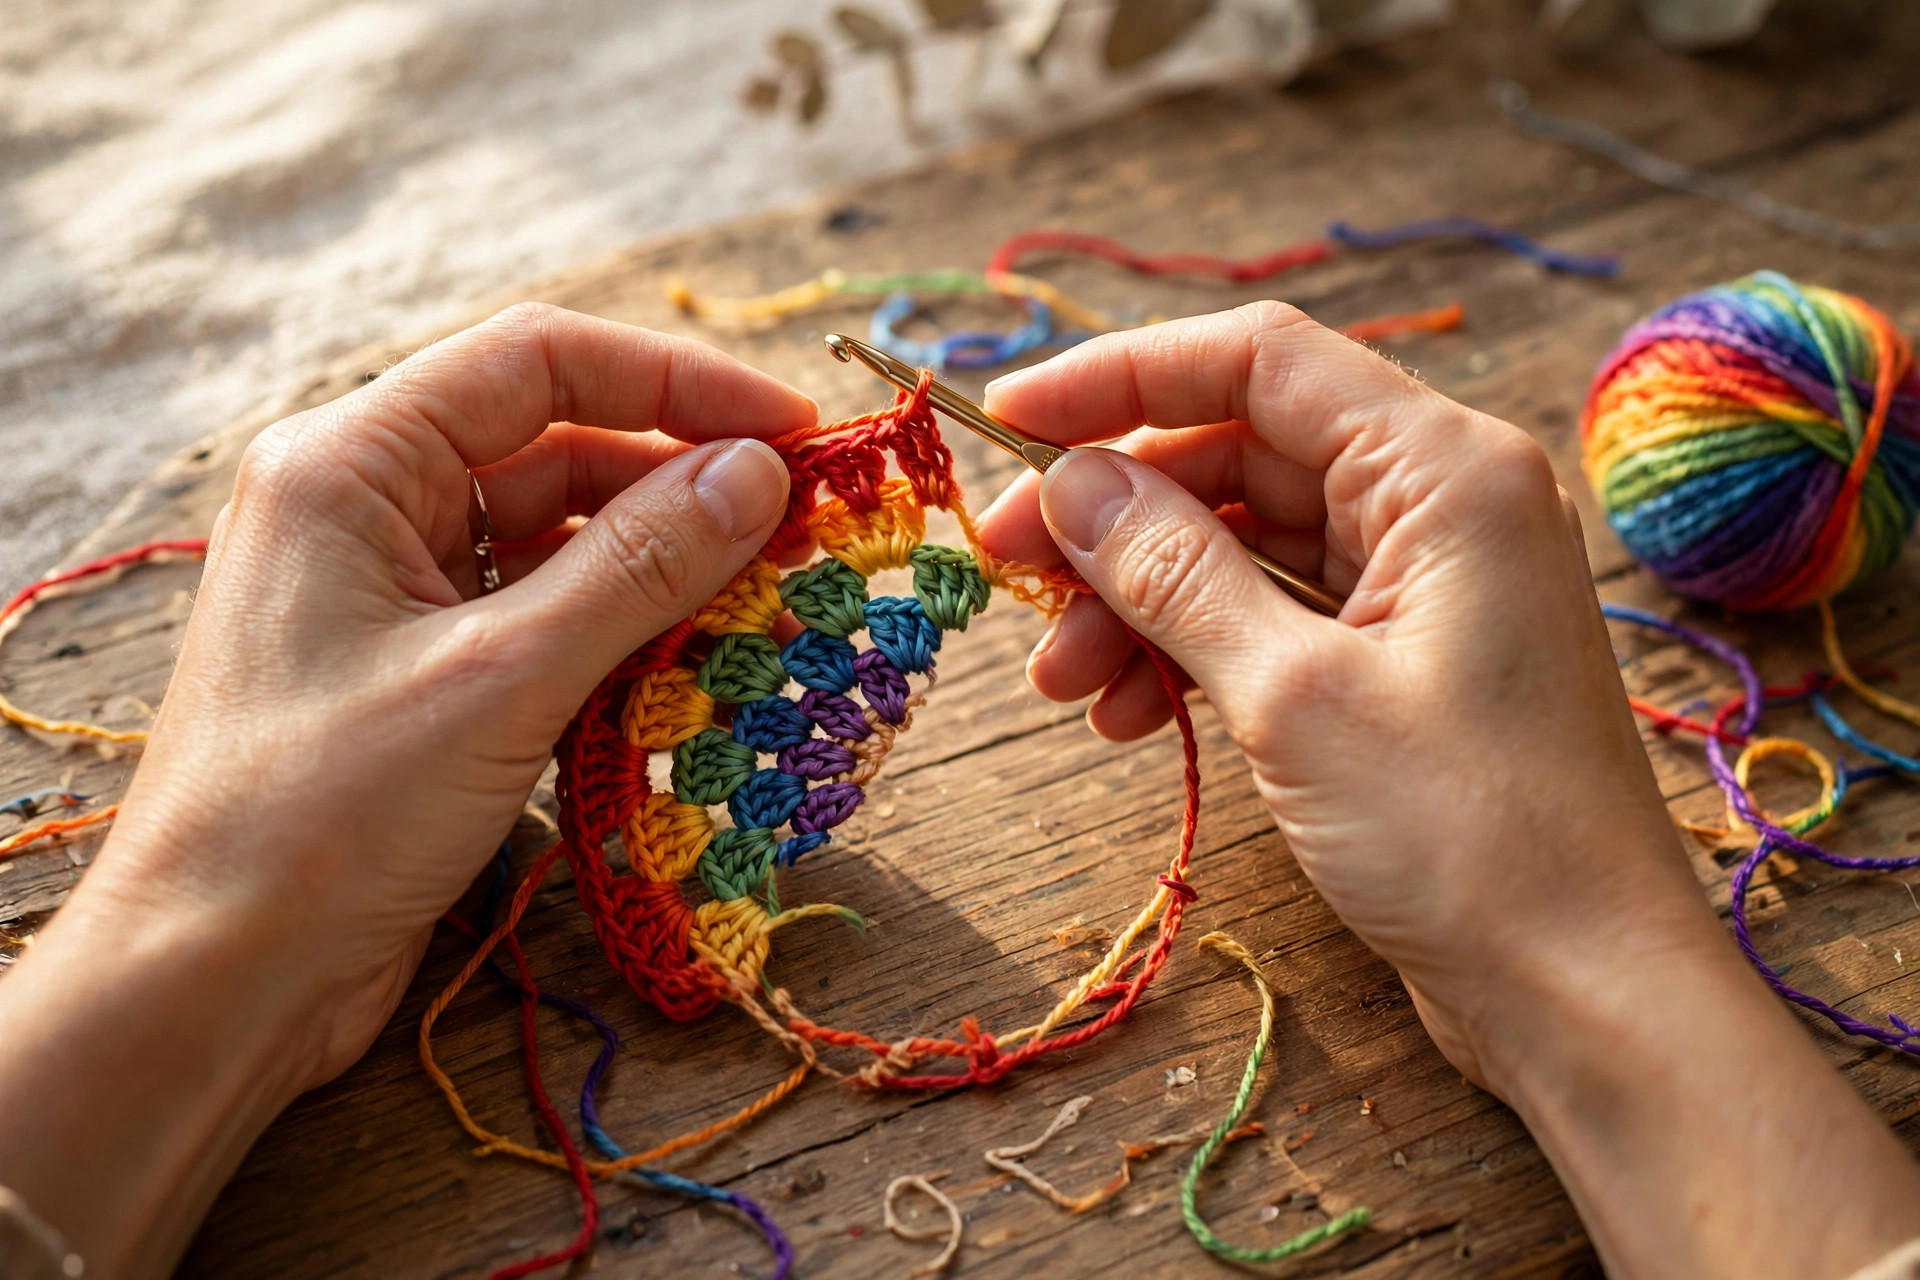
This is where the mandala earns its lace look. The popcorn stitches add soft bumps of texture, and the treble crochet rounds open the fabric into airy points.
Lace Rounds
Change to Color C.
- Rnd 8: Join Color C with a sl st in any st, ch 1, (sc, ch 4, sk 3 sts) rep around. Join with a sl st to the first sc. (8 ch-4 sps)
- Rnd 9: sl st into the next ch-4 sp, ch 3, 4 dc in same sp, (ch 2, 5 dc in next ch-4 sp) rep around, ch 2. Join. (40 dc, 8 ch-2 sps)
- Rnd 10: ch 1, sc in each st and ch-2 sp around. Join. (56 sts)
- Fasten off Color C.
Change to Color D.
- Rnd 11: Join Color D with a sl st in any st, ch 3, pc in same st, (ch 3, sk 3 sts, pc in next st) rep around, ch 3. Join with a sl st to the top of the first pc. (14 popcorns)
- Rnd 12: sl st into the next ch-3 sp, ch 3, 3 dc in same sp, (ch 1, 4 dc in next ch-3 sp) rep around, ch 1. Join. (56 dc, 14 ch-1 sps)
- Rnd 13: ch 1, sc in each st and ch-1 sp around. Join. (70 sts)
- Fasten off Color D.
Change to Color E.
- Rnd 14: Join Color E with a sl st in any st, ch 4 (counts as tr), tr in same st, (ch 2, sk 2 sts, 2 tr in next st) rep around, ch 2. Join with a sl st to the top of the ch 4. (48 tr, 24 ch-2 sps)
- Rnd 15: sl st into the next ch-2 sp, ch 1, (sc in ch-2 sp, ch 3, sc in next ch-2 sp, ch 3) rep around. Join with a sl st to the first sc. (24 ch-3 sps)
- Rnd 16: sl st into the next ch-3 sp, ch 3, 3 dc in same sp, (ch 1, 4 dc in next ch-3 sp) rep around, ch 1. Join. (96 dc, 24 ch-1 sps)
- Rnd 17: ch 1, sc in each st and ch-1 sp around. Join. (120 sts)
- Fasten off Color E.
Your mandala should now be about 12 inches across and still lying flat. If the outer rounds ripple, do not panic. Blocking fixes a surprising amount of ripple, and the picot edge in the next part pulls the edge into shape.
Part 3: Picot Edge, Blocking, and Hanging
The picot edge is the frame around your mandala, a row of tiny points that gives the piece a finished, lacy border. Blocking is what turns a slightly wavy mandala into a flat, crisp piece of wall art, so do not skip it.
Picot Edge
Change to accent color.
- Rnd 18: Join accent color with a sl st in any st, ch 1, (sc in next 3 sts, picot, sc in next st) rep around. Join with a sl st to the first sc. Fasten off and weave in all ends.
The picots should sit evenly around the edge, like a row of tiny pearls. Count them if you like: there should be 30 picots, one for every four stitches of the last round.
Blocking
- Soak the mandala in cool water with a drop of mild soap for 10 minutes, then gently squeeze out the water without wringing.
- Lay the mandala flat on a blocking mat or a clean towel, and pin it out to a perfect circle, measuring across in several directions to check it is even.
- Pin each picot point outward so the edge holds its shape, then leave the mandala to dry completely, usually overnight.
- Once dry, unpin it and admire the crisp lace. If the mandala still ripples slightly, block it once more, pinning it a little wider.
Hanging
Place the blocked mandala inside a 14 inch wooden embroidery hoop, tightening the screw just enough to hold the fabric taut. Trim any extra fabric from the back, or fold it behind the hoop and glue it in place. For a dowel rod hanging, fold the top edge of the mandala over the rod and stitch it down with a few stitches, then tie a length of string to each end of the rod. Hang your mandala where the light catches it, and step back to enjoy your work.
Variations: Colors, Sizes, and Uses
- Rainbow mandala: change color every round instead of every few rounds, for a bright rainbow effect that uses up every scrap in your stash.
- Monochrome mandala: work the whole mandala in one soft color, like cream or sage, for a calm, elegant piece that suits a neutral room. Our crochet doily patterns free collection has more monochrome lace ideas.
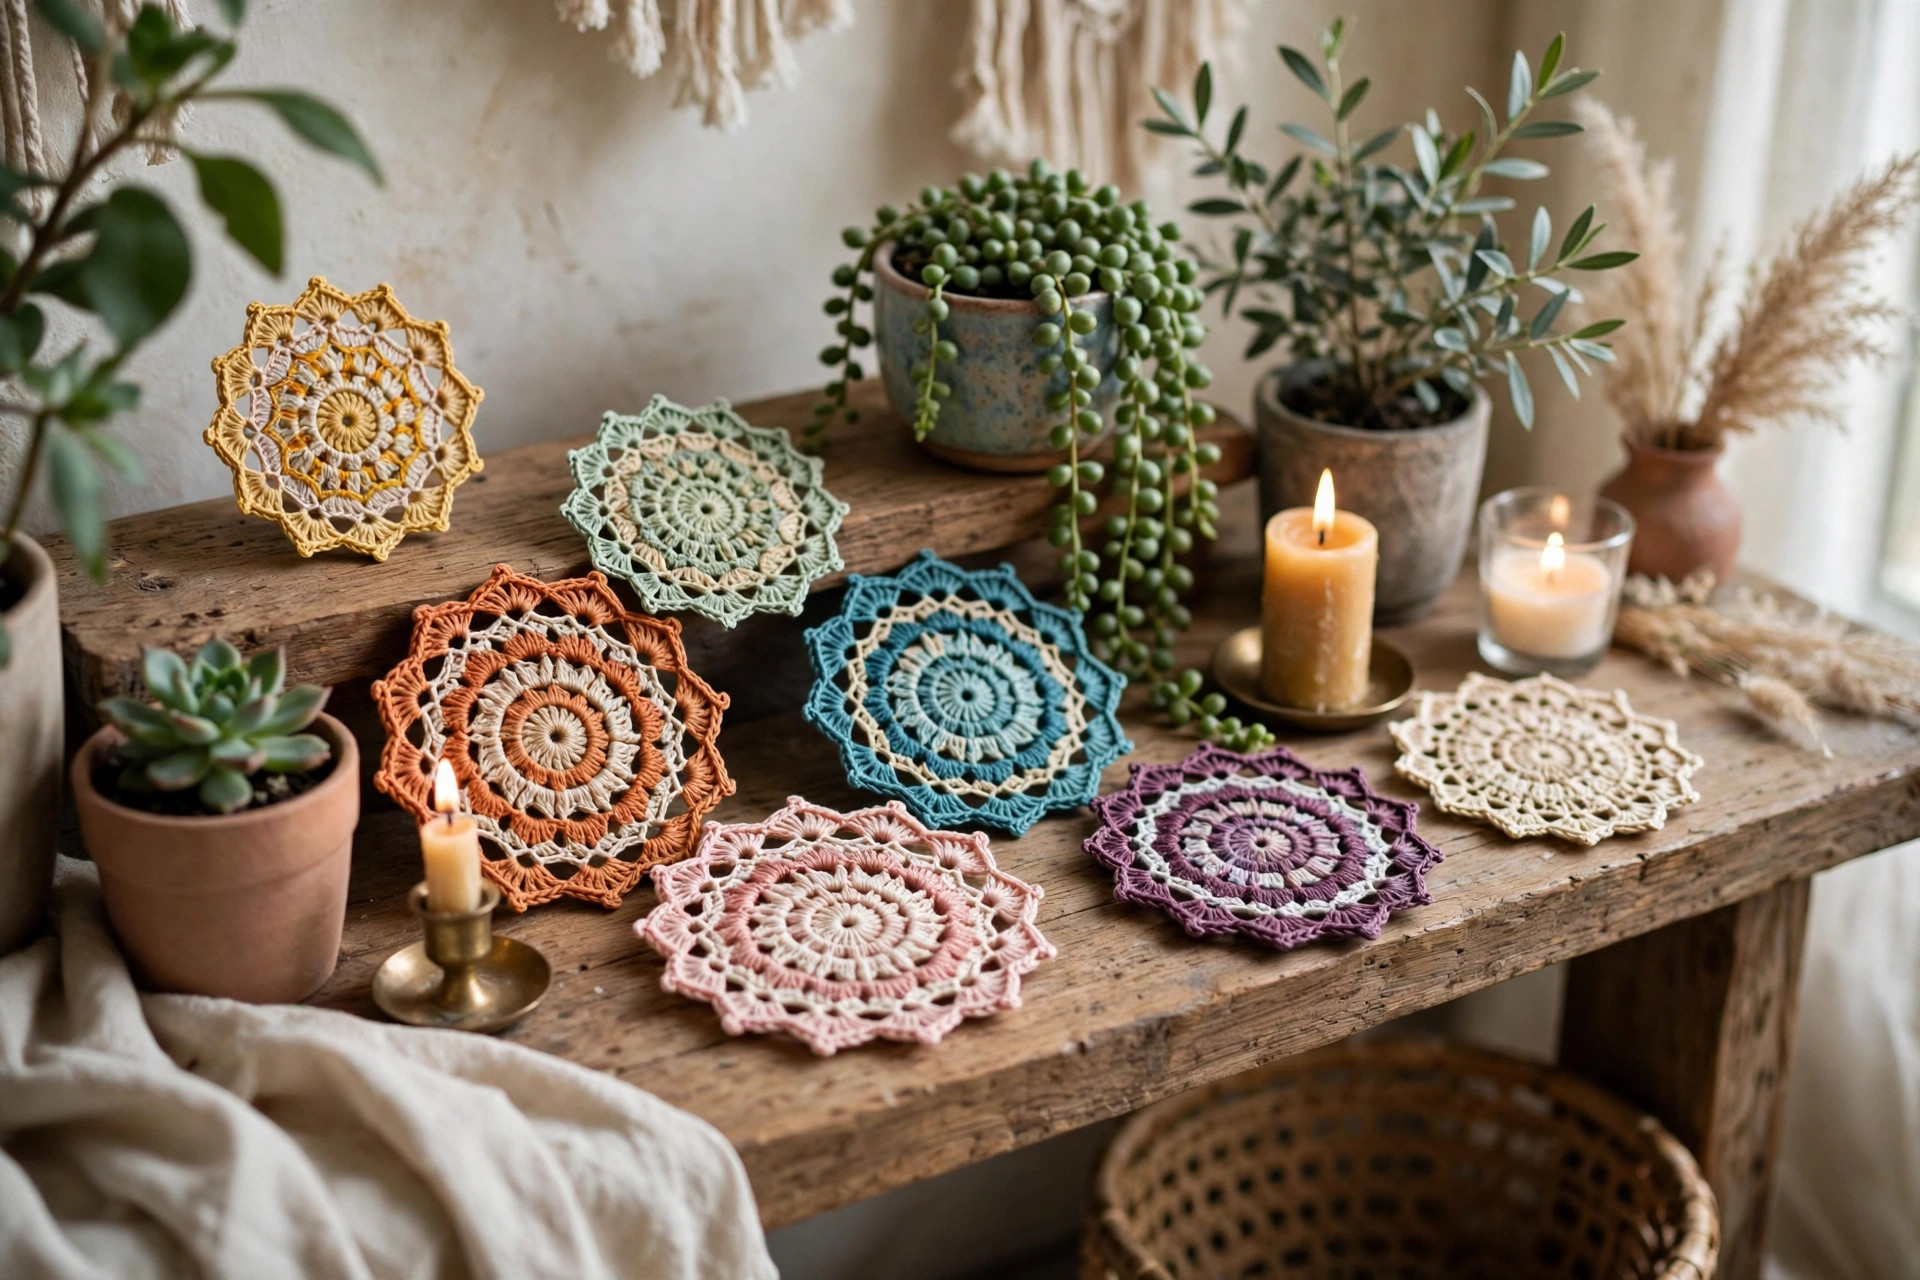
- Small mandala coasters: stop after Rnd 10 and add the picot edge for a set of pretty coasters about 5 inches across. Our flower coaster crochet pattern pairs beautifully with these.
- Mandala dreamcatcher: work the mandala in a small hoop, add feathers and beads to the bottom, and hang it above a bed. The crochet tapestry pattern makes a matching wall piece for the same room.
- Granny square mandala: work the center flower from Part 1, then square off the rounds with corner increases, for a mandala granny square. Our autumn acorn granny square pattern shows how a round motif becomes a square.
- Mandala table runner: join five small mandalas in a row with slip stitches for a boho table runner that guests will ask about.
If you enjoyed the color changes in this mandala, a crochet shorts pattern is a fun wearable next project that uses the same easy stitches in a garment.
Troubleshooting Mandalas That Ripple or Cup
- My mandala ripples like a ruffle. There are too many stitches for the round. Check your stitch counts, and if the counts are right, go down a hook size for the next rounds. Blocking will fix mild rippling.
- My mandala cups like a bowl. There are too few stitches for the round. Add an extra increase round, or go up a hook size so the fabric relaxes.
- My popcorn stitches look messy. Make sure all five double crochets of the popcorn go into the same stitch, and pull the loop through firmly when you close it. A tidy popcorn sits up like a small bump.
- My colors bleed when I wash the mandala. Wash in cool water with a color catcher sheet, and dry the mandala flat. If a dark color keeps bleeding, soak it in cool water with a spoonful of white vinegar before the first wash.
- The picot edge pulls the mandala inward. The edge was worked too tightly. Rework the last round with a hook one size larger, or add one chain between each picot group.
- My mandala is not a perfect circle. Measure across the mandala in several directions while it is pinned for blocking, and adjust the pins until all the measurements match. A good blocking fixes most unevenness.
Care Instructions
Dust your mandala with a soft dry cloth or a feather duster. If it gets grubby, hand wash it gently in cool water with a tiny amount of mild soap, squeeze gently without wringing, and block it again while it dries so it keeps its round shape. Do not machine wash a mandala in a hoop, and do not put it in the dryer. Keep it out of direct sunlight so the colors stay bright.
Frequently Asked Questions
Is this crochet mandala pattern good for beginners?
Yes, it is a great first lace project. You need to know chains, single crochet, half double crochet, double crochet, and treble crochet, and the pattern explains the popcorn stitch step by step. Every round ends with a stitch count, so you can check your work as you go.
What yarn is best for a crochet mandala?
DK weight cotton is the best choice, because it holds its shape, blocks well, and shows crisp stitch definition. Acrylic works too, and it comes in the brightest colors. Avoid fuzzy yarns, because they hide the lace pattern.
How big is the finished mandala?
About 14 inches across after blocking, in DK weight yarn with a 5.0 mm hook. Stop after Part 2 for a small 8 inch version, or repeat the lace rounds for a large 20 inch version.
Can I hang the mandala without a hoop?
Yes. You can stitch the top edge over a wooden dowel rod, glue the mandala to a canvas, or simply hang it from a small nail with a loop of yarn. A hoop gives the cleanest look, but any of these work.
Why does my mandala ripple?
Rippling usually means there are too many stitches for the round, or your tension is loose. Check the stitch count at the end of each round, and if the count is right, go down a hook size. Mild rippling disappears with blocking.
Can I sell mandalas made from this pattern?
Yes, you may sell finished mandalas made from this free pattern, with credit to Little Loop Finds. Please do not sell or republish the pattern text itself.
Do I have to block my mandala?
Blocking is strongly recommended, because it is what turns a slightly wavy mandala into a flat, crisp piece of wall art. It only takes ten minutes of pinning, and the difference is dramatic.
Happy stitching, and may your home be full of color, calm, and one very beautiful mandala.


