Crochet Rug Pattern (Free Round Cotton Rug)
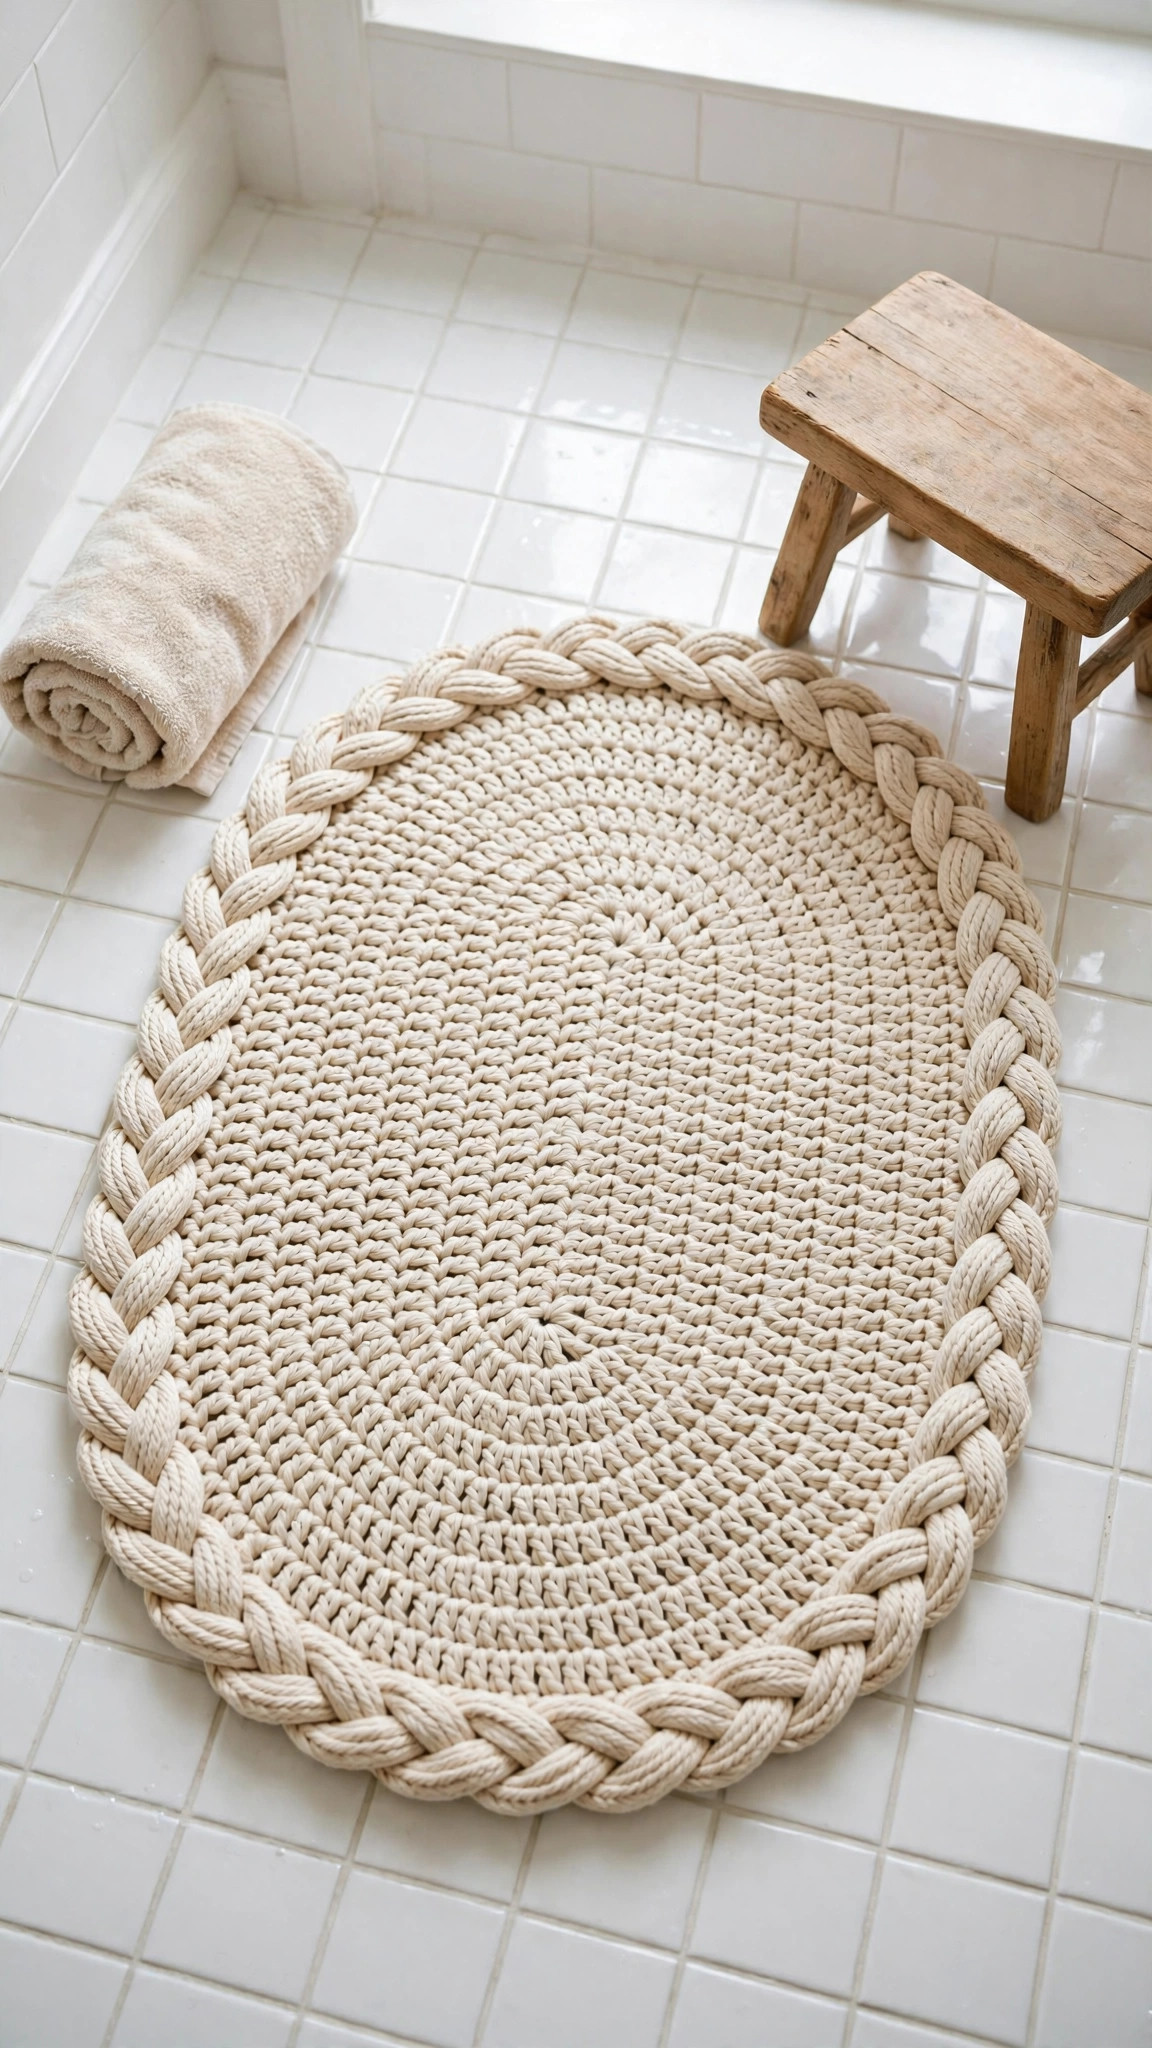
Crochet a sturdy round cotton rug for a bathroom or nursery floor in about six hours, then enjoy soft steps every morning.

Patterns · Crochet
- Finished size
- 30 in across
- Making time
- 6 hours
- Hook
- US L-11 (8.0 mm)
- Set
- Rug, border
- Skill
- Easy
In this post
- Key Takeaways
- Table of Contents
- Why You Will Love This Crochet Rug
- Finished Size, Skill Level, and Time
- Materials You Need
- Abbreviations (US Terms)
- Gauge and Sizing Notes
- Part 1: The Center Rounds
- Part 2: Growing the Rug
- Part 3: The Border and Finishing
- Variations: Colors, Sizes, and Shapes
- Troubleshooting a Rug That Will Not Lie Flat
- Care Instructions
- Frequently Asked Questions
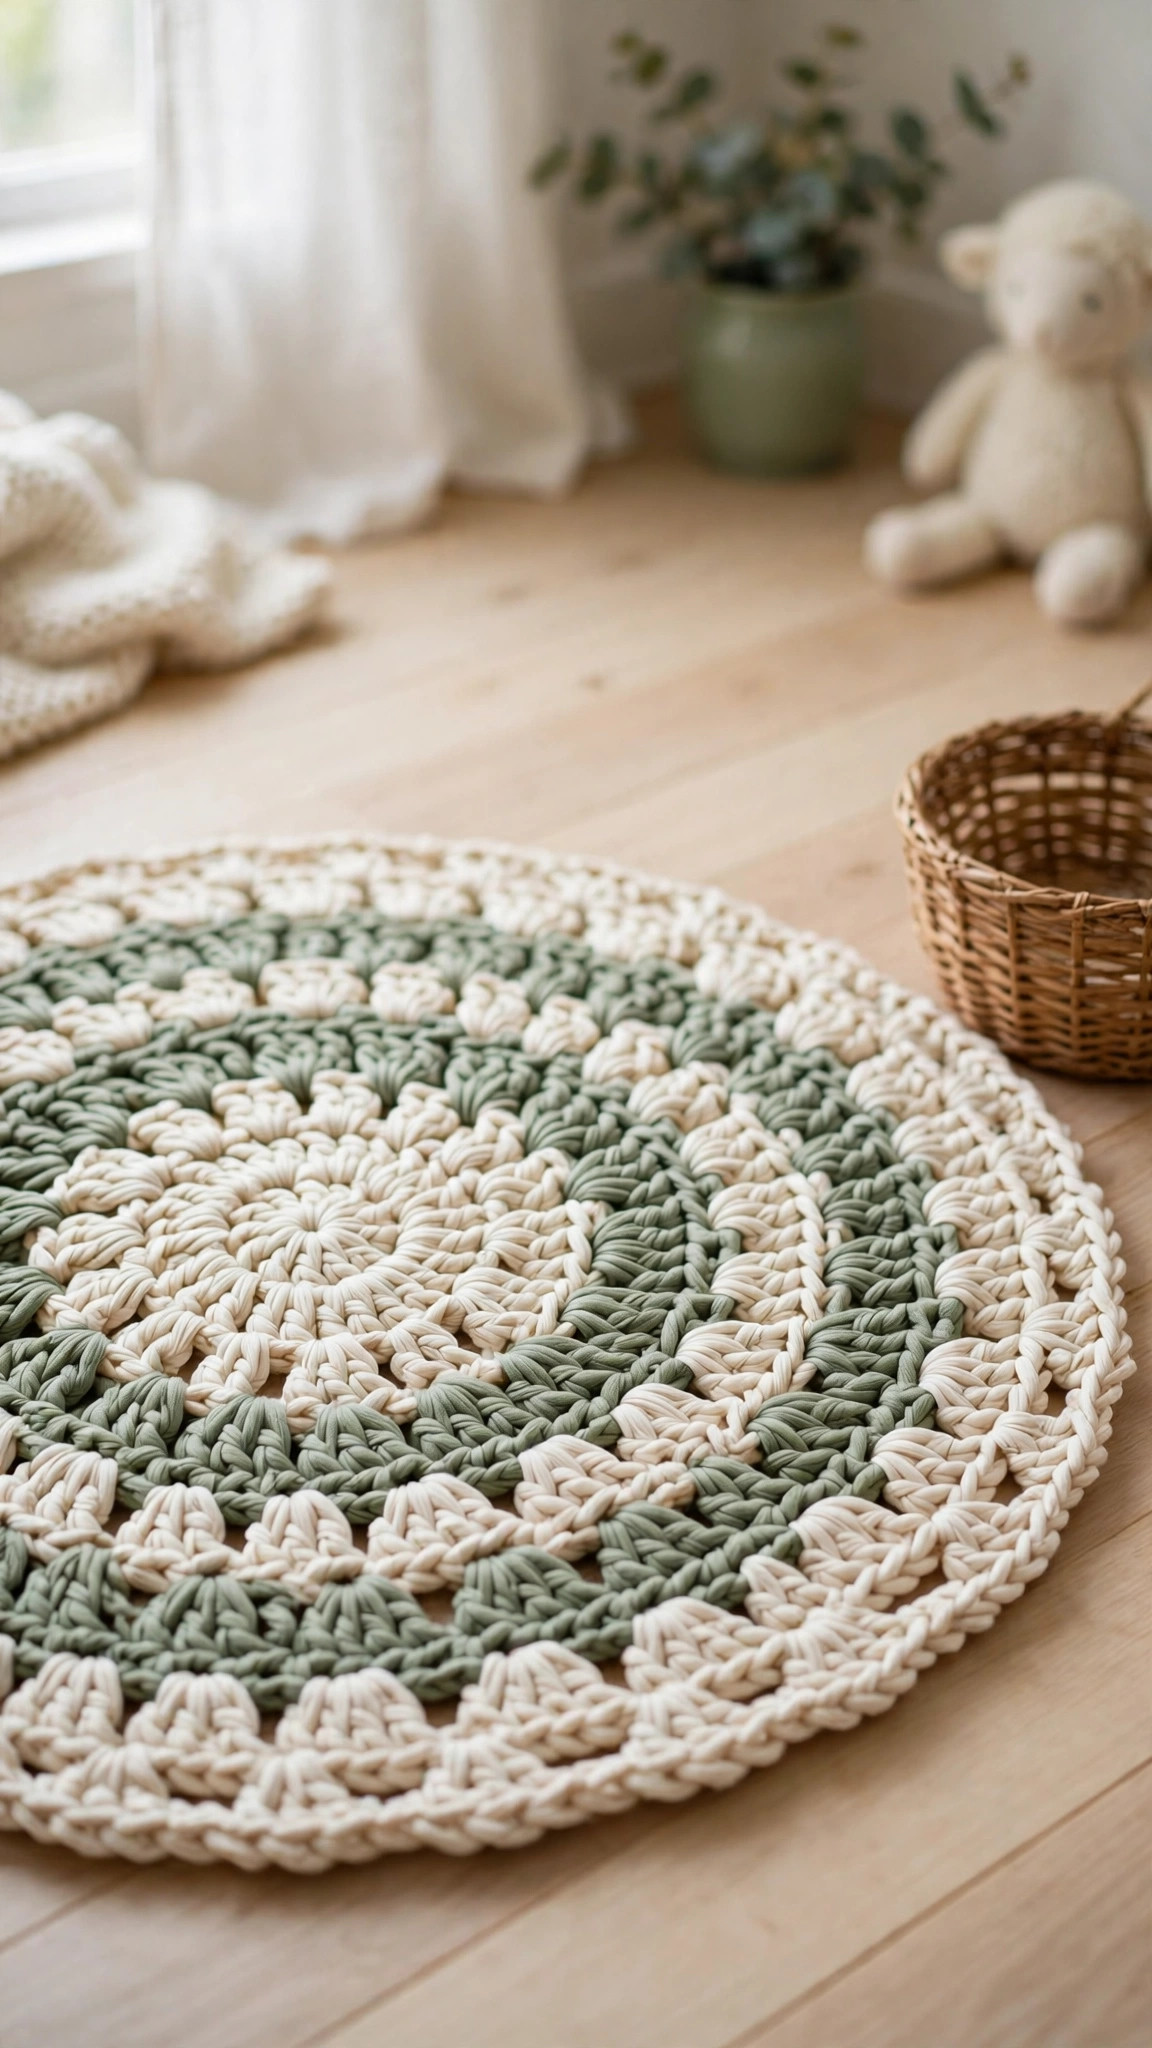
A handmade rug makes a bare floor feel warm and finished, and a crochet rug is one of the most satisfying home projects you can make. This free crochet rug pattern makes a sturdy round cotton rug for a bathroom or nursery floor, worked in simple double crochet rounds with two strands of yarn held together. It is flat, dense, washable, and works up in about six hours.
This is an original Little Loop Finds design, written in US terms and completely free. The rug is worked in joined rounds from the center out, with a simple increase pattern you can memorize after round three, and a neat reverse single crochet border to finish the edge. If you can double crochet, you can crochet this rug.
A quick note on scope: this post is about one specific crochet rug, a round flat floor rug in cotton, about 30 inches across. It is not a blanket, a bath mat with a rubber backing, or a wall hanging. It is a rug you can walk on, wash, and use every day. If you want a smaller matching piece, our crochet coaster pattern uses the same round increase in miniature.
Key Takeaways
- Free original pattern: a Little Loop Finds original design, written in US terms, and completely free.
- A sturdy round rug: a flat, dense cotton rug, about 30 inches across.
- Beginner friendly: simple double crochet rounds with an easy increase pattern.
- A six hour project: one rug takes about 6 hours.
- Three places to use it: bathroom floor, nursery floor, and beside the bed.
Table of Contents
- Why You Will Love This Crochet Rug
- Finished Size, Skill Level, and Time
- Materials You Need
- Abbreviations (US Terms)
- Gauge and Sizing Notes
- Part 1: The Center Rounds
- Part 2: Growing the Rug
- Part 3: The Border and Finishing
- Variations: Colors, Sizes, and Shapes
- Troubleshooting a Rug That Will Not Lie Flat
- Care Instructions
- Frequently Asked Questions
Why You Will Love This Crochet Rug
A crochet rug is practical in a way few crochet projects are. It cushions cold bathroom tiles in the morning, gives a nursery floor a soft spot for tummy time, and adds handmade warmth beside the bed. Cotton yarn makes it washable, which matters for anything that lives on the floor.
A crochet rug is also a relaxing project. The rounds repeat the same increase pattern, so you can crochet while watching a show, and the rug grows fast because the hook is big and the yarn is doubled. Make one in cream and sage for a calm nursery, or a bright striped rug for a kids bathroom. Our crochet basket pattern makes a sweet matching storage basket in the same cotton yarn.
Finished Size, Skill Level, and Time
- Finished size: about 30 inches across, after blocking.
- Skill level: Easy. You need a chain, double crochet, single crochet, and slip stitch.
- Time: about 6 hours per rug: 1 hour for the center rounds, 4 hours for the growing rounds, 1 hour for the border and finishing.
Materials You Need
| Item | What to get |
|---|---|
| Yarn, color A | Worsted weight (size 4) cotton yarn in cream, 350 yards |
| Yarn, color B | Worsted weight (size 4) cotton yarn in sage green, 250 yards |
| Hook | US L-11 (8.0 mm), or the size that gives you the gauge below |
| Notions | Tapestry needle, scissors, stitch markers, a tape measure |
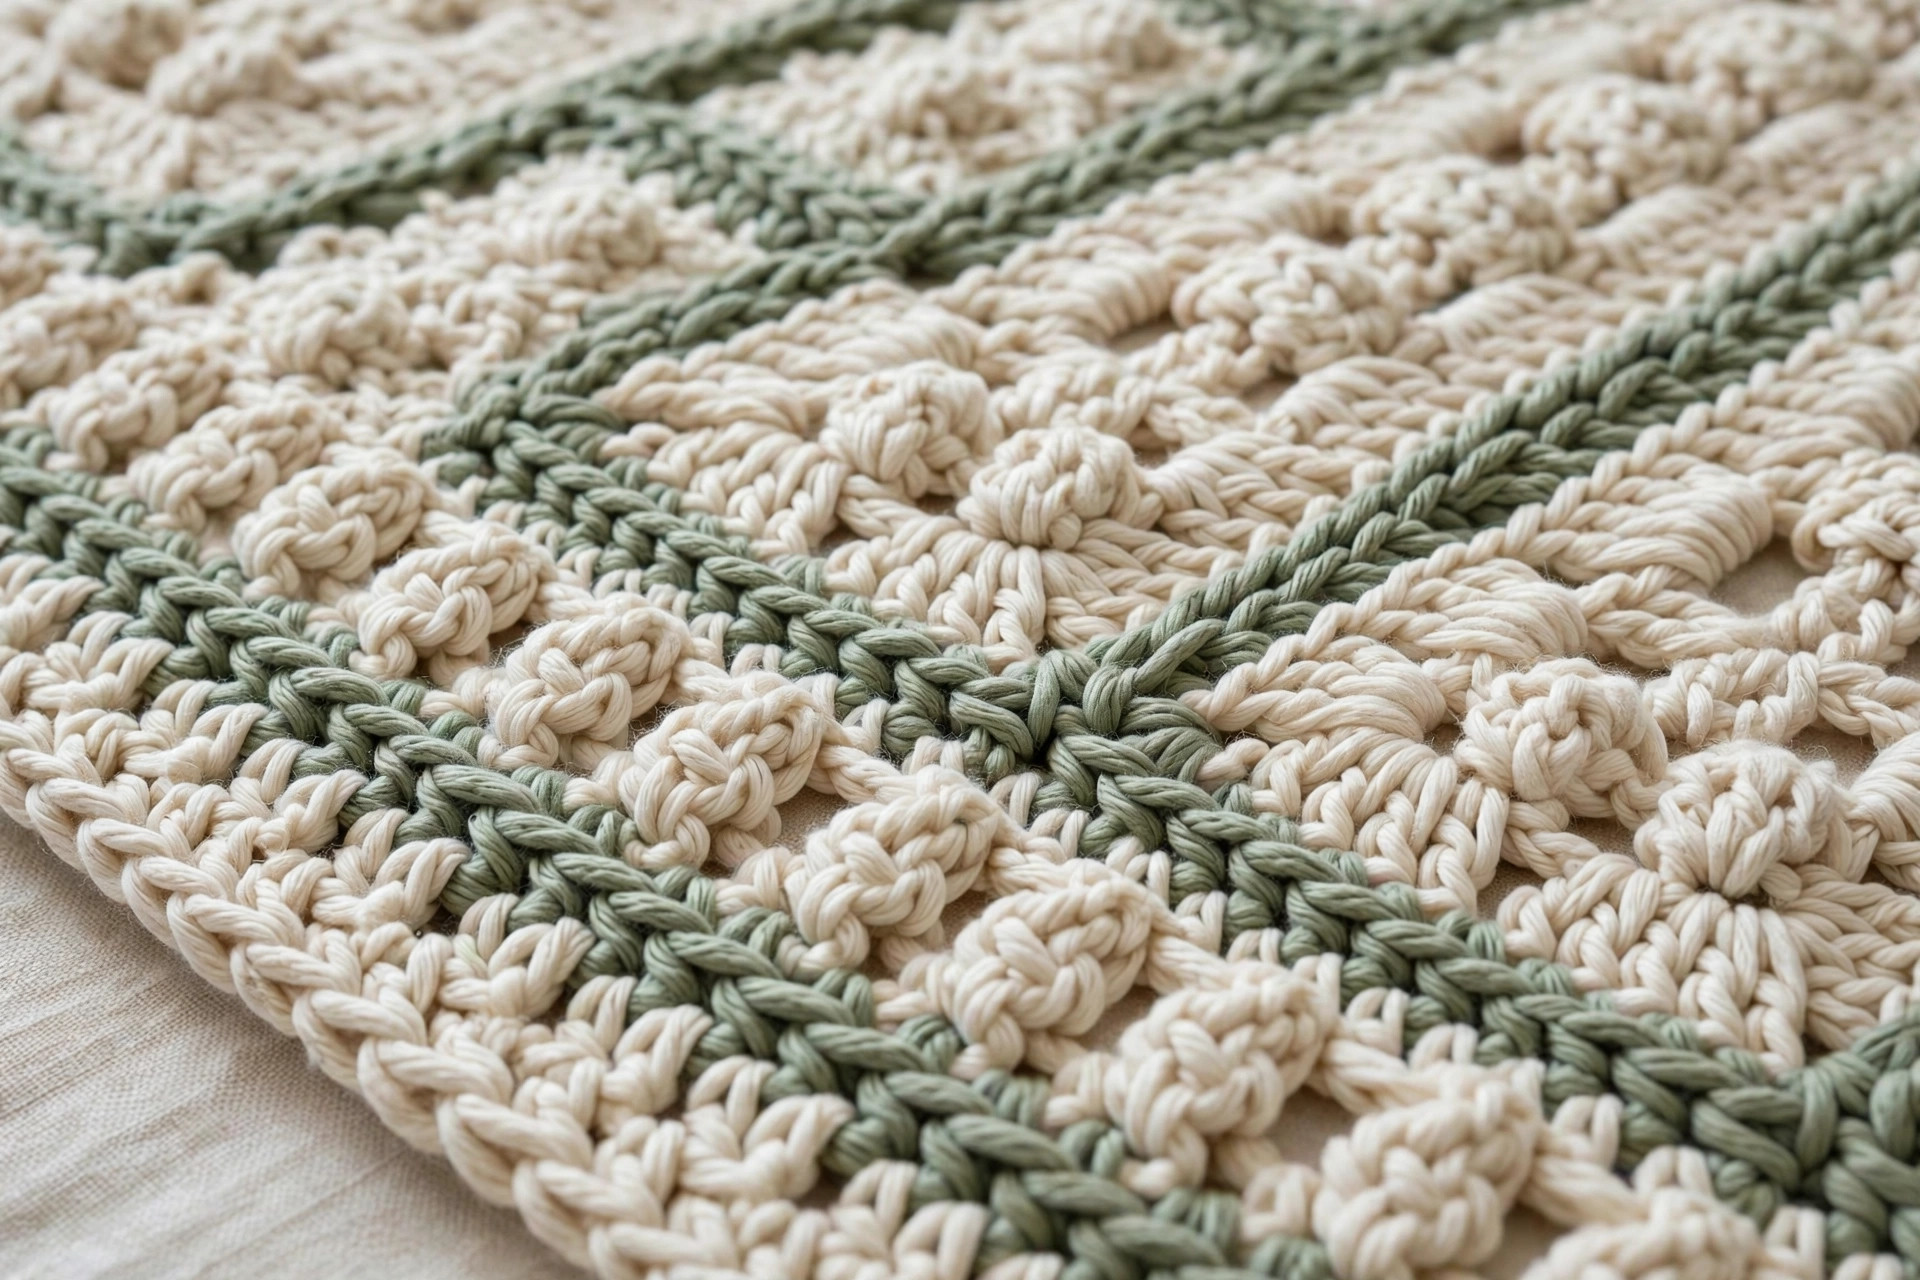
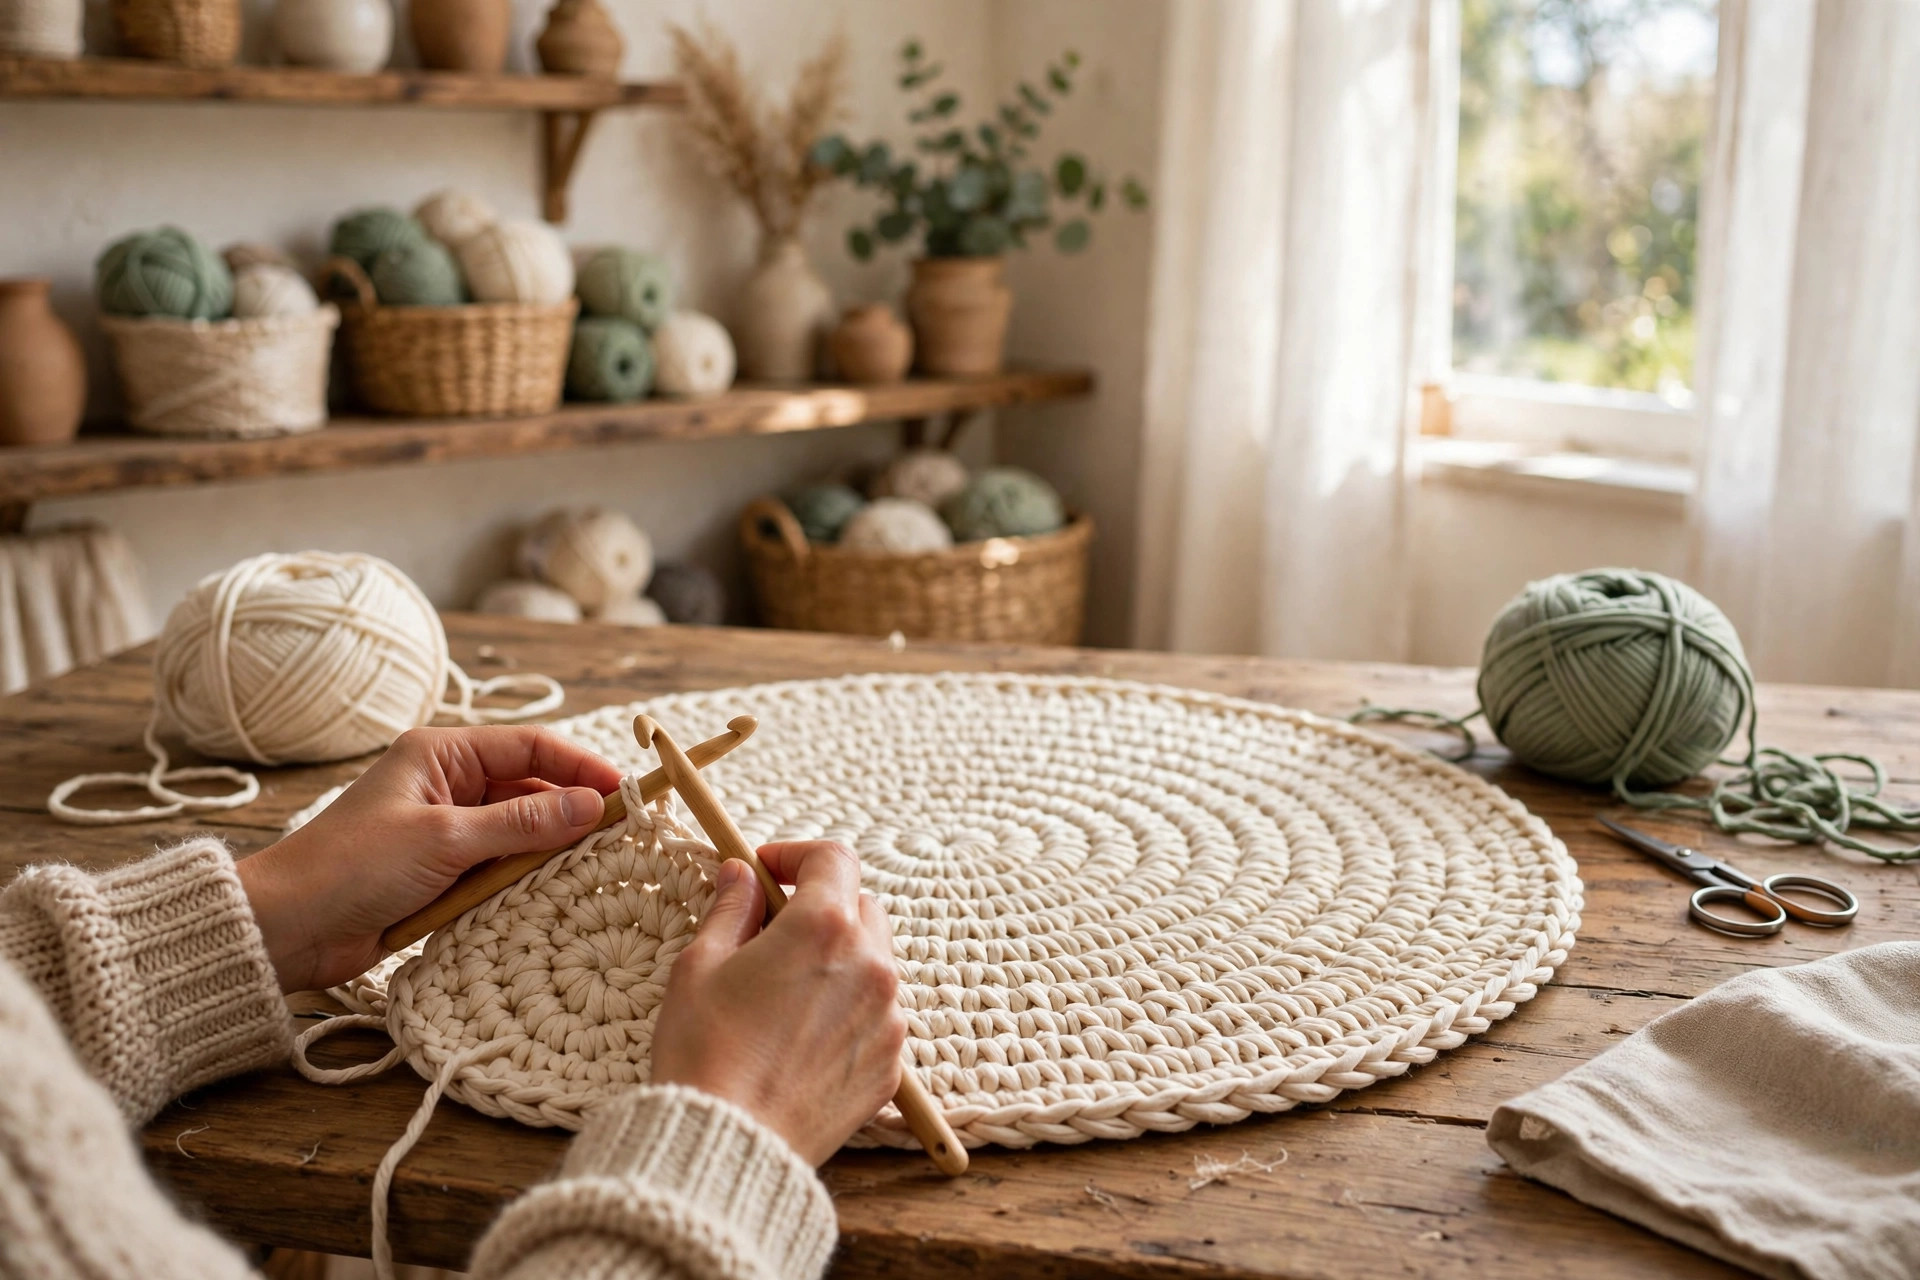
Cotton yarn is the best choice for a crochet rug because it is sturdy, washable, and does not stretch out of shape the way acrylic can. Hold two strands together throughout the whole rug, one strand of cream and one strand of sage for the marled look in the photos, or two strands of the same color for a solid rug. Worsted weight cotton is easy to find and affordable in large balls. Avoid wool for a bathroom rug, because it felts in the wash, and avoid fuzzy yarns, because they hide the stitch pattern and trap dirt.
Abbreviations (US Terms)
- ch = chain
- sl st = slip stitch
- sc = single crochet
- dc = double crochet
- inc = increase (2 dc in the same stitch)
- rev sc = reverse single crochet, also called crab stitch (work single crochet stitches from left to right)
- st(s) = stitch(es)
- rep = repeat
Gauge and Sizing Notes
Gauge matters because it controls the size of your rug and how flat it lies. Work a swatch of 8 dc stitches and 4 rounds with two strands held together and your 8.0 mm hook. It should be about 4 inches square. If it is wider, go down a hook size. If it is narrower, go up a hook size.
The rug grows by 12 stitches every round, which keeps it flat. Count your stitches at the end of every round, because a missed increase makes the rug ripple, and an extra increase makes it ruffle. Place a stitch marker in the first stitch of each round and move it up as you go. If the rug starts to curl up like a bowl, your stitches are too tight, so go up a hook size. If it starts to wave at the edge, you have too many increases, so count again.
Part 1: The Center Rounds
The rug starts in the center and grows outward in joined rounds. The chain 3 at the start of each round counts as the first double crochet. Join each round with a slip stitch to the top of the starting chain 3.
Rounds 1 to 3
Hold two strands together throughout. With color A and color B held together, make a magic ring.
- Rnd 1: ch 3 (counts as dc), 11 dc in the ring, join with a sl st to the top of the ch 3. (12 dc)
- Rnd 2: ch 3, dc in the same st, 2 dc in each st around, join. (24 dc)
- Rnd 3: ch 3, dc in the same st, (dc in the next st, 2 dc in the next st) 11 times, dc in the last st, join. (36 dc)
After round 3 the rug should be about 7 inches across and lie flat. If it cups upward, go up a hook size before you continue.
Changing Colors
To change the main color, finish the last double crochet of the round with the new color. Pull the new color through the last two loops on the hook, then join the round with a slip stitch in the new color. Carry the old color loosely up the inside of the rug if you plan to use it again in two rounds, or cut it and weave the end in later. The sample rug changes color every two rounds for soft stripes.
Part 2: Growing the Rug
From here on, each round adds 12 stitches, one more plain double crochet between increases each time. Work the increases evenly spaced, and stagger them so they do not stack into visible lines.
Rounds 4 to 12
- Rnd 4: ch 3, dc in the same st, (2 dc, 2 dc in the next st) 11 times, 2 dc, join. (48 dc)
- Rnd 5: ch 3, dc in the same st, (3 dc, 2 dc in the next st) 11 times, 3 dc, join. (60 dc)
- Rnd 6: ch 3, dc in the same st, (4 dc, 2 dc in the next st) 11 times, 4 dc, join. (72 dc)
- Rnd 7: ch 3, dc in the same st, (5 dc, 2 dc in the next st) 11 times, 5 dc, join. (84 dc)
- Rnd 8: ch 3, dc in the same st, (6 dc, 2 dc in the next st) 11 times, 6 dc, join. (96 dc)
- Rnd 9: ch 3, dc in the same st, (7 dc, 2 dc in the next st) 11 times, 7 dc, join. (108 dc)
- Rnd 10: ch 3, dc in the same st, (8 dc, 2 dc in the next st) 11 times, 8 dc, join. (120 dc)
- Rnd 11: ch 3, dc in the same st, (9 dc, 2 dc in the next st) 11 times, 9 dc, join. (132 dc)
- Rnd 12: ch 3, dc in the same st, (10 dc, 2 dc in the next st) 11 times, 10 dc, join. (144 dc)
Check the size after round 12. The rug should be about 28 inches across. If it is smaller, work one more round in the same pattern, (11 dc, 2 dc in the next st) repeated around, for 156 stitches and about 30 inches across.
To keep the increases from stacking, start each round with half the plain stitches before the first increase. For example, in round 8, work 3 dc, then the first increase, then continue with 6 dc between increases, and finish with the last 3 dc. This keeps the rug round instead of hexagonal. Our easy crochet blanket patterns use the same staggered increase trick for flat blankets.
Part 3: The Border and Finishing
The border is two rounds: one round of single crochet to firm up the edge, then one round of reverse single crochet for a neat braided look.
The Single Crochet Round
- Rnd 13: ch 1, sc in each st around, join with a sl st to the first sc. (144 sc)
Work the single crochet stitches a little loosely so the edge does not pull in. This round tightens the edge and gives the reverse single crochet a firm base to sit on.
The Reverse Single Crochet Border
- Rnd 14: ch 1, work rev sc in each st around, working from left to right, join with a sl st to the first rev sc. (144 rev sc)
Reverse single crochet feels awkward at first, because you work backwards. Insert the hook into the stitch to the right, yarn over, pull up a loop, yarn over, and pull through both loops. Keep your tension even and do not pull the stitches tight, or the edge will pucker. The result is a tidy braided cord around the whole rug.
Final Finishing
Fasten off and weave in every yarn end, working each tail through the back of several stitches on the wrong side of the rug, then trimming it close. Lay the rug flat on a clean floor and smooth it out from the center. If the edge ripples, wet the rug, press it flat, and let it dry flat overnight. This is called blocking, and it makes a big difference to how the rug lies. Our crochet trivet pattern uses the same reverse single crochet border on a much smaller scale.
Variations: Colors, Sizes, and Shapes
- Classic cream and sage rug: work the rug in cream with sage stripes every two rounds, the colorway in the photos. Our capybara crochet pattern makes a sweet nursery companion for this rug.
- Solid natural rug: use two strands of undyed natural cotton for a calm rug that suits any room.
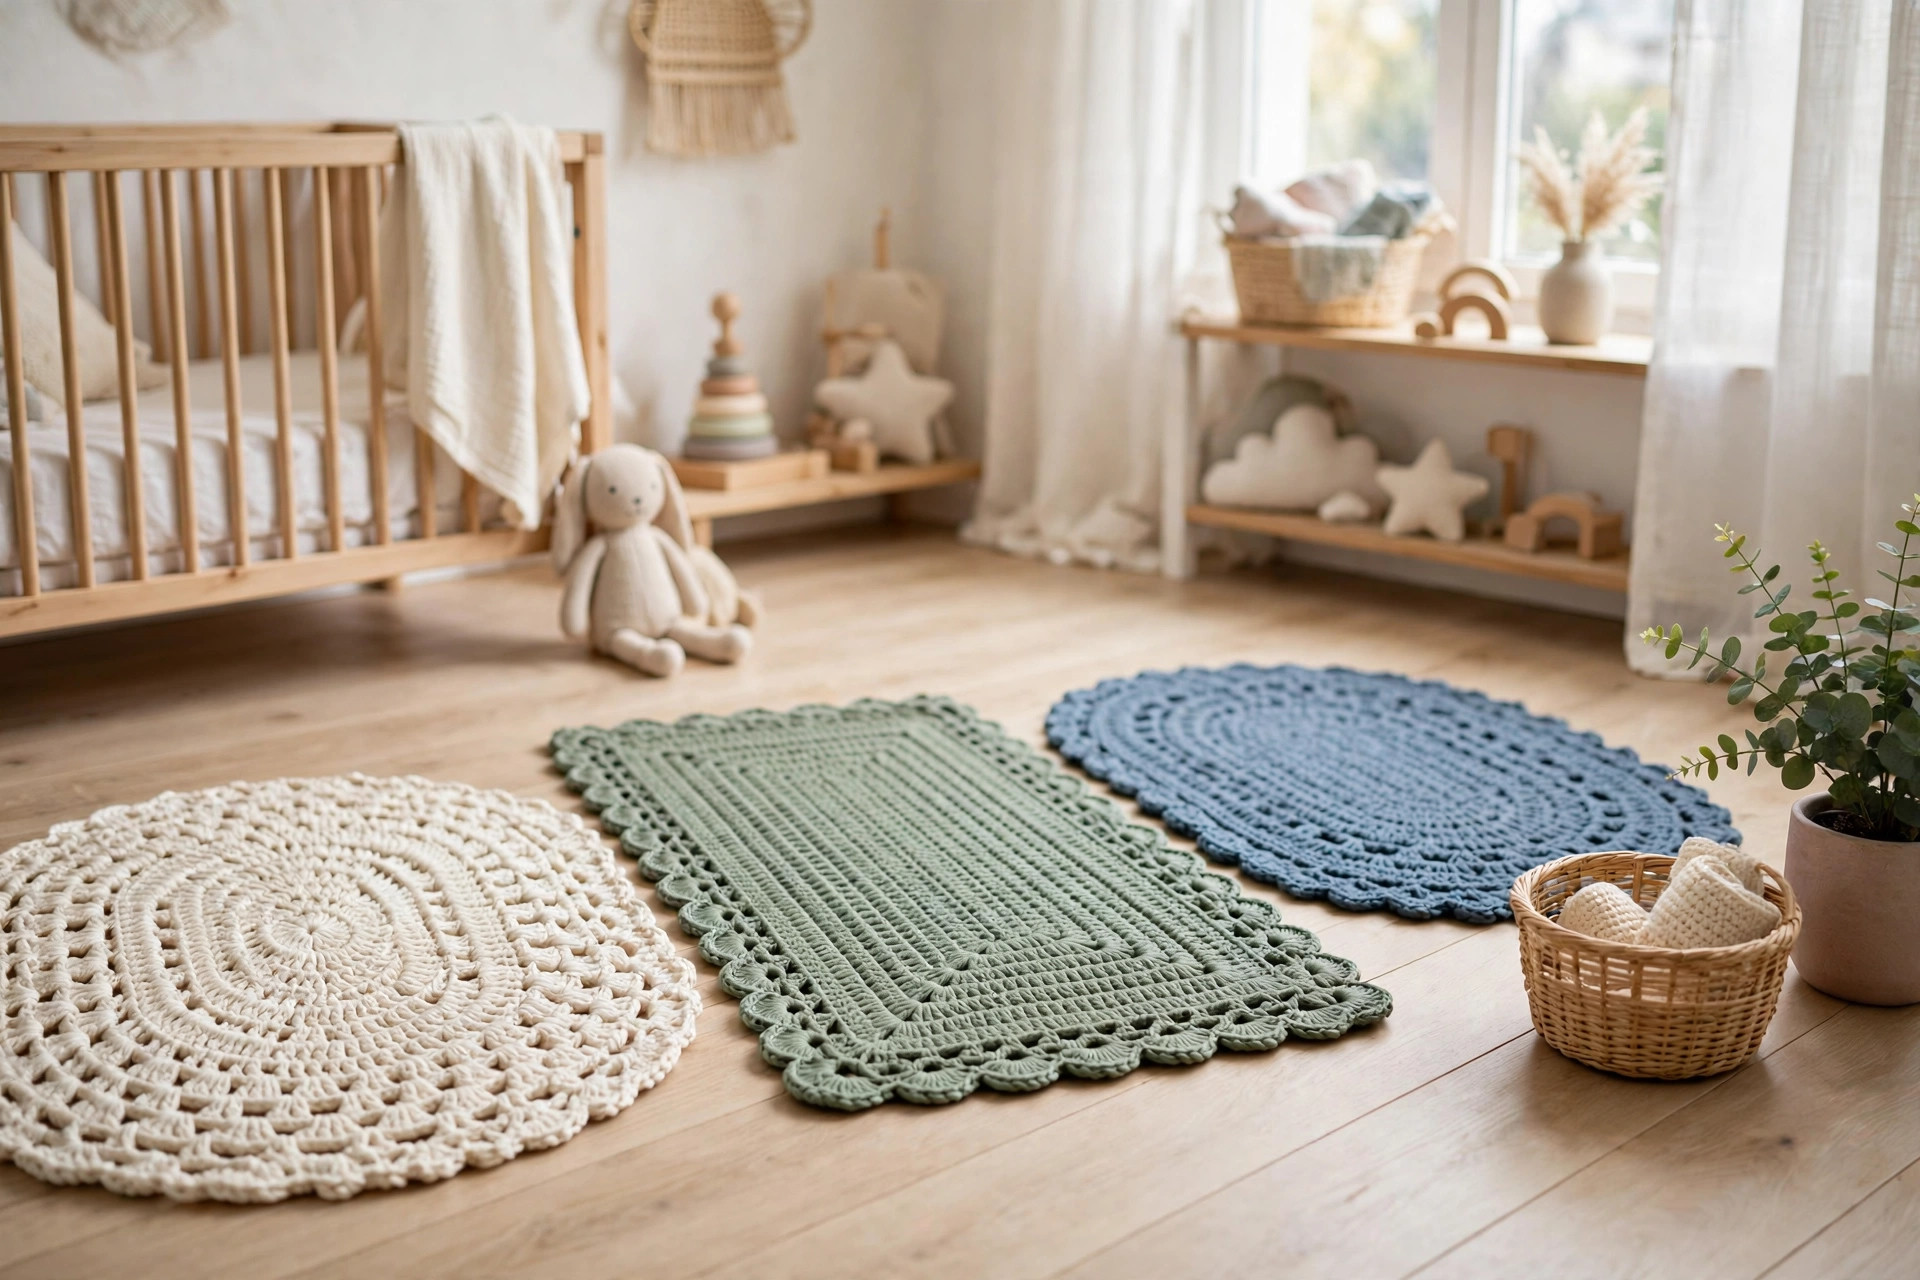
- Bright striped rug: change color every round in cream, dusty blue, and mustard for a playful kids bathroom rug.
- Small bedside rug: stop after round 9 for a rug about 20 inches across, perfect beside a bed or in front of a sink.
- Large living room rug: keep going past round 12, adding 12 stitches each round, until the rug is as big as you want, then work the same two round border.
- Oval rug: start with a foundation chain of 21, work sc around both sides of the chain, then continue in rounds, increasing 6 stitches per round at the curved ends only, for a long oval rug for a hallway.
Troubleshooting a Rug That Will Not Lie Flat
- My rug cups up like a bowl. Your stitches are too tight, or you missed increases. Go up a hook size and count your stitches at the end of each round.
- My rug ripples and waves at the edge. You have too many stitches, usually from an extra increase. Count the round and take out the extra stitches.
- My rug looks hexagonal, not round. The increases are stacking in the same place every round. Stagger them by starting each round with half the plain stitches before the first increase.
- My edge pulls in. The border round was worked too tightly. Work the single crochet round loosely, or go up a hook size for the border only.
- My stripes look uneven. The color change was made at a different point each round. Always change color in the last stitch of the round, and join in the new color.
Care Instructions
Machine wash a cotton crochet rug on a gentle cycle in cold water with a mild detergent, and lay it flat to dry. Do not put it in the dryer, because the heat can shrink cotton and distort the shape. Shake the rug outside between washes to remove dust. If the rug slides on a smooth floor, place a non slip rug pad underneath it. A cotton rug softens a little with every wash and gets better with use.
Frequently Asked Questions
Is this crochet rug pattern good for beginners?
Yes, it is one of the best first home projects. You need a chain, double crochet, single crochet, and slip stitch. One rug takes about 6 hours, and the increase pattern repeats every round.
What yarn is best for a crochet rug?
Cotton yarn is the best choice, because it is sturdy, washable, and holds its shape on the floor. Hold two strands of worsted weight cotton together with an 8.0 mm hook for a thick, dense rug.
How big is the finished rug?
The finished rug is about 30 inches across after blocking. Stop after round 9 for a 20 inch rug, or keep adding rounds past round 12 for a larger rug.
Will the rug slip on a bathroom floor?
A cotton rug can slip on smooth tile, so use a non slip rug pad underneath it. The pad also adds cushioning and helps the rug lie flat.
How do I wash a crochet rug?
Machine wash it on a gentle cycle in cold water, then lay it flat to dry. Do not use the dryer. Cotton softens with every wash and keeps its shape when dried flat.
Can I make the rug in a different shape?
Yes, the same pattern works as an oval. Start with a foundation chain of 21, work around both sides, and increase only at the curved ends. A square version needs a different increase pattern, so stick to round or oval for this design.
Can I sell rugs made from this pattern?
Yes, you may sell finished rugs made from this free pattern, with credit to Little Loop Finds. Do not sell or republish the pattern text itself. A rug with a matching basket makes a lovely housewarming gift set, and pairs nicely with our crochet tote bag pattern.
Happy stitching, and may your little rug make every step a little softer.