Crochet Tape Measure Cover Pattern (Free)
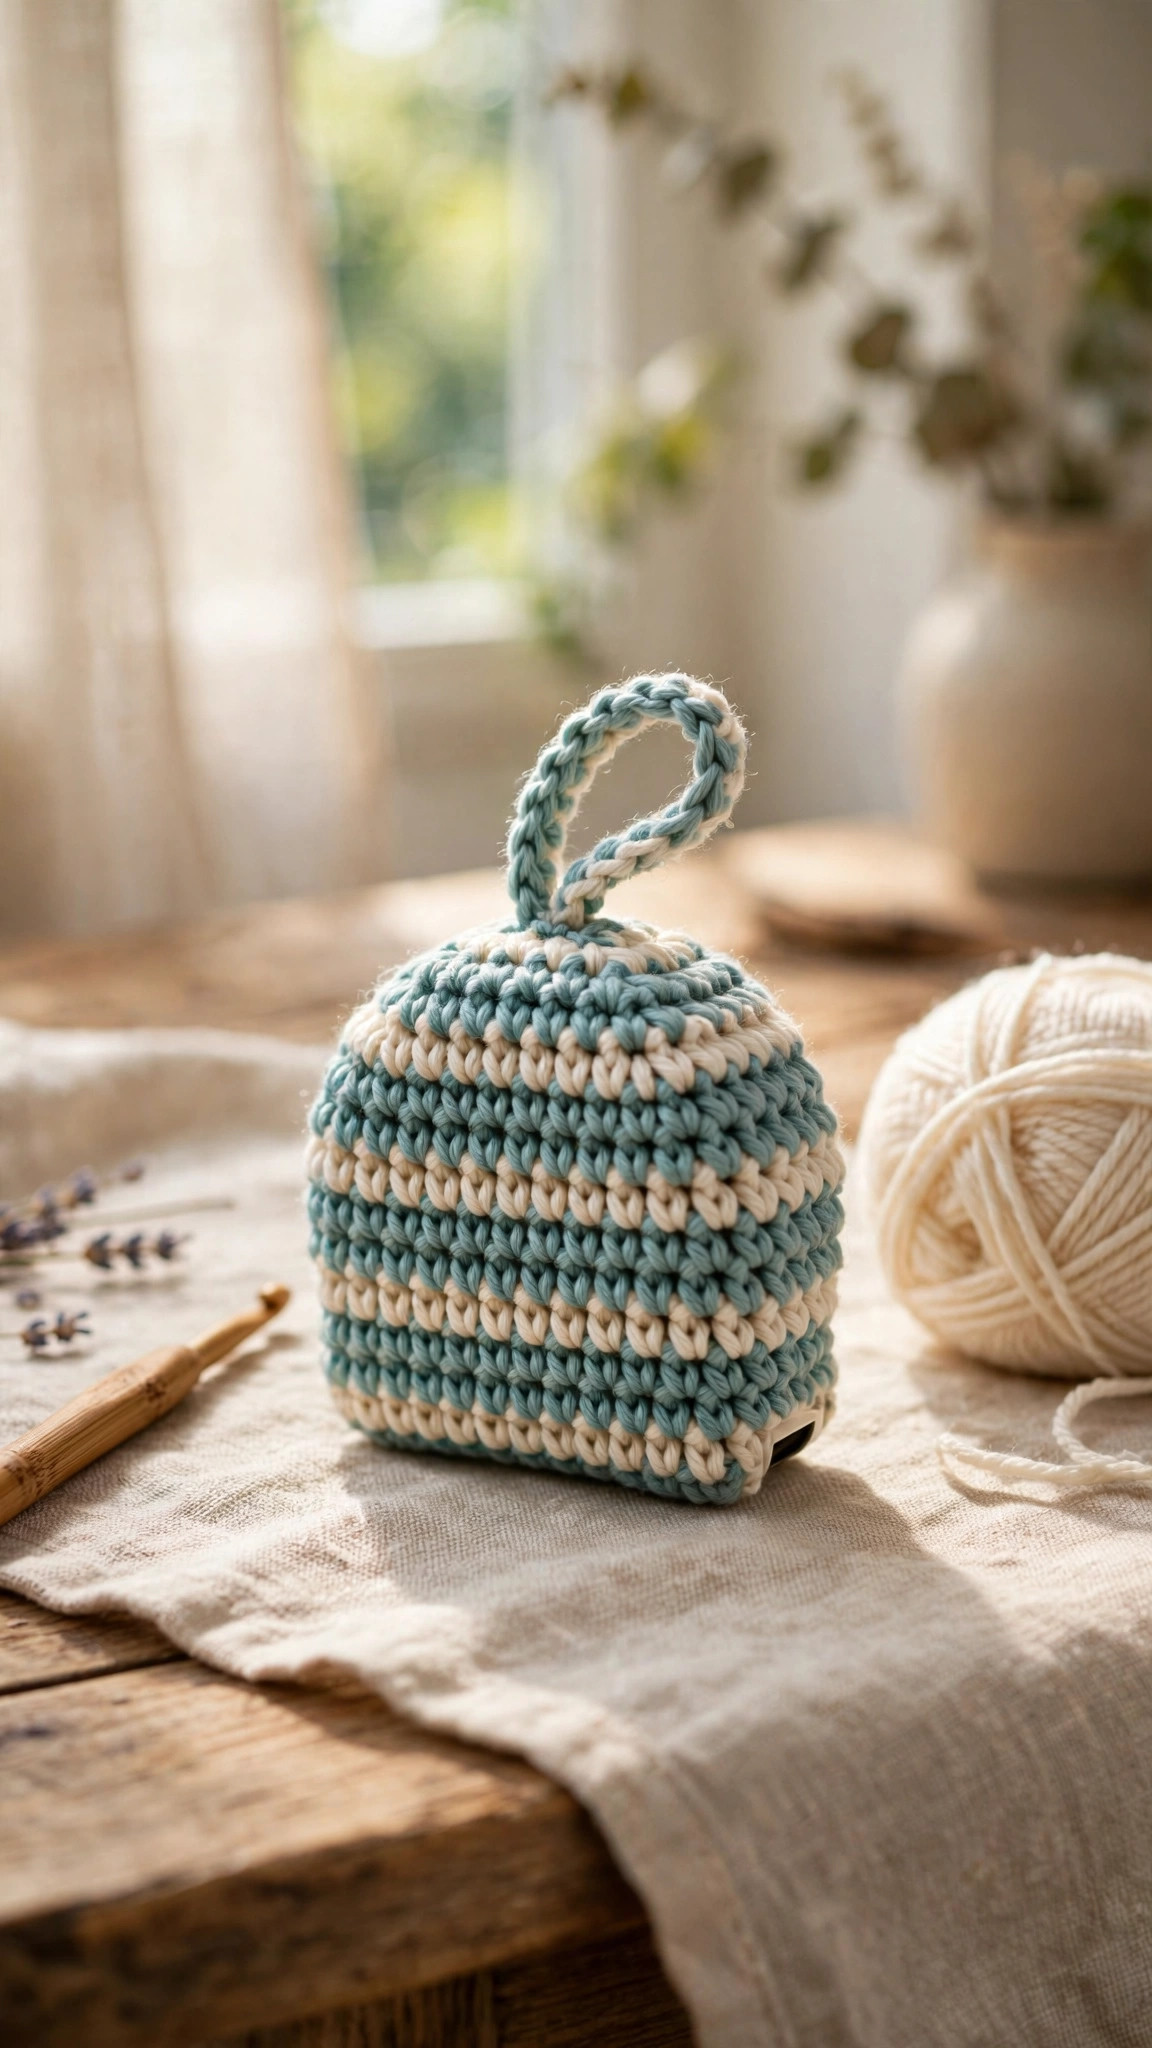
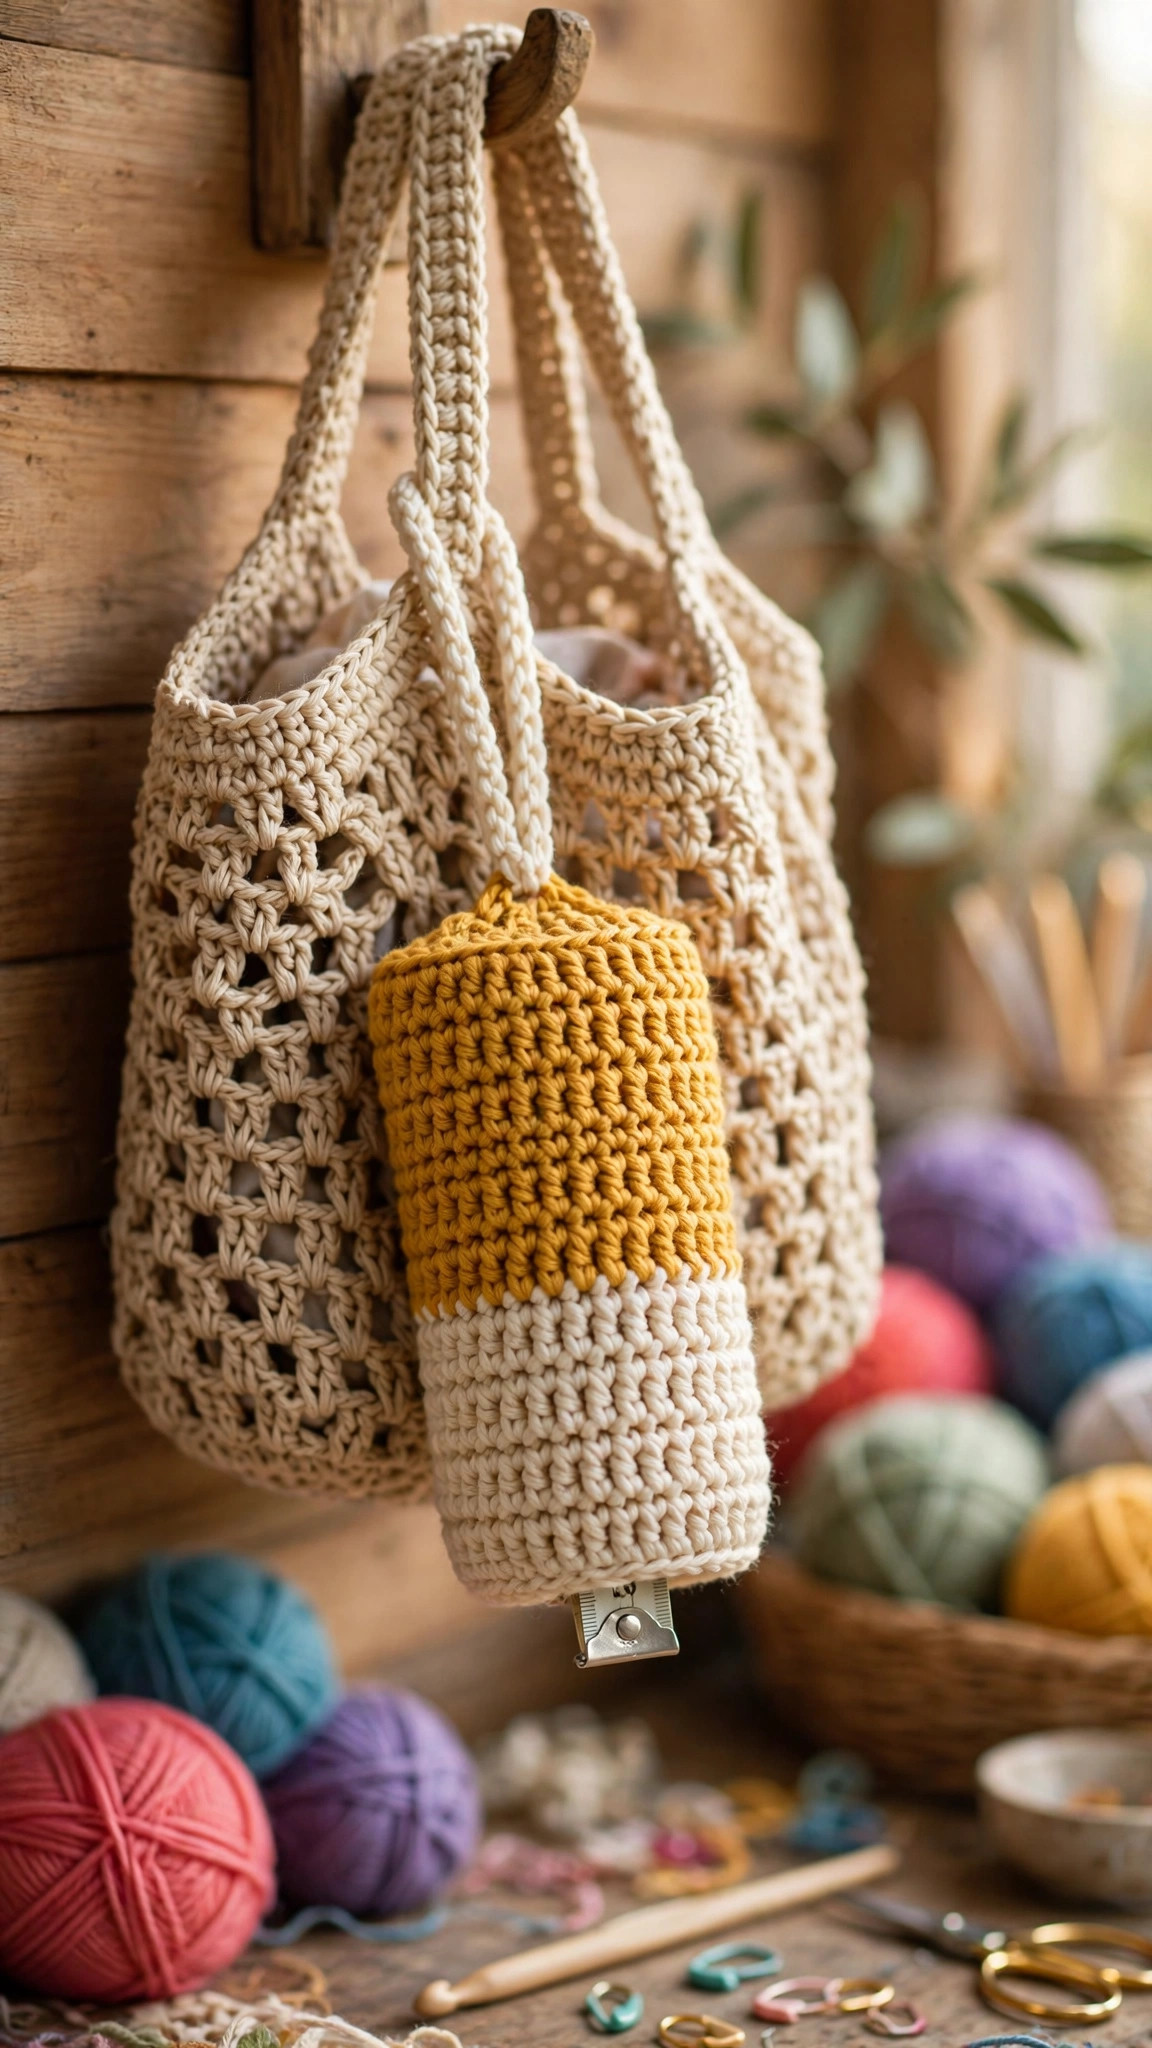
Crochet a snug striped cover for your retractable tape measure, with a hanging loop and button tab, then hang it on your project bag.

Patterns · Crochet
- Finished size
- 3 x 3 in
- Making time
- 1 hour per cover
- Hook
- US G-6 (4.0 mm)
- Set
- Cover, loop, tab
- Skill
- Easy
In this post
- Key Takeaways
- Table of Contents
- Why You Will Love This Crochet Tape Measure Cover
- Finished Size, Skill Level, and Time
- Materials You Need
- Abbreviations (US Terms)
- Gauge and Sizing Notes
- Part 1: Measuring Your Tape and Starting the Base
- Part 2: The Body, the Loop, and the Button Tab
- Part 3: Fitting, Finishing, and the First Use
- Variations: Colors, Sizes, and Uses
- Troubleshooting a Cover That Is Too Loose or Too Tight
- Care Instructions
- Frequently Asked Questions
A crochet tape measure cover is a small project with a big payoff. It keeps your retractable tape measure from sliding around in your project bag, protects it from scratches, and gives you a handy loop to hang it where you can find it. This free pattern walks you through every step, from measuring your tape to adding the loop and the button tab.
This is an original Little Loop Finds design, written in US terms and completely free. The cover is worked in the round in single crochet, with a snug fit that hugs a standard retractable tape measure. If you can crochet a chain, a single crochet, and an increase, you can crochet this cover.
This post is about one specific cover, a snug single crochet sleeve for a standard retractable tape measure about 3 inches wide, with a hanging loop and a button tab. It is not a cover for a long tailor tape or a metal carpenter tape. If you want another small accessory for your craft bag, our crochet hook roll pattern keeps your hooks tidy in the same bag.
Key Takeaways
- Free original pattern: this crochet tape measure cover pattern is a Little Loop Finds original design, written in US terms.
- A quick one evening make: one cover takes about 1 hour, loop and button tab included.
- A snug custom fit: the cover is worked to your own tape measure, so it fits like a sleeve.
- Beginner friendly: single crochet in the round only, with increases and decreases explained.
- Three ways to use it: hang it on your project bag, clip it to your belt loop, or tuck it in a notions pouch.
Table of Contents
- Why You Will Love This Crochet Tape Measure Cover
- Finished Size, Skill Level, and Time
- Materials You Need
- Abbreviations (US Terms)
- Gauge and Sizing Notes
- Part 1: Measuring Your Tape and Starting the Base
- Part 2: The Body, the Loop, and the Button Tab
- Part 3: Fitting, Finishing, and the First Use
- Variations: Colors, Sizes, and Uses
- Troubleshooting a Cover That Is Too Loose or Too Tight
- Care Instructions
- Frequently Asked Questions
Why You Will Love This Crochet Tape Measure Cover
Every crocheter knows the feeling of reaching into a project bag for a tape measure and finding it at the very bottom, under three balls of yarn. A tape measure cover fixes that small annoyance. The loop hangs on the outside of the bag, so the tape is always the first thing your hand finds.
It is also a perfect stash buster. It uses less than 30 yards of yarn, so it is a great way to use up the last bit of a favorite color, and it is small enough to finish in one sitting.
The cover also protects your tape. A bare plastic tape picks up scratches in a bag full of hooks and scissors, and the little metal end can snag yarn. A soft crochet sleeve keeps the case smooth and the yarn safe.
Finished Size, Skill Level, and Time
- Finished size: about 3 inches wide, 3 inches tall, and 1 inch deep, to fit a standard retractable tape measure. The loop adds about 2 inches above the top.
- Skill level: Easy. You need chains, single crochet, increases, decreases, and a slip stitch.
- Time: about 1 hour per cover: 40 minutes for the body and 20 minutes for the loop, tab, and finishing.
Materials You Need
| Item | What to get |
|---|---|
| Yarn, color A | Worsted weight (size 4) cotton yarn in teal, 20 yards |
| Yarn, color B | Worsted weight (size 4) cotton yarn in cream, 15 yards |
| Hook | US G-6 (4.0 mm), or the size that gives you the gauge below |
| Notions | Tapestry needle, scissors, stitch marker, one 0.5 inch button, a retractable tape measure to fit |
Cotton yarn is the best choice here because it is sturdy, it holds its shape, and it does not stretch the way acrylic can. A smooth cotton also shows clean stitch definition, so the stripes look neat. Teal and cream are the colors in the photos. Avoid fuzzy yarns, because they hide the stitch texture.
Pick a flat button about 0.5 inch across, so it sits neatly against the cover without adding bulk. A wooden or coconut button suits the handmade look. If you prefer no button at all, the variations section below shows a loop only version.
Abbreviations (US Terms)
- ch = chain
- sl st = slip stitch
- sc = single crochet
- inc = increase (2 sc in one stitch)
- dec = decrease (sc 2 together)
- st(s) = stitch(es)
- rep = repeat
- RS = right side
- WS = wrong side
Gauge and Sizing Notes
Gauge matters, because the cover must grip the tape without squeezing it. Work a swatch of 12 sc stitches and 12 rows in color A. It should be about 3 inches wide and 2.5 inches tall. If it is wider, go down a hook size. If it is narrower, go up a hook size.
This cover fits a standard retractable tape measure, about 3 inches wide, 3 inches tall, and 1 inch deep. Measure your own tape before you start, because tapes vary, and keep the three numbers beside you while you work.
If your tape is wider than 3 inches, add one more increase round to the base. If it is narrower, work one fewer. If it is deeper than 1 inch, work two more plain rounds on the body. The fitting section in Part 3 shows you how to check the fit before you finish.
For a small keychain tape, work the base with two fewer increase rounds and stop the body two rounds early, for a cover about 2 inches wide and 2 inches tall. Our crochet chapstick holder pattern uses the same snug sleeve idea on a smaller scale.
Part 1: Measuring Your Tape and Starting the Base
The cover is worked in the round from the bottom up, starting with a flat oval base, then working straight up the sides. The top stays open so the tape can slide in and out. Keep your tape close to test the fit as you go.
The Base
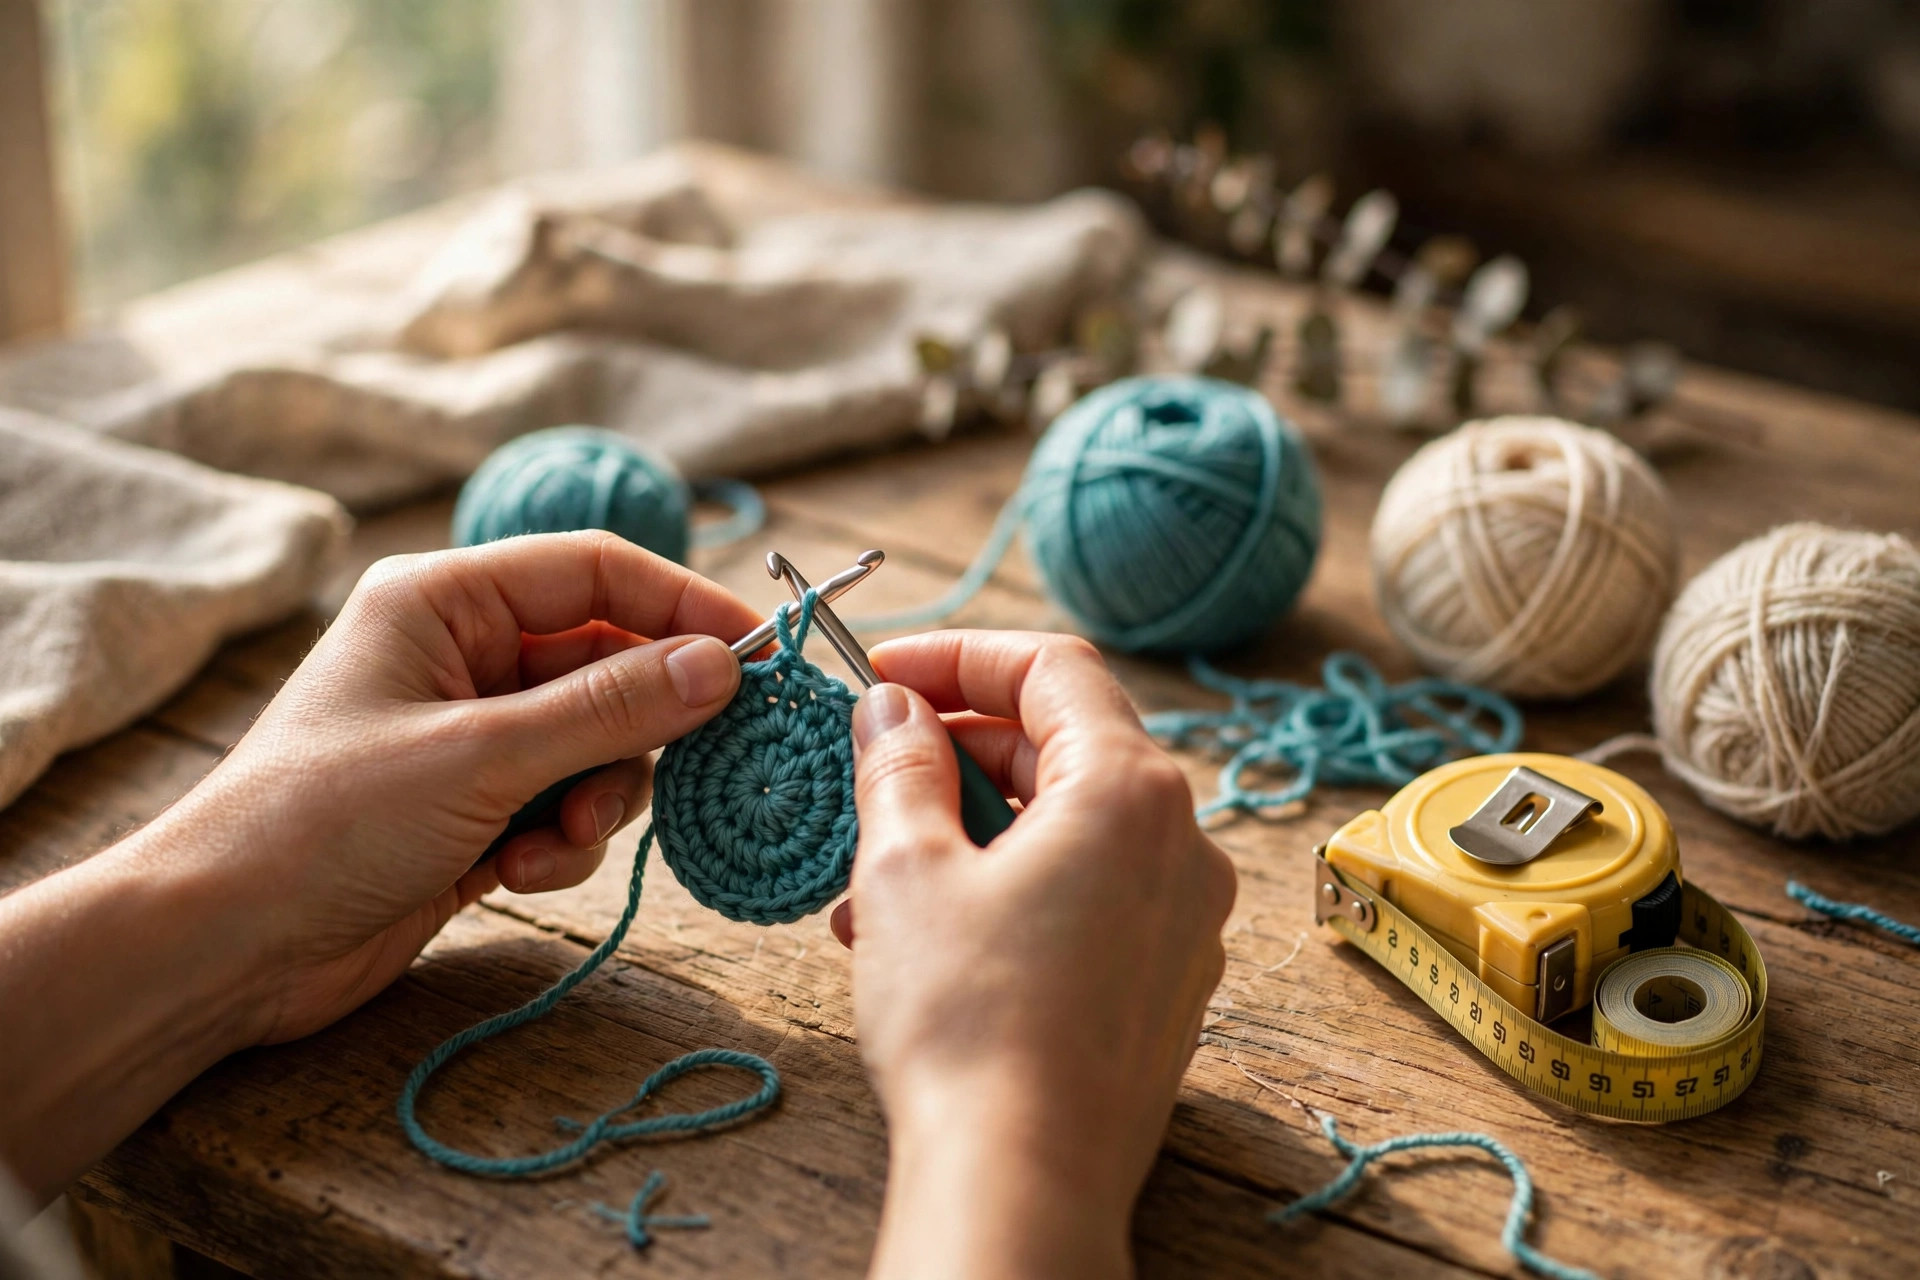
The base is a flat oval worked in color A. Start with a chain, then work around both sides of it, which makes the oval shape. Place a stitch marker in the first stitch of every round, and move it up as you work.
With color A, ch 9.
- Round 1: sc in the 2nd ch from the hook, sc in each of the next 6 ch, 3 sc in the last ch, turn to work along the other side of the chain, sc in each of the next 6 ch, 2 sc in the last ch, join with a sl st to the first sc. (18 sc)
- Round 2: ch 1, 2 sc in the first st, sc in each of the next 6 sts, 2 sc in each of the next 3 sts, sc in each of the next 6 sts, 2 sc in each of the next 2 sts, join with a sl st to the first sc. (24 sc)
- Round 3: ch 1, sc in the first st, 2 sc in the next st, sc in each of the next 7 sts, (sc in the next st, 2 sc in the next st) 3 times, sc in each of the next 7 sts, (sc in the next st, 2 sc in the next st) 2 times, join with a sl st to the first sc. (30 sc)
After round 3, the base should be about 3 inches long and 1 inch wide, matching the bottom of a standard tape. Lay your tape on it and check. If it is much bigger, pull back round 3 and stop after round 2. If it is much smaller, work one more increase round, adding 6 stitches evenly around the oval.
Starting the Sides
The sides start with one round in the back loops only, which makes a neat ridge that helps the cover turn the corner from the base to the sides. After that, work in both loops as normal.
- Round 4: ch 1, sc in the back loop only of each st around, join with a sl st to the first sc. (30 sc)
- Rounds 5-6: change to color B, ch 1, sc in each st around, join with a sl st to the first sc. (30 sc per round)
Try the tape in the cover now. The base should sit flat, and the sides should reach about a quarter of the way up the case. If the sides flare out, go down a hook size for the rest of the body. If they pull in, relax your grip a little.
Part 2: The Body, the Loop, and the Button Tab
The body is worked straight up in stripes, two rounds of teal and two rounds of cream, until it reaches the top of the tape. Keep the join at the back, and the front will look neat and even.
The Striped Body
Continue from round 6, keeping the same stitch count all the way up.
Work rounds 7-14 in stripes, two rounds of color A then two rounds of color B, repeating: ch 1, sc in each st around, join with a sl st to the first sc. (30 sc per round)
After round 14, the body should reach the top of the tape. Slide the tape in and check. The top edge should sit just below the top of the case, so the metal end and the button stay visible. If the body is too short, work two more rounds. If it is too tall, pull back two rounds. Do not fasten off yet.
The Top Edge
The top edge is one round of slip stitches in color A, worked loosely so the opening stays stretchy. A tight edge makes the tape hard to slide in and out, so keep these stitches relaxed.
- Round 15: change to color A, ch 1, sl st loosely in each st around, join with a sl st to the first sl st. Fasten off color A, leaving a 6 inch tail to weave in later. (30 sl st)
The slip stitch edge gives the opening a firm, tidy rim, and it stops the top from stretching out of shape. If your slip stitches are very tight, go up a hook size for this round only.
The Hanging Loop
The loop is worked at the top back of the cover, right above the join, so it hangs straight and does not pull the cover sideways.
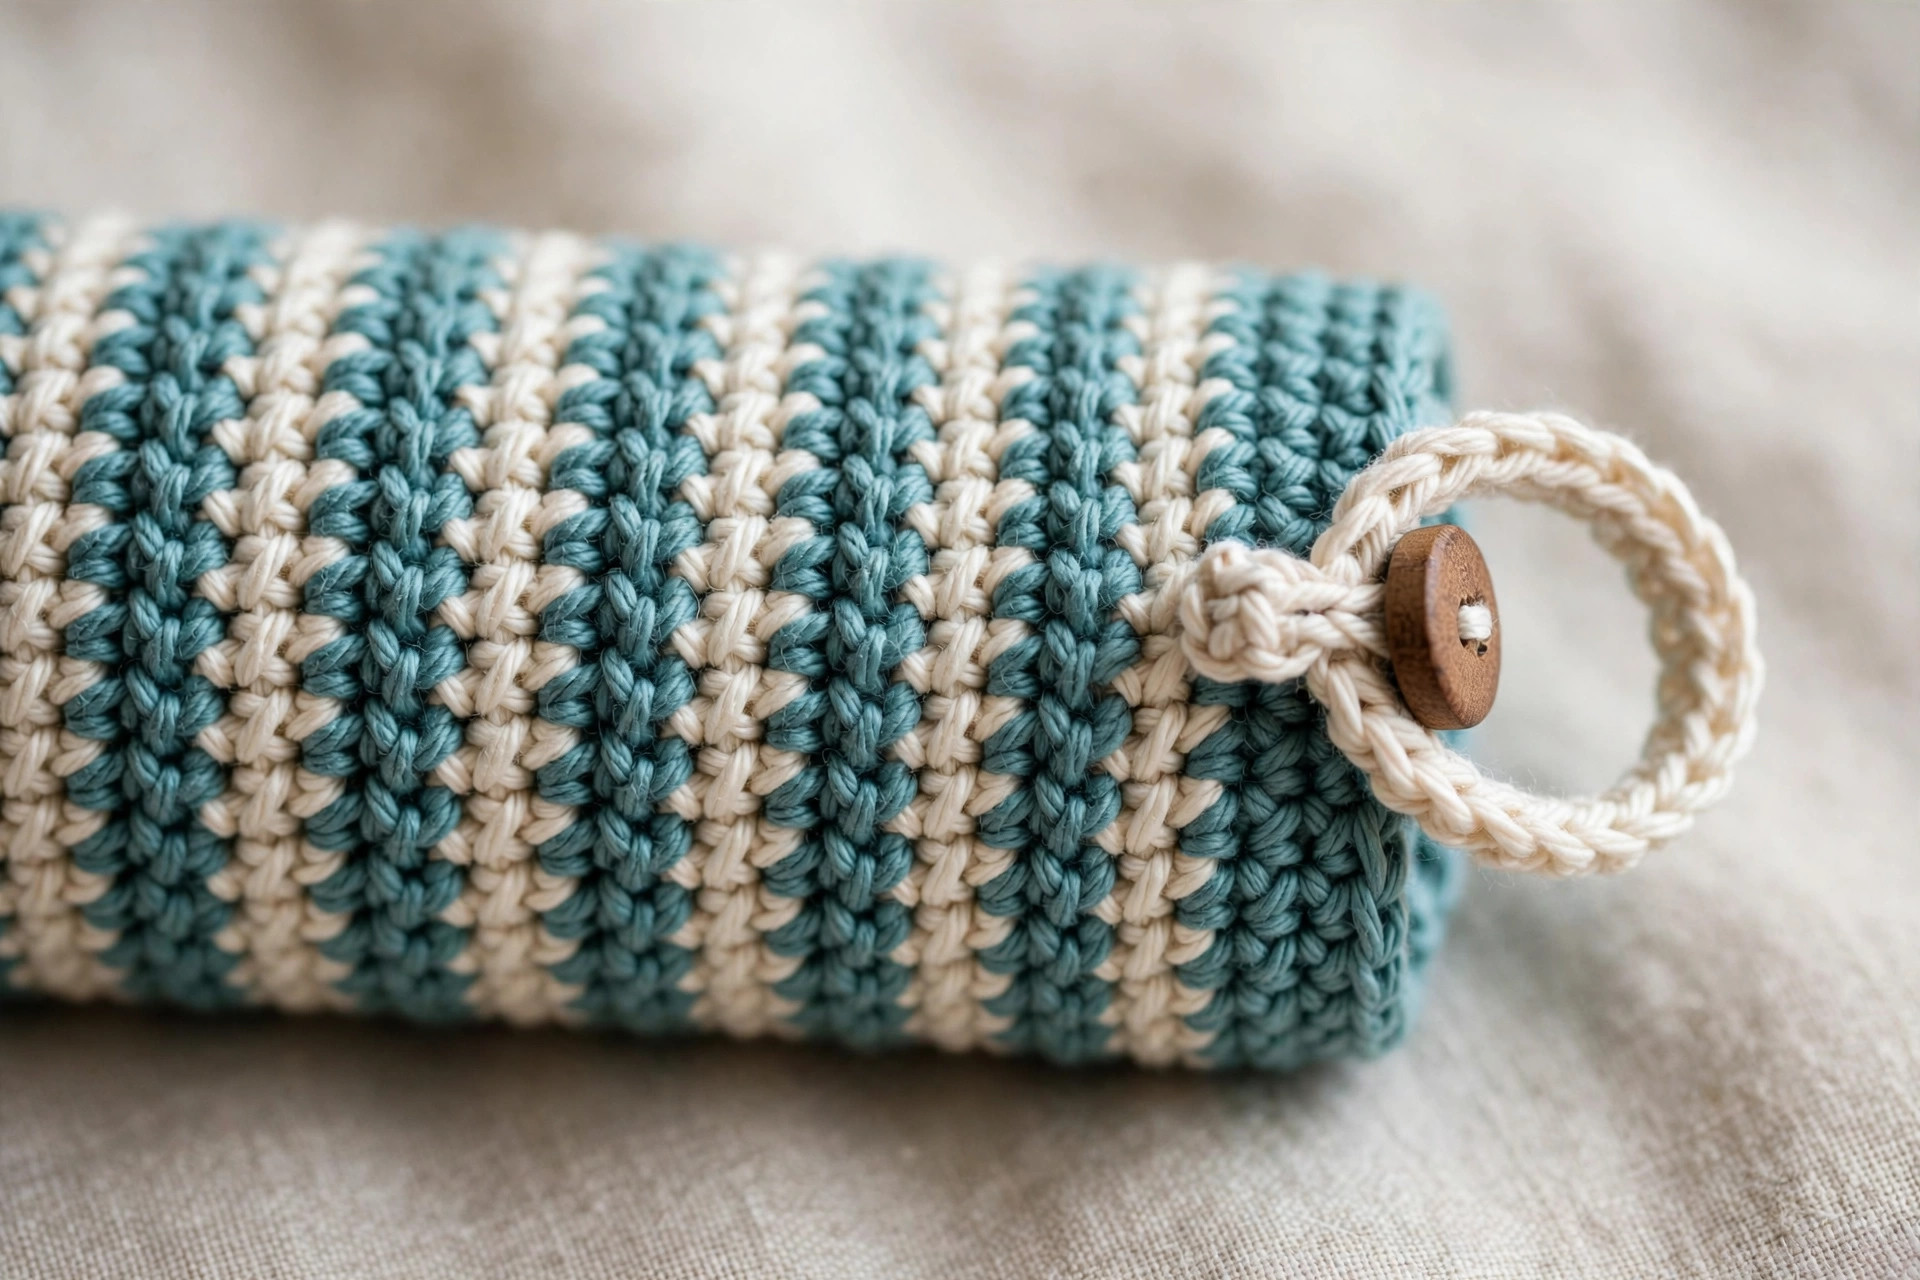
With color A, join the yarn with a sl st at the back of the top edge, at the stitch right above the join. Ch 12, then join with a sl st into the stitch 2 stitches to the left of the starting stitch. This makes a loop about 2 inches long, which fits over a bag handle, a hook, or a belt loop.
Work back along the chain to strengthen it: ch 1, sc in each ch across the loop, then sl st into the same stitch where the loop started. Fasten off, leaving a 6 inch tail. Use the tail to stitch the base of the loop down firmly, wrapping the yarn around it two or three times, then weave the end inside the cover.
The Button Tab
The button tab is a small flap at the bottom front of the cover, and it holds the tape in place so it cannot slide out when the cover hangs upside down. It is worked separately, then sewn on.
With color B, ch 6.
- Row 1: sc in the 2nd ch from the hook and in each ch across, turn. (5 sc)
- Rows 2-3: ch 1, sc in each st across, turn. (5 sc)
- Row 4: ch 1, sc in the first st, ch 2, skip 2 sts, sc in each of the last 2 sts, turn. (2 sc, 1 ch-2 buttonhole)
- Row 5: ch 1, sc in the first st, sc in each of the 2 ch, sc in each of the last 2 sts. Fasten off, leaving a 10 inch tail. (5 sc)
Sew the tab to the bottom front of the cover with the tail, about 0.5 inch up from the base, with the buttonhole at the top. Sew the button to the front about 1 inch above the tab, so the tab folds up and the button slips through the hole.
Part 3: Fitting, Finishing, and the First Use
Fitting turns a good cover into a great one, so do not skip it. A cover that is too loose will slide off in your bag, and one that is too tight will be a fight every time you need a measurement.
Fitting the Cover
Slide the tape in and check four things: the base sits flat, the sides hug the case with no gaps, the top edge sits just below the top so you can press the tape button and pull the metal end out, and the loop hangs straight with the tab closing without pulling.
If the cover is too loose, work one round of single crochet around the top edge, decreasing by 2 stitches evenly spaced, which tightens the opening just enough to grip the tape. If it is too tight, work the top edge again with a larger hook. Our crochet pencil case pattern uses the same fit check, because a snug sleeve only works when it is fitted to the thing inside it.
Finishing
Weave in every yarn end with a tapestry needle, working the tail through the back of several stitches in the same color, then trimming it close. Take care with the ends at the color changes, because they sit at the back and can poke through to the front if they are left long.
Shape the cover with your hands, pressing the base flat and smoothing the sides. If the cotton looks uneven, mist it lightly with water, shape it around your tape, and let it dry with the tape inside.
The First Use
Slide the tape in, close the button tab, and hang the cover on your project bag by the loop. Try pulling the tape out and putting it back a few times, so the opening relaxes just enough.
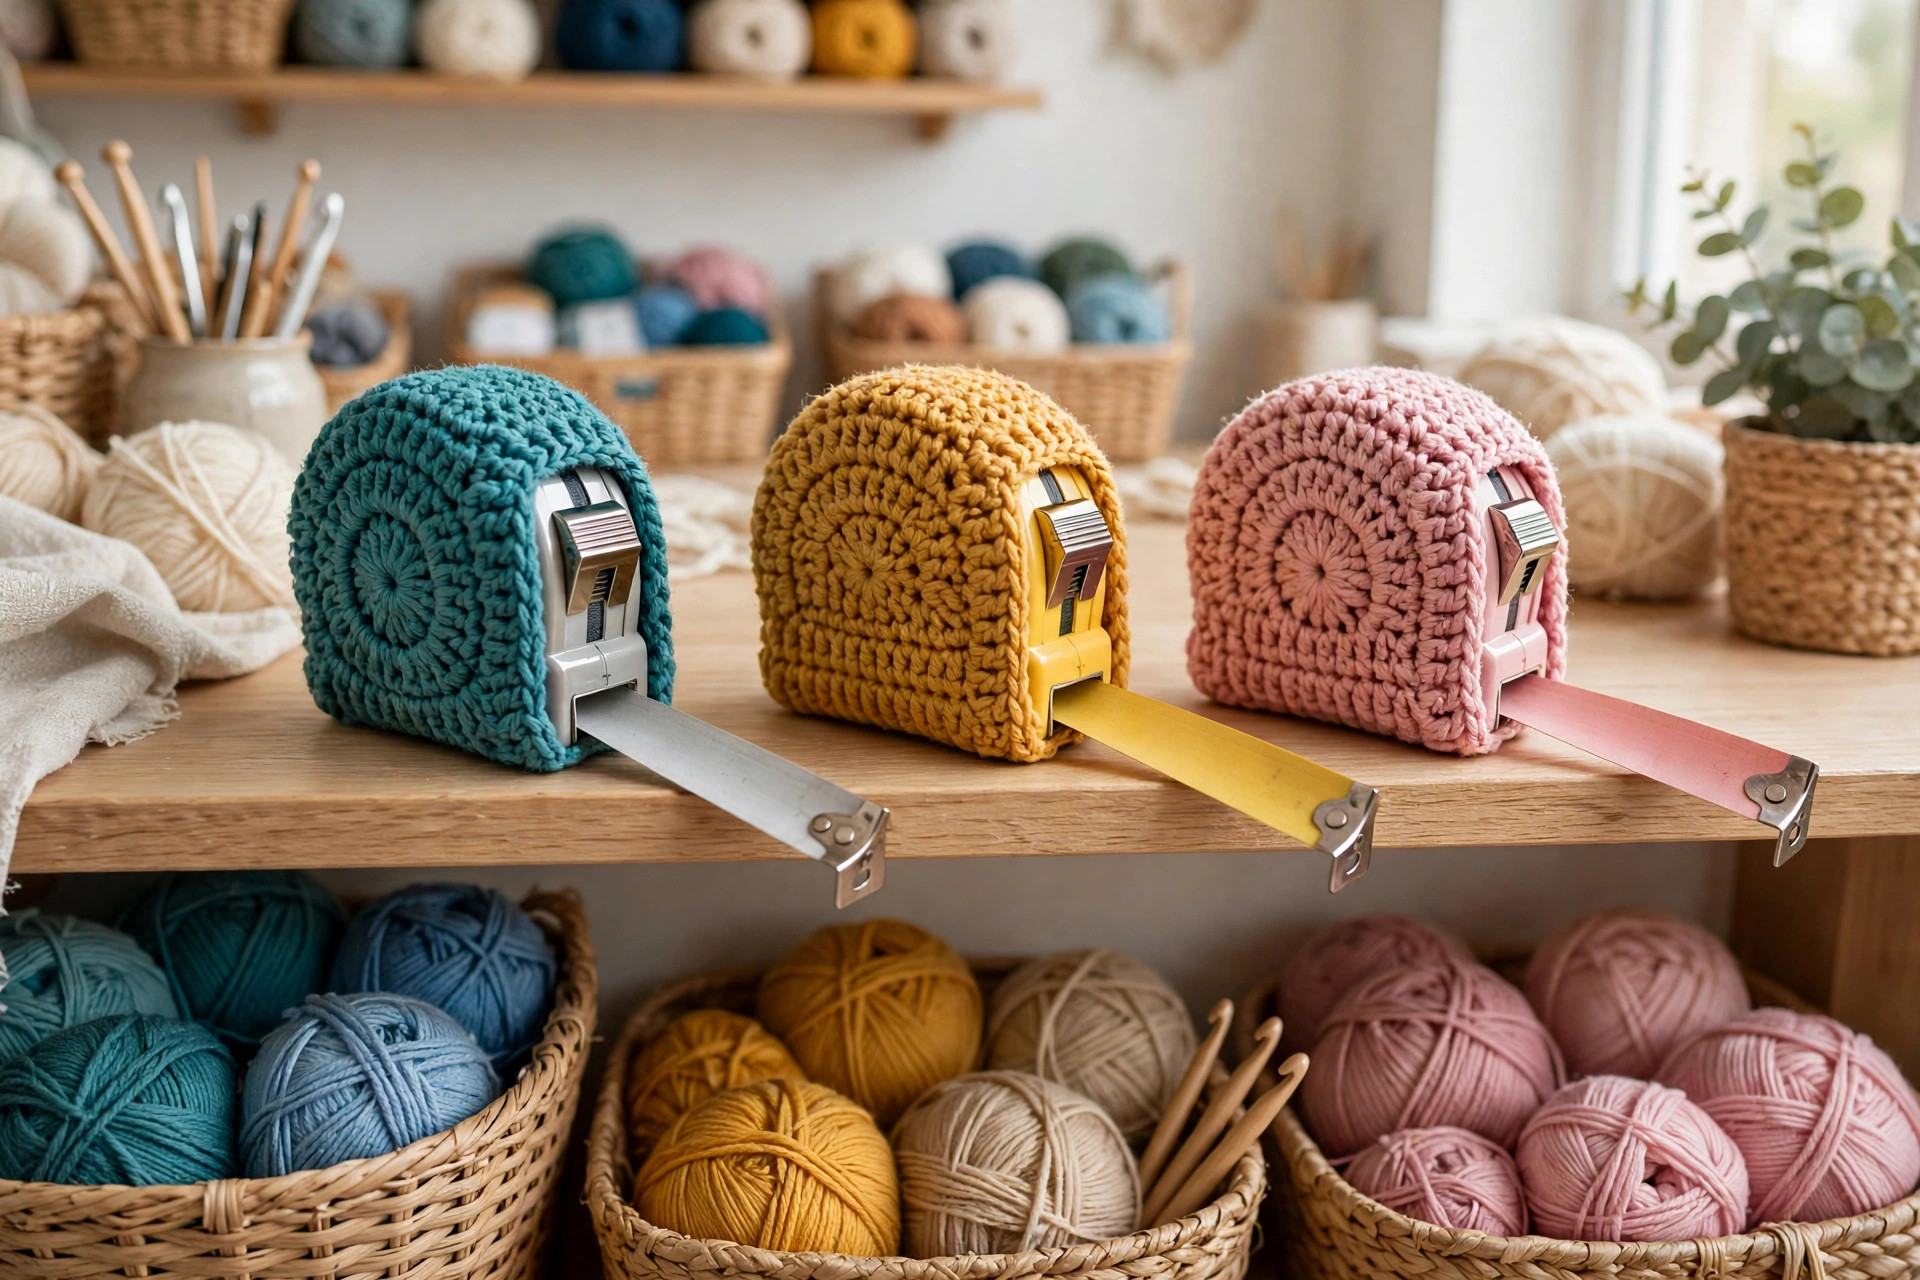
Hang it on the outside of your bag at a craft fair or a stitching group, where other makers can see it. A matching set in three colors makes a sweet gift bundle, and it fits neatly beside our crochet whale pattern in a gift basket. Our crochet tote bag pattern has room for the whole set. Our crochet coaster pattern makes another quick gift in the same yarn.
Variations: Colors, Sizes, and Uses
- Solid color cover: work the whole cover in one color for a clean, simple look, and add a contrasting loop.
- Rainbow stripes: change color every round for narrow bright stripes, using up small scraps one color per round.
- Loop only, no button: skip the button tab and work the cover a little shorter, so the top edge grips the tape.
- Keychain tape cover: make the small 2 inch version, and work the loop longer, about 4 inches, so it clips to a key ring.
- Sewing tape cover: make the cover a little taller and narrower for a small sewing tape measure, with one fewer increase round.
Troubleshooting a Cover That Is Too Loose or Too Tight
- My cover slides off the tape. Work a decrease round at the top, or rework the body with a smaller hook.
- My tape will not fit inside. Add an increase round to the base, or rework the body with a larger hook.
- My base is round, not oval. Round 2 needs 3 increases at one end and 2 at the other, matching the chain ends.
- My stripes look uneven. Keep the join at the back, and change color on the last yarn over of the last stitch in the old color.
- My loop flops over. Use one fewer chain, and work the strengthening row of single crochet back along it.
- My buttonhole is too tight. Work the buttonhole row with a larger hook, or open it gently with the tip of your hook.
Care Instructions
Hand wash in cool water with a mild detergent, press the water out without wringing, and lay it flat to dry with the tape inside, so it keeps its shape. Do not use a hot dryer, and do not iron it while the tape is inside.
Frequently Asked Questions
Is this crochet tape measure cover pattern good for beginners?
Yes, it is a great first project worked in the round. You need chains, single crochet, increases, and decreases, and every round ends with a stitch count.
What size tape measure does this cover fit?
A standard retractable tape measure about 3 inches wide, 3 inches tall, and 1 inch deep. The sizing notes explain how to adjust it for a wider or narrower tape.
What yarn is best for a crochet tape measure cover?
Worsted weight cotton yarn is the best choice, because it is sturdy and holds its shape. Teal and cream give the classic look in the photos.
How much yarn do I need for one cover?
Less than 30 yards in total, about 20 yards of the main color and 15 yards of the contrast color.
Can I make the cover without the button tab?
Yes, skip the tab and the button and work the cover a little shorter, so the top edge grips the tape.
Can I sell covers made from this pattern?
Yes, you may sell finished covers made from this free pattern, with credit to Little Loop Finds. Please do not sell or republish the pattern text itself.
Happy stitching, and may your little tape measure cover keep your favorite tape close at hand on every project.