Crochet Whale Pattern (Free Amigurumi)
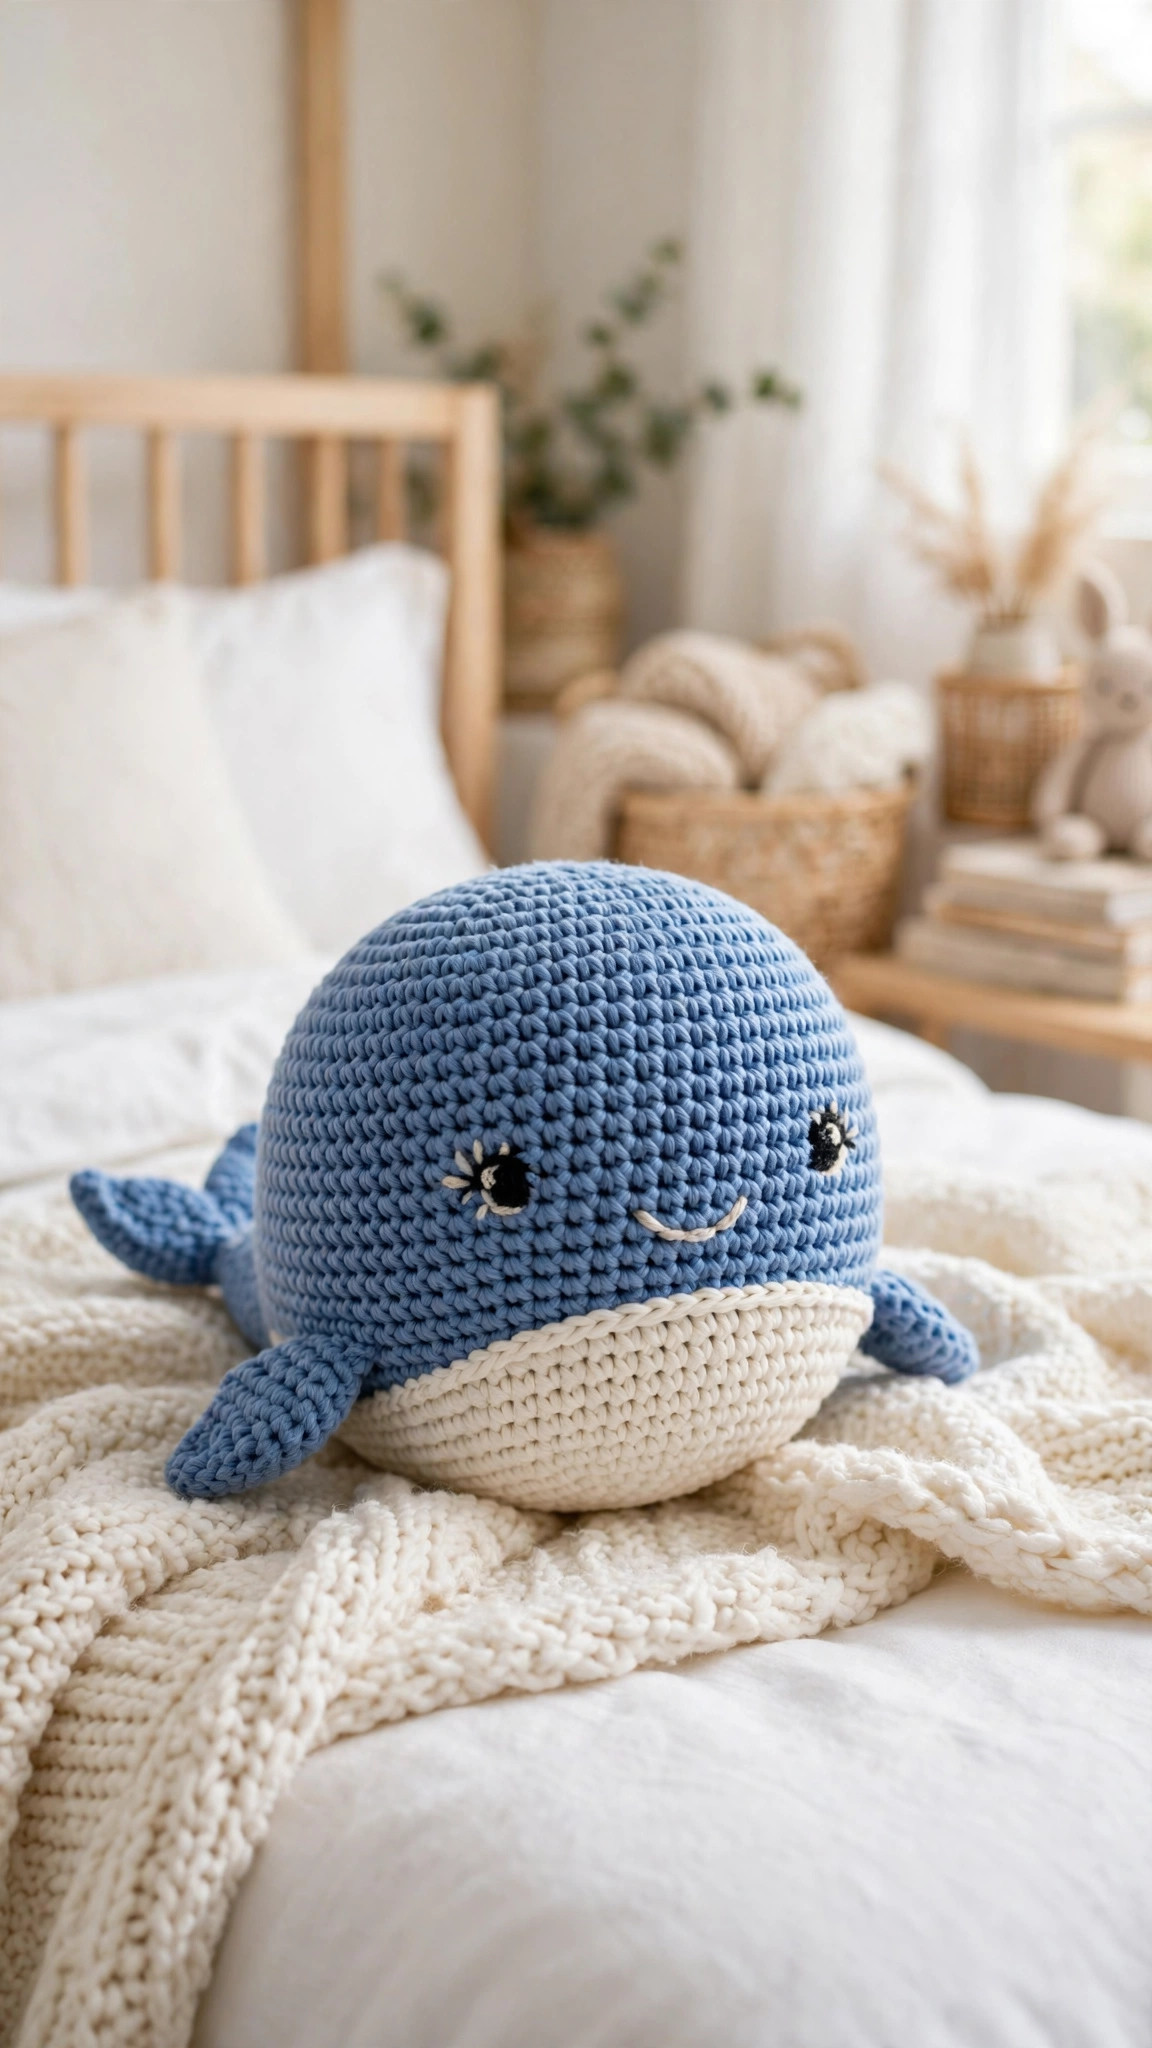
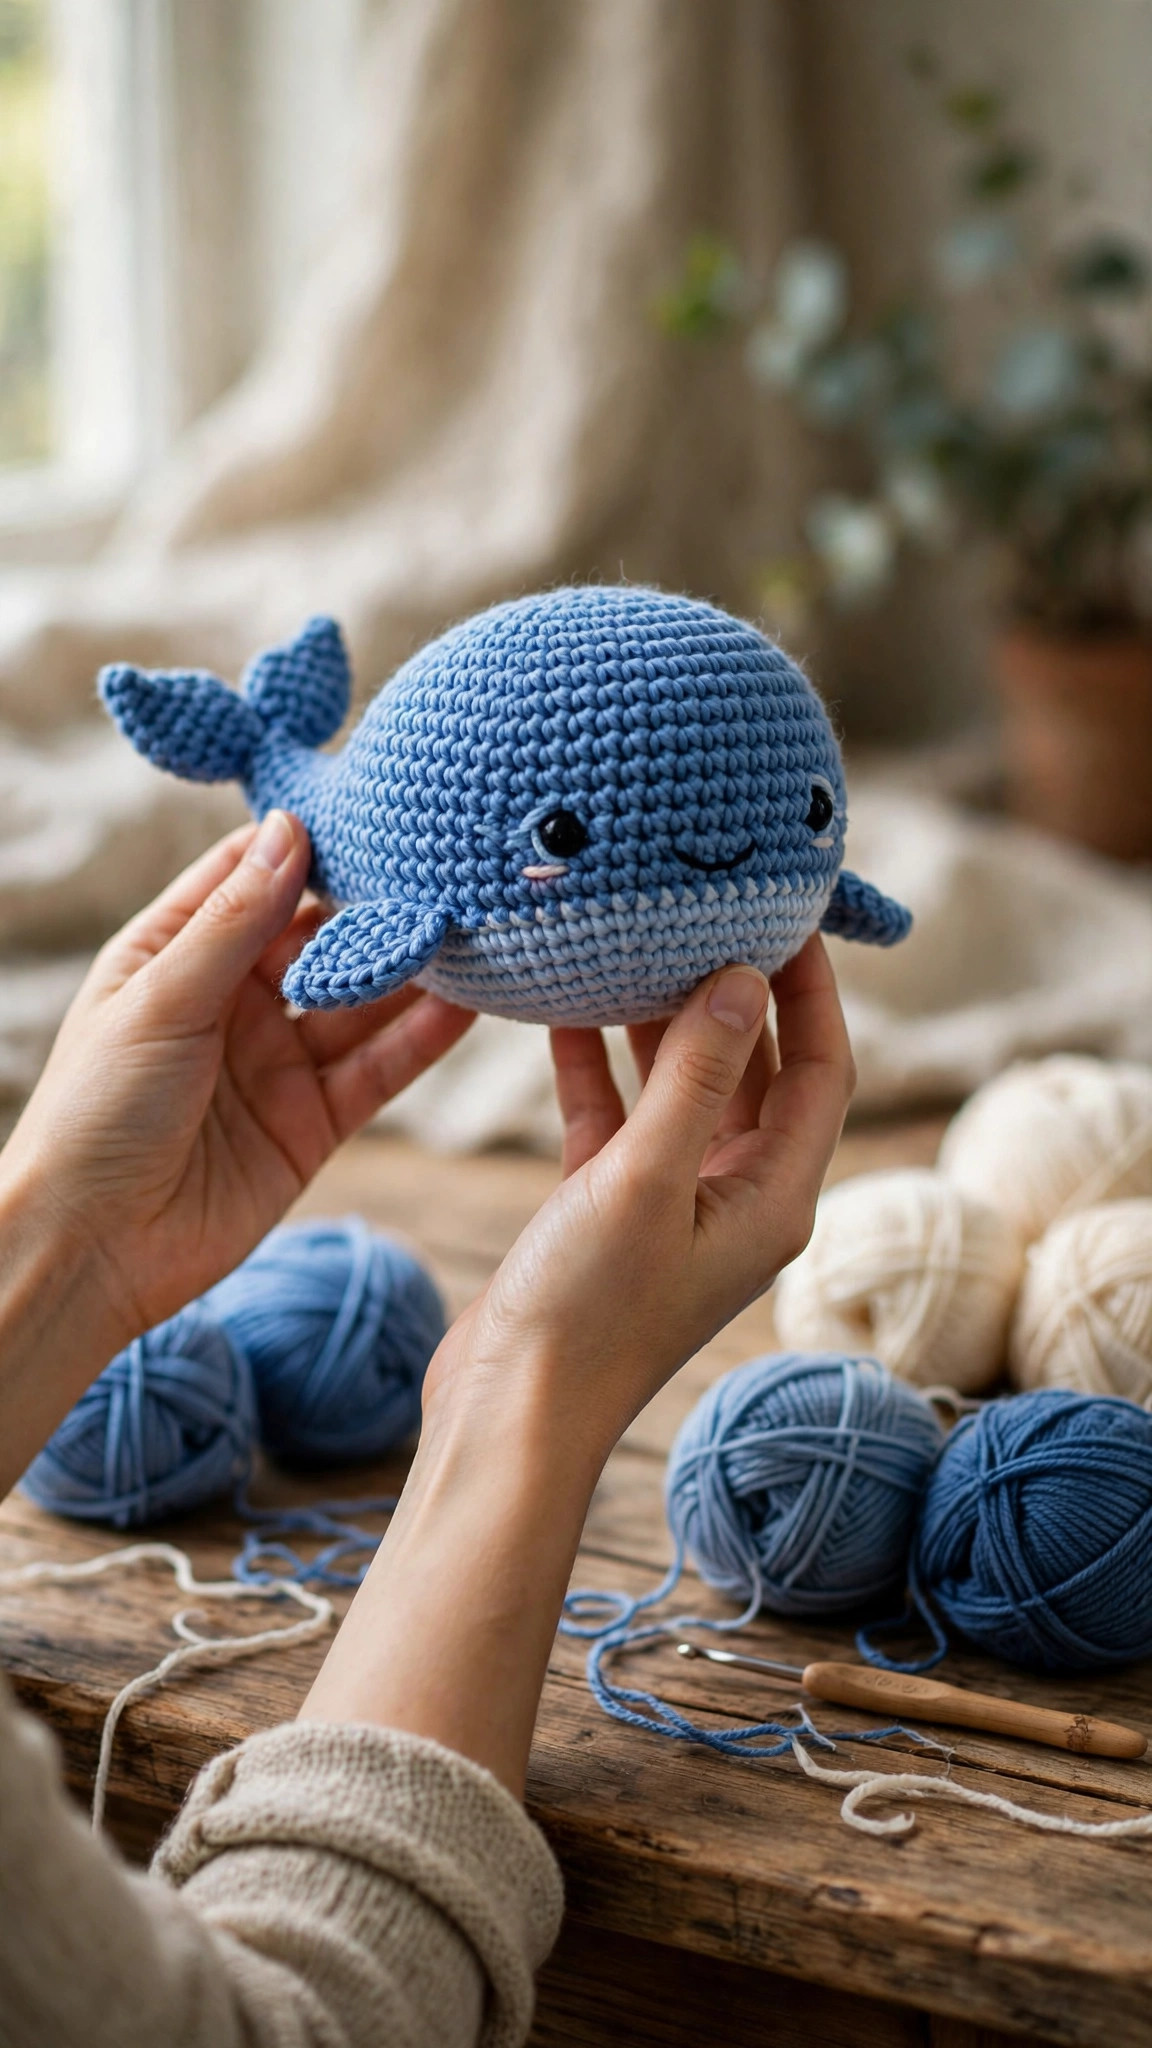
Crochet a friendly blue whale with a cream belly, tail and fins, then sit it on a nursery shelf or give it as a gift.

Patterns · Crochet
- Finished size
- 8 x 5 in
- Making time
- 3 hours per whale
- Hook
- US G-6 (4.0 mm)
- Set
- Whale, belly, tail
- Skill
- Easy
In this post
- Key Takeaways
- Table of Contents
- Why You Will Love This Crochet Whale
- Finished Size, Skill Level, and Time
- Materials You Need
- Abbreviations (US Terms)
- Gauge and Sizing Notes
- Part 1: The Whale Body
- Part 2: The Belly, the Tail, and the Fins
- Part 3: Assembly, Face, and Finishing
- Variations: Colors, Sizes, and Uses
- Troubleshooting a Whale That Wobbles or Gapes
- Care Instructions
- Frequently Asked Questions
A crochet whale is one of the sweetest amigurumi projects you can make. A round blue body, a cream belly, a little tail, and a friendly smile, all in simple rounds. This free pattern walks you through every step, from the magic ring to the last stitch of the tail.
This is an original Little Loop Finds design, written in US terms and completely free. The whale is worked in the round in single crochet, with a cream belly panel sewn on and small fins and tail flukes added at the end. If you can crochet a magic ring, a single crochet, and an increase and decrease, you can crochet this whale.
This post is about one specific whale, a friendly blue whale plush about 8 inches long, with a cream belly, a tail, and two fins. It is not a life size whale or a whale blanket. If you want another sea friend to go with it, our crochet octopus plush makes a lovely companion.
Key Takeaways
- Free original pattern: this crochet whale pattern is a Little Loop Finds original design, written in US terms.
- A cute friendly whale: a round blue body with a cream belly, small tail and fins, and a sweet smile.
- Beginner friendly amigurumi: single crochet in the round only, with increases and decreases explained step by step.
- A quick weekend make: one whale takes about 3 hours, belly, tail, fins, and face included.
- Three ways to use it: sit it on a nursery shelf, give it as a baby shower gift, or pair it with other sea friends.
Table of Contents
- Why You Will Love This Crochet Whale
- Finished Size, Skill Level, and Time
- Materials You Need
- Abbreviations (US Terms)
- Gauge and Sizing Notes
- Part 1: The Whale Body
- Part 2: The Belly, the Tail, and the Fins
- Part 3: Assembly, Face, and Finishing
- Variations: Colors, Sizes, and Uses
- Troubleshooting a Whale That Wobbles or Gapes
- Care Instructions
- Frequently Asked Questions
Why You Will Love This Crochet Whale
There is something about a whale that makes everyone smile. Maybe it is the round body, or the gentle face, or the way it looks happy just sitting on a shelf. A crochet whale brings that calm feeling into a nursery or a living room.
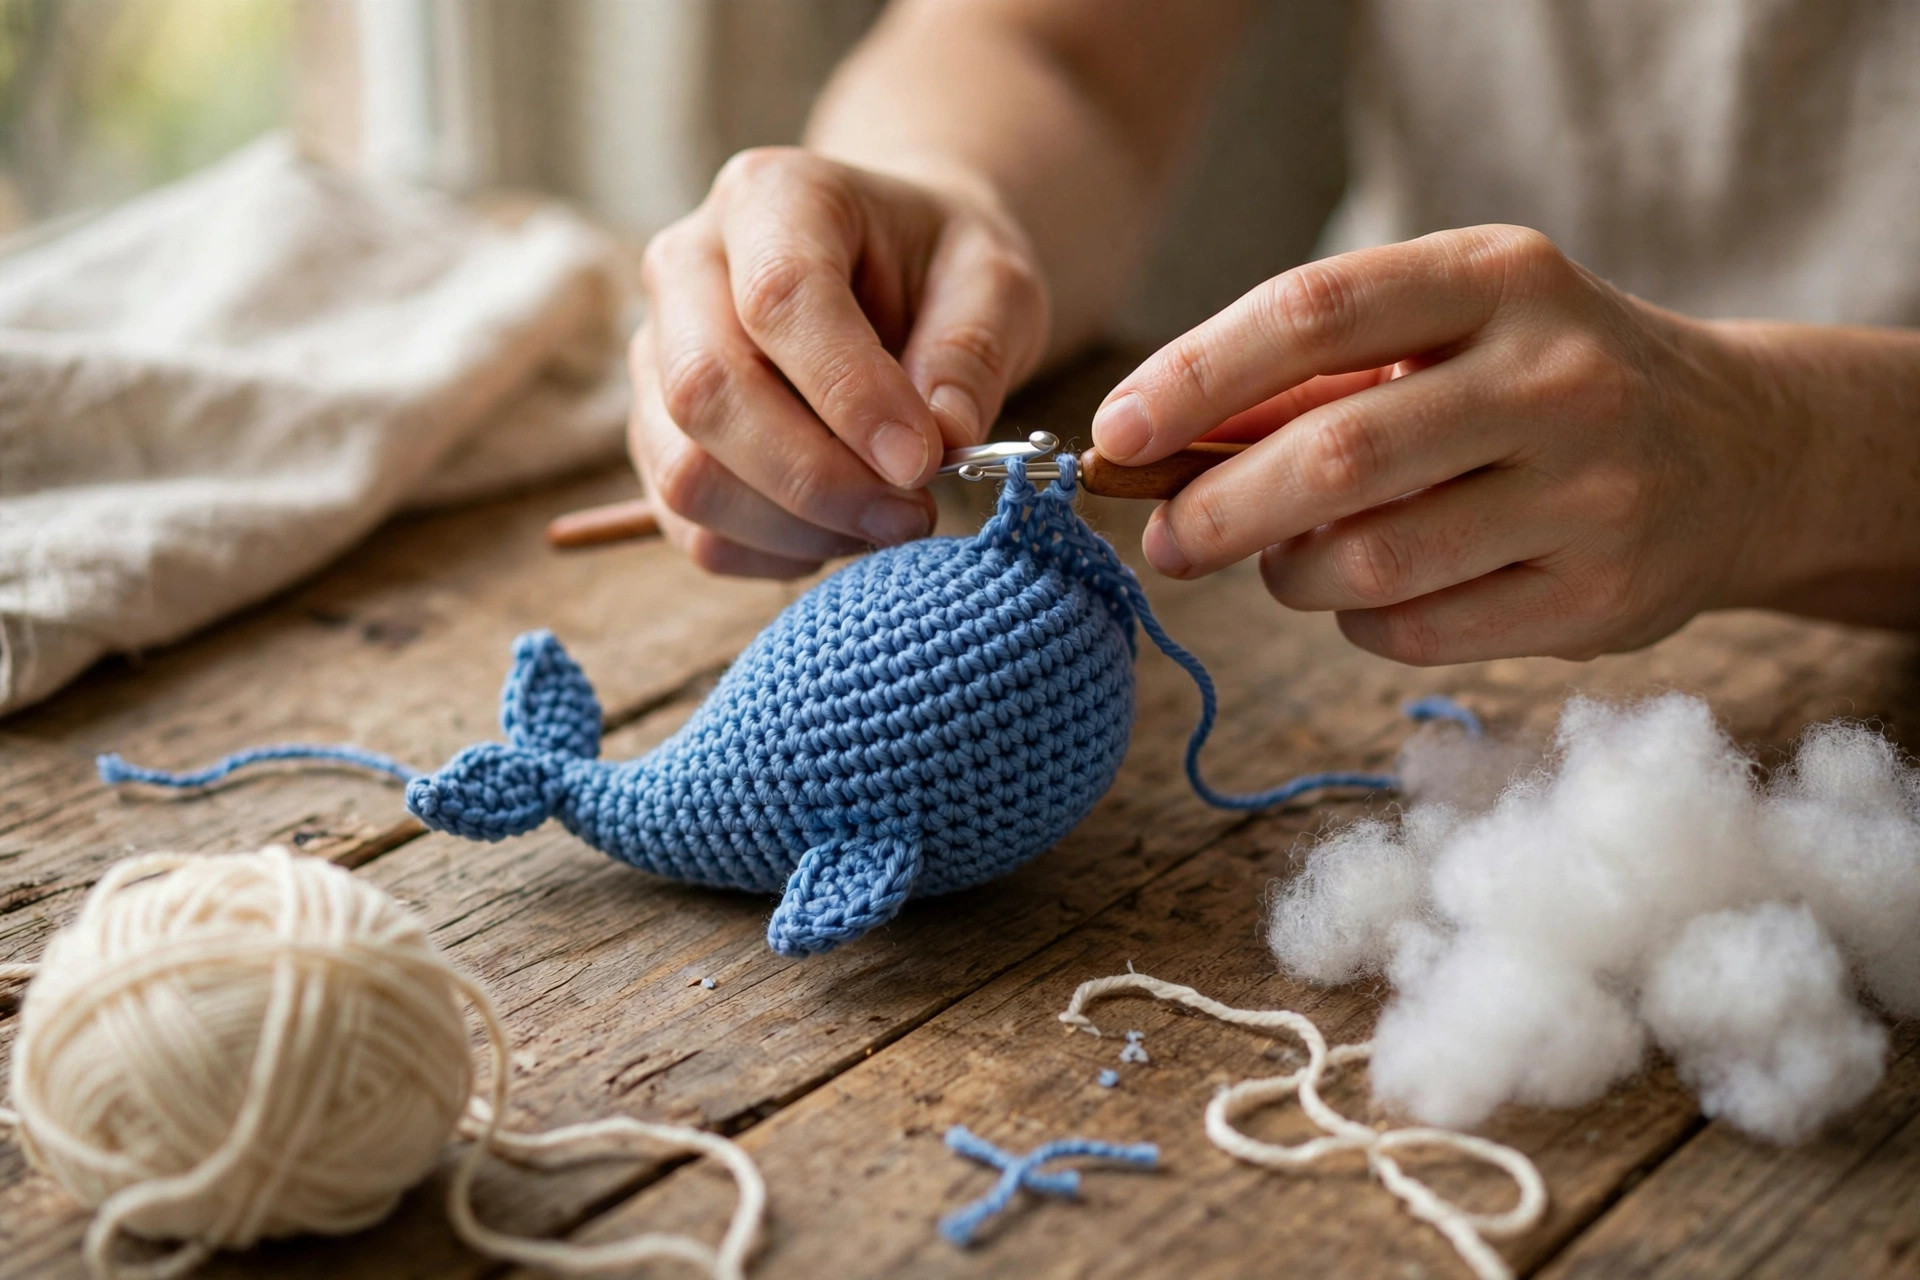
A crochet whale is also a wonderful first amigurumi project. The body is one simple shape, a ball that grows and then shrinks, and the belly, tail, and fins are small pieces you can finish quickly. You learn the magic ring, decreases, and stuffing, all on a project that forgives small mistakes.
The whale suits almost any gift occasion, a baby shower, a birthday, or a friend who loves the sea, and it is soft and safe for little hands once the face is embroidered.
Finished Size, Skill Level, and Time
- Finished size: about 8 inches long and 5 inches wide, in worsted weight yarn, plus a 2 inch tail.
- Skill level: Easy. You need a magic ring, chains, single crochet, increases, and decreases.
- Time: about 3 hours per whale: 2 hours for the body and 1 hour for the rest.
Materials You Need
| Item | What to get |
|---|---|
| Yarn, color A | Worsted weight (size 4) yarn in soft blue, 120 yards |
| Yarn, color B | Worsted weight (size 4) yarn in cream, 40 yards |
| Yarn, black | Worsted weight (size 4) yarn in black, a few yards for the face |
| Hook | US G-6 (4.0 mm), or the size that gives you the gauge below |
| Notions | Tapestry needle, scissors, stitch markers, polyester stuffing, pins |
Worsted weight yarn is the best choice for a whale because it works up quickly, the stitches are tight enough to hold the stuffing in, and the finished whale is soft but firm. A smooth acrylic or cotton blend works well, because it shows clean stitch definition. Soft blue and cream are the colors in the photos. Avoid fuzzy yarns, because they hide the shape.
Use polyester stuffing, adding it a little at a time, so the whale stays smooth. Safety eyes are not used here, because the face is embroidered, which keeps the whale safe for babies.
Abbreviations (US Terms)
- ch = chain
- sl st = slip stitch
- sc = single crochet
- inc = increase (2 sc in one stitch)
- dec = decrease (sc 2 together)
- st(s) = stitch(es)
- rep = repeat
- RS = right side
- WS = wrong side
Gauge and Sizing Notes
Gauge matters for amigurumi, because the stitches must be tight enough to hide the stuffing. Work a swatch of 12 sc stitches and 12 rows in color A. It should be about 3 inches wide and 2.5 inches tall. If it is wider, go down a hook size. If it is narrower, go up a hook size.
The whale in this pattern is about 8 inches long and 5 inches wide, with a tail that adds about 2 inches. To make a smaller whale, use DK weight yarn and a 3.5 mm hook, for a whale about 6 inches long. To make a larger whale, use bulky weight yarn and a 5.5 mm hook, for a whale about 11 inches long. Follow the same round counts either way.
If your whale looks more like a ball than a whale, do not worry. The belly panel and the tail stretch the body into shape once they are sewn on. Our crochet shark pattern uses the same grow then shrink body, with a different tail.
Part 1: The Whale Body
The body is worked in the round in color A, starting with a magic ring at the nose and growing out to the widest part, then working straight for a while, then shrinking toward the tail end. Place a stitch marker in the first stitch of every round, and move it up as you work. Do not join the rounds, just keep working in a spiral.
Growing the Body
Start with a magic ring, or chain 2 and work into the first chain if you prefer. Work in color A throughout this part.
Start with 6 sc in a magic ring, then increase by 6 stitches each round: round 2, inc in each st (12 sc); round 3, (sc, inc) 6 times (18 sc); round 4, (2 sc, inc) 6 times (24 sc); round 5, (3 sc, inc) 6 times (30 sc); round 6, (4 sc, inc) 6 times (36 sc); round 7, (5 sc, inc) 6 times (42 sc); round 8, (6 sc, inc) 6 times (48 sc).
After round 8, the body should be about 5 inches across at its widest point. The nose is the closed end where you started. If the nose looks pointy, gently push it round with your finger, because the stuffing will smooth it out later.
The Straight Middle
The middle of the body is worked with no increases or decreases, which gives the whale its long, gentle shape. Keep your tension even here, because loose stitches will show the stuffing later.
- Rounds 9-16: sc in each st around. (48 sc per round)
After round 16, the body should be about 5 inches long from the nose to the open edge. If it looks too short, work two more plain rounds. If it looks too long, pull back two rounds.
Shrinking Toward the Tail
The tail end shrinks in the same steps as the nose grew, which keeps the body balanced. Start stuffing when the opening gets small.
Decrease by 6 stitches each round: round 17, (6 sc, dec) 6 times (42 sc); round 18, (5 sc, dec) 6 times (36 sc); round 19, (4 sc, dec) 6 times (30 sc); round 20, (3 sc, dec) 6 times (24 sc); round 21, (2 sc, dec) 6 times (18 sc); round 22, (sc, dec) 6 times (12 sc); round 23, dec 6 times (6 sc).
Stuff the body firmly before round 21, then add a little more after round 22, pushing it into the nose and the tail end with the blunt end of your hook. The body should feel firm and springy. Fasten off, leaving a 10 inch tail, then thread the tail through the front loops of the last 6 stitches, pull it tight to close the hole, and weave the end inside the body.
Part 2: The Belly, the Tail, and the Fins
The belly, tail, and fins are small pieces, and each one is quick to make. Work them in the same tight tension as the body, so the pieces match. Pin each piece in place before you sew it, and check the whale from the front and the side.
The Cream Belly
The belly is a flat oval panel in color B, sewn onto the lower front of the body. It starts with a chain, then you work around both sides of the chain, which makes the oval shape.
With color B, ch 9.
- Round 1: sc in the 2nd ch from the hook, sc in each of the next 6 ch, 3 sc in the last ch, turn to work along the other side of the chain, sc in each of the next 6 ch, 2 sc in the last ch, join with a sl st to the first sc. (18 sc)
- Round 2: ch 1, 2 sc in the first st, sc in each of the next 6 sts, 2 sc in each of the next 3 sts, sc in each of the next 6 sts, 2 sc in each of the next 2 sts, join with a sl st to the first sc. (24 sc)
- Round 3: ch 1, sc in the first st, 2 sc in the next st, sc in each of the next 7 sts, (sc in the next st, 2 sc in the next st) 3 times, sc in each of the next 7 sts, (sc in the next st, 2 sc in the next st) 2 times, join with a sl st to the first sc. (30 sc)
- Round 4: ch 1, sc in each st around, join with a sl st to the first sc. Fasten off, leaving a 12 inch tail. (30 sc)
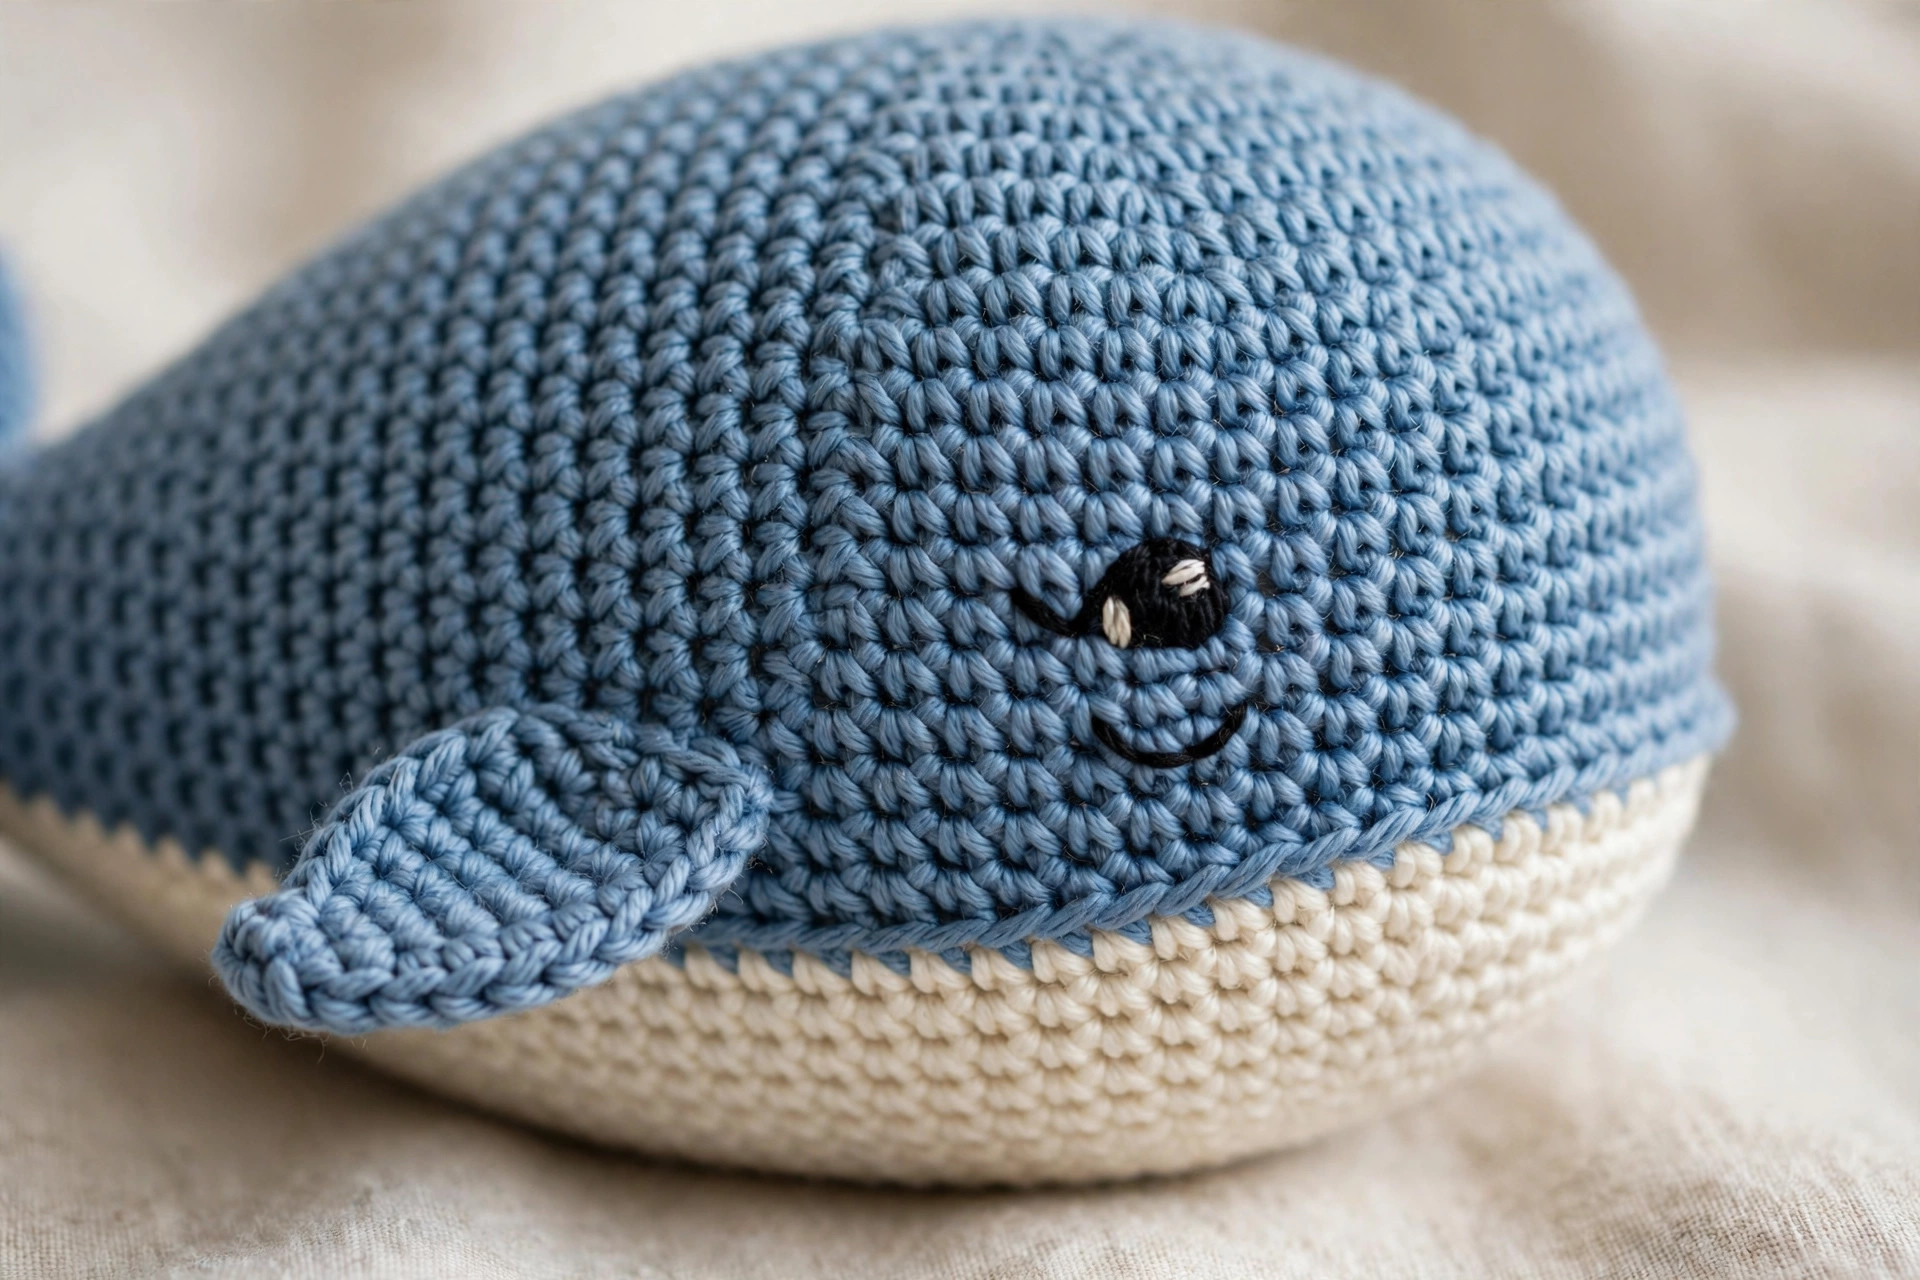
After round 4, the belly panel should be about 4 inches long and 2 inches wide. Lay it on the lower front of the body, with the long edge running from the nose toward the tail, and the top edge just below the middle of the body. Pin it in place, then sew it on with the tail, working a whip stitch around the edge. Do not stuff the belly, because it should sit flat. Our free crochet dolphin pattern uses the same belly panel, in a smaller size.
The Tail
The tail has two flukes, each worked the same way, then sewn together at the center and sewn to the tail end of the body. Work both in color A.
For each fluke, start with a magic ring.
Round 1: 6 sc in a magic ring. Round 2: (sc, inc) 3 times (9 sc). Round 3: (2 sc, inc) 3 times (12 sc). Rounds 4-5: sc in each st around (12 sc). Round 6: (2 sc, dec) 3 times (9 sc).
Fasten off the first fluke, leaving a 6 inch tail. Do not fasten off the second fluke; leave a 12 inch tail instead. Flatten each fluke gently, then hold the two flukes side by side and sew them to each other along the inner edge, so they form a wide tail with a notch in the middle. Sew the tail to the closed tail end of the body with the long tail, working around the base of the flukes, so the tail stands out straight behind the whale.
The Fins
The fins sit low on the sides of the body, just above the belly panel. Make two, both in color A.
For each fin, start with a magic ring.
Round 1: 6 sc in a magic ring. Round 2: (sc, inc) 3 times (9 sc). Rounds 3-4: sc in each st around (9 sc).
Fasten off, leaving a 10 inch tail. Flatten each fin gently, then sew it to the side of the body with the tail, about 2 inches back from the nose and just above the top edge of the belly panel. Sew along the top edge of the fin only, so the fin sticks out a little. Check that both fins sit at the same height and point slightly downward.
Part 3: Assembly, Face, and Finishing
Assembly turns a blue ball with loose pieces into a whale, so take your time and pin everything before you sew.
Putting It Together
Lay the whale on its side and check the whole shape. The nose should be round, the body should taper gently toward the tail, and the belly panel should sit flat on the lower front. If the body looks lumpy, push the stuffing around with your fingers until it is smooth.
Sew the pieces in this order: belly first, then tail, then fins. The belly sets the front of the whale, so everything else lines up from it. After each piece, turn the whale over and check it from the other side. Our crochet turtle patterns use the same pin first, sew second order.
The Face
The face is embroidered with black yarn, which keeps the whale safe for babies. Use a tapestry needle and a single strand of black yarn, and work on the front of the body, above the belly panel.
For each eye, make a small French knot or a few straight stitches in a tight circle, about 1 inch above the belly panel and about 1.5 inches apart. Keep the eyes small, about 0.25 inch across. For the smile, work a gentle curve below and between the eyes, using a backstitch, about 1 inch wide. Step back and look at the face from arm's length: the eyes should be level, and the smile should sit in the middle.
Finishing
Weave in every yarn end with a tapestry needle, working the tail through the inside of the body and trimming it close. Give the whale a gentle squeeze all over to settle the stuffing, then shape the tail so both flukes sit flat.
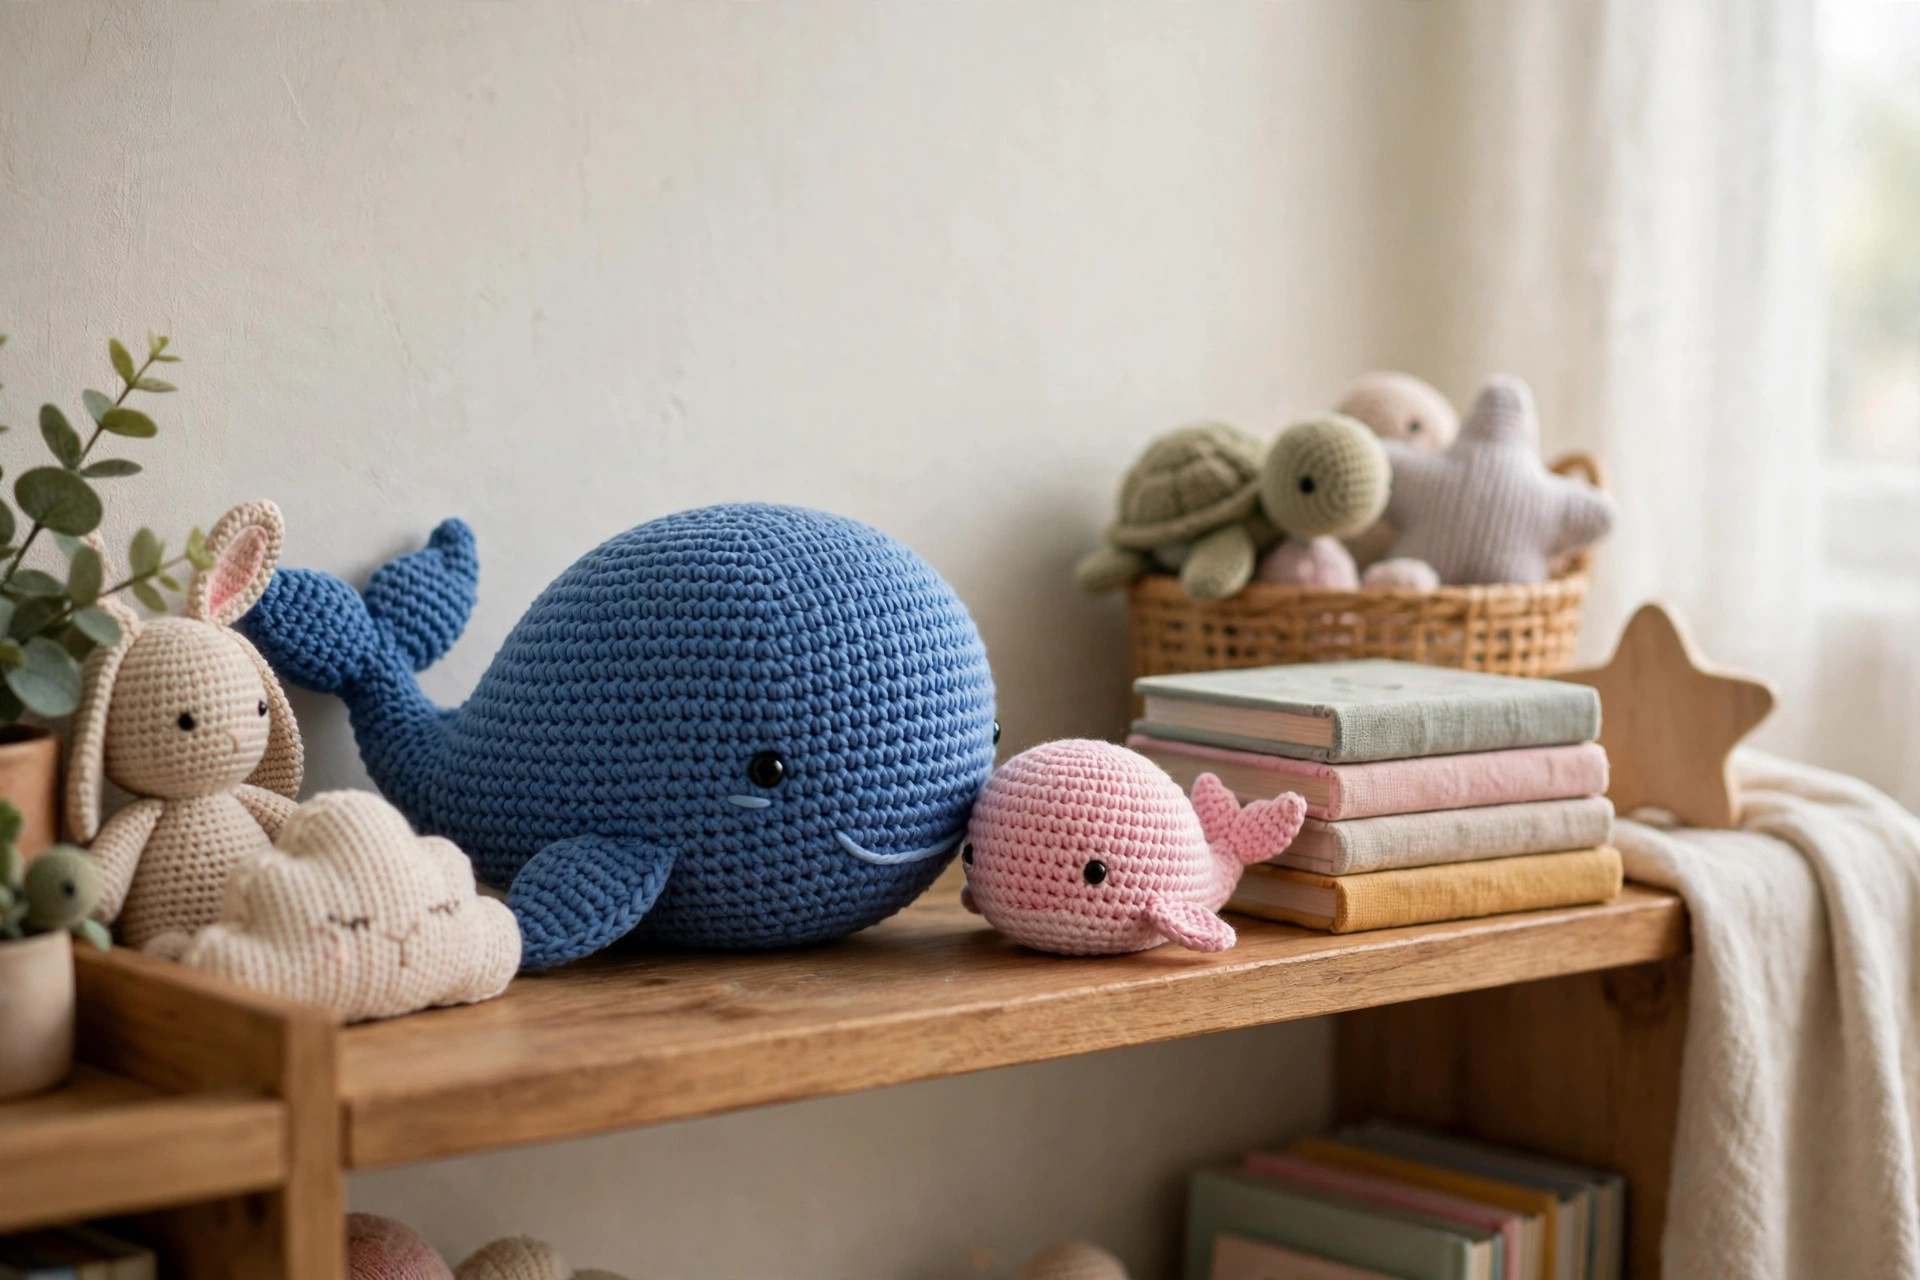
As a nursery decoration, sit the whale on a shelf with the belly facing out, so the smile shows. It also makes a lovely baby shower gift. Our crochet fish pattern makes a smaller friend that fits beside the whale on the same shelf.
Variations: Colors, Sizes, and Uses
- Pink whale: work the body in soft pink and the belly in cream, for a gentle nursery whale.
- Navy whale: work the body in navy blue and the belly in white, for a bold whale that suits an older child. Work in good light, because dark stitches are harder to see.
- Tiny whale: use DK weight yarn and a 3.5 mm hook, for a whale about 6 inches long. Our crochet tape measure cover pattern makes a matching small gift in the same yarn.
- Whale with a spout: work 3 short strands of blue yarn into the top of the head and trim them to about 1 inch, for a playful touch.
- Whale rattle: slip a small rattle insert inside the body before you close round 23, for a baby toy that makes a gentle sound. Check that the insert is fully enclosed.
Troubleshooting a Whale That Wobbles or Gapes
- My stuffing shows through the stitches. Rework the body with a hook one size smaller, and keep the stitches tight.
- My whale will not sit up. Add more stuffing to the lower half, and check that the belly panel is sewn on flat.
- My tail flops down. Sew around the base of the tail again, catching more body stitches, and stuff the flukes lightly.
- My fins sit at different heights. Pin both fins in place first, check them from the front, then sew them one at a time.
- My face looks crooked. Mark the eye spots with pins first, check them from arm's length, then embroider.
- My body has a hole at the tail end. Thread the tail through the front loops again, pull it tight, and knot it inside the body.
Care Instructions
Hand wash in cool water with a mild detergent, press the water out without wringing, and lay it flat to dry. Do not use a hot dryer, and do not iron it. Reshape the tail and fins while the whale is damp, and let it dry fully before giving it to a child.
Frequently Asked Questions
Is this crochet whale pattern good for beginners?
Yes, it is a great first amigurumi project. You need a magic ring, single crochet, increases, and decreases, and every round ends with a stitch count. One whale takes about 3 hours.
What yarn is best for a crochet whale?
Worsted weight yarn is the best choice, because it works up quickly and the stitches are tight enough to hold the stuffing in. Soft blue and cream give the classic look in the photos.
How big is the finished whale?
About 8 inches long and 5 inches wide, in worsted weight yarn with a 4.0 mm hook. The tail adds about 2 inches to the length.
Is this whale safe for babies?
Yes, when the face is embroidered as written, with no safety eyes or buttons. Use polyester stuffing, sew every piece on firmly, and check the seams before giving the whale to a baby.
How do I keep the stuffing from showing?
Work with tight tension and a hook one size smaller than you would use for a blanket. If you can see stuffing, your hook is too big, so go down a size and rework the body.
Can I sell whales made from this pattern?
Yes, you may sell finished whales made from this free pattern, with credit to Little Loop Finds. Please do not sell or republish the pattern text itself.
Happy stitching, and may your little whale bring a calm smile to whoever hugs it.