Crochet Coin Purse Pattern (Free Small Zipper Pouch)
Crochet a small zippered coin purse with a shell stitch band in about 90 minutes, then carry your coins in style.

Patterns · Crochet
- Finished size
- 4 in wide
- Making time
- 1.5 hours
- Hook
- US G-6 (4.0 mm)
- Set
- Purse, zipper
- Skill
- Easy
In this post
- Key Takeaways
- Table of Contents
- Why You Will Love This Crochet Coin Purse
- Finished Size, Skill Level, and Time
- Materials You Need
- Abbreviations (US Terms)
- Gauge and Sizing Notes
- Part 1: The Front and Back Panels
- Part 2: The Shell Stitch Band and Lining
- Part 3: The Zipper, Joining, and Finishing
- Variations: Colors, Closures, and Uses
- Troubleshooting a Purse That Will Not Close
- Care Instructions
- Frequently Asked Questions
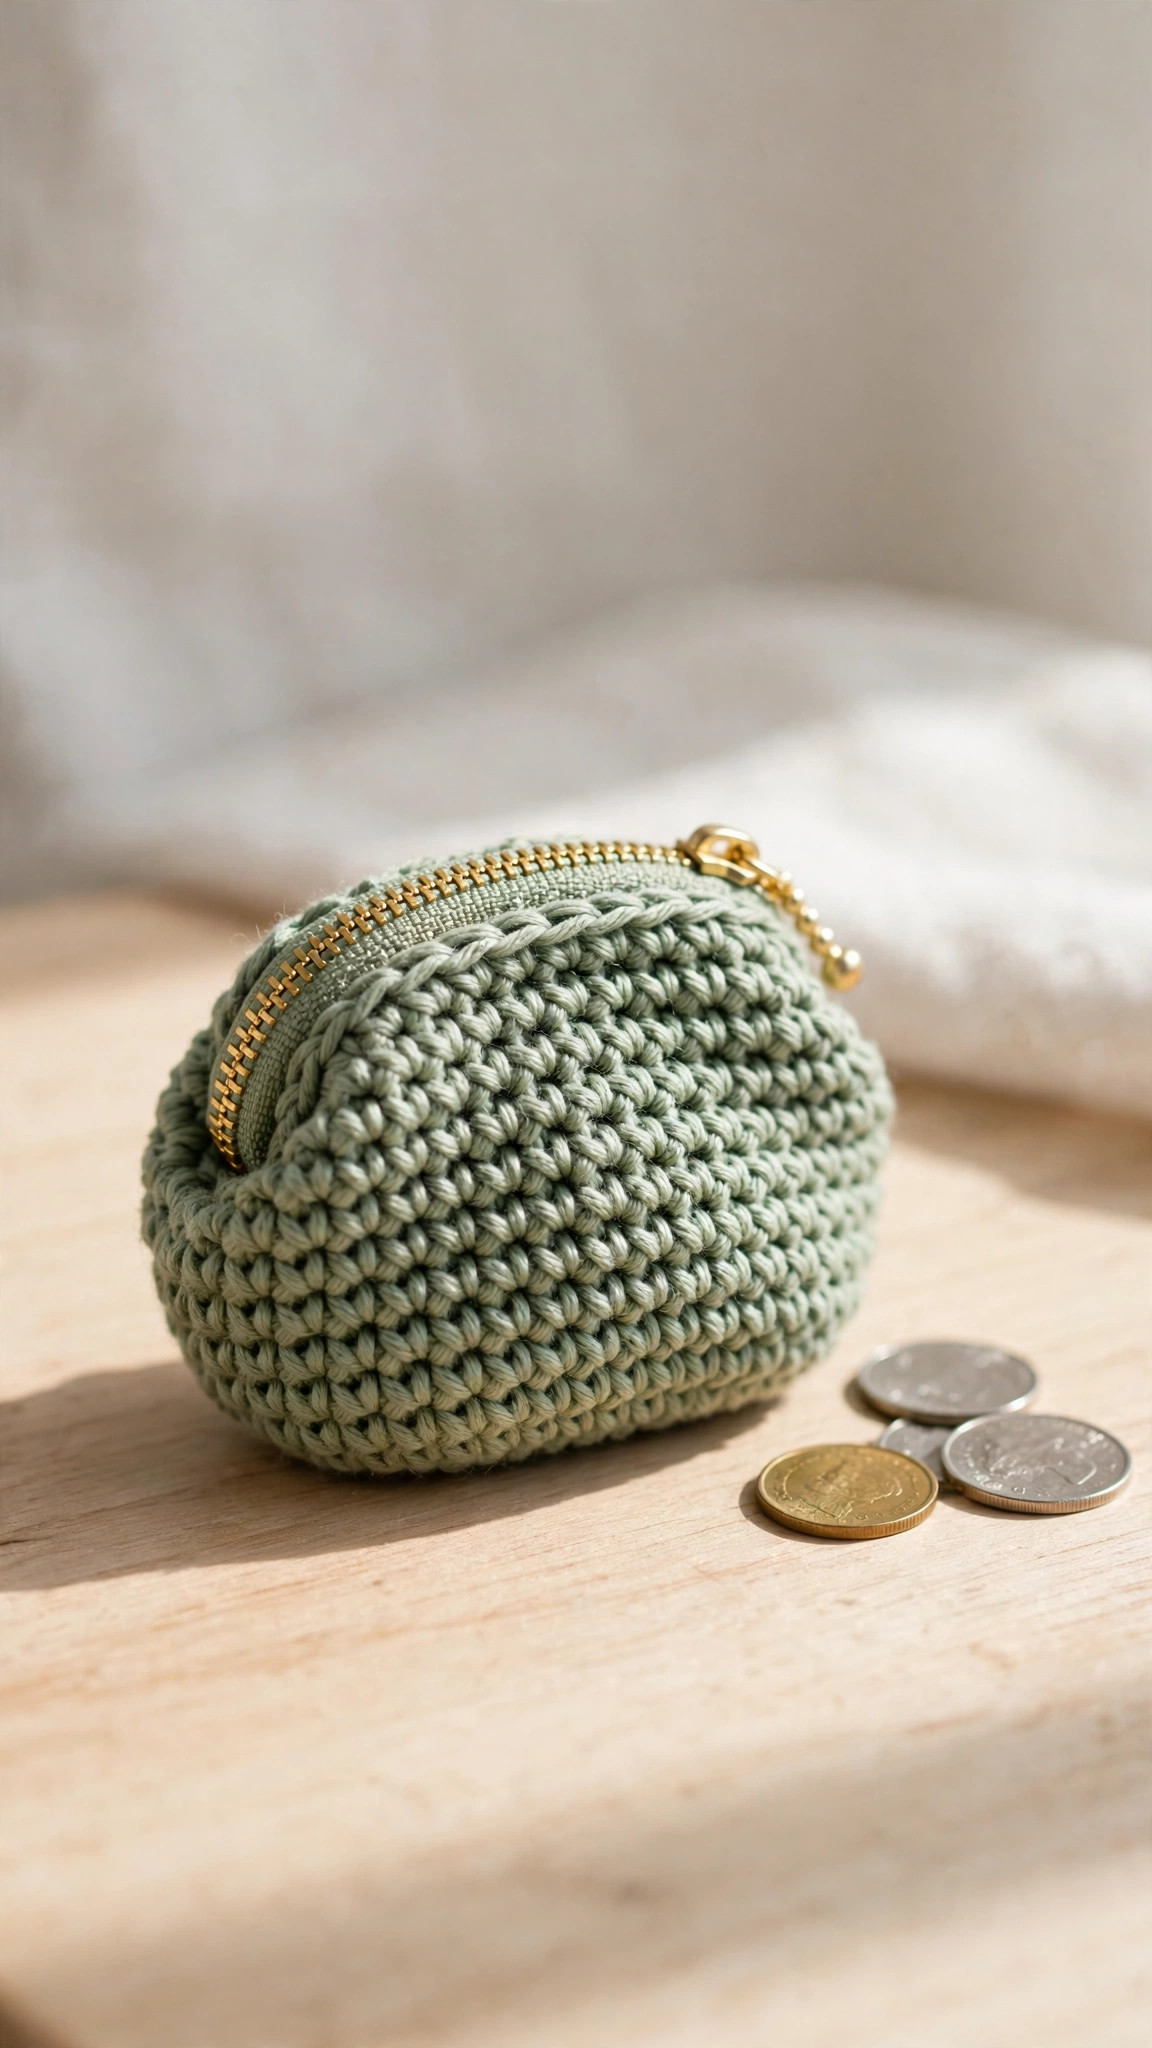
A crochet coin purse is the little project that earns its keep every single day. This free crochet coin purse pattern makes a small zippered pouch just big enough for coins, a folded bill or two, and a house key, and it slips into a pocket, a jacket, or the corner of a bigger bag without adding bulk. It works up in about an hour and a half and uses less than one small ball of yarn.
This is an original Little Loop Finds design, written in US terms and completely free. The purse is made from two simple single crochet panels with a pretty shell stitch band across the front, joined with a tidy single crochet edge, and finished with a short zipper sewn across the top. If you can crochet a chain and a single crochet, you can crochet this coin purse.
A quick note on scope: this post is about one specific coin purse, a small zippered pouch about 4 inches wide with a shell stitch band and a fabric lining option. It is not a crochet wallet with card slots, and it is not a big bag. If you want a larger carryall in the same spirit, our crochet tote bag pattern is a roomy everyday bag with sturdy handles.
Key Takeaways
- Free original pattern: this crochet coin purse pattern is a Little Loop Finds original design, written in US terms, and completely free.
- A small zippered pouch: about 4 inches wide, just right for coins, a folded bill, and a key.
- Beginner friendly and quick: two simple single crochet panels, a shell stitch band, and a sewn-in zipper.
- A 90 minute project: one purse takes about 1.5 hours, so you can make a matching set in an evening.
- Three ways to use it: loose change, a tiny travel wallet, and a gift card holder.
Table of Contents
- Why You Will Love This Crochet Coin Purse
- Finished Size, Skill Level, and Time
- Materials You Need
- Abbreviations (US Terms)
- Gauge and Sizing Notes
- Part 1: The Front and Back Panels
- Part 2: The Shell Stitch Band and Lining
- Part 3: The Zipper, Joining, and Finishing
- Variations: Colors, Closures, and Uses
- Troubleshooting a Purse That Will Not Close
- Care Instructions
- Frequently Asked Questions
Why You Will Love This Crochet Coin Purse
A coin purse is one of those small things you reach for a dozen times a day without thinking about it, and a handmade one feels better than a stiff store bought pouch every time. The crochet fabric is soft in the hand, the zipper keeps coins from escaping into the bottom of your bag, and the shell stitch band gives it a finished, gift worthy look with almost no extra effort. One purse uses about 40 yards of yarn, so it is a great stash buster for the last of a favorite skein, and the pattern is the same every time, so the third purse works up faster than the first. Our makeup bag crochet pattern uses the same two panel idea at a larger size if you want a matching set for your bag.
Finished Size, Skill Level, and Time
- Finished size: about 4 inches wide and 3.5 inches tall, not counting the zipper pull. It holds a small handful of coins, two folded bills, and one key.
- Skill level: Easy. You need chains, single crochet, double crochet for the shell band, and basic hand sewing for the zipper.
- Time: about 1.5 hours per purse: 40 minutes for the two panels, 20 minutes for the shell band and lining, and 30 minutes for the zipper and finishing.
Materials You Need
| Item | What to get |
|---|---|
| Yarn, color A | DK or light worsted weight (size 3) cotton yarn, 40 yards |
| Yarn, color B | DK or light worsted weight (size 3) cotton yarn in a contrast color, 10 yards |
| Hook | US G-6 (4.0 mm), or the size that gives you the gauge below |
| Zipper | One 5 inch zipper in a matching color, with a small pull |
| Notions | Tapestry needle, scissors, stitch markers, sewing needle and matching thread, pins |
| Lining (optional) | One piece of quilting cotton, about 4.5 by 4 inches, plus matching thread |
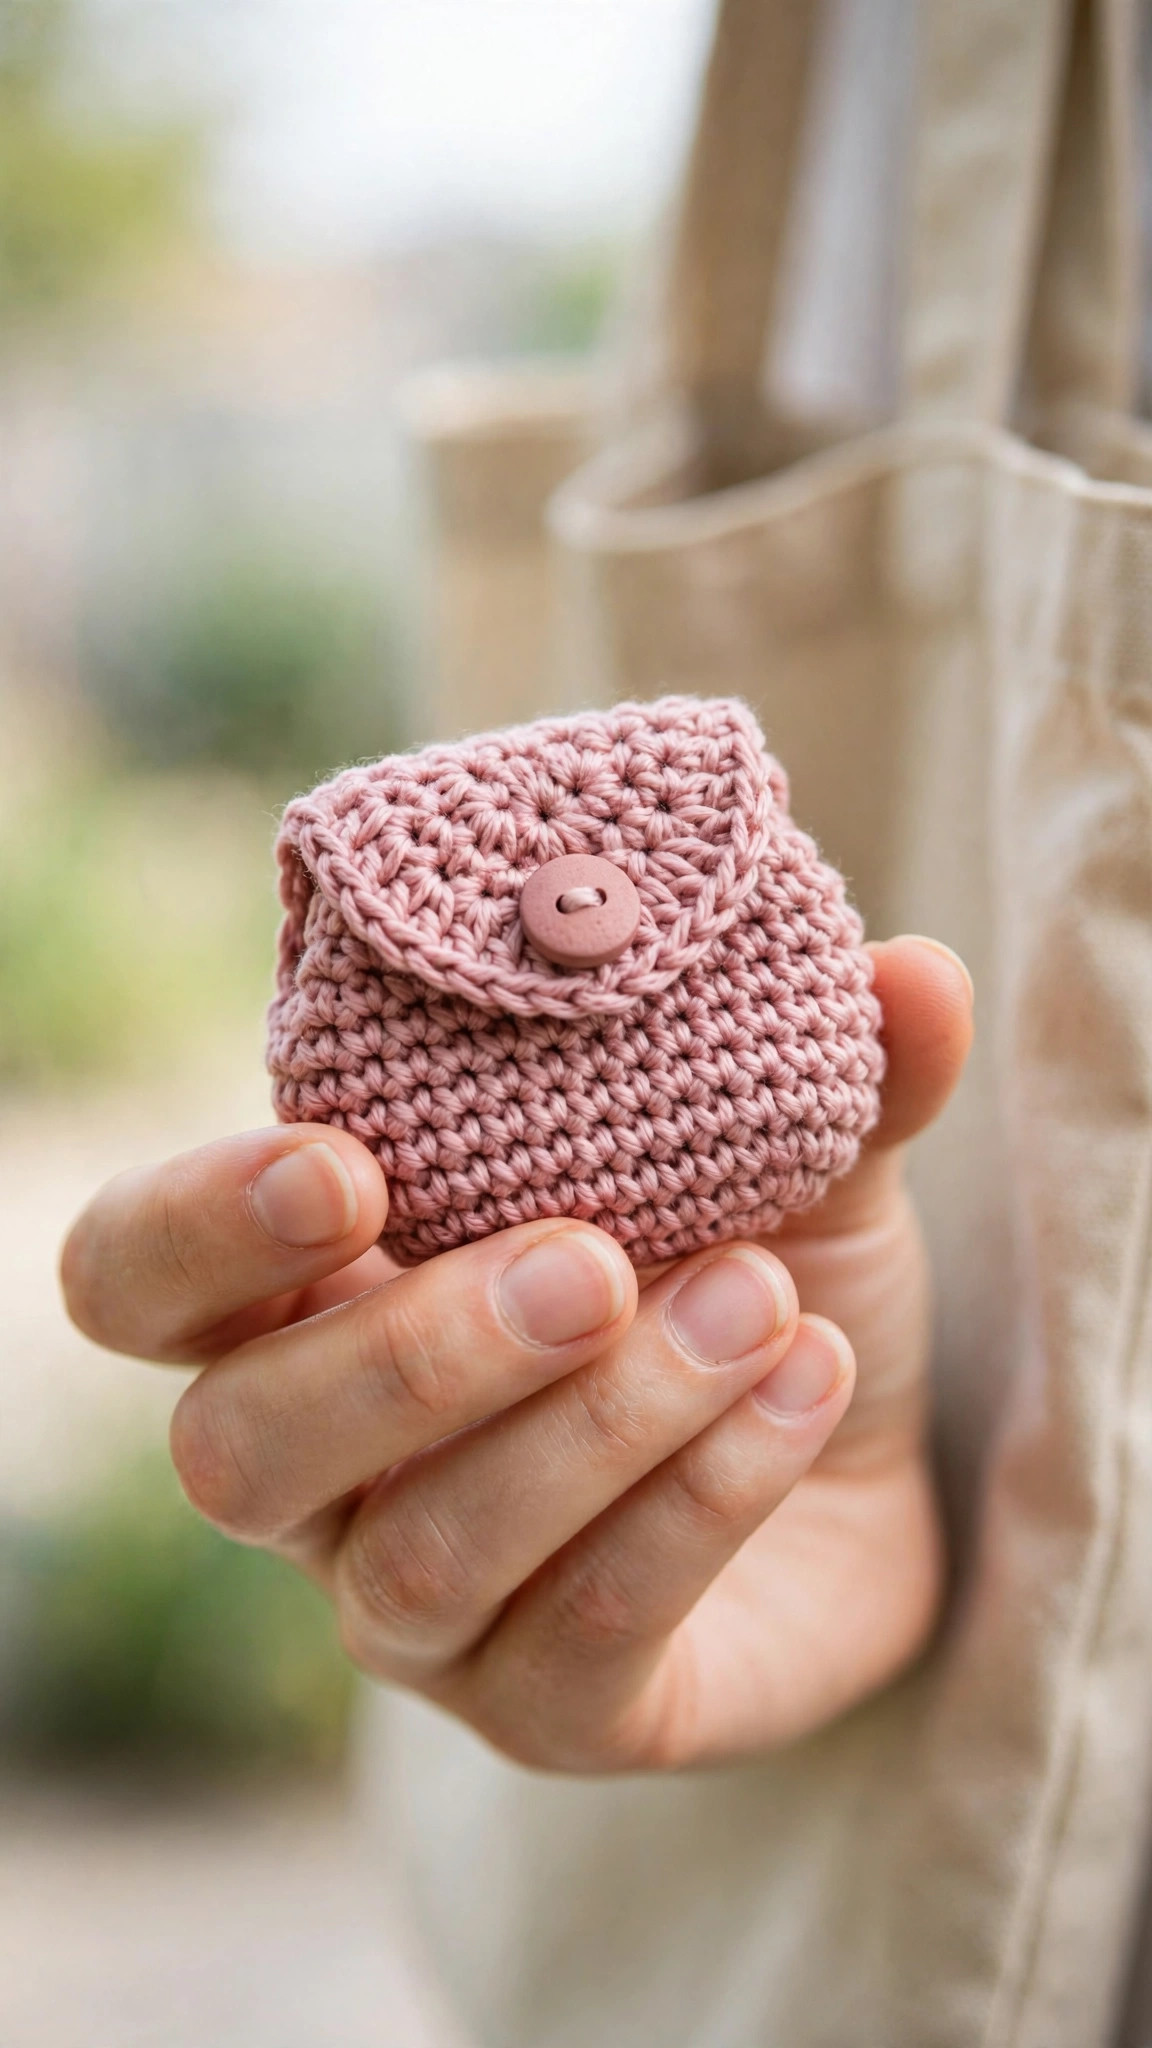
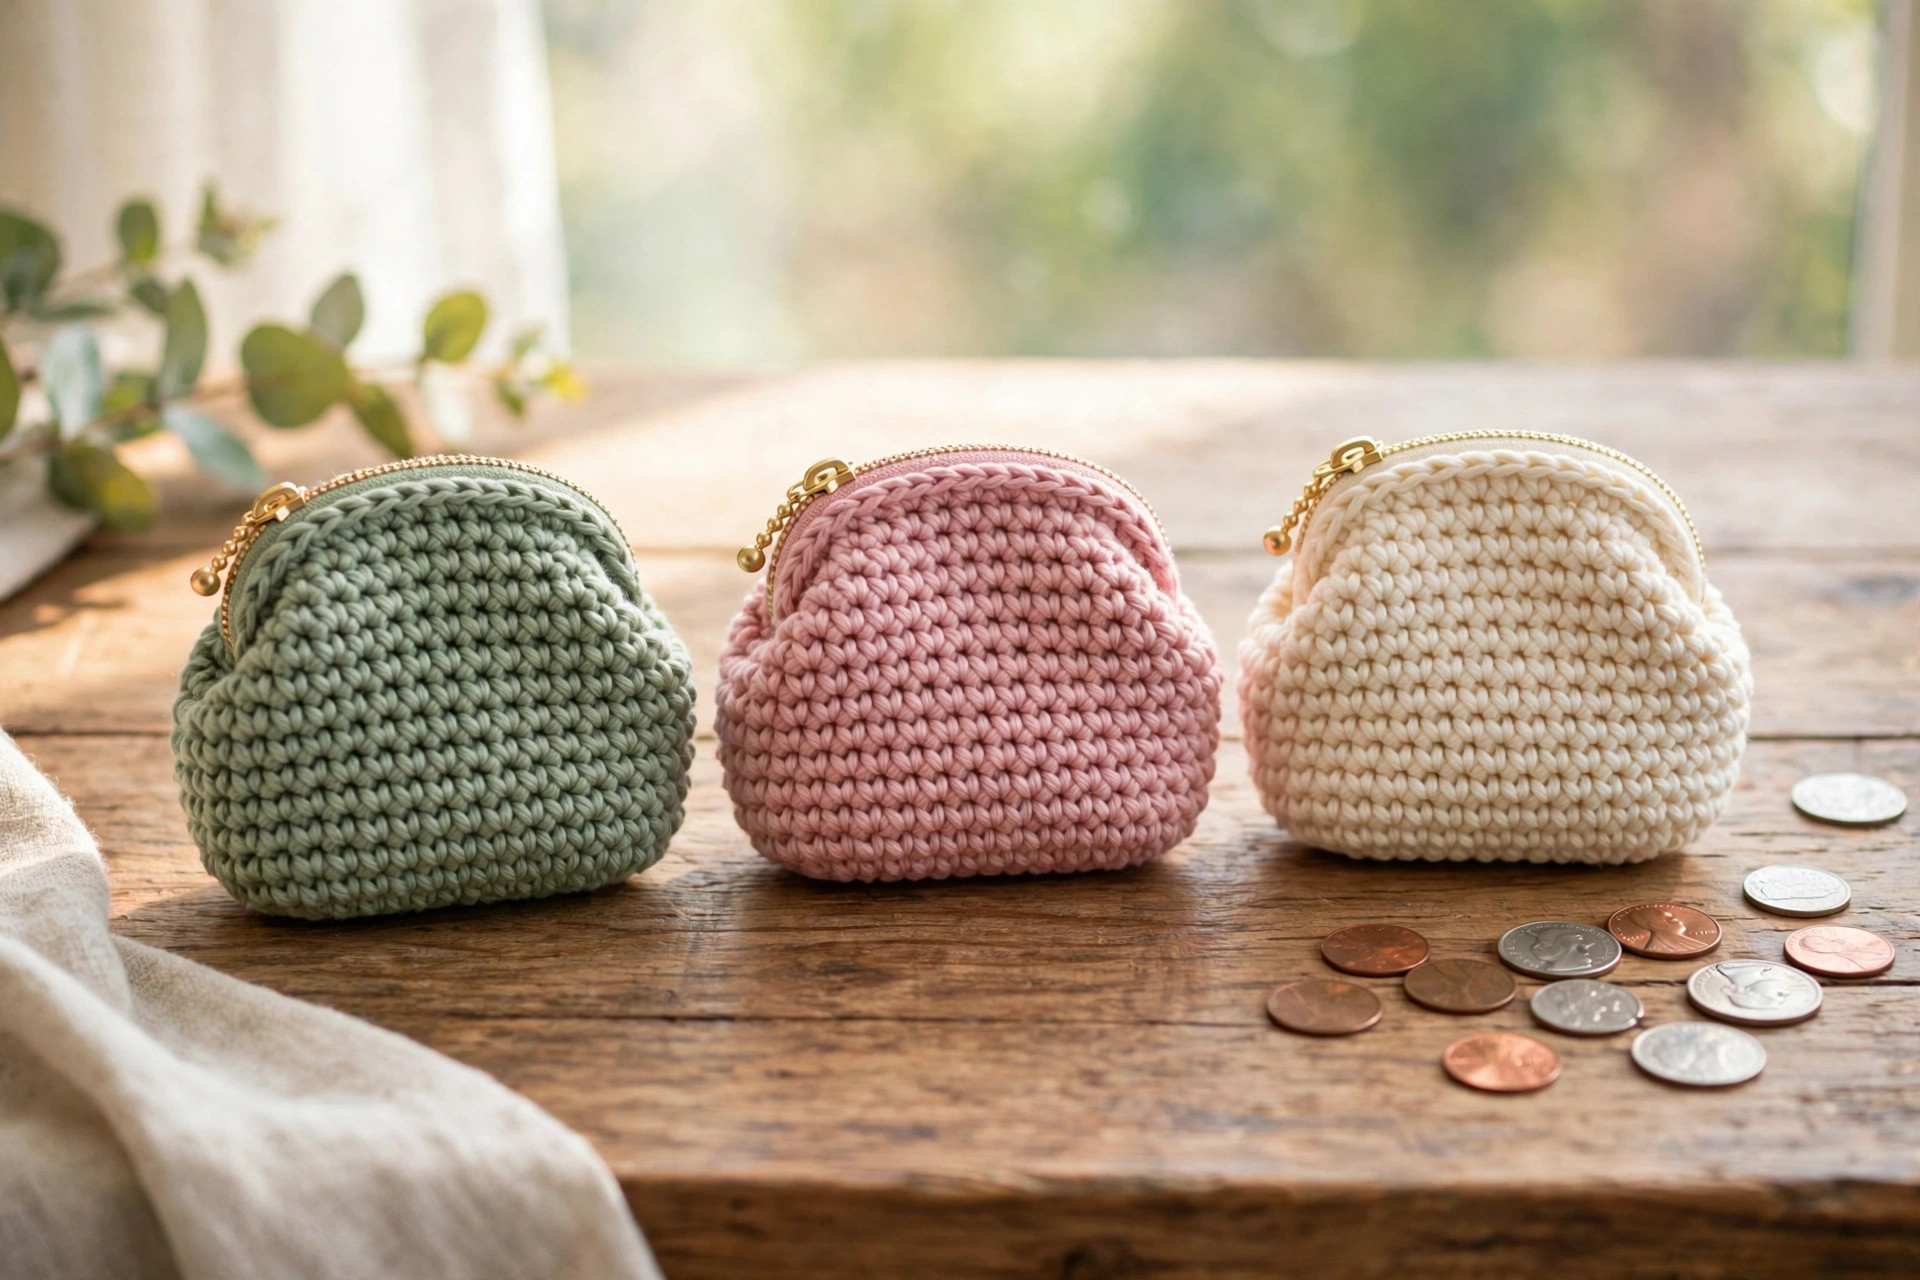
Cotton yarn is the best choice for a crochet coin purse because it is firm, it holds its shape, and it stands up to daily handling without stretching out of shape. A smooth DK cotton shows clean stitch definition and the shell band crisply. Choose sage green for a calm classic purse, dusty pink for a soft gift, or cream for a purse that matches everything. Avoid fuzzy yarns, because they pill quickly when a purse is rubbed against keys and coins all day.
Abbreviations (US Terms)
- ch = chain
- sl st = slip stitch
- sc = single crochet
- dc = double crochet
- st(s) = stitch(es)
- rep = repeat
- RS = right side
- WS = wrong side
Gauge and Sizing Notes
Gauge for a coin purse matters because the panels have to match the zipper, and a purse that is wider than its zipper will gape at the ends. Work a swatch of 16 sc stitches and 16 rows in color A, and measure it. It should be about 4 inches wide and 3.5 inches tall. If your swatch is wider than 4 inches, go down a hook size. If it is narrower, go up a hook size.
Measure your zipper before you start and check that it is 5 inches long including the stops at each end. The panel is 4 inches wide, so a 5 inch zipper leaves about half an inch of tape to fold under at each end. Count your stitches at the end of every row, because a missed stitch will make the panels different sizes and the zipper will pucker.
Part 1: The Front and Back Panels
The purse is made from two identical panels worked flat in rows of single crochet. Single crochet gives a dense, firm fabric that coins cannot poke through, which is exactly what a coin purse needs. Make both panels the same way, in color A, and do not fasten off the second panel until you have read the joining section, because the joining starts from that yarn end.
The Front Panel
With color A, ch 21.
- Row 1 (RS): sc in the 2nd ch from the hook and in each ch across. (20 sc)
- Row 2 (WS): ch 1, turn, sc in each st across. (20 sc)
- Rows 3 to 12: ch 1, turn, sc in each st across. (20 sc)
The panel is now 12 rows tall, about 4 inches wide and 3.5 inches tall. Fasten off the front panel and weave in the starting tail, but leave the panel flat and do not block it yet, because the shell band is worked across the top edge of the front panel only.
The Back Panel
Work the back panel exactly the same way as the front panel.
- With color A, ch 21.
- Row 1: sc in the 2nd ch from the hook and in each ch across. (20 sc)
- Rows 2 to 12: ch 1, turn, sc in each st across. (20 sc)
Do not fasten off the back panel. Leave the yarn attached, because you will use it for the joining round in Part 3. Lay the two panels side by side and check that they are the same size. If one panel is a row taller than the other, count the rows and add the missing row to the short one before you go on.
Part 2: The Shell Stitch Band and Lining
The shell stitch band is the decorative touch that makes this little purse look special. It is worked across the top edge of the front panel only, in color B, so the front of the purse has a row of pretty shells just under the zipper. The lining is optional, but it stops coins from snagging on the inside of the stitches and it makes the purse feel finished.
The Shell Stitch Band
Work across the top edge of the front panel, with the right side facing you. Join color B with a slip stitch in the first stitch at the top right corner.
- Row 13: ch 1, sc in the first st, skip the next st, 5 dc in the next st, skip the next st, sc in the next st, skip the next st, 5 dc in the next st, skip the next st, sc in the next st, skip the next st, 5 dc in the next st, skip the next st, sc in the next st, skip the next st, 5 dc in the next st, skip the next st, sc in the next st, skip the next st, 5 dc in the next st, skip the last st. (5 shells)
Each shell uses 4 stitches of the panel, so 20 stitches divide neatly into 5 shells with no leftover stitches. Fasten off color B and weave in the ends on the wrong side. Turn the panel over and check the back: the shells should sit flat, with no puckering along the top edge. If the band pulls in, your shells are too tight, so work the next band with a slightly looser tension.
The Optional Lining
Cut one piece of quilting cotton about 4.5 inches wide and 4 inches tall. Fold it in half so it measures 4.5 inches wide and 2 inches tall, then sew the two short sides closed with a narrow seam, leaving the top open. This makes a small pocket slightly smaller than the purse, so it sits inside without bunching. Press the top edge under by a quarter inch all the way around, then set the lining aside until the joining is done.
Part 3: The Zipper, Joining, and Finishing
This is the part where the two flat panels become a purse. Take your time here, pin everything before you sew, and check the zipper twice before you stitch it in, because a zipper sewn in crooked is the one thing that can spoil an otherwise perfect purse.
Joining the Panels
Hold the front and back panels together with the wrong sides facing each other and the top edges lined up. The shell band should be on the outside of the front panel. Using the yarn still attached to the back panel, work a single crochet edge around three sides.
- Joining round: ch 1, work 1 sc in each row end down the first side (12 sc), 3 sc in the bottom corner, 1 sc in each st across the bottom (20 sc), 3 sc in the other bottom corner, 1 sc in each row end up the second side (12 sc). (50 sc)
The three stitches in each bottom corner turn the corner neatly and keep the purse from pulling in at the base. Do not work across the top edge, because that stays open for the zipper. Fasten off and weave in the end. Turn the purse right side out through the open top and poke the bottom corners out gently with the blunt end of your hook.
Sewing in the Zipper
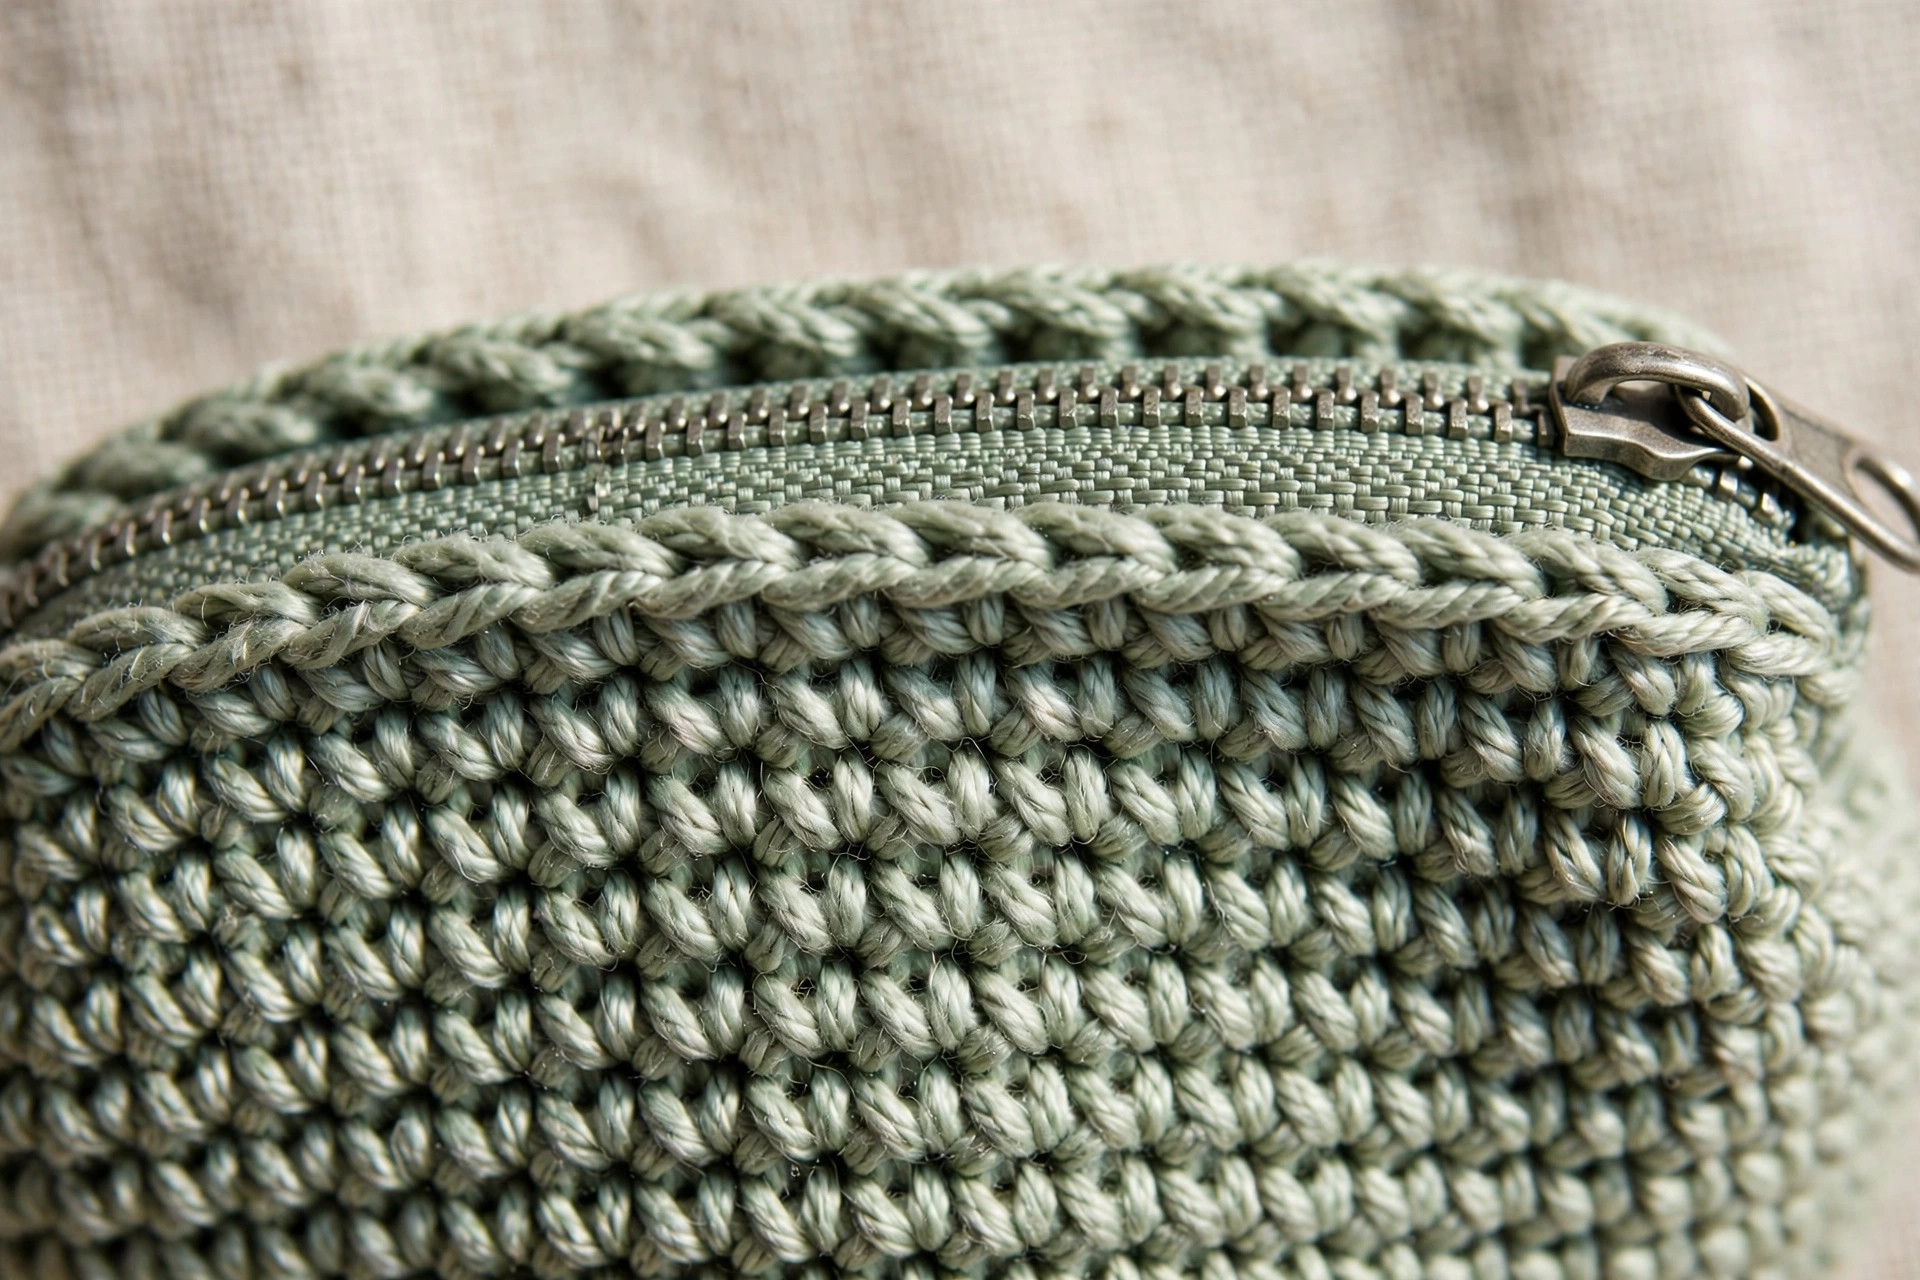
Open the zipper and lay it flat, right side down, along the inside of the top edge of the purse. Pin the zipper tape to the top edge of the back panel first, folding the extra half inch of tape under at each end so no raw tape shows. Using a sewing needle and matching thread, whipstitch the zipper tape to the top edge, working small stitches close to the zipper teeth. Close the zipper, then pin and sew the other side the same way. Open and close the zipper several times to check that it runs smoothly and does not catch on the yarn.
The Key Loop and Final Finishing
For a key loop, chain 10 with color A, slip stitch into the first chain to form a ring, and fasten off, leaving a long tail. Sew the ring to the inside of one side seam, near the top, stitching through the ring at least three times so it cannot pull loose. If you made a lining, slip it inside the purse now and hand sew its folded top edge to the zipper tape, just below the teeth, with small invisible stitches. Weave in every yarn end, then fill the purse with a few coins and check that the zipper closes flat, the corners sit square, and the shells on the front lie flat.
Variations: Colors, Closures, and Uses
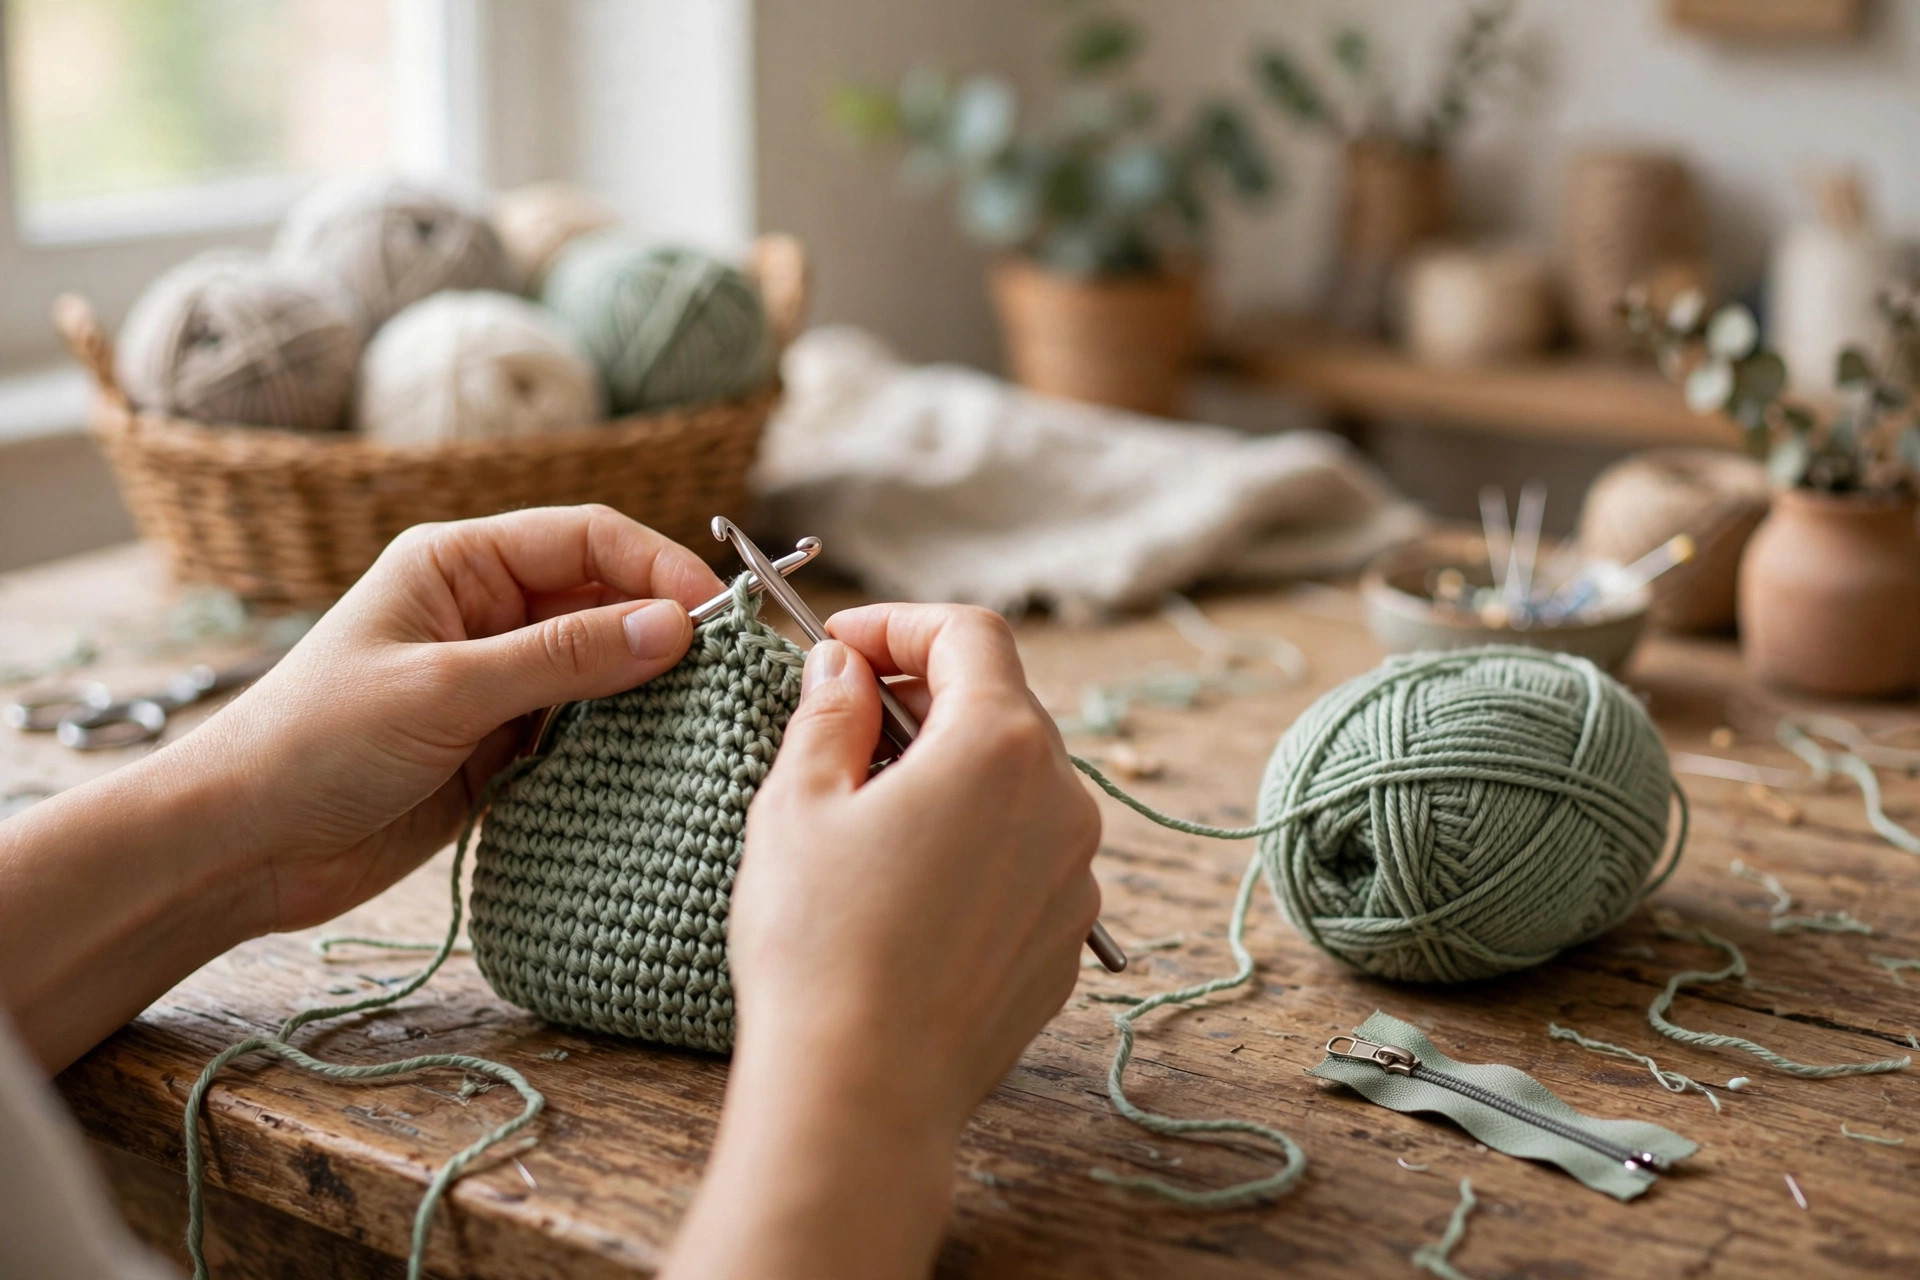
- Classic sage purse: work the purse in sage green with a cream shell band, the colorway in the photos. Our crochet lanyard pattern makes a matching strap if you want to wear the purse around your neck at a market.
- Dusty pink gift purse: make the purse in dusty pink with a white shell band and a gold zipper for a soft, pretty gift.
- Button flap purse: skip the zipper and work the back panel 4 rows taller, then fold the extra rows over the front as a flap and sew a button under it. Our crochet belt pattern uses the same flap and button idea on a wider band.
- Beach change purse: make the purse in aqua with a sand colored shell band and add a small shell charm to the zipper pull.
- Gift card holder: make the purse in the recipient's favorite color, tuck a gift card inside instead of coins, and tie a ribbon through the key loop for a ready to give present.
Troubleshooting a Purse That Will Not Close
- My zipper puckers. The panels are wider than the zipper, or the zipper was sewn in with the purse stretched. Check the gauge, and sew the zipper in with the purse lying flat and relaxed.
- My zipper catches on the yarn. Stray yarn ends are poking through near the teeth. Trim the ends short, weave them in on the wrong side, and press the top edge away from the teeth.
- My panels are different sizes. A stitch was missed on one panel, or the row counts differ. Count the rows on both panels and add the missing row to the short one before joining.
- My shells look uneven. The shell band was started in the wrong stitch. Count the panel stitches first, join color B in the first stitch at the corner, and follow the repeat exactly.
- My purse stretches out of shape. The yarn is too soft, or the stitches are too loose. Use a firm cotton yarn, go down a hook size, and add the lining, which helps the purse hold its shape.
Care Instructions
Hand wash a crochet coin purse in cool water with a mild detergent, and press the water out gently without wringing. Open the zipper and let the purse dry flat on a clean towel so the shape stays square. Do not put it in the dryer on high heat, and keep it out of direct sunlight so the colors do not fade. If the zipper sticks after washing, rub a little candle wax along the teeth and work the pull back and forth.
Frequently Asked Questions
Is this crochet coin purse pattern good for beginners?
Yes, it is a great first small project. You need chains, single crochet, and double crochet for the shell band, and every row ends with a stitch count. One purse takes about 1.5 hours, so it is a satisfying afternoon make.
What yarn is best for a crochet coin purse?
DK or light worsted cotton yarn is the best choice, because it is firm, it holds its shape, and it stands up to daily handling. Sage green gives the calm classic look in the photos, but dusty pink and cream both work well for gifts.
How big is the finished coin purse?
The finished purse is about 4 inches wide and 3.5 inches tall, not counting the zipper pull. It holds a small handful of coins, two folded bills, and one key, which is enough for a quick trip to the shops.
What size zipper do I need?
A 5 inch zipper is the right size for this purse. The panel is 4 inches wide, so a 5 inch zipper gives you about half an inch of tape to fold under at each end for a tidy finish. A plastic zipper is a good choice if you plan to machine wash the purse.
Can I make the coin purse without a zipper?
Yes, you can use the button flap variation in this post, or sew a small snap fastener to the top edge instead. A zipper keeps coins safest, but a button flap looks pretty and is easier to sew if you are new to zippers.
Do I need to line the coin purse?
A lining is optional, but it is worth doing. It stops coins from snagging on the inside of the stitches, it keeps the purse smooth inside, and it helps the purse hold its shape. A scrap of quilting cotton and ten minutes is all it takes.
Can I sell coin purses made from this pattern?
Yes, you may sell finished coin purses made from this free pattern, with credit to Little Loop Finds. Please do not sell or republish the pattern text itself. A set of three purses in three colors makes a sweet market stall bundle, and pairs nicely with a small pouch like our dice pouch crochet pattern or a sea themed gift like our crochet seashell pattern.
Happy stitching, and may your little purse keep every coin safe wherever you go.