Crochet Belt Pattern (Free Adjustable Belt)
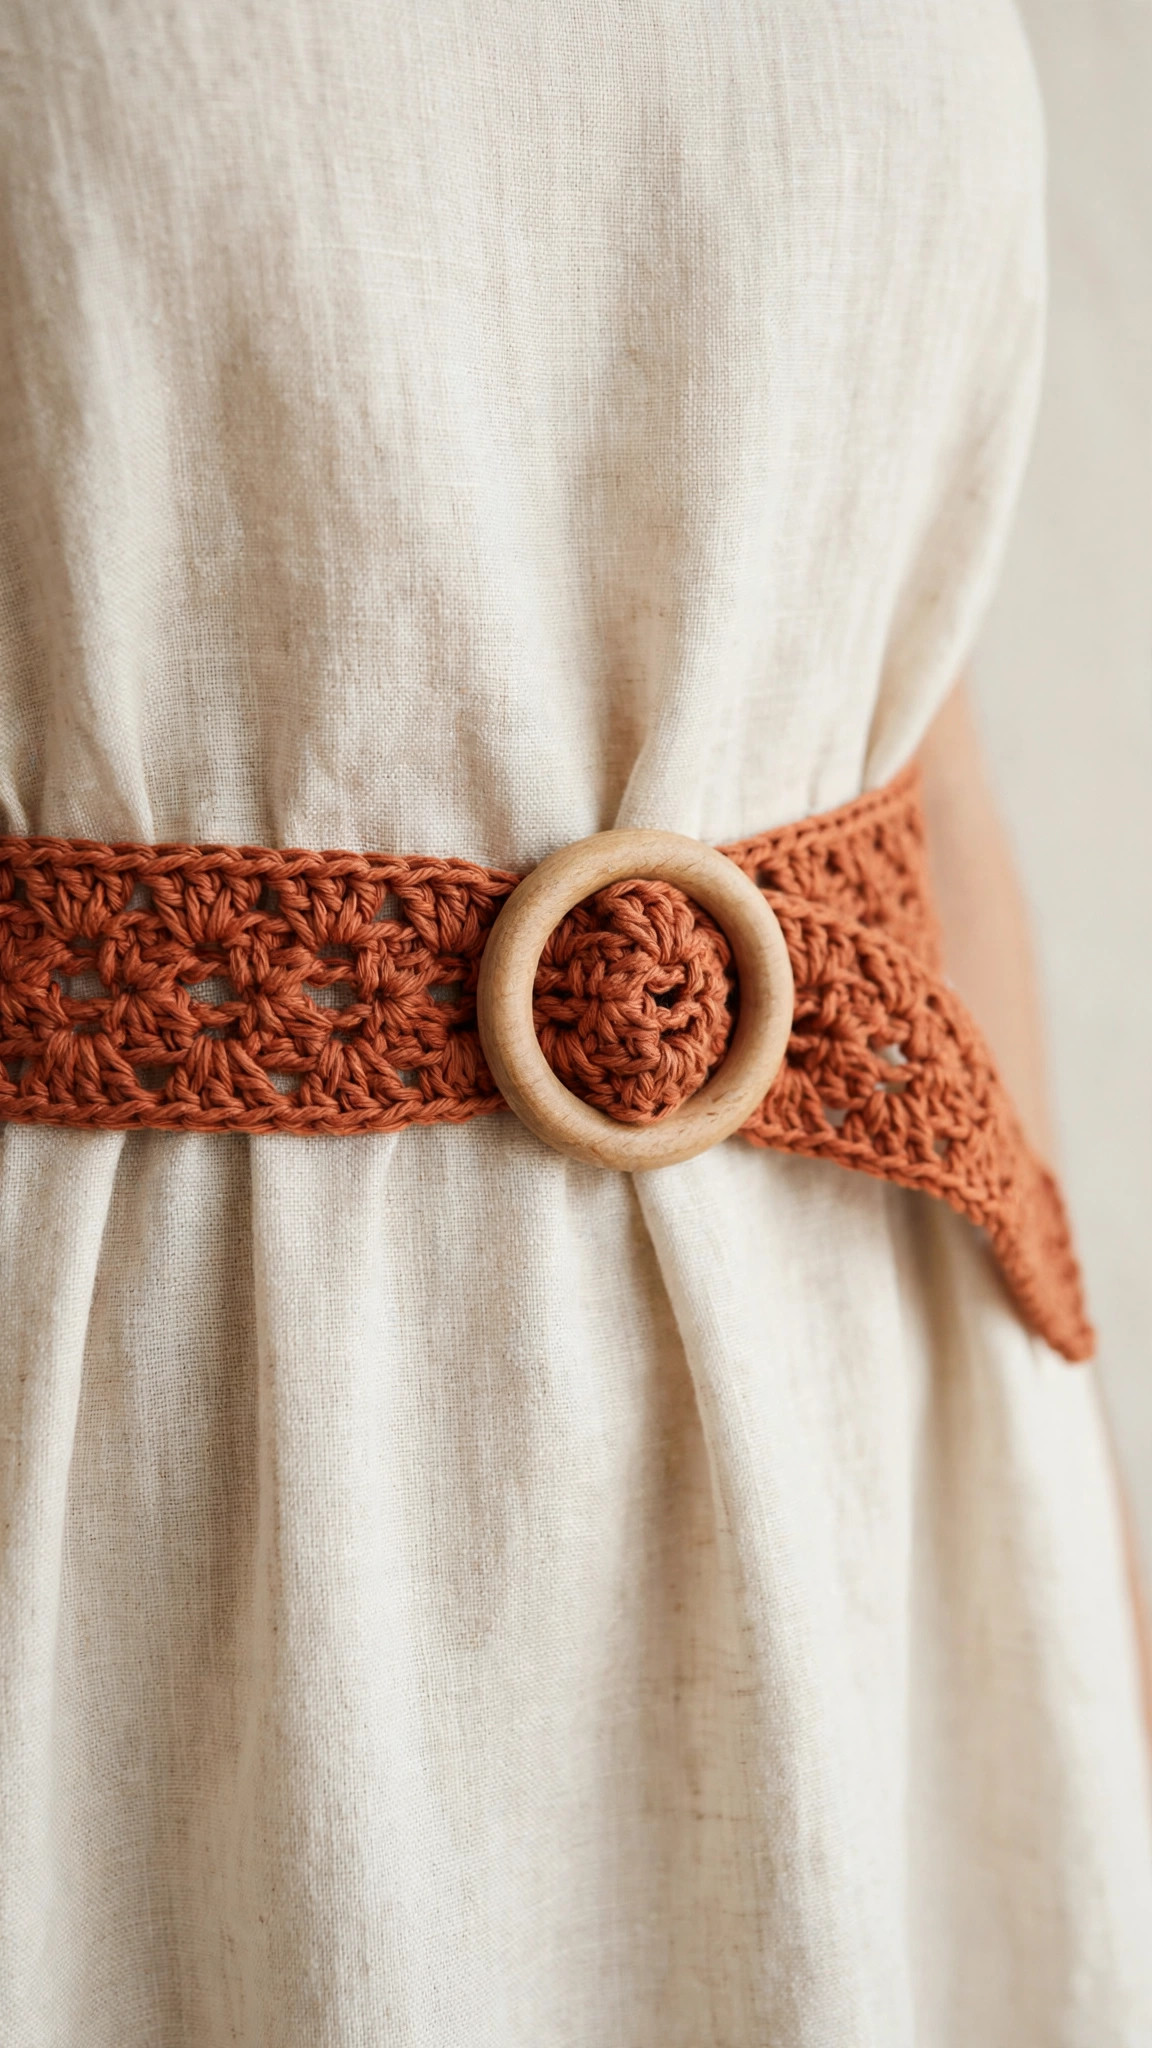
Crochet an adjustable belt with a wooden ring buckle in about two hours, then wear it over a dress, with jeans, or around a cardigan.

Patterns · Crochet
- Finished size
- 26-44 in waist
- Making time
- 2 hours per belt
- Hook
- US G-6 (4.0 mm)
- Set
- Belt, ring buckle
- Skill
- Easy
In this post
- Key Takeaways
- Table of Contents
- Why You Will Love This Crochet Belt
- Finished Size, Skill Level, and Time
- Materials You Need
- Abbreviations (US Terms)
- Gauge and Sizing Notes
- Part 1: The Belt Strap
- Part 2: The Ring Buckle End
- Part 3: The Tapered Tip and Buttonhole
- Variations: Colors, Sizes, and Uses
- Troubleshooting a Belt That Will Not Fit
- Care Instructions
- Frequently Asked Questions
A crochet belt is the finishing touch that pulls an outfit together, and this free crochet belt pattern makes a soft, sturdy belt you can adjust to fit any waist. It is worked in simple single crochet with a wooden ring buckle, so it looks handmade in the best way, clean, textured, and completely one of a kind. It works up in about two hours and uses less than one ball of cotton yarn.
This is an original Little Loop Finds design, written in US terms and completely free. The belt is worked flat in rows, so you can make it exactly as long as you need it, then the starting end folds through a wooden ring and the tapered tip threads through and buttons down. If you can crochet a chain and a single crochet, you can crochet this belt.
A quick note on scope: this post is about one specific crochet belt, an adjustable flat belt with a ring buckle and a buttoned tip, sized for waists from 26 to 44 inches. It is not a crochet sash belt or a wide corset style belt. If you want a matching handmade accessory for a bag, our crochet tote bag pattern uses the same sturdy cotton and simple stitches.
Key Takeaways
- Free original pattern: this crochet belt pattern is a Little Loop Finds original design, written in US terms, and completely free.
- An adjustable fit: the ring buckle and buttoned tip let one belt fit a range of waists, with five sizes from 26 to 44 inches.
- Beginner friendly and quick: simple rows of single crochet, with the shaping limited to a tapered tip and one buttonhole.
- A two hour project: one belt takes about 2 hours, so you can make a matching set for several outfits in a weekend.
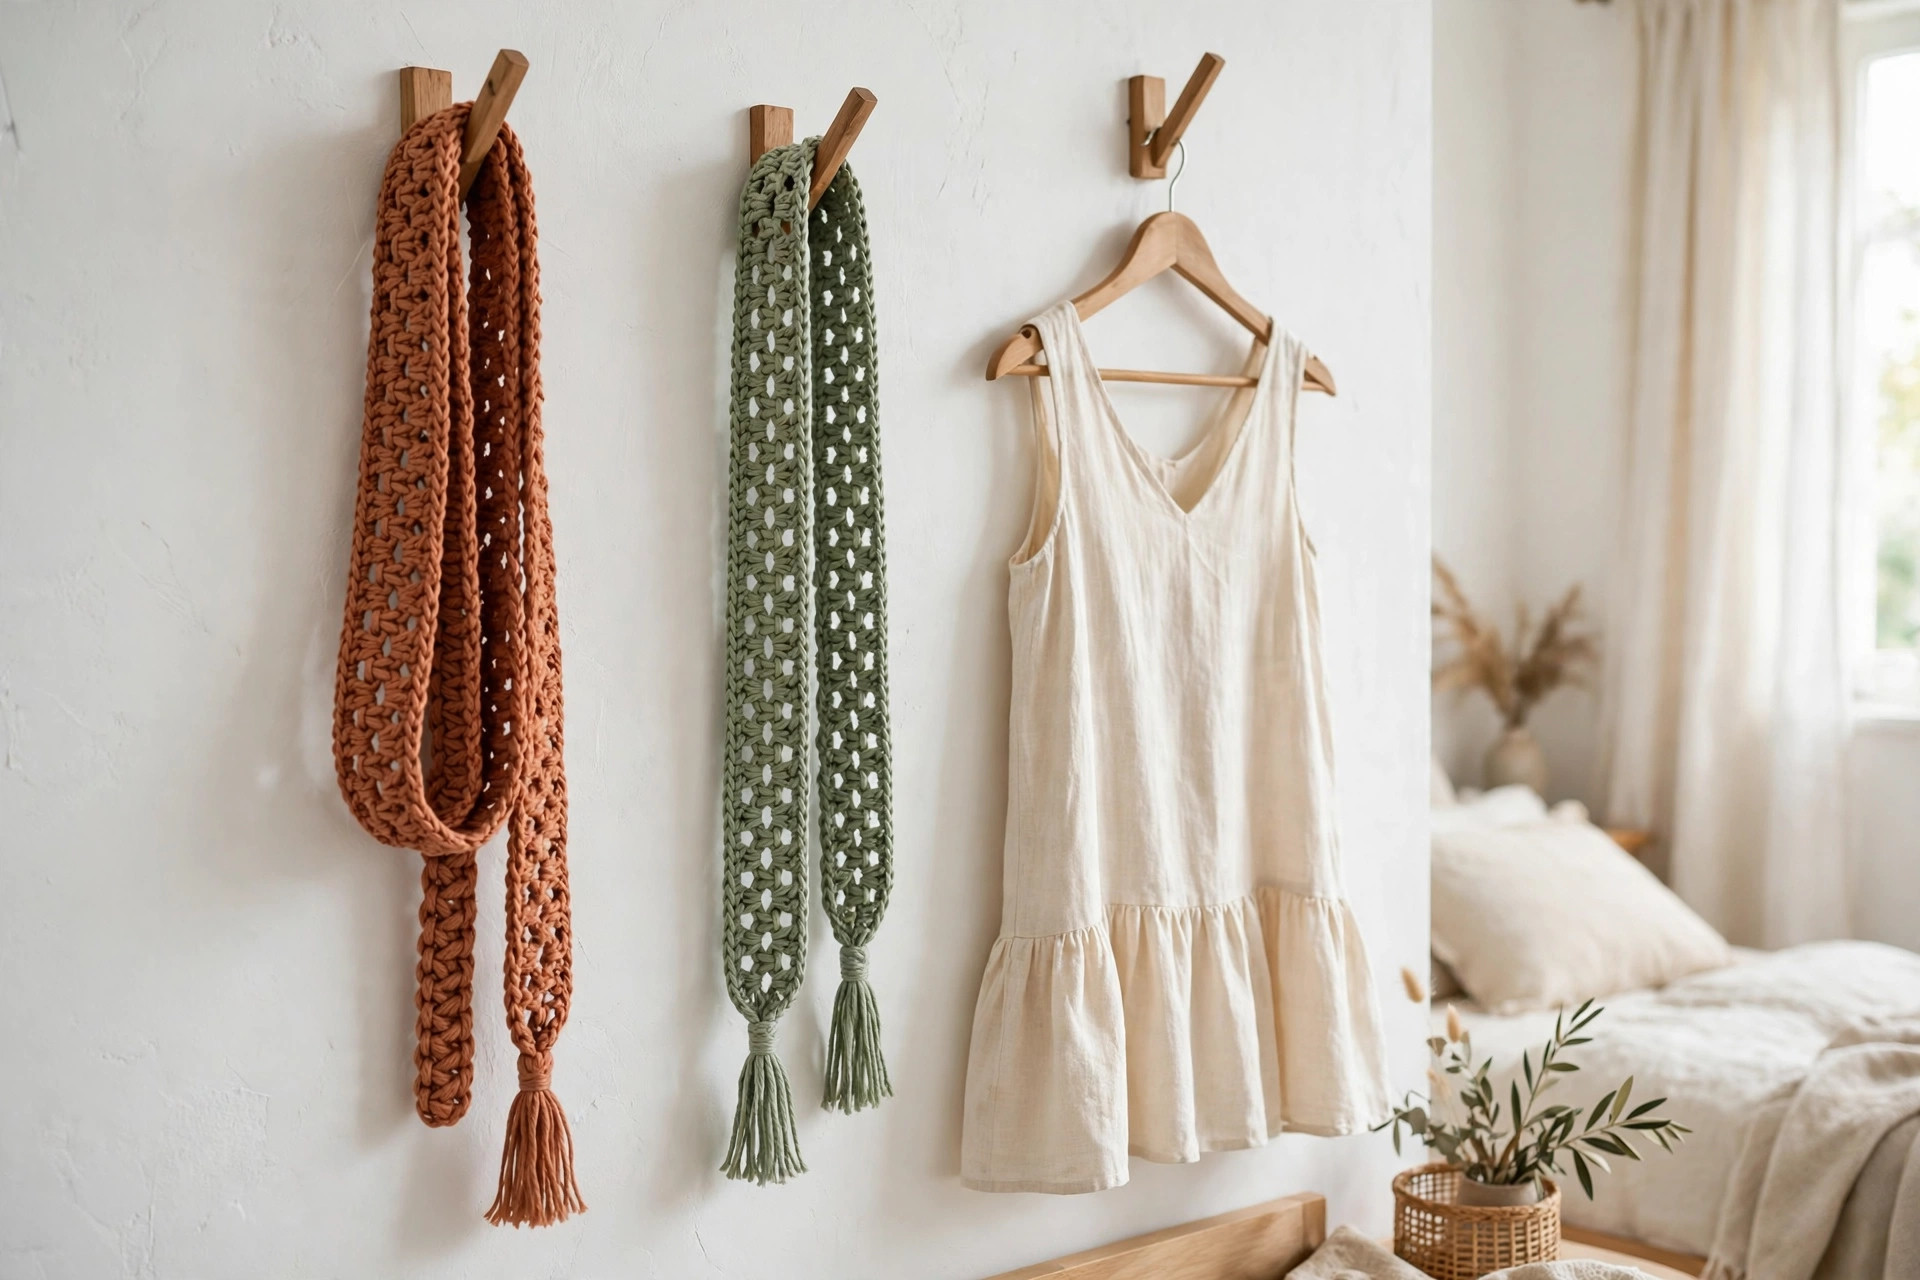
- Three ways to wear it: over a linen dress, with jeans, or cinched around a long cardigan or tunic.
Table of Contents
- Why You Will Love This Crochet Belt
- Finished Size, Skill Level, and Time
- Materials You Need
- Abbreviations (US Terms)
- Gauge and Sizing Notes
- Part 1: The Belt Strap
- Part 2: The Ring Buckle End
- Part 3: The Tapered Tip and Buttonhole
- Variations: Colors, Sizes, and Uses
- Troubleshooting a Belt That Will Not Fit
- Care Instructions
- Frequently Asked Questions
Why You Will Love This Crochet Belt
A handmade belt does something a store bought belt cannot do: it matches your outfit exactly. Make it in the same color as your favorite dress, or in a bold contrast color that turns a plain outfit into a styled one. Cotton yarn gives the belt a firm, structured feel with a lovely visible stitch texture, and the wooden ring adds a warm, natural detail that looks far more expensive than it is.
A crochet belt is also one of the most forgiving wearables you can make. There are no sleeves to fit and no shaping to guess at, because the belt is a straight rectangle and the fit comes from the ring and the button, not from perfect measurements. If your waist changes, the belt still fits, because you simply thread more or less of the tip through the ring.
Finished Size, Skill Level, and Time
- Finished size: the belt is 2 inches wide. The finished length, including the folded ring end, suits waists from 26 to 44 inches, depending on the size you make.
- Skill level: Easy. You need chains, single crochet, and simple decreases.
- Time: about 2 hours per belt: 1 hour and 30 minutes for the strap, 15 minutes for the ring end, and 15 minutes for the tip, buttonhole, and finishing.
Size Table
| Size | Waist | Starting chain | Stitches in Row 1 |
|---|---|---|---|
| XS | 26 to 28 inches | ch 137 | 136 sc |
| S | 30 to 32 inches | ch 153 | 152 sc |
| M | 34 to 36 inches | ch 169 | 168 sc |
| L | 38 to 40 inches | ch 185 | 184 sc |
| XL | 42 to 44 inches | ch 201 | 200 sc |
Measure your waist where you plan to wear the belt, over the clothes you will wear with it. If you are between sizes, make the larger size, because the ring buckle lets you pull the belt tighter, but a belt that is too short cannot be stretched to fit. Our crochet baby dress pattern pairs beautifully with a tiny matching belt if you are making a gift set for a little one.
Materials You Need
| Item | What to get |
|---|---|
| Yarn | Worsted weight (size 4) cotton yarn, 150 yards for sizes XS to M, 180 yards for sizes L to XL |
| Hook | US G-6 (4.0 mm), or the size that gives you the gauge below |
| Ring buckle | One wooden or metal ring, 2 inches across |
| Button | One flat button, 1 inch across, to match or contrast with your yarn |
| Notions | Tapestry needle, scissors, stitch markers, sewing needle and thread for the button |
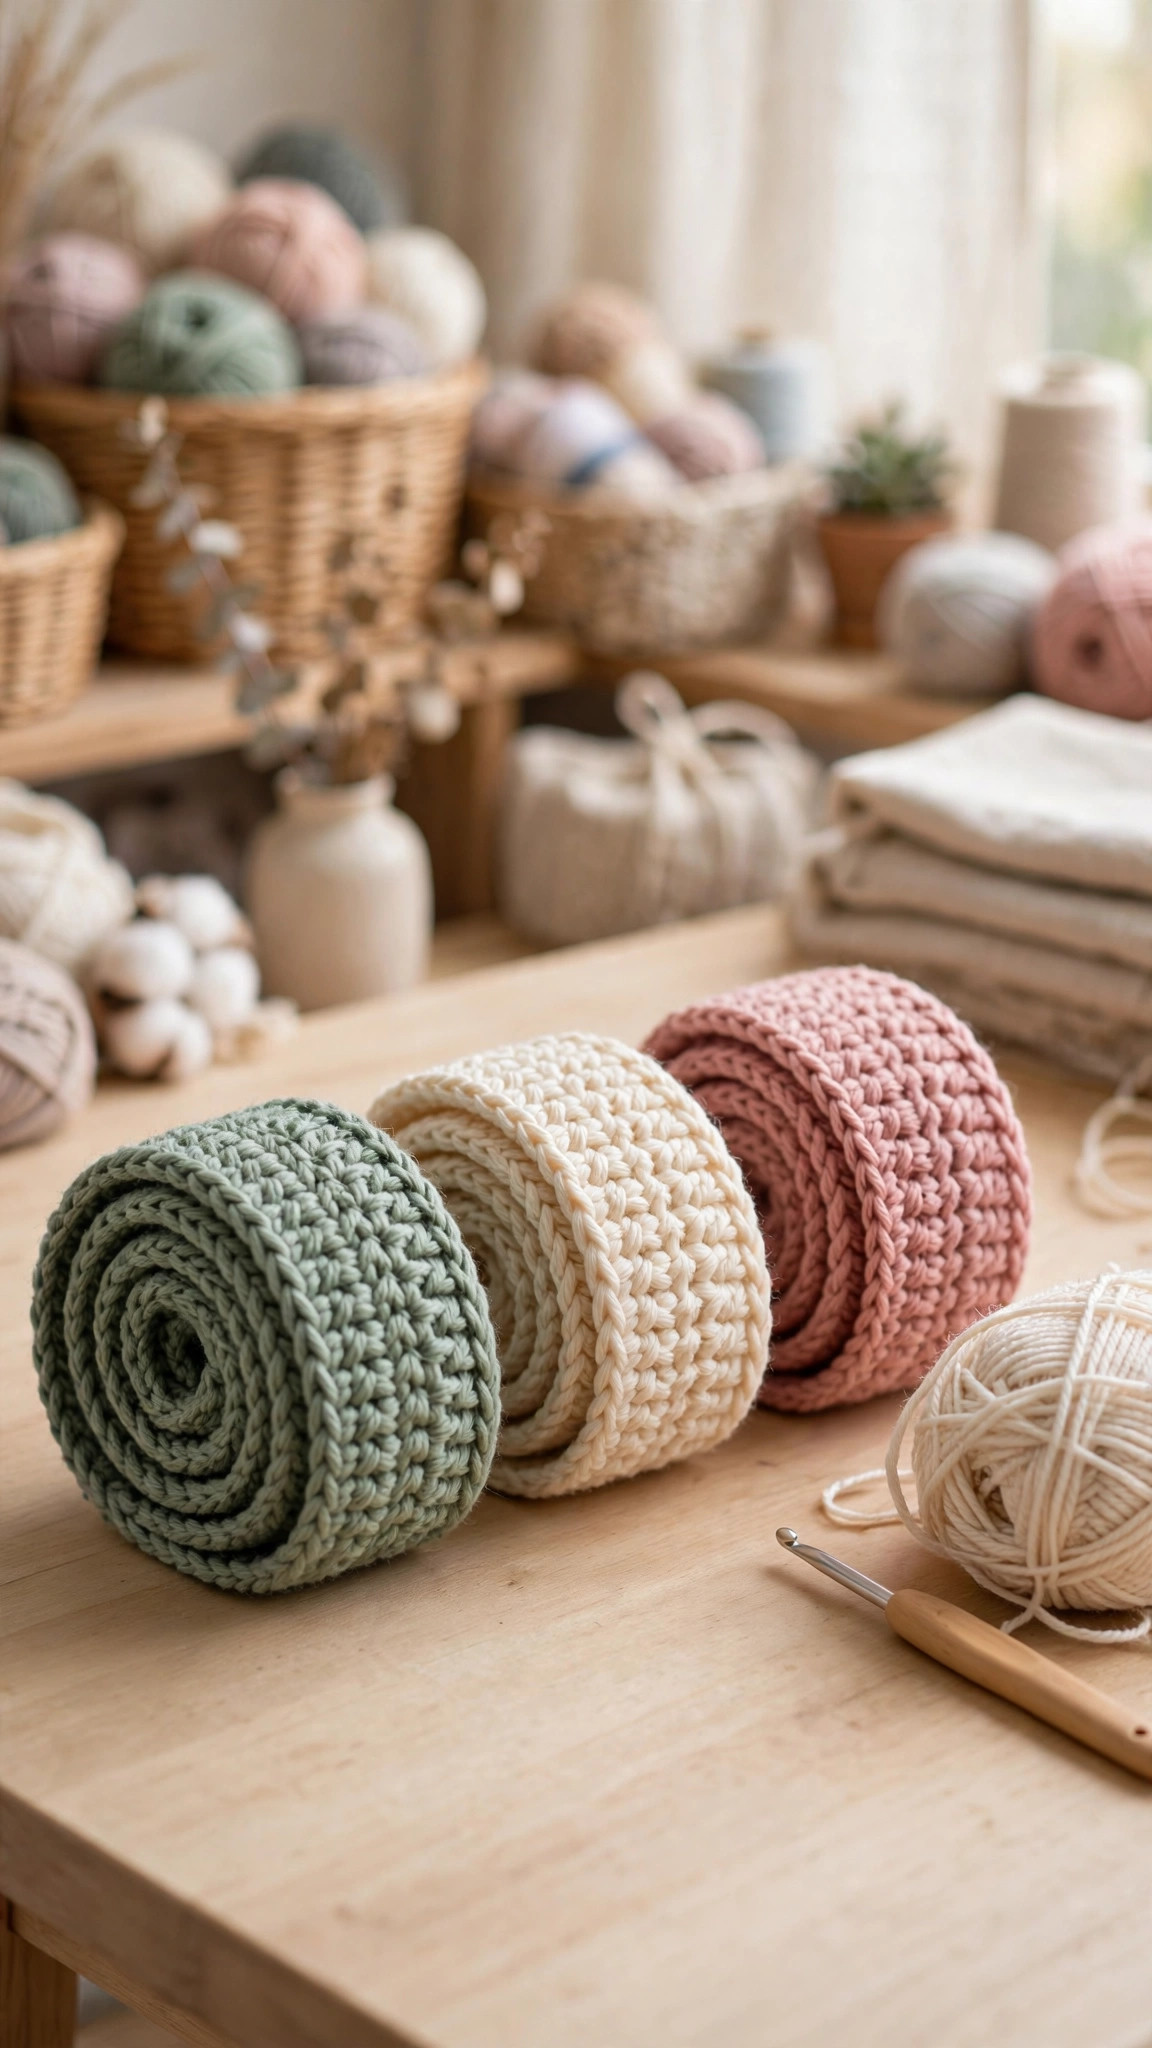
Cotton yarn is the best choice for a crochet belt because it is firm, holds its shape under tension, and does not stretch out of shape the way acrylic can. A smooth worsted weight cotton shows clean stitch definition and washes well, which matters for something worn against clothes all day. Choose terracotta for a warm everyday belt, sage green for a soft natural look, or cream for a belt that goes with everything. If you want a dressier belt, a wooden ring in a dark stain looks lovely against cream yarn, and a brass ring looks lovely against black or navy yarn.
Abbreviations (US Terms)
- ch = chain
- sl st = slip stitch
- sc = single crochet
- sc2tog = single crochet 2 together (decrease)
- st(s) = stitch(es)
- rep = repeat
- RS = right side
- WS = wrong side
Gauge and Sizing Notes
Gauge for a belt matters because the length of the strap decides the fit, and the width decides how the belt sits. Work a swatch of 16 sc stitches and 18 rows, and measure it. It should be about 4 inches wide and 4 inches tall. If your swatch is wider than 4 inches, go down a hook size. If it is narrower, go up a hook size.
Measure the waist before you start, around the body at the place the belt will sit, over the clothes you will wear with it. The starting chain in the size table already includes about 6 extra inches beyond the waist measurement: 3 inches fold back through the ring at one end, and 3 inches of tip overlap at the other end.
Part 1: The Belt Strap
The strap is a simple rectangle worked flat in rows of single crochet. It forms the whole length of the belt, and the ring end and the tapered tip are worked from its two ends, so there is no seam to sew along the length of the belt.
The Strap
With your yarn, chain the number from the size table for your size. The example counts below use size M, with 168 stitches in row 1. Adjust the counts in brackets to your own size.
- Row 1 (RS): sc in the 2nd ch from the hook and in each ch across. (168 sc for size M)
- Row 2 (WS): ch 1, turn, sc in each st across. (168 sc)
- Row 3: ch 1, turn, sc in each st across. (168 sc)
- Row 4: ch 1, turn, sc in each st across. (168 sc)
- Row 5: ch 1, turn, sc in each st across. (168 sc)
- Row 6: ch 1, turn, sc in each st across. (168 sc)
- Row 7: ch 1, turn, sc in each st across. (168 sc)
- Row 8: ch 1, turn, sc in each st across. (168 sc)
- Row 9: ch 1, turn, sc in each st across. (168 sc)
The strap is now about 2 inches wide. Lay it flat and measure it end to end. For size M it should measure about 42 inches long, which covers a 36 inch waist plus the 6 inches for the ring fold and the tip overlap.
Part 2: The Ring Buckle End
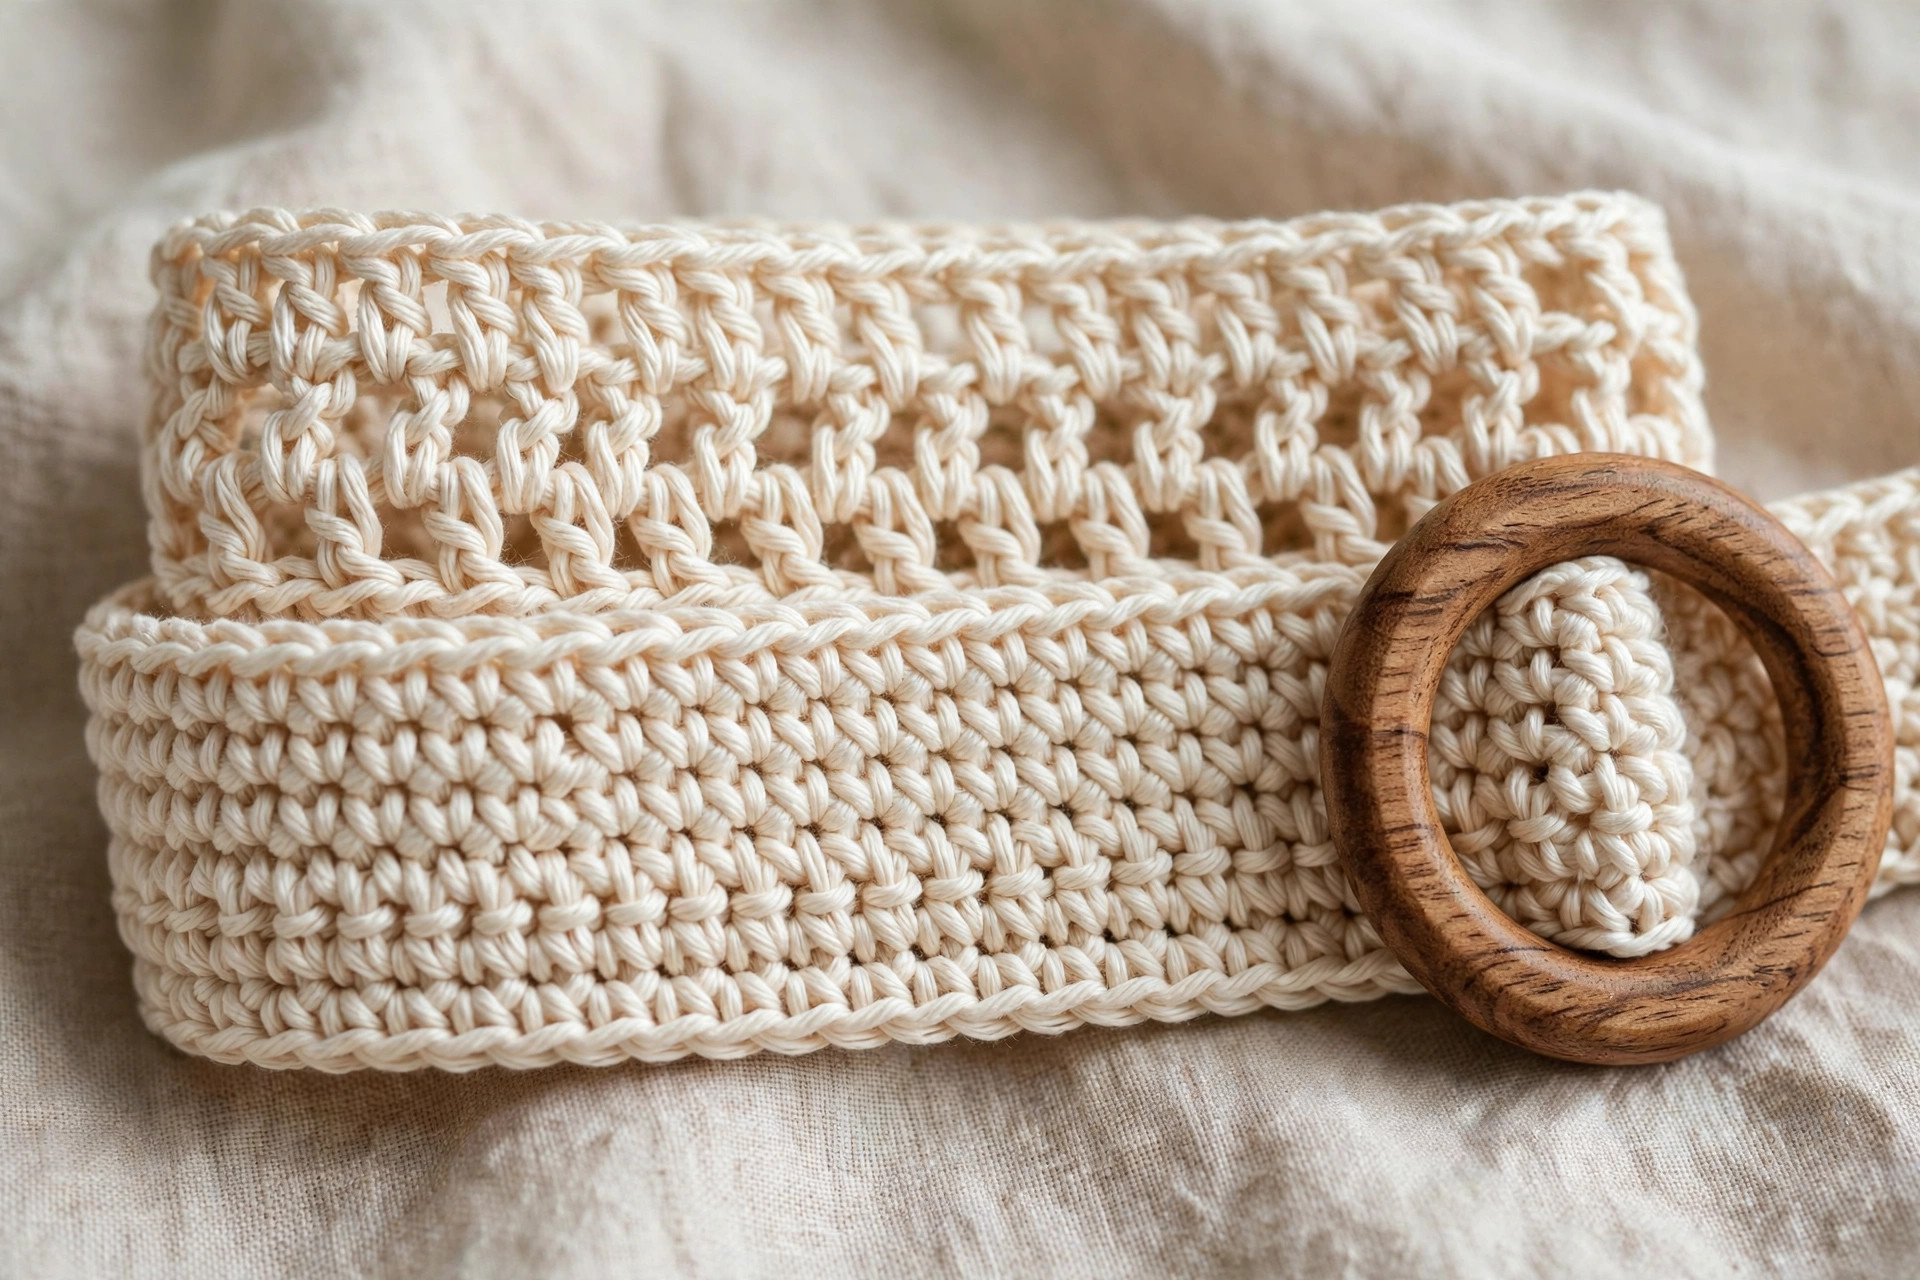
The ring buckle end is the starting end of the strap, the end where you made your first chain. It folds through the ring and is stitched down, forming a permanent loop that holds the ring in place.
Attaching the Ring
Do not fasten off yet. Lay the strap flat with the right side facing up, and slide the ring onto the starting end of the strap, pushing it about 3 inches along the strap from the end.
Fold the end of the strap back over the ring, so the wrong side of the folded end sits against the wrong side of the strap, with the ring caught in the fold. The fold should be 3 inches deep, and the cut end of the strap should sit flat against the strap with no bunching.
With your tapestry needle and a length of the same yarn, whipstitch the folded end to the strap. Work one whipstitch into every stitch along the end edge, for about 34 stitches across the width of the fold, then work a second row of whipstitches about half an inch below the first row, so the fold is held firmly in two places. Knot the yarn on the wrong side and weave in the end. Pull the ring to check that it cannot slip out of the fold.
Part 3: The Tapered Tip and Buttonhole
The tip is the working end of the strap, where your yarn is still attached after row 9. It tapers to a neat point over two rows, then a buttonhole is worked into it, so the tip can button down after it threads through the ring.
Shaping the Tip
With your yarn still attached at the tip end, continue from row 9.
- Row 10: ch 1, turn, sc2tog, sc in each st across to the last 2 sts, sc2tog. (166 sc for size M, 2 fewer than row 9)
- Row 11: ch 1, turn, sc2tog, sc in each st across to the last 2 sts, sc2tog. (164 sc for size M, 2 fewer than row 10)
The tip is now slightly narrower than the rest of the strap, with a gentle taper that threads easily through the ring.
The Buttonhole
- Row 12: ch 1, turn, sc in the first 4 sts, ch 3, skip the next 3 sts, sc in each remaining st across. (161 sc plus a ch-3 space, for size M)
- Row 13: ch 1, turn, sc in each st across, working 3 sc into the ch-3 space. (164 sc for size M)
Fasten off, leaving a tail to weave in. The buttonhole sits about 1 inch back from the tip, centered on the strap, and it should be just wide enough for your 1 inch button to pass through with a gentle push. If the buttonhole is too tight, work row 13 with 4 sc in the ch-3 space instead of 3, which opens the hole a little wider.
Sewing the Button
Sew the button onto the right side of the strap, about 5 inches back from the tip, centered on the width of the belt. Use a sewing needle and strong thread, sew through the button at least four times, and knot the thread firmly on the wrong side. To wear the belt, wrap it around your waist, thread the tip through the ring, pull it snug, fold the tip back, and push the button through the buttonhole. The button holds the tip flat against the belt so it never flaps loose.
Variations: Colors, Sizes, and Uses
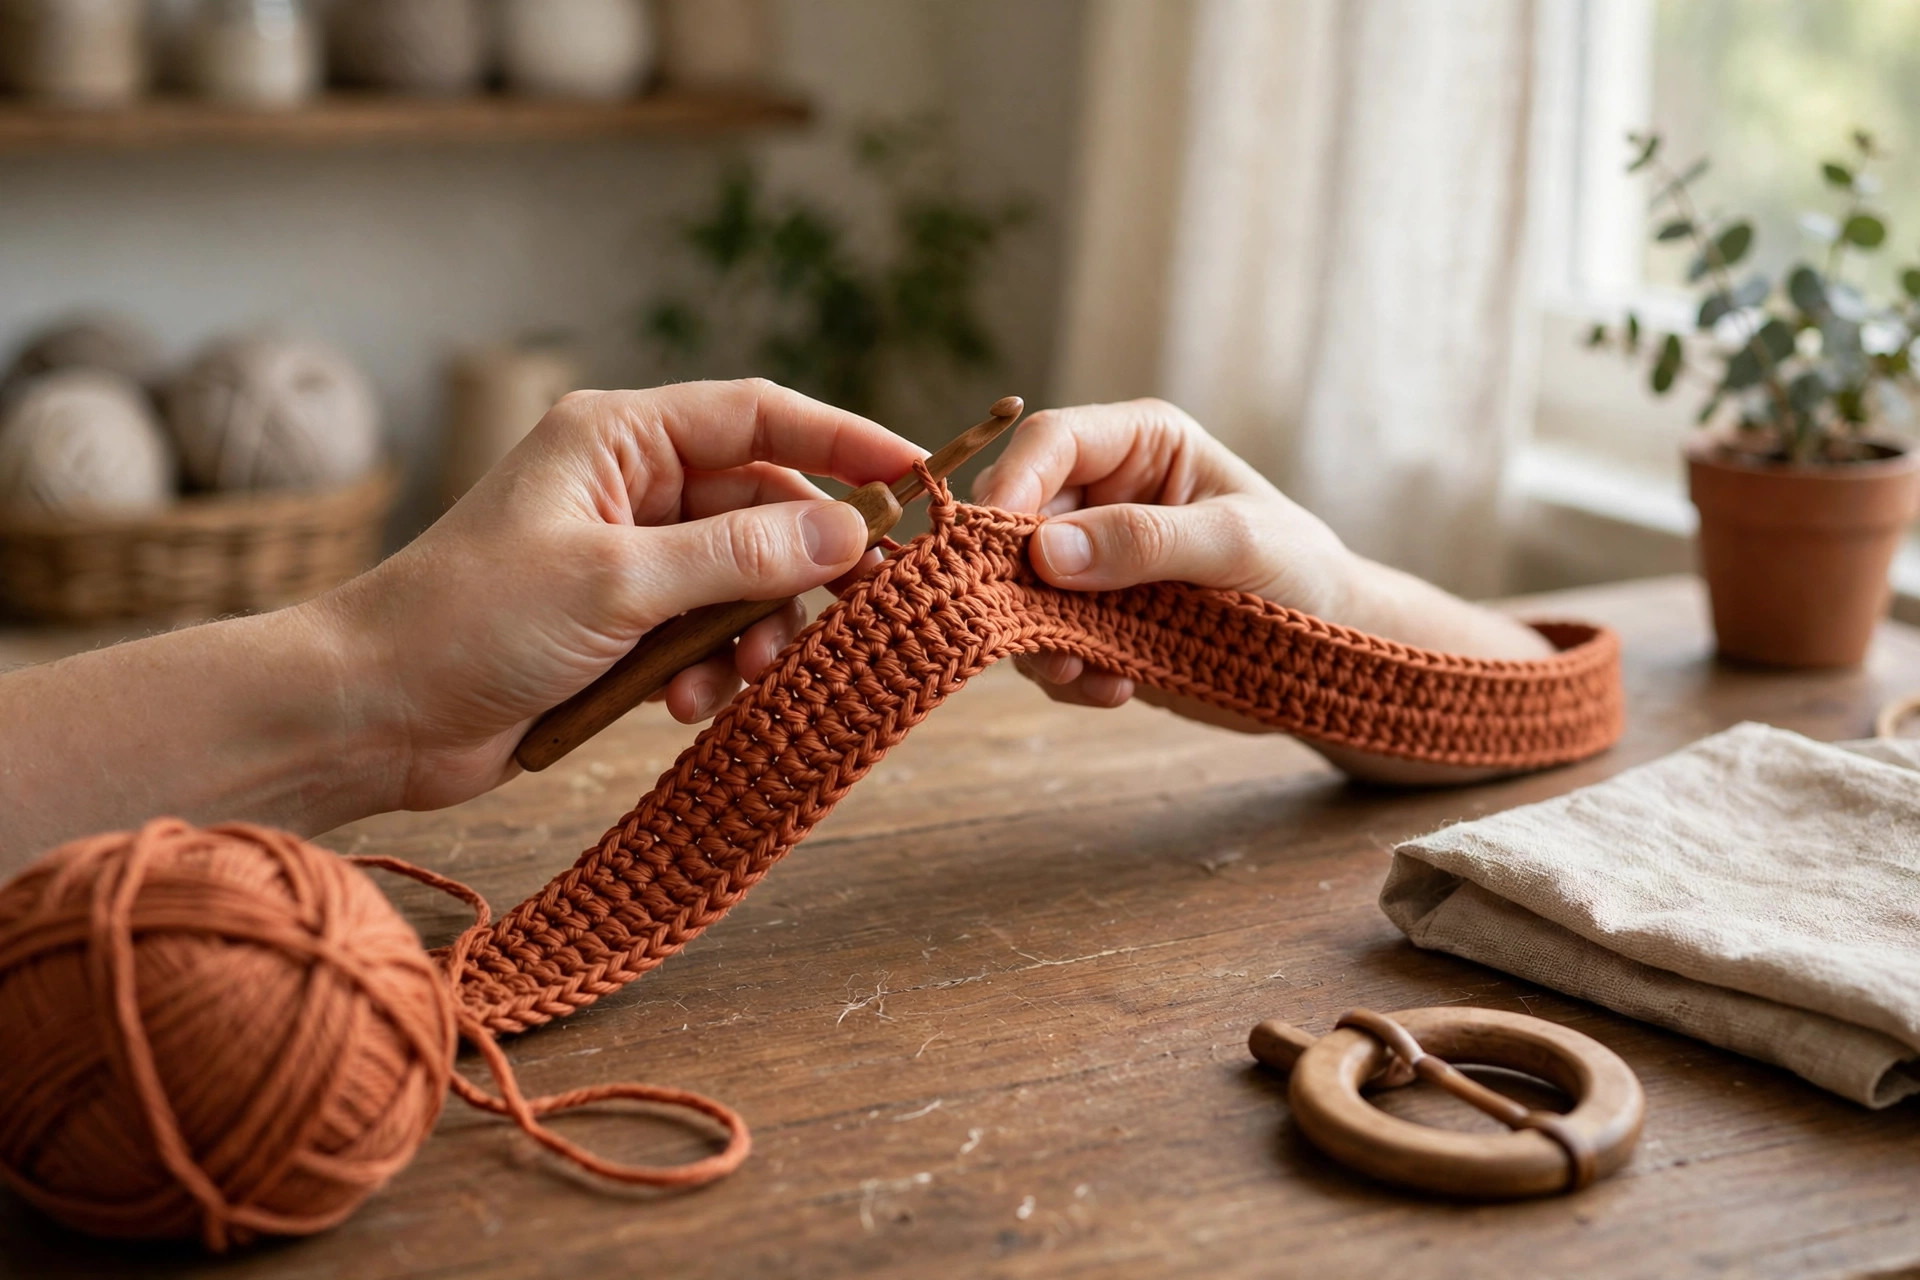
- Classic terracotta belt: work the belt in terracotta with a wooden ring, the colorway in the photos. Our crochet flower pattern free makes a sweet matching brooch to pin at the waist.
- Sage green everyday belt: make the belt in sage green with a brass ring for a soft natural look that pairs well with denim and cream linen.
- Cream belt for dresses: make the belt in cream with a dark stained wooden ring, and wear it over a linen dress or a long tunic for a clean, light finish.
- Black belt with a brass ring: make the belt in black cotton with a brass ring for a dressier belt.
- A child's belt: make the XS size in a bright color with a smaller 1.5 inch ring and a smaller button, and pair it with a simple dress for a sweet handmade outfit.
Troubleshooting a Belt That Will Not Fit
- My belt is too short. The starting chain was too short, or your gauge is tighter than the pattern. Measure the strap before you add the ring, and chain more stitches on your next belt, about 4 stitches for every extra inch you need.
- My belt is too long. The starting chain was too long, or your gauge is looser than the pattern. Thread more of the tip through the ring so the extra length folds back, and move the button closer to the tip if the overlap looks untidy.
- My belt stretches out when I wear it. Cotton can relax with wear, especially if the belt is pulled tight. Work the strap with a hook one size smaller next time, or add a second row of whipstitches at the ring fold to stop the fold from slipping.
- My tip will not thread through the ring. The ring is too small for the width of the belt, or the tip is too wide. Use a 2 inch ring for a 2 inch wide belt, and check that the taper rows were worked on both sides of the tip.
- My buttonhole is too tight. The chain space was worked too small, or the button is too big for the hole. Work 4 sc into the ch-3 space in row 13, or choose a button a little smaller than 1 inch across.
Care Instructions
Hand wash a crochet belt in cool water with a mild detergent, and press the water out gently without wringing. Reshape the belt while it is damp, laying it flat and straight, and let it dry flat on a clean towel. Do not put it in the dryer on high heat, and keep the wooden ring out of long soaks so it does not swell or crack. If the belt has a brass ring, dry the ring well after washing so it does not tarnish. Check the button stitching before every wash and re-sew any thread that feels loose.
Frequently Asked Questions
Is this crochet belt pattern good for beginners?
Yes, it is a great first wearable project. You need chains, single crochet, and simple decreases, and every row ends with a stitch count. One belt takes about 2 hours, so it is a satisfying weekend make.
What yarn is best for a crochet belt?
Worsted weight cotton yarn is the best choice, because it is firm, holds its shape under tension, and does not stretch out of shape the way acrylic can. Terracotta gives the warm everyday look in the photos, but sage green, cream, and black all work well for different outfits.
How long should I make my crochet belt?
Measure your waist where you plan to wear the belt, over the clothes you will wear with it, then use the size table to find your starting chain. The chain already includes about 6 extra inches for the ring fold and the tip overlap, so do not add more length unless you are between sizes, in which case make the larger size.
What size ring do I need for the buckle?
A 2 inch ring works for this 2 inch wide belt, because the tip needs room to pass through the ring and fold back. A wooden ring gives a warm natural look, and a brass or metal ring gives a dressier finish. Avoid rings smaller than 2 inches, because the tip will not thread through comfortably.
How does the ring buckle closure work?
Wrap the belt around your waist, thread the tapered tip through the ring, and pull it snug. Then fold the tip back against the belt and push the button through the buttonhole. The ring takes the tension, and the button keeps the tip lying flat so it never flaps loose.
Can I make the belt wider or narrower?
Yes, you can change the width by working more or fewer rows in the strap. Each row adds about a quarter of an inch, so 12 rows makes a belt about 2.75 inches wide, and 6 rows makes a belt about 1.5 inches wide. If you change the width, use a ring to match, and move the button and buttonhole to the new center.
Can I sell belts made from this pattern?
Yes, you may sell finished belts made from this free pattern, with credit to Little Loop Finds. Please do not sell or republish the pattern text itself. A set of three belts in terracotta, sage green, and cream makes a lovely gift bundle, and pairs nicely with a matching bag like our crochet market bag pattern or a soft scarf like our crochet scarf patterns for beginners.
Happy stitching, and may your new belt add a handmade finishing touch to every outfit you wear it with.