Crochet Coaster Pattern (Easy Cotton Set, Free)
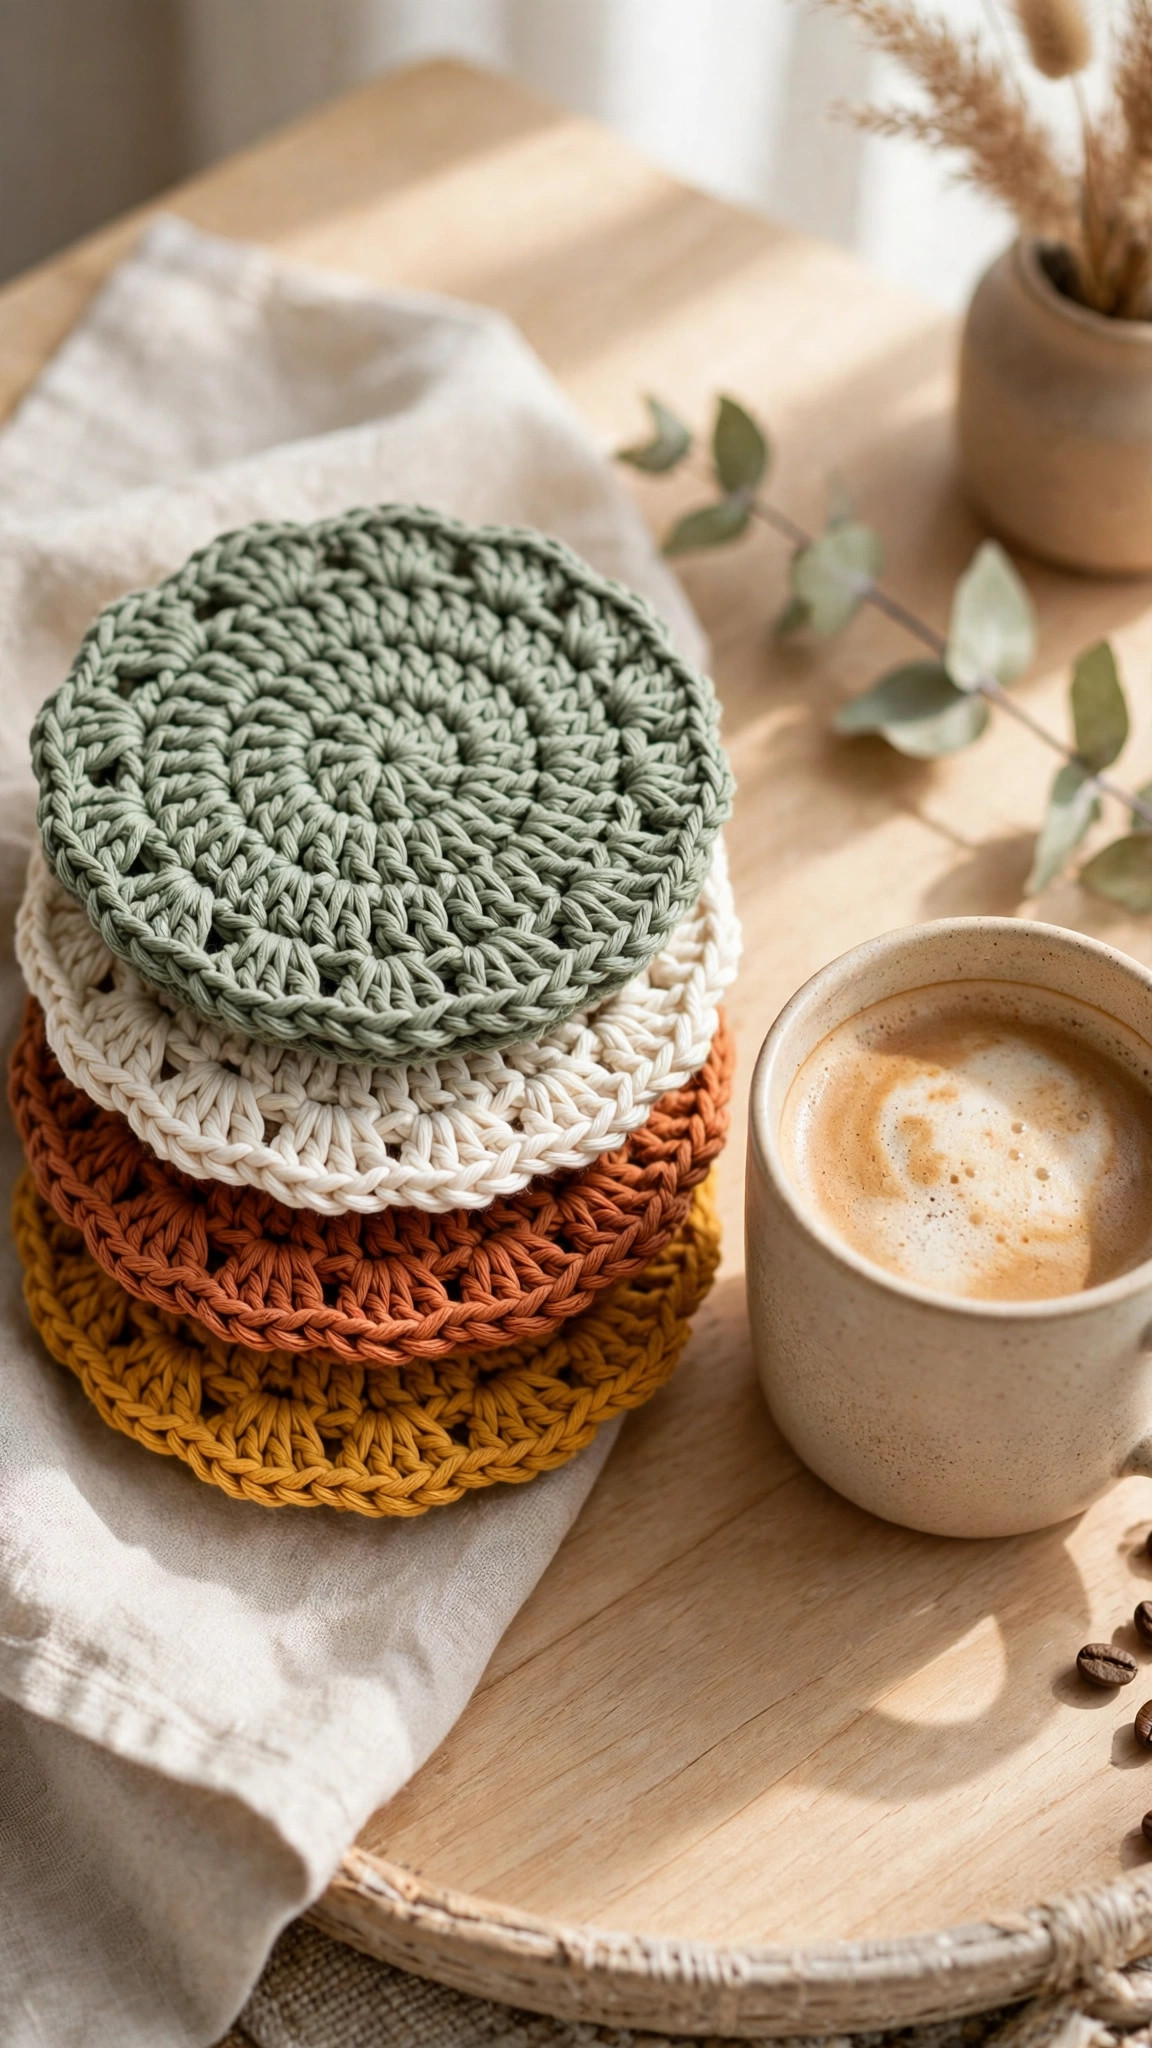
Stitch a set of easy cotton coasters with a scalloped edge, perfect for mugs and glasses, in under an hour each.

Patterns · Crochet
- Finished size
- 4.5 in across after blocking
- Making time
- 30 to 45 minutes each
- Hook
- US H-8 (5.0 mm)
- Set
- Center circle, body rounds, scallop edge
- Skill
- Easy
In this post
- Key Takeaways
- Table of Contents
- Why You Will Love These Coasters
- Finished Size, Skill Level, and Time
- Materials You Need
- Abbreviations (US Terms)
- Gauge and Sizing Notes
- Part 1: The Center Circle
- Part 2: Growing the Coaster Body
- Part 3: Scallop Edge and Finishing
- Variations: Colors, Sizes, and Uses
- Troubleshooting Coasters That Curl or Ripple
- Care Instructions
- Frequently Asked Questions
A handmade crochet coaster is one of the smallest projects you can make, and also one of the most useful. It protects your table, uses up leftover cotton yarn, and takes less than an hour from first stitch to finished coaster. This free crochet coaster pattern walks you through a simple round coaster with a pretty scalloped edge, and then shows you how to make a whole matching set of four in an afternoon.
This is an original Little Loop Finds design, written in US terms and completely free. The coaster is worked in the round with double crochet and single crochet, plus a simple scallop edging that gives it a finished look without any fussy stitch work. If you can crochet a magic ring and work in the round, you can make this coaster. It is a perfect first project for a beginner, and a relaxing stash buster for an experienced maker.
A quick note on scope: this post is about an everyday cotton coaster set for mugs and glasses, not a holiday coaster set. If you want a festive version for the winter table, our crochet christmas coasters free patterns collection has Christmas themed coasters in the same easy style.
Key Takeaways
- Free original pattern: this crochet coaster pattern is a Little Loop Finds original design, written in US terms, and completely free.
- Quick and useful: one coaster takes under an hour, and a set of four takes a single afternoon.
- Beginner friendly: worked in the round with double crochet, single crochet, and a simple scallop edge, with a stitch count at the end of every round.
- Practical cotton: worsted weight cotton absorbs condensation, lies flat, and washes well, so the coasters actually get used.
- Wonderfully giftable: a set of four in matching colors makes a thoughtful housewarming or host gift, tied with a ribbon.
Table of Contents
- Why You Will Love These Coasters
- Finished Size, Skill Level, and Time
- Materials You Need
- Abbreviations (US Terms)
- Gauge and Sizing Notes
- Part 1: The Center Circle
- Part 2: Growing the Coaster Body
- Part 3: Scallop Edge and Finishing
- Variations: Colors, Sizes, and Uses
- Troubleshooting Coasters That Curl or Ripple
- Care Instructions
- Frequently Asked Questions
Why You Will Love These Coasters
Every home needs coasters, and handmade ones are nicer than anything you can buy in a shop. A crochet coaster catches the ring of condensation from a cold glass, cushions a hot mug, and adds a small pop of handmade color to a coffee table or desk. Because each coaster uses only about 25 yards of yarn, a set of four costs almost nothing if you work from your stash.
Coasters are also one of the best projects for learning to crochet in the round. The circle grows in a predictable rhythm, the stitch counts tell you right away if you have gone wrong, and you finish something useful before your attention wanders. If the first coaster comes out a little wonky, you have only lost twenty minutes, and the second one will already be better. By the fourth coaster, your stitches will look neat and even, and you will have a matching set to prove it.
They make wonderful gifts, too. A set of four coasters in a friend's favorite colors, tied with a ribbon and tucked into a mug, is a housewarming gift that looks thoughtful and handmade without taking a whole weekend to make. Make a set for yourself first, then make one for someone else.
Finished Size, Skill Level, and Time
- Finished size: about 4.5 inches across after blocking, in worsted weight cotton. That fits a standard mug or a drinking glass with room to spare. The pattern also gives notes for a small 3.5 inch version and a large 5.5 inch mug rug version.
- Skill level: Easy. You need a magic ring, chains, slip stitches, single crochet, and double crochet. The scallop edge is just five double crochets in one stitch, and the pattern explains it step by step.
- Time: about 30 to 45 minutes per coaster: roughly 10 minutes for the center circle, 15 minutes for the body, and 10 minutes for the scallop edge and weaving in ends. A set of four takes about 2 to 3 hours.
Materials You Need
| Item | What to get |
|---|---|
| Yarn | Worsted weight (size 4) 100 percent cotton in 2 to 4 colors, about 25 yards per coaster |
| Hook | US H-8 (5.0 mm), or the size that gives you a firm, flat fabric |
| Notions | Tapestry needle, scissors, stitch markers |
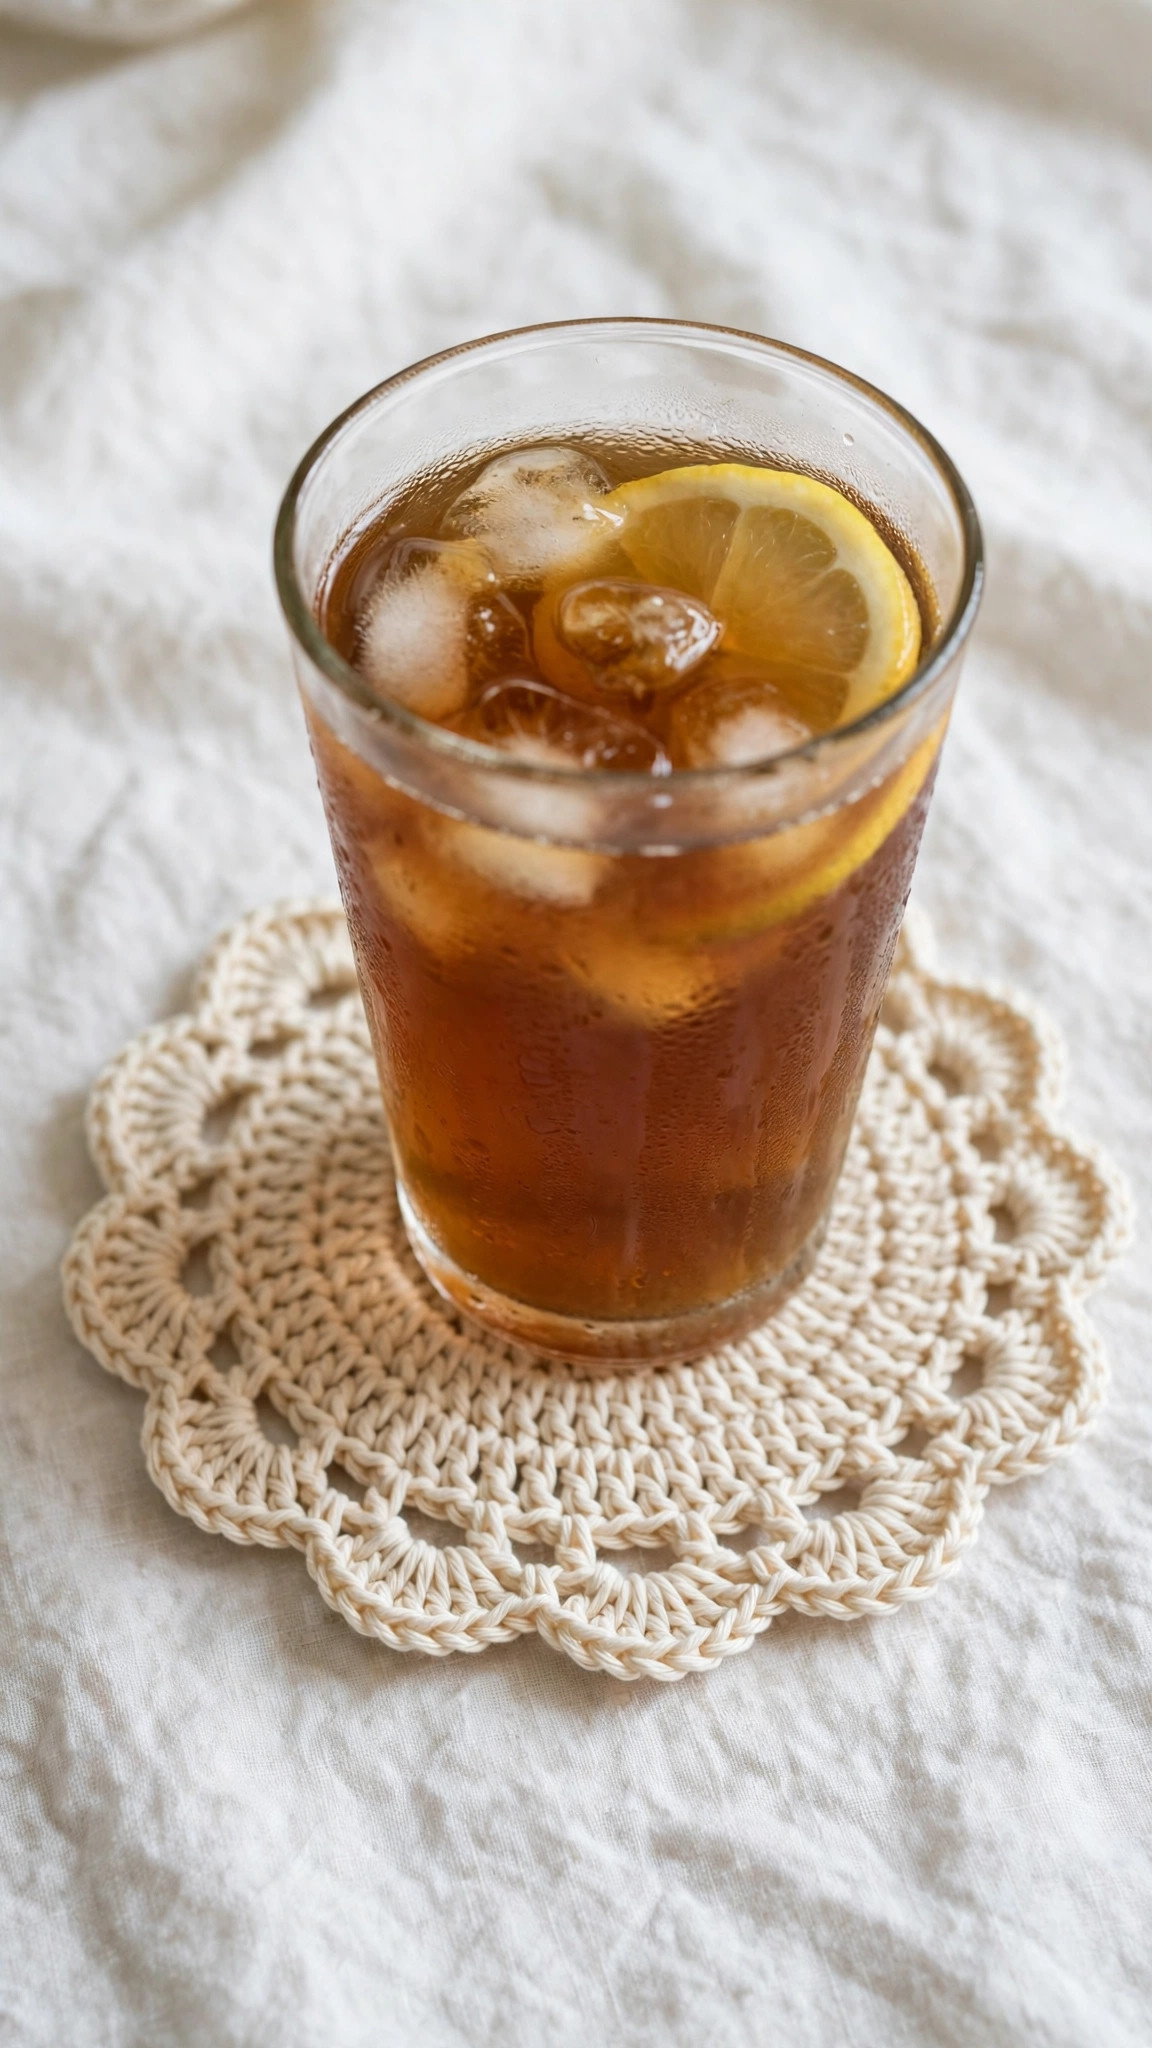
Cotton yarn is the best choice for coasters because it absorbs moisture instead of repelling it, it lies flat under a mug, and it survives the washing machine. Acrylic yarn feels soft, but it does not absorb condensation well, and it can melt slightly under a very hot mug, so save the acrylic for blankets and wearables. Choose smooth cotton in colors you love, because a coaster is a tiny canvas, and the color is half the charm.
For a set of four matching coasters, you need about 100 yards of yarn in total. One 120 yard ball of cotton is usually enough for a whole set, with a little left over. If you want each coaster in a different color, small 25 yard amounts from your stash are perfect.
Abbreviations (US Terms)
- ch = chain
- sl st = slip stitch
- sc = single crochet
- dc = double crochet
- inc = increase (2 stitches in the same stitch)
- st(s) = stitch(es)
- rnd(s) = round(s)
- rep = repeat
- sk = skip
- MR = magic ring
Gauge and Sizing Notes
Gauge for a coaster is about keeping the circle flat, not about hitting an exact number. Work the first 3 rounds and lay the coaster on a table. It should lie completely flat, with no ruffle and no bowl shape. If the edges ripple, your stitches are too loose or you have too many increases, so go down a hook size. If the edges cup upward, your stitches are too tight or you have too few increases, so go up a hook size. A quick check at round 3 saves you from frogging a finished coaster.
To make a smaller coaster, stop after Rnd 4 and work the scallop edge from Part 3 for a piece about 3.5 inches across. To make a larger mug rug, work one more increase round after Rnd 5, following the same rhythm, then add the scallop edge for a piece about 5.5 inches across. The stitch counts in each round are given so you can check your work as you go.
Part 1: The Center Circle
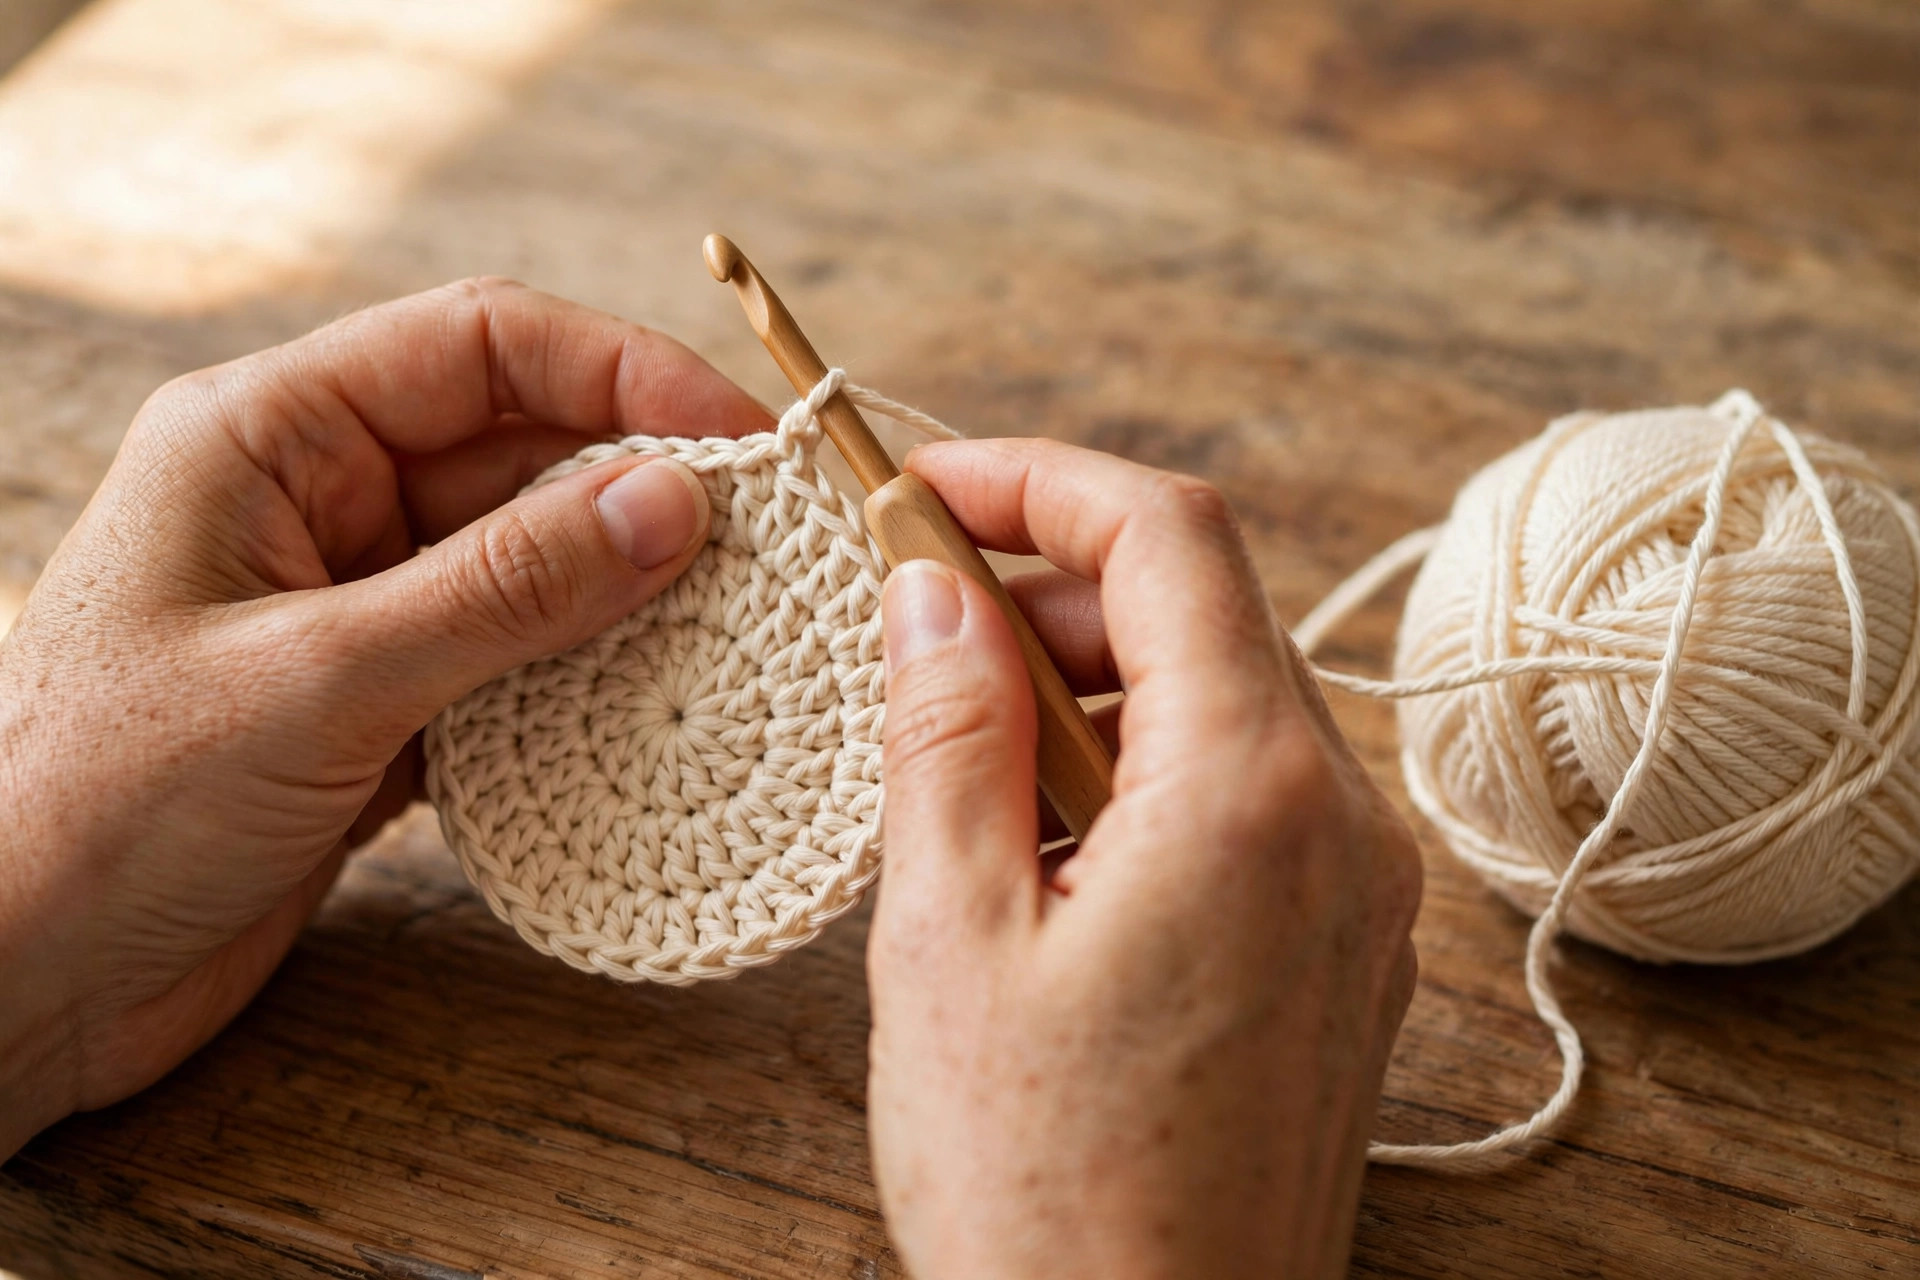
The coaster begins with a small circle worked in the round. Work with a slip stitch join at the end of each round, and use a stitch marker to mark the first stitch if it helps you keep track. The chain 3 at the start of a round counts as the first double crochet.
Center Circle
With your main color, MR, ch 3 (counts as dc).
- Rnd 1: 11 dc in MR. Join with a sl st to the top of the ch 3. (12 dc)
- Rnd 2: ch 3, dc in same st, 2 dc in each st around. Join with a sl st to the top of the ch 3. (24 dc)
Your circle should now be about 2 inches across and lying flat. If it cups upward, pull the magic ring a little looser and smooth the piece flat with your hands. The center is the foundation of the whole coaster, so take a moment to check it before you move on.
Part 2: Growing the Coaster Body
This is where the coaster grows from a small circle into a full sized piece. The increase rhythm is simple: add one more plain double crochet between increases on each round, so the circle stays flat as it grows. Count your stitches at the end of every round, because a missed increase here is what makes a coaster ripple or cup later.
Body Rounds
- Rnd 3: ch 3, dc in next st, 2 dc in next st, (dc in next st, dc in next st, 2 dc in next st) rep around. Join with a sl st to the top of the ch 3. (36 dc)
- Rnd 4: ch 1, sc in same st, sc in next 2 sts, 2 sc in next st, (sc in next 3 sts, 2 sc in next st) rep around. Join with a sl st to the first sc. (48 sc)
- Rnd 5: ch 1, sc in each st around. Join with a sl st to the first sc. (48 sc)
The single crochet rounds give the coaster a firm, dense fabric that holds its shape under a mug. After Rnd 5, your coaster should measure about 4 inches across and lie perfectly flat on the table. If it ripples slightly, do not worry yet. The scallop edge in the next part pulls the edge into shape, and a quick blocking fixes the rest.
Part 3: Scallop Edge and Finishing
The scallop edge is the pretty frame around your coaster, a row of twelve little shells that gives the piece a finished, handmade look. It is worked in one round, and it uses the 48 stitches of Rnd 5 in neat groups of four, so the scallops space themselves evenly.
Scallop Edge
- Rnd 6: sl st in next st, (sk 1 st, 5 dc in next st, sk 1 st, sl st in next st) rep around 12 times. Join with a sl st to the first sl st of the round. Fasten off and weave in all ends. (12 scallops)
Each scallop is five double crochets fanned into a single stitch, with a slip stitch anchoring it on each side. The scallops should sit evenly around the edge, like a row of tiny shells. Count them if you like: there should be 12 scallops, one for every four stitches of the last round.
Finishing and Blocking
Weave in the starting tail and the ending tail with a tapestry needle, working the yarn back through the stitches on the wrong side of the coaster for about an inch, then trim the excess. Turn the coaster over and check that the front looks tidy, with no tails poking through.
To block the coaster, soak it in cool water for a few minutes, gently squeeze out the water without wringing, and lay it flat on a clean towel. Pat it into a perfect circle, shape each scallop with your fingers, and leave it to dry completely. Blocking is quick, and it is what turns a slightly wavy coaster into a flat, crisp circle that sits neatly under a mug.
Variations: Colors, Sizes, and Uses
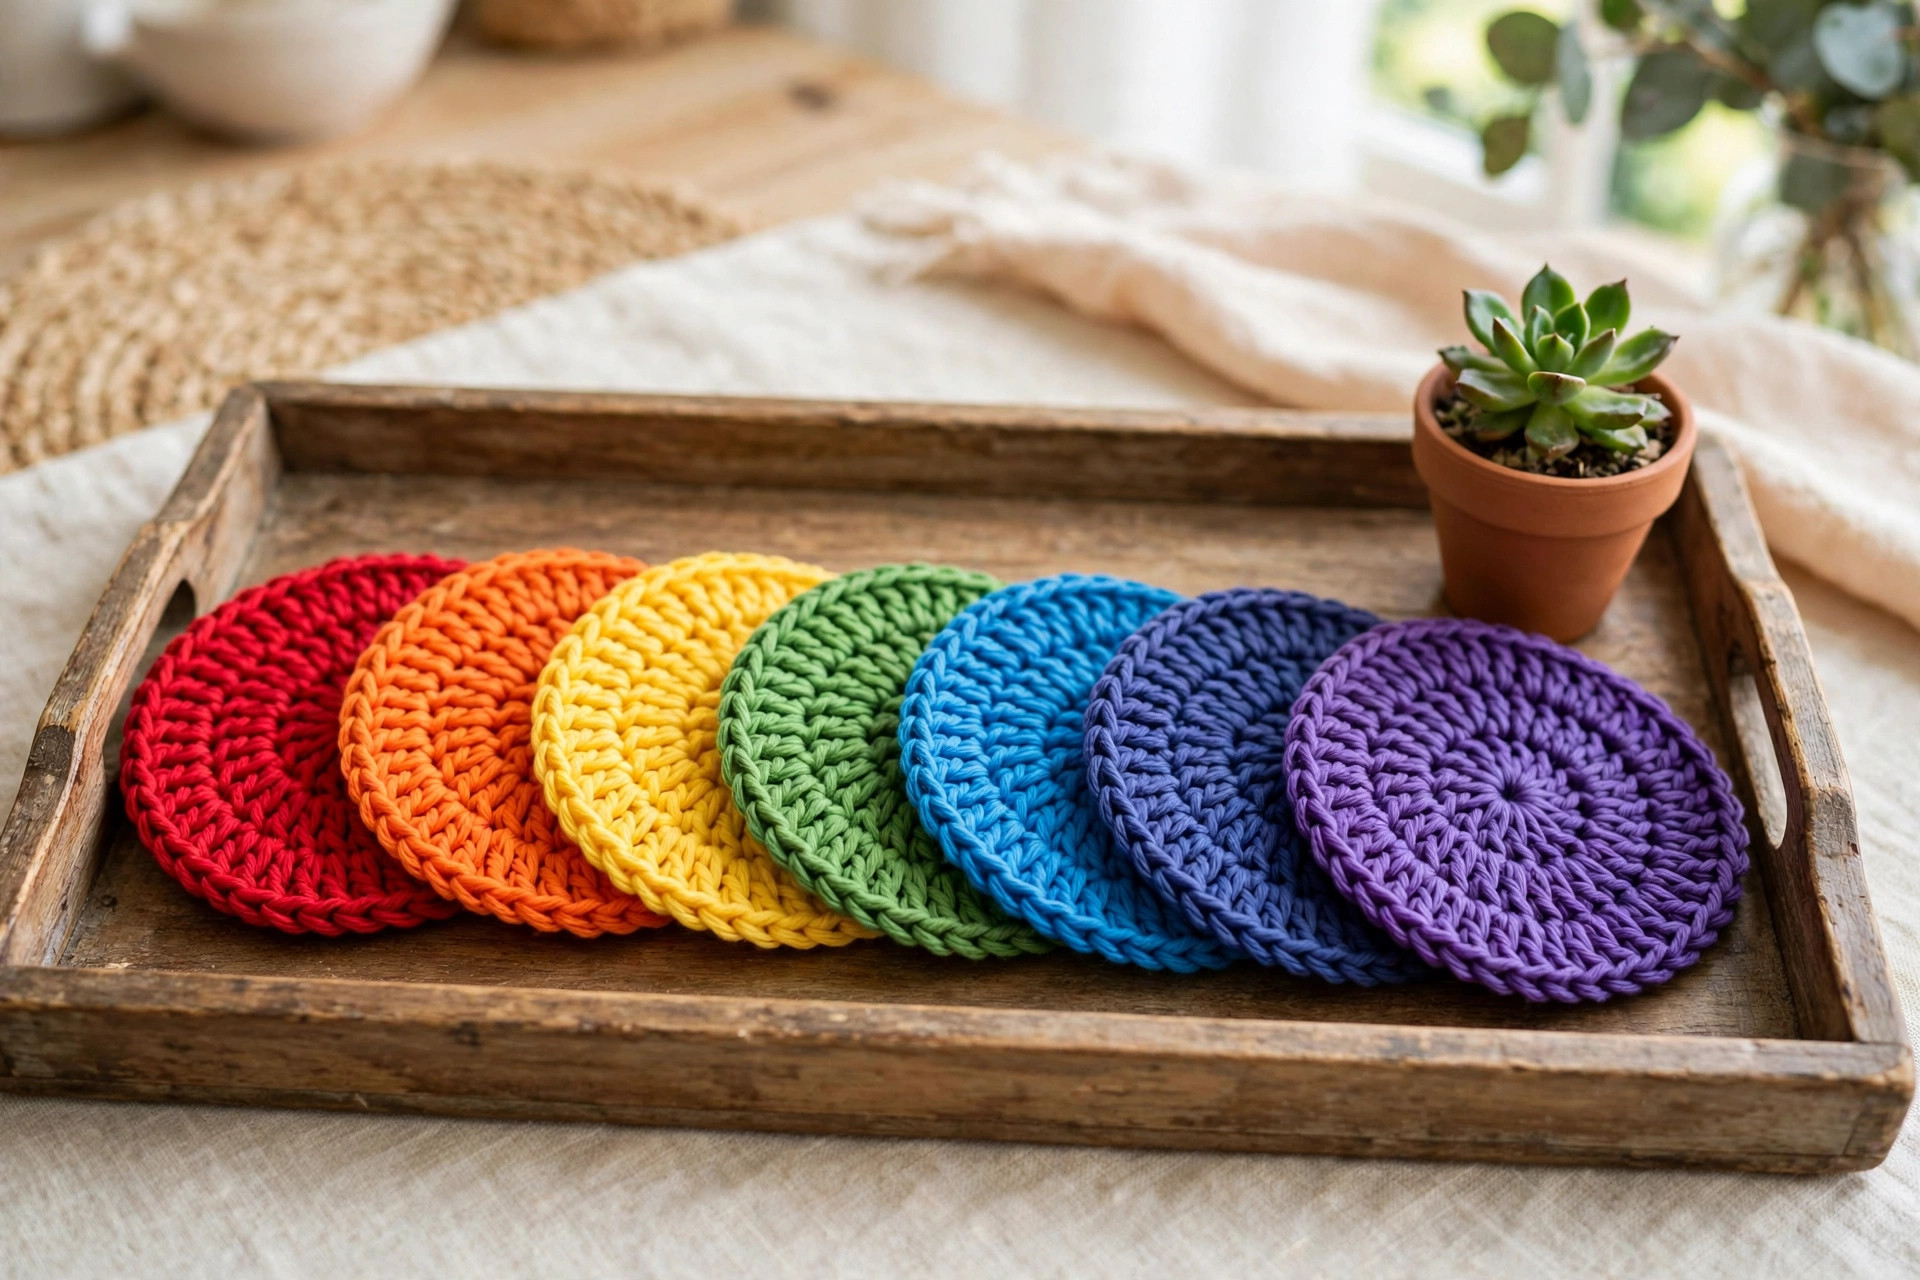
- Matching set of four: make four coasters in the same color for a classic set, or make each coaster a different color from the same palette for a cheerful mixed set. Our flower coaster crochet pattern pairs beautifully with these plain coasters in a gift set.
- Two tone coaster: work Rnds 1 to 3 in one color and Rnds 4 to 6 in a second color, for a coaster with a contrasting edge. The scallops look especially pretty in a contrast color.
- Striped coaster: change color every round for a rainbow striped coaster that uses up every scrap in your cotton stash. Our crochet dishcloths free patterns use the same cotton yarn, so the two projects make a matching kitchen set.
- Bobble texture coaster: replace Rnd 5 with a bobble round: (sc in next st, bobble in next st) rep around, where a bobble is 5 dc worked together in one stitch. The bumpy texture grips a mug nicely.
- Square coaster: work the same stitch pattern in rows instead of rounds for a square coaster about 4 inches across, then add a single crochet border around all four sides. A square set looks smart on a modern table.
- Mug rug: work one more increase round after Rnd 5, then add the scallop edge, for a 5.5 inch mug rug that fits a mug and a spoon. Our crochet trivet patterns free collection has larger heat proof mats in the same style.
If you enjoyed making something useful for the kitchen, a crochet potholders free patterns project is a natural next step, and it uses the same cotton yarn and the same easy stitches.
Troubleshooting Coasters That Curl or Ripple
- My coaster ripples like a ruffle. There are too many stitches for the round. Check your stitch counts, and if the counts are right, go down a hook size for the next rounds. Blocking will fix mild rippling.
- My coaster cups like a bowl. There are too few stitches for the round. Check that you worked every increase in Rnd 3 and Rnd 4, or go up a hook size so the fabric relaxes.
- My coaster is not round. Count the scallops. If you have 11 or 13 instead of 12, you skipped or added a stitch in Rnd 5. Frog back to Rnd 5 and recount before you work the edge.
- My scallops are uneven. Make sure all five double crochets of each scallop go into the same stitch, and that you skip exactly one stitch on each side. A tidy scallop fans out evenly.
- My coaster is too small for my mug. Work the mug rug variation with one extra increase round, or go up a hook size. A coaster should be at least half an inch wider than the base of the mug on every side.
- The center hole will not close. Pull the magic ring tail firmly before you work Rnd 2, and weave the tail in well so the ring cannot loosen with use and washing.
Care Instructions
Shake crumbs off your coasters and toss them in the washing machine with a normal load of towels or linens, using cool or warm water and mild detergent. Reshape them while they are damp and lay them flat to dry, so they keep their round shape and the scallops stay neat. Do not put cotton coasters in the dryer on high heat, because they can shrink slightly and the scallops can curl. If a coaster gets stained by coffee or tea, soak it in cool water with a spoonful of baking soda before washing. With regular washing, cotton coasters soften and get better with use.
Frequently Asked Questions
Is this crochet coaster pattern good for beginners?
Yes, it is one of the best first projects for a new crocheter. You need to know a magic ring, chains, slip stitches, single crochet, and double crochet, and the scallop edge is explained step by step. Every round ends with a stitch count, so you can check your work as you go, and one coaster takes under an hour.
What yarn is best for crochet coasters?
Worsted weight 100 percent cotton is the best choice, because it absorbs condensation, lies flat, and washes well. Avoid acrylic yarn for coasters, because it does not absorb moisture and can soften under a very hot mug. Mercerized cotton gives a smooth, slightly shiny finish that shows the scallops beautifully.
How big is the finished coaster?
About 4.5 inches across after blocking, in worsted weight cotton with a 5.0 mm hook. That fits a standard mug or drinking glass. Stop after Rnd 4 for a small 3.5 inch version, or add an extra increase round for a large 5.5 inch mug rug.
How many coasters should I make for a set?
Four is the classic set, and it fits most households. Six is better if you entertain often, and a set of two makes a sweet gift for a couple. One ball of cotton yarn, about 120 yards, is usually enough for a set of four.
Why does my coaster ripple?
Rippling usually means there are too many stitches for the round, or your tension is loose. Check the stitch count at the end of each round, and if the count is right, go down a hook size. Mild rippling disappears with blocking.
Can I sell coasters made from this pattern?
Yes, you may sell finished coasters made from this free pattern, with credit to Little Loop Finds. Please do not sell or republish the pattern text itself.
Do I have to block my coasters?
Blocking is recommended, because it is what turns a slightly wavy coaster into a flat, crisp circle. It only takes a few minutes of soaking and shaping, and the difference is easy to see the first time a mug sits flat on the coaster.
Happy stitching, and may your table stay ring free, one pretty coaster at a time.