Crochet Hook Roll Pattern (Free Storage Case)
Crochet a roll-up hook case with eight pockets and a tie, and give your hooks a tidy home.

Patterns · Crochet
- Finished size
- 12 x 9 in open
- Making time
- 3 hours per roll
- Hook
- US G-6 (4.0 mm)
- Set
- Panel, pockets, ties
- Skill
- Easy
In this post
- Key Takeaways
- Table of Contents
- Why You Will Love This Crochet Hook Roll
- Finished Size, Skill Level, and Time
- Materials You Need
- Abbreviations (US Terms)
- Gauge and Sizing Notes
- Part 1: The Main Panel
- Part 2: Pockets and Flap
- Part 3: Assembly, Ties, and First Use
- Variations: Colors, Sizes, and Uses
- Troubleshooting a Hook Roll That Gapes or Sags
- Care Instructions
- Frequently Asked Questions
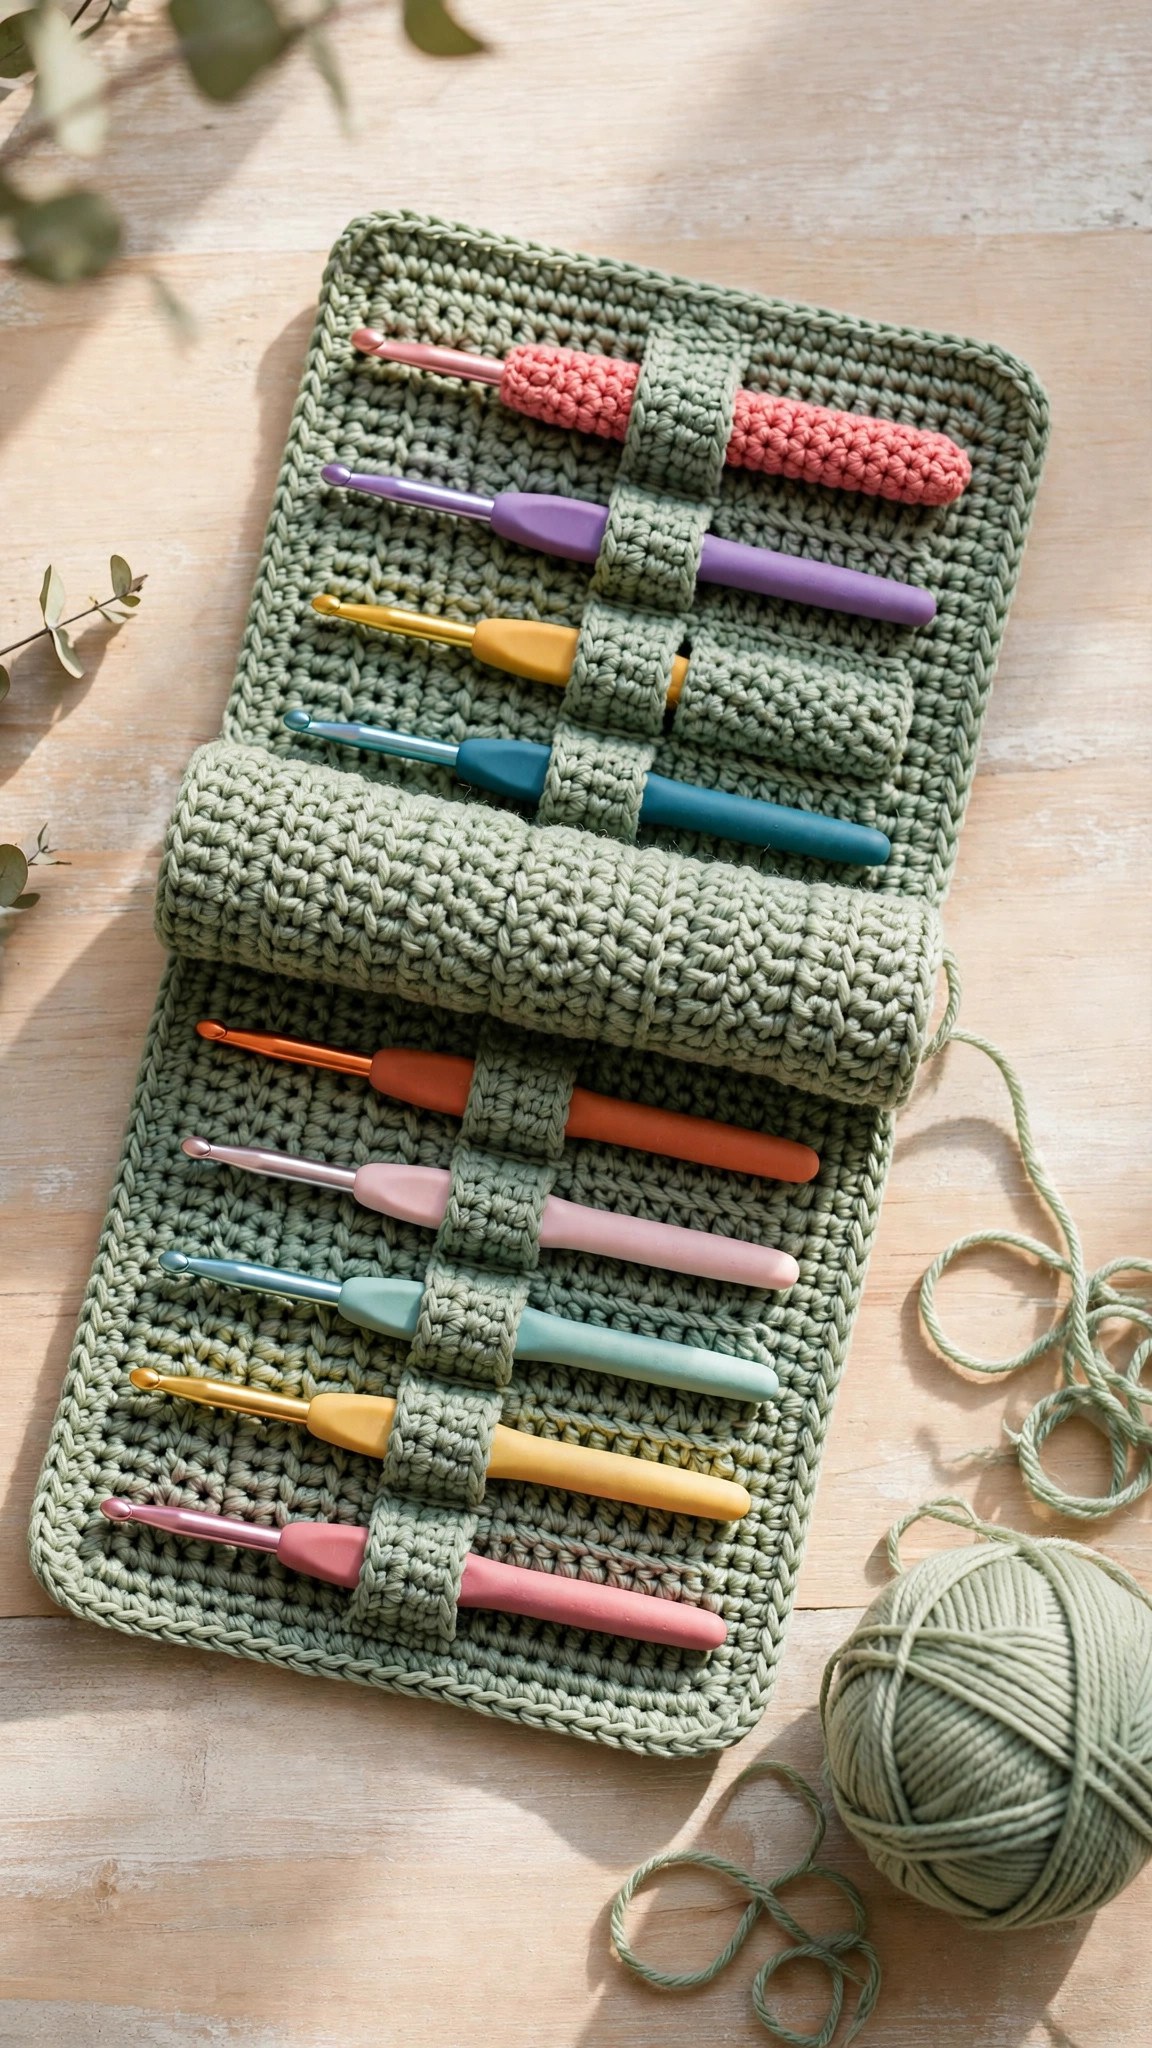
A crochet hook roll is the project your hooks have been waiting for. Instead of rattling around in a bag or a drawer, your hooks sit in neat pockets inside a soft roll that ties shut and slips into any project bag. This free pattern makes a roll-up case with eight pockets, a fold-over flap, and two ties, all in simple single crochet.
This is an original Little Loop Finds design, written in US terms and completely free. The case is worked in flat rows, so there is no shaping in the round and no tricky increases. You make a main panel, a pocket panel, and a flap, sew them together with a few straight seams, and add two simple chain ties. If you can chain and single crochet, you can make this hook roll, and it works for knitting needles, pens, or paintbrushes too.
A quick note on scope: this post is about one specific roll-up crochet hook case with pockets and a tie, for storing hooks. It is not a hook stand or a zippered pouch. If you want another storage project for your craft bag, our crochet tote bag pattern is a good next make.
Key Takeaways
- Free original pattern: this crochet hook roll pattern is a Little Loop Finds original storage design, written in US terms, and completely free.
- Eight pockets for hooks: the pocket panel is divided into eight pockets that fit hooks from 2.0 mm up to 8.0 mm, plus a slim pocket for a tapestry needle.
- Worked flat in rows: the whole case is single crochet worked back and forth, so there is no shaping in the round and no tricky increases.
- A quick weekend project: one hook roll takes about 3 hours, and it uses about 200 yards of worsted weight yarn.
- Useful beyond hooks: the same roll stores knitting needles, pens, paintbrushes, or makeup brushes, so it makes a thoughtful handmade gift.
Table of Contents
- Why You Will Love This Crochet Hook Roll
- Finished Size, Skill Level, and Time
- Materials You Need
- Abbreviations (US Terms)
- Gauge and Sizing Notes
- Part 1: The Main Panel
- Part 2: Pockets and Flap
- Part 3: Assembly, Ties, and First Use
- Variations: Colors, Sizes, and Uses
- Troubleshooting a Hook Roll That Gapes or Sags
- Care Instructions
- Frequently Asked Questions
Why You Will Love This Crochet Hook Roll
Every crocheter knows the feeling of reaching into a bag for a hook and finding a tangle of yarn, a tape measure, and three hooks, none of them the size you need. A crochet hook roll ends that hunt. Your hooks sit in a row, smallest to largest, where you can see them all at a glance, and the roll ties shut so nothing falls out.
A crochet hook roll is also a lovely way to use a favorite yarn. Because the case is mostly single crochet, the stitch texture shows off a beautiful hand-dyed yarn without any fancy stitches getting in the way. Make it in a calm solid color, or use stripes to match your favorite project bag. It is a small project with a big payoff, because you will reach for it every time you crochet.
Finished Size, Skill Level, and Time
- Finished size: about 12 inches wide and 9 inches tall when open and flat, and about 12 inches long and 3 inches across when rolled up and tied. The pockets fit hooks from 2.0 mm up to 8.0 mm.
- Skill level: Easy. You need chains, slip stitches, and single crochet, plus a little simple seaming with a tapestry needle.
- Time: about 3 hours per hook roll: roughly 1 hour 30 minutes for the main panel, 45 minutes for the pocket panel and flap, and 45 minutes for the ties and assembly.
Materials You Need
| Item | What to get |
|---|---|
| Yarn, main | Worsted weight (size 4) yarn in sage green, about 150 yards |
| Yarn, contrast | Worsted weight (size 4) yarn in cream, about 50 yards, for the pocket panel and ties |
| Hook | US G-6 (4.0 mm), or the size that gives you a firm fabric with no gaps |
| Notions | Tapestry needle, scissors, stitch markers, pins, a button (optional, for the flap) |
Worsted weight yarn is the best choice for a hook roll because it works up quickly, the fabric is firm enough to hold the hooks upright, and the finished case is soft but sturdy. A smooth cotton or cotton blend yarn works especially well, because it has little stretch, so the pockets keep their shape, and it washes easily. Avoid slippery or fuzzy yarns, because they make the pockets sag. Choose a main color you love, and pick a contrast color for the pockets so the hooks stand out.
Abbreviations (US Terms)
- ch = chain
- sl st = slip stitch
- sc = single crochet
- hdc = half double crochet
- st(s) = stitch(es)
- row(s) = row(s)
- rep = repeat
- RS = right side
- WS = wrong side
Gauge and Sizing Notes
Gauge for a hook roll is about making a firm fabric, not about hitting an exact number. Work a small swatch of 15 chains and 12 rows of single crochet and look at the fabric. You should not be able to see through the stitches, and the fabric should feel firm, like a placemat, not loose and floppy. If you can see daylight through your stitches, go down a hook size. If the fabric is stiff and hard to work, go up a hook size.
The finished case measures about 12 inches wide and 9 inches tall when open, which fits hooks up to 7 inches long. If your panel measures a little wider or narrower, the case still works. The important thing is that the pocket panel matches the width of the main panel, so measure both pieces before you sew them together. To make a larger roll for knitting needles, add 10 chains to the starting chain and 4 rows to the pocket panel.
Part 1: The Main Panel
The main panel is the back of the case, worked in flat rows of single crochet. It measures 40 stitches wide and 30 rows tall, and it forms the whole outer surface of the roll. Work in rows, turning at the end of each row, and chain 1 at the start of each row, which does not count as a stitch. Keep your edges straight by working into the very first stitch of each row and the very last stitch, because a missed edge stitch makes the panel narrow as you go.
Main panel
With the main color, ch 41.
- Row 1: sc in the 2nd ch from the hook, sc in each ch across. (40 sc)
- Rows 2-30: ch 1, turn, sc in each st across. (40 sc)
The panel should now measure about 12 inches wide and 9 inches tall. If it is a little wider or narrower, that is fine, as long as the pocket panel matches it. Fasten off, leaving a long tail for seaming, and set the panel aside with the right side facing up. The right side is the smoother side, with neat V-shaped stitches, and it will be the outside of the roll. Mark the top edge with a stitch marker, because the flap will attach there in Part 2.
To add stripes to the main panel, change color every 6 rows, fastening off and joining the new color at the start of a row. Stripes look best when the colors repeat in the same order, for example sage green, cream, and dusty pink. A striped panel hides the pocket seams nicely, because the eye reads the stripes before it reads the stitching.
Part 2: Pockets and Flap
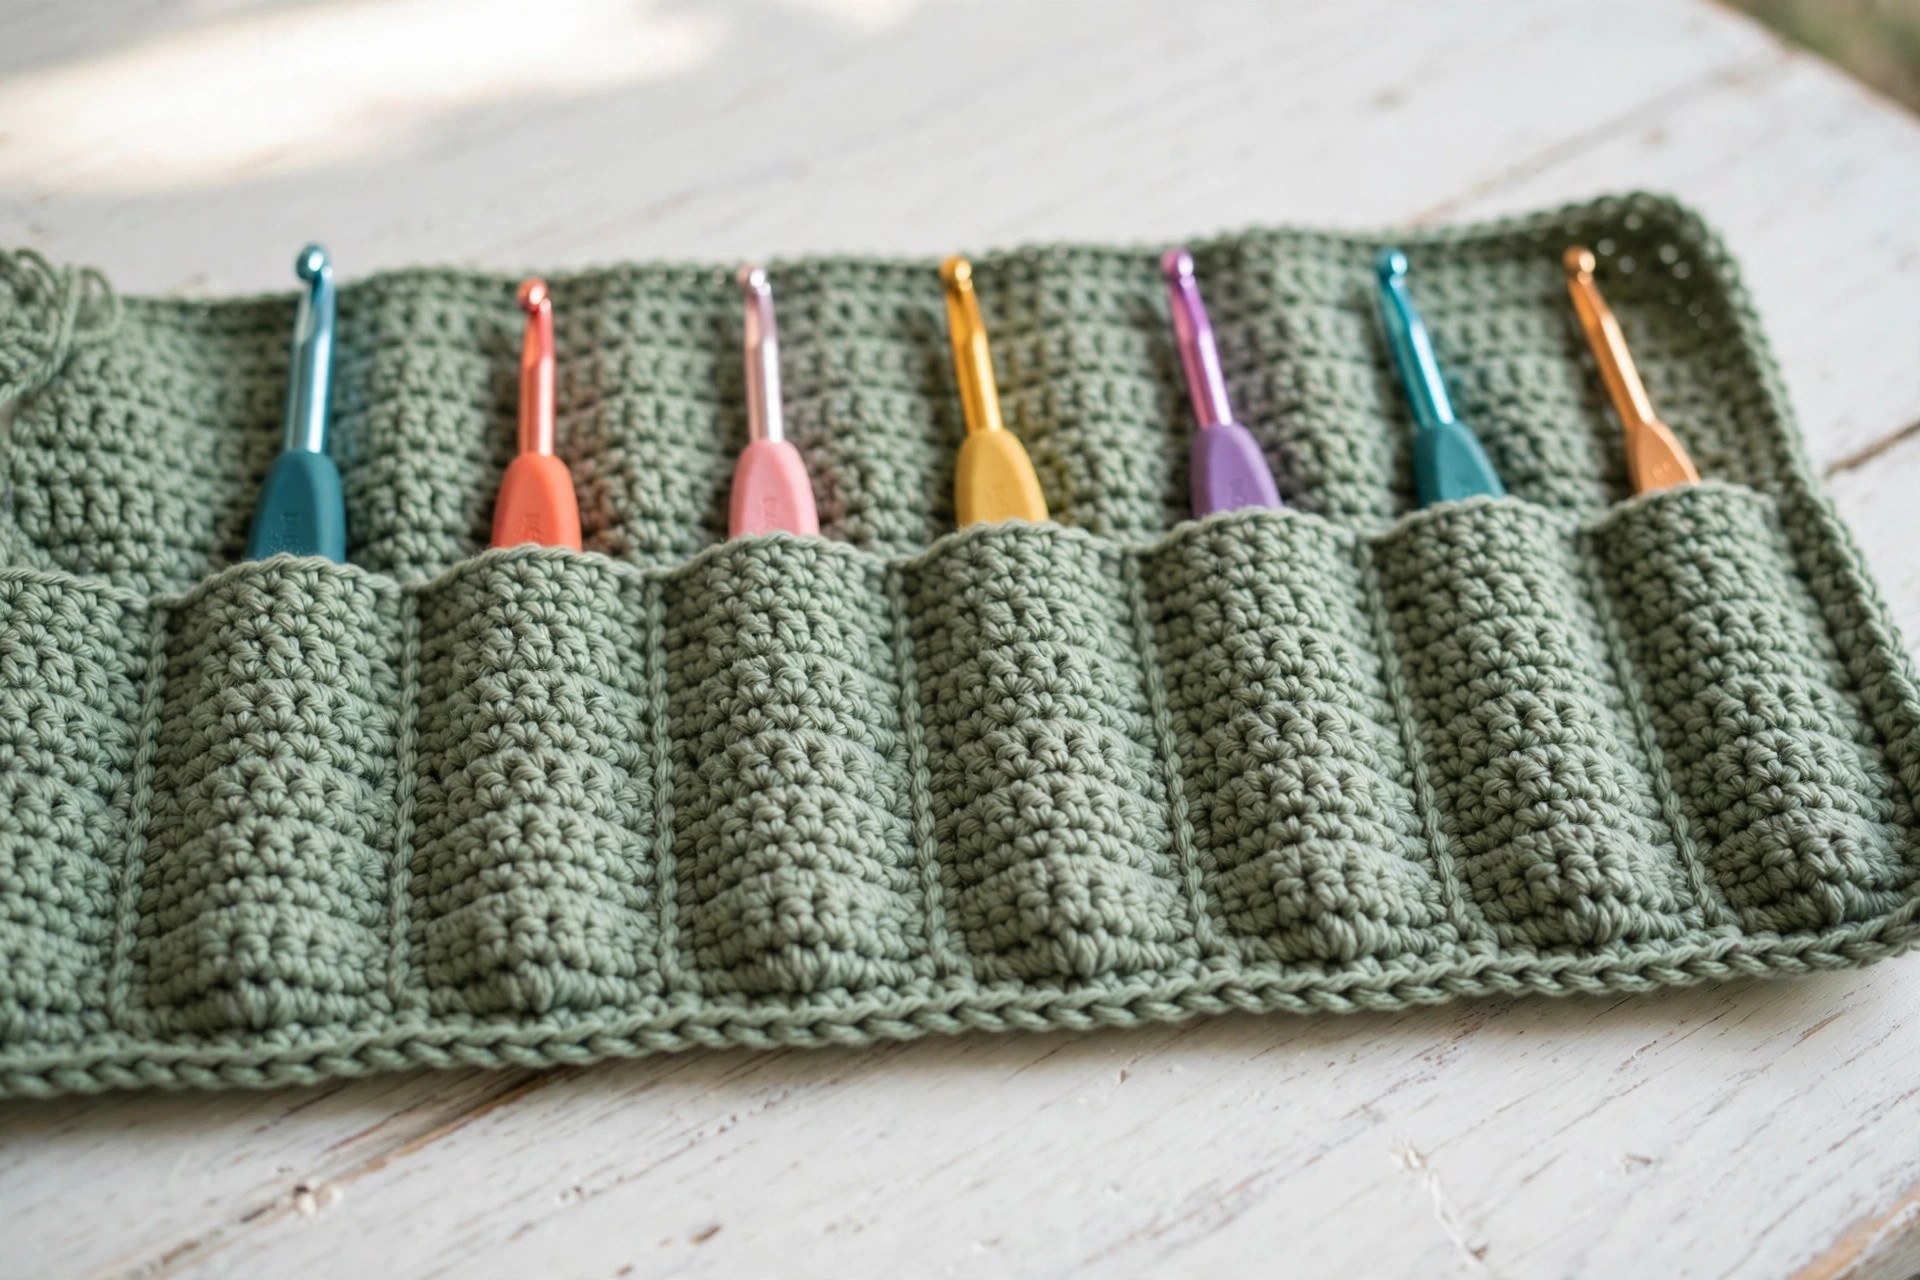
The pocket panel is a smaller rectangle sewn onto the lower half of the main panel, then divided into eight pockets with straight vertical seams. The flap is a short rectangle attached to the top edge of the main panel, and it folds down over the tops of the hooks to keep them from slipping out when the roll is tied. Work both pieces in the same single crochet fabric as the main panel, so the whole case has a matching texture.
Pocket panel
With the contrast color, ch 41.
- Row 1: sc in the 2nd ch from the hook, sc in each ch across. (40 sc)
- Rows 2-12: ch 1, turn, sc in each st across. (40 sc)
- Row 13: ch 1, turn, sc in each st across, then work a row of slip stitches loosely along the top edge for a neat finish. (40 sc)
- Fasten off, leaving a long tail for seaming.
The pocket panel measures about 12 inches wide and 3.5 inches tall. Lay it on the lower half of the main panel, lining up the bottom edges and the side edges, and pin it in place. The top edge of the pocket panel should sit about 4 inches below the top edge of the main panel, which leaves room for the hooks to show above the pockets. Sew the pocket panel to the main panel along the bottom edge and both side edges with a whip stitch, using the long tail and a tapestry needle. Work the stitches close together, so the pockets hold their shape.
Next, divide the pocket panel into eight pockets with vertical seams. Mark the seam lines with pins at every 5 stitches across the panel, which gives eight pockets of 5 stitches each. Sew each seam from the top edge of the pocket panel down to the bottom edge with a straight running stitch, going through both layers of fabric. Keep the seams straight and even, because crooked seams make the pockets different widths. Our crochet market bag pattern uses the same straight seaming, and it is good practice for keeping seams neat.
Flap
With the main color, ch 41.
- Row 1: sc in the 2nd ch from the hook, sc in each ch across. (40 sc)
- Rows 2-6: ch 1, turn, sc in each st across. (40 sc)
- Fasten off, leaving a long tail for seaming.
The flap measures about 12 inches wide and 2 inches tall. Sew it to the top edge of the main panel with a whip stitch along the full width, using the long tail. The flap hangs down from the top edge and folds over the tops of the hooks when the case is in use, which stops the hooks from slipping out of their pockets. If you like, sew a button to the front of the pocket panel and work a small chain loop on the end of the flap, so the flap buttons shut. Our dice pouch crochet pattern uses the same button loop idea on a smaller scale.
Part 3: Assembly, Ties, and First Use
Assembly is where the hook roll comes together. With the panel, pockets, and flap all sewn, you add two ties to the sides of the case, then load the hooks and roll it up for the first time. Take your time, because neat ties and a tidy roll are what make the case feel finished.
Ties (make 2)
With the contrast color, ch 51.
- Row 1: sl st in the 2nd ch from the hook, sl st in each ch across. (50 sl st)
- Fasten off, leaving a 6 inch tail.
Each tie is a slim cord about 12 inches long. Sew one tie to the right edge of the main panel, at the middle of the height, and sew the other tie to the left edge in the same place. Use the tails and a tapestry needle, and work several stitches through the same spot, so the ties hold firm when you pull them tight. The ties should sit on the outside of the case, so they wrap around the roll when it is closed.
To use the hook roll, lay it flat with the pockets facing up and the flap folded back. Slide your hooks into the pockets from largest to smallest, with the hook heads poking out above the pockets. Tuck a tapestry needle and a stitch marker into the slim end pocket. Fold the flap down over the tops of the hooks, then roll the case up from one side to the other, keeping the roll snug but not tight. Wrap the two ties around the roll and tie them in a bow. Your hooks are now safe, tidy, and ready to travel. Our crochet pin cushion pattern makes a matching notions keeper for the same project bag.
Variations: Colors, Sizes, and Uses
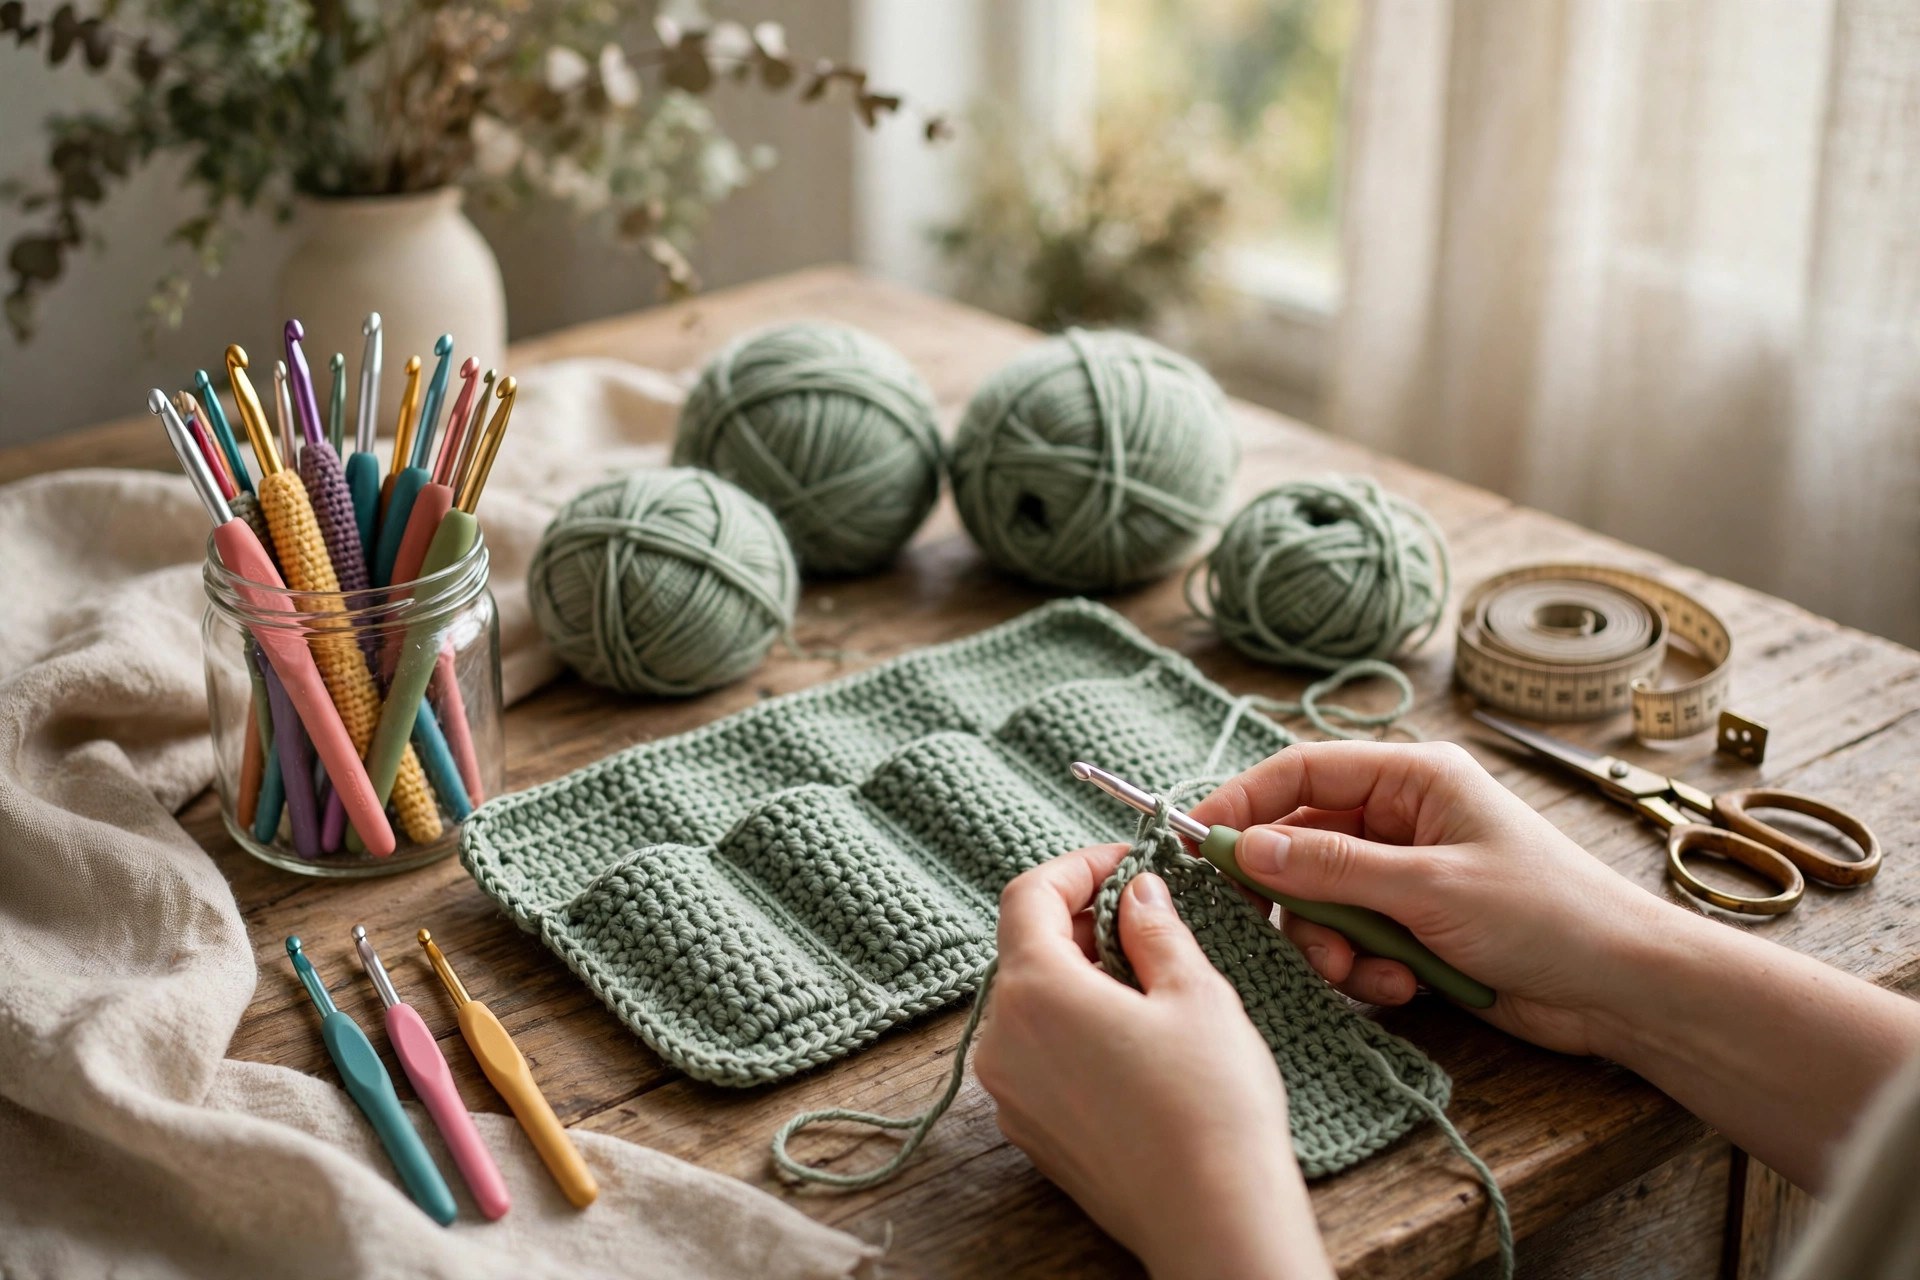
- Classic sage and cream roll: work the main panel and flap in sage green with cream pockets and ties, the colorway in the photos, for a calm case that suits any project bag. Our crochet bookmark pattern uses the same two colors.
- Rainbow stripe roll: change color every 6 rows on the main panel for soft stripes, and use a different contrast color for the pockets, which makes the case easy to spot in a full craft bag.
- Knitting needle roll: add 10 chains to the starting chain and 4 rows to the pocket panel for a wider case that fits knitting needles up to 10 inches long, and divide the pockets into 6 wider pockets instead of 8.
- Pen and pencil roll: make the case exactly as written, but divide the pocket panel into 10 pockets of 4 stitches each, for a slim roll that fits pens, pencils, and paintbrushes. Our headphone cover crochet pattern is another small accessory in the same size range.
- Travel roll: make the main panel 6 rows shorter for a compact case that holds just your five favorite hooks, and use a single long tie instead of two, so the roll slips into a small bag.
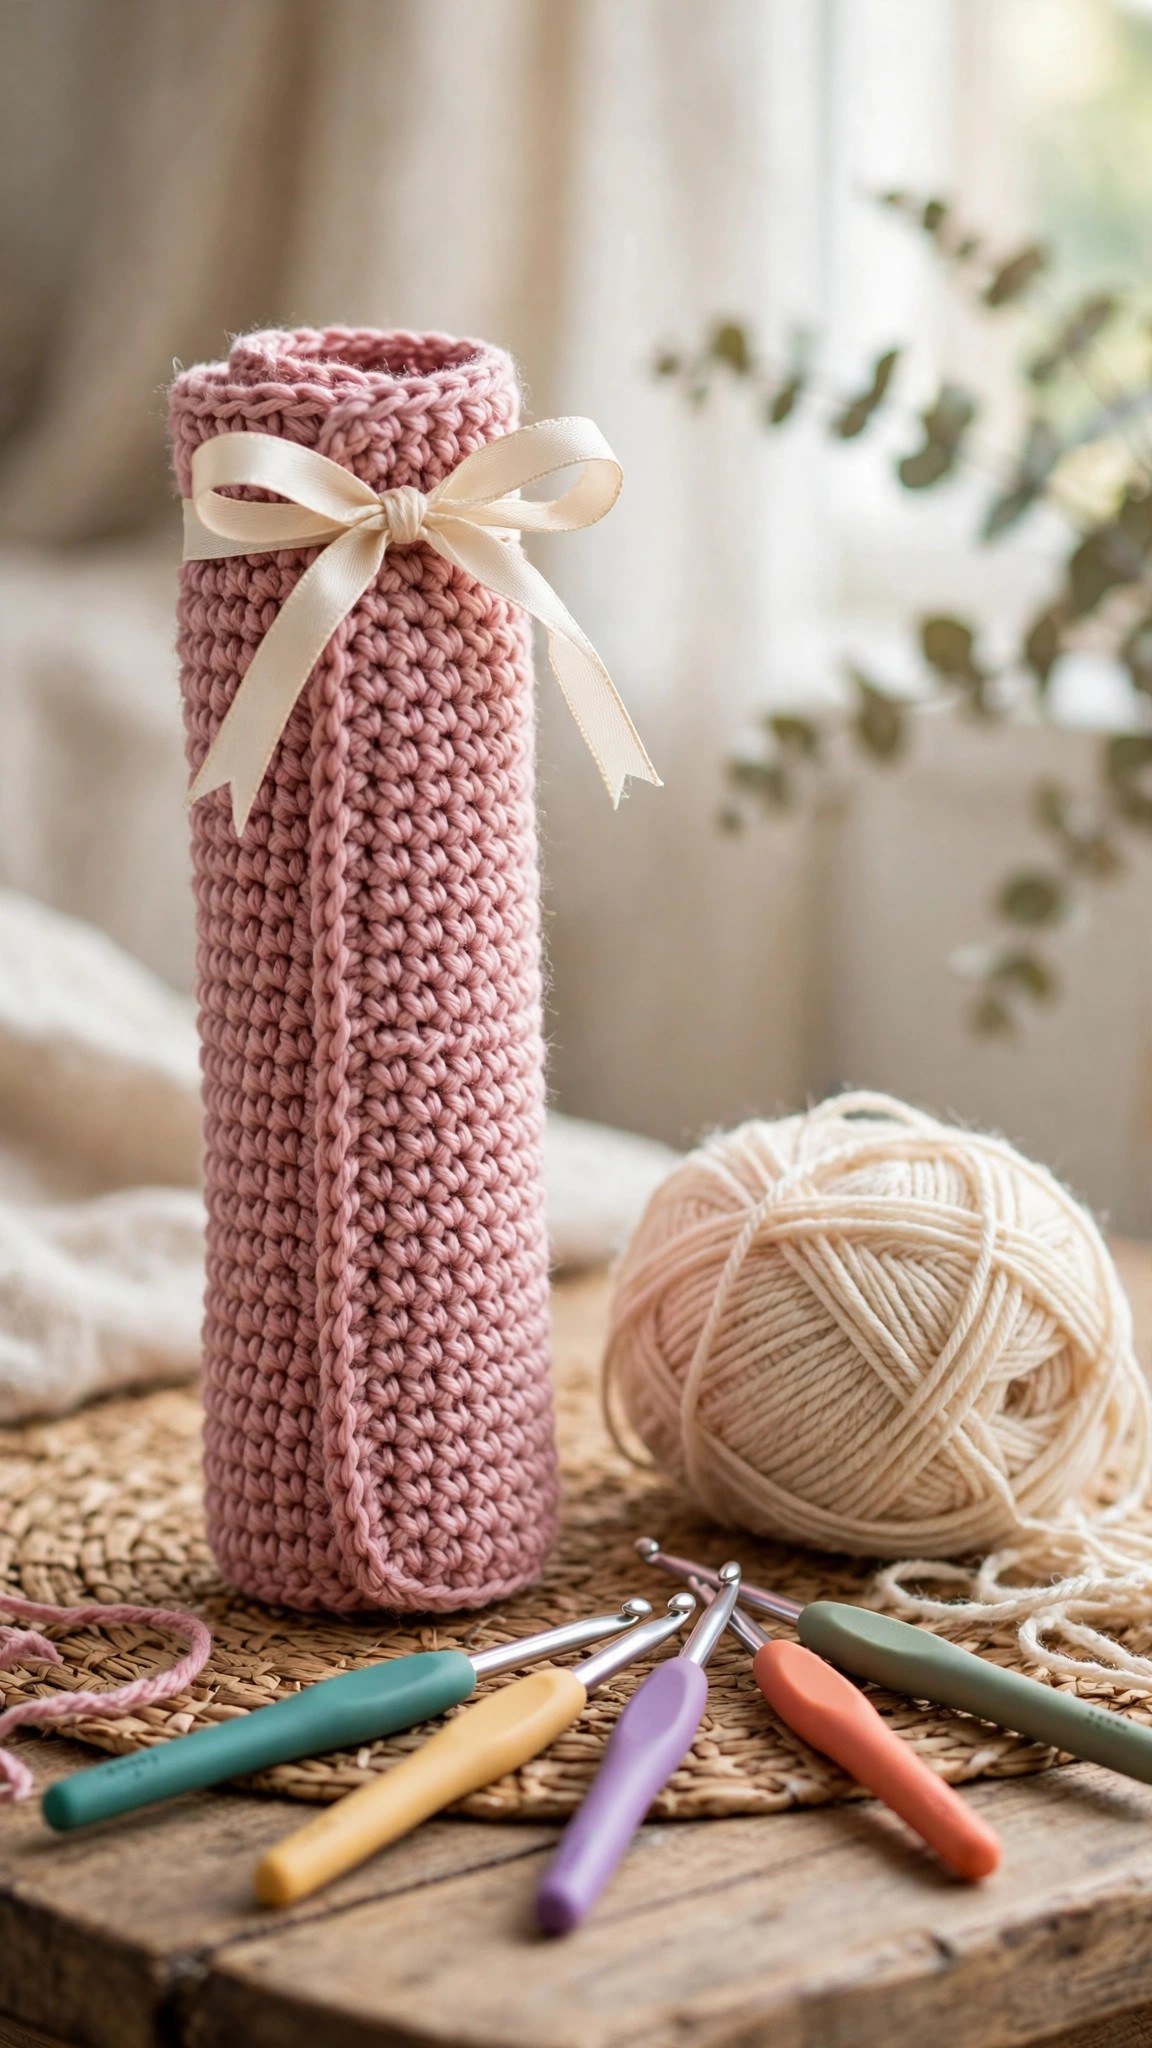
- Gift roll: make the case in the recipient's favorite color, fill the pockets with a starter set of hooks, and tie it with a ribbon, for a thoughtful gift that any crocheter will use.
Troubleshooting a Hook Roll That Gapes or Sags
- My pockets gape open at the top. The pocket panel is too loose, or the vertical seams are too far apart. Go down a hook size for the pocket panel, and sew the seams closer together so each pocket hugs its hook.
- My hooks slip out when I roll the case. The flap is too short, or the roll is too loose. Make the flap 2 rows longer, fold it firmly over the hook heads, and roll the case snugly.
- My panel edges are uneven. You missed the first or last stitch of some rows. Count your stitches every few rows, and always work into the first and last stitch of each row.
- My ties pull loose. The ties are sewn on with too few stitches. Sew each tie on with several stitches through the same spot, and knot the tail inside the case.
- My roll is lumpy when tied. The hooks are different lengths. Put the longest in the middle pockets and the shortest at the ends, so the roll stays even.
- My seams show on the front. The seaming stitches are too big or too tight. Use a whip stitch with small, even stitches, and match the seaming yarn to the fabric, so the seams blend in.
Care Instructions
Hand wash a crochet hook roll gently in cool water with a tiny amount of mild soap, press out the water without wringing, and lay the case flat to dry so the pockets keep their shape. If the yarn label says machine washable, use a gentle cycle in a mesh laundry bag, and lay the case flat to dry. Do not put a hook roll in the dryer on high heat, because the pockets can shrink unevenly and the case can lose its shape. Keep it out of direct sunlight, so the colors stay bright.
Frequently Asked Questions
Is this crochet hook roll pattern good for beginners?
Yes, it is a great first seaming project. You need chains, slip stitches, and single crochet, and the whole case is worked in flat rows with no shaping. One roll takes about 3 hours.
How many hooks fit in the roll?
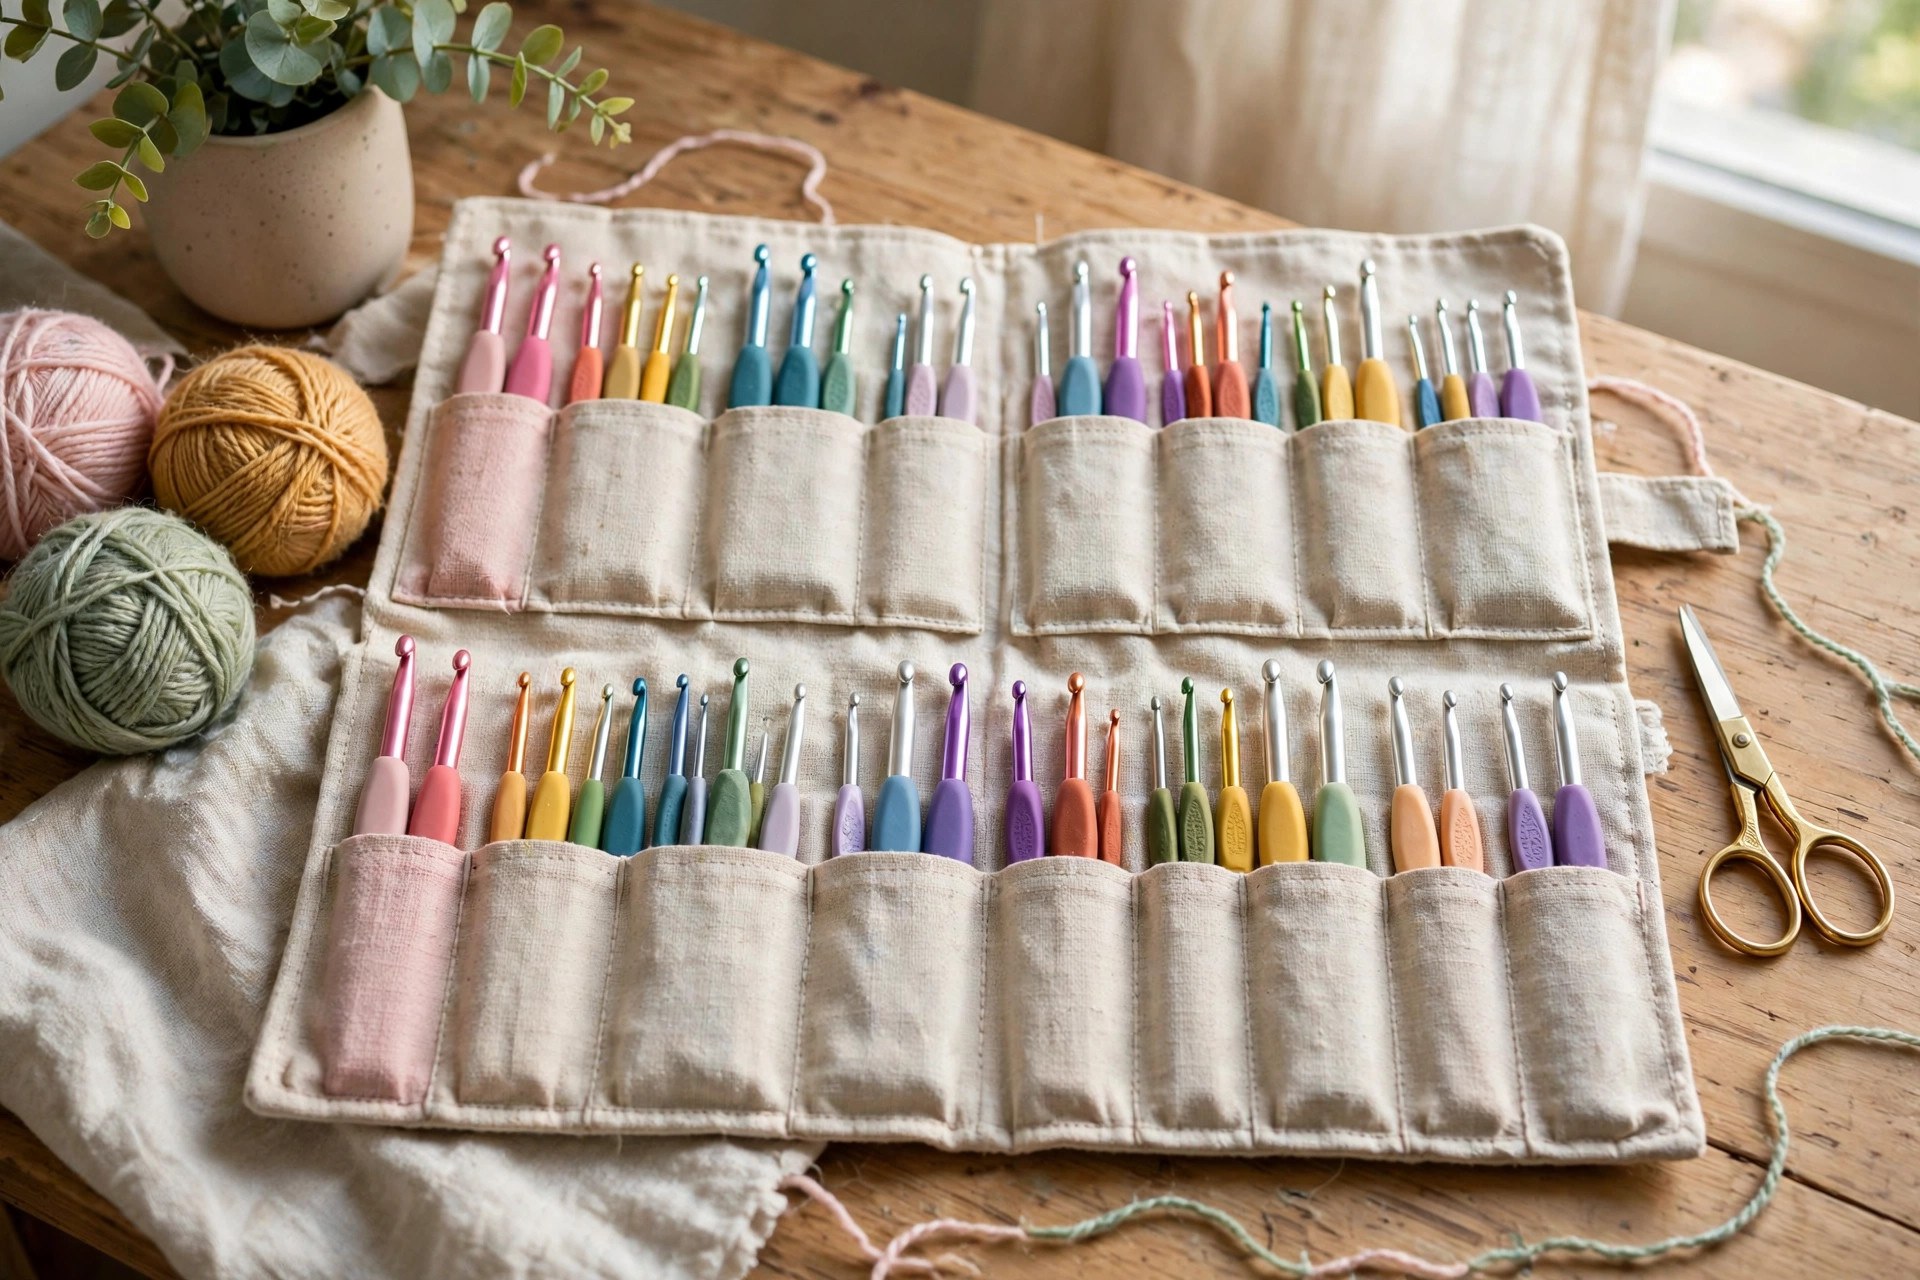
Eight pockets fit hooks from 2.0 mm up to 8.0 mm, one hook per pocket, plus a slim end pocket for a tapestry needle and stitch markers. If you own more than eight hooks, make a second roll in a different color, or store your least used hooks separately.
What size hooks fit in the pockets?
The pockets fit hooks up to 7 inches long, which covers standard crochet hooks from 2.0 mm to 8.0 mm, including ergonomic handled hooks. Longer Tunisian hooks will not fit, so measure your longest hook before you start.
Can I make the hook roll in a different size?
Yes, add 10 chains to the starting chain for a wider case, or work 6 more rows on the main panel for a taller case. Keep the pocket panel the same width as the main panel, and divide the pockets evenly, so the pockets stay the same size.
What yarn is best for a hook roll?
Worsted weight cotton or a cotton blend is the best choice, because it has little stretch, so the pockets keep their shape, and it washes easily. A smooth acrylic works well too. Avoid slippery or fuzzy yarns, because they make the pockets sag and the seams hard to see.
Can I sell hook rolls made from this pattern?
Yes, you may sell finished hook rolls made from this free pattern, with credit to Little Loop Finds. Please do not sell or republish the pattern text itself. Hook rolls sell well at craft markets, especially when filled with a starter set of hooks, and they make sweet gifts for other crocheters.
Happy stitching, and may your hooks finally have a tidy home of their own.