Crochet Snood Pattern (Free Hooded Neck Warmer)
Crochet a cozy hooded snood that keeps your neck and hair warm in about three hours, then wear it with the hood up or down.

Patterns · Crochet
- Finished size
- Hood 11 in deep
- Making time
- 3 hours
- Hook
- US J-10 (6.0 mm)
- Set
- Hood, neck
- Skill
- Easy
In this post
- Key Takeaways
- Table of Contents
- Why You Will Love This Crochet Snood
- Finished Size, Skill Level, and Time
- Materials You Need
- Abbreviations (US Terms)
- Gauge and Sizing Notes
- Part 1: The Neck
- Part 2: The Hood
- Part 3: The Face Edging, Drawstring, and Finishing
- Variations: Colors, Sizes, and Uses
- Troubleshooting a Hood That Will Not Sit Right
- Care Instructions
- Frequently Asked Questions
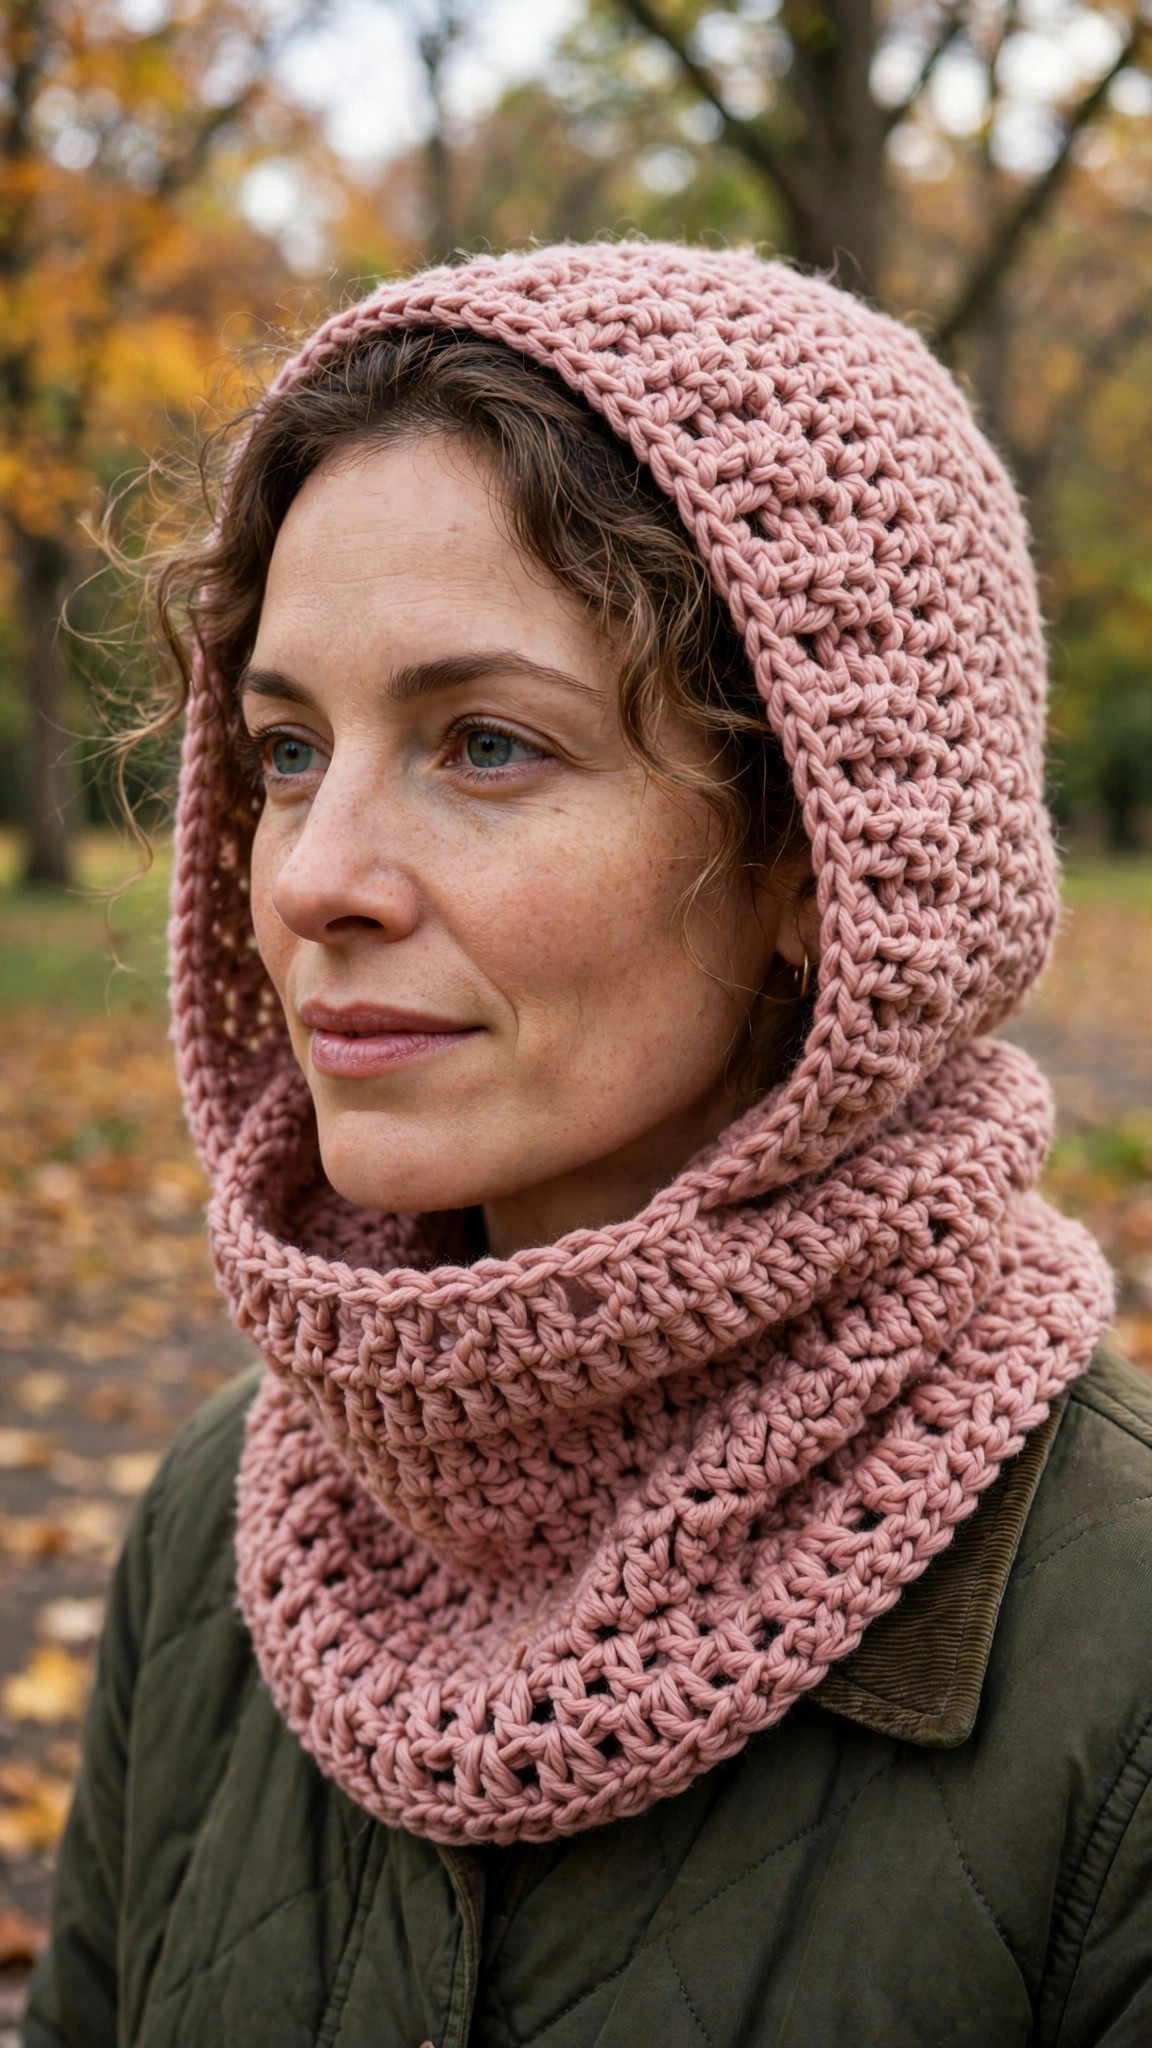
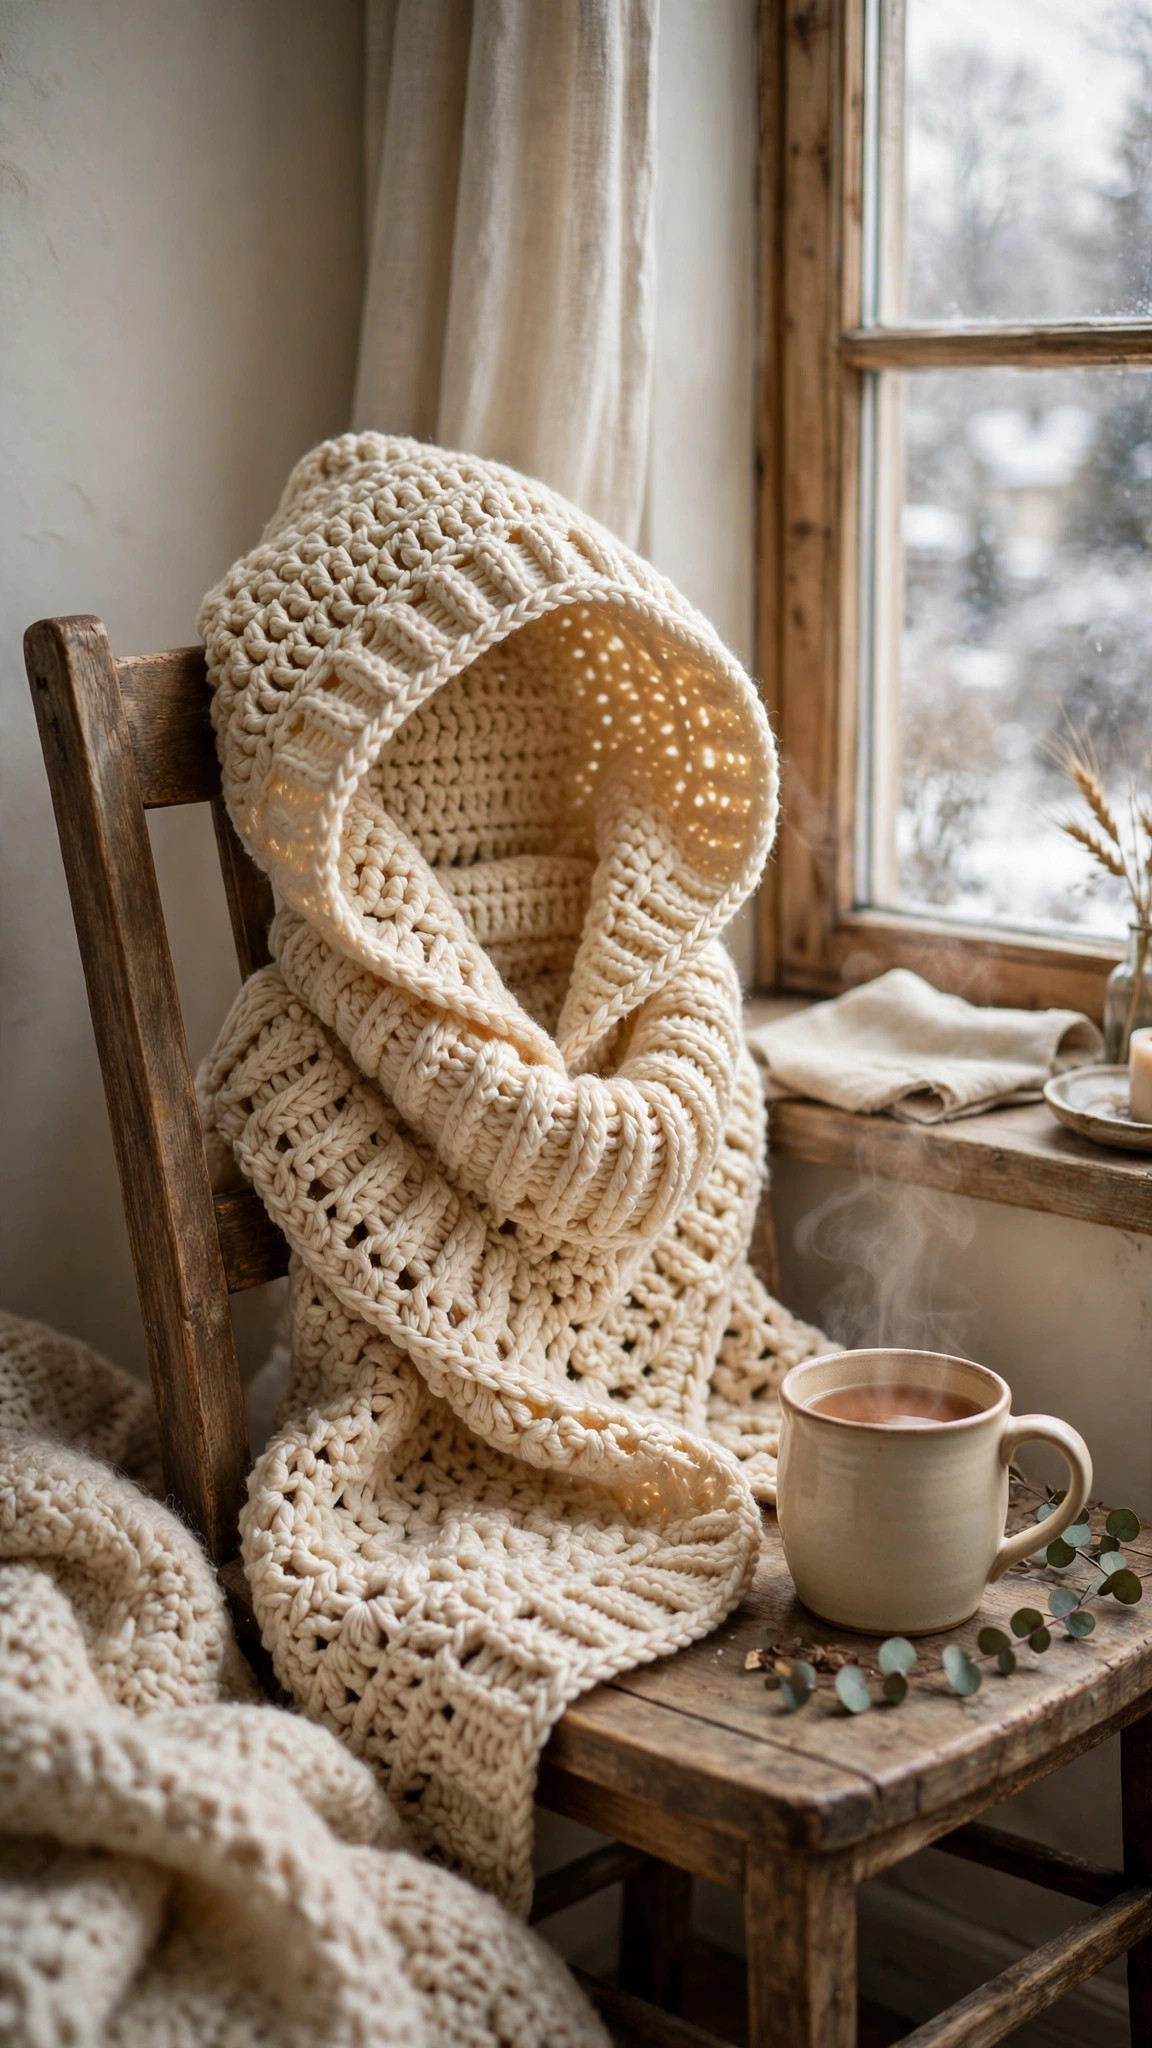
A crochet snood is a cozy hooded neck warmer that keeps your neck and hair warm on cold days, and this free crochet snood pattern makes one in soft, chunky stitches you will want to wear all winter. Pull the hood up when the wind picks up, let it rest on your shoulders like a cowl when the sun comes out, and enjoy a piece that does the work of a hat and a scarf in one. It works up in about three hours.
This is an original Little Loop Finds design, written in US terms and completely free. The neck is a simple tube worked in rounds of double crochet, the hood is a flat panel worked in rows on the back of the neck, and the two sides are seamed together at the top to shape the hood. If you can crochet in the round and work flat rows of double crochet, you can crochet this snood.
A quick note on scope: this post is about one specific crochet snood, a hooded neck warmer with a seamed hood and a ribbed style neck that warms the neck and covers the hair. It is not a hair net snood or a snood for holding a bun. If you want another cold weather layer, our hooded cowl crochet pattern is a close cousin with a looser drape.
Key Takeaways
- Free original pattern: a Little Loop Finds original design, written in US terms, and completely free.
- A hooded neck warmer: a seamed hood and a warm neck tube that cover the neck and the hair.
- Beginner friendly: double crochet in the round, flat rows for the hood, and one simple seam.
- A three hour project: one snood takes about 3 hours.
- Three ways to wear it: hood up on cold days, hood down as a cowl, and pulled low as a neck warmer.
Table of Contents
- Why You Will Love This Crochet Snood
- Finished Size, Skill Level, and Time
- Materials You Need
- Abbreviations (US Terms)
- Gauge and Sizing Notes
- Part 1: The Neck
- Part 2: The Hood
- Part 3: The Face Edging, Drawstring, and Finishing
- Variations: Colors, Sizes, and Uses
- Troubleshooting a Hood That Will Not Sit Right
- Care Instructions
- Frequently Asked Questions
Why You Will Love This Crochet Snood
A snood solves the oldest winter problem: a hat that slips off and a scarf that comes undone. Because the hood and the neck are one piece, there is nothing to lose and nothing to retie. Pull it on, pull the hood up, and walk out the door with your neck and hair covered in one motion.
A crochet snood is also a wonderfully relaxing project. The neck is meditative rounds of double crochet, the hood is simple rows with a few gentle increases, and the whole piece uses just two balls of chunky yarn. Make one in dusty rose for yourself, or a set in matching colors for winter gifts. Our neck warmer crochet pattern makes a sweet matching set for a friend who prefers a shorter layer.
Finished Size, Skill Level, and Time
- Finished size: neck opening about 20 inches around, neck tube about 8 inches tall, hood about 11 inches deep. Made to fit an adult head 21 to 23 inches around.
- Skill level: Easy. You need double crochet, single crochet, working in the round, working flat rows, and a simple whip stitch seam.
- Time: about 3 hours per snood: 45 minutes for the neck, 90 minutes for the hood, 45 minutes for the edging and finishing.
Materials You Need
| Item | What to get |
|---|---|
| Yarn | Bulky weight (size 5) yarn, 220 yards, in dusty rose or any color you like |
| Hook | US J-10 (6.0 mm), or the size that gives you the gauge below |
| Notions | Tapestry needle, scissors, stitch markers |
Bulky weight yarn is the best choice for a crochet snood because it works up quickly, the stitches look plush and warm, and the hood holds its shape instead of flopping flat. A soft acrylic or wool blend works well and feels gentle against the neck and hair. Choose a warm dusty rose, cream, or forest green for a classic winter look, or a deep plum for a bolder gift. Avoid stiff or scratchy yarns, because this piece sits right against your skin. Avoid very fuzzy yarns too, because they hide the shaping of the hood and shed onto dark coats.
Abbreviations (US Terms)
- ch = chain
- sl st = slip stitch
- sc = single crochet
- dc = double crochet
- inc = increase (2 dc in the same stitch)
- st(s) = stitch(es)
- rep = repeat
Gauge and Sizing Notes
Gauge matters here because the neck must fit over your head and sit comfortably around your neck. Work a swatch of 12 dc stitches and 7 rows. It should be about 4 inches square. If it is wider, go down a hook size. If it is narrower, go up a hook size.
Measure your head before you start. The neck opening of this snood is about 20 inches around unstretched, and the double crochet fabric stretches easily to fit over a head 21 to 23 inches around. If your head is larger, add one more round of stitches to the neck by chaining 68 instead of 64, and work the hood over 36 stitches instead of 34. Count your stitches at the end of every neck round, because a missed stitch makes the neck twist. Place a stitch marker in the first stitch of each round and move it up as you go.
Part 1: The Neck
The neck is a simple tube worked in the round, and it needs to be tall enough to cover the neck and sit neatly under a coat collar. Work it in double crochet with an even tension, and check after every round that the tube is not twisting.
The Neck Tube
With your bulky yarn, ch 64. Join with a sl st to the first ch to form a ring, taking care not to twist the chain.
- Rnd 1: ch 1, sc in each ch around. Join with a sl st to the first sc. (64 sts)
- Rnd 2: ch 1, sc in each st around. Join with a sl st to the first sc. (64 sts)
- Rnd 3: ch 2 (does not count as a st), dc in each st around. Join with a sl st to the first dc. (64 sts)
- Rnds 4 to 8: rep Rnd 3 five more times. (64 sts)
Do not fasten off. You will keep working straight into the hood from here, so leave the yarn attached and keep your hook in the live loop. The neck should be about 8 inches tall and 20 inches around. Try it on now, pulling it over your head and letting it rest on your shoulders. It should slide on easily and sit flat without bunching. If it feels tight, your gauge is too small, so work the next snood with a larger hook.
Part 2: The Hood
The hood is worked flat in rows on the back half of the neck, which leaves the front open for your face. Gentle increases at the edges shape the hood so it curves over the head instead of hanging straight down.
The Hood Panel
Keep working from the neck, with the right side facing out. The join of the neck rounds marks the center back of the snood.
- Row 1: ch 2 (does not count as a st), dc in the next 34 sts. Turn. (34 sts)
- Rows 2 to 3: ch 2, turn, dc in each st across. (34 sts)
- Row 4: ch 2, turn, inc in the first st, dc in each st across to the last st, inc in the last st. (36 sts)
- Rows 5 to 6: ch 2, turn, dc in each st across. (36 sts)
- Row 7: ch 2, turn, inc in the first st, dc in each st across to the last st, inc in the last st. (38 sts)
- Rows 8 to 9: ch 2, turn, dc in each st across. (38 sts)
- Row 10: ch 2, turn, inc in the first st, dc in each st across to the last st, inc in the last st. (40 sts)
- Rows 11 to 14: ch 2, turn, dc in each st across. (40 sts)
Fasten off, leaving a tail about 24 inches long for seaming. The hood panel should be about 11 inches deep and 13 inches wide. Lay it flat and check that the increases made a gentle curve at the edges. If one edge looks straighter than the other, it usually means you missed an increase on that side, so count the stitches in each row before you seam.
Seaming the Hood
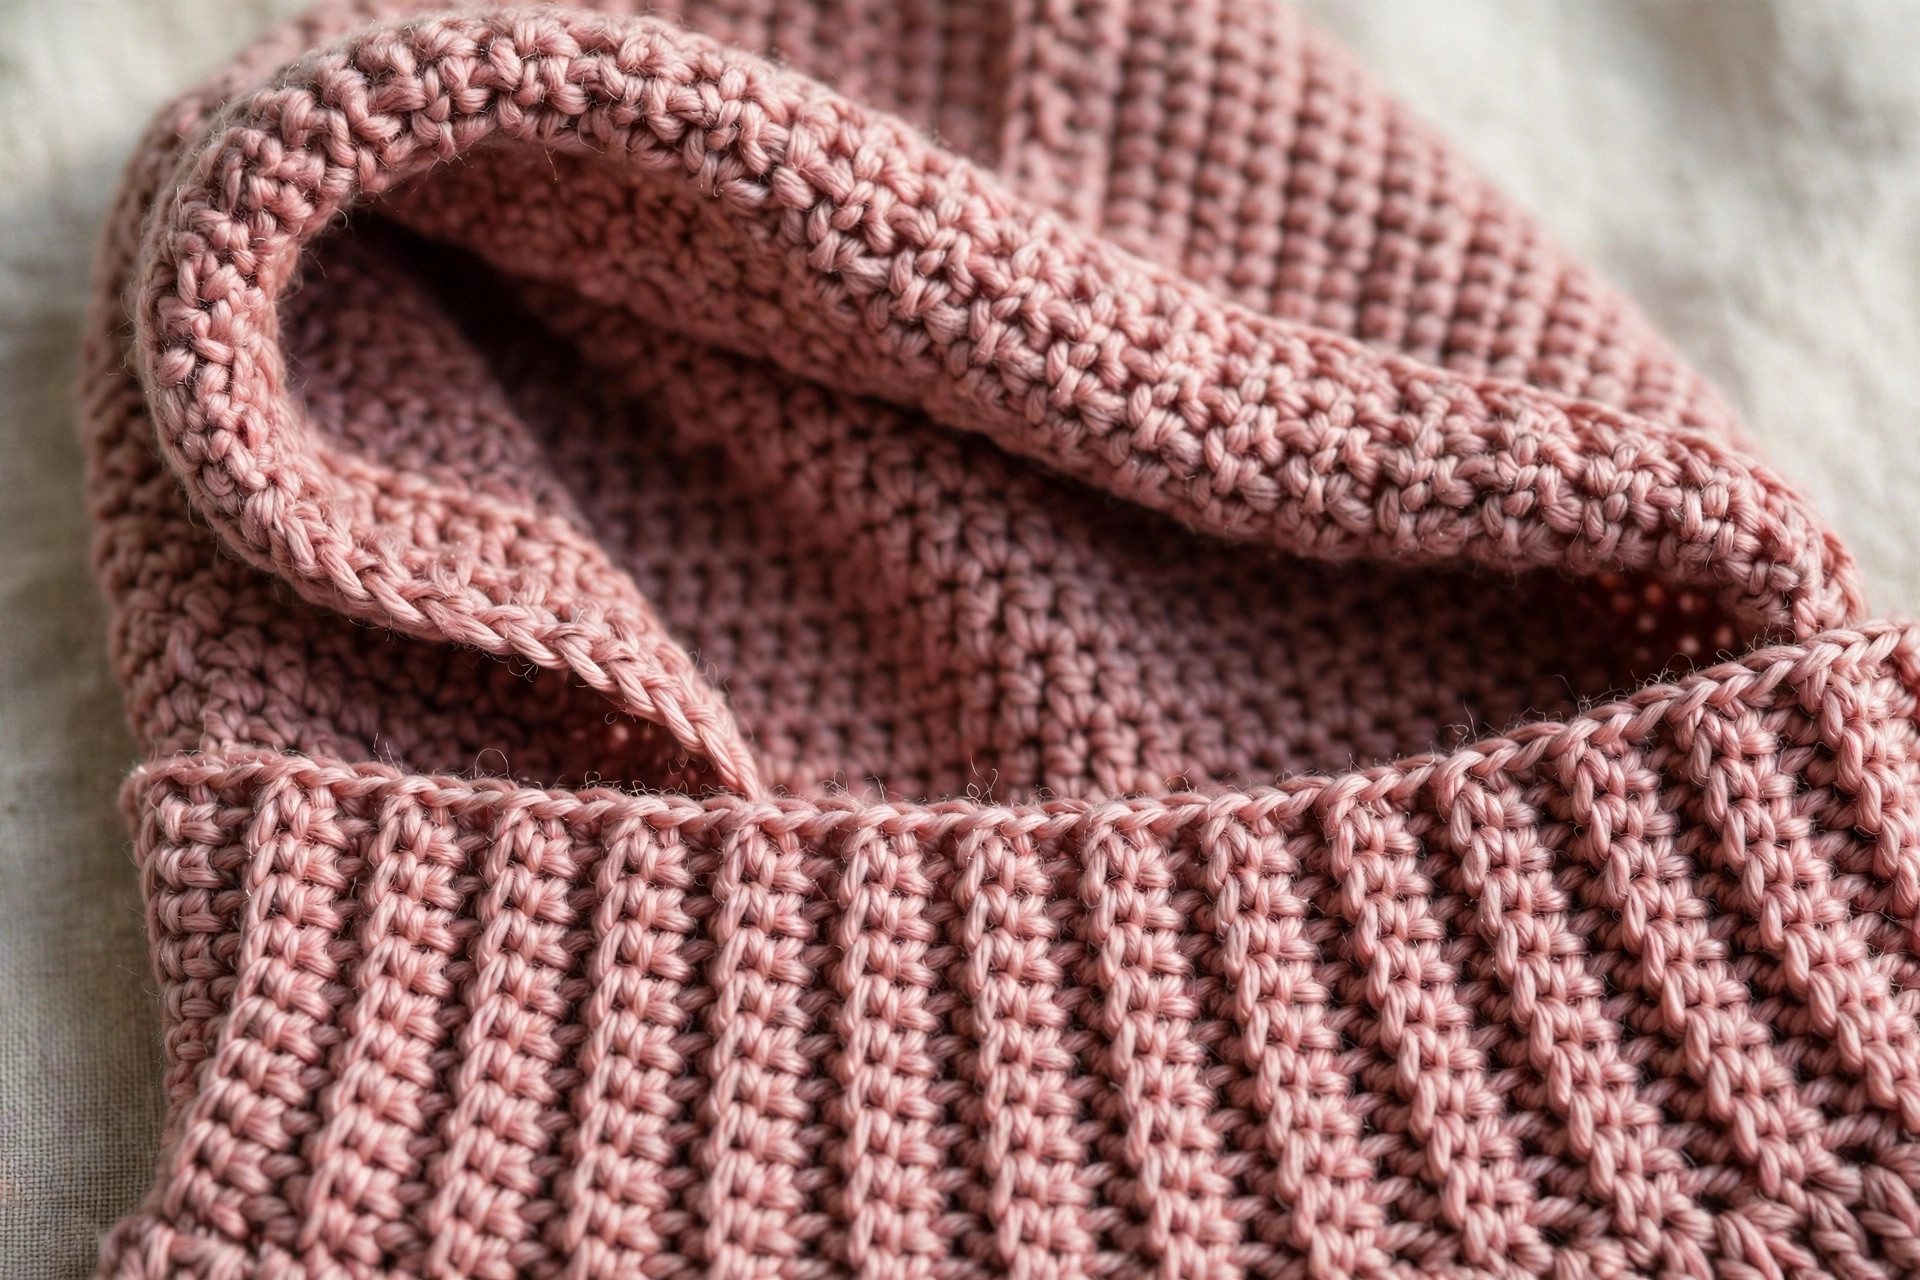
Fold the hood panel in half, bringing the two short side edges together at the top, with the right sides facing each other and the wrong side facing out. The fold runs from the top of the hood down to the neck, and the two rows of 40 stitches at the top edge meet.
Using the long tail and a tapestry needle, whip stitch the top edge closed, working through both layers, one stitch at a time, from the fold to the open edge. Work about 20 whip stitches, one for each stitch along the top, and pull the seam snug but not tight. Fasten off the tail and weave it in.
Turn the snood right side out and try it on. The hood should curve over the back of your head and fall to about chin level at the front. If the hood feels too shallow, the seam may be pulling it tight, so loosen the whip stitches a little. If the hood feels too deep, fold the front edge back by one inch and tack it in place.
Part 3: The Face Edging, Drawstring, and Finishing
The face edging gives the front opening a clean, finished border and stops the edge from stretching out of shape. The optional drawstring lets you cinch the hood close around your face on the coldest days.
The Face Edging
Join the yarn with a sl st at the bottom front corner of the face opening, on the right side of the snood, at the point where the hood meets the neck.
- Rnd 1: ch 1, work sc evenly around the face opening, placing about 1 sc in each row end along the hood sides and 1 sc in each stitch across the top of the neck at the front. You should have about 60 sc when you reach the starting point. Join with a sl st to the first sc.
- Rnd 2: ch 1, sc in each st around. Join with a sl st to the first sc.
Fasten off and weave in the end, working the tail through the back of several stitches in the same color, then trimming it close. The edging should lie flat around your face without pulling. Try the snood on and check that the opening frames your face comfortably. If the edging ripples, you worked too many stitches, so take it out and work fewer. If it pulls tight, you worked too few, so add a few more.
The Optional Drawstring
The drawstring is a simple chain cord that runs through the face edging, so you can pull the hood snug on a windy day.
- Ch 90.
- Fasten off, leaving a tail about 6 inches long at each end.
Thread one end of the chain onto a tapestry needle and weave it in and out of the stitches of edging round 2, going all the way around the face opening until the two ends meet at the bottom front. Tie the two ends together in a small knot and trim them even, leaving about 2 inches hanging. To cinch the hood, pull both ends at the same time until the opening gathers close around your face, then tie a loose bow. To loosen it, pull the edging open with your fingers. Our balaclava pattern crochet free uses the same face opening edging if you want another cold weather project.
Final Finishing
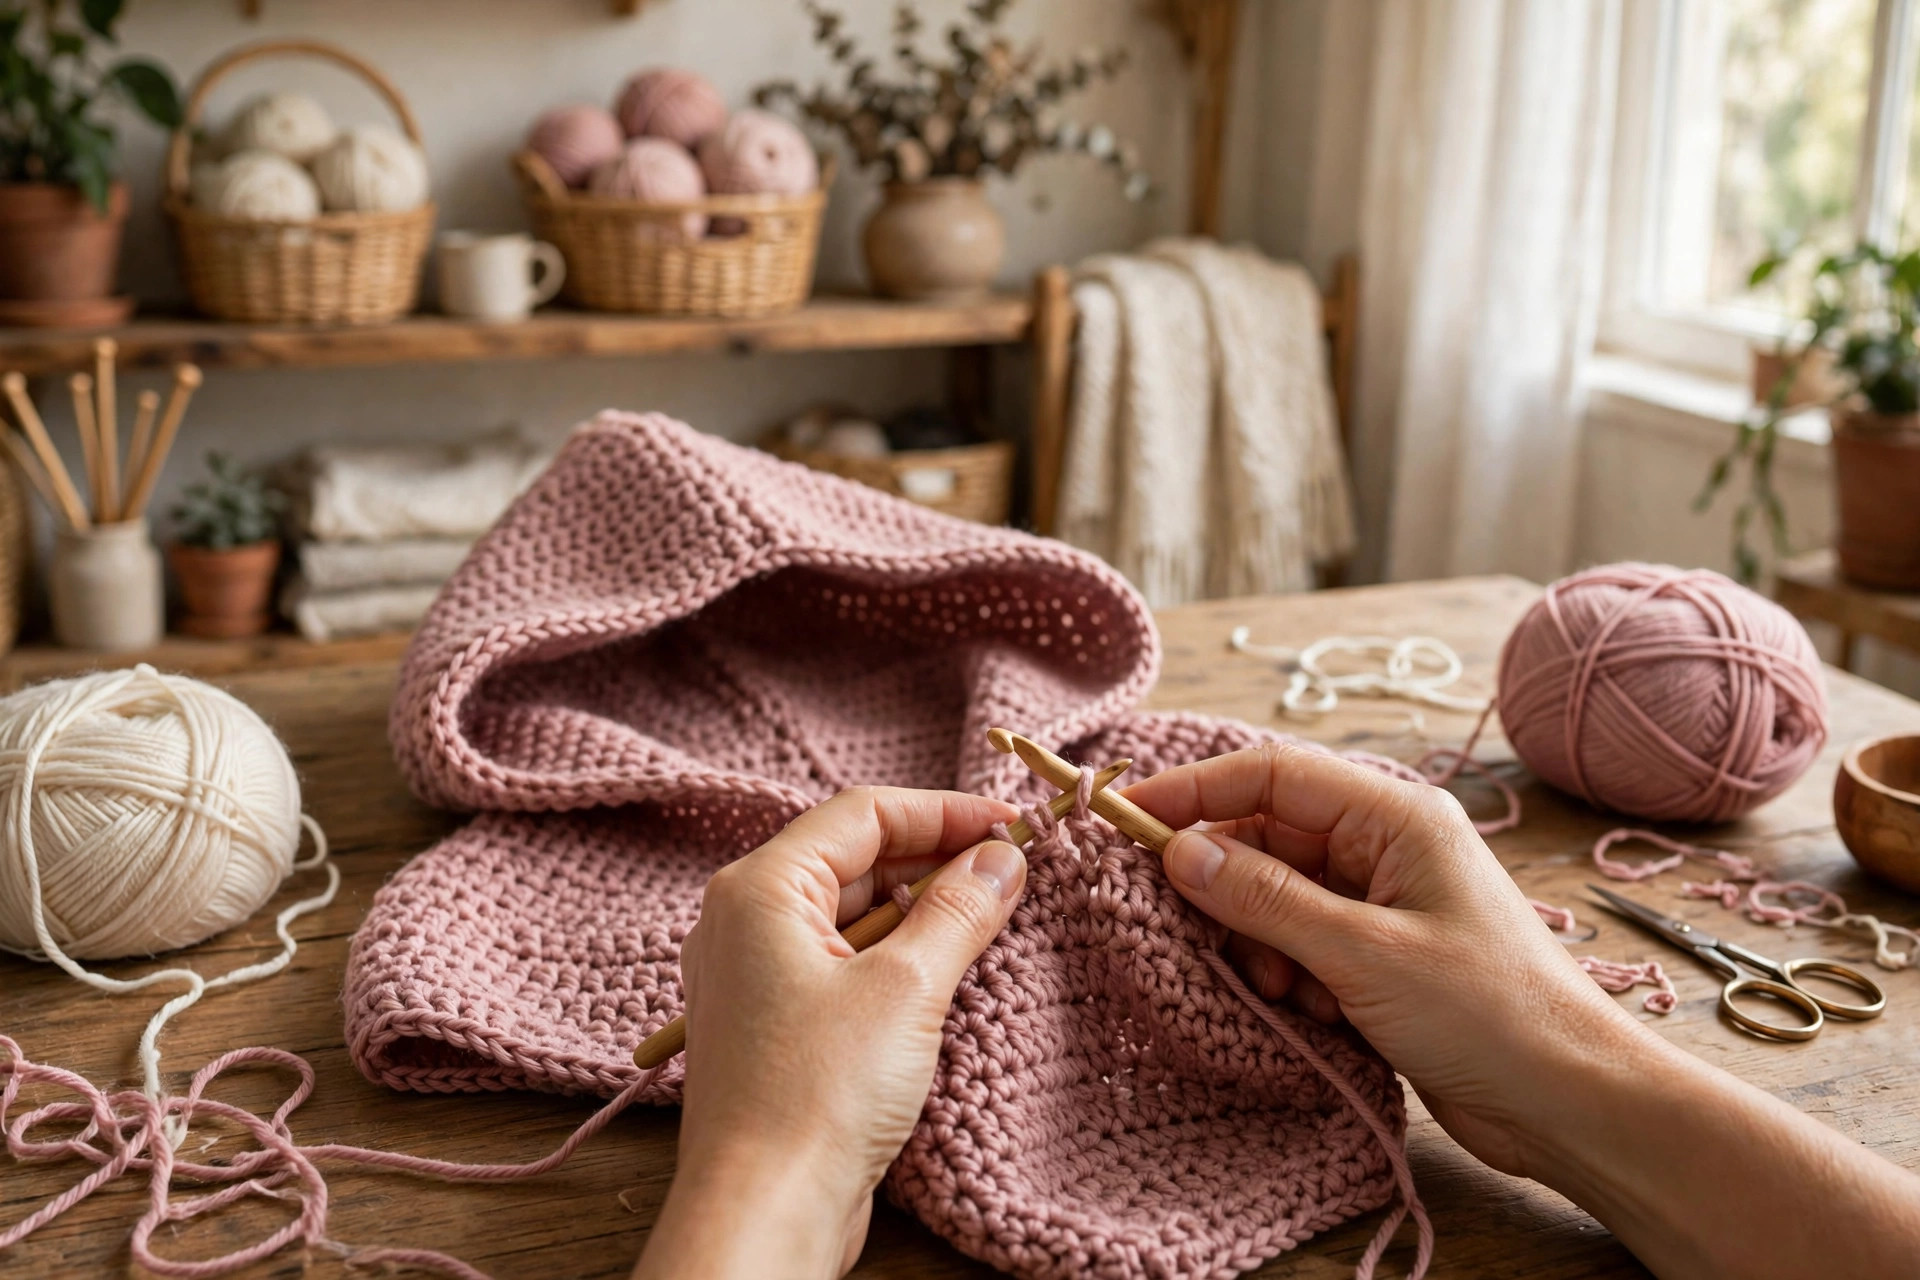
Weave in every yarn end, working each tail through the back of several stitches in the same color, then trimming it close. Turn the snood right side out if it flipped during the seaming, and check the hood seam from the inside to make sure it is secure. Try the snood on one more time, hood up and hood down, and check that the neck sits flat and the hood curves neatly over your head. If the neck rolls at the top edge, work one more round of single crochet around the bottom of the neck to firm it up. Our crochet earflap hat free pattern makes a lovely matching set with this snood.
Variations: Colors, Sizes, and Uses
- Classic dusty rose snood: work the whole snood in dusty rose bulky yarn, the colorway in the photos. Our sophie hood crochet pattern makes a sweet matching gift for the same person.
- Two tone snood: make the neck in cream and the hood in forest green for a fresh two tone look.
- Child size snood: chain 52 for the neck, work the hood over 28 stitches, and stop the hood after row 11 for a smaller fit.
- Extra cozy snood: work the neck two rounds taller and add a second round of face edging for a thicker, warmer border.
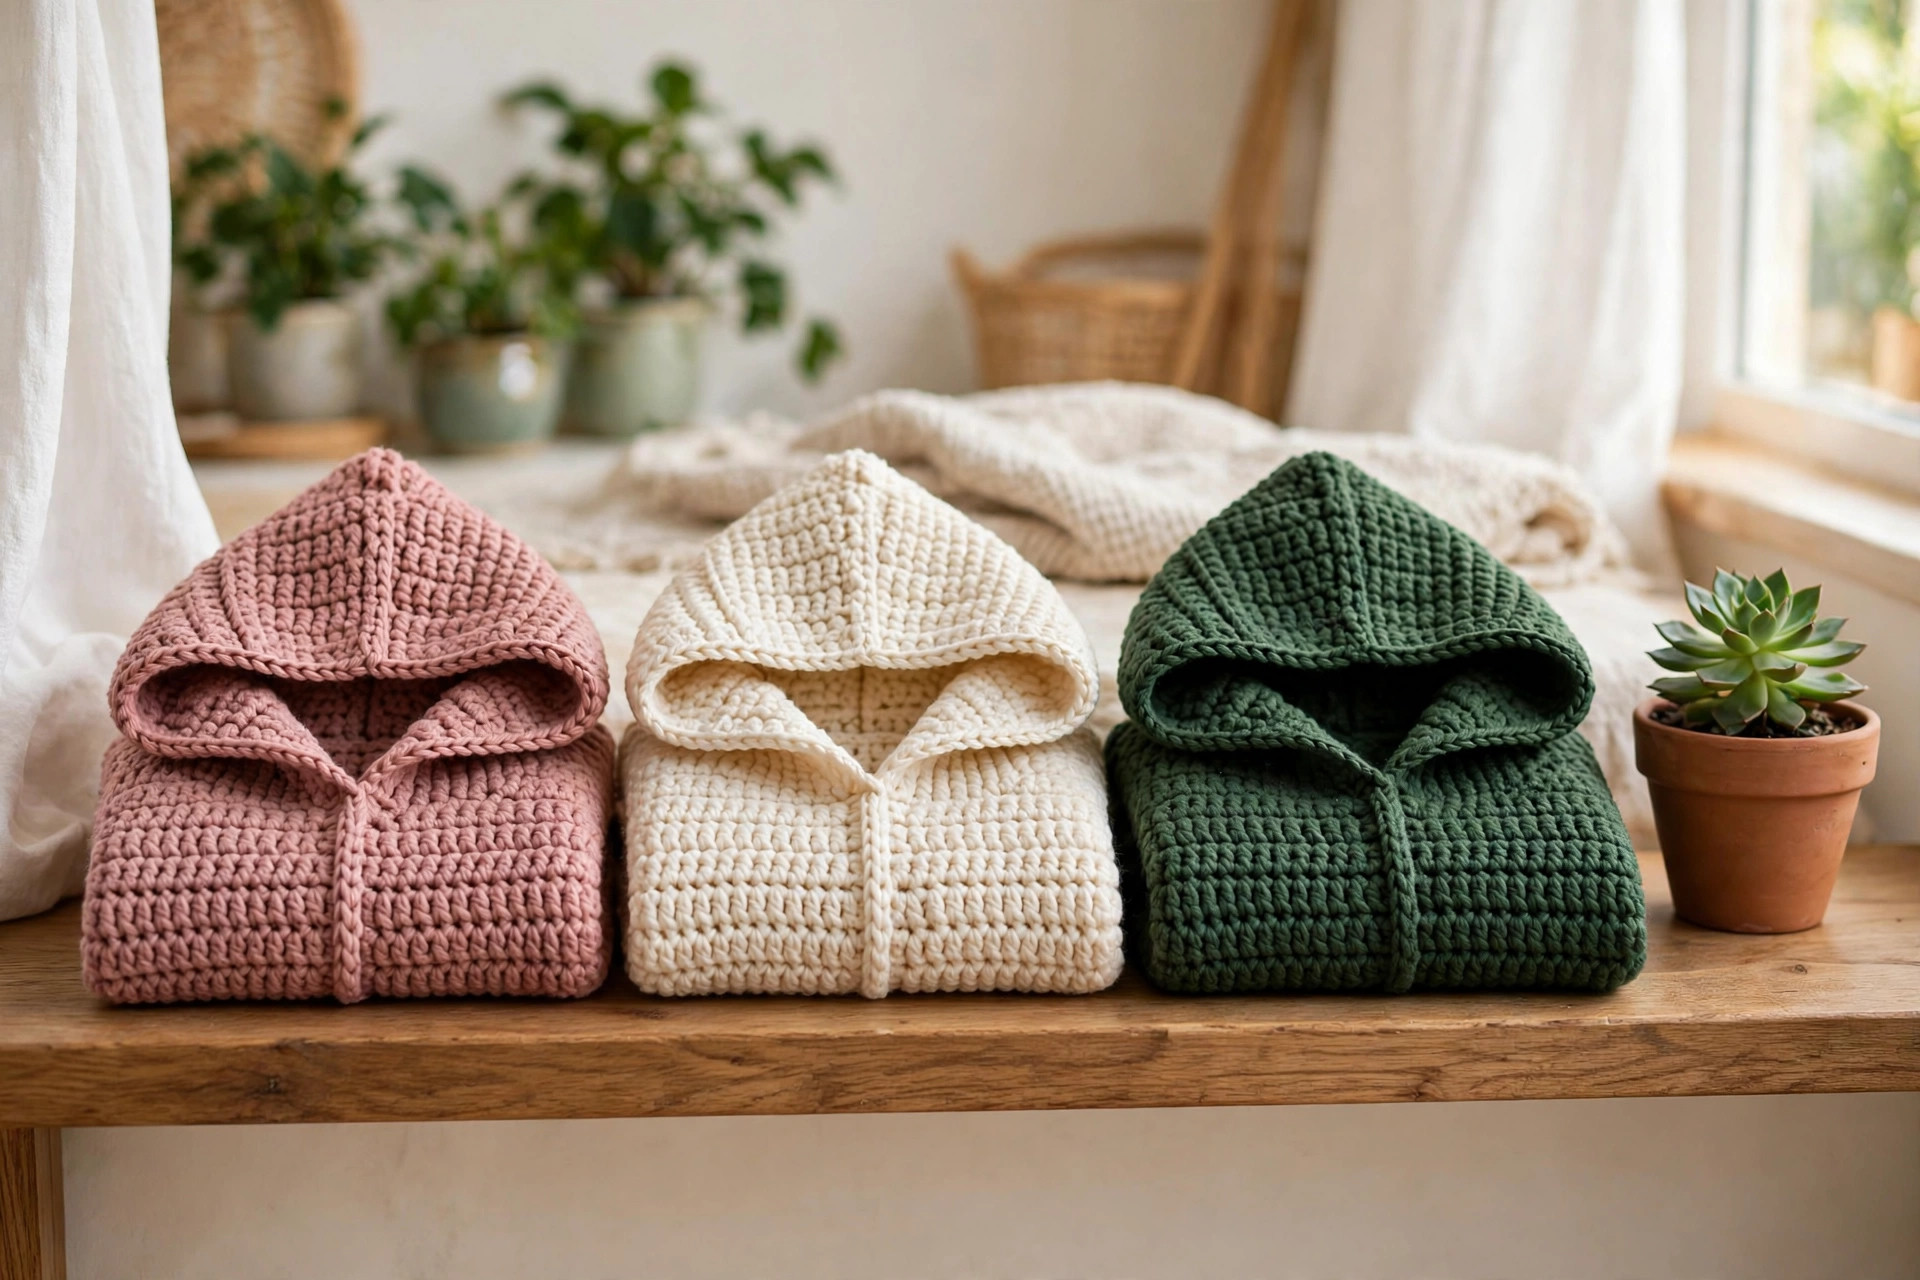
- Market stall snood: make three snoods in matching colors, dusty rose, cream, and forest green, and display them with the hoods up so shoppers can see the shape.
Troubleshooting a Hood That Will Not Sit Right
- My hood flops forward over my eyes. The hood is too deep, or the seam is too loose. Fold the front edge back by one inch and tack it in place, or tighten the drawstring a little.
- My hood pulls tight across my forehead. The face opening is too small. Work the edging with more stitches, or skip the drawstring so the opening stays relaxed.
- My neck twists when I wear it. You joined a neck round with a twist in the chain. Check the join after every round, and keep the chain flat when you join.
- My hood seam shows from the outside. The seam was worked with the right sides facing out. Turn the snood inside out, take the seam out, and rework it with the wrong sides facing out.
- My snood feels too loose around the neck. Your gauge is too large, or the neck is too tall. Work the next snood with a smaller hook, or fold the neck down once to make a double layer.
- My face edging ripples. You worked too many stitches around the opening. Take the edging out and work fewer stitches, spacing them evenly.
Care Instructions
Hand wash a crochet snood in cool water with a mild detergent, and press the water out gently without wringing. Reshape the hood and the neck while it is damp, and let it dry flat on a clean towel. Keep it out of direct sunlight so the color does not fade. If your yarn is a wool blend, use a wool wash and never put the snood in the dryer, because heat will shrink the hood. Store the snood folded flat in a drawer, not hung up, so the neck does not stretch out of shape over the summer.
Frequently Asked Questions
Is this crochet snood pattern good for beginners?
Yes, it is a great first hooded project. You need double crochet, single crochet, working in the round, and one simple whip stitch seam. One snood takes about 3 hours, and the hood rows are easy to follow.
What yarn is best for a crochet snood?
Bulky weight yarn is the best choice, because it works up quickly and the hood holds its shape. A soft acrylic or wool blend feels gentle against the neck and hair. Avoid stiff or scratchy yarns, because this piece sits right against your skin.
How big is the finished snood?
The finished snood has a neck opening about 20 inches around, a neck tube about 8 inches tall, and a hood about 11 inches deep. It fits an adult head 21 to 23 inches around. A child size comes out about 2 inches smaller in every direction.
Can I wear the snood with the hood down?
Yes, that is one of the best things about it. With the hood down, the snood rests on your shoulders like a cowl and keeps your neck warm. Pull the hood up when the wind picks up.
How do I keep the hood from falling over my eyes?
Use the drawstring to cinch the face opening a little, or fold the front edge back by one inch and tack it in place.
Can I make the snood in different colors?
Yes, any bulky color works well. Dusty rose with a cream neck is a soft classic, and forest green with a cream hood makes a fresh winter set. Keep the colors close in tone so the hood and neck look like one piece.
Can I sell snoods made from this pattern?
Yes, you may sell finished snoods made from this free pattern, with credit to Little Loop Finds. Do not sell or republish the pattern text itself. A set of three snoods in matching colors makes a lovely market stall bundle, and pairs nicely with our crochet scarf patterns for beginners.
Happy stitching, and may your little snood keep you warm all winter long.