Hooded Cowl Crochet Pattern (Free)
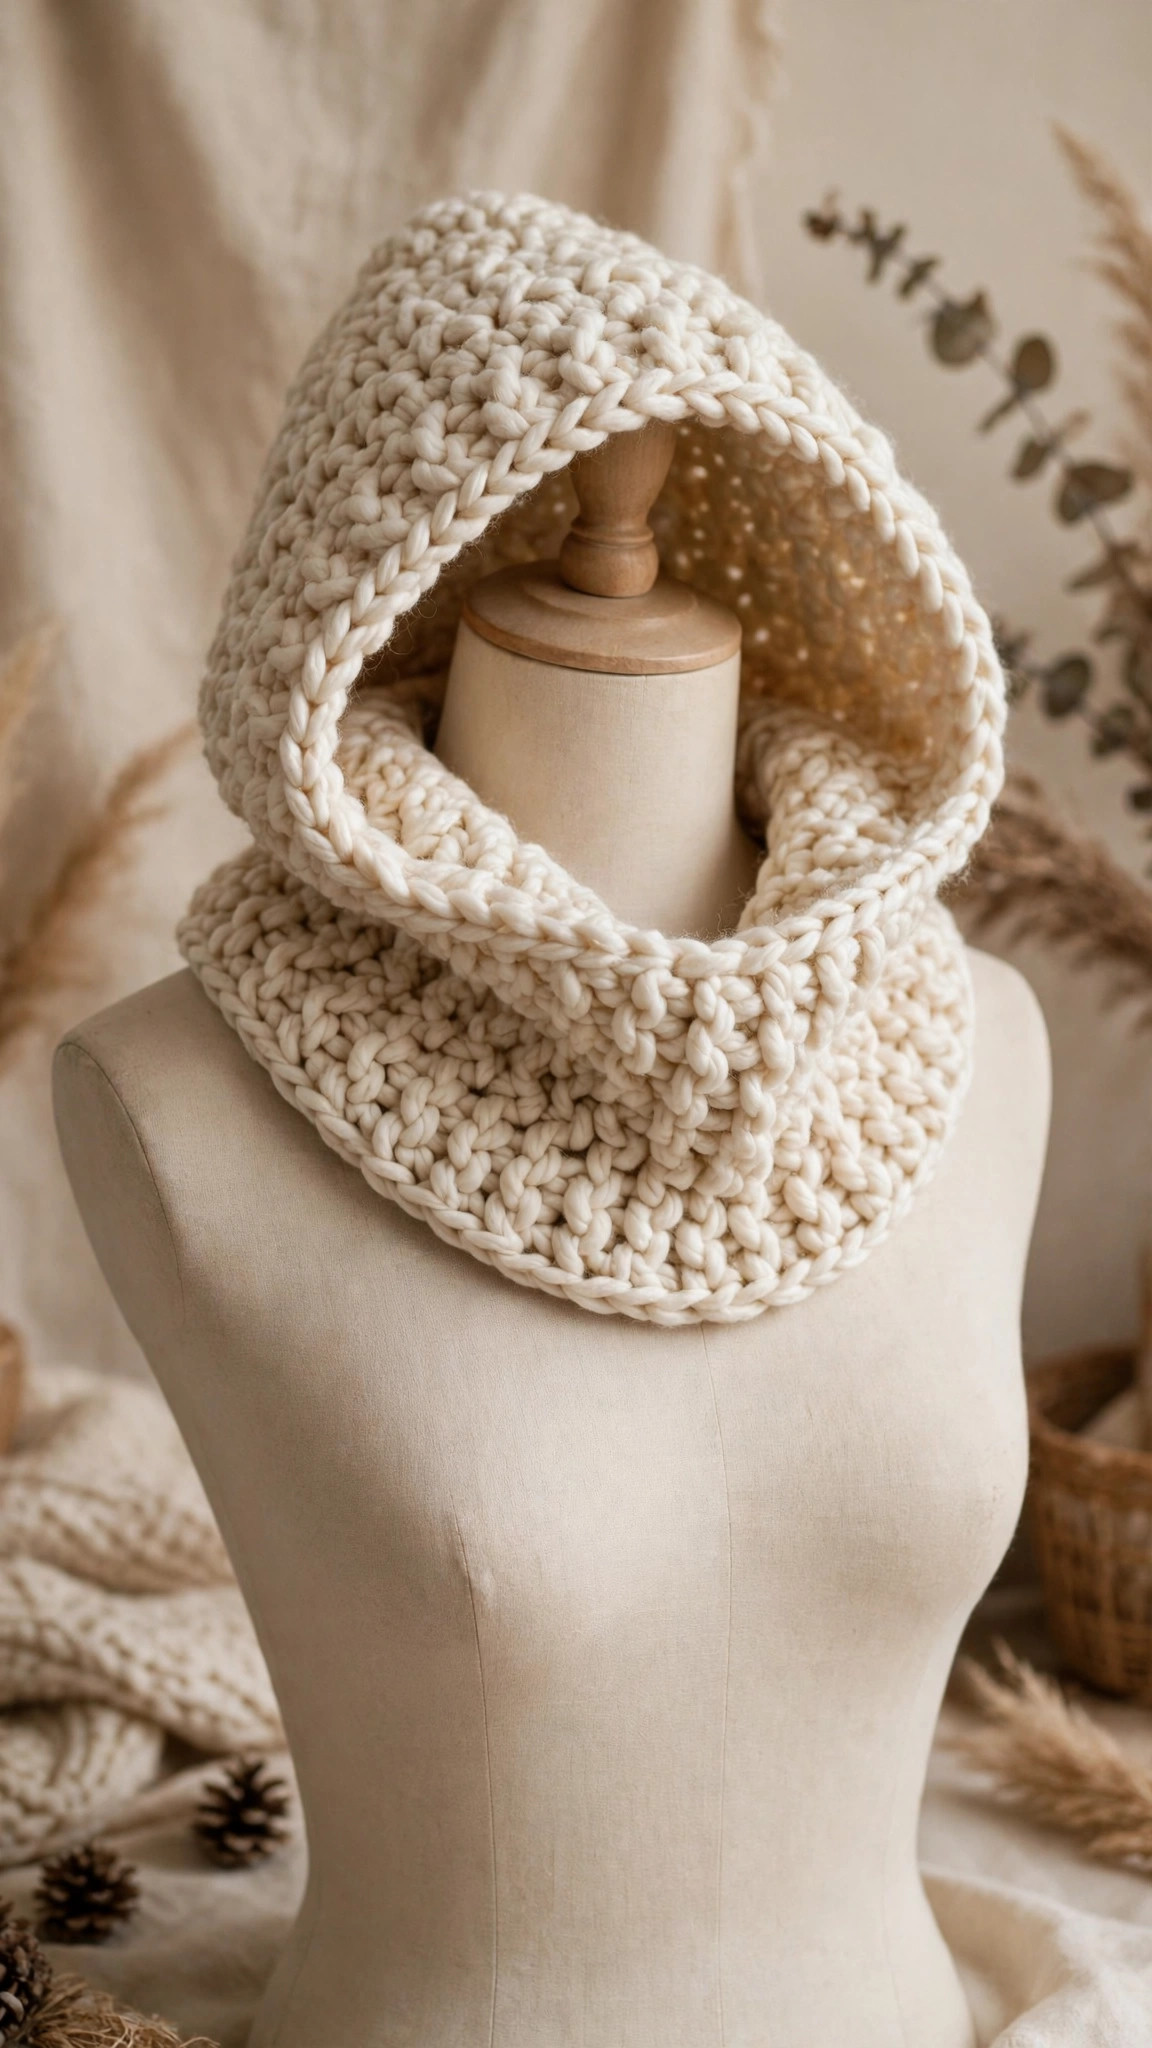
Crochet a snug hooded cowl with an attached hood and no long scarf tails, then wear it all winter.

Patterns · Crochet
- Finished size
- 24 in around, 7 in tall
- Making time
- 4 hours per cowl
- Hook
- US K-10.5 (6.5 mm)
- Set
- Cowl, hood, border
- Skill
- Easy
In this post
- Key Takeaways
- Table of Contents
- Why You Will Love This Hooded Cowl
- Finished Size, Skill Level, and Time
- Materials You Need
- Abbreviations (US Terms)
- Gauge and Sizing Notes
- Part 1: The Cowl
- Part 2: The Hood
- Variations: Colors, Sizes, and Uses
- Troubleshooting Cowls That Gape or Slip
- Care Instructions
- Frequently Asked Questions
A hooded cowl is the coziest thing you can crochet for winter. It is a close fitting neckwarmer with an attached hood, warm around the neck, warm over the ears, and done in one piece. This free hooded cowl crochet pattern walks you through every part, from the snug cowl to the shaped hood, with no long scarf tails to tuck in or trip over.
This is an original Little Loop Finds design, written in US terms and completely free. The cowl is worked in the round, the hood is worked in rows and seamed at the top, and the two parts join with a simple round of stitches. If you can crochet a chain, a half double crochet, and a decrease, you can crochet this hooded cowl.
A quick note on scope: this post is about one specific garment, a short close fitting hooded cowl neckwarmer with NO long scarf tails. It is not a scoodie. A scoodie is a long scarf with a hood, and it hangs down the front and back. Our crochet scoodie free pattern is that longer style, and it is a separate pattern. This cowl sits close to the neck, ends at the shoulders, and keeps you warm without extra fabric. If you want a plain neckwarmer with no hood, our neck warmer crochet pattern is a separate pattern for that simpler piece.
Key Takeaways
- Free original pattern: this hooded cowl crochet pattern is a Little Loop Finds original design, written in US terms, and completely free.
- A snug hooded cowl: a close fitting cowl with an attached hood, no long scarf tails, and a stitch count at the end of every round and row.
- Beginner friendly garment: simple half double crochet, with the hood shaping explained step by step.
- Quick weekend project: one cowl takes about 4 hours, and it uses about 350 yards of chunky weight yarn.
- Endlessly giftable: make it in cream, sage green, dusty rose, or charcoal for winter gifts, outdoor walks, and cold morning commutes.
Table of Contents
- Why You Will Love This Hooded Cowl
- Finished Size, Skill Level, and Time
- Materials You Need
- Abbreviations (US Terms)
- Gauge and Sizing Notes
- Part 1: The Cowl
- Part 2: The Hood
- Part 3: Joining and Finishing
- Variations: Colors, Sizes, and Uses
- Troubleshooting Cowls That Gape or Slip
- Care Instructions
- Frequently Asked Questions
Why You Will Love This Hooded Cowl
There is something about a hooded cowl that makes winter feel manageable. You pull it on over your head, the cowl settles around your neck, and the hood sits ready for wind, snow, or a cold walk to the car. It is warmer than a scarf, because there are no gaps for cold air to slip through, and it is simpler than a hat and scarf set, because it is one piece that stays put.
A hooded cowl is also a wonderful way to learn garment crochet. The cowl teaches working in the round, the hood teaches shaping with decreases and seaming a neat top edge, and the border teaches a clean finish. Every round ends with a stitch count, and the chunky yarn is forgiving.
Finished Size, Skill Level, and Time
- Finished size: about 24 inches around and 7 inches tall for the cowl, with a hood about 12 inches deep and 11 inches wide, in chunky weight yarn. The cowl sits close to the neck and ends at the shoulders. The pattern also gives notes for a small size and a large size.
- Skill level: Easy. You need chains, slip stitches, single crochet, half double crochet, and decreases.
- Time: about 4 hours per cowl: roughly 1.5 hours for the cowl, 2 hours for the hood, and 30 minutes for joining and finishing.
Materials You Need
| Item | What to get |
|---|---|
| Yarn, main | Chunky weight (size 5) yarn in cream or your chosen color, about 350 yards |
| Yarn, trim | Chunky weight (size 5) yarn in the same color, about 30 yards, or a contrast color for the border |
| Hook | US K-10.5 (6.5 mm), or the size that gives you the gauge below |
| Buttons | Two large wooden buttons, about 1 inch across, optional |
| Notions | Tapestry needle, scissors, stitch markers, pins, measuring tape |
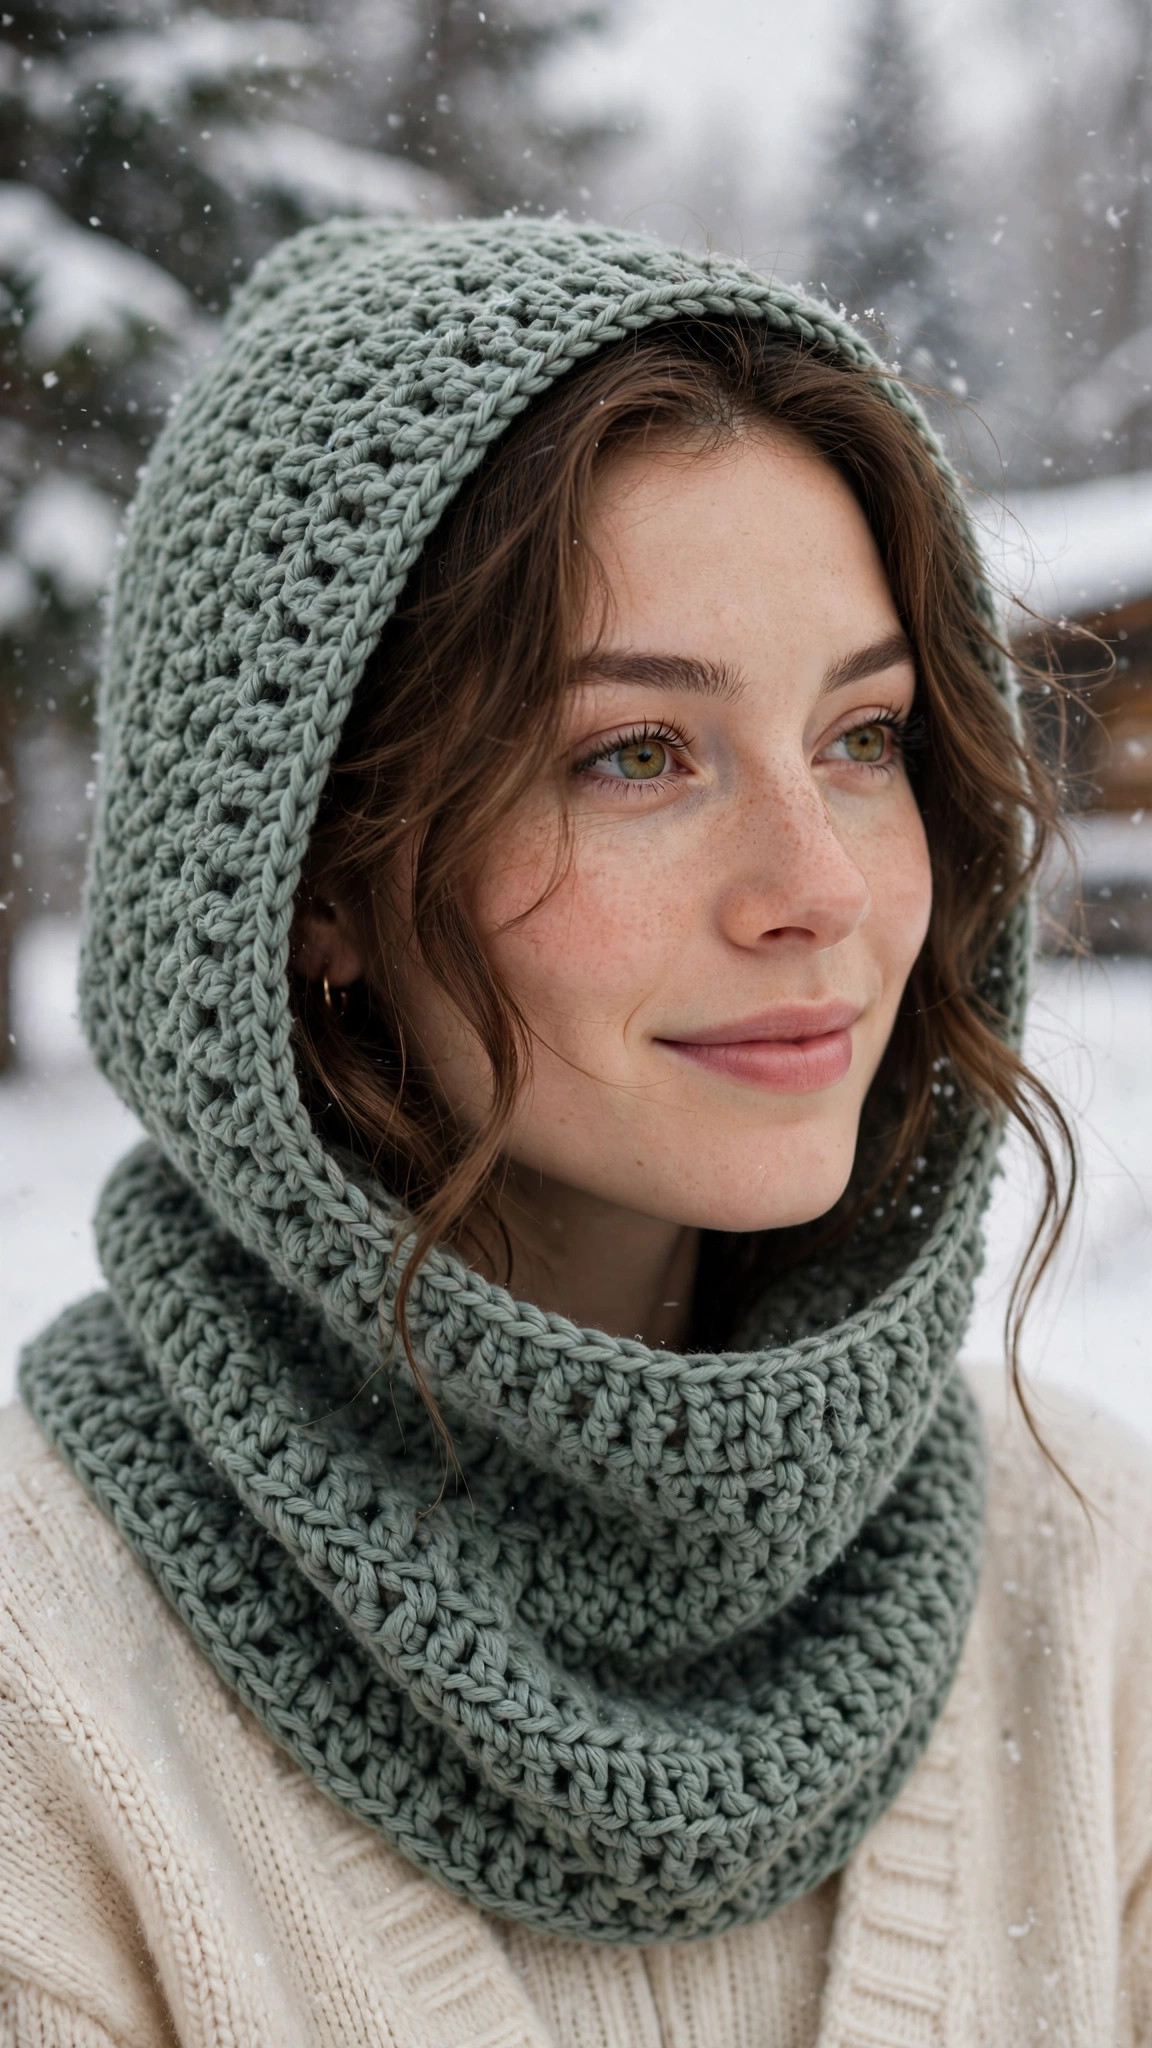
Chunky weight yarn is the best choice for a hooded cowl because it works up quickly, the fabric is thick and warm, and the stitches show off the texture. A smooth acrylic, wool blend, or cotton blend works well and washes easily. Avoid fuzzy yarns, because they hide the shaping.
Abbreviations (US Terms)
- ch = chain
- sl st = slip stitch
- sc = single crochet
- hdc = half double crochet
- dc = double crochet
- hdc2tog = half double crochet 2 stitches together
- inc = increase, 2 hdc in the same stitch
- dec = decrease, half double crochet 2 stitches together
- st(s) = stitch(es)
- rnd(s) = round(s)
- rep = repeat
Gauge and Sizing Notes
Gauge for a hooded cowl matters, because the cowl must fit over the head and sit close to the neck. Work a small swatch first: chain 14, work 10 rows of half double crochet, and measure. You should get about 11 half double crochet stitches and 8 rows in 4 inches, using a 6.5 mm hook and chunky weight yarn. If your swatch is wider than 4 inches, go down a hook size. If it is narrower, go up a hook size. A quick swatch saves you from a cowl that will not fit over the head or one that hangs loose and lets cold air in.
The cowl is worked in the round, so the circumference is fixed by the starting chain. The adult size starts with a chain of 66, which gives a cowl about 24 inches around. To make a small size, chain 60 for a cowl about 22 inches around. To make a large size, chain 72 for a cowl about 26 inches around. Keep the stitch counts in the pattern as written for the adult size, and adjust the starting chain and the hood width in the same proportion for the other sizes.
Part 1: The Cowl
The cowl is worked in the round from the bottom up, starting with a chain that is joined into a ring. Work in joined rounds, with a chain 2 at the start of each round, and use a stitch marker to mark the first stitch of every round. The cowl uses half double crochet throughout, which gives a warm, dense fabric with a little stretch.
Cowl
With the main yarn, ch 66. Join with a sl st to the first ch, taking care not to twist the chain.
- Rnd 1: ch 2, hdc in each ch around, join with a sl st to the top of the first hdc. (66 hdc)
- Rnd 2: ch 2, hdc in the back loop only of each st around, join with a sl st to the top of the first hdc. (66 hdc)
- Rnd 3: ch 2, hdc in each st around, join with a sl st to the top of the first hdc. (66 hdc)
- Rnd 4: ch 2, hdc in the back loop only of each st around, join with a sl st to the top of the first hdc. (66 hdc)
- Rnd 5-12: ch 2, hdc in each st around, join with a sl st to the top of the first hdc, alternating one back loop round and one regular round. (66 hdc)
The cowl should now be about 7 inches tall, measured from the bottom edge to the top edge. Try it on: it should sit close to the neck, cover the collarbone, and end at the top of the shoulders. If you want a taller cowl, add 2 more rounds here. If you want a shorter cowl, stop after round 10. Do not fasten off yet, because the hood joins to the top edge of the cowl in the next part.
Part 2: The Hood
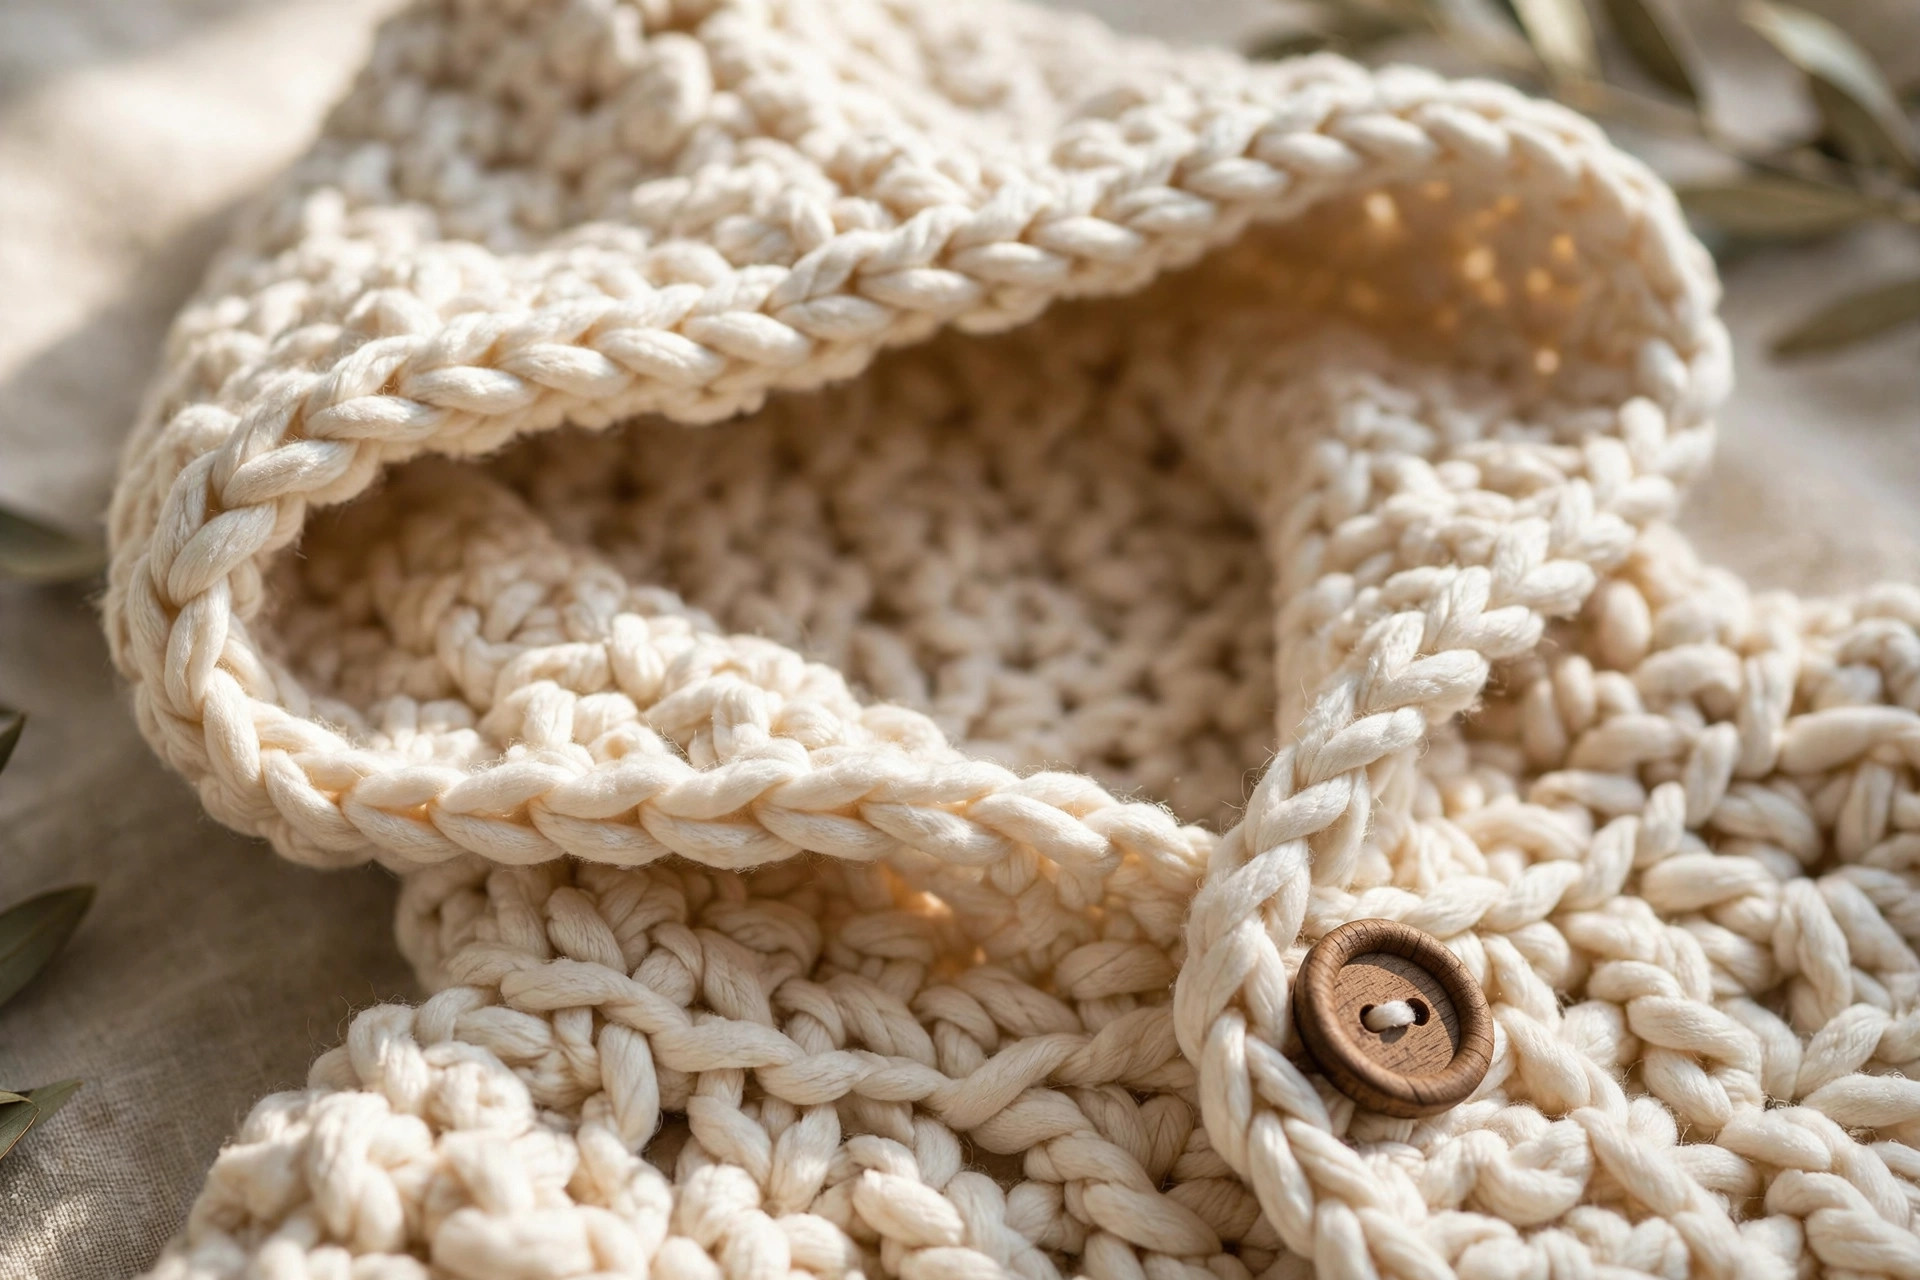
The hood is worked in rows, back and forth, starting from the top edge of the cowl. You will work across the back half of the cowl only, leaving the front half open for the face. The hood grows upward, then decreases at the top, and the top edge is seamed together to make the classic hood shape.
Hood Base
Do not fasten off. With the cowl still on the hook, mark the center back stitch with a stitch marker. Count 22 stitches to the left of the marker and 22 stitches to the right, for a total of 45 stitches across the back. These 45 stitches are the hood base. Place a marker at each end of this section.
- Row 1: ch 2, hdc in the next 45 sts across the back of the cowl, turn. (45 hdc)
- Row 2: ch 2, hdc in each st across, turn. (45 hdc)
- Row 3: ch 2, hdc in each st across, turn. (45 hdc)
- Row 4: ch 2, hdc in each st across, turn. (45 hdc)
The hood should now be about 2 inches tall, measured from the top of the cowl. Check that the hood sits centered on the back of the cowl: the markers should sit at the same distance from the center back on each side. If one side is longer, count again and restart the row, because a lopsided hood will pull to one side when worn.
Hood Shaping
Continue working in rows, decreasing at both ends of every fourth row to shape the top of the hood.
- Row 5: ch 2, hdc2tog, hdc in each st across to the last 2 sts, hdc2tog, turn. (43 hdc)
- Rows 6-8: ch 2, hdc in each st across, turn. (43 hdc)
- Row 9: ch 2, hdc2tog, hdc in each st across to the last 2 sts, hdc2tog, turn. (41 hdc)
- Rows 10-12: ch 2, hdc in each st across, turn. (41 hdc)
- Row 13: ch 2, hdc2tog, hdc in each st across to the last 2 sts, hdc2tog, turn. (39 hdc)
- Rows 14-16: ch 2, hdc in each st across, turn. (39 hdc)
- Row 17: ch 2, hdc2tog, hdc in each st across to the last 2 sts, hdc2tog, turn. (37 hdc)
- Rows 18-20: ch 2, hdc in each st across, turn. (37 hdc)
- Row 21: ch 2, hdc2tog, hdc in each st across to the last 2 sts, hdc2tog, turn. (35 hdc)
- Row 22: ch 2, hdc in each st across, turn. (35 hdc)
- Row 23: ch 2, hdc2tog, hdc in each st across to the last 2 sts, hdc2tog, turn. (33 hdc)
- Row 24: ch 2, hdc in each st across. Fasten off, leaving a long tail for seaming. (33 hdc)
The hood should now be about 12 inches deep, measured from the top of the cowl to the top edge of the hood. ## Part 3: Joining and Finishing
Joining is where the cowl becomes a hooded cowl. Fold the hood in half, seam the top, then work a neat border around the face opening and the bottom edge.
Seam the Hood Top
Fold the hood in half, right sides together, so the two halves of the last row meet. Thread the long tail onto a tapestry needle and whip stitch the two edges together, working from the front of the hood to the back, taking one stitch through both layers at a time. Keep the stitches even and close together, about one stitch per half double crochet. When you reach the back, fasten off and weave in the end. Turn the hood right side out and check the seam: it should sit flat along the top of the head, with no pucker and no gap.
Face Opening Border
With the trim yarn, join with a sl st at the bottom right corner of the face opening, where the hood meets the front of the cowl. Work single crochet evenly around the face opening, up one side of the hood, across the top of the hood front, and down the other side, placing about 2 single crochet stitches in each row end and 1 single crochet in each stitch along the cowl edge. Join with a sl st to the first single crochet, and fasten off. This border stops the face opening from stretching out of shape, and it gives the hood a clean, finished edge.
Bottom Edge Border
With the trim yarn, join with a sl st at the back of the bottom edge of the cowl. Work one round of single crochet in each stitch around the bottom edge, join with a sl st, and fasten off. This border keeps the bottom edge from curling and gives the cowl a tidy finish. If you are using buttons, sew the two wooden buttons onto the front of the cowl now, one on each side of the center front, about 1 inch above the bottom edge. Weave in all ends, and your hooded cowl is done.
Variations: Colors, Sizes, and Uses
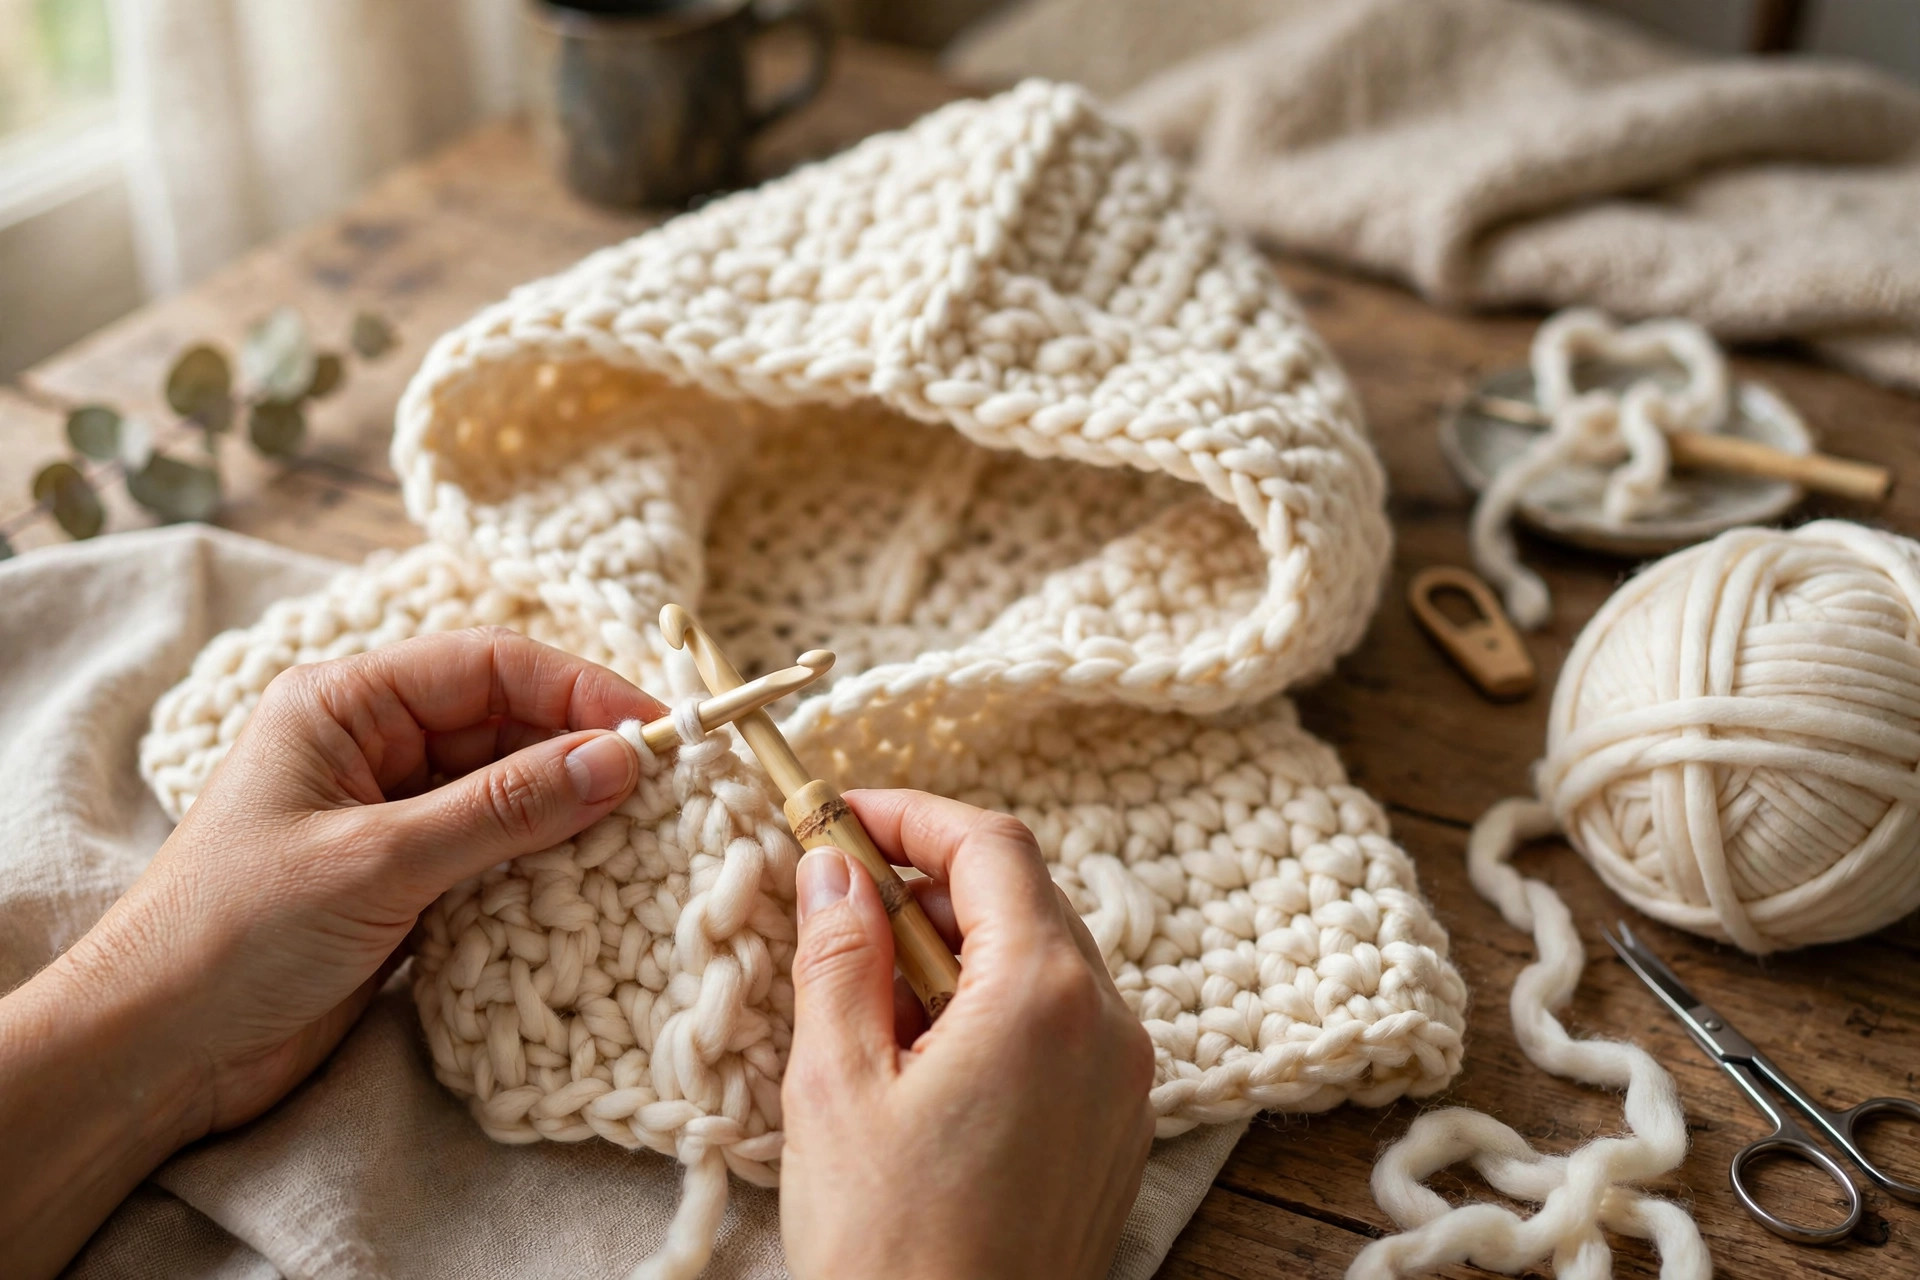
- Classic cream cowl: work the cowl in warm cream with a cream border, the colorway in the photos, for a quiet piece that goes with every coat. Our crochet shawl pattern free makes a matching layer for the same winter wardrobe.
- Sage green cowl: make the cowl in dusty sage green with a cream border for a soft, modern look. Our crochet poncho free pattern is another cozy layer in the same color family.
- Dusty rose cowl: work the cowl in dusty rose with a charcoal border for a warm, pretty gift. Our sophie hood crochet pattern is another hooded piece with a different shape, useful if you want to compare styles.
- Striped cowl: change color every 4 rounds of the cowl and every 4 rows of the hood, for a striped cowl in two or three colors. Keep the border in one of the stripe colors so the piece looks planned, not random.
If you enjoyed the construction in this cowl, try another wearable next.
Troubleshooting Cowls That Gape or Slip
- My cowl gapes at the neck. The starting chain was too long, or the gauge is too loose. Go down a hook size, or start with 6 fewer chains, and check the fit after 4 rounds before you go on.
- My cowl will not fit over my head. The starting chain was too short, or the gauge is too tight. Go up a hook size, or start with 6 more chains, and check the fit after 4 rounds.
- My hood pulls the cowl up over my chin. The hood is too short, or the face opening is too small. Add 2 more plain rows to the hood before the final decreases, and check the fit with the hood up before you seam the top.
- My face opening stretches out of shape. The border was skipped, or it was worked too loosely. Work the face opening border in single crochet with a hook one size smaller, and the opening will hold its shape.
Care Instructions
Hand wash a crochet hooded cowl gently in cool water with a tiny amount of mild soap, squeeze gently without wringing, and lay it flat to dry so the cowl keeps its shape. If the yarn label says machine washable, use a gentle cycle in a mesh laundry bag, and lay the cowl flat to dry. Do not put a hooded cowl in the dryer on high heat, because the fabric can shrink and the hood can lose its shape. Reshape the hood by hand while it is damp, and keep the cowl out of direct sunlight, so the colors stay bright. Check the buttons now and then to make sure the thread is still tight.
Frequently Asked Questions
Is this hooded cowl crochet pattern good for beginners?
Yes, it is a great first garment project. You need chains, half double crochet, and decreases, and every round and row ends with a stitch count. One cowl takes about 4 hours.
What yarn is best for a hooded cowl?
Chunky weight yarn is the best choice, because it works up quickly and the fabric is thick and warm. A smooth acrylic or wool blend works well and washes easily. Avoid fuzzy yarns, because they hide the shaping and make the hood decreases hard to see.
How big is the finished hooded cowl?
About 24 inches around and 7 inches tall for the cowl, with a hood about 12 inches deep and 11 inches wide, in chunky weight yarn with a 6.5 mm hook. Use a chain of 60 for a small size, or a chain of 72 for a large size. The stitch counts for the hood scale in the same proportion.
How is a hooded cowl different from a scoodie?
A scoodie is a long scarf with a hood, and it hangs down the front and back. A hooded cowl is a short, close fitting neckwarmer with an attached hood and no long scarf tails. This pattern makes the cowl version, and the scoodie is a separate pattern.
How much yarn do I need for one hooded cowl?
About 380 yards of chunky weight yarn in total: roughly 350 yards for the main color and 30 yards for the trim. A striped cowl needs about the same total, split across the colors you choose.
Can I sell cowls made from this pattern?
Yes, you may sell finished cowls made from this free pattern, with credit to Little Loop Finds. Please do not sell or republish the pattern text itself.
Can I make this cowl in a lighter yarn?
Yes, you can make it in DK weight yarn with a 5.0 mm hook, following the same stitch counts, for a lighter cowl. The finished size will be a little smaller, so check the fit after 4 rounds and add 6 stitches to the starting chain if it feels tight.
Happy stitching, and may your little hooded cowl keep you warm all winter long.