Neck Warmer Crochet Pattern: Chunky One-Skein Cowl
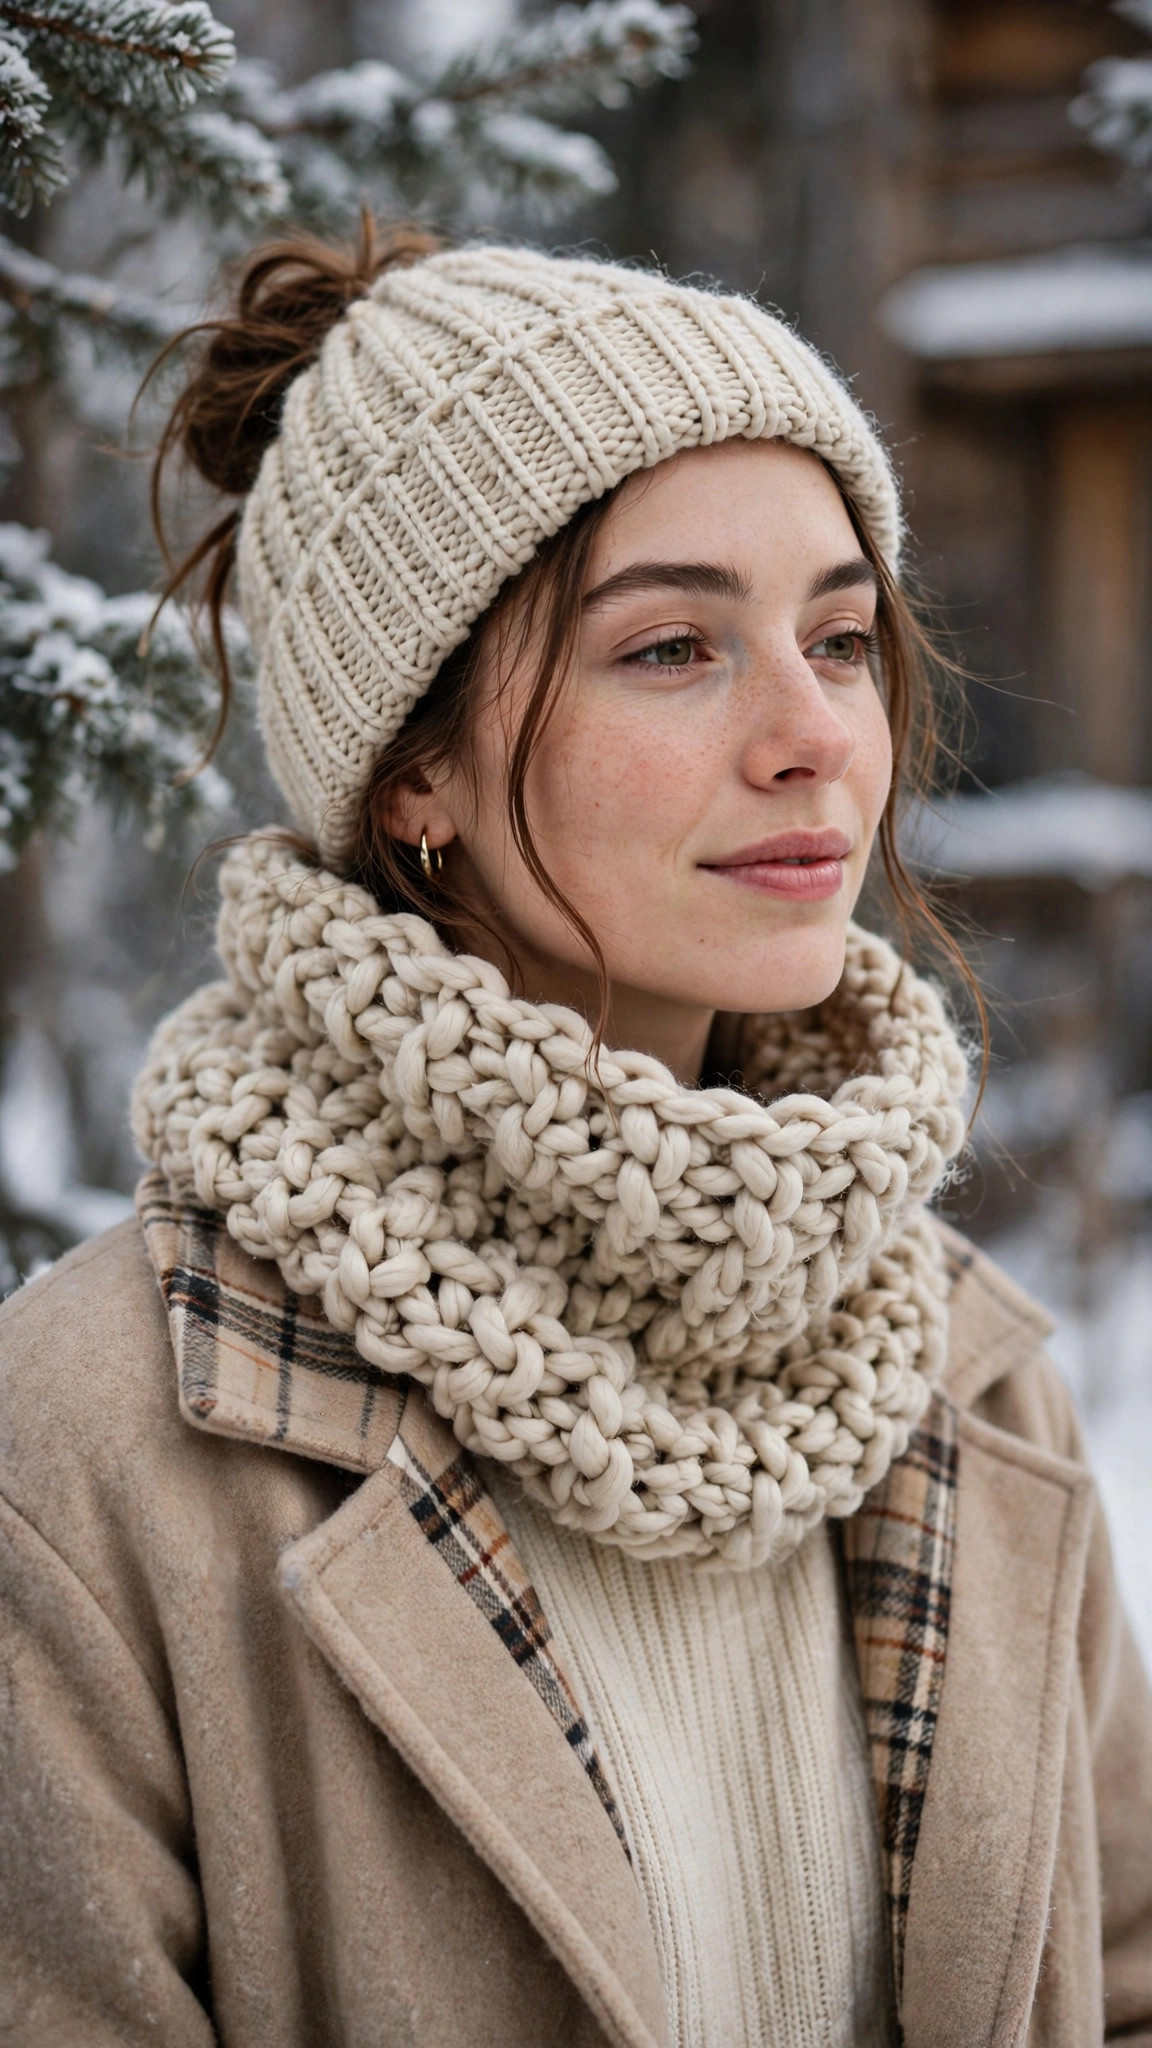
Chunky waffle stitch cowl in oatmeal yarn: one skein, three sizes, about four hours, optional wooden buttons.

Wearables · Crochet
- Finished size
- 24.5 in around (women)
- Making time
- About 4 hours
- Hook
- 10 mm, chunky yarn
- Sizes
- Kids, women, men
- Skill
- Advanced Beginner
In this post
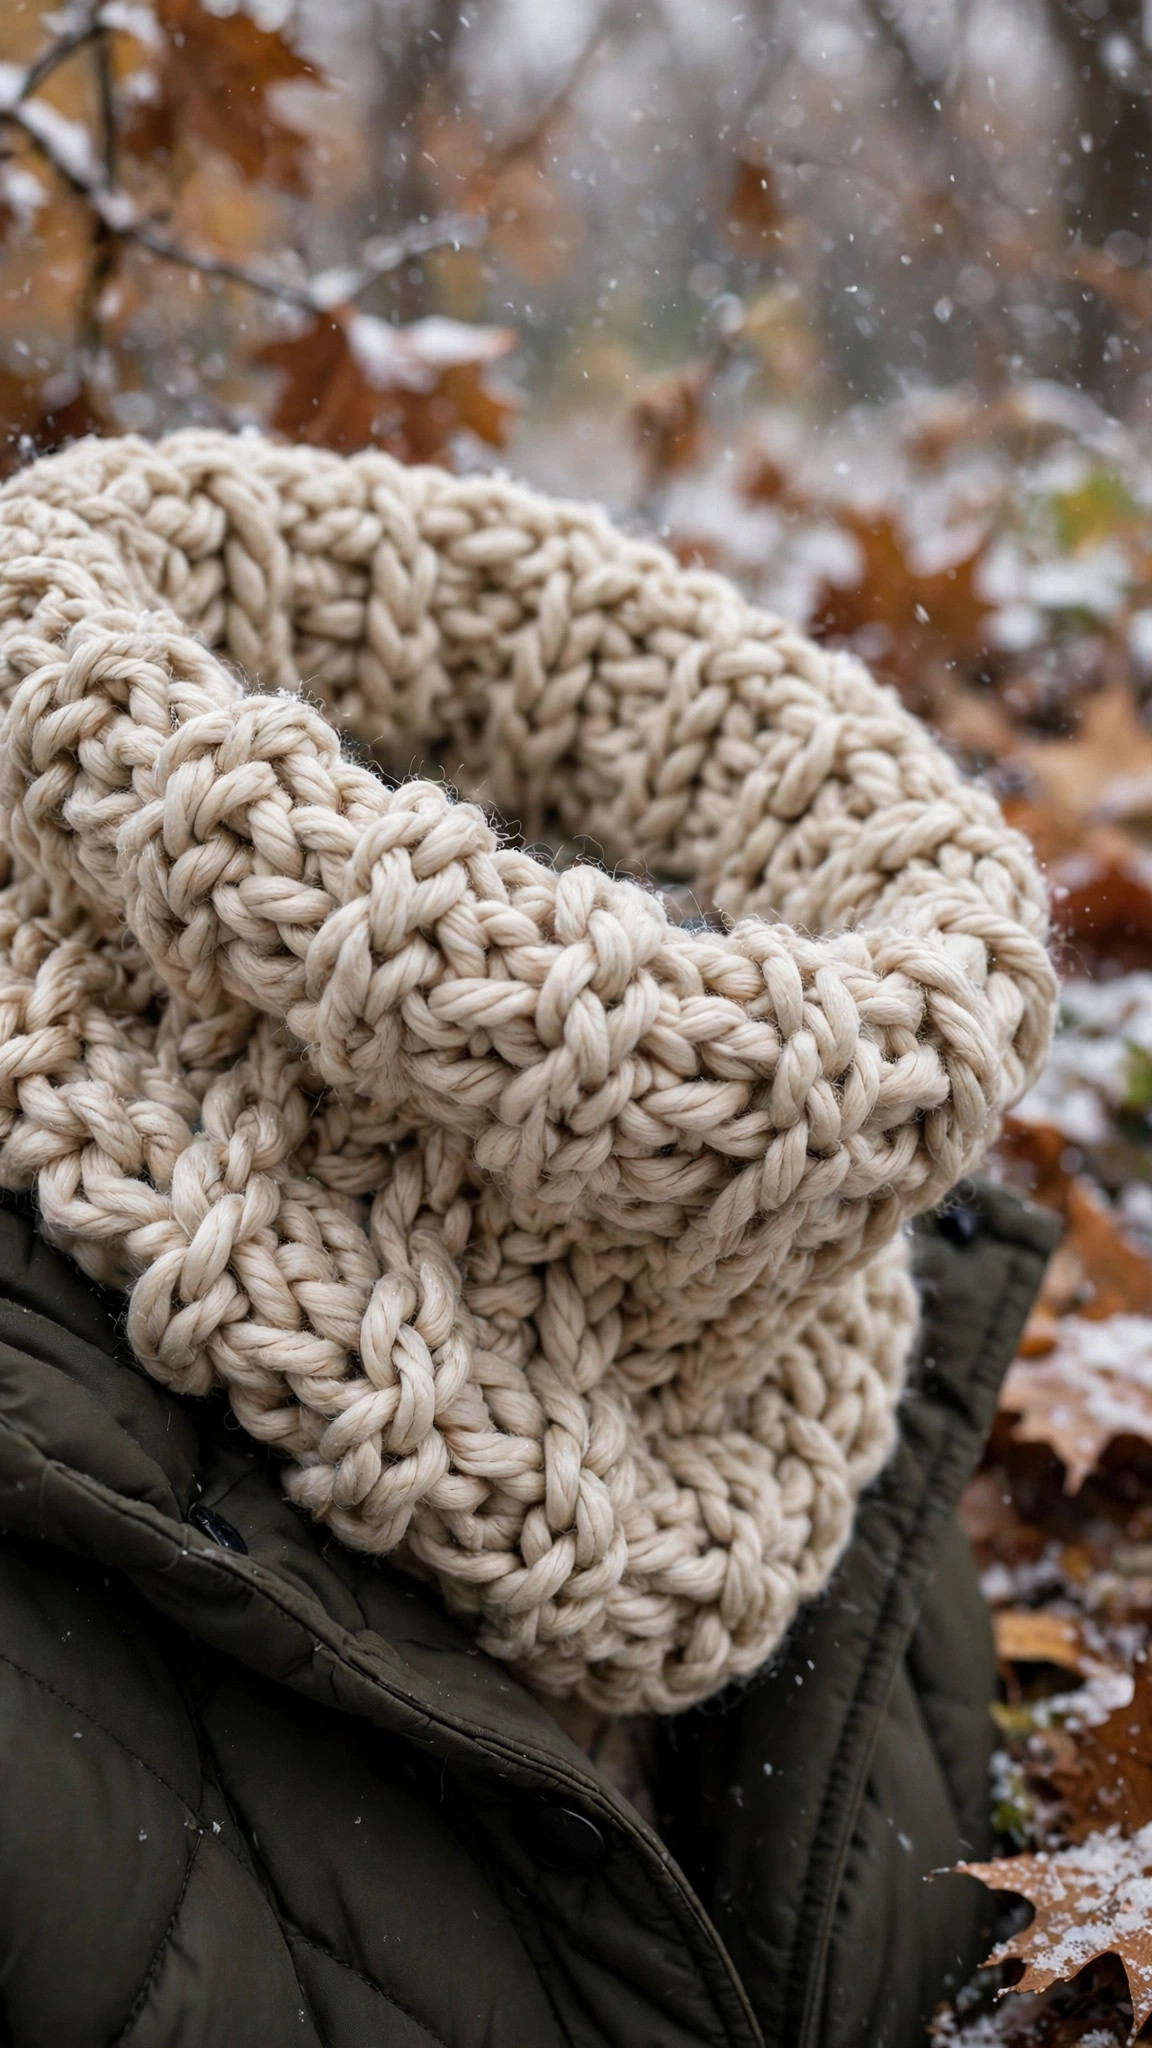
If you have been searching for a neck warmer crochet pattern that works up in an evening, uses a single skein, and looks like it came from a boutique shelf, this chunky one-skein cowl is the one to make. It is worked flat in deep, squishy waffle stitch with a 10 mm hook and soft chunky yarn, then joined with a nearly invisible seam or a pair of large wooden buttons. The finished cowl hugs the neck without bulk, the texture catches the light beautifully, and the oatmeal colourway goes with every coat you own.
This is an original Little Loop Finds design, written in US terms, with three sizes: kids, women, and men. The women's size takes about four relaxed hours, which makes this a perfect weekend make or a thoughtful handmade gift when the holidays creep up. If you can double crochet and front post double crochet, you can make this cowl. Everything else is just counting and cosy rows.
- Why you'll love this neck warmer crochet pattern
- Materials you'll need
- Size, gauge and skill level
- Abbreviations: US terms
- The pattern (US terms)
- Button closure option
- Troubleshooting tips
- Three variations to try next
- Frequently asked questions
- More free patterns to try
Why you'll love this neck warmer crochet pattern
Most chunky cowl patterns fall into one of two traps: they use so much yarn that the "one skein" promise quietly needs a second, or the stitch pattern is flat and boring and the whole thing looks like a tube sock for your neck. This neck warmer crochet pattern dodges both. The waffle stitch gives you deep, cushiony texture from a stitch you already know, and the kids' and women's sizes genuinely come from a single 100 g skein of chunky yarn.
The construction is simple and forgiving. You crochet a flat rectangle in rows, so there is no working in the round, no joining rounds to hide, and no fiddly shaping. The waffle stitch is a two-row rhythm that you will memorise by the third row: front post double crochet around the posts of the row below, plain double crochet in between. Once your hands learn the rhythm, the rows fly by, and the texture builds up into something that looks far more complicated than it was to make.
It is also a genuinely useful finished object, not just a pretty one. A neck warmer sits where a scarf cannot: tucked under a coat collar, no long ends flapping in the wind, no bulk around the chin. The women's size is roomy enough to pull up over the nose on a bitter morning, and the kids' size is snug enough that it will not slide off small shoulders.
And if you like quick winter makes, this cowl pairs beautifully with a hat from our free ribbed beanie pattern. Crochet the cowl first to learn the waffle stitch rhythm, then the beanie, and you have a matching set that looks like you planned it for weeks.
Materials you'll need
| Supply | What to get |
|---|---|
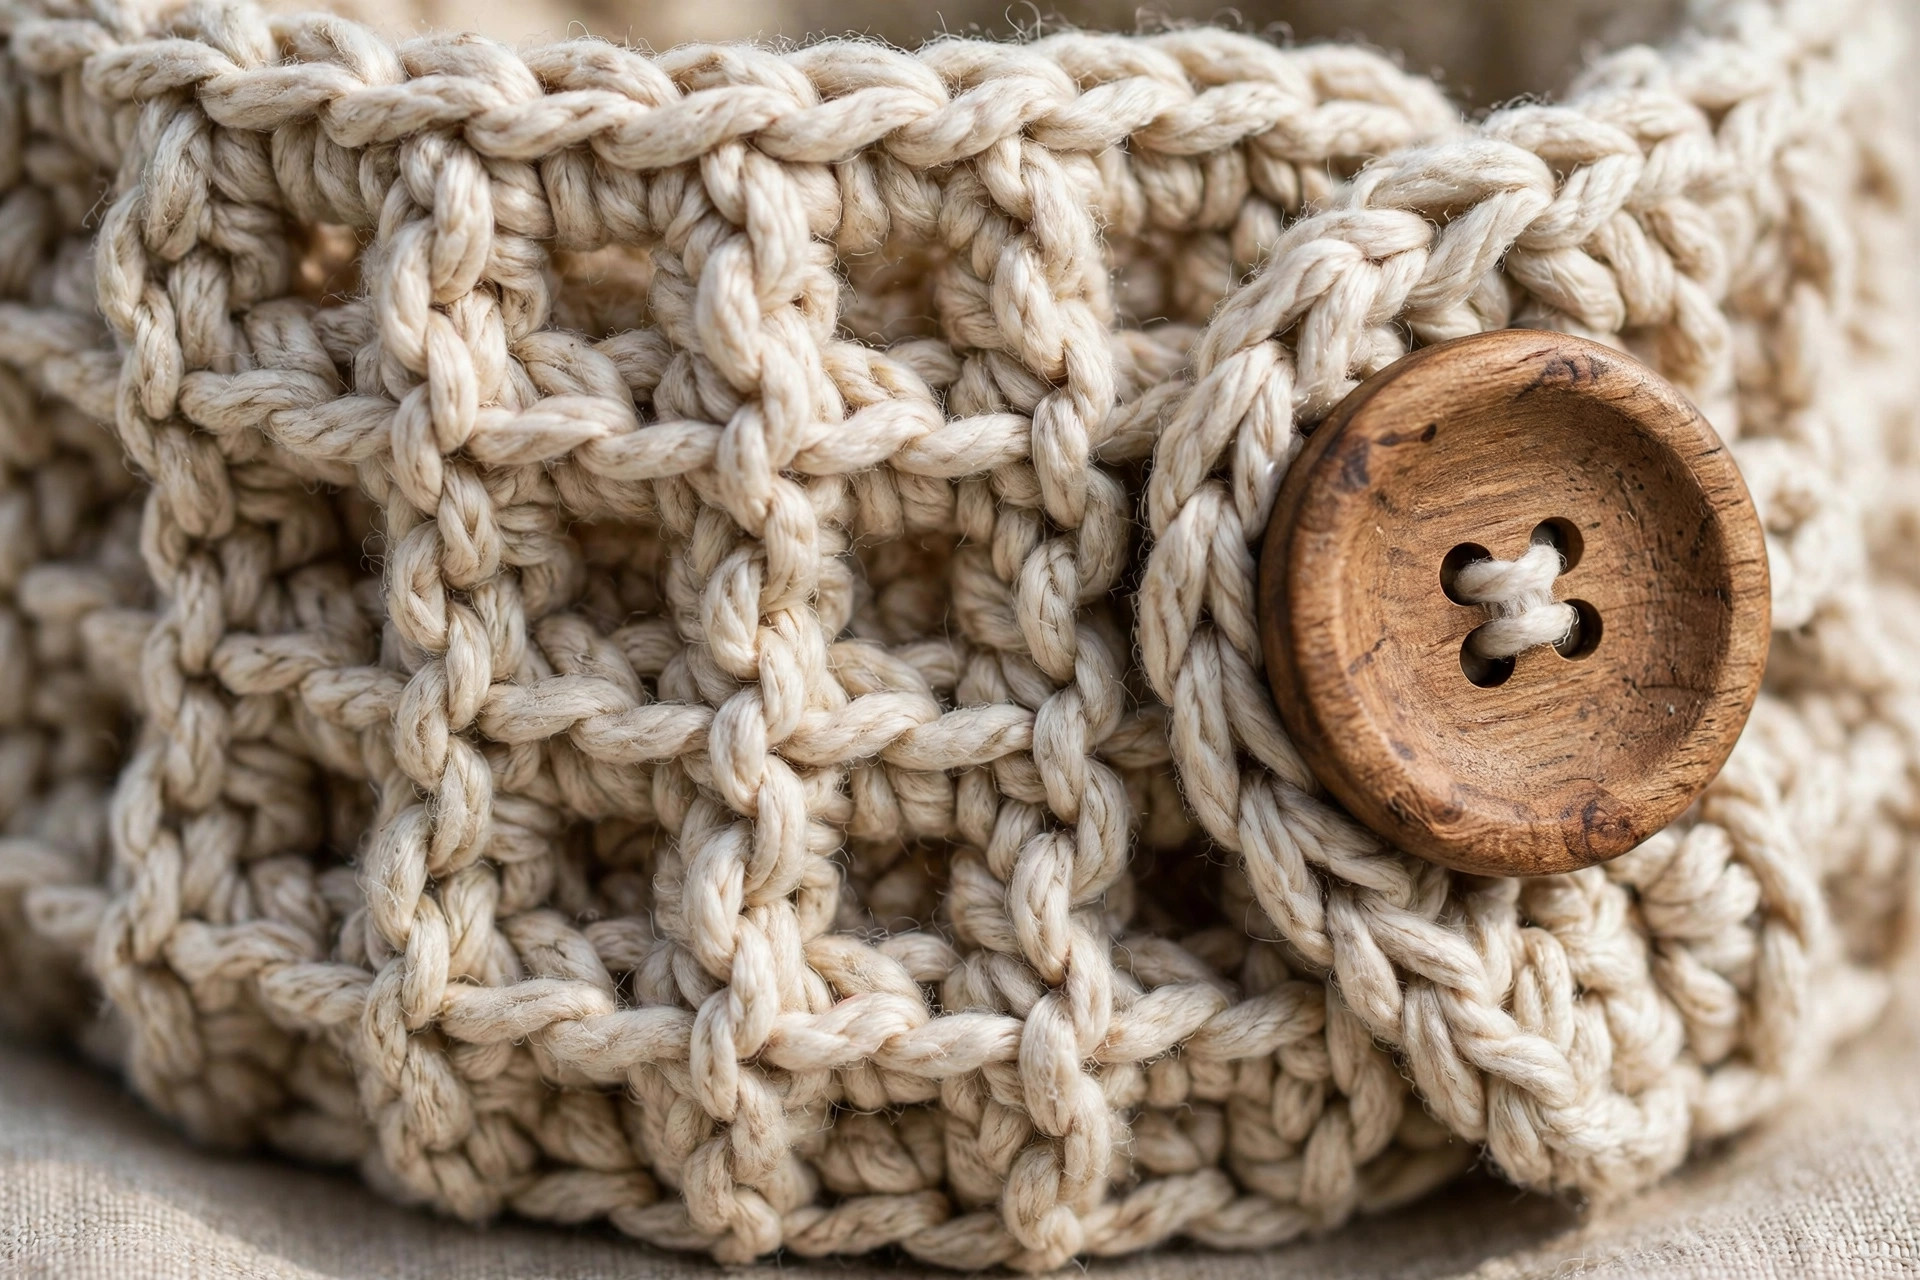
| Yarn | Chunky-weight (#5) yarn, 100 g skein, about 120 yds / 110 m (oatmeal or any colour you love) |
| Crochet hook | 10 mm (US P-15) |
| Buttons (optional) | 2 large wooden buttons, 1 to 1.25 in diameter |
| Tapestry needle | For seaming and weaving in ends |
| Notions | Scissors, stitch markers, tape measure |
A soft chunky acrylic or acrylic-wool blend is the best pick here: it is warm, it washes well, and the plump strands make the waffle texture pop. Wool and wool blends give the cosiest result and a beautiful drape, but check the label if the cowl is a gift, because some people prefer machine-washable yarn. Avoid very dark colours for your first waffle stitch project: the front post stitches are much easier to see in oatmeal, cream, or grey, and you will learn the rhythm faster.
Yarn amounts by size (approximate): Kids (4-10): about 85 yds / 78 m. Women: about 115 yds / 105 m. Men: about 150 yds / 137 m. One 100 g skein makes the kids' or women's size with yarn to spare. The men's size needs a second skein, or one large 200 g skein.
A note on the hook: a 10 mm hook with chunky yarn keeps the fabric soft and drapey. If you crochet tightly, go up to a 12 mm hook rather than fighting your tension: a stiff cowl will not sit nicely around the neck. The waffle stitch needs room to breathe, and a looser hand gives you a softer, warmer finished piece. If you are making the matching set, our arm warmer crochet pattern uses the same chunky yarn and a similar relaxed tension, so your gauge notes will carry over.
Size, gauge and skill level
The cowl is worked flat as a rectangle, then the short ends are joined. Work the women's size as written, with kids' and men's sizes in brackets: kids (women, men).
| Size | Finished circumference | Finished height | Foundation chains | Rows |
|---|---|---|---|---|
| Kids (4-10) | 20 in / 51 cm | 7 in / 18 cm | 41 ch | 9 |
| Women | 24.5 in / 62 cm | 8 in / 20 cm | 50 ch | 10 |
| Men | 29 in / 74 cm | 9 in / 23 cm | 59 ch | 11 |
- Finished size (women): about 24.5 in (62 cm) around and 8 in (20 cm) tall. It sits softly around the neck with a little room to pull up over the chin. The kids' size is snugger and shorter, and the men's size is roomier with extra height to fold over.
- Gauge: 8 dc and 5 rows = 4 in (10 cm) in waffle stitch with a 10 mm hook. Gauge matters less here than in a fitted garment, because the cowl is a simple tube, but do check it: if your rectangle is much narrower than the size you want, your cowl will feel tight, and if it is much wider, it will gape. Measure your rectangle after 4 rows and adjust your hook size if needed.
- Skill level: advanced beginner. You should know how to chain, double crochet, and work a front post double crochet. Everything else is a simple repeat.
The foundation chain determines the circumference, so double-check your chain count before you start Row 1: 41 (50, 59). Waffle stitch is very forgiving of small counting slips, because the posts line up visually: if a row looks wrong, you can usually see exactly where it went wrong by following the raised columns down.
Abbreviations: US terms
| Abbreviation | Meaning |
|---|---|
| ch | chain |
| dc | double crochet |
| FPdc | front post double crochet: yarn over, insert hook from front to back to front around the post of the stitch below, complete as a dc |
| st(s) | stitch(es) |
| RS | right side |
| WS | wrong side |
| FO | fasten off |
| [ ] | total stitch count at the end of the row |
A note on the front post stitch: if you have never worked a FPdc, practise on a small swatch first: chain 16, dc across, then work one row of FPdc in 2 sts, dc in 1 st. Insert the hook from the front, around the post of the stitch in the row below, and back out the front, then finish the double crochet as normal. The stitch pops forward and makes the raised rib of the waffle texture. After a few rows your hands will find the posts automatically.
The pattern (US terms)
Work flat in rows, turning at the end of each row. The right side faces you on odd-numbered rows. Instructions are for the women's size, with kids' and men's sizes in brackets: kids (women, men). Stitch counts at the end of each row are given in the same order.
Foundation row
Ch 41 (50, 59).
Row 1 (RS): dc in the 4th ch from the hook and in each ch across, turn. [40 (49, 58) dc]
The skipped 3 chains count as your first double crochet. Count your stitches now: you need exactly 40 (49, 58). If you are off by one, it is much easier to fix here than three rows later.
Waffle stitch body
Row 2 (WS): ch 2 (counts as first dc), turn. FPdc around the next 2 sts, *dc in the next st, FPdc around the next 2 sts; repeat from * across, dc in the top of the turning chain from the previous row, turn. [40 (49, 58)]
Row 3: ch 2 (counts as first dc), turn. FPdc around the next 2 sts, *dc in the next st, FPdc around the next 2 sts; repeat from * across, dc in the top of the turning chain from the previous row, turn. [40 (49, 58)]
Row 3 is worked exactly like Row 2: each FPdc goes around the post of the FPdc directly below it, and each plain dc goes into the top of the dc below it. The raised columns stack on top of each other and the waffle texture appears.
Rows 4 to 9 (10, 11): repeat Row 2 until the piece measures about 7 (8, 9) in / 18 (20, 23) cm tall, ending with an even-numbered row so both ends of the rectangle look the same. [40 (49, 58)]
Do not stretch the piece when you measure: lay it flat and let it relax. The waffle stitch has natural squish, and stretching it will give you a false reading. If your piece curls at the edges, that is normal for the first few rows: it flattens out as the rows stack up.
Finishing the rectangle: FO, leaving a 24 in (60 cm) tail for seaming. Weave in the starting tail now, working it through the base of the foundation row stitches for at least 2 in so it cannot wriggle out.
Seaming the cowl
Bring the two short ends of the rectangle together with the right sides facing out and the seam at what will be the back of the neck. Thread the long tail onto your tapestry needle and whipstitch the ends together, working through the back loops of the first and last rows, one stitch at a time. Keep your seaming tension relaxed so the seam does not pucker: the waffle texture hides the join almost completely when the tension matches the rest of the fabric.
When the seam is closed, weave the tail into the seam for 2 in and trim it flush. Turn the cowl so the seam sits at the back, give it a gentle tug into shape, and it is ready to wear. If you prefer the button closure instead of a plain seam, skip the whipstitch and follow the next section.
Button closure option
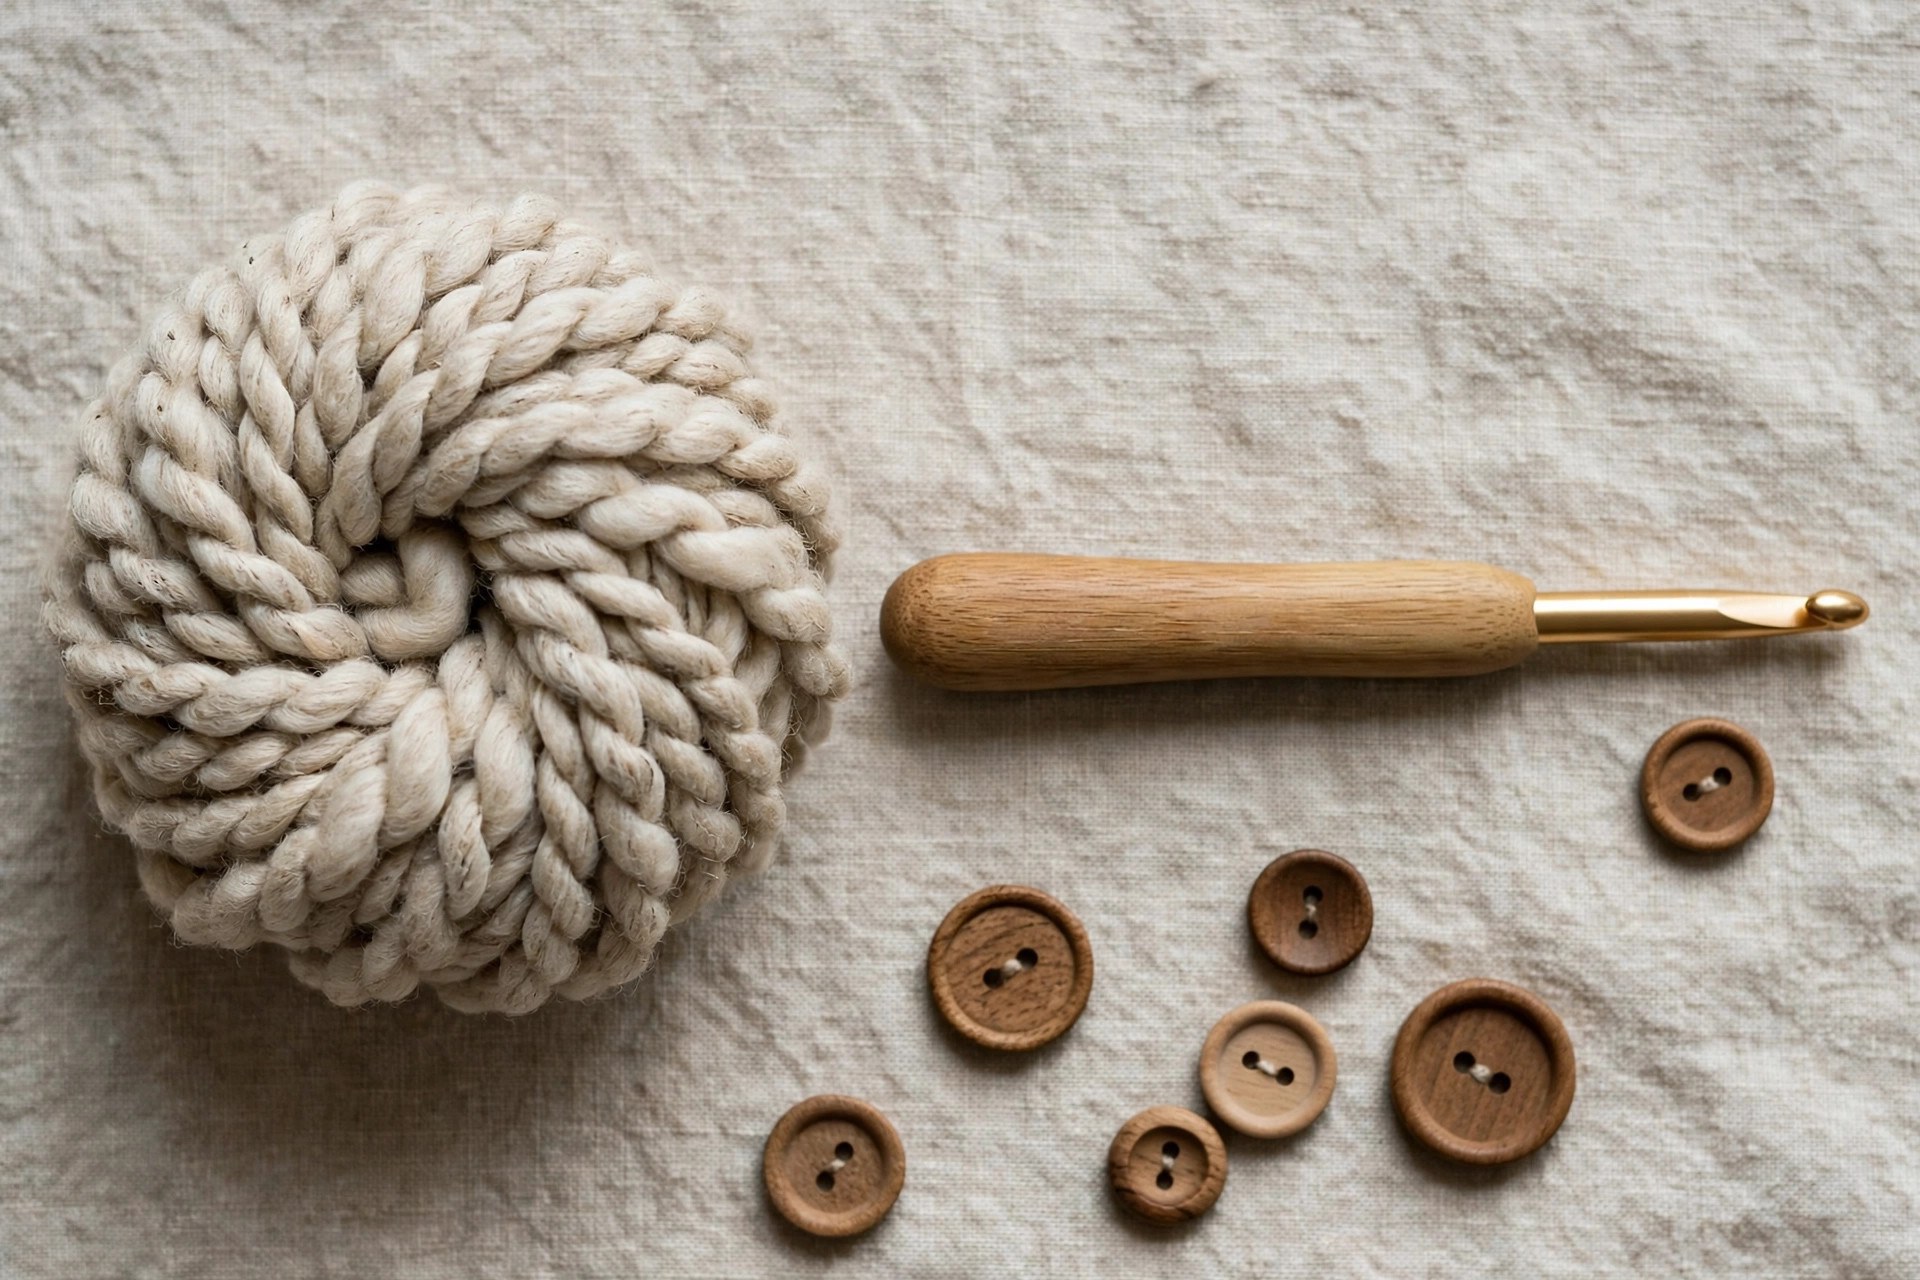
If you like the look of big wooden buttons, skip the whipstitched seam and close the cowl with buttons instead. It gives the neck warmer a relaxed, wrap-style finish, and it lets the wearer open the cowl flat, which is handy for kids who hate things pulled over their heads.
Overlap the two short ends of the rectangle by about 2 in (5 cm), right sides facing out, so the end of the last row lies on top of the foundation row end. Pin the overlap in place with stitch markers: one near the top edge, one near the bottom edge. The overlap should sit at the side or front of the neck, wherever you want the buttons to show.
Thread a tapestry needle with a length of yarn in a matching colour and sew the first button through both layers of the overlap, about 1 in (2.5 cm) down from the top edge. Sew through the buttonholes several times, then knot the yarn on the inside and weave in the end. Sew the second button the same way, about 1 in (2.5 cm) up from the bottom edge. Two buttons are enough: more will pucker the chunky fabric.
Troubleshooting tips
- My rectangle is curling at the edges. Normal for the first few rows of waffle stitch. It flattens as the rows stack. Do not try to block it flat mid-project: just keep going.
- My FPdc stitches disappear into the row below. You are inserting the hook around the wrong part of the stitch. Go around the post (the vertical bar), not under the top loops. Practise on a swatch until the raised rib appears.
- My stitch count drifts by one or two. The turning chain is the usual suspect. The ch 2 counts as a stitch, so the last stitch of every row goes into the top of the previous row's turning chain. Mark the turning chain with a stitch marker until the rhythm is automatic.
- The waffle texture looks flat. Your tension is too tight, or your hook is too small. The FPdc needs room to pop forward. Go up a hook size and consciously relax your hand on the front post rows.
- The cowl is too loose and gapes. Your rectangle is wider than the size calls for. Measure after 4 rows next time and switch to a smaller hook. For this one, add a third button to the closure, or take in the seam by half an inch on each side.
Three variations to try next
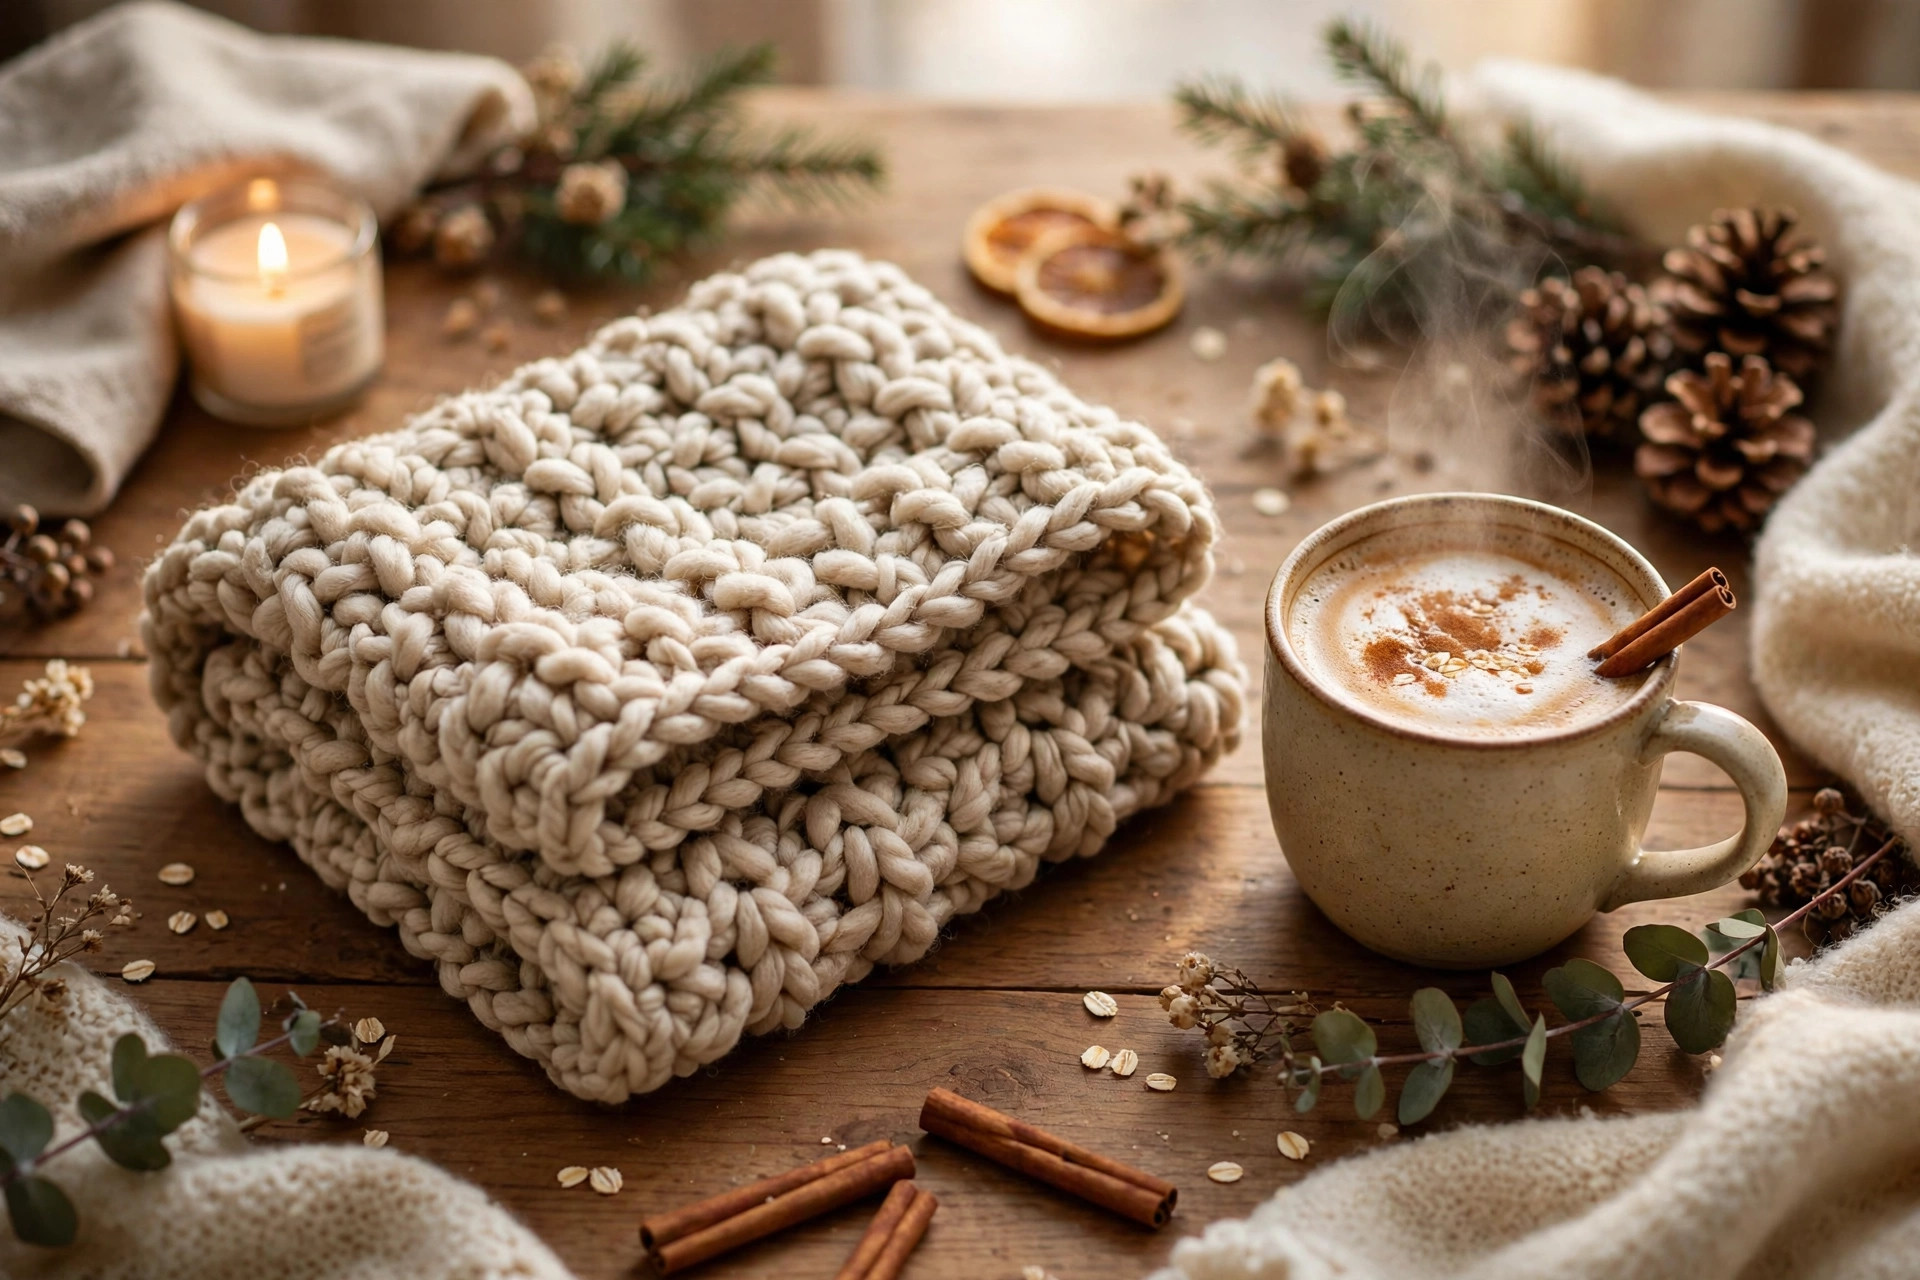
Once you have made one cowl, the same rectangle makes a whole family of neck warmers. Same waffle stitch, three new personalities:
- Two-tone cowl. Work the first half of the rows in oatmeal and the second half in charcoal or rust. Change colour at the start of an odd-numbered row and carry the unused colour up the side, or cut and weave in the ends. The colour block looks intentional and modern, and it is a great way to use two half skeins. For a full winter set in two colours, pair it with a scarf from our men's crochet scarf pattern.
- Extra-tall folded cowl. Add 4 more rows to the women's size for a 11 in tall cowl, then fold the top 3 in down over the outside. The folded band sits like a turtleneck and adds an extra layer of warmth over the chin. Use the button closure with the fold so the buttons show on the folded band.
- Kids' rainbow cowl. Work the kids' size in a self-striping chunky yarn and skip the buttons: just whipstitch the seam and let the colours do the talking. One skein of striping yarn is exactly enough.
Frequently asked questions
Is this neck warmer crochet pattern really free?
Yes, the complete pattern above is free: all three sizes, the waffle stitch instructions, the seaming method, and the button closure option, with no signup and no purchase required.
What skill level is this neck warmer pattern?
Advanced beginner. If you can chain, double crochet, and work a front post double crochet, you have every skill this pattern needs. The pattern is one stitch repeat worked in rows, and the only new technique for most crocheters is the FPdc, which the abbreviations section walks through step by step.
How long does it take to crochet this neck warmer?
About 4 hours for the women's size at a relaxed pace: roughly 30 minutes for the foundation row and the first waffle rows while you learn the rhythm, then steady rows, plus 30 minutes for seaming or the button closure and weaving in ends. The kids' size takes about 3 hours, and the men's size about 5.
Can I make this without the wooden buttons?
Absolutely. The buttons are an optional finish: the standard version is closed with a simple whipstitched seam that disappears into the waffle texture. Make the plain seamed version for a cleaner look, or if the cowl is for someone who finds buttons fiddly. You can also sew the buttons on decoratively over a whipstitched seam if you love the look but want the sturdiness of the seam.
How do I wash a chunky crochet neck warmer?
Follow the yarn label first: most acrylic and acrylic-blend chunky yarns are machine washable on gentle and can be tumble dried low, while wool and wool blends need hand washing in cool water. If you used wooden buttons, hand wash and lay flat to dry so the buttons do not crack or bleed colour. Reshape the cowl while damp and let it dry flat, never hanging, so the waffle stitch keeps its spring.
Can I sell the finished neck warmers I make?
Yes! You may sell finished cowls made from this pattern in small batches at craft fairs, markets, or as gifts. Please credit Little Loop Finds as the pattern designer with a link back to this page. The pattern text and photos themselves may not be redistributed or republished.
More free patterns to try
If this cowl was fun, keep the hook moving. The easy mitten crochet pattern makes the perfect chunky companion piece for cold mornings, the crochet ski mask pattern is the next step up in winter wearables, and our beginner scarf patterns round out a full handmade winter wardrobe.