Free Crochet Otter Pattern: Cute Amigurumi Plush
A cute amigurumi otter plush with a tan belly and long tail: original design, US terms, easy shaping, and baby-safe face options.

Amigurumi · Crochet
- Finished size
- About 8 in tall
- Making time
- About 5 hours
- Hook
- 3.5 mm, worsted yarn
- Pieces
- Body, head, tail, 4 paws
- Skill
- Easy
In this post
- Table of contents
- Why you'll love this crochet otter pattern
- Materials you'll need
- Size, gauge and skill level
- Abbreviations, US terms
- The crochet otter pattern (US terms)
- Finishing touches and assembly
- Tips and tricks
- Variations to try next
- Troubleshooting tips
- Frequently asked questions
- More free patterns to try
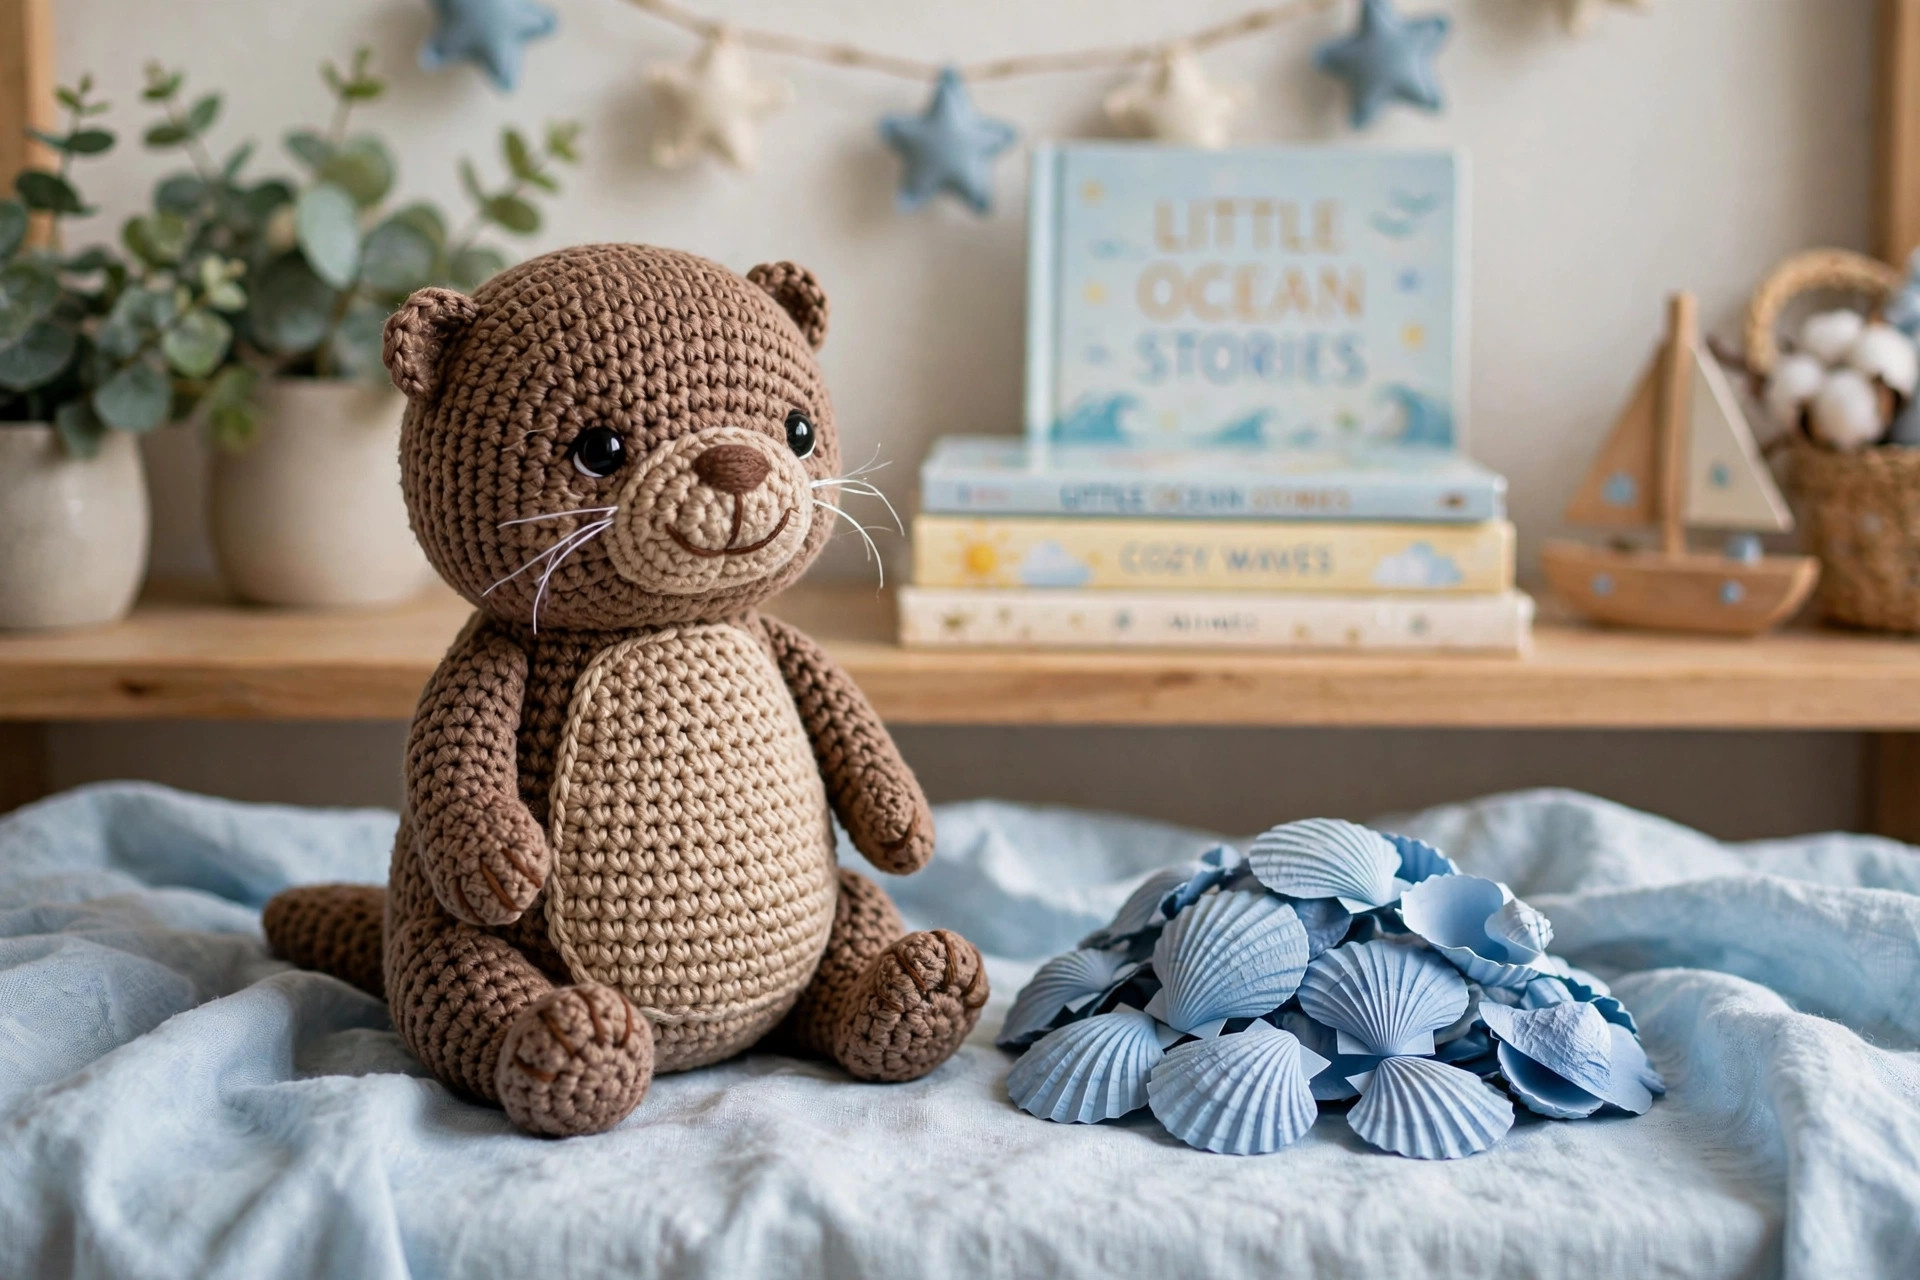
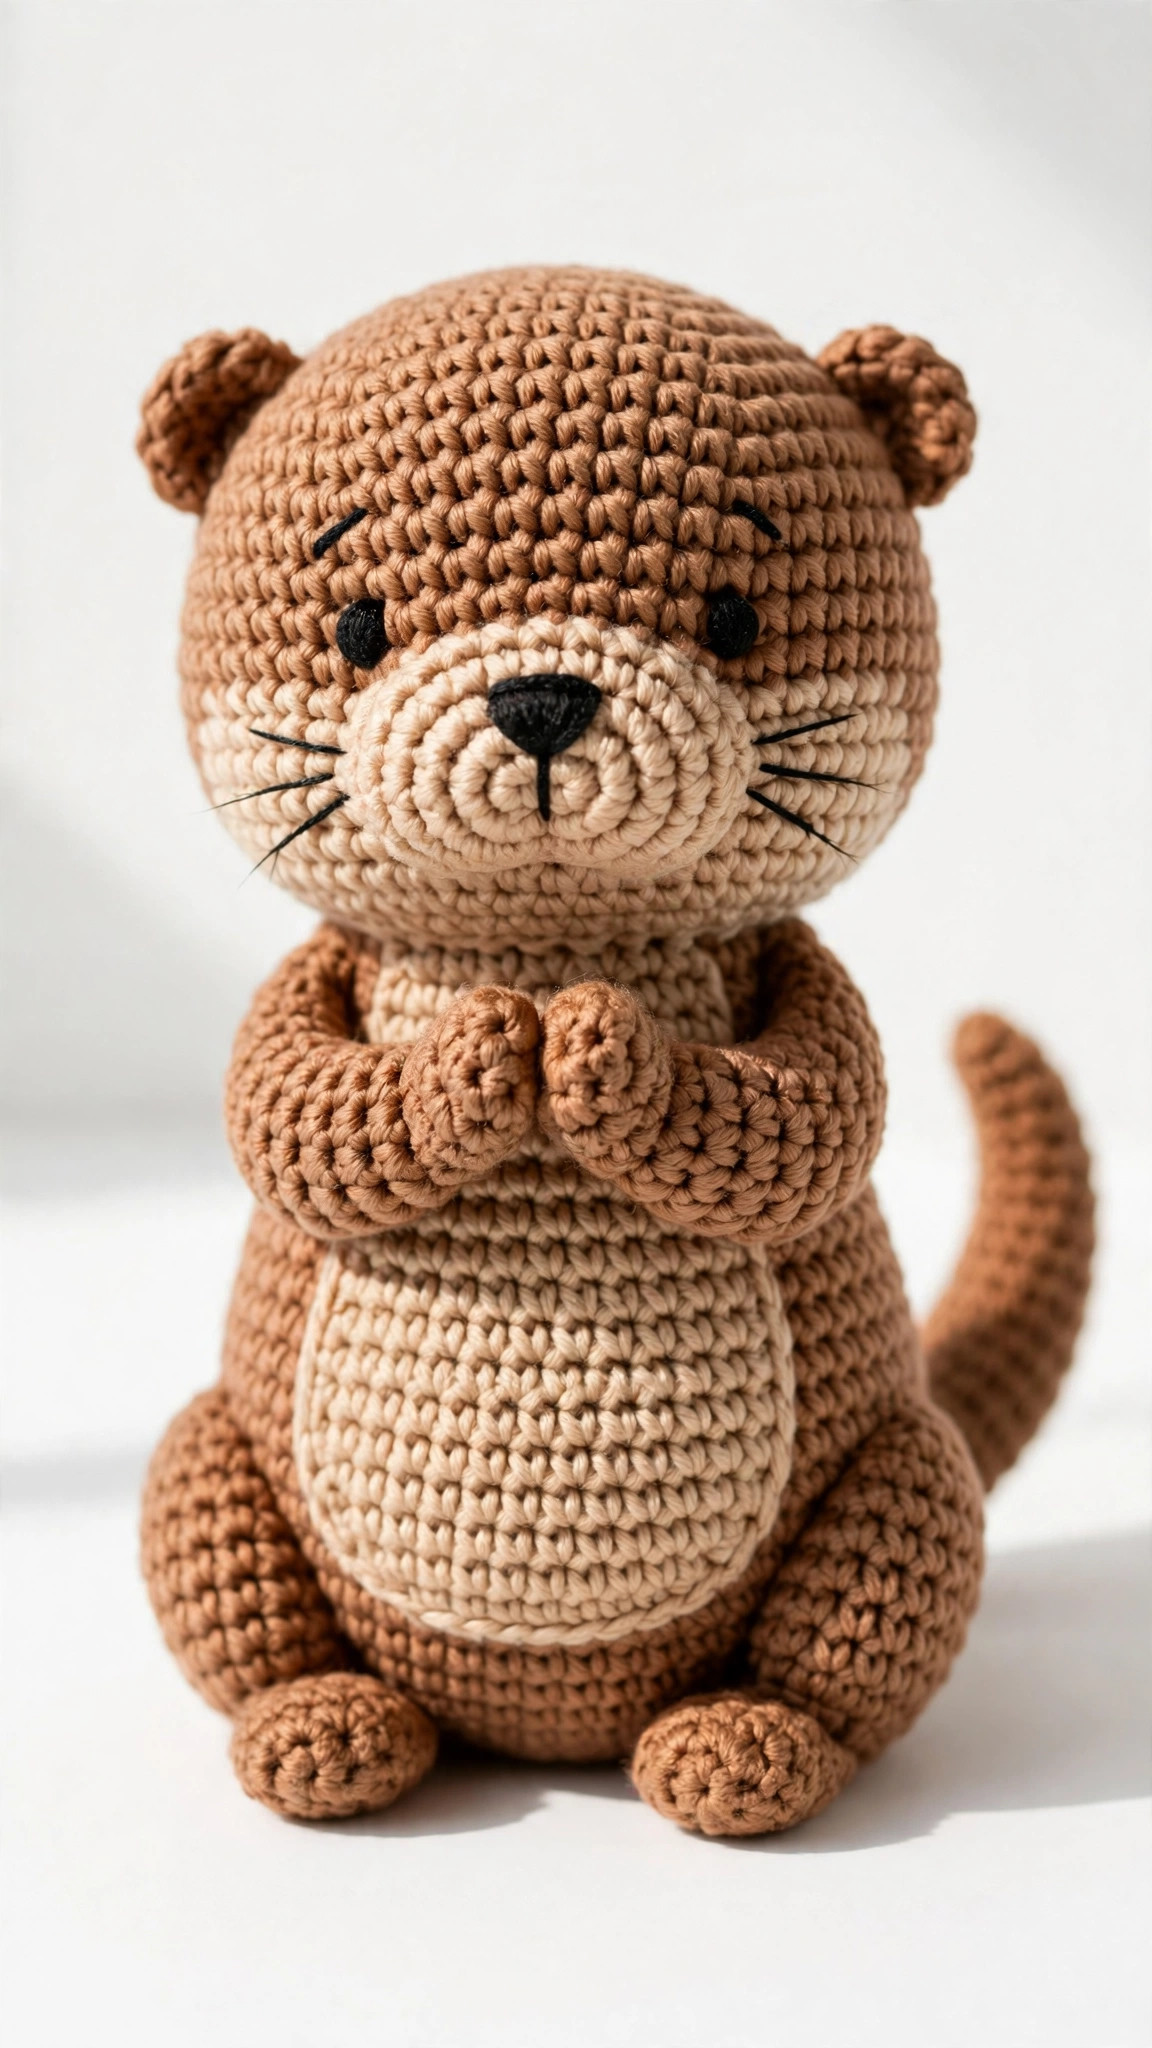
Otters hold hands while they sleep so they do not drift apart: reason enough to crochet one. This free crochet otter pattern makes an irresistibly cute amigurumi otter plush: a plump brown body, creamy tan belly and muzzle, tiny rounded ears, and that signature long tail.
Every piece is worked in simple single crochet rounds: body, head, muzzle, belly patch, ears, tail, and four little paws. Each piece is small enough to finish in one sitting. Made one amigurumi before? This will feel like a relaxing weekend project. First one ever? The pattern holds your hand through every round.
This is an original Little Loop Finds design in US terms. The finished otter sits about 8 inches tall: perfect for a nursery shelf, a desk companion, or a gift that gets a gasp when the wrapping comes off.
Table of contents
- Why you'll love this crochet otter pattern
- Materials you'll need
- Size, gauge and skill level
- Abbreviations, US terms
- The crochet otter pattern (US terms)
- Finishing touches and assembly
- Tips and tricks
- Variations to try next
- Troubleshooting tips
- Frequently asked questions
- More free patterns to try
Why you'll love this crochet otter pattern
Some amigurumi patterns are fiddly: twelve pieces, colour changes every round, embroidery that needs an art degree. This otter is the opposite: seven simple shapes, two yarn colours, one face. Crochet the body during a movie, the head the next morning, and sew it together by Sunday afternoon.
The design leans into what makes otters adorable: a plump pear-shaped body, a long tapered tail, and a cream belly patch like real chest fur. The slightly oversized head and tiny ears give it the baby-animal proportions that make people pick it up.
It is also a wonderful confidence builder. Every increase and decrease follows the same friendly rhythm: a few plain stitches, then increase or decrease evenly around. Master that rhythm here and a whole zoo opens up, starting with our mini amigurumi patterns free collection.
Materials you'll need
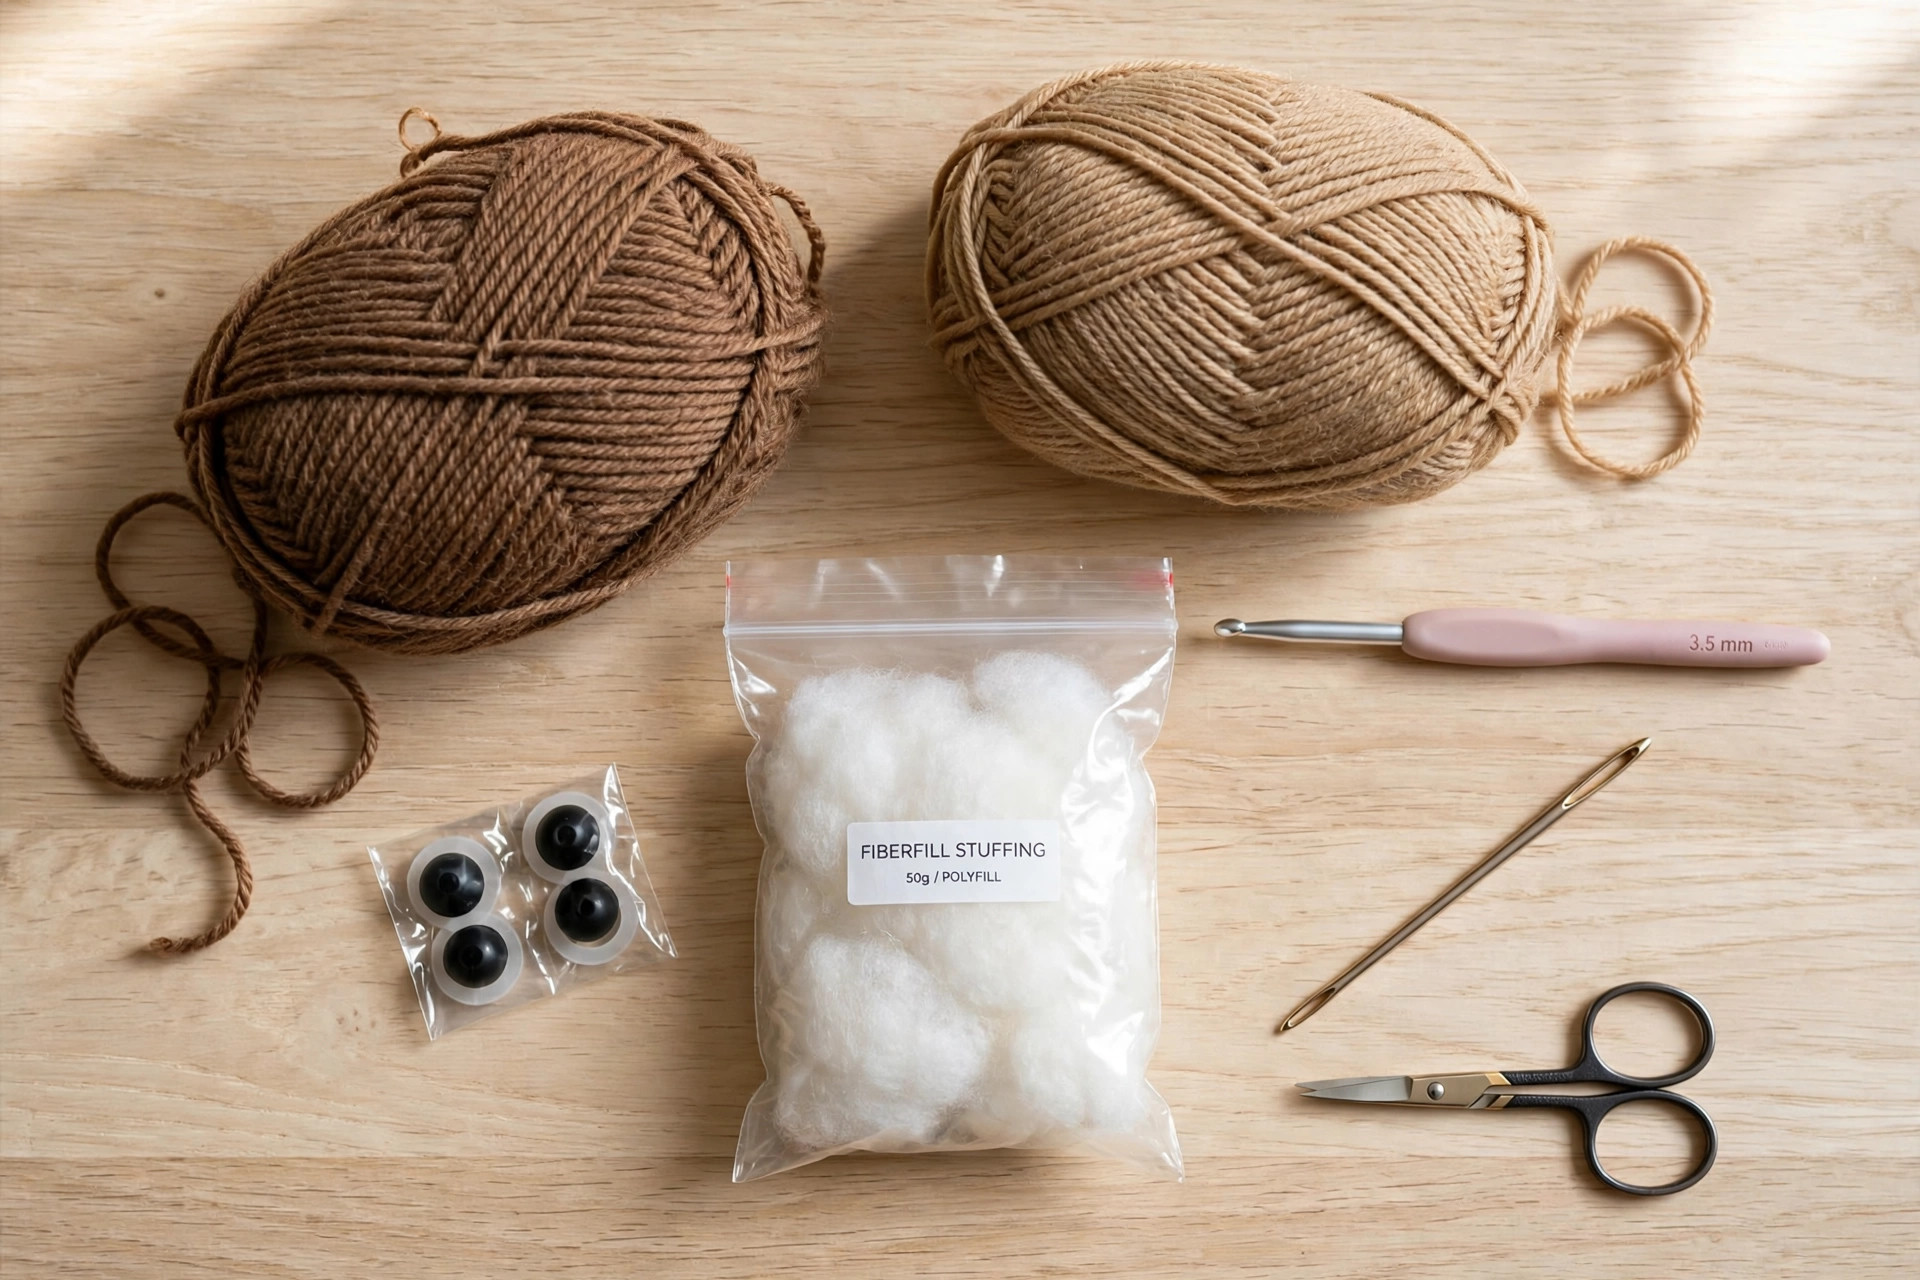
| Supply | What to get |
|---|---|
| Brown yarn | Worsted-weight (#4) yarn in medium brown, about 120 yds / 110 m |
| Tan yarn | Worsted-weight (#4) yarn in cream or light tan, about 40 yds / 37 m |
| Dark yarn | Small amount of black or dark brown worsted yarn for the embroidered nose and mouth |
| Crochet hook | 3.5 mm (E) |
| Safety eyes | Two 9 mm safety eyes with washers (or embroider the eyes instead) |
| Stuffing | Polyester fiberfill, about 3 oz / 85 g |
| Tapestry needle | For sewing pieces together and embroidering the face |
| Notions | Scissors, stitch markers, pins for positioning pieces before sewing |
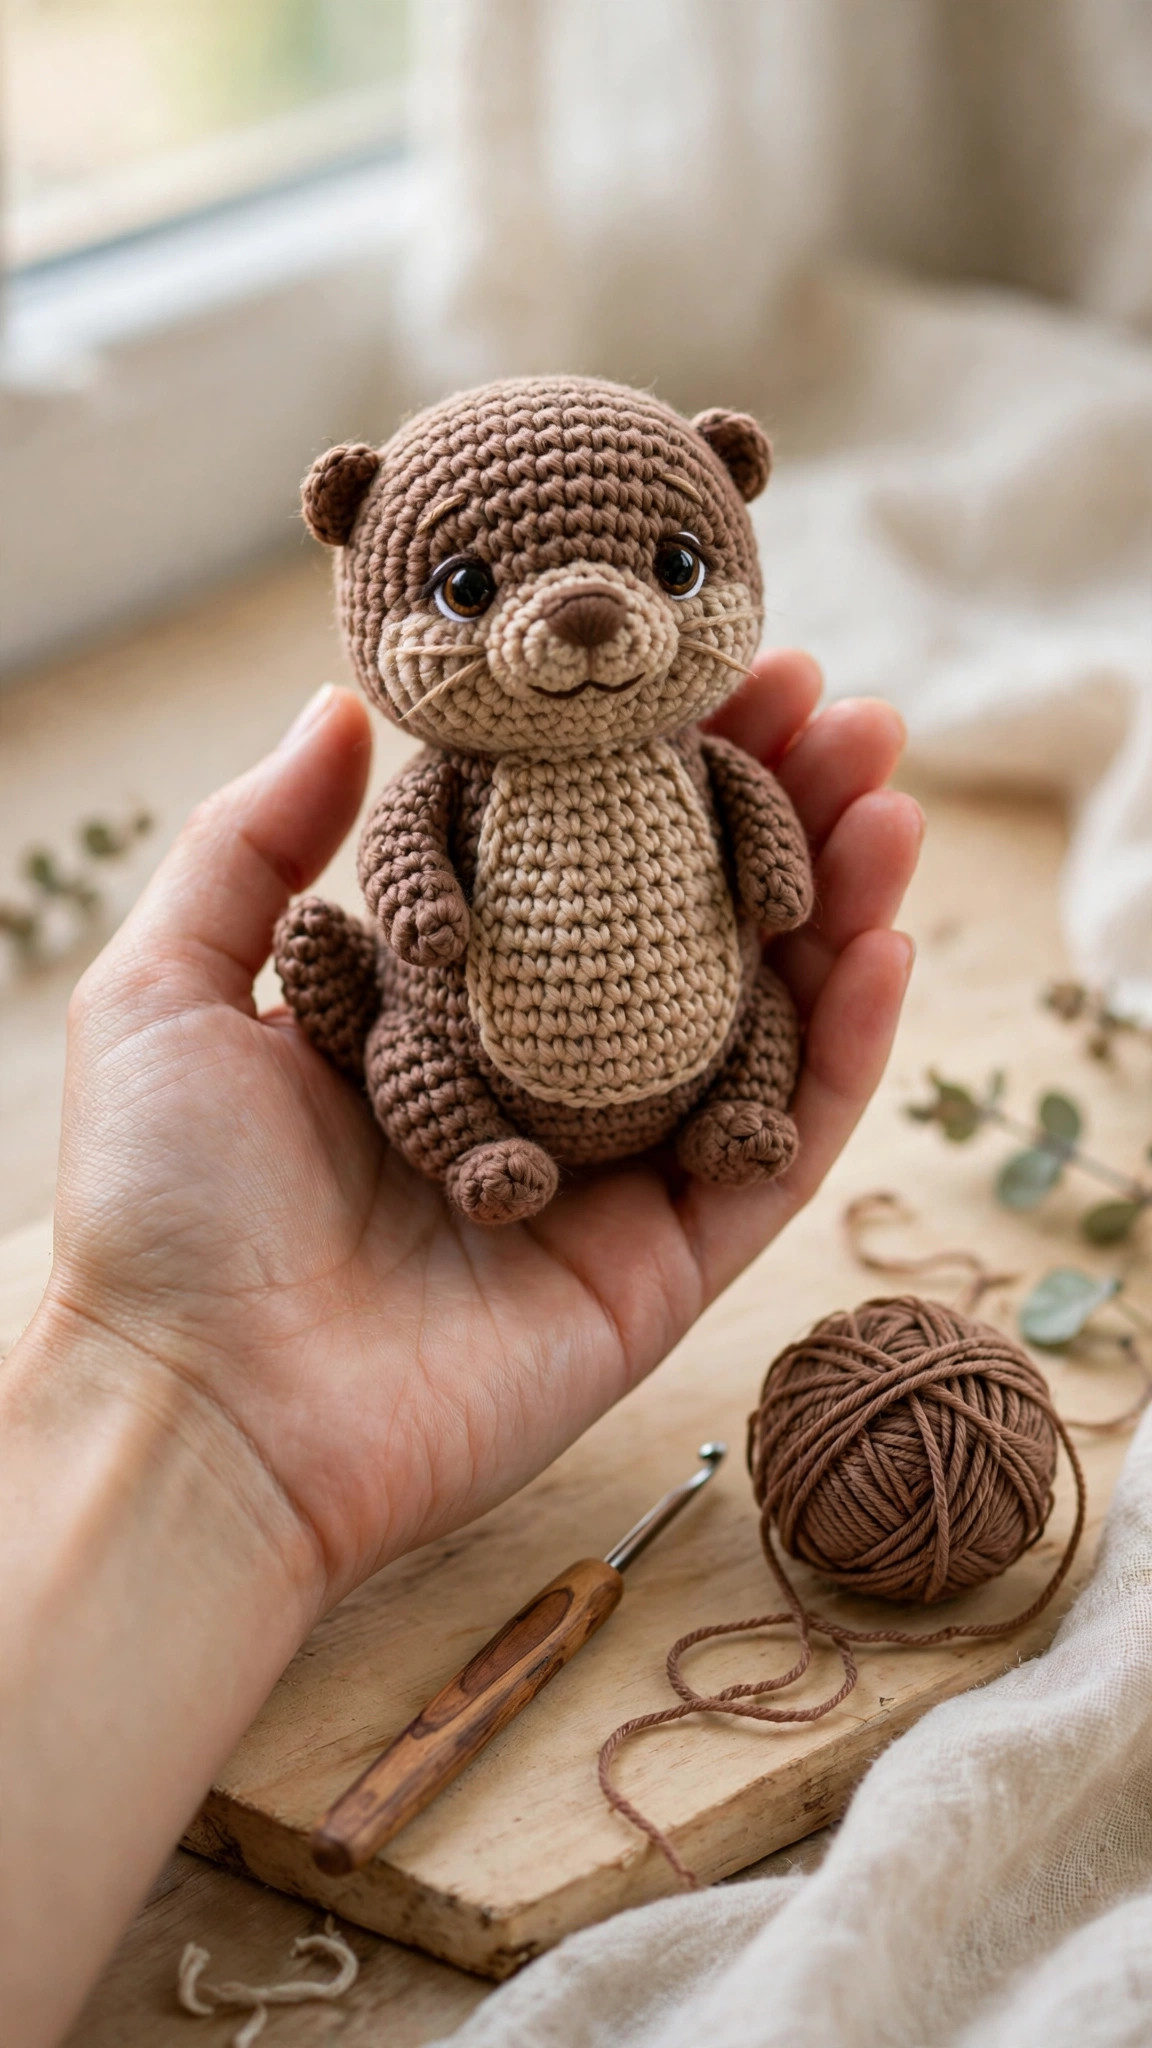
Pick a brown with some warmth to it: milk chocolate, otter brown, or warm taupe. The tan should contrast clearly: cream, oatmeal, or pale sand. Smooth acrylic or acrylic-blend worsted is ideal for amigurumi because it holds its shape, shows the stitches evenly, and survives enthusiastic hugging.
A note on safety eyes: safety eyes lock in with a washer, but they are not recommended for children under three. For a baby gift, embroider the eyes instead: the pattern includes placement for both.
Size, gauge and skill level
The otter is worked in continuous spiral rounds: do not join at the end of each round, just keep stitching around and move your stitch marker up each round. All pieces use the same brown and tan worsted yarn and the 3.5 mm hook.
| Measurement | Value |
|---|---|
| Finished height | About 8 in / 20 cm sitting |
| Body width | About 4.5 in / 11 cm at the widest |
| Approx. time | About 5 hours total |
- Finished size: the otter sits about 8 inches tall and 4.5 inches wide. Worked in a chunkier yarn with a larger hook it scales up beautifully: bulky yarn and a 5.0 mm hook make a gloriously squishy 11-inch otter.
- Gauge: gauge is not critical for amigurumi, but your stitches must be tight enough that the stuffing does not show through. If you can see fiberfill between stitches, go down half a hook size. A typical gauge is about 20 sc and 22 rounds = 4 in (10 cm).
- Skill level: easy. You should know how to work a magic ring, single crochet in the round, increase, and decrease (invisible decrease recommended). Sewing the pieces together is the most advanced step, and the assembly section maps every placement.
A note on the invisible decrease: work it as follows: insert the hook under the front loop of the next stitch, then under the front loop of the following stitch, yarn over and pull through both front loops, yarn over and pull through the remaining two loops. It lies flatter than a standard decrease and keeps the otter's curves smooth.
Abbreviations, US terms
| Abbreviation | Meaning |
|---|---|
| MR | magic ring |
| ch | chain |
| sc | single crochet |
| inc | increase: 2 sc in the same stitch |
| dec | invisible decrease |
| st(s) | stitch(es) |
| R | round |
| FO | fasten off |
| [ ] | total stitch count at the end of the round |
Reading the pattern: work in a continuous spiral unless told otherwise. Place a stitch marker in the first stitch of each round and move it up as you go: losing your place mid-round is the number one amigurumi headache.
The crochet otter pattern (US terms)
Work the pieces in the order below, stuffing the body and head firmly as you go. Stuff a little at a time and keep the filling even: lumps are much harder to fix after a piece is closed.
Body (brown)
- R1: MR, 6 sc in ring. [6]
- R2: inc in each st around. [12]
- R3: (sc, inc) x6. [18]
- R4: (2 sc, inc) x6. [24]
- R5: (3 sc, inc) x6. [30]
- R6: (4 sc, inc) x6. [36]
- R7-R14: sc in each st around. [36]
- R15: (4 sc, dec) x6. [30]
- R16: (3 sc, dec) x6. [24]
- R17: (2 sc, dec) x6. [18]
- R18: (sc, dec) x6. [12]
- R19: dec x6. [6]
Stuff the body firmly, shaping it into a plump pear: slightly narrower at the top where the head will sit. FO, thread the tail through the front loops of the last 6 stitches, pull to close, and weave in the end.
Head (brown)
- R1: MR, 6 sc in ring. [6]
- R2: inc in each st around. [12]
- R3: (sc, inc) x6. [18]
- R4: (2 sc, inc) x6. [24]
- R5-R8: sc in each st around. [24]
- R9: (2 sc, dec) x6. [18]
- R10: (sc, dec) x6. [12]
If using safety eyes, insert them now between R5 and R6, about 7 stitches apart, and press the washers on firmly inside. Stuff the head firmly and evenly. FO, leaving a long tail for sewing the head to the body.
Muzzle (tan)
- R1: MR, 6 sc in ring. [6]
- R2: inc in each st around. [12]
- R3: sc in each st around. [12]
FO, leaving a tail for sewing. Do not stuff: the muzzle sits nearly flat against the face.
Belly patch (tan)
- R1: ch 9, sc in 2nd ch from hook, sc in next 6 ch, 3 sc in last ch; working down the other side of the chain, sc in next 6 ch, 2 sc in last ch (the same ch as the first sc). [18]
- R2: inc in first st, sc in next 6, inc x3, sc in next 6, inc x2. [24]
- R3: sc in each st around. [24]
FO, leaving a long tail for sewing. The oval should measure about 3.5 inches long.
Ears (brown, make 2)
- R1: MR, 6 sc in ring. [6]
- R2: (2 sc, inc) x2. [8]
- R3: sc in each st around. [8]
FO, leaving a tail for sewing. Flatten each ear (do not stuff) and pinch the base slightly when sewing so it cups forward.
Tail (brown)
- R1: MR, 6 sc in ring. [6]
- R2-R3: sc in each st around. [6]
- R4: (2 sc, inc) x2. [8]
- R5-R7: sc in each st around. [8]
- R8: (3 sc, inc) x2. [10]
- R9-R11: sc in each st around. [10]
Stuff the tail lightly, just enough to hold its tapered shape. FO, leaving a long tail for sewing.
Paws (brown, make 4)
- R1: MR, 6 sc in ring. [6]
- R2: (sc, inc) x3. [9]
- R3-R4: sc in each st around. [9]
Stuff two of the paws lightly (the back feet) and leave the other two nearly flat (the front paws). FO, leaving tails for sewing on all four.
Finishing touches and assembly
Pin everything before you sew a single stitch: amigurumi assembly is much easier to adjust with pins than with a seam ripper.
Sew the head to the body. Centre the head on top, tilted slightly forward, and pin it. Whipstitch around the base with the long tail, going around twice: a well-attached head survives years of hugs.
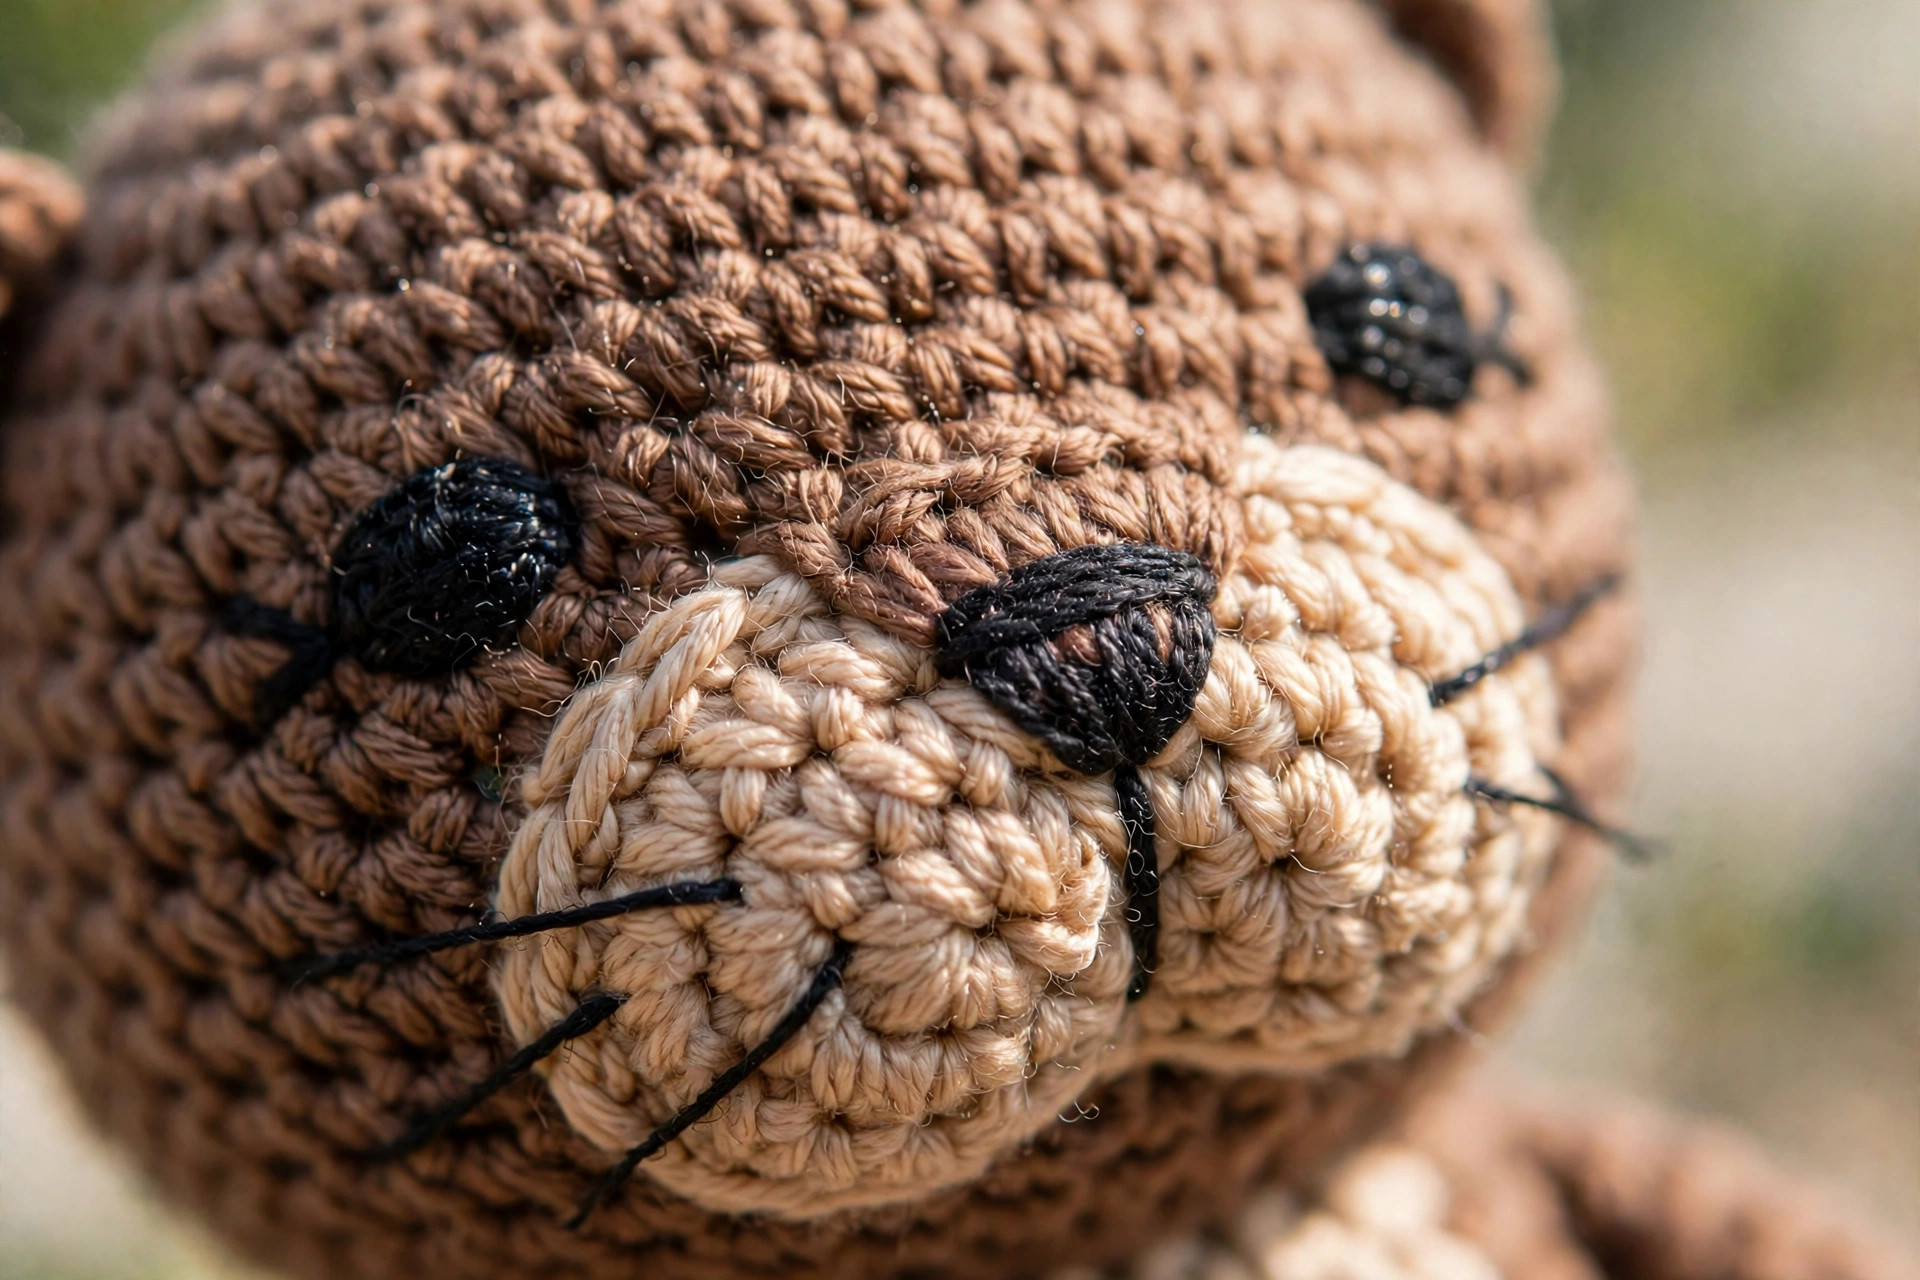
Attach the muzzle. Pin the tan muzzle to the lower front of the head, centred between the eyes. Whipstitch around its edge with the tan tail. Before you finish, embroider the face: with dark yarn, stitch a small triangle nose at the top centre of the muzzle, then a short vertical line down from the nose and two little curved lines for the mouth. Add three short whisker stitches fanning from each side of the muzzle.
Add the eyes (embroidered option). If you are not using safety eyes, embroider two oval eyes with dark yarn between R5 and R6 of the head, about 7 stitches apart and just above the muzzle. Work each eye as a small satin-stitch oval, 3 stitches wide and 4 tall, then add one tiny white stitch as a highlight: that single highlight is what makes the eyes look alive.
Sew on the belly patch. Pin the tan oval to the front of the body, centred, with its top edge just below where the head sits. Whipstitch all the way around with the tan tail, easing the oval so it lies smooth against the body's curve.
Attach the ears. Pin the flattened ears to the top sides of the head, about 4 rounds back from the face and 6 stitches apart. Sew the pinched base of each ear securely: sew through the base twice so the ears stand up and cup slightly forward.
Attach the tail. Pin the wide end of the tail to the lower back of the body, angling it so the tip curves up behind the otter. Sew firmly around the base: the tail is a favourite grab-handle for small hands, so make this join extra secure.
Attach the paws. Sew the two flatter front paws to the sides of the upper body, angled slightly forward so they rest against the belly patch: otters hold their paws together, and this pose sells it. Sew the two stuffed back feet to the base of the body at the front, spaced to act as little feet the otter sits on. Check that the otter sits stably before you knot off.
Final shaping. Roll the otter gently between your palms to even out the stuffing, fluff the surface stitches, and weave every tail deep inside the pieces, changing direction once.
Tips and tricks
Details that take amigurumi from homemade to heirloom:
Stuff as you go, in small pinches. Push small tufts of fiberfill in with the back of your hook: big handfuls make lumps, small pinches build smooth shaping. Firm like a tennis ball, not hard like a rock.
Keep your tension tight and even. Amigurumi fabric should have no visible gaps. If your normal crochet tension is relaxed, drop half a hook size for toys. Consistent tension matters more than tight tension: one loose round shows as a visible line.
Pin, step back, then sew. Pin all the pieces, then look at the otter from across the room (or take a phone photo). Lopsided ears and drifting muzzles are obvious at a distance and invisible up close. Adjust the pins until the face looks right, then sew.
Use the tails strategically. Every piece ends with a long sewing tail: use it. Matching-colour tails disappear into the seams, so there is no need to join new yarn for assembly. Weave the final ends deep into the stuffed body where they can never escape.
Variations to try next
One otter, many personalities:
- Sleepy otter. Embroider closed eyes as two gentle curved lines instead of using safety eyes, and skip the highlight stitches. Instant nap-time nursery decor.
- Otter pup. Work the body and head with one fewer increase round each (stop at 30 and 18 stitches) for a smaller, rounder baby otter. Our batch-mate the free crochet dolphin pattern makes a perfect ocean companion at a similar scale.
- Keychain otter. Work everything in DK yarn with a 3.0 mm hook for a palm-sized version, sew a small split ring to the top of the head, and you have the cutest bag charm imaginable.
- Sea otter with a shell. Sew a tiny crocheted scallop shell between the front paws: real sea otters keep a favourite rock on their bellies, and the crab crochet pattern free would make an equally charming thing to hold.
- Giant huggable otter. Work the whole pattern in bulky (#5) yarn with a 5.5 mm hook and 12 mm safety eyes. The stitch counts never change: only the yarn scales, and you get an 11-inch cuddle buddy.
Troubleshooting tips
- I can see stuffing through the stitches. Your tension is too loose or the hook is too big. Switch to a hook half a size smaller and keep your stitches snug. For the current piece, rework it: no amount of extra filling hides gappy fabric.
- The head wobbles on the body. The join needs more stitches. Sew around the base of the head a second time, catching deeper into both pieces, and add a tiny extra pinch of stuffing at the neck for support.
- My decreases leave visible holes. You are working standard decreases through both loops. Switch to the invisible decrease (front loops only) described in the skill section: it closes the gap almost completely.
- The tail will not stay curved. Stuff it a touch more firmly and sew the base at a slight upward angle, adding two or three extra stitches along the underside of the base to hold the curve.
- The otter will not sit up. The back feet sit too far back, or the base is understuffed. Move the feet forward and stuff the lower body firmly so the base sits flat.
- The ears flop flat instead of cupping. Pinch the base of each ear before sewing and take two or three stitches through the pinched fold. That fold is what makes the ear stand up and curve forward.
Frequently asked questions
Is this free crochet otter pattern really free?
Yes, the complete pattern above is free, with no email signup and no PDF purchase required.
What skill level is this otter pattern?
Easy. If you can work a magic ring, single crochet in the round, increase, and decrease, you have every skill this pattern needs. Sewing the pieces together is clearly mapped in the assembly section.
How long does it take to crochet the otter?
About 5 hours total: roughly 2 hours for the body and head, 1.5 hours for the smaller pieces, and 1.5 hours for assembly and the embroidered face.
How much yarn do I need?
About 120 yds of brown worsted and 40 yds of tan worsted, plus a few yards of dark yarn for the face. One skein of each main colour is plenty, with leftovers for another small project.
Are safety eyes safe for babies?
Safety eyes lock in with a washer, but they are not recommended for children under three because small parts are always a risk. For baby gifts, embroider the eyes as described in the pattern: just as cute, fully soft.
Can I make the otter bigger?
Yes, without changing a stitch count. Bulky (#5) yarn with a 5.5 mm hook and 12 mm safety eyes makes an 11-inch otter. Keep your tension tight so the stuffing stays hidden.
Can I sell the finished otters I make?
Yes! You may sell finished otters made from this pattern in small batches (craft fairs, markets, gifts). Please credit Little Loop Finds as the pattern designer.
More free patterns to try
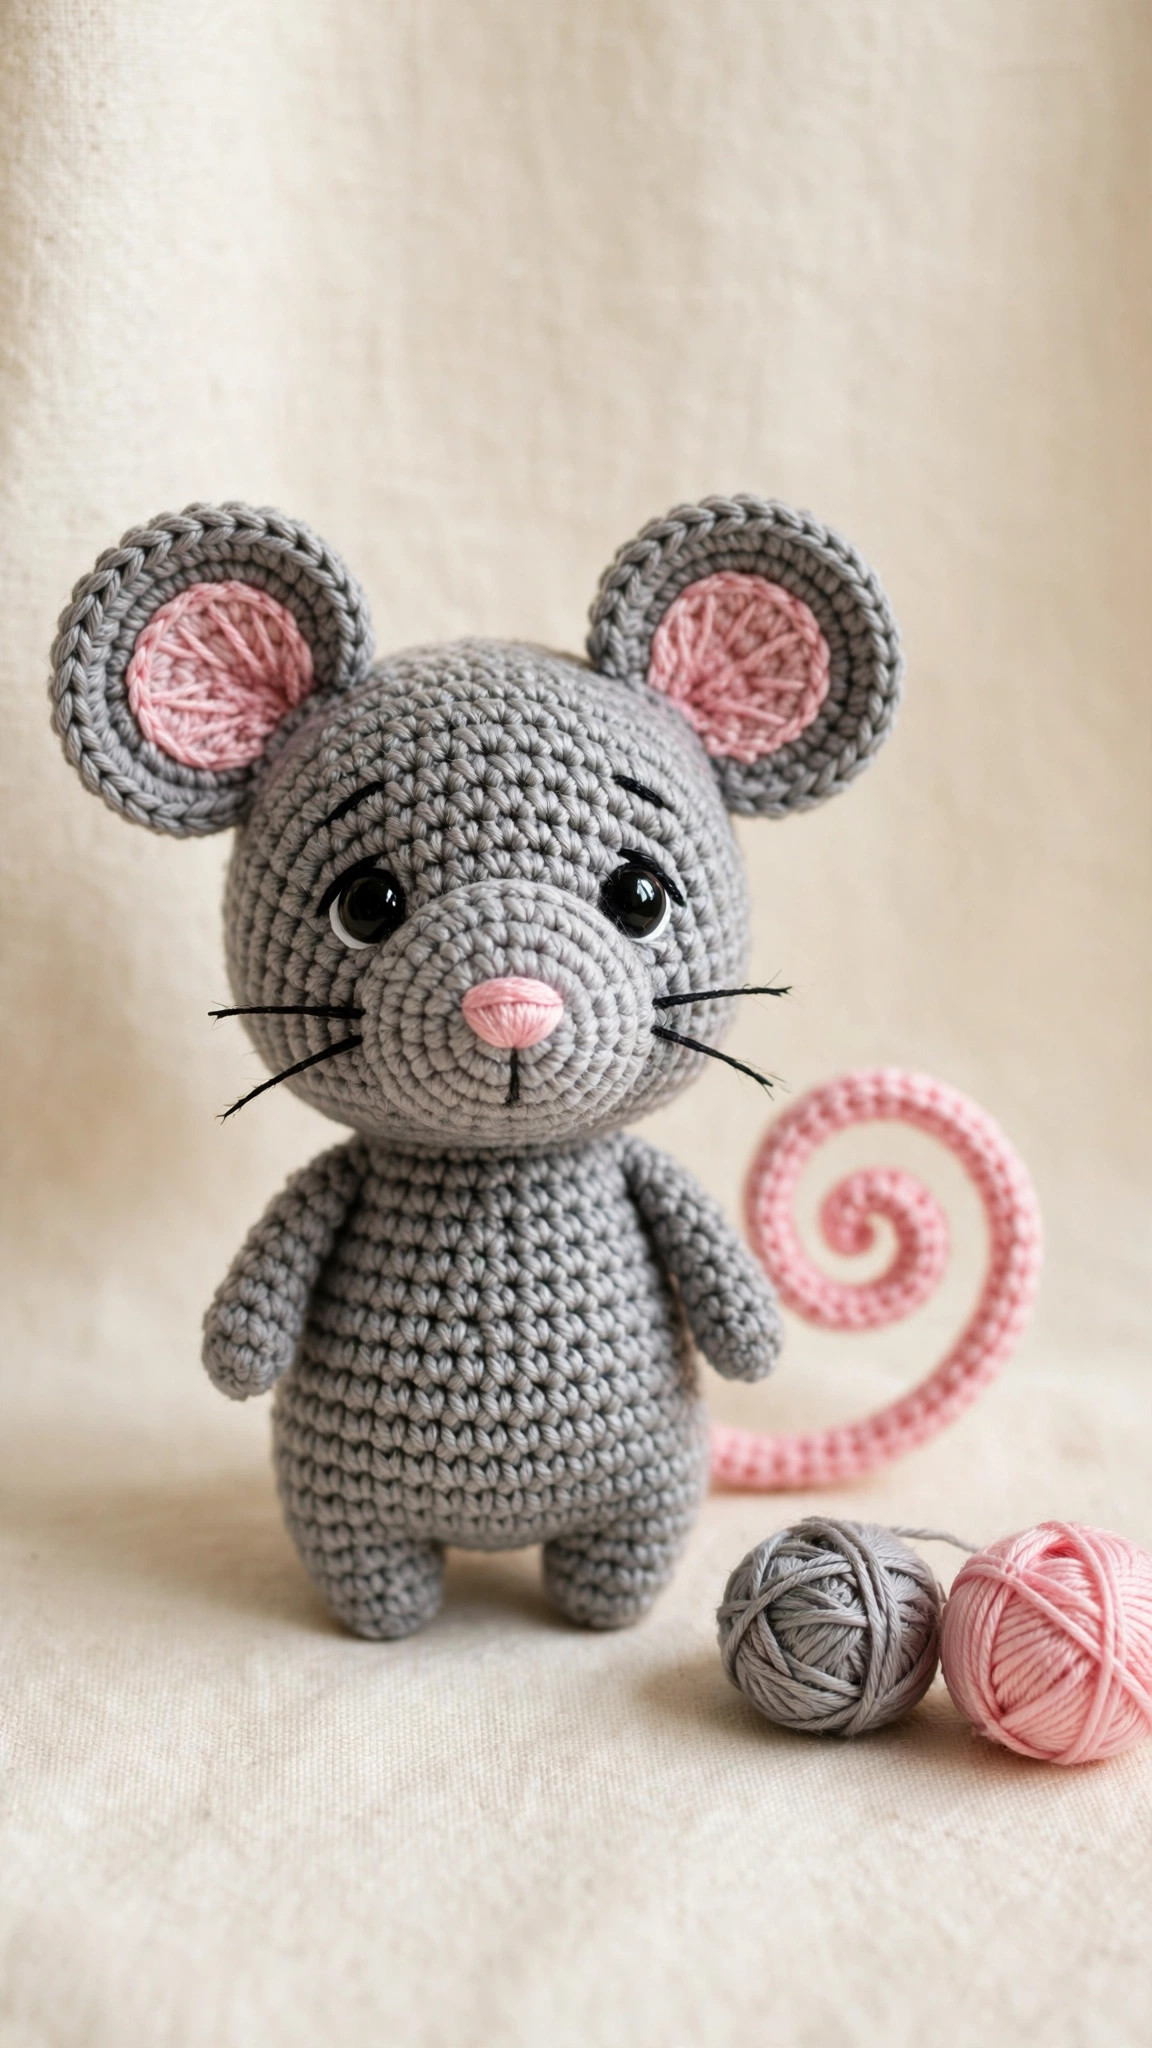
If this little swimmer stole your heart, the pond gets bigger. Our gummy bear crochet pattern uses the same plump-body shaping in a totally different character, and the crochet lizard pattern free adds a long tail technique you will recognize from this otter. For the full amigurumi shelf, batch-mate the crochet mouse pattern free is waiting with its own tiny ears and big personality.