Mini amigurumi patterns free: tiny crochet animals
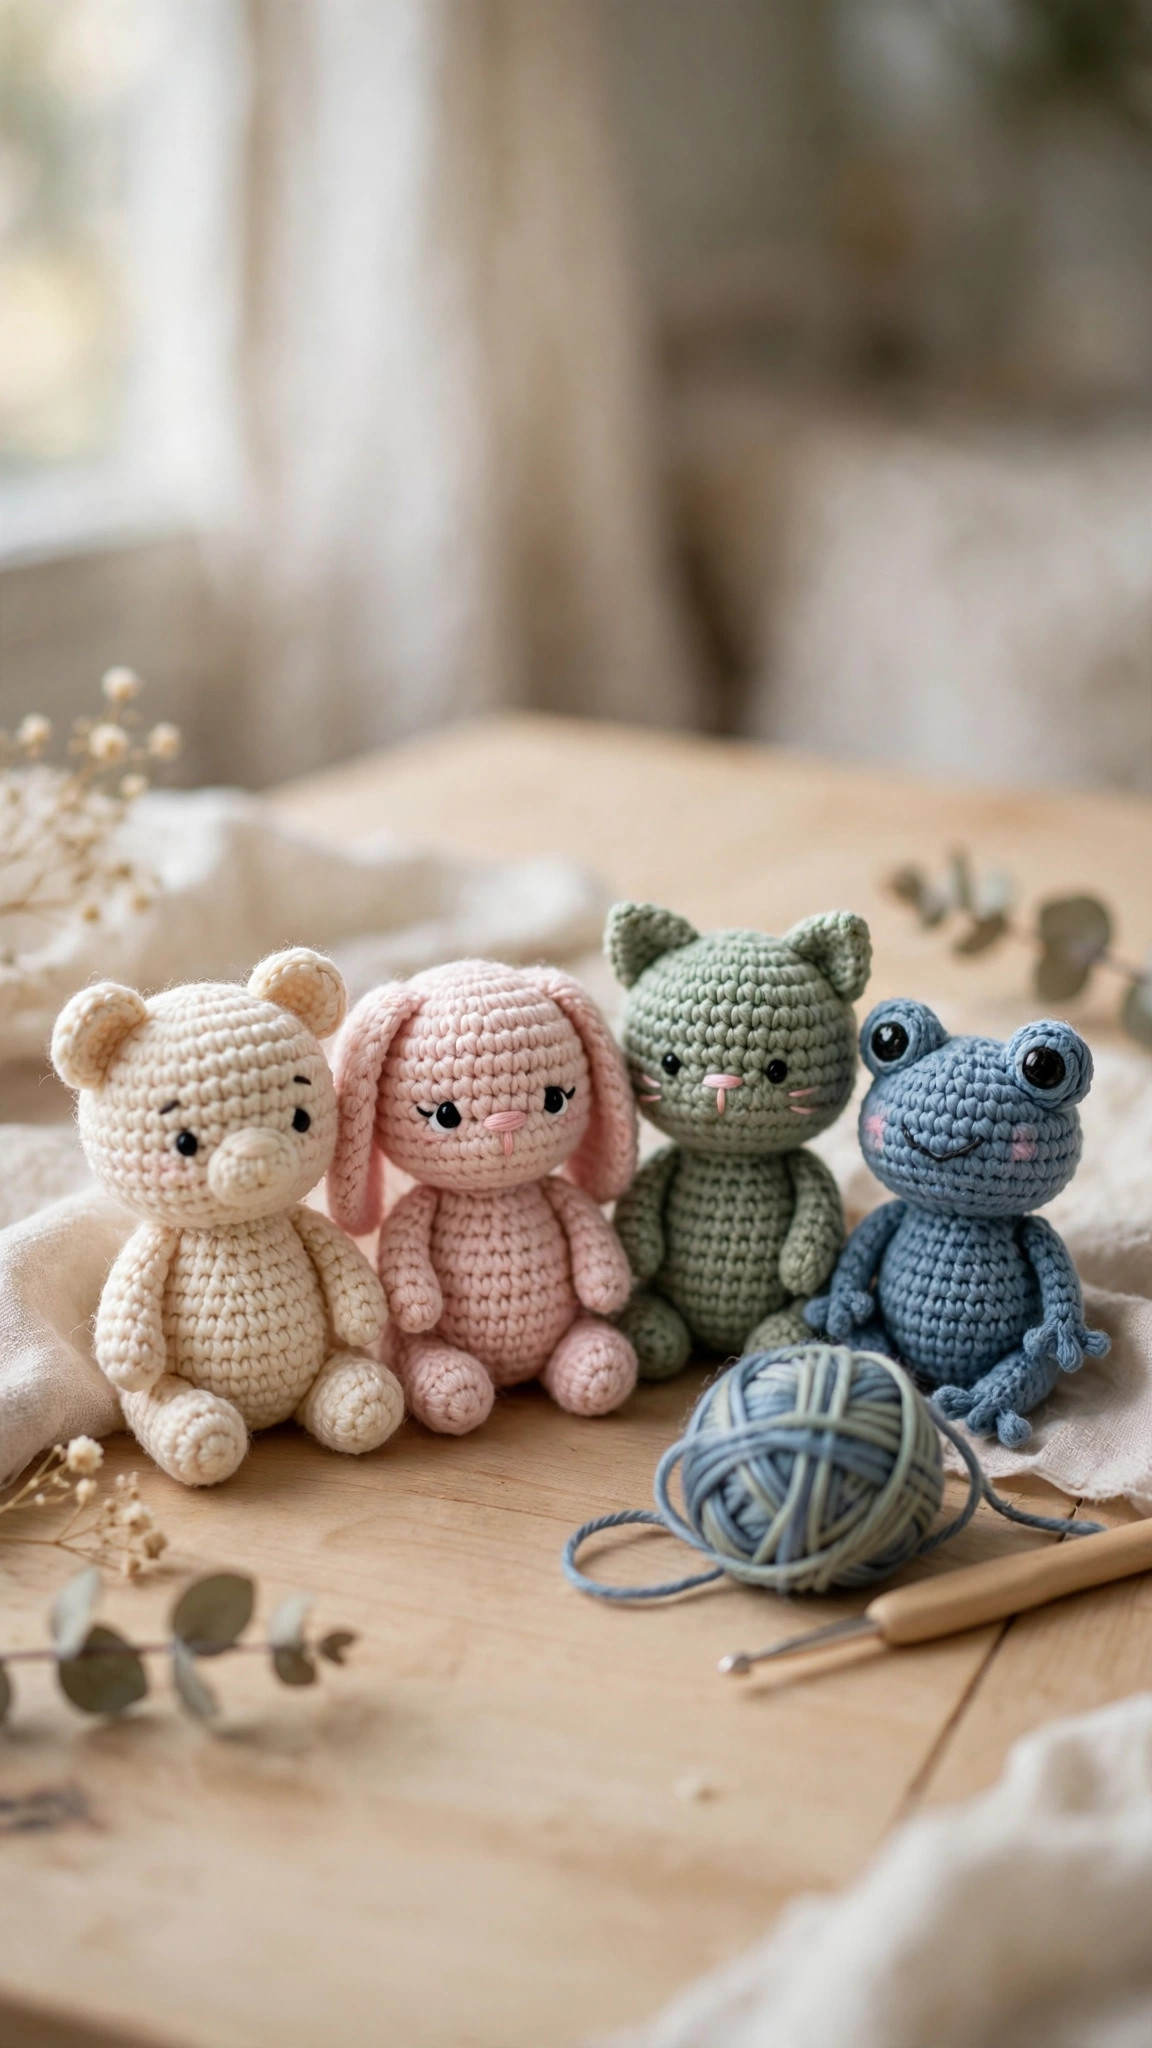
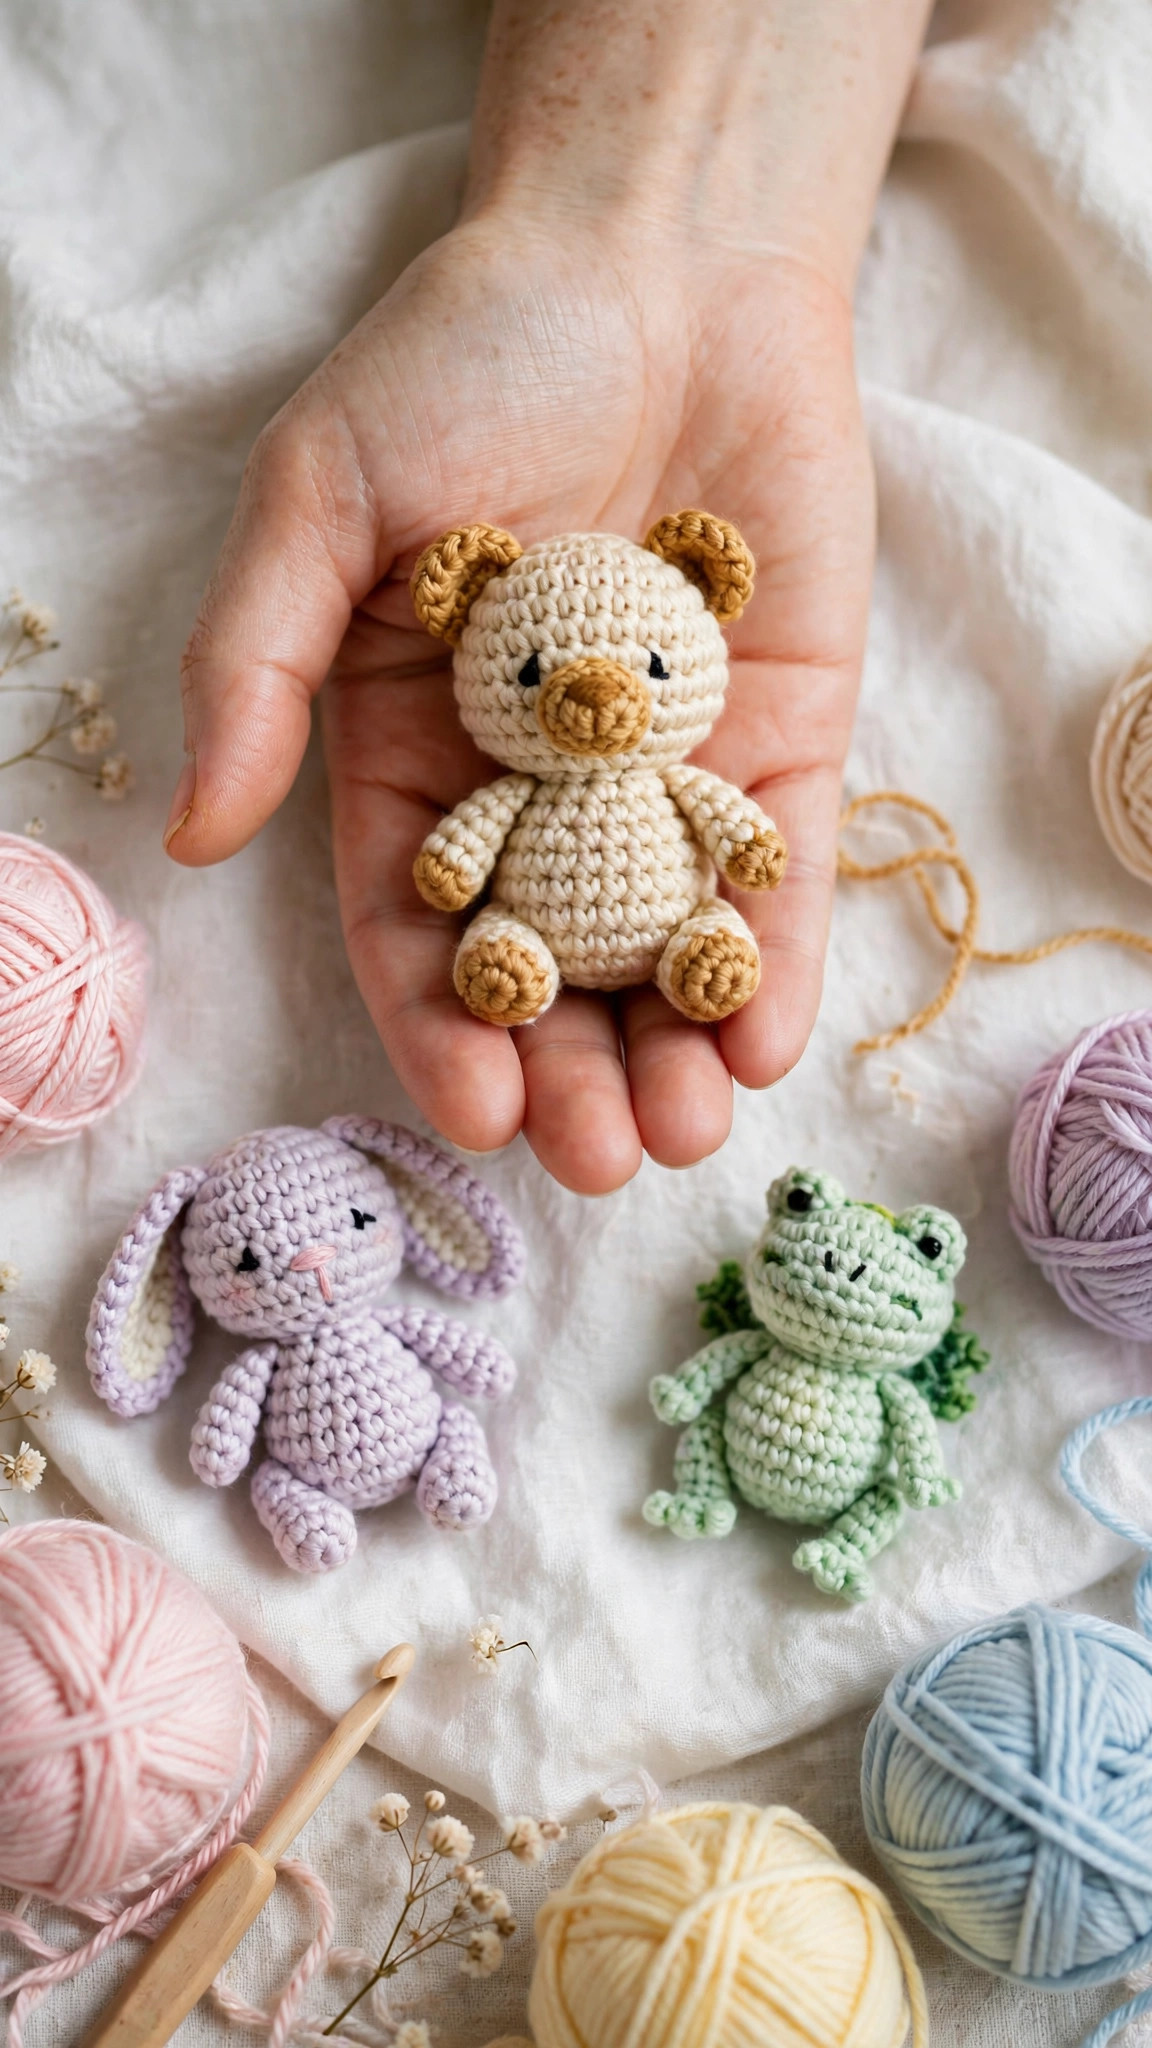
Tiny crochet animals in cream, blush pink and sage green, about 2 inches tall and 30 minutes each: a whole set in an evening.

Amigurumi · Crochet
- Finished size
- 2 in tall (tiny)
- Making time
- About 30 minutes each
- Hook
- 3.5 mm, DK cotton yarn
- Set
- 3 animals, 3 colours
- Skill
- Advanced Beginner
In this post
If you have been searching for mini amigurumi patterns that are free, quick, and genuinely cute, this trio is the one to start with. Each little animal stands about 2 inches tall and is worked in soft DK cotton yarn: a cream bear, a blush pink bunny, and a sage green frog. One mini takes about 30 minutes from first stitch to last, so you can finish the whole set in an evening, which makes them perfect for keychains, gift toppers, stocking stuffers, or a stash-busting night when you want three finished makes before bed.
Why you'll love these mini amigurumi patterns
Most mini amigurumi patterns fall into one of two traps: they are either so fiddly that you need tweezers and a magnifying glass, or so simplified that the animal looks like a blob with ears. These patterns dodge both. Each animal is built from the same simple sphere body, so once you learn the bear you already know the bunny and the frog, and the personality comes from the ears, the colours, and a few embroidered details that take minutes.
The construction is simple and forgiving. You work in continuous spirals with no joining, so there are no seams to hide and no fiddly joins to line up. The increases and decreases are the same in every animal, which means the pattern is mostly single crochet with a magic ring, and the shaping is easy to count. And because each mini uses only a few yards of yarn, you can make the whole set from the leftovers of bigger projects: the cream from a baby blanket, the pink from a hat, the green from a scarf.
They are also the perfect gift and market make. A trio of minis in a little gift bag sells beautifully at craft fairs, and a single mini clipped to a keyring turns a small gift into a thoughtful one. If you like quick amigurumi makes, our free crochet bunny pattern is the natural next project: same spiral construction, same one-evening speed, just a bigger bunny. And the crochet cat pattern free is another pocket-sized favourite.
Materials you'll need
| Supply | What to get |
|---|---|
| Yarn (A) | DK-weight (#3) cotton yarn in cream, about 20 yds / 18 m per mini |
| Yarn (B) | DK-weight (#3) cotton yarn in blush pink, about 20 yds / 18 m per mini |
| Yarn (C) | DK-weight (#3) cotton yarn in sage green, about 20 yds / 18 m per mini |
| Accent yarn | Small amounts of honey brown, dark brown, and white DK cotton |
| Crochet hook | 3.5 mm (E-4) |
| Safety eyes | Three pairs of 6 mm black safety eyes |
| Stuffing | Polyester toy stuffing, a small handful per mini |
| Tapestry needle | For weaving in ends and embroidering faces |
| Notions | Scissors, stitch markers, pins |
| Optional | Keyring findings or small bells for the finished minis |
A soft DK-weight cotton yarn is the best pick here: it shows the single crochet stitches cleanly, it holds its shape well in tiny pieces, and it comes in beautiful muted colours. Acrylic DK works too and is a little softer, but it is stretchier, so your stitches may look looser and the mini may come out slightly bigger. Avoid fluffy or eyelash yarn for minis: it hides the shaping completely and you will not be able to see where the eyes go.
Yarn amounts by size (approximate): Tiny (2 in) — 20 yds per mini. Small (3 in) — 30 yds per mini. Keychain size — 15 yds per mini. One 50 g ball of each colour makes two tiny minis with yarn to spare.
A note on safety eyes: use 6 mm safety eyes for these minis, and always fit the washers firmly on the inside before you stuff the head. If the mini is for a child under three, embroider the eyes with dark brown yarn instead of using safety eyes, because small parts are a choking hazard.
Size, gauge and skill level
Each mini is worked in continuous spirals. Use a stitch marker in the first stitch of every round and move it up as you go.
| Size | Finished height | Hook | Rounds in body | Stuffing |
|---|---|---|---|---|
| Keychain | 1.5 in / 4 cm | 3.0 mm | 12 | A pinch |
| Tiny | 2 in / 5 cm | 3.5 mm | 14 | A small handful |
| Small | 3 in / 8 cm | 4.0 mm | 16 | A generous handful |
- Finished size (tiny): about 2 in (5 cm) tall and 1.5 in (4 cm) wide, sitting. The body is a soft sphere with a slightly flattened base so the mini sits up on its own.
- Gauge: 22 sc and 24 rows = 4 in (10 cm) with a 3.5 mm hook. Gauge matters here, because loose stitches let the stuffing show through. Your stitches should be tight and even: if you can see stuffing through the fabric, go down half a hook size.
- Skill level: advanced beginner. You should know how to make a magic ring, single crochet, increase, and invisible decrease. Everything else is just counting.
If you have never made amigurumi before, this is the perfect first project: the pieces are tiny so mistakes are quick to fix, the rounds are short, and you will finish your first mini in about thirty minutes. If the magic ring feels awkward, chain 2 and work 6 single crochet into the second chain from the hook instead: it makes the same starting circle.
Abbreviations — US terms
| Abbreviation | Meaning |
|---|---|
| ch | chain |
| sc | single crochet |
| hdc | half-double crochet |
| dc | double crochet |
| sl st | slip stitch |
| inc | increase: 2 sc in the same stitch |
| dec | invisible decrease: sc 2 together through front loops only |
| st(s) | stitch(es) |
| RS | right side |
| FO | fasten off |
| [ ] | total stitch count at the end of the round |
A note on invisible decreases: the invisible decrease is worked through the front loops only, which keeps the decrease flat and hides it in the fabric. Insert your hook under the front loop of the next two stitches, yarn over, pull through both front loops, yarn over, and pull through both loops on the hook. Practice it on a swatch first if it is new to you.
The pattern (US terms)
Work each mini in continuous spirals. Do not join rounds unless the pattern says so. Stuff firmly as you go, a little at a time, so the shape stays smooth. Instructions below are for the tiny size, with keychain and small in brackets where they differ: keychain (tiny, small).
Cream bear — the classic
With color A (cream) and a 3.5 mm hook, start with the body and head worked as one piece.
- Round 1: magic ring, 6 sc in ring. [6]
- Round 2: inc in each st around. [12]
- Round 3: *sc, inc; rep from * around. [18]
- Round 4: *2 sc, inc; rep from * around. [24]
- Rounds 5-9: sc in each st around. [24]
- Round 10: *2 sc, dec; rep from * around. [18]
- Round 11: *sc, dec; rep from * around. [12]
- Round 12: dec around. [6]
Stuff the body firmly before Round 11, shaping it into a soft sphere with a slightly flattened base. Fasten off, leaving a 6 in tail, and close the opening by weaving the tail through the front loops of the last round and pulling tight.
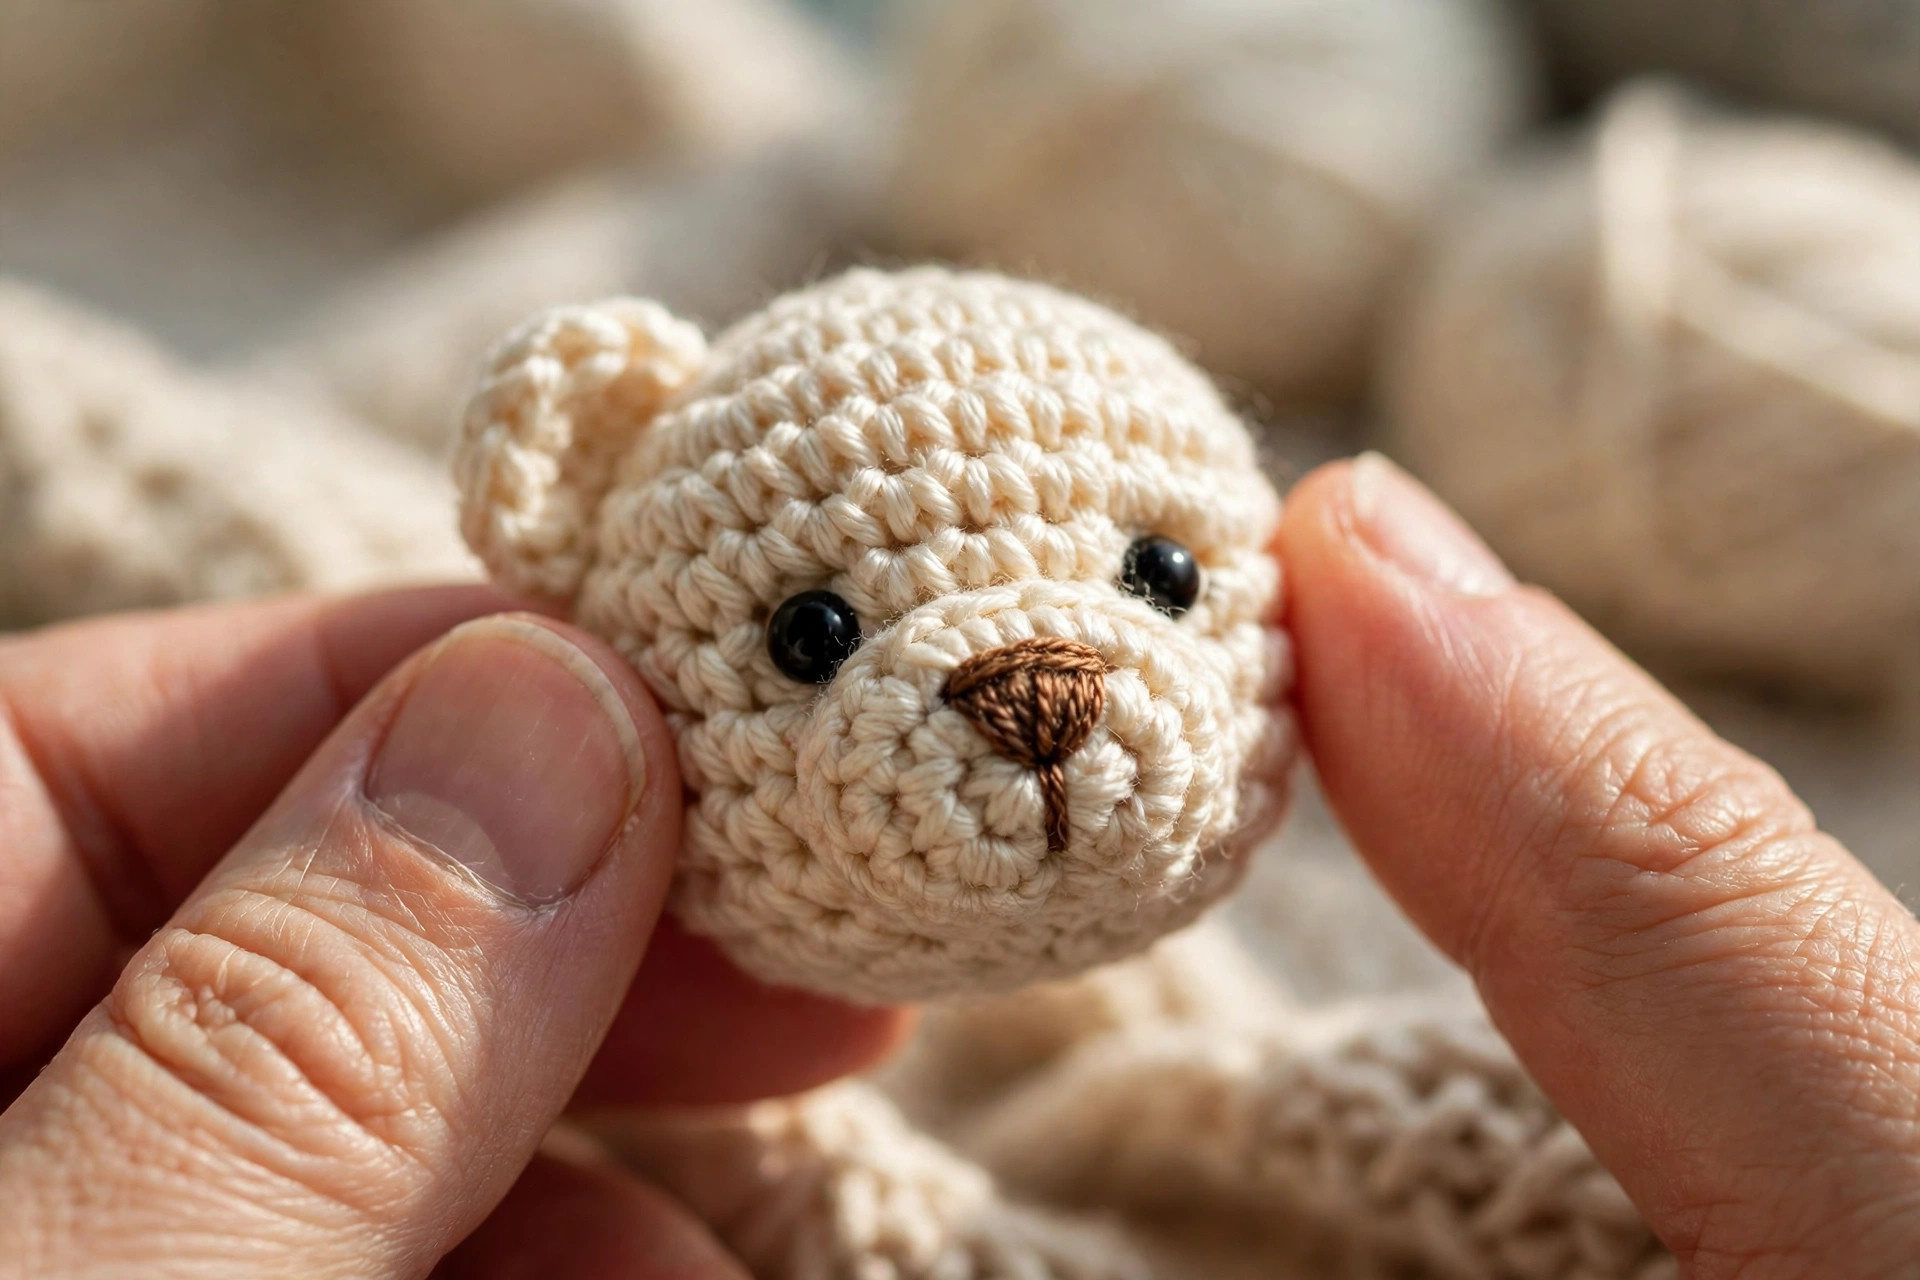
Muzzle: with honey brown yarn, magic ring, 6 sc in ring, inc in each st around [12], sc in each st for 1 round, then fasten off leaving a long tail. Sew the muzzle to the lower front of the head, stuffing it lightly first, and embroider a small nose and mouth in dark brown yarn.
Ears (make 2): with color A, magic ring, 6 sc in ring, inc in each st around [12], sc in each st for 1 round, then fold flat and fasten off. Sew the ears to the top of the head, about 4 stitches apart. Attach the 6 mm safety eyes between Rounds 7 and 8, about 5 stitches apart.
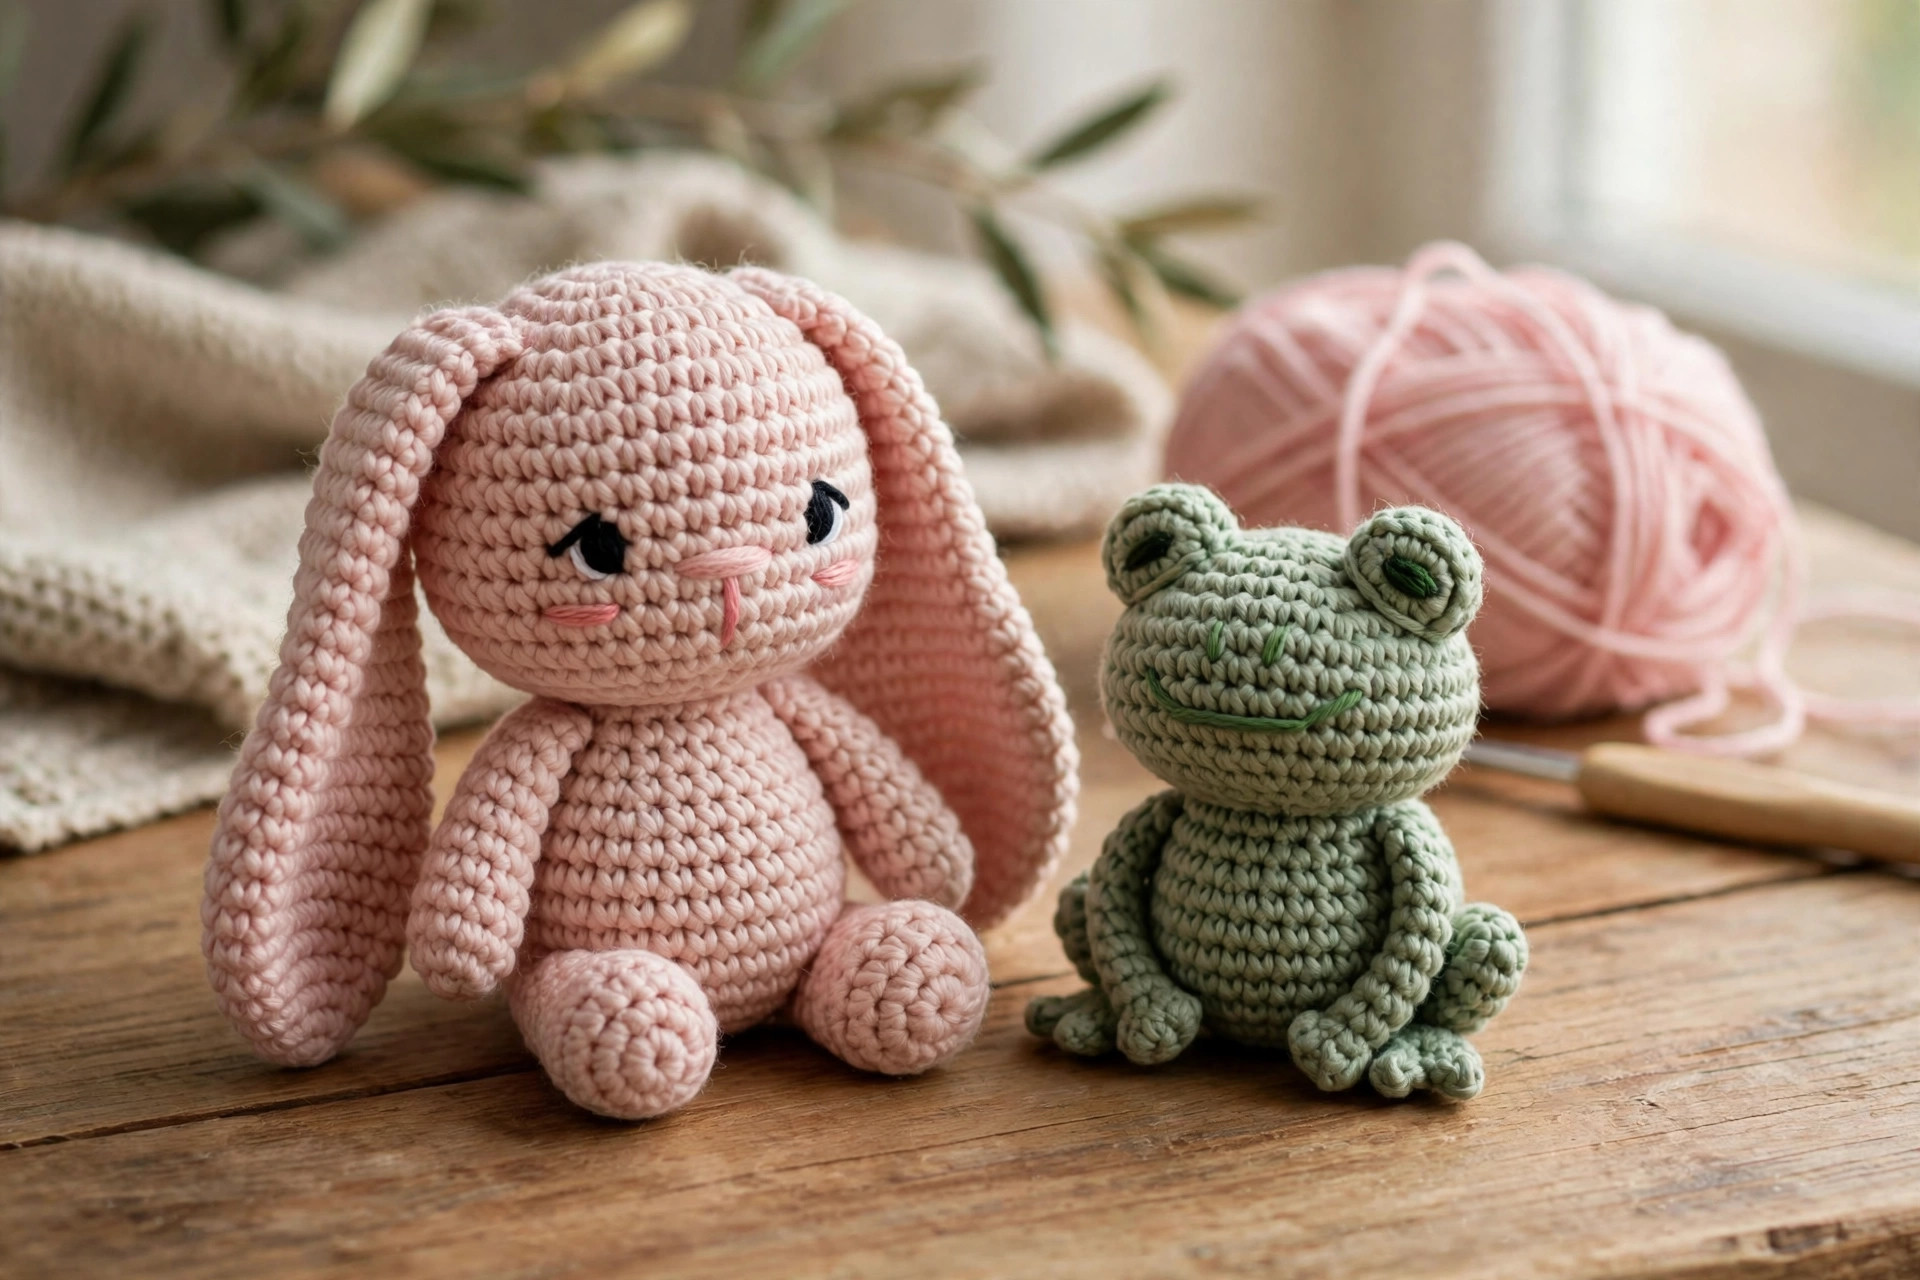
Blush pink bunny — the floppy ears
With color B (blush pink) and a 3.5 mm hook, work the body exactly as for the bear, Rounds 1 to 12, stuffing firmly before Round 11.
Ears (make 2): with color B, magic ring, 6 sc in ring, *sc, inc; rep from * around [9], sc in each st for 5 rounds, then *sc, dec; rep from * around [6], sc in each st for 1 round, fold flat and fasten off. The ears should be long and floppy: if they look stiff, work one extra round of single crochet before the decrease round.
Sew the ears to the top of the head, about 3 stitches apart, letting them flop to the sides. Attach the 6 mm safety eyes between Rounds 7 and 8, about 5 stitches apart. Embroider a small pink nose in dark brown yarn and a tiny mouth below it.
Tail: with white yarn, magic ring, 6 sc in ring, inc in each st around [12], sc in each st for 1 round, then dec around [6]. Stuff lightly and sew to the back of the body.
Sage green frog — the wide smile
With color C (sage green) and a 3.5 mm hook, work the body exactly as for the bear, Rounds 1 to 12, stuffing firmly before Round 11.
Eyes (make 2): with color C, magic ring, 6 sc in ring, inc in each st around [12], sc in each st for 1 round, then dec around [6]. Stuff lightly and sew the eye bumps to the top of the head, about 3 stitches apart. Attach a 6 mm safety eye to the front of each bump.
Belly patch: with cream yarn, magic ring, 6 sc in ring, inc in each st around [12], *sc, inc; rep from * around [18], sc in each st for 1 round, then fasten off. Sew the belly patch flat to the front of the body. Embroider a wide smile in dark brown yarn across the lower face, curving up at both ends.
Finishing each mini
Fasten off, leaving a 6 in tail. Weave the tail into the body for at least 2 in, working it through the base of the stitches so it cannot wriggle out. Trim the tail flush and the end will disappear inside the stuffing. Then check the face: the eyes should sit level, the ears should sit evenly, and the mini should sit up on its own. If it wobbles, add a little more stuffing to the base and press it flat on the table.
If you are turning a mini into a keychain, sew a small metal loop or keyring finding firmly to the top of the head with strong thread, going through the stitches several times so it cannot pull out.
Finishing touches
Take five unhurried minutes here: it is the difference between homemade and handmade.
Shape the body. Roll the finished mini gently between your palms to even out the stuffing, then press the base flat on the table so it sits up. If one side looks lumpy, push the stuffing toward the flat side with the blunt end of your hook.
Check the face. Hold each mini at arm's length and look at the face. The eyes should be level and evenly spaced, the nose centred, and the mouth straight. If an eye sits crooked, it is easier to move it now, before the mini is gifted, than to notice it later.
Three cute variations to try next
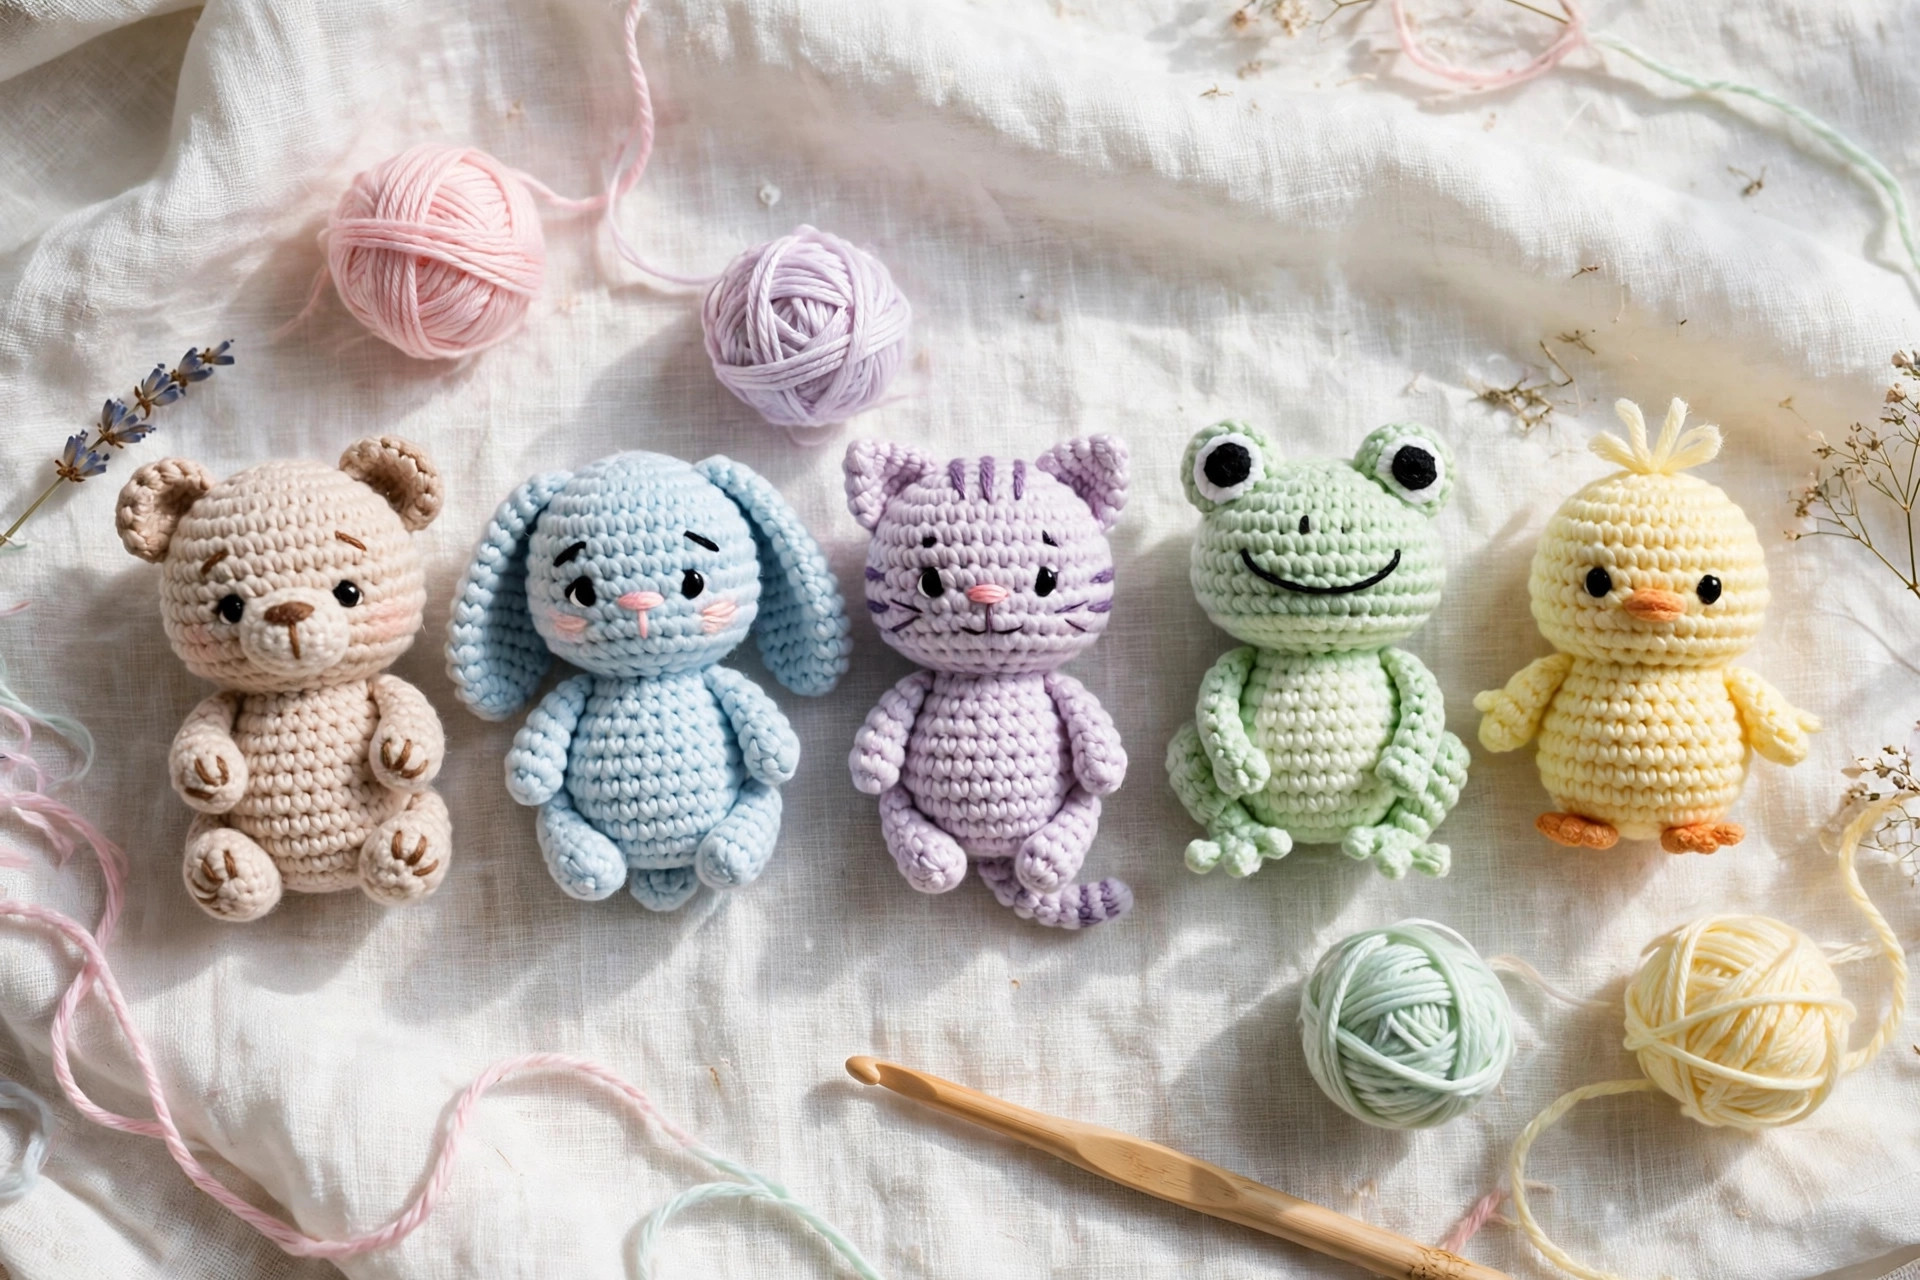
Once you have made one set, the same sphere body makes a whole shelf of minis. Same construction, three personalities:
- Mini cat. Work the body in grey yarn and add two small triangle ears: chain 4, single crochet back along the chain, decreasing one stitch each row until one stitch remains. Sew the ears to the top of the head and embroider whiskers in dark brown yarn. If you like pocket-sized cats, our crochet cat pattern free is the full-size version of the same idea.
- Mini chick. Work the body in soft yellow yarn, add a tiny orange beak made from two rows of single crochet, and two small wings in yellow. The chick is the fastest mini of all, about twenty minutes, and it makes an adorable Easter gift. For a bigger bird, the free crochet duck pattern uses the same beak and wing tricks.
- Mini fox. Work the body in rust orange yarn with a cream belly patch, add pointy ears in orange with cream inner ears, and a white-tipped tail. The fox is the fanciest mini of the set and looks wonderful on a keyring. If you like foxes, the crochet fox pattern free is the next step up in size.
And if these minis gave you the amigurumi bug, the crochet panda bear pattern free is the next pocket-sized make: same spiral construction, same thirty-minute speed, with black and white contrast instead of pastels.
Troubleshooting tips
- Your stitches are gappy and the stuffing shows through. Your hook is too big for the yarn, or your tension is too loose. Go down half a hook size and pull each stitch snug after you make it.
- The mini will not sit up on its own. The base is too round or too lightly stuffed. Add more stuffing to the lower half and press the base flat on the table while you shape it.
- The head looks lumpy. You stuffed too much at once. Pull out some stuffing and add it back a little at a time, shaping as you go, so the surface stays smooth.
- The eyes sit at different heights. You counted the rounds differently on each side. Count from the magic ring on both sides and mark the eye rounds with pins before you attach the eyes.
- The ears flop the wrong way. You sewed them too close together or too far back. Sew the ears 3 to 4 stitches apart at the very top of the head, and pin them in place before you sew.
- The magic ring keeps coming undone. You did not pull the tail tight enough, or you wove it in too short. Pull the ring closed firmly after Round 1 and weave the tail through at least 2 inches of stitches.
Frequently asked questions
Are these mini amigurumi patterns really free?
Yes, the complete patterns above are free, no email signup, no PDF purchase required.
What skill level are these mini amigurumi patterns?
Advanced beginner. If you can make a magic ring, single crochet, increase, and decrease, you have every skill these patterns need. The whole mini is just single crochet in a spiral.
How long does it take to make one mini amigurumi?
About 30 minutes for the tiny size: roughly 15 minutes for the body, 10 minutes for the ears and face, and 5 minutes for finishing. The whole set of three takes about an hour and a half.
How much yarn do I need?
About 20 yds per tiny mini in DK-weight cotton yarn. One 50 g ball of each colour makes two tiny minis with yarn to spare, so a set of three needs less than one ball of each colour.
What size safety eyes should I use?
6 mm black safety eyes work best for the tiny size. For the keychain size, use 5 mm eyes; for the small size, use 8 mm eyes. If the mini is for a child under three, embroider the eyes instead.
Can I sell the finished minis I make?
Yes! You may sell finished minis made from these patterns in small batches (craft fairs, markets, gifts). Please credit Little Loop Finds as the pattern designer with a link back to this page.
Can I make these minis into keychains?
Yes. Sew a small metal loop or keyring finding firmly to the top of the head with strong thread, going through the stitches several times. The tiny size is the best for keychains, since it is light and sits flat in a bag.
More free patterns to try
If these minis were fun, keep the hook moving. The free crochet bunny pattern is the bigger version of the same bunny, the crochet cat pattern free is another pocket-sized favourite, the free crochet duck pattern uses the same beak and wing tricks, and the crochet fox pattern free is the next step up in size.