Gummy Bear Crochet Pattern: Squishy Amigurumi Toy
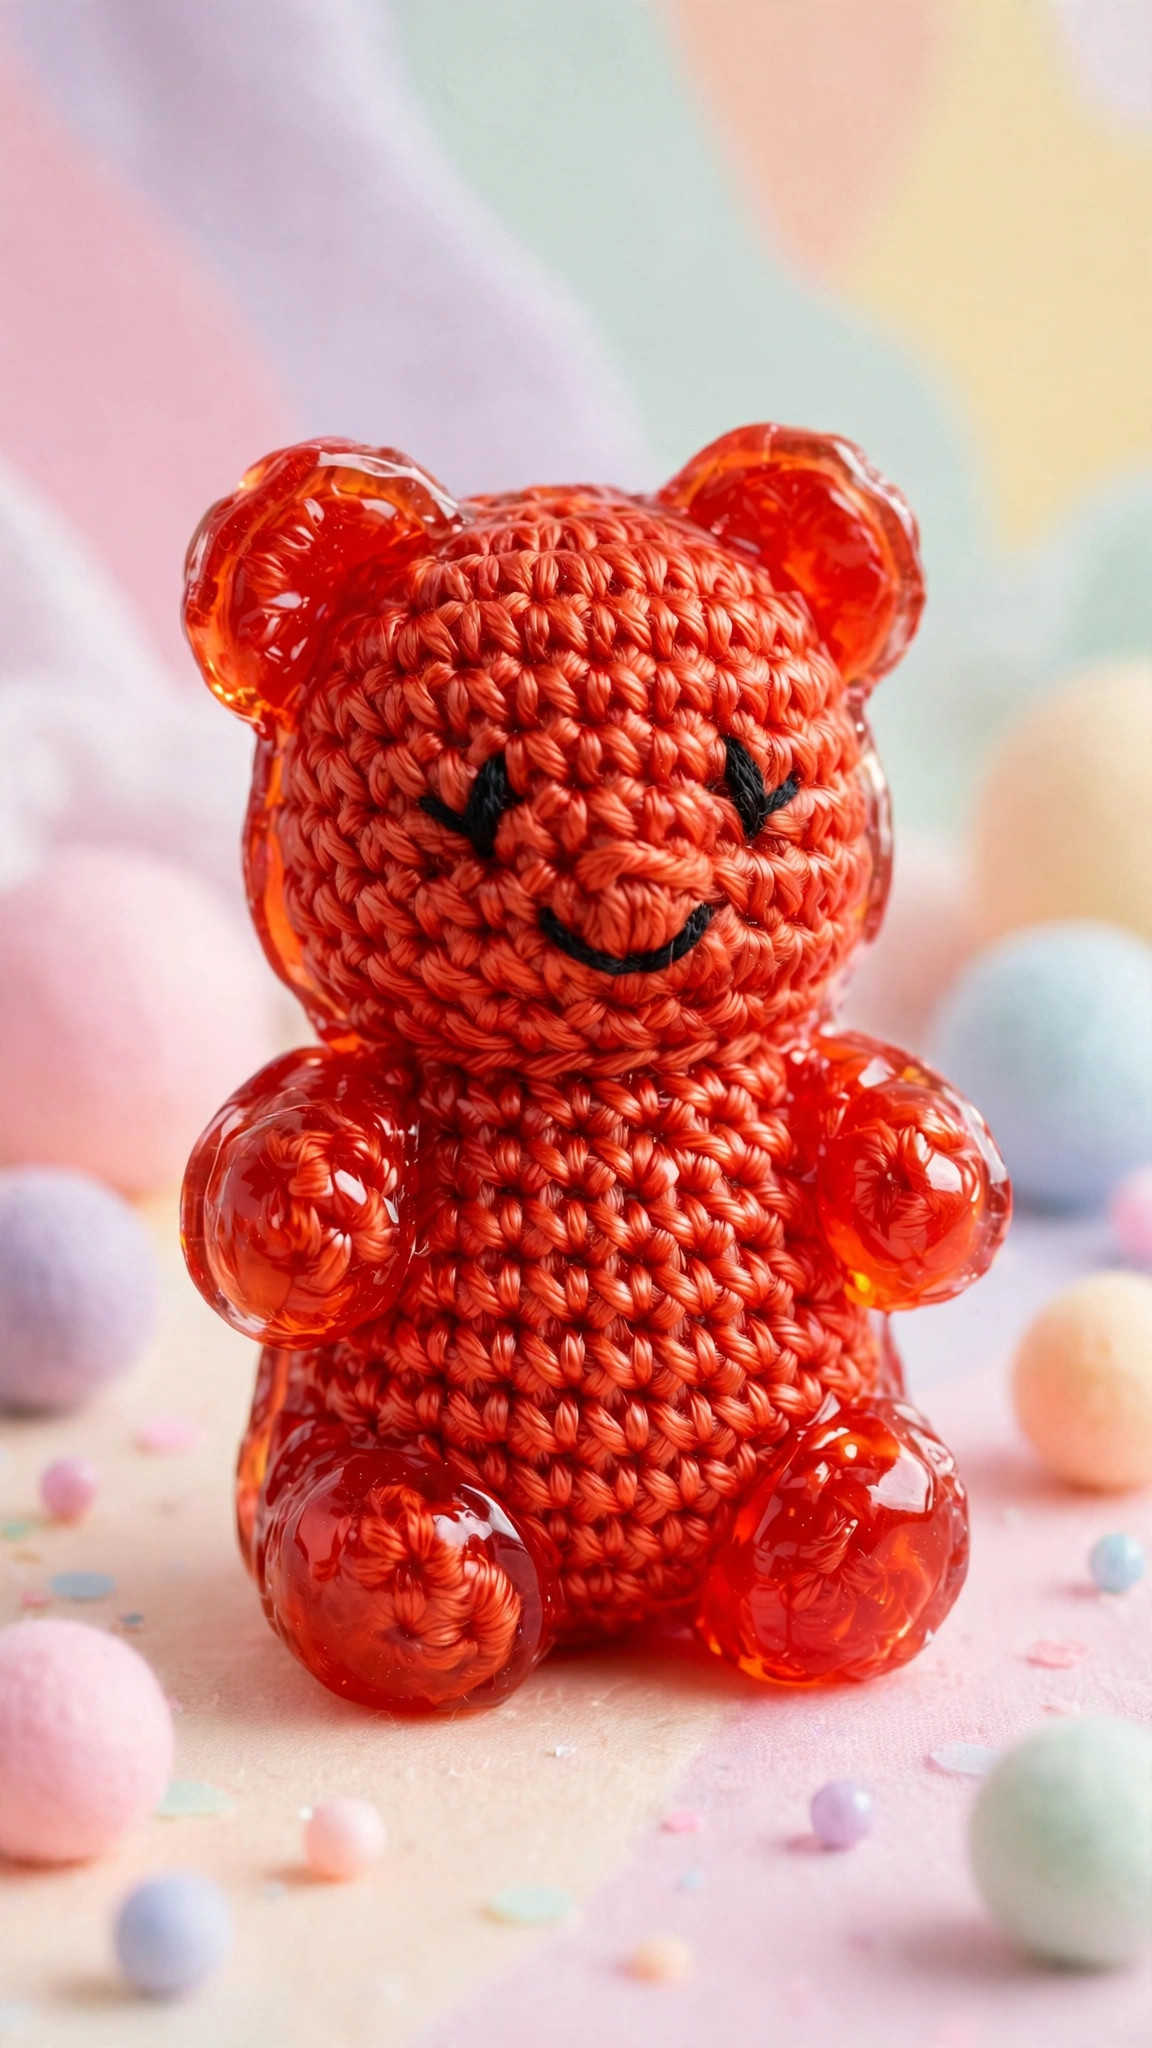
A squishy amigurumi bear with a rounded belly, little ears, stubby limbs and an embroidered candy smile: original design, US terms, two sizes.

Amigurumi · Crochet
- Finished size
- 5.5 in tall (large)
- Making time
- About 3 hours (large)
- Hook
- 4.0 mm, worsted yarn
- Set
- 2 sizes, original design
- Skill
- Advanced Beginner
In this post
- Table of contents
- Why you'll love this gummy bear crochet pattern
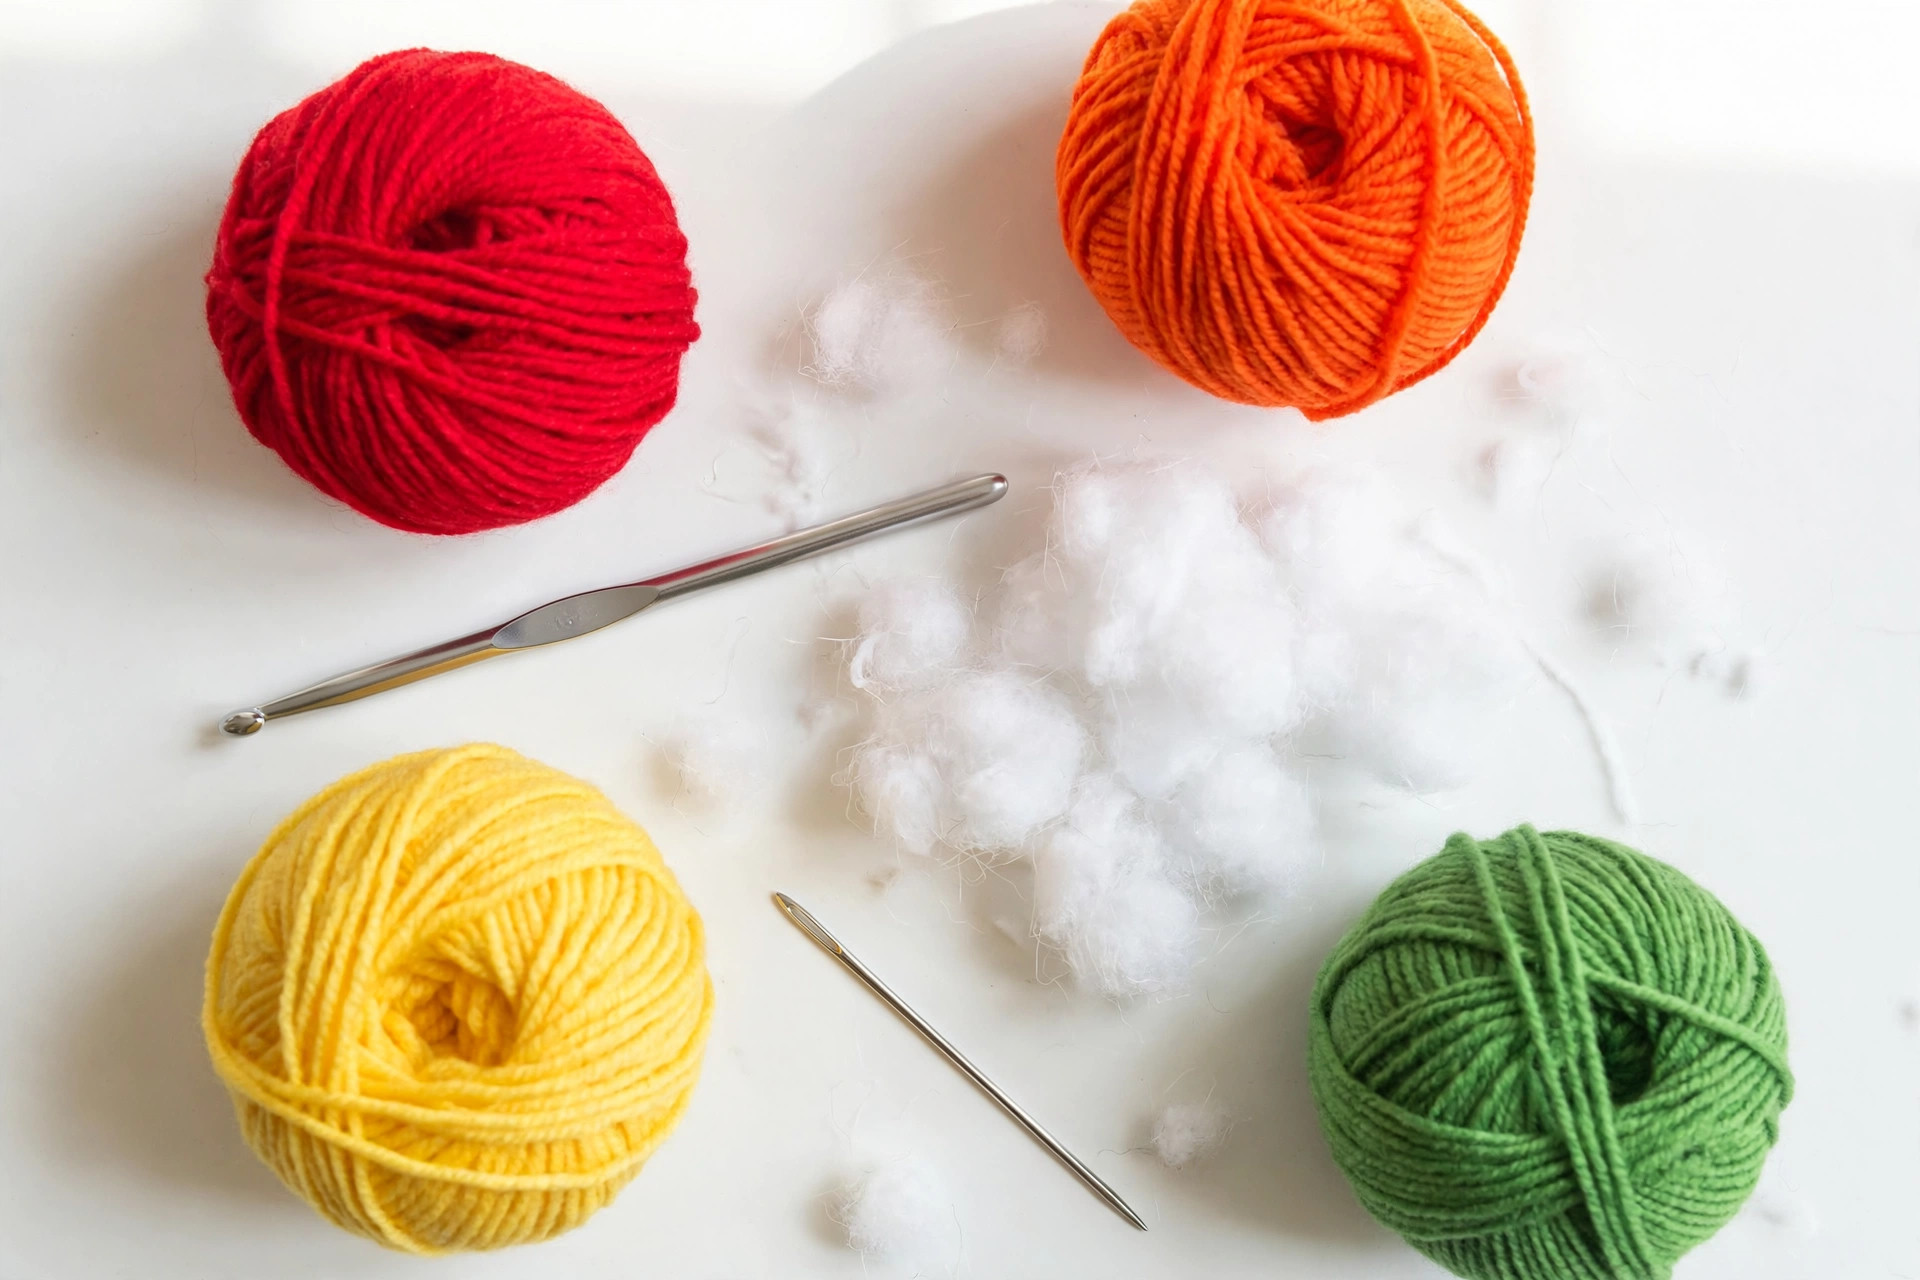
- Materials you'll need
- Size, gauge and skill level
- Abbreviations, US terms
- The gummy bear crochet pattern (US terms)
- Finishing touches and assembly
- Glossy candy look: tips and tricks
- Variations to try next
- Troubleshooting tips
- Frequently asked questions
- More free patterns to try
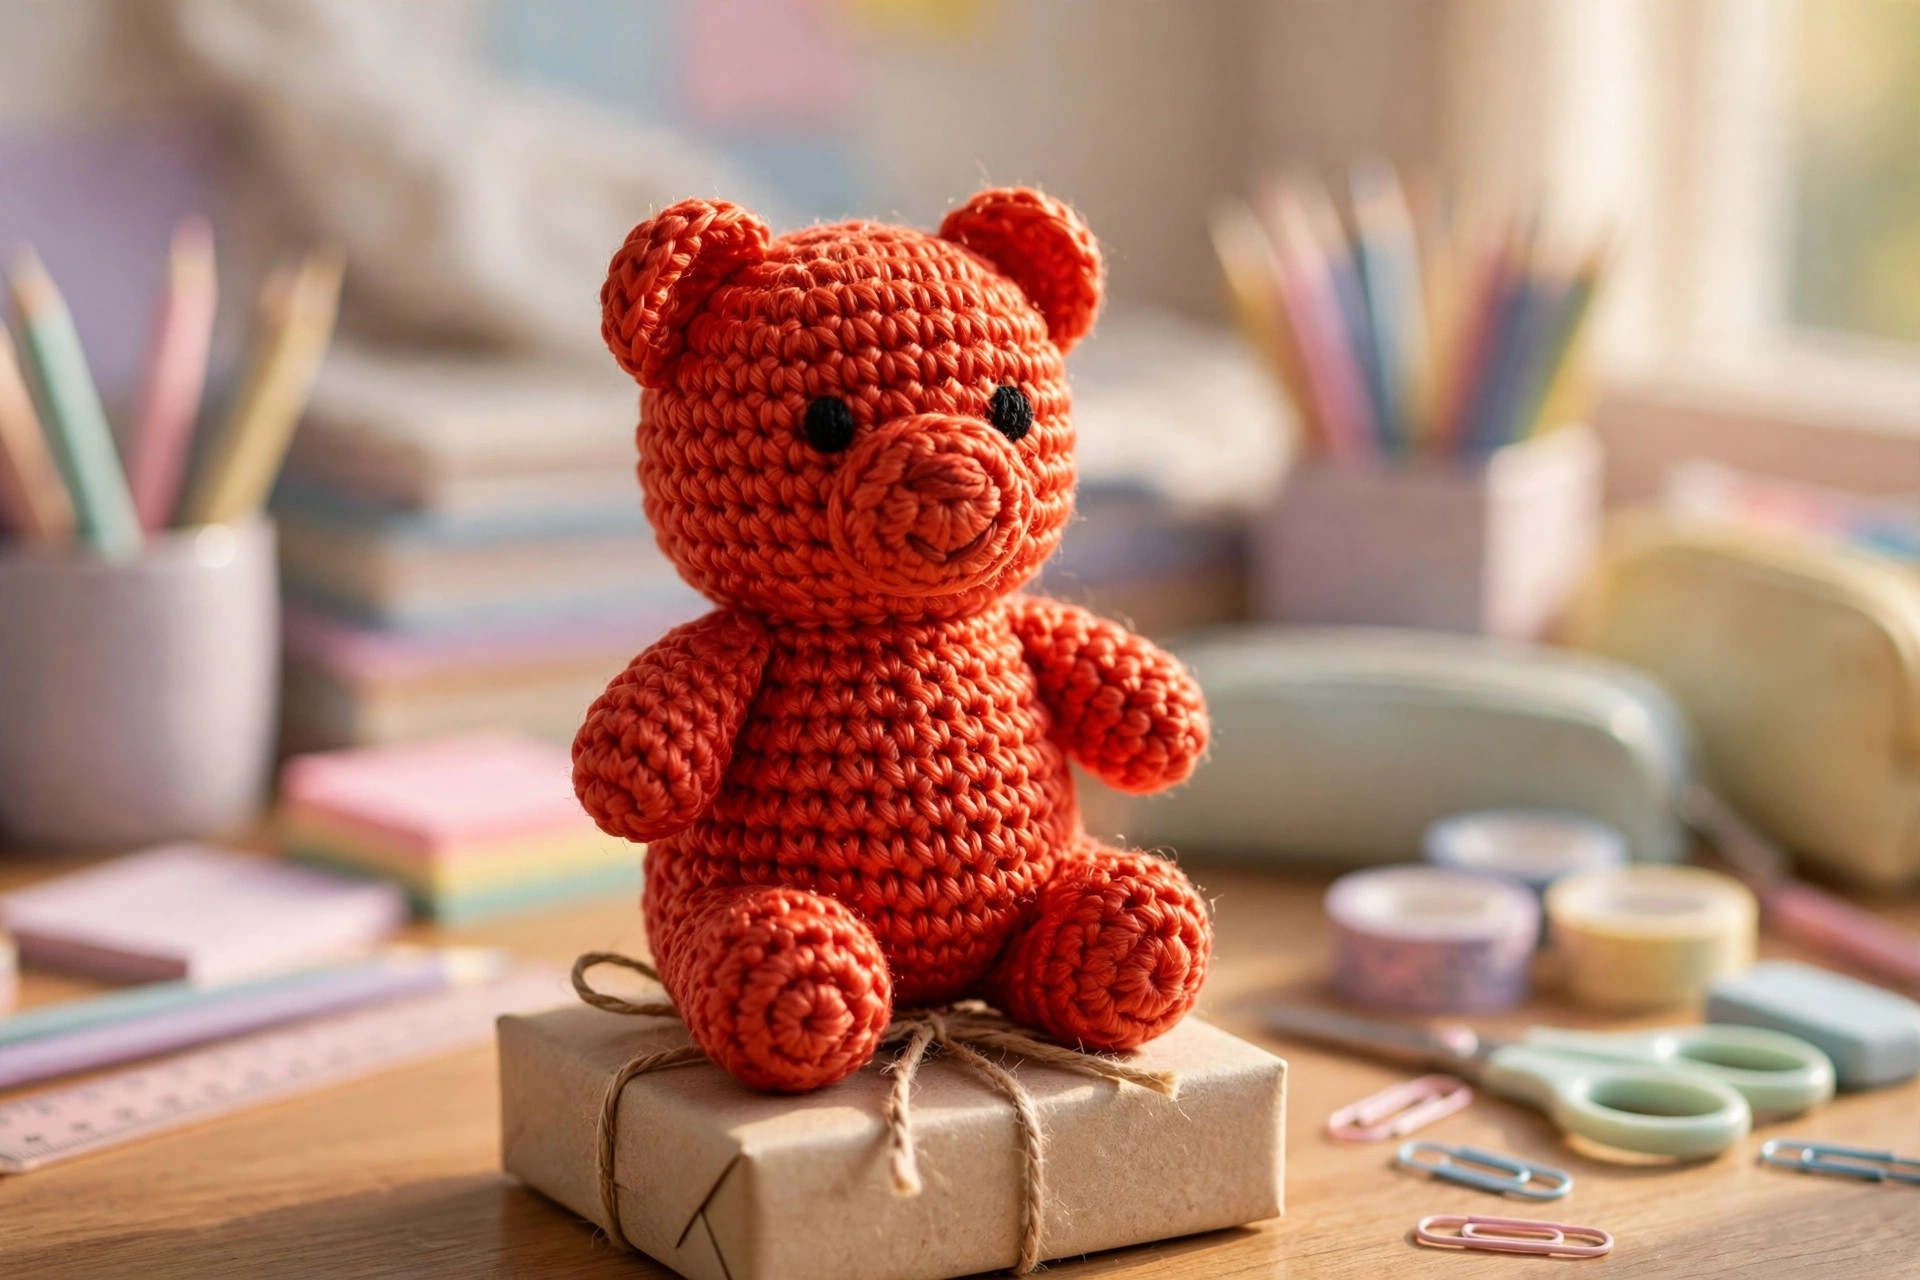
If you have been searching for a gummy bear crochet pattern that actually looks like candy, this squishy amigurumi bear is the one to make. It is worked in smooth, slightly glossy yarn with tight stitches, so the finished toy has a plump glow like real gummy candy. The design is all my own: a rounded belly, a big round head, little perky ears, stubby arms and legs, and a sweet embroidered face with a tiny shine dot in each eye.
The large bear stands about 5.5 inches tall and takes roughly three hours, while the small bear is about 3.5 inches tall and works up in around two hours. Every piece is a simple sphere or oval, so this is a wonderful second or third amigurumi project, and the finished bears are the perfect size for party favours, desk buddies, backpack charms, and stocking stuffers. Line up a rainbow of them on a shelf, where they look almost good enough to eat.
Table of contents
- Why you'll love this gummy bear crochet pattern
- Materials you'll need
- Size, gauge and skill level
- Abbreviations, US terms
- The gummy bear crochet pattern (US terms)
- Finishing touches and assembly
- Glossy candy look: tips and tricks
- Variations to try next
- Troubleshooting tips
- Frequently asked questions
- More free patterns to try
Why you'll love this gummy bear crochet pattern
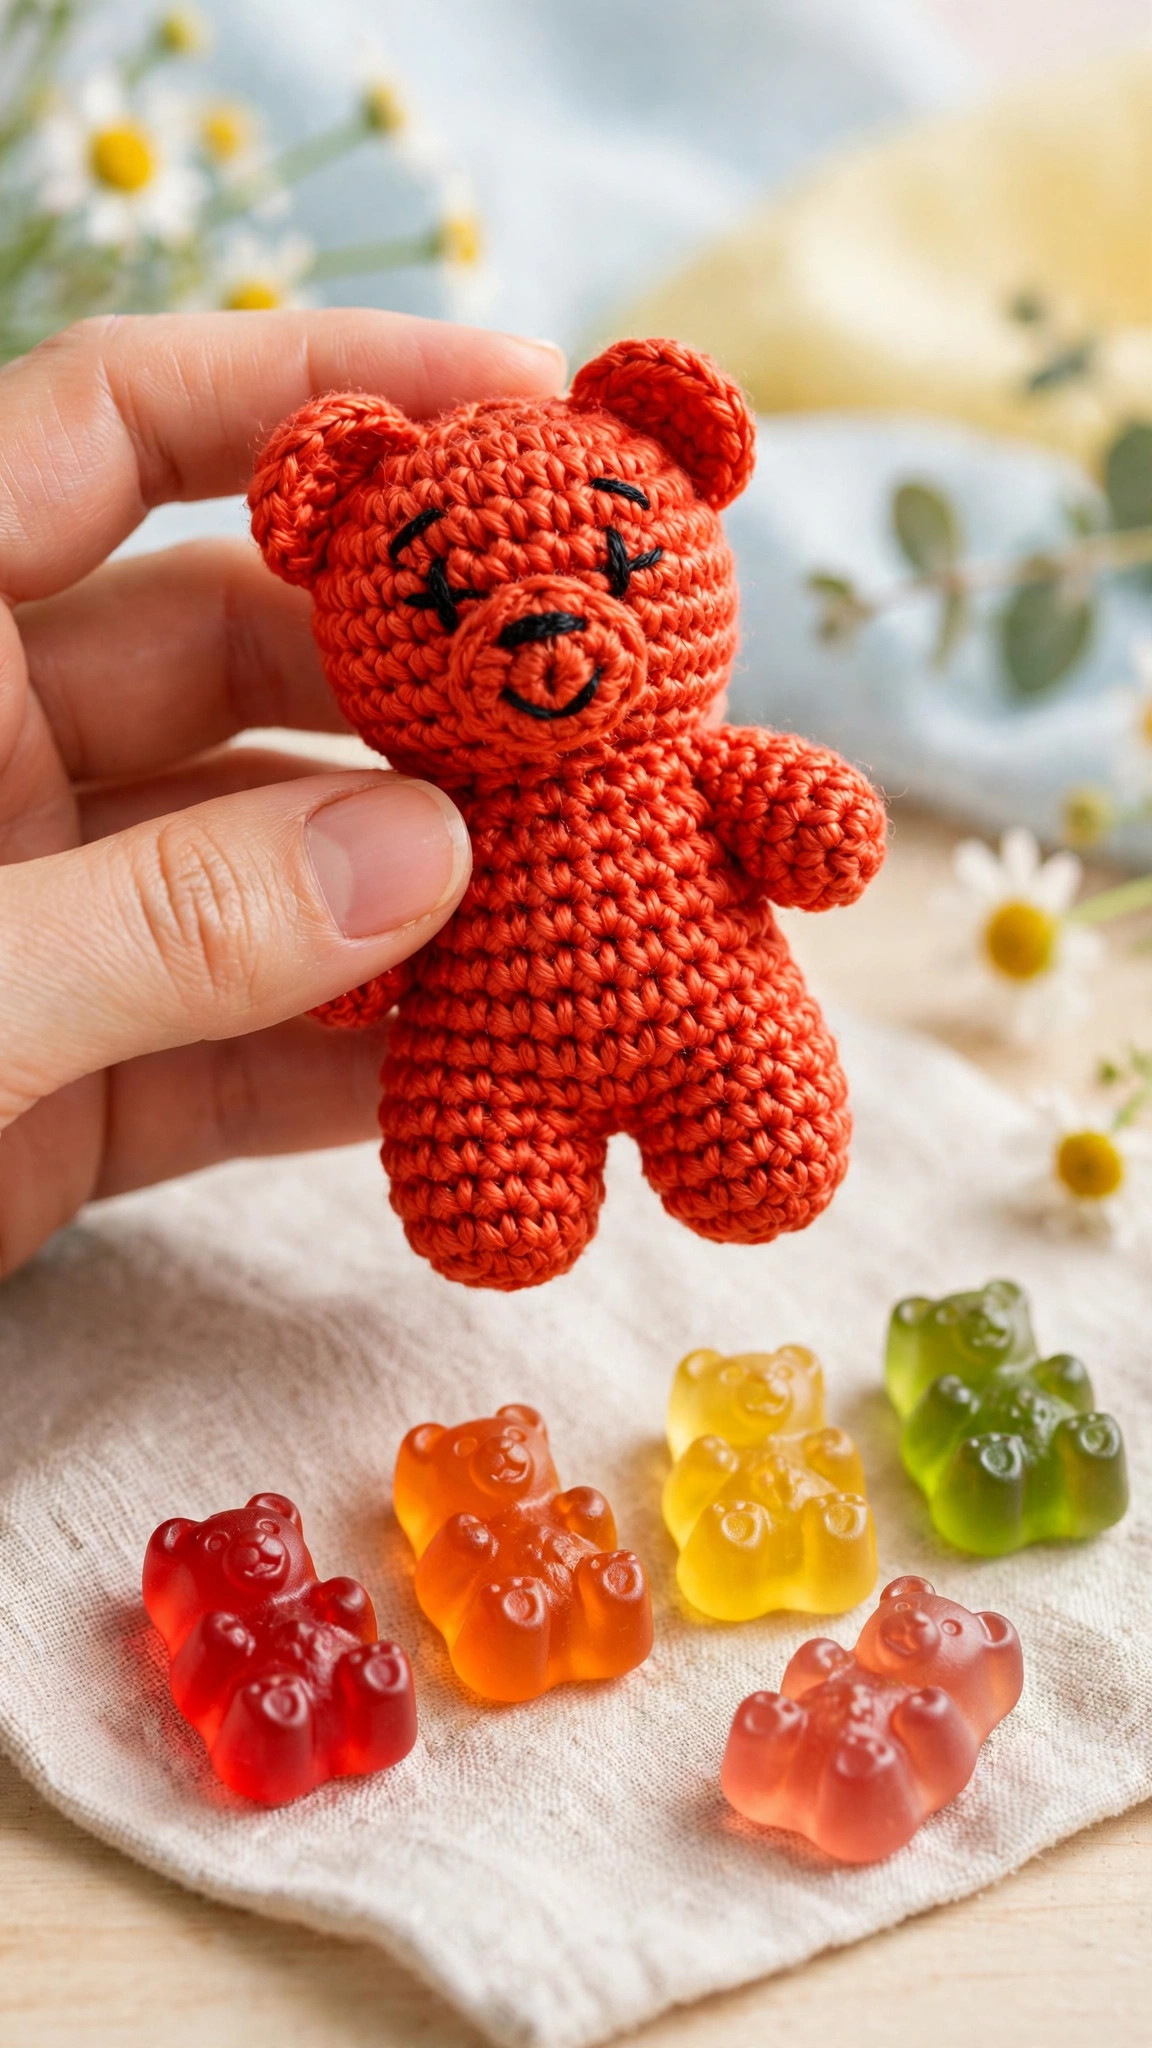
Most amigurumi bears end up looking like teddy bears, which is lovely, but a gummy bear is a different creature. Real gummy bears are squat and chubby with oversized heads, tiny limbs, and a belly that looks ready to burst. I built this pattern around those exact proportions: the body is a rounded pear shape with the widest part low at the belly, the head is a big sphere sewn on slightly tilted, and the arms and legs are short and stubby.
The construction is simple and forgiving. Every piece is worked in continuous spiral rounds of single crochet, so there is no seaming beyond sewing the parts together, and the shaping comes from plain increases and decreases, nothing fancy. If you can work a magic ring and count to thirty, you can make this bear. The face is embroidered rather than safety-eyed, which keeps it soft and safe for toddlers.
It is also a fantastic stash buster and gift make. One bear takes less than one ball of yarn, so you can crochet a whole candy-coloured family from leftovers: cherry red, orange, lemon yellow, lime green, and blue raspberry. If you enjoy small plush makes, our mini amigurumi patterns free collection is the natural next stop, and the crochet octopus plush uses the same spiral-round shaping at a slightly bigger scale.
Materials you'll need
| Supply | What to get |
|---|---|
| Main yarn | Smooth worsted-weight (#4) yarn in a candy colour, about 90 yds / 82 m for the large bear, 40 yds / 37 m for the small |
| Contrast yarn | A small amount of white or cream yarn for the muzzle patch and shine dots (optional) |
| Black embroidery floss | For the eyes and smile |
| Pink embroidery floss | For the cheeks (optional, small amount) |
| Crochet hook | 4.0 mm (G) for the large bear, 3.25 mm (D) for the small bear |
| Stuffing | Polyester toy stuffing, a generous handful per large bear |
| Tapestry needle | For sewing pieces together and embroidering the face |
| Notions | Scissors, stitch markers, pins for positioning pieces |
A smooth, slightly glossy yarn is the whole secret of this pattern. Mercerized cotton is the best choice: it has a subtle sheen that reads as candy gloss, and its crisp stitch definition shows off the tight amigurumi fabric. A silky acrylic or a cotton-acrylic blend works well too. Avoid fuzzy or heavily textured yarns: they hide the smooth candy surface and the bear will look like a regular plush toy.
A note on the hook: use a hook about 0.5 mm smaller than the yarn label recommends. The tighter fabric keeps the stuffing hidden and gives the bear its firm, squishy candy density.
Size, gauge and skill level
The pattern is written in one set of stitch counts that works for both sizes: the size comes from the yarn and hook you choose. Work in continuous spiral rounds and mark the first stitch of each round with a stitch marker.
| Size | Finished height | Yarn | Hook | Approx. time |
|---|---|---|---|---|
| Small | 3.5 in / 9 cm | DK-weight (#3) | 3.25 mm | About 2 hours |
| Large | 5.5 in / 14 cm | Worsted-weight (#4) | 4.0 mm | About 3 hours |
- Finished size (large): about 5.5 in (14 cm) tall and 3.5 in (9 cm) wide at the belly, sitting. The head is sewn on at a slight tilt, and the legs splay forward so the bear sits on its own.
- Gauge: 20 sc and 22 rounds = 4 in (10 cm) in worsted yarn with a 4.0 mm hook. Gauge matters more than usual here, because loose stitches break the candy illusion: stuffing poking through the fabric is the fastest way to lose the gummy look. Your stitches should be tight and even.
- Skill level: advanced beginner. You should know how to work a magic ring, chain, single crochet, increase, and decrease. Everything else is just counting and sewing pieces together.
If you have never made amigurumi before, this is a friendly first plush: the pieces are simple shapes, the rounds are short, and the first bear comes together in an evening.
Abbreviations, US terms
| Abbreviation | Meaning |
|---|---|
| MR | magic ring |
| ch | chain |
| sc | single crochet |
| sl st | slip stitch |
| inc | increase: 2 sc in the same stitch |
| dec | decrease: invisible decrease, sc 2 together through the front loops |
| st(s) | stitch(es) |
| R | round |
| FO | fasten off |
| [ ] | total stitch count at the end of the round |
A note on decreases: use the invisible decrease (insert the hook through the front loop of the next two stitches, yarn over, pull through both loops, yarn over, pull through two loops) everywhere in this pattern. It keeps the fabric smooth and gap-free, which is exactly what the candy look needs.
The gummy bear crochet pattern (US terms)
Work all pieces in continuous spiral rounds. Do not join at the end of a round: just keep going and move the stitch marker up to the first stitch of each new round. Stuff pieces firmly as you go, a little at a time. The instructions below make the large bear; for the small bear, use DK yarn and a 3.25 mm hook and follow the same rounds.
Body: the rounded belly
With your candy-coloured yarn, start at the base of the body.
- R1: MR, 6 sc in ring. [6]
- R2: inc in each st around. [12]
- R3: (sc, inc) x6. [18]
- R4: (2 sc, inc) x6. [24]
- R5: (3 sc, inc) x6. [30]
- R6-R11: sc in each st around. [30]
- R12: (3 sc, dec) x6. [24]
- R13: (2 sc, dec) x6. [18]
- R14-R15: sc in each st around. [18]
Begin stuffing the body now, shaping it into a rounded pear. Press the base flat so the bear will sit.
- R16: (sc, dec) x6. [12]
- R17: dec x6. [6]
FO, leaving a 6 in tail. Thread the tail through the front loops of the last round, pull tight to close, and weave the end into the body.
Head: the big gummy sphere
With the same yarn, work the head as a separate piece.
- R1: MR, 6 sc in ring. [6]
- R2: inc in each st around. [12]
- R3: (sc, inc) x6. [18]
- R4: (2 sc, inc) x6. [24]
- R5-R8: sc in each st around. [24]
- R9: (2 sc, dec) x6. [18]
- R10: (sc, dec) x6. [12]
Stuff the head firmly into a smooth sphere, shaping it round with your fingers.
- R11: dec x6. [6]
FO, close the same way as the body, and weave in the end.
Ears: two little rounds (make 2)
- R1: MR, 6 sc in ring. [6]
- R2: (sc, inc) x3. [9]
- R3: sc in each st around. [9]
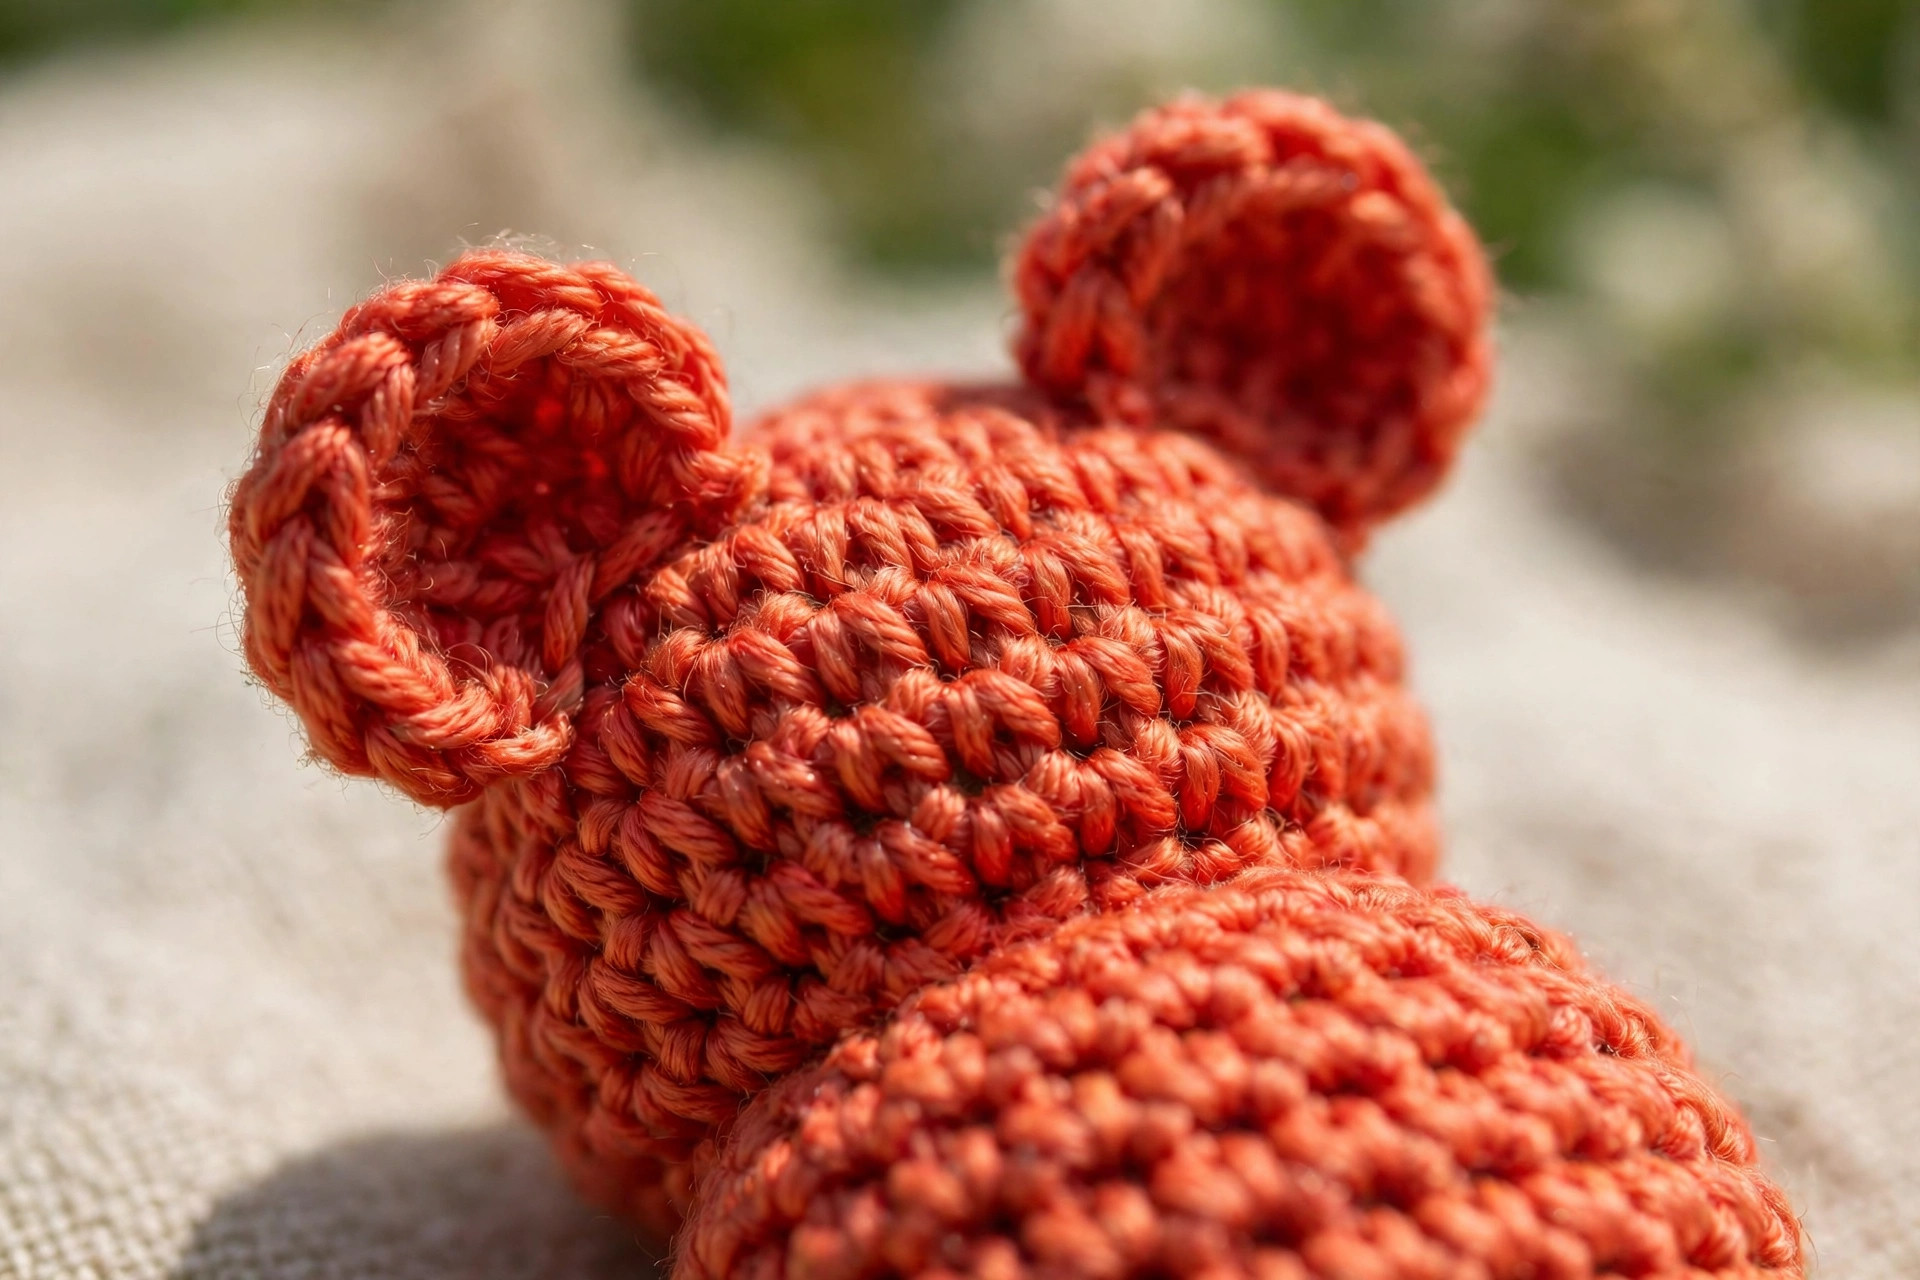
FO, leaving a long tail for sewing. Flatten each ear gently between your fingers; do not stuff. Pin the ears to the sides of the head at about R5 height and sew them on with small whipstitches through the base of the ear.
Arms: stubby little nubs (make 2)
- R1: MR, 6 sc in ring. [6]
- R2: (sc, inc) x3. [9]
- R3-R4: sc in each st around. [9]
- R5: (sc, dec) x3. [6]
- R6-R7: sc in each st around. [6]
Stuff the lower half of the arm lightly, then flatten the top. FO, leaving a long tail. Sew each arm to the side of the body at about R10, angling slightly outward.
Legs: short and splayed (make 2)
- R1: MR, 6 sc in ring. [6]
- R2: (sc, inc) x3. [9]
- R3: (2 sc, inc) x3. [12]
- R4-R5: sc in each st around. [12]
- R6: (2 sc, dec) x3. [9]
- R7: sc in each st around. [9]
Stuff lightly and flatten the top. FO, leaving a long tail. Sew the legs to the front base of the body at about R5, splaying them slightly outward and forward so the bear sits upright.
Face: the embroidered candy smile
Thread black embroidery floss (use all 6 strands for the large bear, 3 strands for the small) on your tapestry needle.
- Eyes: embroider two small vertical ovals about 5 stitches apart on the upper front of the head, centred between R6 and R7. Stack 4 or 5 straight stitches side by side for each eye, then add one tiny white stitch at the top corner of each eye for the candy shine dot.
- Snout: embroider a small triangle or rounded nose in black floss, centred 2 rounds below the eyes, about 3 stitches wide.
- Smile: from the bottom of the nose, stitch a short vertical line down one round, then two curved lines sweeping out and up on each side.
- Cheeks (optional): embroider two small pink dashes just below the eyes.
Keep the face small and centred: a tiny face on a big head is the gummy bear look. Step back and check it from arm's length before you knot off.
Finishing touches and assembly
Attach the head. Place the head on top of the body with a slight forward tilt, so the chin tucks toward the belly. Pin it in place, then sew around the join with small whipstitches, going around twice for strength.
Position the limbs. Hold the bear up and look at it straight on. The arms should mirror each other at the same height, and the legs should splay evenly. Pin first, sew second.
Weave every end. Thread each tail onto the tapestry needle and run it through the stuffing for at least 2 inches, changing direction once so it locks in place. Trim flush and the end will disappear inside the stuffing.
Steam the finished bear (optional). Hold a steaming iron or kettle a few inches above the bear, never touching it, and let the steam relax the stitches for a few seconds. Let the bear cool completely before you handle it.
Glossy candy look: tips and tricks
The candy glow comes from a few deliberate choices:
Pick yarn with a sheen. Mercerized cotton is the top pick because the mercerizing process gives cotton a permanent, candy-like lustre. Silky acrylics and bamboo blends are good runners-up. Matte wool or brushed yarns absorb light instead of reflecting it, so save those for teddy bears.
Crochet tighter than you think. Drop half a hook size below the label recommendation. The dense fabric has a smooth, almost moulded surface, just like a real gummy candy, and it keeps every bit of stuffing hidden.
Stuff firmly and evenly. Understuffed bears look deflated, and deflated does not read as candy. Push small tufts of stuffing into every curve with the blunt end of your hook, and shape the piece with your fingers as you go. The finished bear should feel firm and springy, like squeezing a gummy.
Keep the shine dots tiny. The little white stitch in each eye is what makes the bear look glossy rather than flat. One small stitch is perfect; a big one looks cartoonish.
Photograph in soft light. If you are making these to sell or share, shoot them near a window with indirect light. Direct sun washes out the sheen, while soft side light makes the glossy surface glow.
Variations to try next
Once you have made one bear, try these:
- Sour gummy bear. Work the bear in a neon colour like lime or electric blue, then embroider tiny white dashes over the belly and head to suggest sugar crystals. The funniest of the set, and kids go wild for it. If you like food-inspired makes, our free crochet heart pattern is a sweet matching gift.
- Giant gummy bear. Use super bulky (#6) yarn with an 8.0 mm hook and follow the same rounds for a bear about 10 inches tall: a proper statement piece for a kid's bedroom. You will need about 200 yds of yarn and a whole bag of stuffing.
- Gummy bear keychain. Make the small size, sew the ears and limbs extra firmly, and attach a keychain ring through the top of the head with a jump ring. A rainbow of keychain bears sells beautifully at school fundraisers.
And if this bear gave you the amigurumi bug, the free crochet bunny pattern is the next small plush to try: same spiral rounds, same evening make, with long ears instead of round ones.
Troubleshooting tips
- The head wobbles after sewing. You sewed only one round of stitches around the join. Go around a second time, pulling each stitch snug, and the head will sit solid.
- The bear will not sit up on its own. The base is too round or the legs are sewn too high. Press the base flat on the table while the stuffing is fresh, and sew the legs low at the front so they act as kickstands.
- The stuffing shows through the stitches. Your hook is too big or your tension is too loose. Go down half a hook size and pull each stitch snug.
- The ears look floppy instead of perky. You stuffed them, or you sewed them too far apart. The ears should be unstuffed, flattened, and sewn close enough that they stand up on their own.
- The face looks lopsided. Mark the eye positions with pins first, count the stitches between them, and check from arm's length before you knot off.
- The bear looks matte, not glossy. Switch to mercerized cotton or a silky blend, tighten your tension, and add the white shine dots to the eyes.
Frequently asked questions
Is this gummy bear crochet pattern really free?
Yes, the complete pattern above is free, with no email signup and no PDF purchase required.
What skill level is this gummy bear pattern?
Advanced beginner. If you can work a magic ring, single crochet, increase, and decrease, you have every skill this pattern needs. The face is simple embroidery, and assembly is just pinning and whipstitching.
How long does it take to crochet a gummy bear?
About 3 hours for the large bear: roughly 45 minutes for the body and head, 45 minutes for the limbs and ears, and 30 minutes for sewing, the embroidered face, and finishing. The small bear takes about 2 hours.
How much yarn do I need?
About 90 yds of worsted-weight yarn for the large bear, or 40 yds of DK-weight yarn for the small bear, plus small amounts of black and pink embroidery floss for the face.
How do I get the glossy, translucent candy look?
Use a smooth yarn with a sheen, like mercerized cotton, and crochet with a hook half a size smaller than the label suggests so the fabric is dense. Stuff the bear firmly for a plump shape, and embroider a tiny white shine dot in each eye.
Can I sell the finished gummy bears I make?
Yes! You may sell finished bears made from this pattern in small batches (craft fairs, markets, gifts). Please credit Little Loop Finds as the pattern designer.
Is this gummy bear safe for babies and toddlers?
The design uses an embroidered face with no safety eyes or buttons, so there are no small hard parts to come loose. Still, always supervise babies with handmade toys and check the stitching regularly.
More free patterns to try
If this gummy bear was fun, keep the hook moving and build a whole candy-coloured crew. More small plush projects are waiting in our amigurumi collections, and a rainbow of gummy bears makes a shelf display that always gets compliments.