Crochet Lizard Pattern Free: Cute Gecko Amigurumi
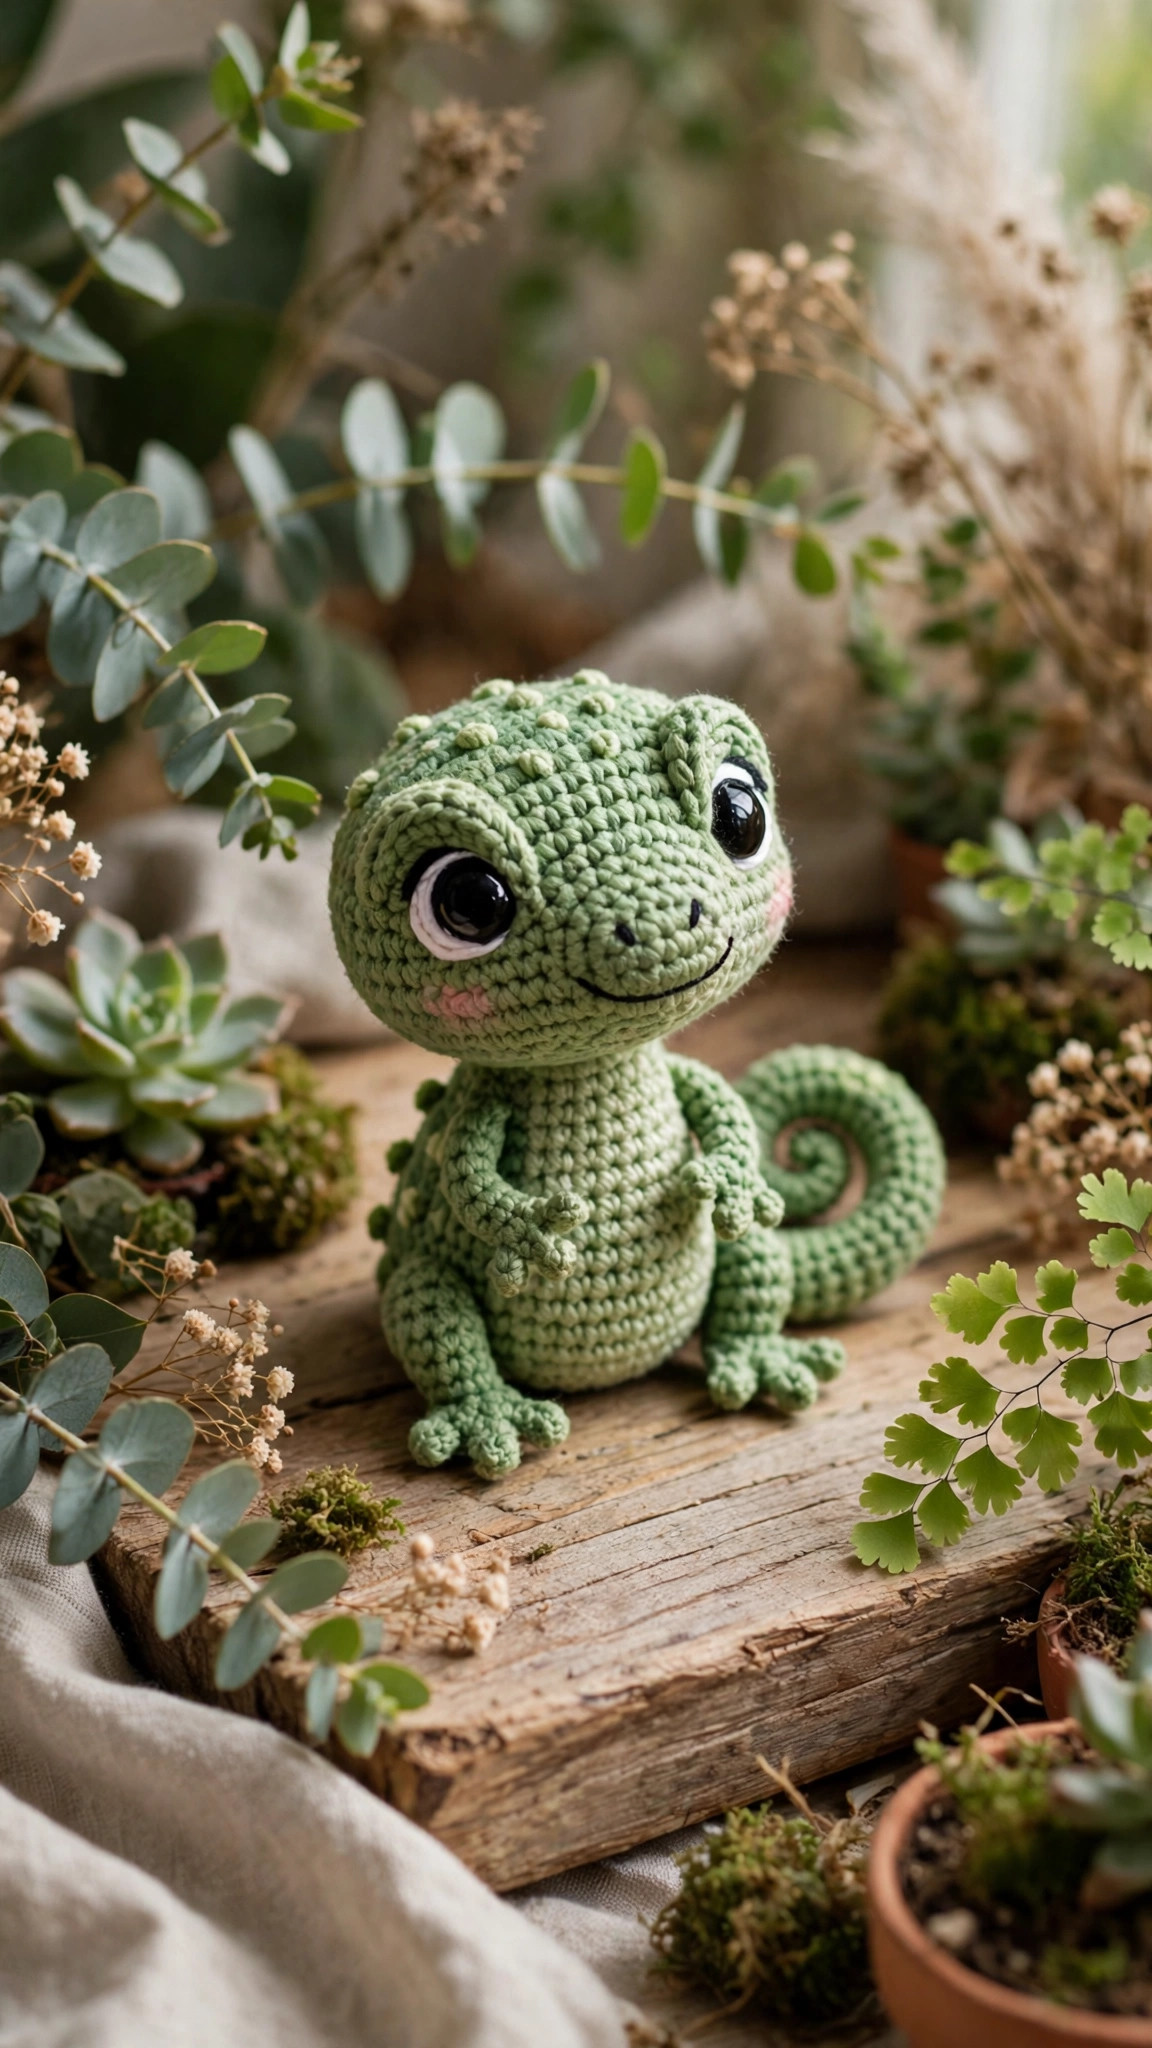
A cute gecko amigurumi with a curled tail, little toe details and back ridge bumps: an original pattern in US terms.

Amigurumi · Crochet
- Finished size
- 7 in long (about 18 cm)
- Making time
- About 3 to 4 hours
- Hook
- 3.5 mm, DK yarn
- Pieces
- Body, tail, 4 legs, 8 bumps
- Skill
- Advanced Beginner
In this post
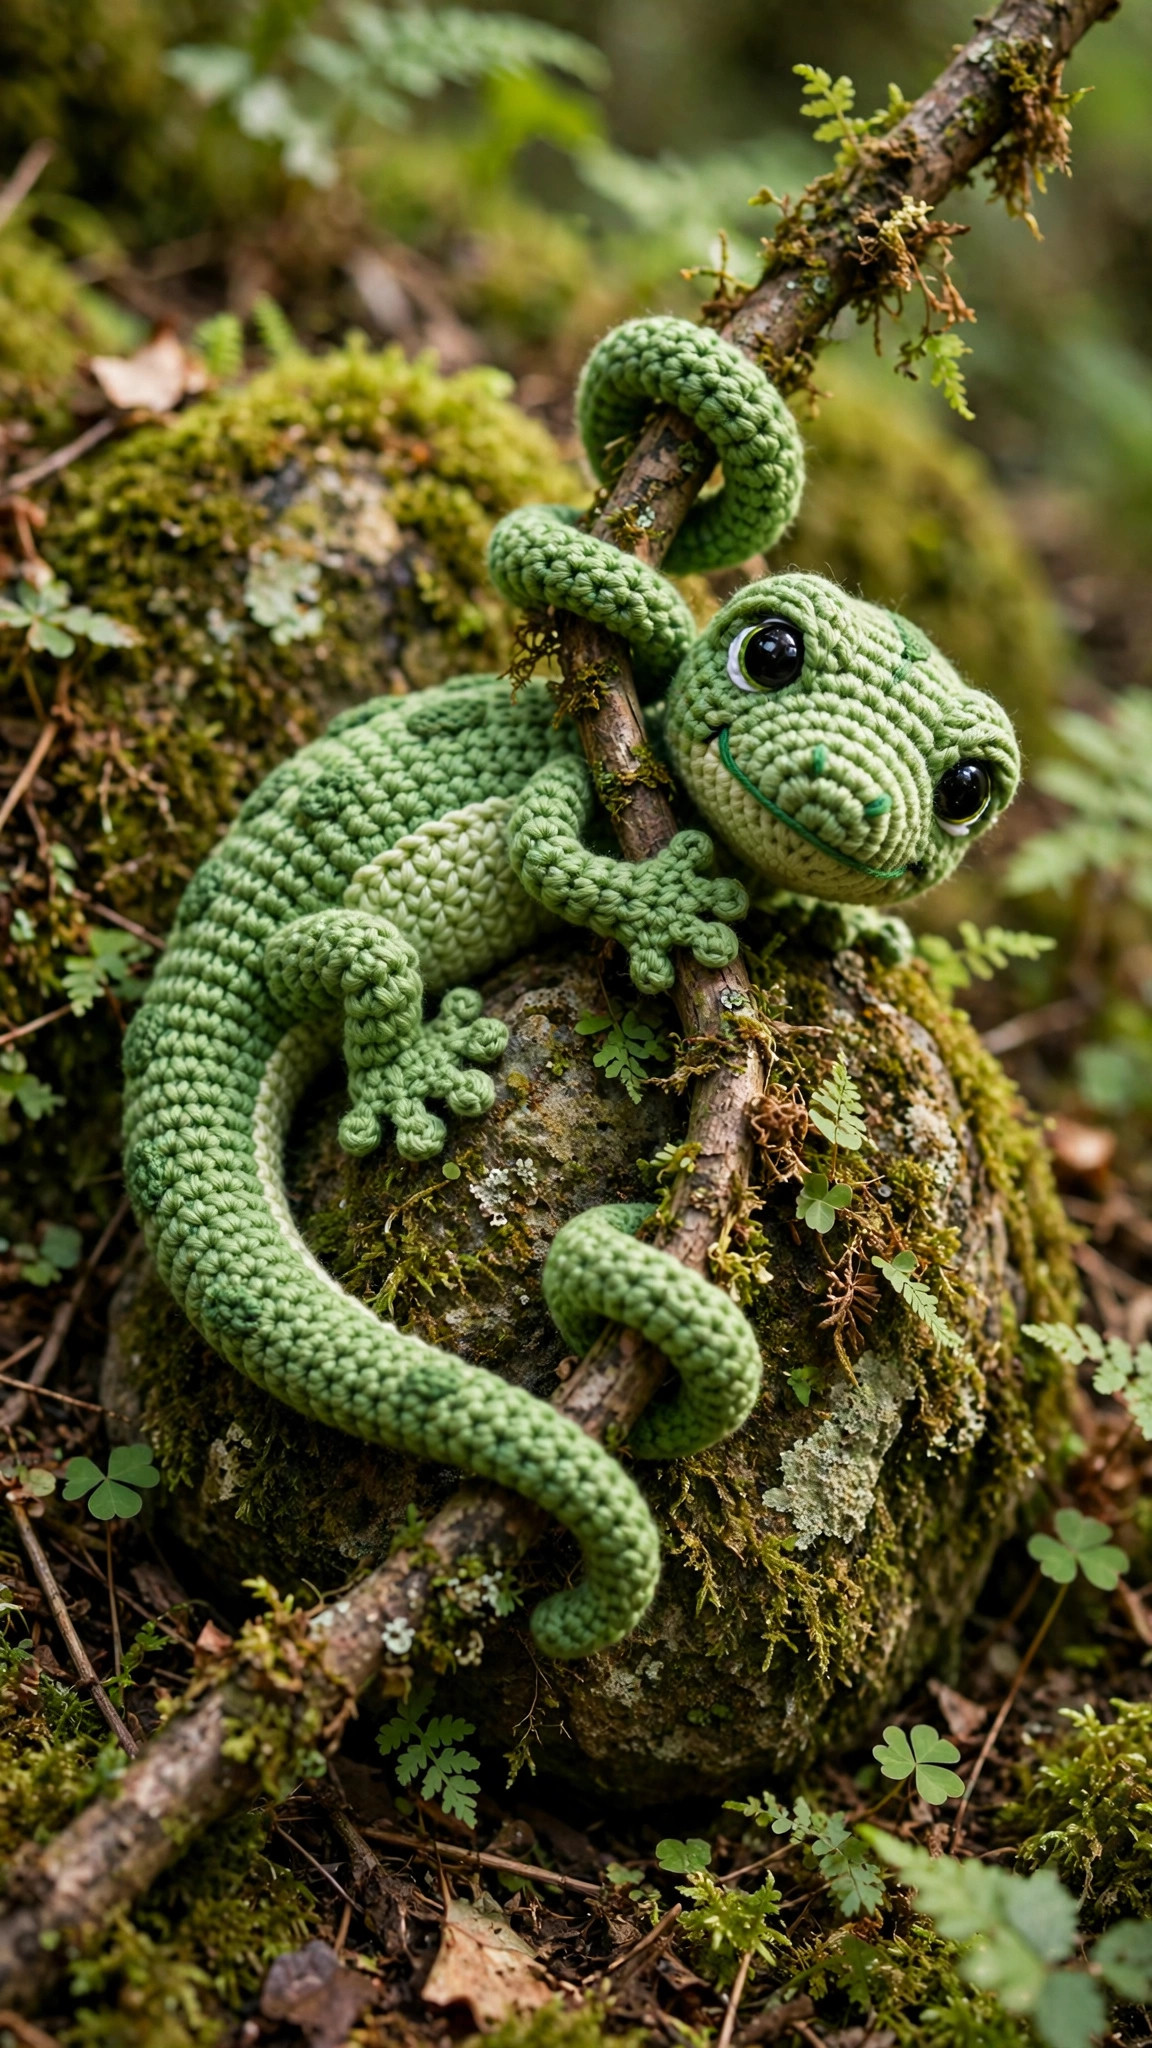
If you have been looking for a crochet lizard pattern that is free, original, and genuinely cute instead of realistic and spiky, meet this little gecko. It has an elongated body, a tail that curls into a perfect spiral, four stubby legs with embroidered toes, and a line of soft bumps running down its back. The whole gecko takes one relaxed afternoon, which makes it a lovely desk buddy, shelf sitter, or handmade gift for the reptile fan in your life.
- Why you'll love this crochet lizard pattern free
- Materials you'll need
- Size, gauge and skill level
- Abbreviations, US terms
- The pattern (US terms)
- Assembly
- Finishing touches
- Two colourways to try next
- Troubleshooting tips
- Frequently asked questions
- More free patterns to try
Why you'll love this crochet lizard pattern free
Most crochet lizard patterns fall into one of two camps: realistic lizards with scale stitching that take weeks, or lizards that are basically a green sausage with legs. This gecko lands in the sweet spot. The body is one smooth piece worked from nose to tail end, so there is no tricky shaping to memorise. The charm comes from the details: the tail that curls on its own thanks to one increase row, the embroidered toes that make each foot look finished, and the row of little bumps down the spine that reads as unmistakably lizard.
The construction is forgiving, which makes this a lovely second or third amigurumi. The head and body are a single piece, so you only have a handful of parts to join: four identical legs, one tail, and the ridge bumps. If your rounds are a little uneven, the stuffing and the bumps hide everything. It is also a quick, satisfying gift make: geckos have a devoted fan base, and a handmade one is something you will not find in a toy shop. If amigurumi is new to you, our magic ring tutorial walks through the ring start this pattern uses, and our mini amigurumi patterns are the perfect warm up before you tackle the legs and tail.
Materials you'll need
| Supply | What to get |
|---|---|
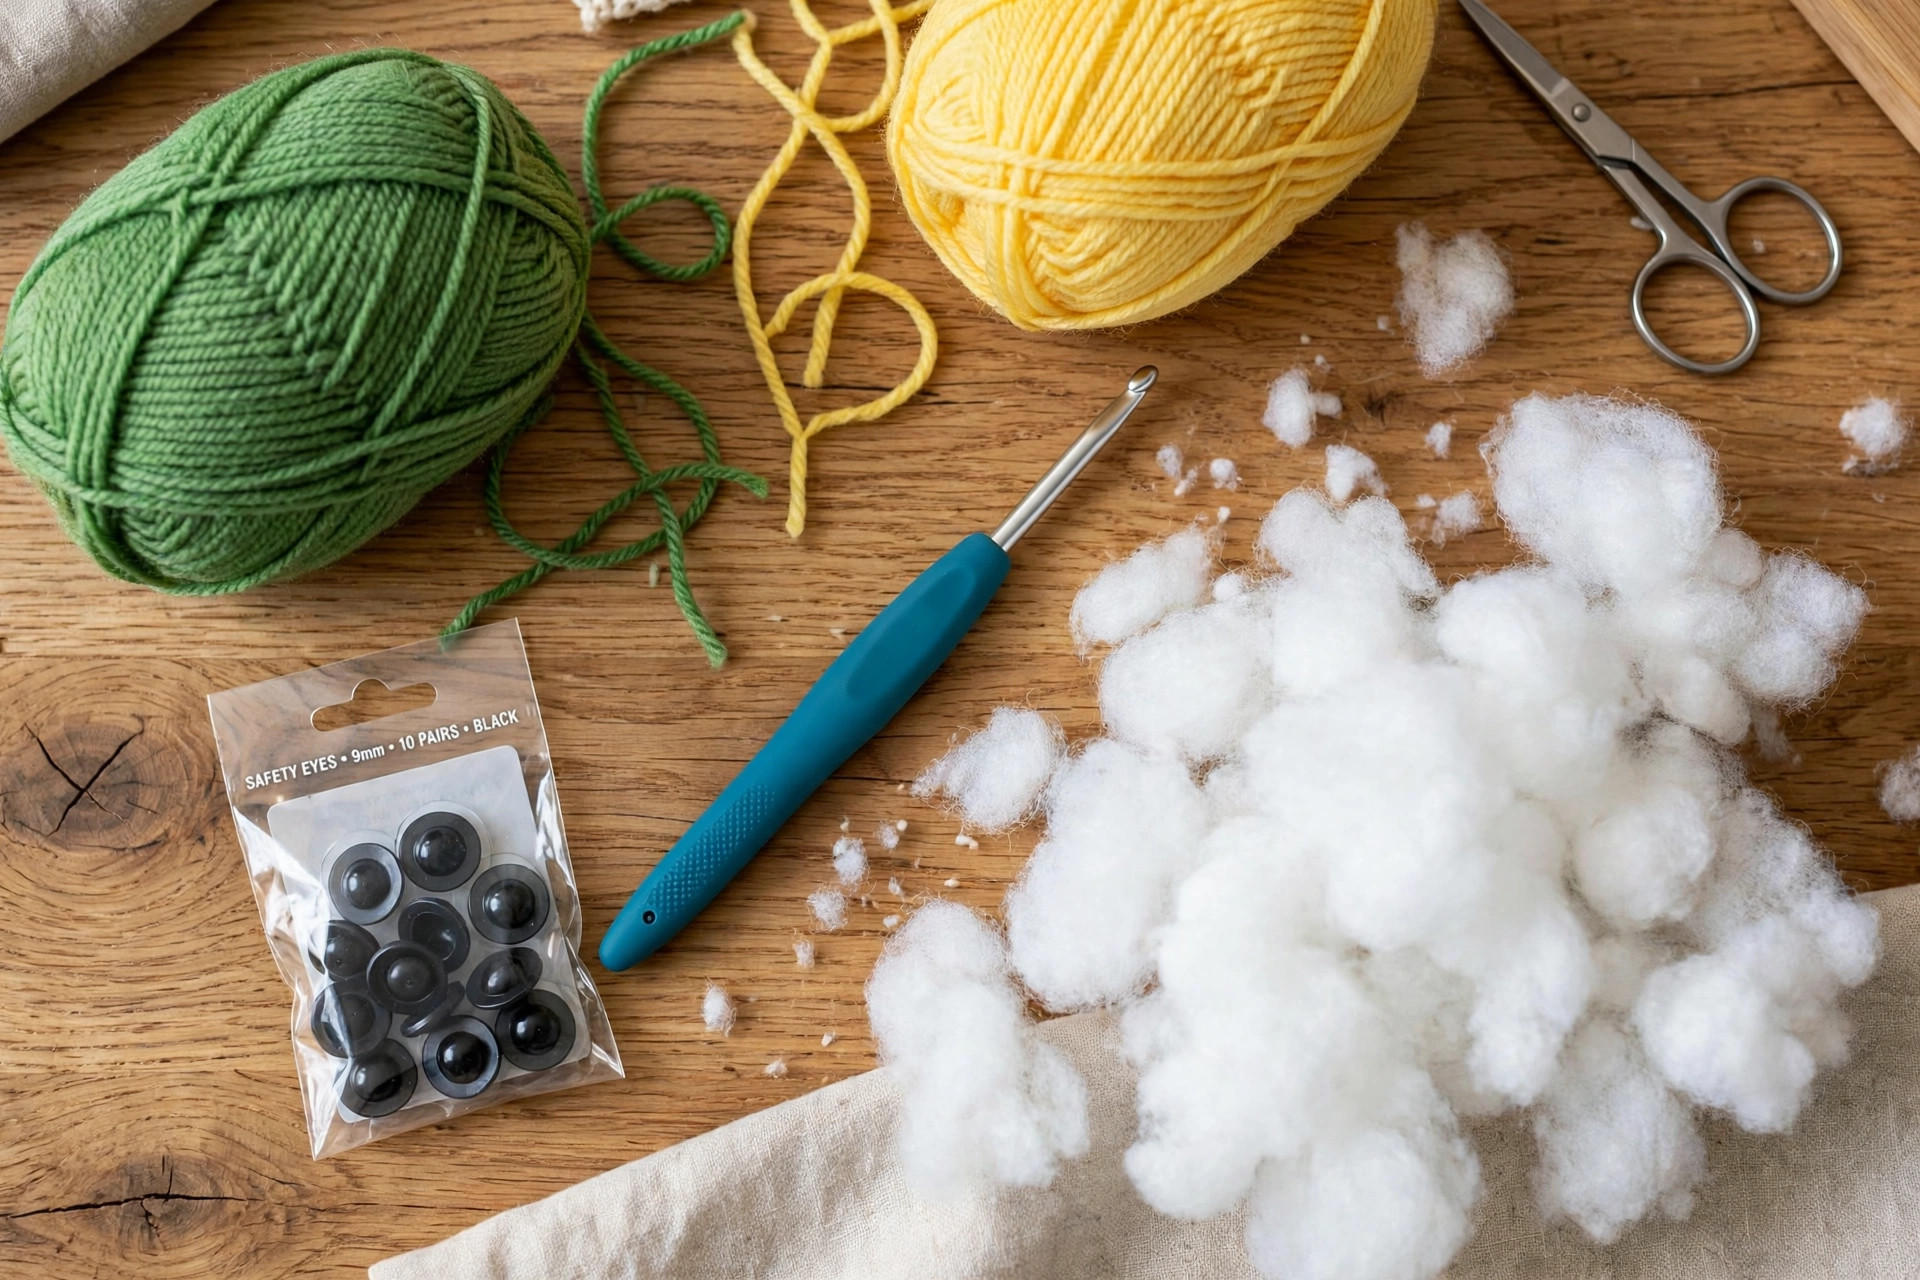
| Main yarn | DK-weight (#3) yarn in green or sandy tan, about 60 yds / 55 m |
| Accent yarn | DK-weight (#3) yarn in yellow or cream, about 25 yds / 23 m |
| Crochet hook | 3.5 mm (E-4) |
| Safety eyes | Two 10 mm black safety eyes with washers |
| Stuffing | Polyester toy stuffing, a medium handful |
| Tapestry needle | For weaving in ends, embroidering toes, sewing parts |
| Notions | Scissors, stitch markers, straight pins for assembly |
A smooth DK-weight cotton or cotton-blend acrylic yarn is the best pick here: it shows the stitches crisply, which makes the toes and ridge bumps look neat, and it holds the curled tail shape well. Avoid fuzzy or chenille yarn: the tail curl relies on visible shaping, and fuzzy yarn turns the ridge bumps into indistinct lumps.
Yarn amounts by size (approximate): Small (5 in): 50 yds main, 20 yds accent, 3.0 mm hook. Medium (7 in): 60 yds main, 25 yds accent, 3.5 mm hook. Large (9 in): 85 yds main, 35 yds accent, 4.0 mm hook. One 100 g ball of main yarn makes a medium gecko with yarn to spare.
A note on safety eyes: safety eyes snap into washers and cannot be pulled out by little hands, the right choice for a child's toy. Insert them before you close the head. For a baby, embroider the eyes instead: two French knots between Rnds 7 and 8.
Size, gauge and skill level
The gecko is worked in continuous rounds from the nose back, so use a stitch marker in the first stitch of every round and move it up as you go.
| Size | Finished length | Hook | Body rounds | Leg rounds |
|---|---|---|---|---|
| Small | 5 in / 13 cm | 3.0 mm | 22 | 6 |
| Medium | 7 in / 18 cm | 3.5 mm | 26 | 8 |
| Large | 9 in / 23 cm | 4.0 mm | 30 | 10 |
- Finished size (medium): about 7 in (18 cm) from nose to the end of the body, and about 5 in (13 cm) of curled tail. The body is about 2 in (5 cm) wide at the belly and the gecko sits about 2.5 in (6 cm) tall on its legs.
- Gauge: 20 sc and 22 rows = 4 in (10 cm) with a 3.5 mm hook. Gauge matters less than tightness here: the stuffing should not show through the stitches. If you can see white through the fabric, go down half a hook size. Amigurumi is almost always worked tighter than the yarn label suggests.
- Skill level: advanced beginner. You should be comfortable with chains, single crochet, increases, and decreases. The new skill in this pattern is sewing parts together neatly, which is covered step by step in the assembly section.
If you have never sewn amigurumi parts together, this is a good first project: simple shapes, small seams, and pins that hold everything while you work.
Abbreviations, US terms
| Abbreviation | Meaning |
|---|---|
| ch | chain |
| sc | single crochet |
| sl st | slip stitch |
| inc | increase: 2 sc in the same stitch |
| dec | decrease: sc 2 together (invisible decrease recommended) |
| st(s) | stitch(es) |
| MR | magic ring |
| Rnd(s) | round(s) |
| FO | fasten off |
| [ ] | total stitch count at the end of the round or row |
A note on decreases: the invisible decrease (front loops only of the next two stitches, yarn over, pull through) leaves a smooth fabric with no gaps, which is what you want on the head and body.
A note on stuffing: stuff the head and front half of the body before Round 25, when the opening gets small. Add stuffing a little at a time: firm in the head for a rounded snout, slightly softer in the belly so the gecko sits naturally. The legs need only a light pinch of stuffing, and the ridge bumps need none at all.
The pattern (US terms)
Instructions below are for the medium size, with small and large adjustments in brackets where they differ: small (medium, large). Work in continuous rounds unless a row is specified.
Head and body (one piece)
Start with main colour yarn. The nose is the narrow end and the body widens into the head, then narrows again toward the tail.
- Rnd 1: MR, 6 sc in ring. [6]
- Rnd 2: inc in each st around. [12]
- Rnd 3: (sc, inc) x6. [18]
- Rnd 4: (2 sc, inc) x6. [24]
- Rnd 5: (3 sc, inc) x6. [30]
- Rnds 6 to 10: sc in each st around. [30]
This section is the head. Insert the safety eyes between Rnds 7 and 8, about 8 sts apart (small: 7 sts, large: 9 sts). The eyes sit on the front half of the head, roughly above where the mouth will be. Push the washers on firmly from the inside.
- Rnd 11: (3 sc, dec) x6. [24]
- Rnd 12: sc in each st around. [24]
- Rnd 13: (2 sc, dec) x6. [18]
- Rnd 14: sc in each st around. [18]
- Rnds 15 to 24: sc in each st around. [18] (small: Rnds 15 to 20, large: Rnds 15 to 28)
This long section is the body and belly. Stuff the head firmly now and add stuffing to the body as you work through these rounds, a little at a time.
- Rnd 25: (sc, dec) x6. [12] (small: Rnd 21, large: Rnd 29)
- Rnd 26: dec x6. [6] (small: Rnd 22, large: Rnd 30)
FO, leaving a 6 in tail. Thread the tail through the front loops of the remaining 6 sts and pull tight to close, then weave the end inside.
Mouth embroidery (optional): with a strand of accent yarn, embroider a small shallow curve below and between the eyes, about 4 sts wide. Keep the stitches small: geckos have sweet little smiles, not big grins.
Tail (curled)
The tail is worked in rows. The second row adds stitches, which forces the tail to curl into a spiral. With main colour yarn, ch 31 (small: ch 25, large: ch 37).
- Row 1: starting in the 2nd ch from the hook, sc in each ch across. [30]
- Row 2: change to accent colour, ch 1, turn, (inc, sc) repeat across to the end. [45]
FO, leaving a 12 in tail for sewing. The strip will already be curling: roll it gently into a spiral with the accent-coloured edge on the outside, and it will hold the curl.
Legs (make 4)
All four legs use the same pattern. Work the two front legs and two back legs identically: only the placement differs, which is covered in assembly.
- Rnd 1: MR, 6 sc in ring. [6]
- Rnd 2: inc in each st around. [12]
- Rnds 3 to 6: sc in each st around. [12] (small: Rnd 3 only, large: Rnds 3 to 8)
- Next rnd: (2 sc, dec) x3. [9] (small: (sc, dec) x4. [8])
- Last rnd: sc in each st around. [9] (small: [8])
Stuff each leg lightly, just enough that it holds its shape but still bends a little. FO, leaving a 10 in tail for sewing.
Toe embroidery: with accent yarn, embroider 3 short straight stitches across the front of each leg near the bottom, like little toes. Each stitch should be about 2 sts wide. These tiny toes are what make the feet look like feet instead of tubes, so do not skip them.
Back ridge bumps (make 8)
The bumps are tiny domes sewn in a line down the spine. Make all 8 before assembly so the row looks even.
- Rnd 1: MR, 6 sc in ring. [6]
- Rnds 2 to 3: sc in each st around. [6]
Do not stuff. FO, leaving an 8 in tail for sewing. Flatten each bump slightly with your fingers: it should look like a small rounded scale.
Assembly
Pin everything before you sew: it is much easier to adjust a pinned gecko than a sewn one. Lay the body flat with the eyes facing up and the closed end (Rnd 26) pointing away from you.
Tail: pin the Row 1 end of the tail to the closed back end of the body. The tail should point straight back, then curl to one side. Sew it on with small whipstitches all the way around the join, and give the join a firm tug: the tail gets handled a lot, and this seam takes the strain.
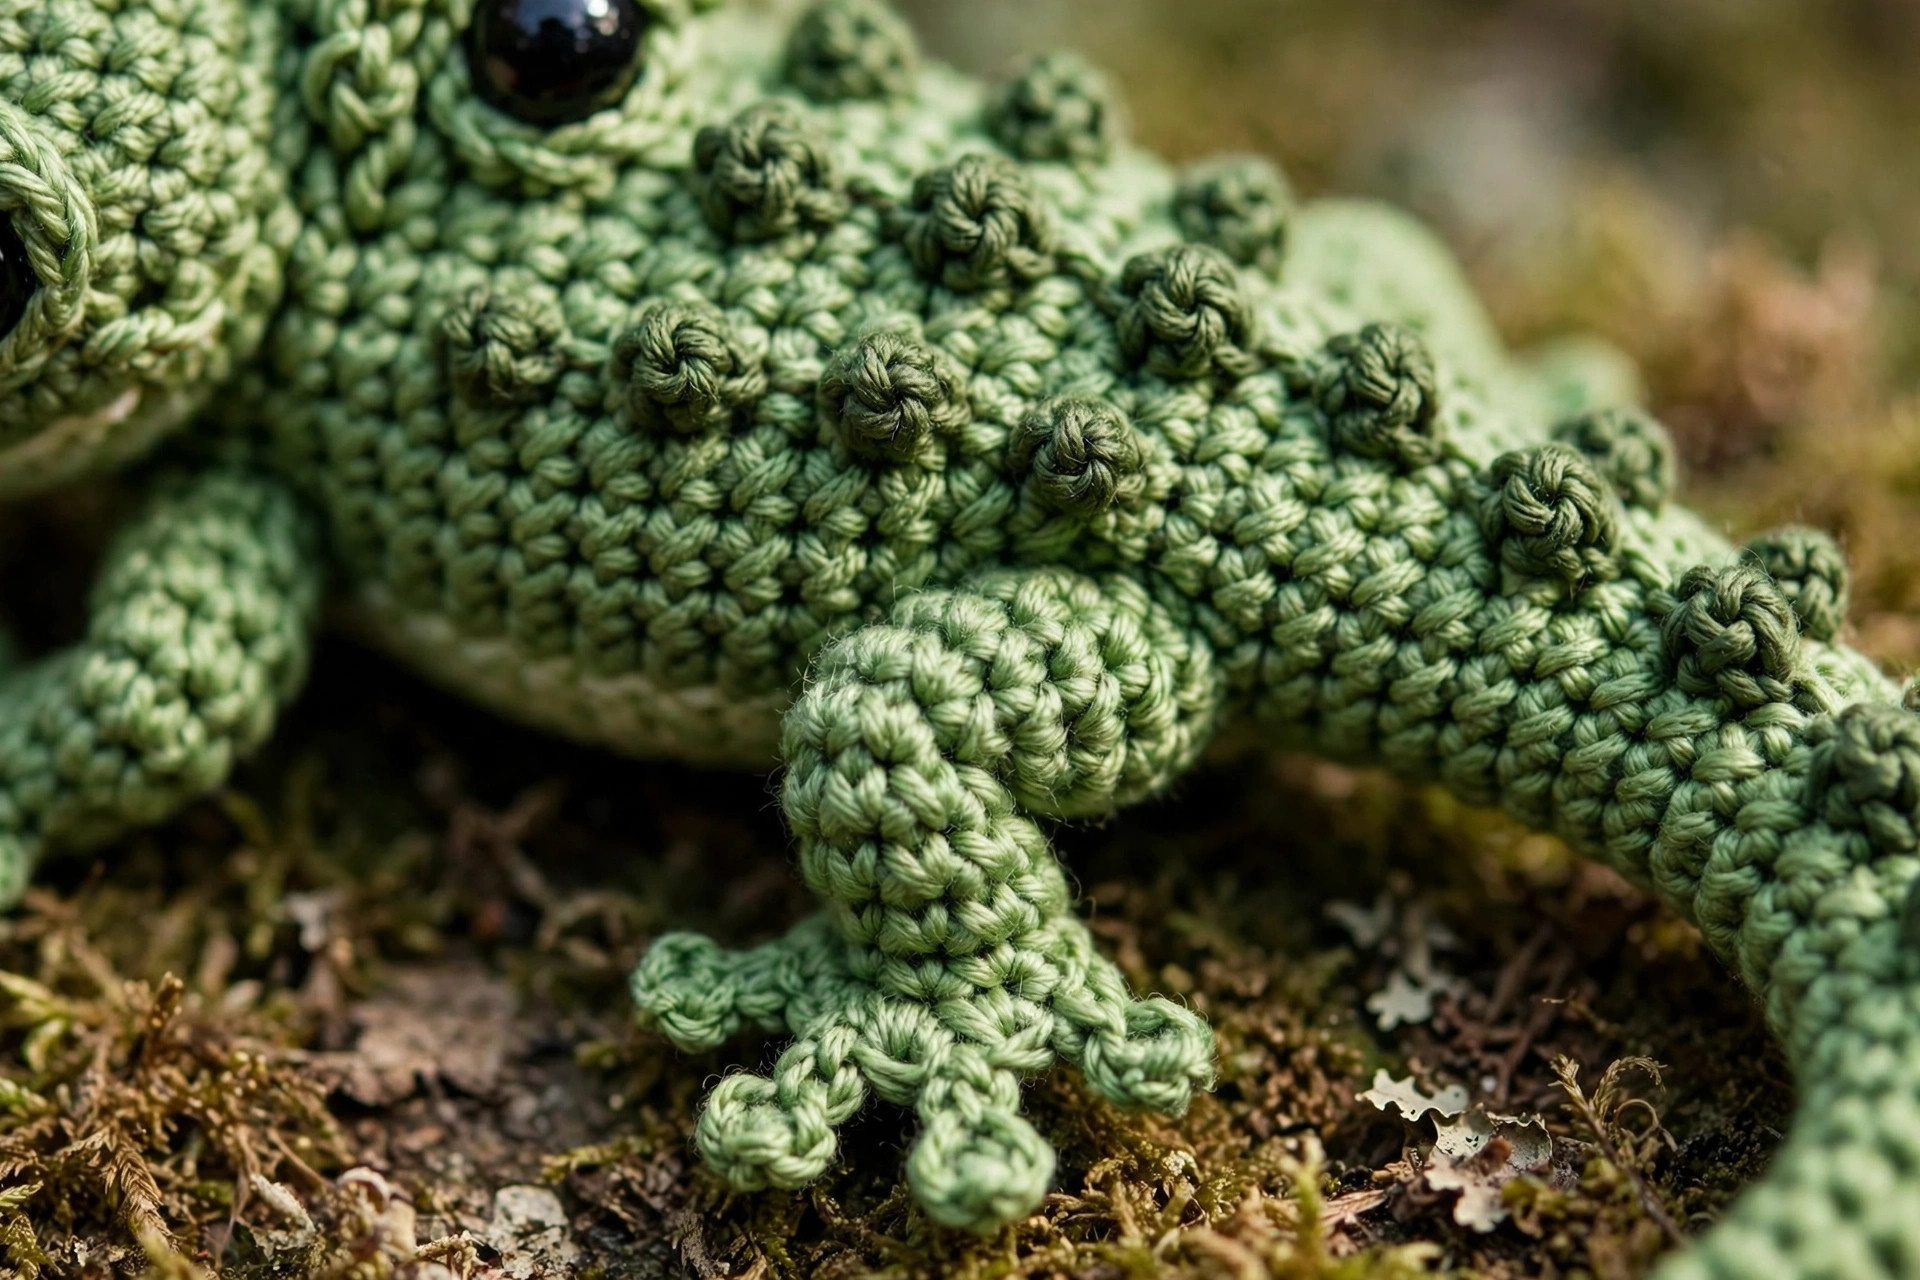
Back ridge bumps: pin the 8 bumps in a straight line down the centre of the back, starting just behind the head at about Rnd 8 and ending at about Rnd 22. Sew each bump on with its tail, working through the base of the bump and into the body, then knot inside.
Legs: pin the four legs to the sides of the body. The front legs sit just behind the head at Rnds 13 to 14, and the back legs sit at Rnds 22 to 23. The toe embroidery should face forward and slightly outward, like a gecko splaying its feet. Sew each leg on around the top half, leaving the bottom free so the feet point down. Check from the front: all four feet should touch the table, or the gecko will wobble.
Final check: stand the gecko on the table. It should sit upright on its four feet with the tail curling beside it. If it tips forward, work a little more stuffing into the belly with your fingertips to shift the balance back. If it tips to one side, re-pin the lifted leg a round lower.
Finishing touches
Weave in any remaining ends now, working each tail through the base of the stitches for at least 2 in before trimming flush.
Shape the tail curl. If the curl relaxed while you were sewing, wrap the tail gently around your finger and hold for a few seconds. Cotton yarn holds a set curl well; acrylic may need a second wrapping.
Fluff the stuffing. Roll the body gently between your palms to distribute the stuffing evenly, working any lumpy patch with your fingertips until it smooths out.
Check the eyes. Give each safety eye a tug from the front: it should not move at all. If an eye wiggles, the washer is not seated fully: push it on harder with the flat of your thumbnail.
Two colourways to try next
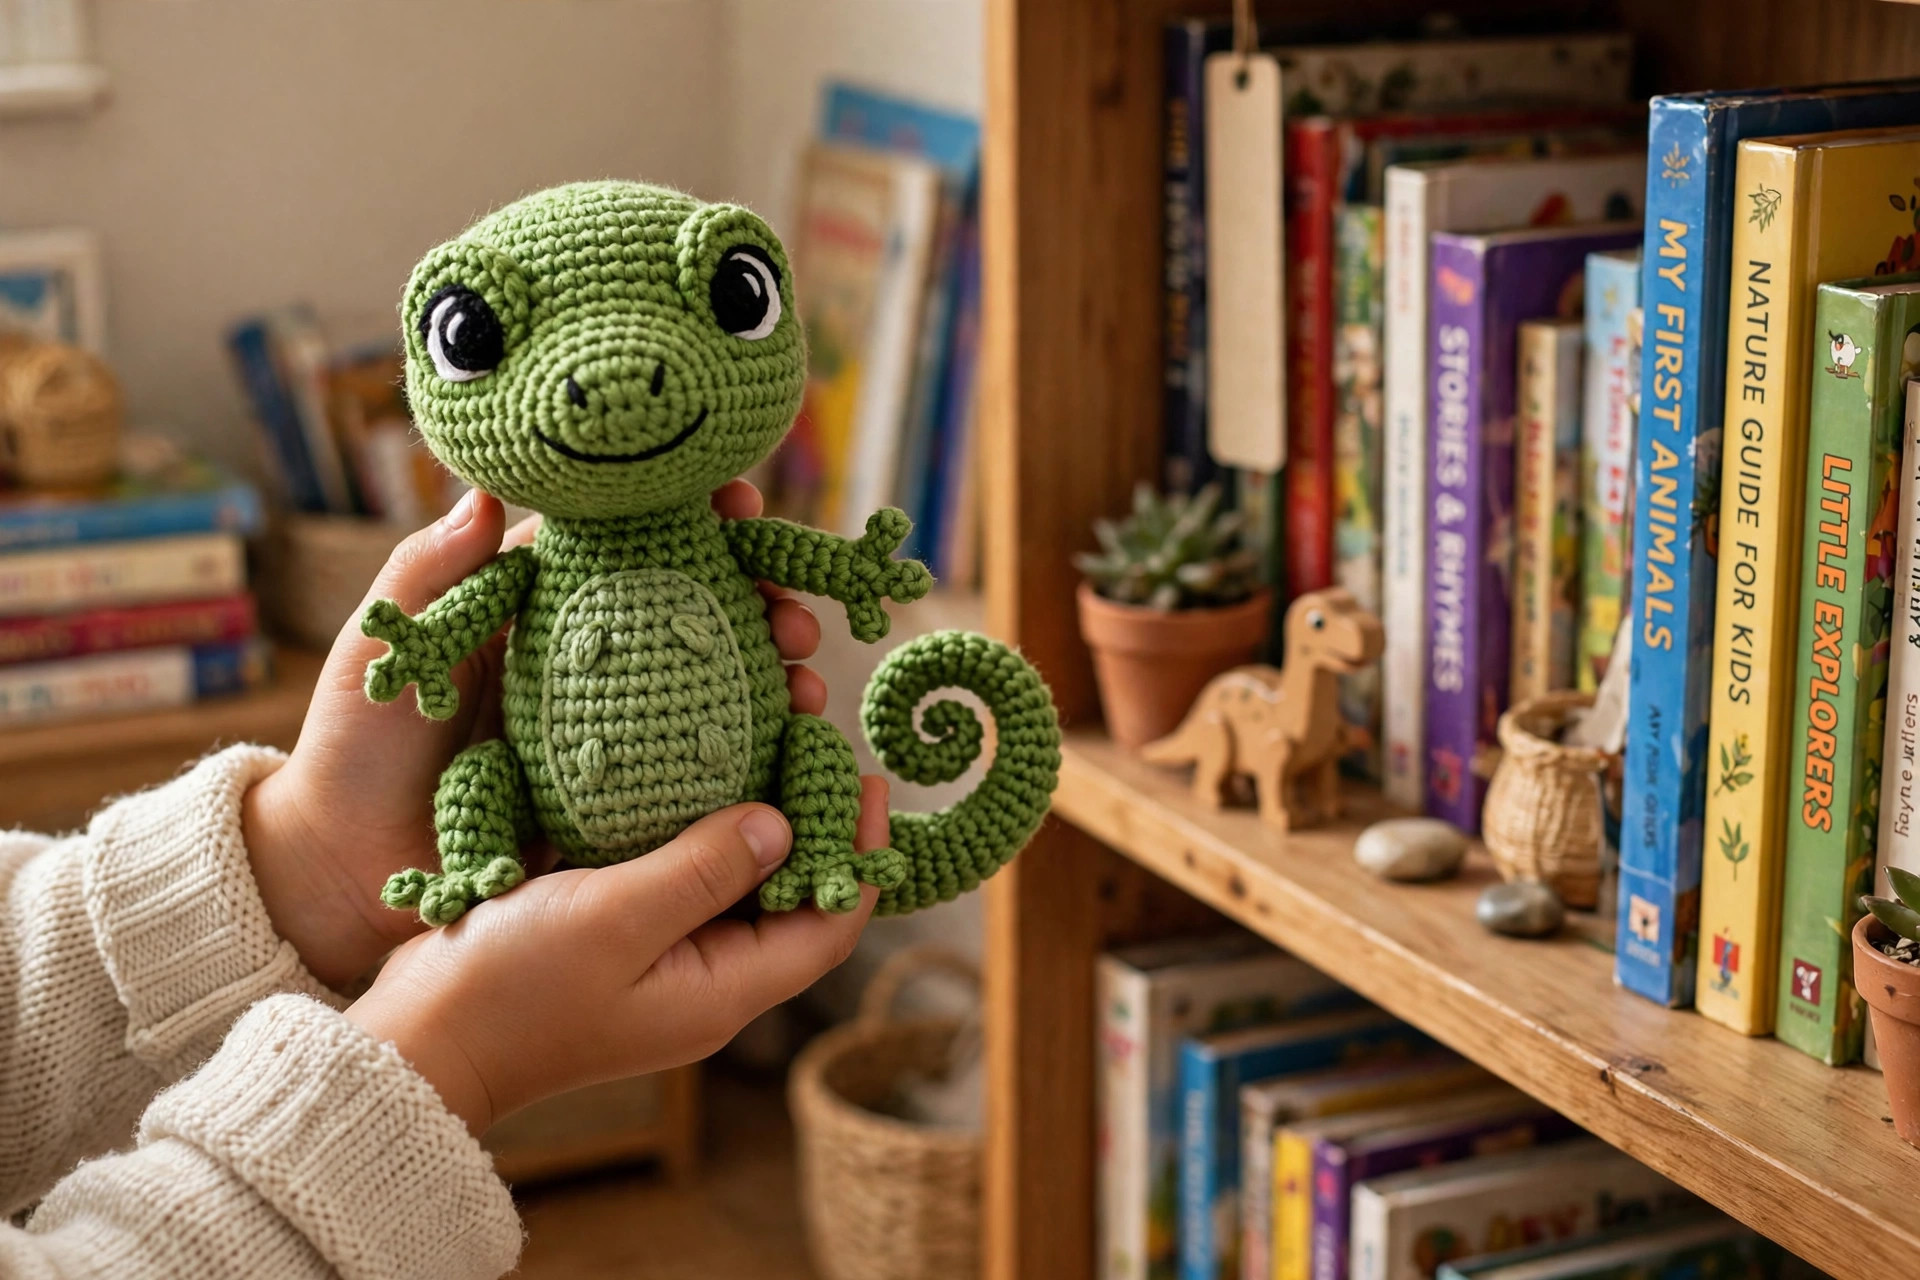
Once you have made one gecko, the same pattern makes a whole bask of lizards. The colourway is where the personality lives, and swapping two yarns gives you a completely different animal.
- Garden gecko. Main yarn: leaf green. Accent yarn: sunny yellow. Green body, yellow ridge bumps and tail edge, yellow toe embroidery: it looks like it just climbed off a houseplant.
- Desert gecko. Main yarn: sandy tan. Accent yarn: cream. Work the ridge bumps in cream and place two extra bumps close together on the neck for a slightly spikier look. Pair it with a cactus pot and it is the perfect shelf scene.
Troubleshooting tips
- The tail will not curl. You skipped the increase row, or you worked Row 2 without turning. Row 2 must be worked in the opposite direction with (inc, sc) repeats: the added stitches are what force the curl. If the strip is straight, you worked straight single crochet: frog it and redo Row 2 with the increases.
- The tail curls the wrong way (accent colour inside). You started the spiral from the wrong end. Unroll the tail, flip it over so the accent edge faces out, and re-roll from the Row 1 end.
- The head looks lopsided or flat on one side. The safety eye washers are pressing the stuffing aside. Add a little more stuffing around each washer and reshape the head with your palms before you close the body.
- The gecko wobbles when it stands. The legs are not level. Find the leg that lifts off the table, unpick its top stitches, re-pin it one round lower, and sew it again.
- The ridge bumps drift off the spine line. You pinned them one at a time without checking the line. Pin all 8 first, look straight down at the back, then sew. A piece of contrasting thread laid along the spine makes a good guide.
- The stuffing shows through the stitches. Your hook is too big or your tension is too loose. Go down half a hook size and pull each stitch snug as you make it.
Frequently asked questions
Is this crochet lizard pattern really free?
Yes, the complete pattern above is free, no email signup and no purchase required. It is an original Little Loop Finds design in US crochet terms.
What skill level is this gecko pattern?
Advanced beginner. You should know how to chain, single crochet, increase, and decrease, and be willing to sew parts together. The pattern walks through every join, so it is a great first sewn amigurumi.
How long does it take to make the gecko?
About three to four hours for the medium size: roughly 90 minutes for the head and body, 30 minutes for the tail and legs, and 60 to 90 minutes for assembly, toe embroidery, and finishing. Do not rush the second half: sewing and embroidery make the gecko.
How much yarn do I need?
About 60 yds of main colour and 25 yds of accent colour in DK weight for the medium gecko. One 100 g ball of main yarn makes a gecko with plenty left over, so this is a good stash-buster.
Can I make it bigger or smaller?
Yes. The pattern includes small (5 in, 3.0 mm hook) and large (9 in, 4.0 mm hook) adjustments in brackets throughout. For a bigger plush version, use worsted-weight yarn with a 5.0 mm hook and skip the brackets: you will get a gecko about 10 in long.
Is this gecko safe for small children?
It can be. Use safety eyes (not buttons), embroider the mouth instead of adding beads, and sew every part on firmly. For babies under one, embroider the eyes too, so there are no hard parts at all.
Can I sell geckos I make from this pattern?
Yes, in small batches at craft fairs, markets, or as gifts. Please credit Little Loop Finds as the pattern designer with a link back to this page. The pattern text itself may not be copied, shared, or sold.
More free patterns to try
If this gecko was fun, keep the hook moving. Our crochet dragon pattern is the next reptile make, with bigger ridge bumps and wings. The free crochet hummingbird pattern is another small animal with lovely colourwork, and the crab crochet pattern has the same satisfying leg-and-claw construction. For cat lovers, the crochet cat pattern is one of our most loved amigurumi makes.