Crochet Ornaments Free Patterns: 4 Quick Christmas Designs
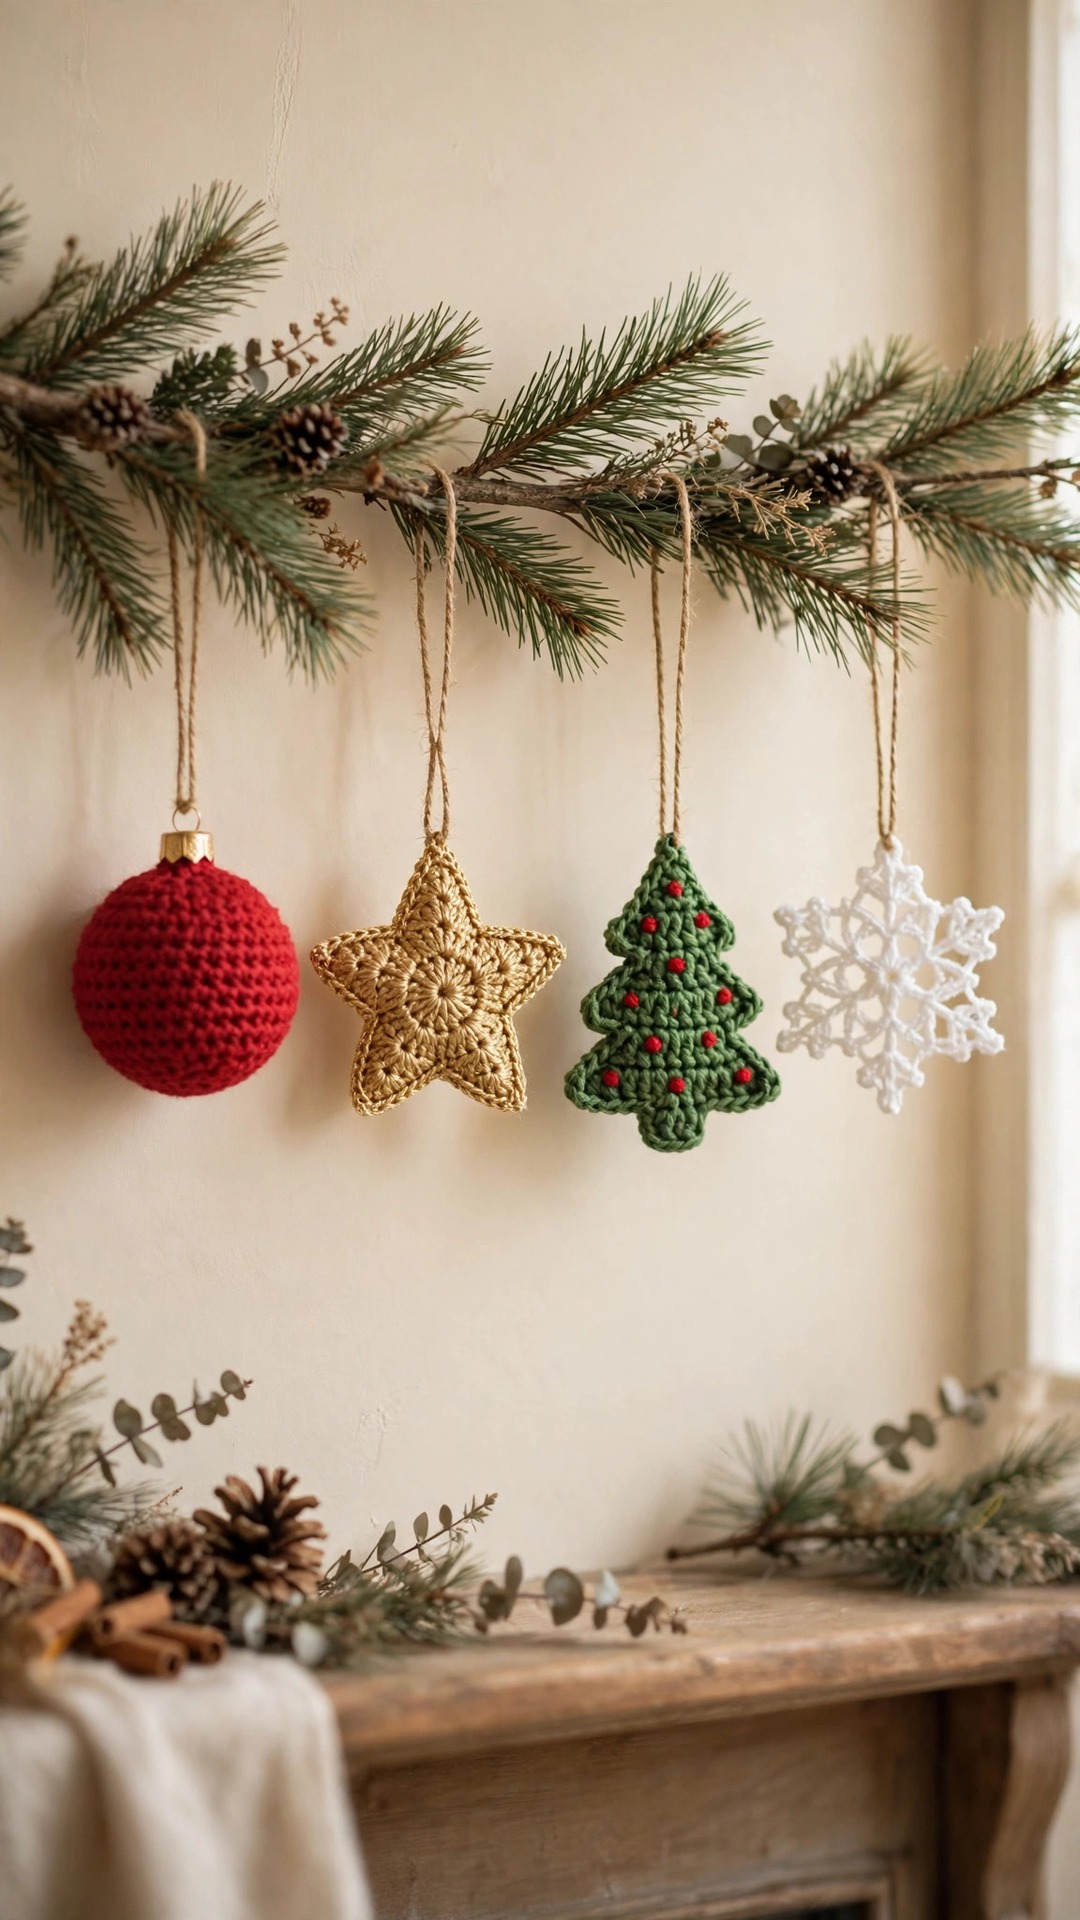
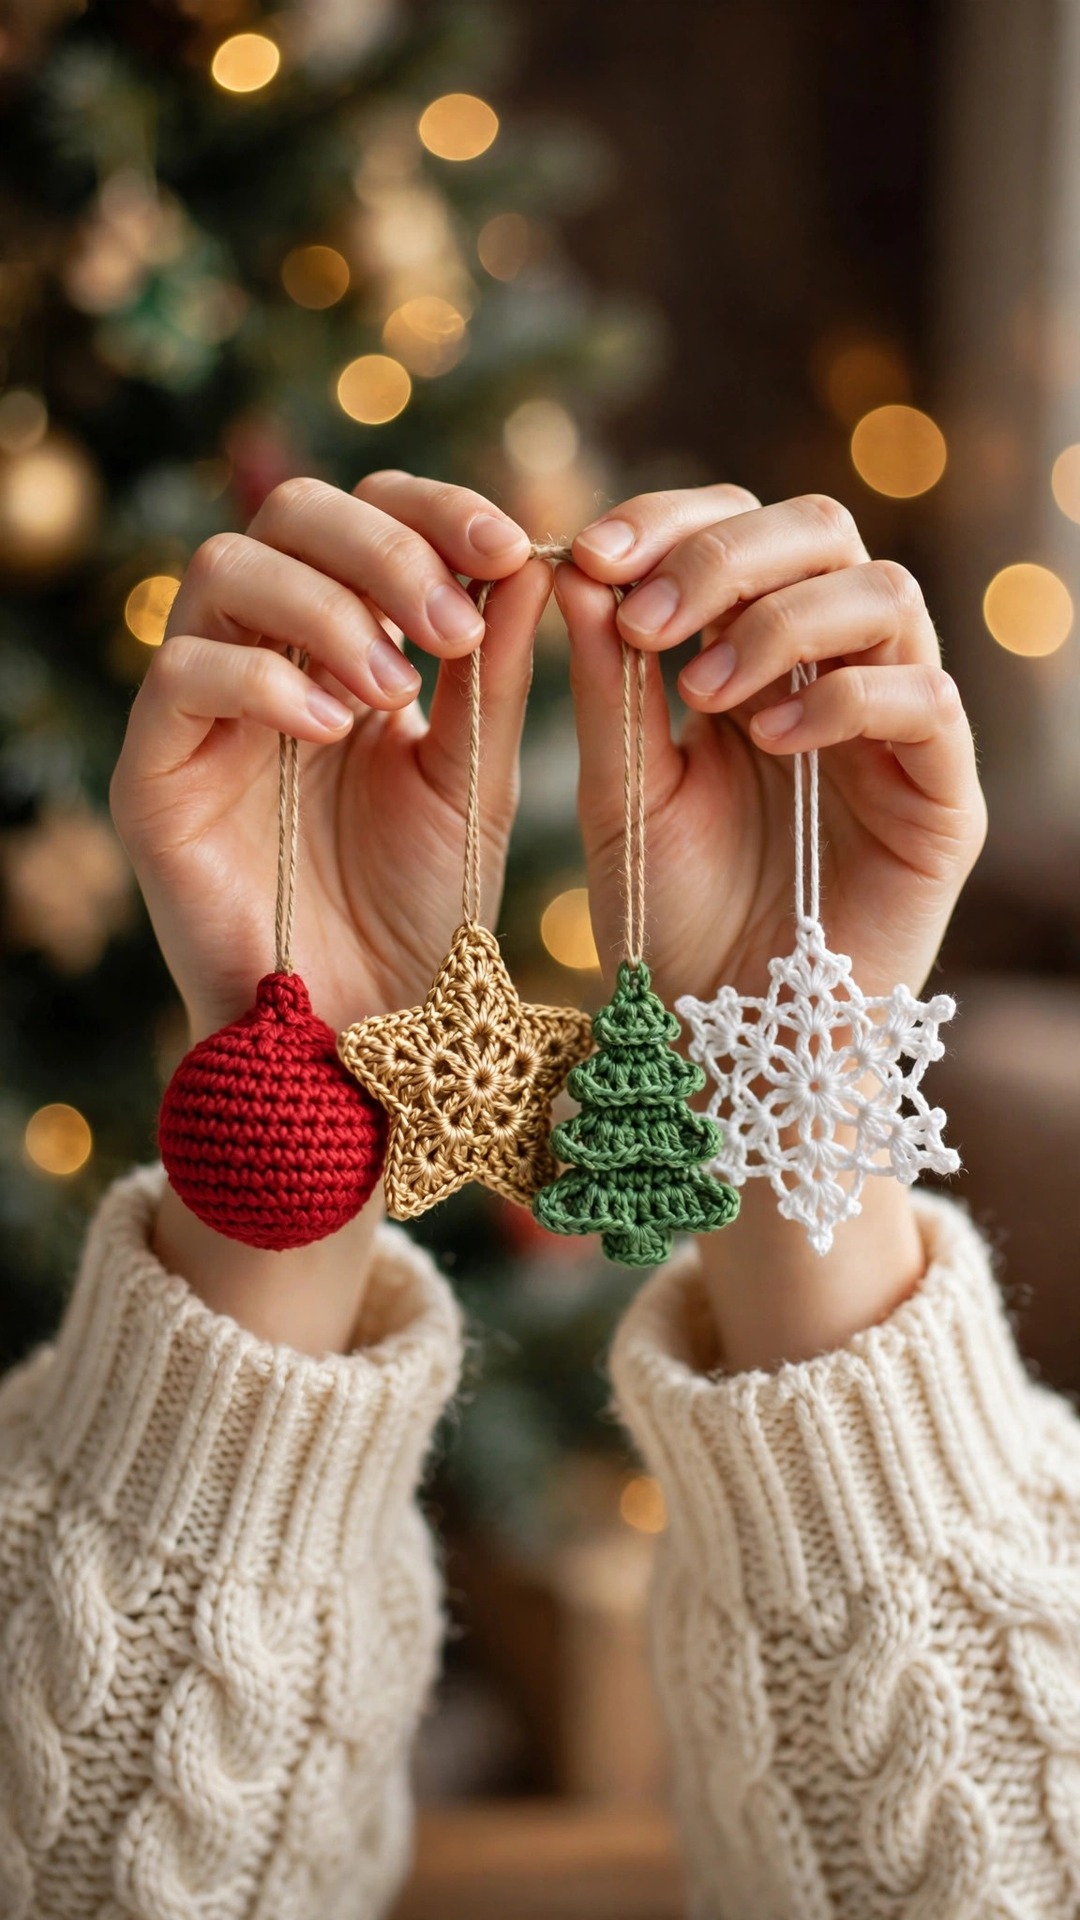
Four quick Christmas ornaments in easy single crochet — a stuffed red bauble with a gold cap, a padded gold star, a tiered green mini tree and a lacy six-point snowflake, with full stitch counts for the whole set.

Christmas · Crochet
- Finished size
- Bauble 2.5 in; set up to 4 in across
- Making time
- About 2 hours for the set
- Hook
- 3.5 mm, DK-weight yarn
- Ornaments
- 4 designs — bauble, star, tree, snowflake
- Skill
- Easy
In this post
Every December the tree goes up and something is missing: the big shop-bought baubles are there, the lights are there, yet the tree looks like everybody else's. These crochet ornaments free patterns fix that in one evening — a red bauble, a gold star, a little green tree and a lacy white snowflake that make the tree look like yours. They are quick, stash-busting, and make gifts people keep.
This is an original Little Loop Finds set, designed as one collection so the four ornaments look right together. The bauble is a stuffed ball in single crochet, the star is two flat pieces sewn together, the tree is worked flat in rows, and the snowflake is a lacy circle of chain spaces. Every round and row has its stitch count written out.
Contents
- Why you'll love these crochet ornaments
- Materials you'll need
- Size, gauge and skill level
- Abbreviations — US terms
- The patterns (US terms)
- Finishing and assembly
- Tips for ornaments that look right
- FAQ
- What to crochet next
Why you'll love these crochet ornaments
First, they are genuinely fast. Nothing here takes longer than about half an hour. Each ornament is small, so there is no long middle stretch where a project drags.
Second, the set is designed to hang together. Red, gold, green and white are the classic Christmas palette, and because all four use the same yarn and hook, the stitches match in scale and the ornaments look like a collection.
Third, they are the perfect stash project. Each ornament needs only 15 to 20 grams of yarn, so half-used balls finally earn their keep. One ball of each colour is enough for two full sets — one for the tree and one to give away. If your tree still needs a bigger statement piece, our free crochet Santa hat pattern is the same festive red and looks wonderful draped over a branch beside them.
Materials you'll need
DK-weight yarn does all the work here. Choose a smooth DK acrylic or wool blend with a little body.
| Supply | What to get |
|---|---|
| Red yarn | DK (category 3), classic Christmas red, about 20 g / 55 yards |
| Gold yarn | DK (category 3), gold, about 15 g / 40 yards |
| Green yarn | DK (category 3), Christmas green, about 20 g / 55 yards |
| White yarn | DK (category 3), white, about 15 g / 40 yards |
| Brown yarn | Small DK scrap in brown, for the trunk |
| Hook | 3.5 mm (US E-4) crochet hook |
| Stuffing | Small amount of polyester toy stuffing |
| Notions | Yarn needle, stitch marker, scissors, tape measure |
| Hanging loops | Thin twine or ribbon, 6 in (15 cm) per ornament — the photos use plain twine |
| Optional | Small bought gold bauble cap, red yarn scrap for tree dots, spray starch for the snowflake |
Size, gauge and skill level
Skill level: Easy. You need a magic ring, chain, single crochet, increases and decreases, and slip stitch. The bauble is the easiest of the four and the best place to start; the snowflake is the fiddliest, so save it for last. Our crochet Christmas coasters free patterns use the same single crochet base.
Finished sizes: The bauble measures about 2.5 in (6.5 cm) across. The star measures about 3 in (7.5 cm) from point to point. The tree measures about 3.5 in (9 cm) tall including its little brown trunk. The snowflake measures about 4 in (10 cm) across once blocked.
Gauge: 22 single crochet stitches and 24 rows measure about 4 in (10 cm) with a 3.5 mm hook and DK yarn. Gauge is not critical here — ornaments are not garments — but looser stitches make a bauble closer to 3 in across.
Making time: About 30 minutes for the bauble, 25 for the star, 30 for the tree and 20 for the snowflake — roughly 2 hours for the full set, plus a few minutes of finishing.
Abbreviations — US terms
US terms throughout. (UK note: a US single crochet is a UK double crochet.)
| Abbreviation | Meaning |
|---|---|
| MR | magic ring |
| ch | chain |
| sl st | slip stitch |
| sc | single crochet |
| inc | increase — 2 sc in the same stitch |
| dec | decrease — sc 2 together |
| st(s) | stitch(es) |
| rnd(s) | round(s) |
| row(s) | row(s) |
| FO | fasten off |
Single crochet reminder: Insert the hook, yarn over and pull up a loop (2 loops on hook), yarn over and pull through both loops. Keep the stitches firm on the bauble — loose single crochet lets the stuffing show through.
A note on counting: The bold number at the end of each round or row is your stitch count for that round or row. Count at the end of every increase row on the star and the tree: a missed increase shows up at once as a lopsided point or a tier that leans.
The patterns (US terms)
Work the ornaments in any order. The bauble and star are worked in rounds, the tree flat in rows and made twice, and the snowflake in rounds of chain spaces. Hanging loops are added in finishing.
1. The red bauble — red yarn, 3.5 mm hook
Increase steadily to 24 stitches, work four plain rounds for a round belly, then decrease back down, stuffing as you go.
- R1: MR, 6 sc into the ring, join with sl st to first sc (6)
- R2: inc in each st around (12)
- R3: [sc, inc] × 6 (18)
- R4: [2 sc, inc] × 6 (24)
- R5–R8: sc in each st around (24) — 4 rounds even
- R9: [2 sc, dec] × 6 (18) — stuff lightly now
- R10: [sc, dec] × 6 (12) — add a little more stuffing
- R11: dec × 6 (6)
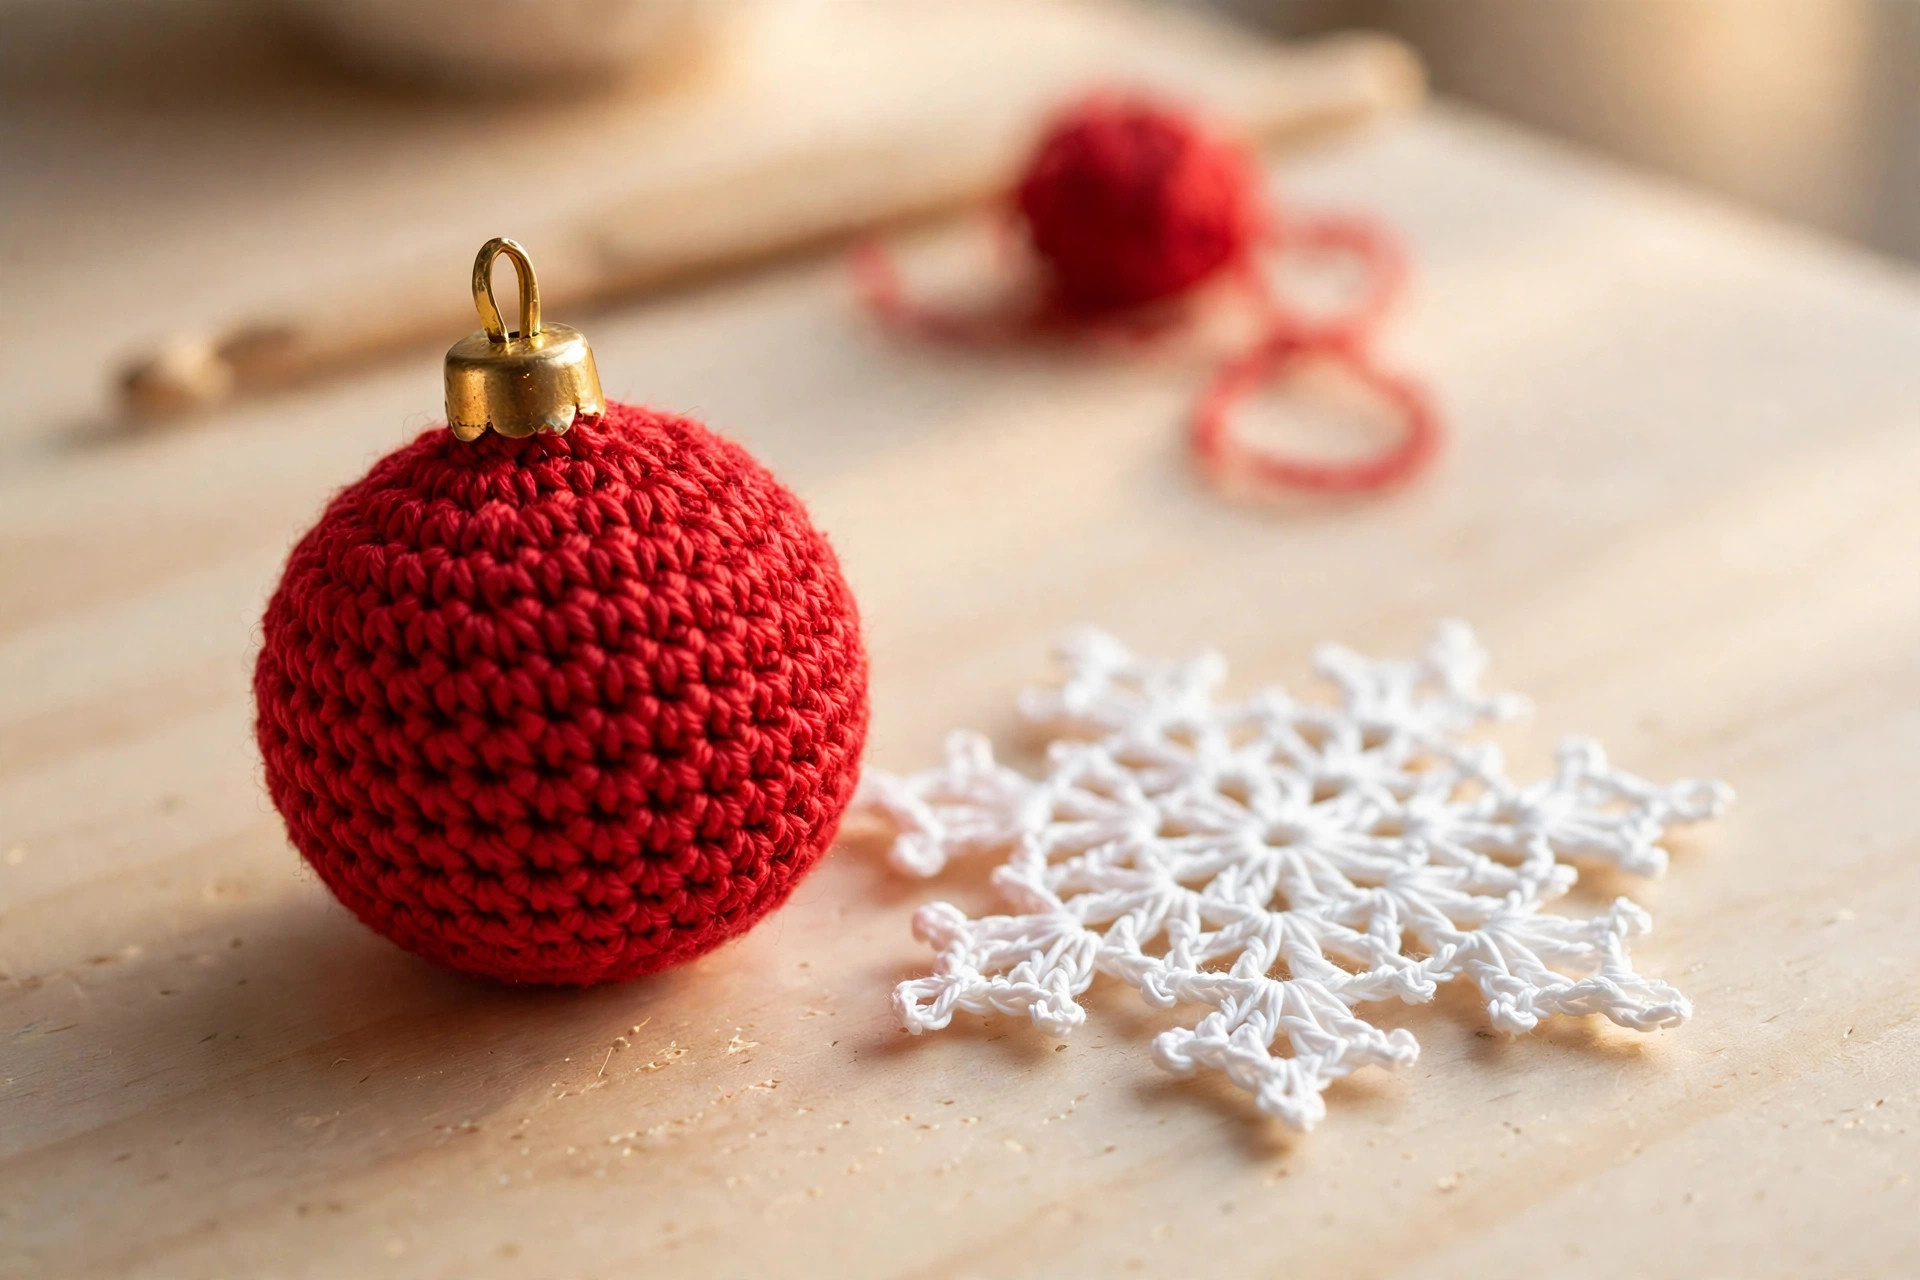
FO, leaving a long tail. Thread it through the front loop of each of the 6 remaining stitches, pull gently to close, and weave the end inside. The bauble should feel firm and springy — if it dents and stays dented, add more stuffing.
The gold cap — gold yarn, 3.5 mm hook: The photographs show a small bought metal cap on the red bauble — the quickest finish. To crochet the cap instead, work it as follows and sew it over the top:
- R1: MR, 6 sc into the ring (6)
- R2: sc in each st around (6)
- R3: [sc, inc] × 3 (9)
- R4: sc in each st around (9)
FO, leaving a tail for sewing. Sew the cap on with small stitches around its lower edge, then thread a twine loop through the top — or, for the crocheted cap, chain 12, slip stitch into the first chain to form a ring, and sew the ring to the top.
2. The gold star — gold yarn, 3.5 mm hook, make 2
A five-pointed star from a small circle, each point worked in short rows over three stitches. Make two and sew them together with a little stuffing between them. The centre is 15 stitches — five points of three — so count it before you start the points.
The centre — make 2:
- R1: MR, 5 sc into the ring (5)
- R2: inc in each st around (10)
- R3: [sc, inc] × 5 (15)
Do not fasten off after R3 — the points follow in rows.
The points — 5 points, each over 3 stitches:
- Point row 1: sc in the next 3 sts, ch 1, turn (3)
- Point row 2: dec, sc, ch 1, turn (2)
- Point row 3: dec (1)
FO. Rejoin the yarn in the next unworked stitch of R3 and repeat the three point rows. Work five points in total: 5 points × 3 stitches = 15, so if stitches are left over or run out early, recount R3. Make a second star the same way.
Sew the two stars together with gold yarn, using small whip stitches just inside the edge, and tuck a pinch of stuffing between them before closing the last point. Pad lightly — enough to hold its shape, not so much the points lose their outline. Loop: chain 10, slip stitch into the first chain to form a ring, and sew it to the tip of the top point.
3. The mini tree — green yarn, 3.5 mm hook, make 2
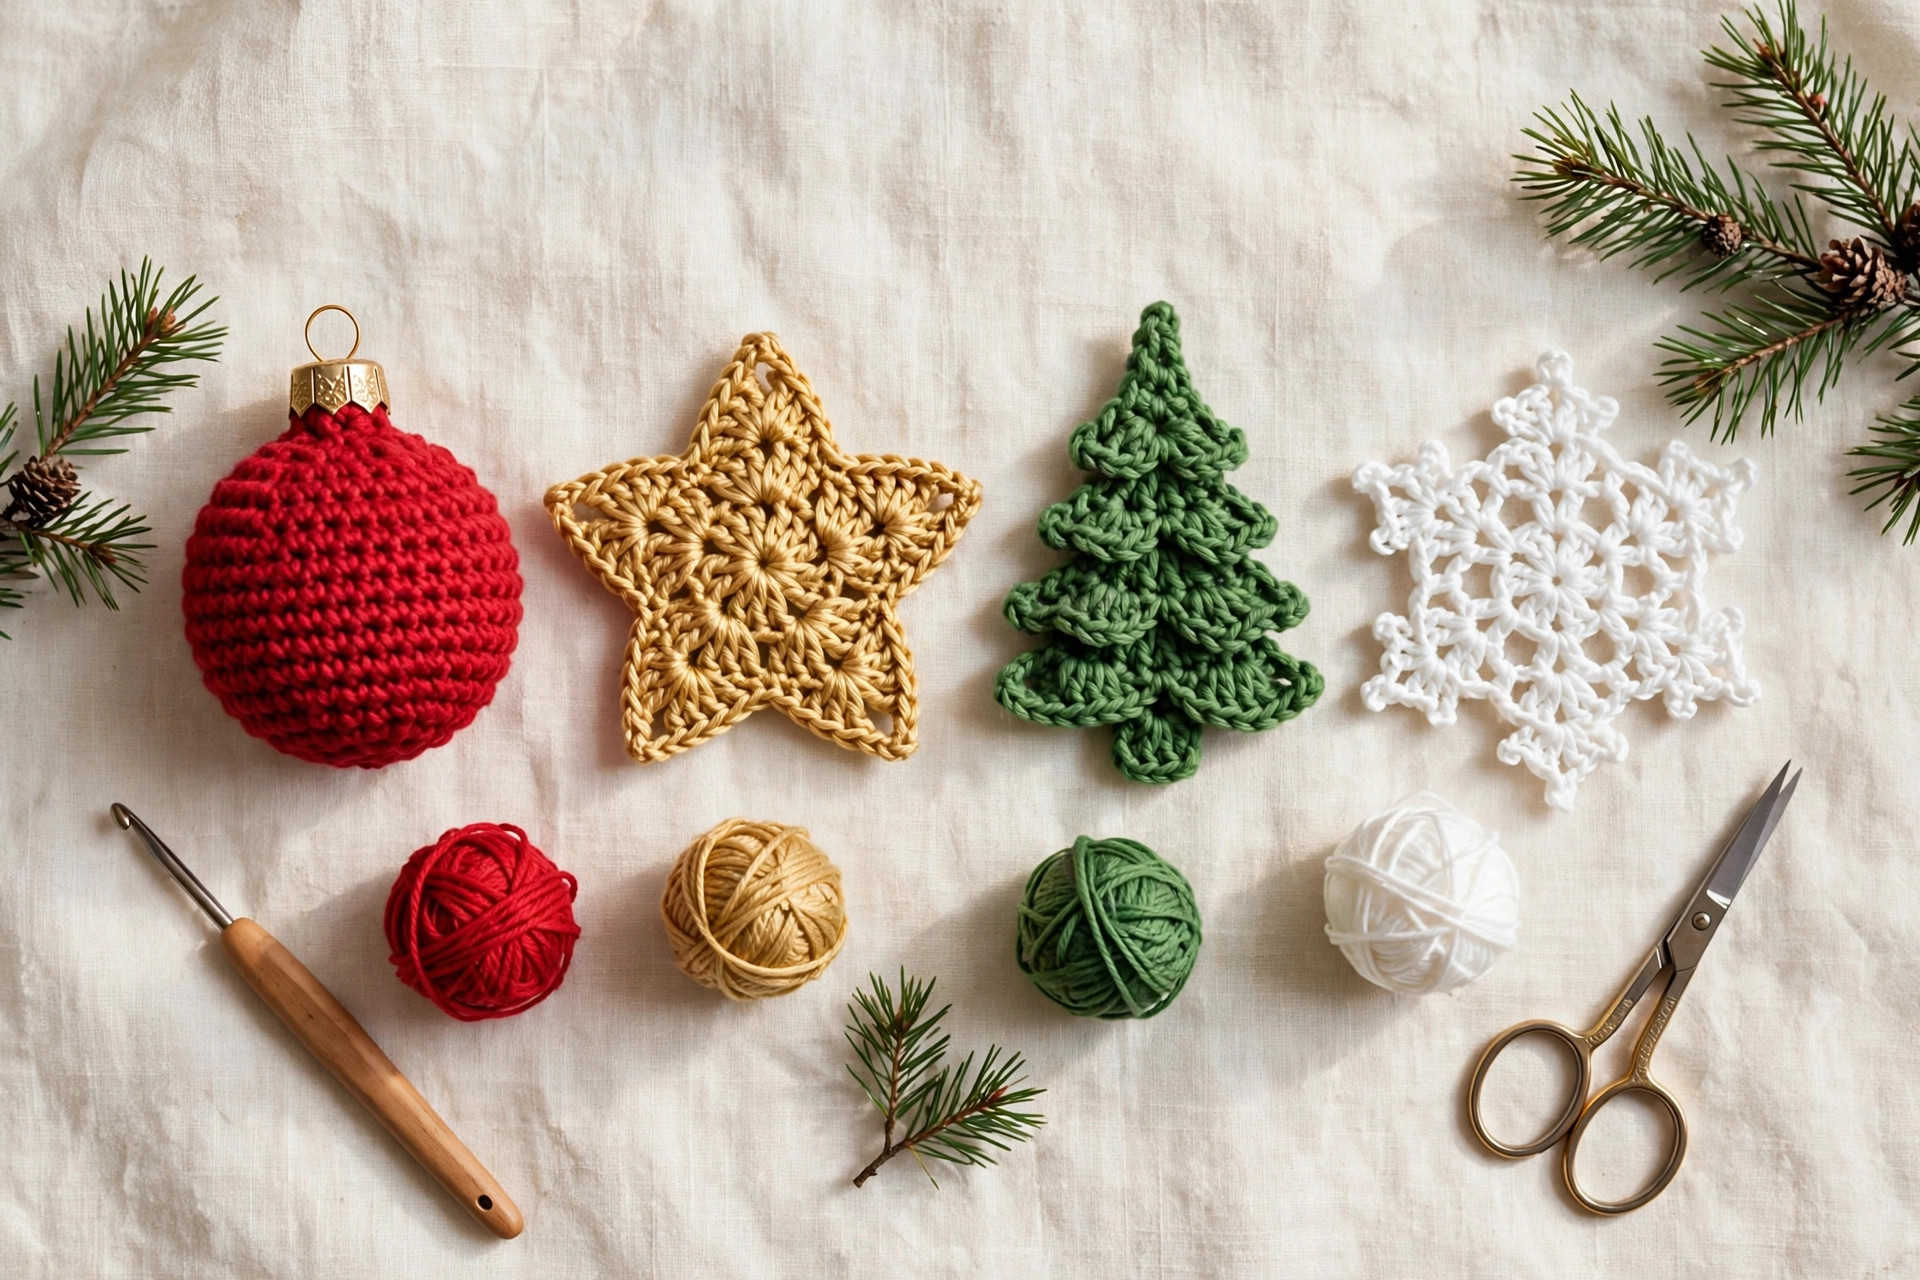
A flat tree worked in rows from the top down, with an increase row followed by a plain row so the sides step outwards in tiers — the stepped shape in the flat-lay photograph. Make two identical trees and sew them together with a little stuffing, exactly like the star.
The tree — make 2:
- Row 1: ch 2, 3 sc in the 2nd ch from the hook, ch 1, turn (3)
- Row 2: inc, sc, inc, ch 1, turn (5)
- Row 3: sc in each st across, ch 1, turn (5)
- Row 4: inc, 3 sc, inc, ch 1, turn (7)
- Row 5: sc in each st across, ch 1, turn (7)
- Row 6: inc, 5 sc, inc, ch 1, turn (9)
- Row 7: sc in each st across, ch 1, turn (9)
- Row 8: inc, 7 sc, inc, ch 1, turn (11)
- Row 9: sc in each st across, ch 1, turn (11)
- Row 10: inc, 9 sc, inc, ch 1, turn (13)
- Row 11: sc in each st across (13)
FO, leaving a tail for sewing on one of the two pieces. The tree should be a neat stepped triangle, about 3 in (7.5 cm) tall, and the two pieces should match — lay one on top of the other and nudge any difference into place.
The trunk — brown yarn, 3.5 mm hook, make 1:
- Row 1: ch 4, sc in the 2nd ch from the hook and in each ch across, ch 1, turn (3)
- Row 2: sc in each st across (3)
FO, leaving a tail for sewing. Sew the trunk to the centre of the bottom edge, on the back piece, so about half shows below the green.
The red dots: The tree in the hero photograph wears tiny red dots. With red yarn, work a French knot — or a small cross stitch — at nine scattered points across the front, spacing them unevenly so they look like baubles. For a toddler's room, use French knots only.
Sew the two green pieces together with green yarn, tucking a pinch of stuffing between them before closing the last tier, and sewing the trunk in as you pass the bottom edge. Loop: chain 10 with green yarn, slip stitch into the first chain to form a ring, and sew it to the top stitch.
4. The white snowflake — white yarn, 3.5 mm hook
A lacy six-point snowflake worked in chain spaces, not stitches, so the counts below are counts of repeats — six of everything. Work loosely: tight chains pull the points in and the snowflake cups.
- R1: MR, ch 1, [sc, ch 3] × 6 into the ring, join with sl st to the first sc — 6 sc and 6 ch-3 loops
- R2: sl st into the first ch-3 space, ch 1, [sc, ch 5, sc] in the same space, then [sc, ch 5, sc] in each ch-3 space around, join with sl st to the first sc — 6 ch-5 loops
- R3: sl st into the first ch-5 space, ch 1, [sc, ch 3, sc, ch 3, sc] in the same space, then [sc, ch 3, sc, ch 3, sc] in each ch-5 space around, join with sl st to the first sc — 6 points, each with two small loops
FO, leaving a tail. Weave the end in along the back of a chain space so it does not show. For the loop, chain 12, slip stitch into the first chain to form a ring, and sew it to the tip of one point.
Blocking the snowflake: Pin it out on a towel or blocking board, pulling each of the six points to the same length and pinning through each tip. Spray lightly with water and leave it to dry completely — overnight is safest.
Finishing and assembly
1. Weave in every end. Travel at least 1 in (2.5 cm) through the stitches one way, then back another, before trimming. On the bauble, weave the ends inside the stuffing; on the snowflake, weave along the back of a chain space and trim close.
2. Check the stuffing. Squeeze each stuffed ornament gently. The bauble should spring back, the star should feel evenly padded with no empty points, and the tree should feel flat and even. If a star point is empty, poke a pinch in with the blunt end of the hook before closing the seam.
3. Attach the hanging loops. The photographs use plain twine loops, knotted at the top. Cut a 6 in (15 cm) length of twine per ornament, fold it in half, thread the folded end through the cap, the top point or the top stitch, and pull the two loose ends through the fold to make a lark's head knot.
4. Block the snowflake and steam the rest. The bauble, star and tree only need a light steam: hold a steam iron a few inches above each ornament, never pressing down — a hot iron can melt acrylic fibres.
5. Hang the set and stand back. Hang the four ornaments together first, in a row on one branch or along a mantel, and look at them as a set before you scatter them through the tree.
Tips for ornaments that look right
Start with the bauble. It teaches you the tension the whole set needs: firm enough that no stuffing shows, loose enough that the ball stays round. If stuffing peeks through on your first bauble, go down half a hook size.
Count the star centre before the points. Fifteen stitches divide into five points of three. Start the points with fourteen or sixteen and one point will be fat and one thin, and no amount of sewing will hide it.
Keep the tree tiers stepped. The increase row followed by a plain row is what makes the tiers.
Work the snowflake loosely. Chain spaces made with a tight hand pull the points in and the snowflake cups like a bowl. If yours cups, go up to a 4.0 mm hook for the snowflake only.
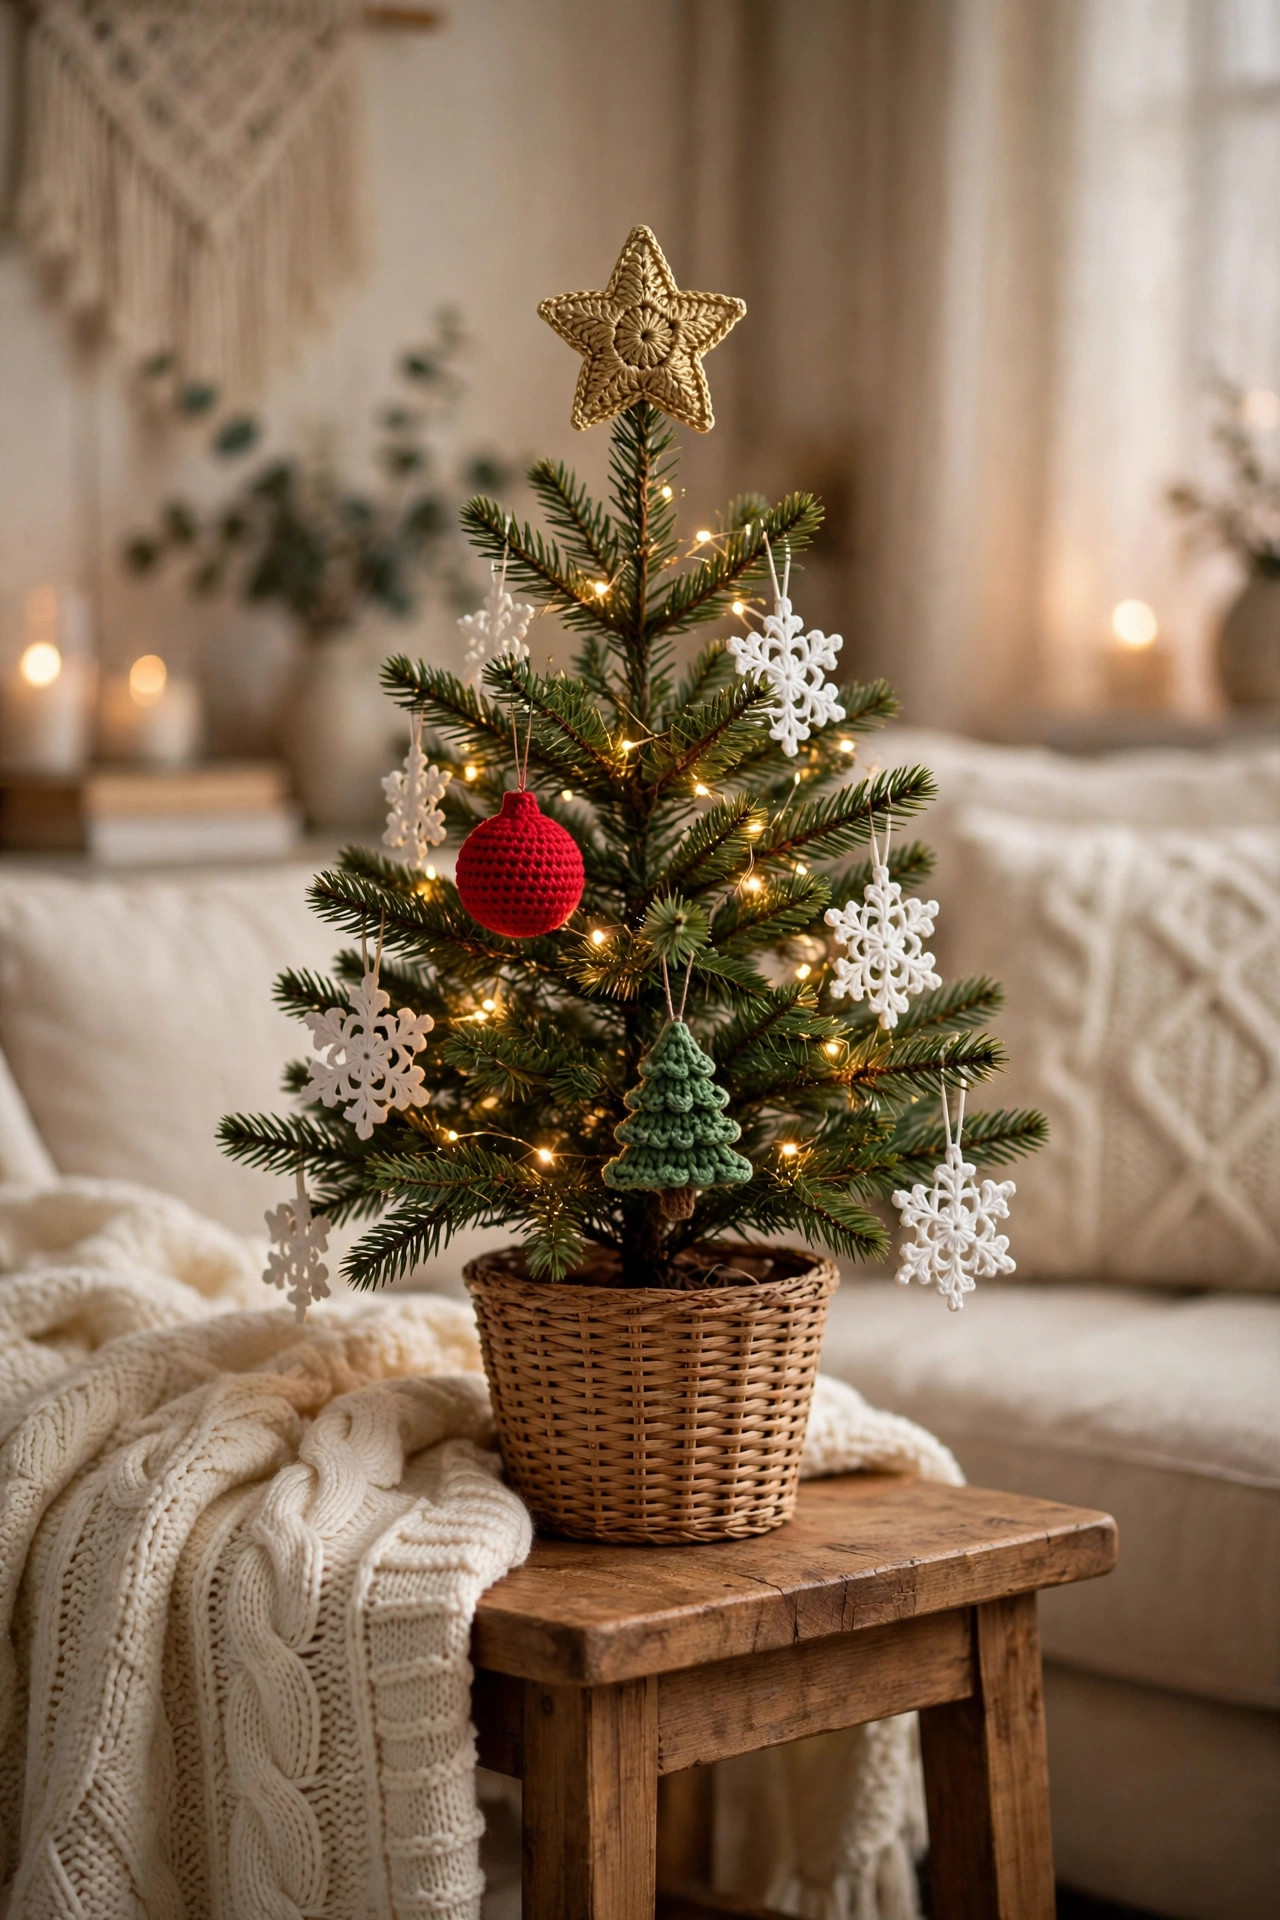
Mind the weight on the tree. A branch loaded with a bauble, a star and a tree all in one spot will droop. Spread the set around the tree, hang the snowflake high where its lacy shape catches the light, and put the bauble lower down.
Make them child-safe when they need to be. French knots and sewn-on caps are safe for little hands; small bought caps, beads and buttons are not. On a low branch in a house with toddlers, sew the cap on firmly, skip the beads, and hang the set above grabbing height.
FAQ
Are these crochet ornament patterns really free and original?
Yes — a complete, original Little Loop Finds set, designed and written by us with our own stitch counts for all four ornaments, published in full here.
How long does the whole set take to make?
About 2 hours in total: roughly 30 minutes for the bauble, 25 for the star, 30 for the tree and 20 for the snowflake, plus a few minutes of finishing.
What yarn and hook do I need for crochet ornaments?
DK-weight yarn (category 3) in red, gold, green and white, plus a scrap of brown, and a 3.5 mm (US E-4) hook. Worsted weight works too, but the ornaments come out about a third bigger.
I am a beginner — which ornament should I make first?
The bauble. It is all single crochet in rounds with plain increases and decreases, and it forgives a wobbly count because the stuffing hides a multitude of sins.
My snowflake is curling up instead of lying flat — what went wrong?
Almost certainly tight chains, or no blocking. Try a 4.0 mm hook for the snowflake, then block it properly: pin each point out to the same length, spray, and leave it to dry completely.
Can I sell ornaments I make from these patterns?
Yes — you may sell finished ornaments made by hand from these patterns in small quantities, crediting Little Loop Finds as the designer. Do not copy or republish the pattern text and photos, and do not sell them as a printed pattern or PDF.
What to crochet next
Your tree deserves a whole handmade Christmas to match:
- Frame the whole display with this wreath crochet pattern — it hangs beautifully on the door above the mantel.
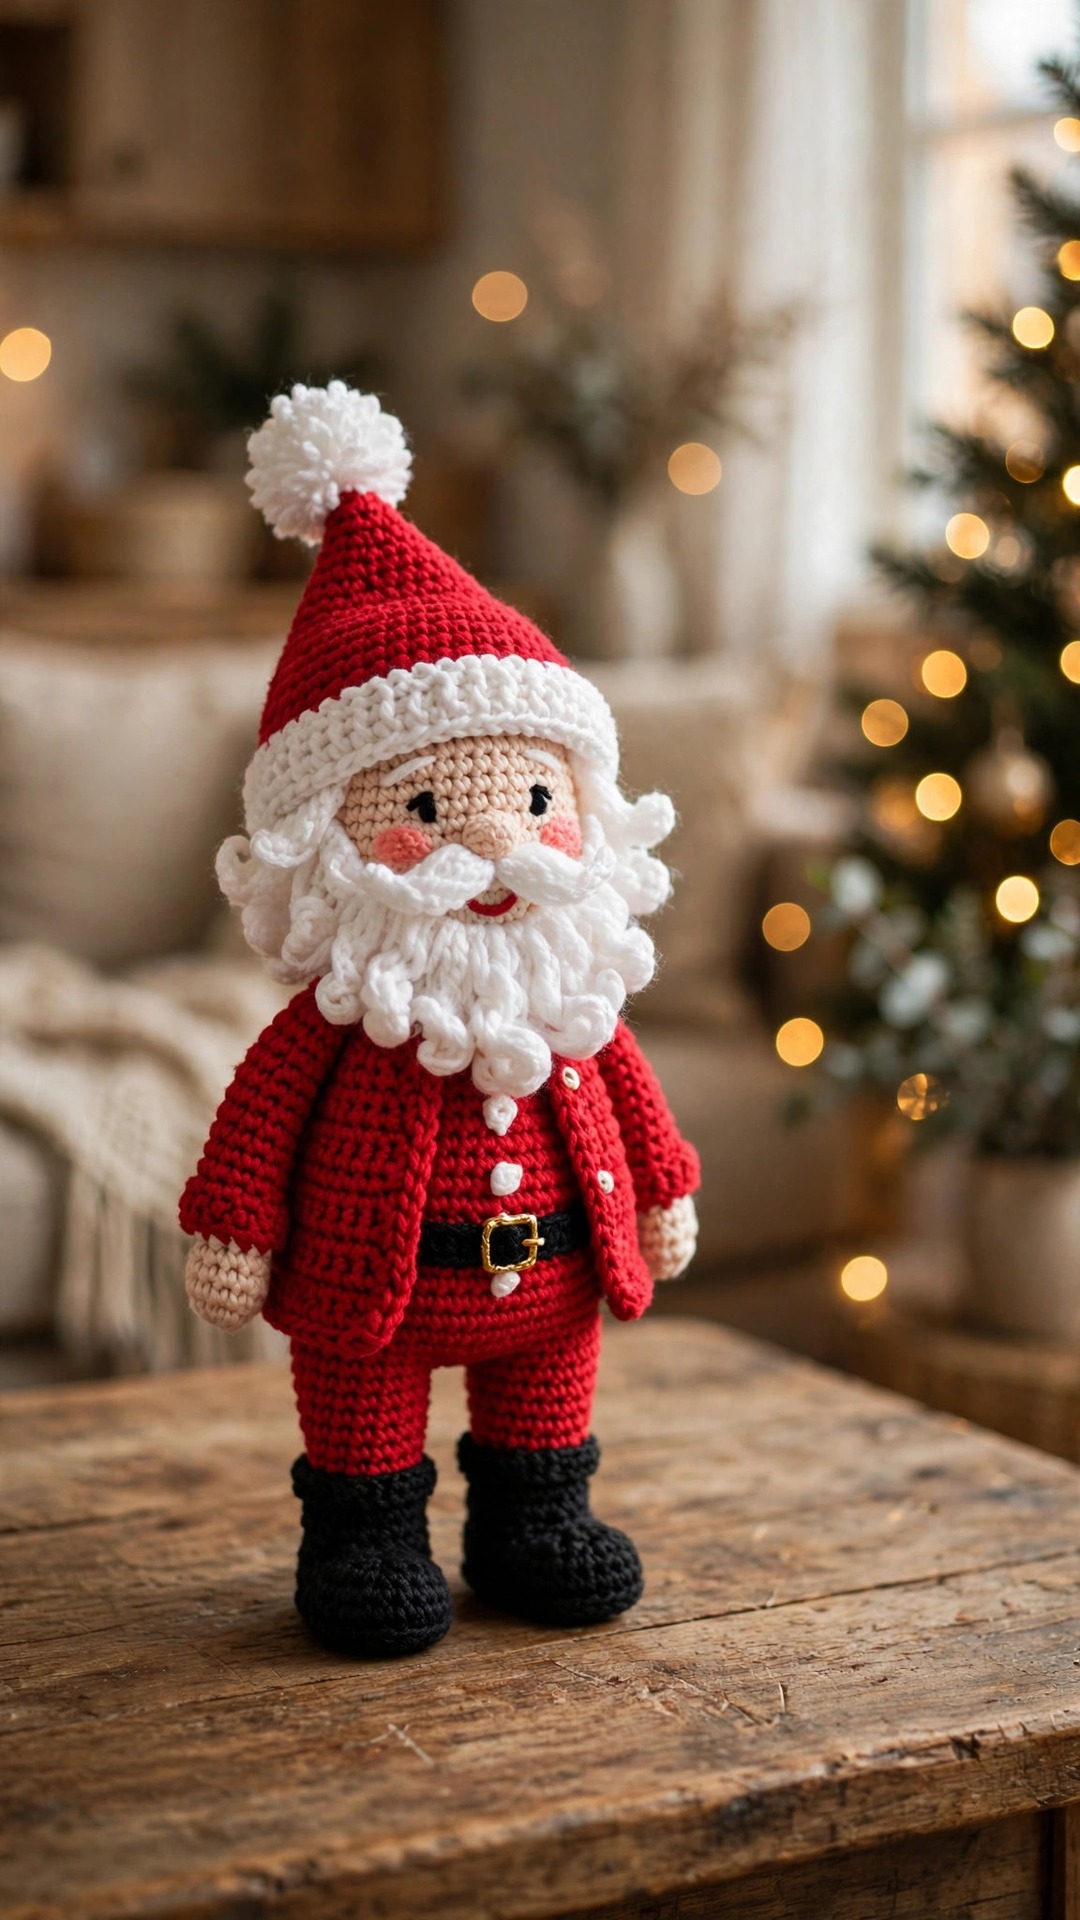
- Add the man himself with this free crochet Santa pattern — he looks wonderful at the foot of a tree dressed in these ornaments.
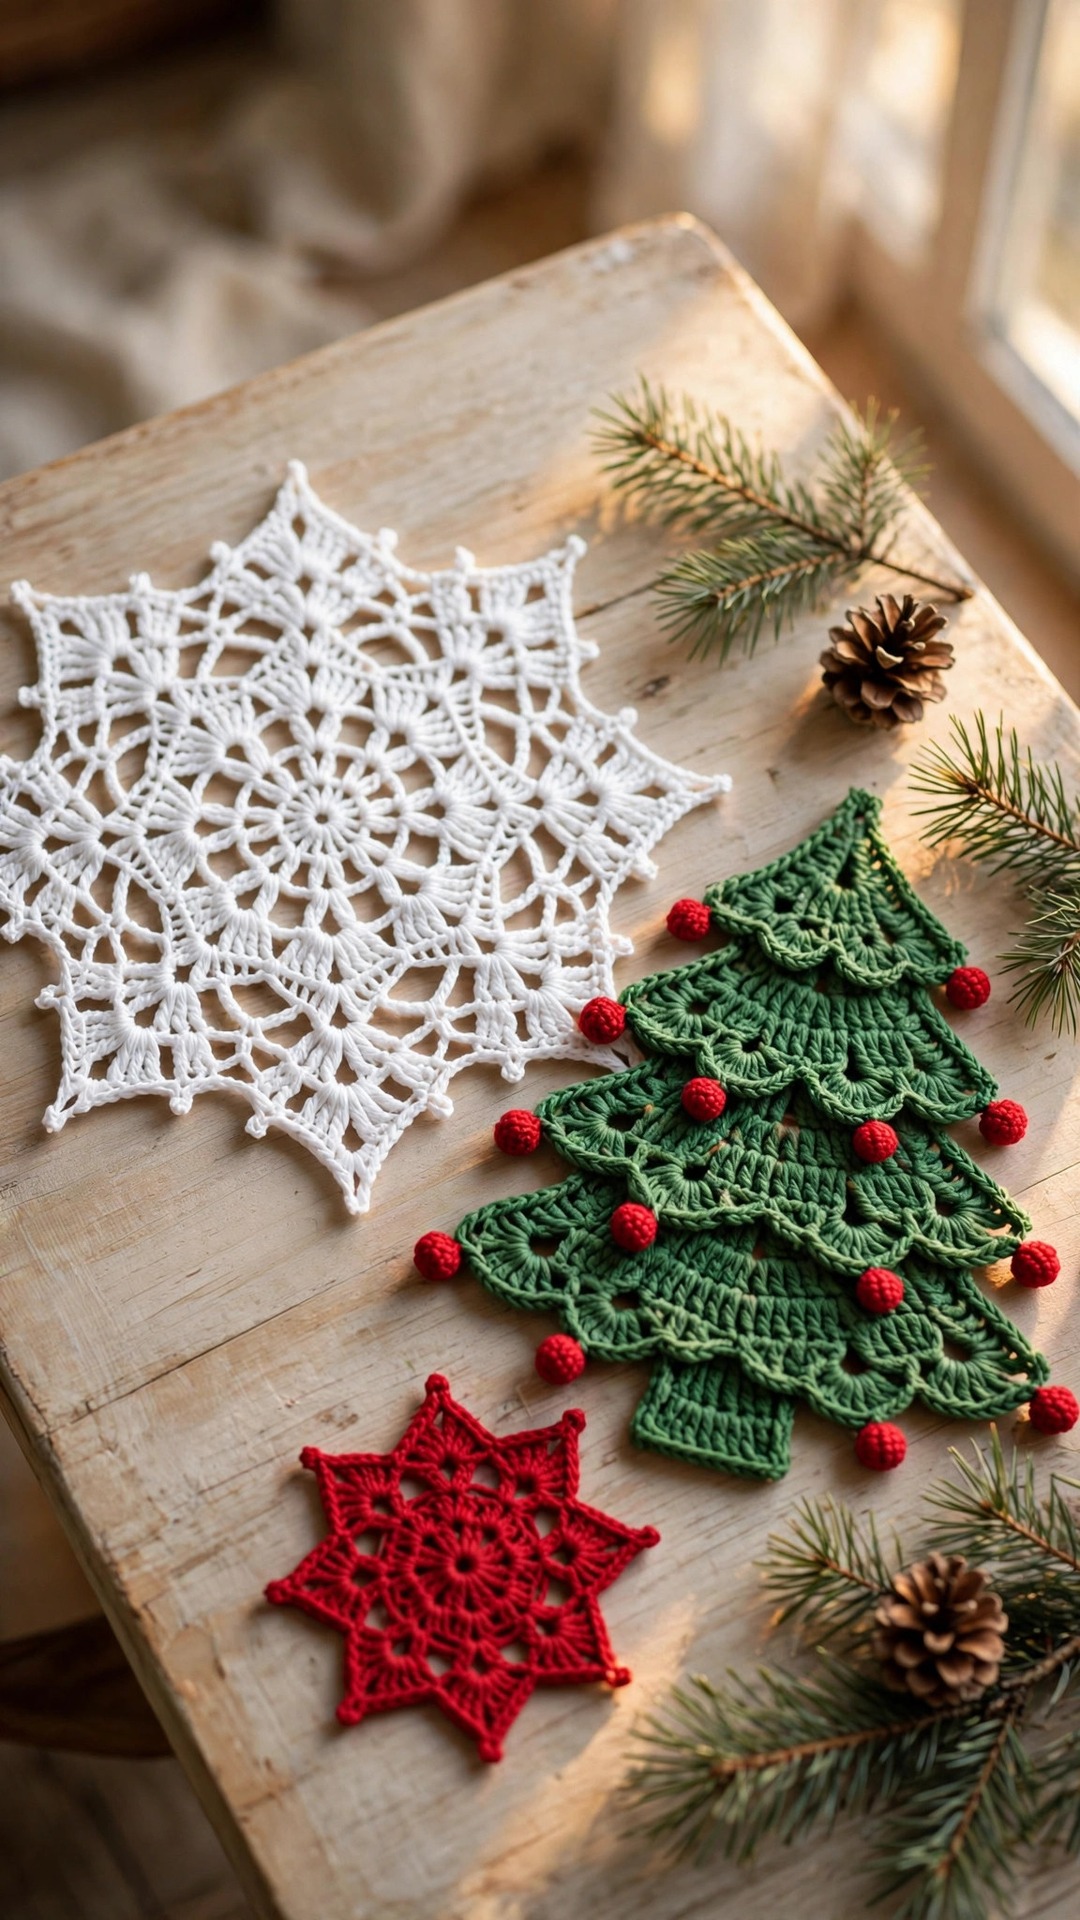
- Finish the table underneath with these crochet Christmas doily patterns — a lacy project that uses the same white yarn as the snowflake.
Happy crocheting — may your baubles stay round, your snowflakes stay flat, and your tree look like nobody else's this Christmas.
The box below contains an Etsy link. If you buy through it, we may earn a small commission at no extra cost to you. Learn more.
No time to make one?
Short on time? Find handmade crochet Christmas ornaments from independent makers on Etsy.
Browse on Etsy (opens Etsy in a new tab)