Crochet Fingerless Gloves Pattern (Free): Cozy Mitts
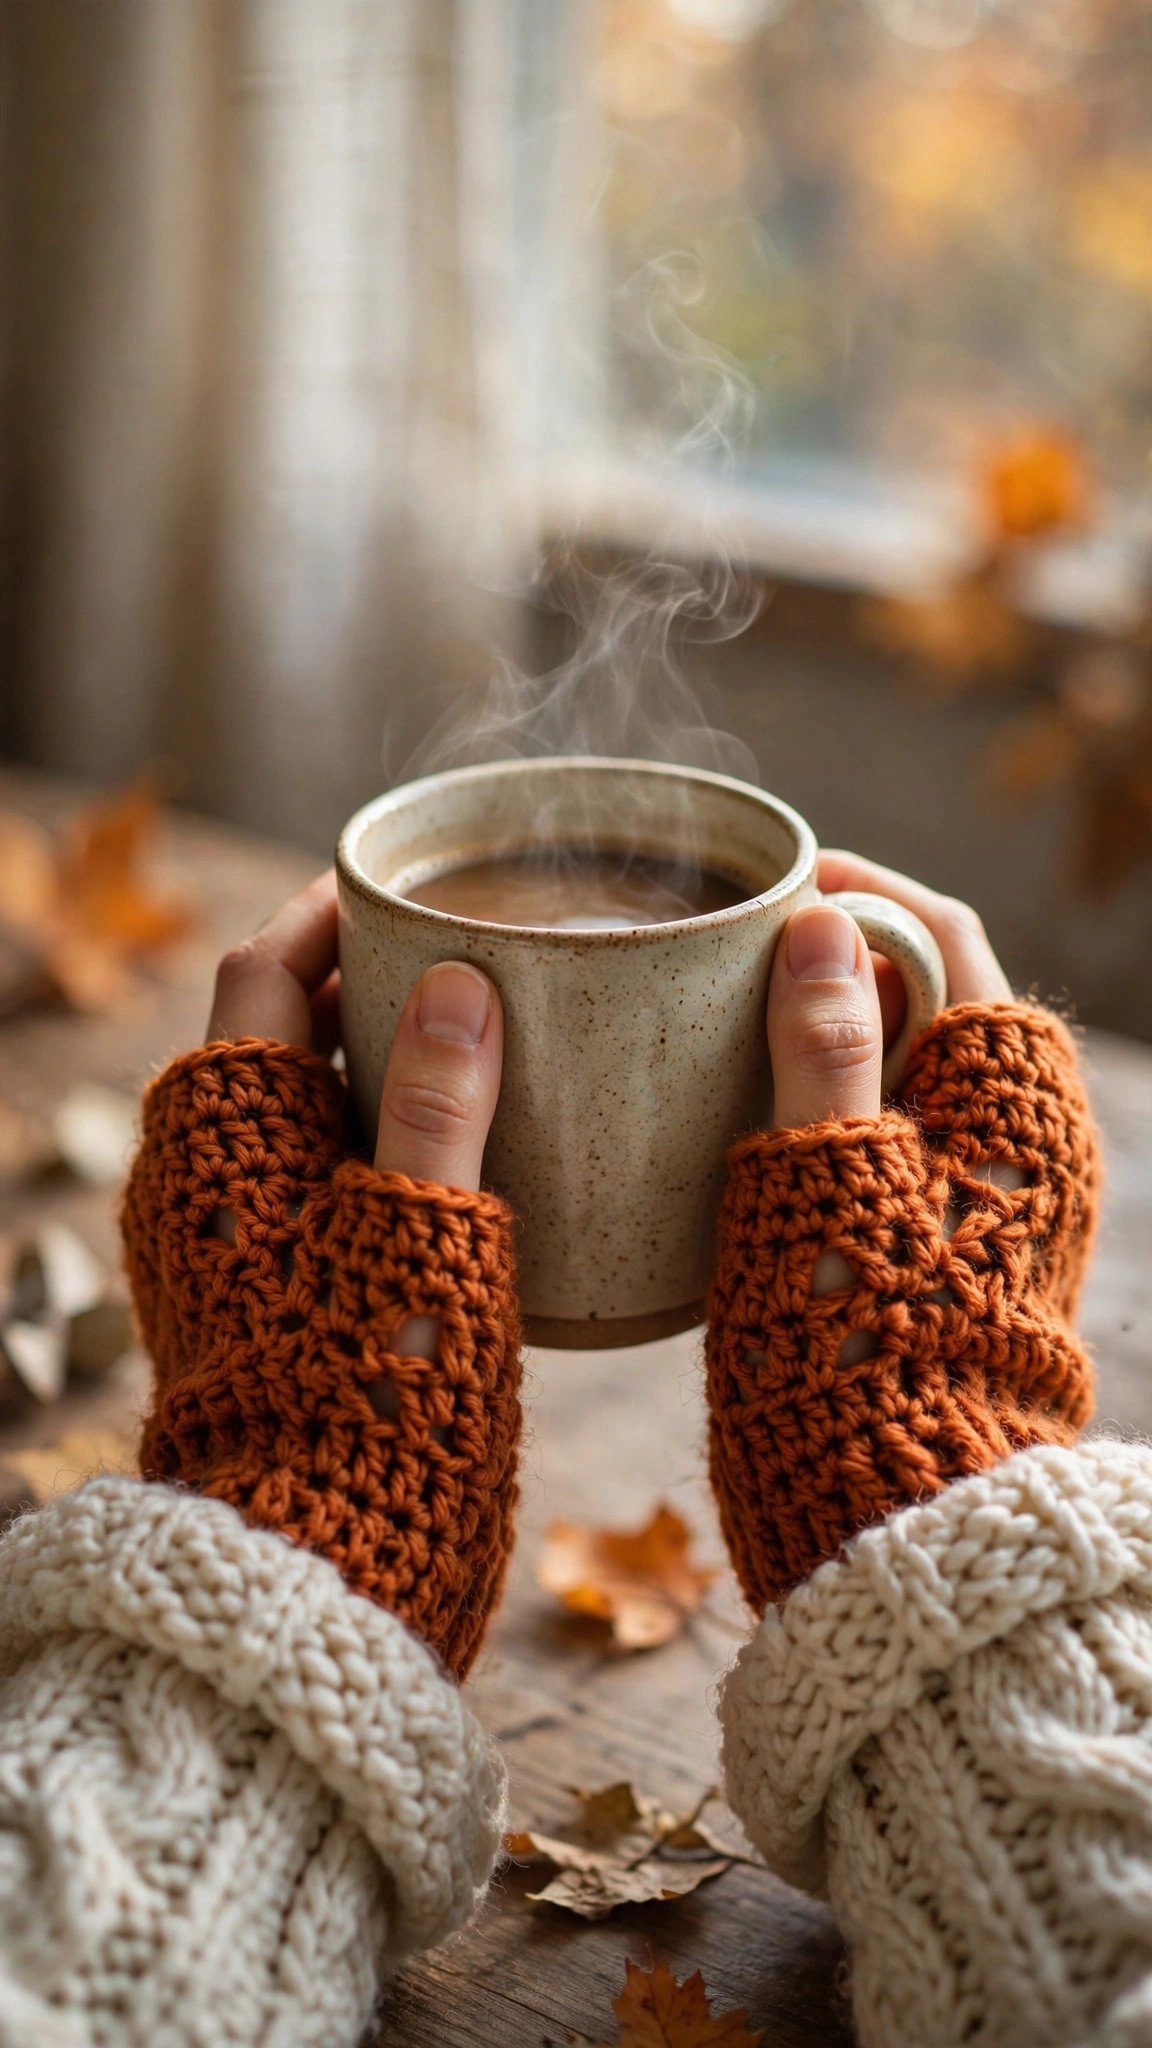
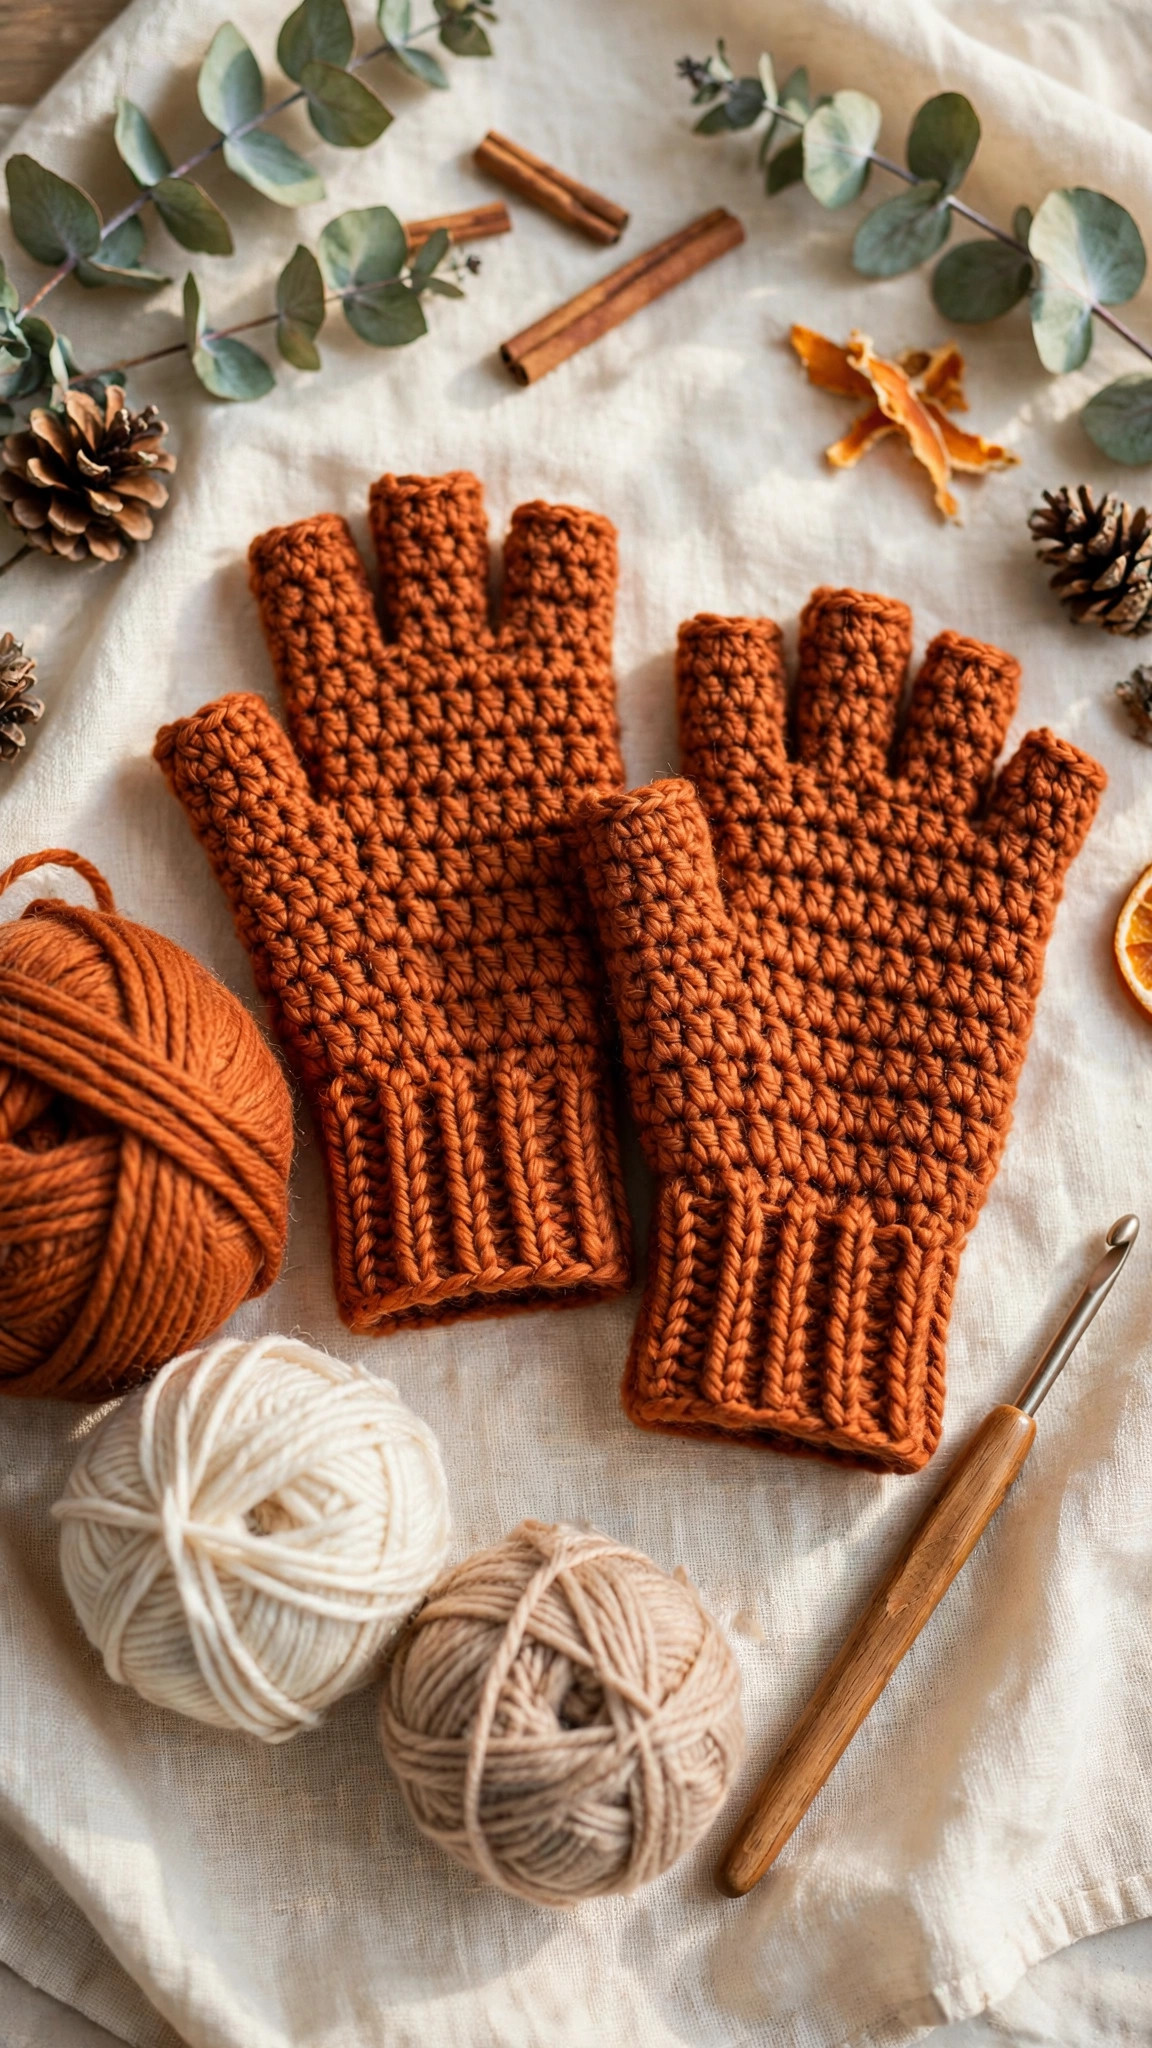
Keep your hands warm and your fingers free: this free crochet fingerless gloves pattern makes a cozy pair of mitts in one weekend, with ribbed cuffs, thumb openings, and an original easy design.

Accessories · Crochet
- Finished size
- About 7.5 in tall, adult M
- Making time
- About 3 hours
- Hook
- 5.0 mm, worsted yarn
- Set
- Pair of mitts
- Skill
- Beginner
In this post
- Table of contents
- Why you'll love this crochet fingerless gloves pattern
- Materials you'll need
- Size, gauge and skill level
- Abbreviations, US terms
- The crochet fingerless gloves pattern (US terms)
- Finishing touches and assembly
- Tips and tricks
- Variations to try next
- Troubleshooting tips
- Frequently asked questions
- More free patterns to try
Cold hands, warm heart, and a phone that still needs answering: fingerless gloves are the unsung heroes of winter. This free crochet fingerless gloves pattern makes a cozy pair of wrist-length mitts with ribbed cuffs, comfortable thumb openings, and a fit that actually stays put.
The construction is beginner gold. Each mitt starts with a stretchy ribbed cuff worked sideways, then you crochet the hand in simple half double crochet rounds, chain across a gap for the thumb, and finish with a tidy ribbed top. No shaping math, no gussets, no fiddly fingers to stuff. Make one in an evening, the second the next day, and you have a finished pair by the weekend.
This is an original Little Loop Finds design in US terms, sized for an average adult hand with clear notes for adjusting up or down. One skein of worsted yarn makes the whole pair, which makes these a perfect stash-buster and a gift you can produce in bulk.
Table of contents
- Why you'll love this crochet fingerless gloves pattern
- Materials you'll need
- Size, gauge and skill level
- Abbreviations, US terms
- The crochet fingerless gloves pattern (US terms)
- Finishing touches and assembly
- Tips and tricks
- Variations to try next
- Troubleshooting tips
- Frequently asked questions
- More free patterns to try
Why you'll love this crochet fingerless gloves pattern
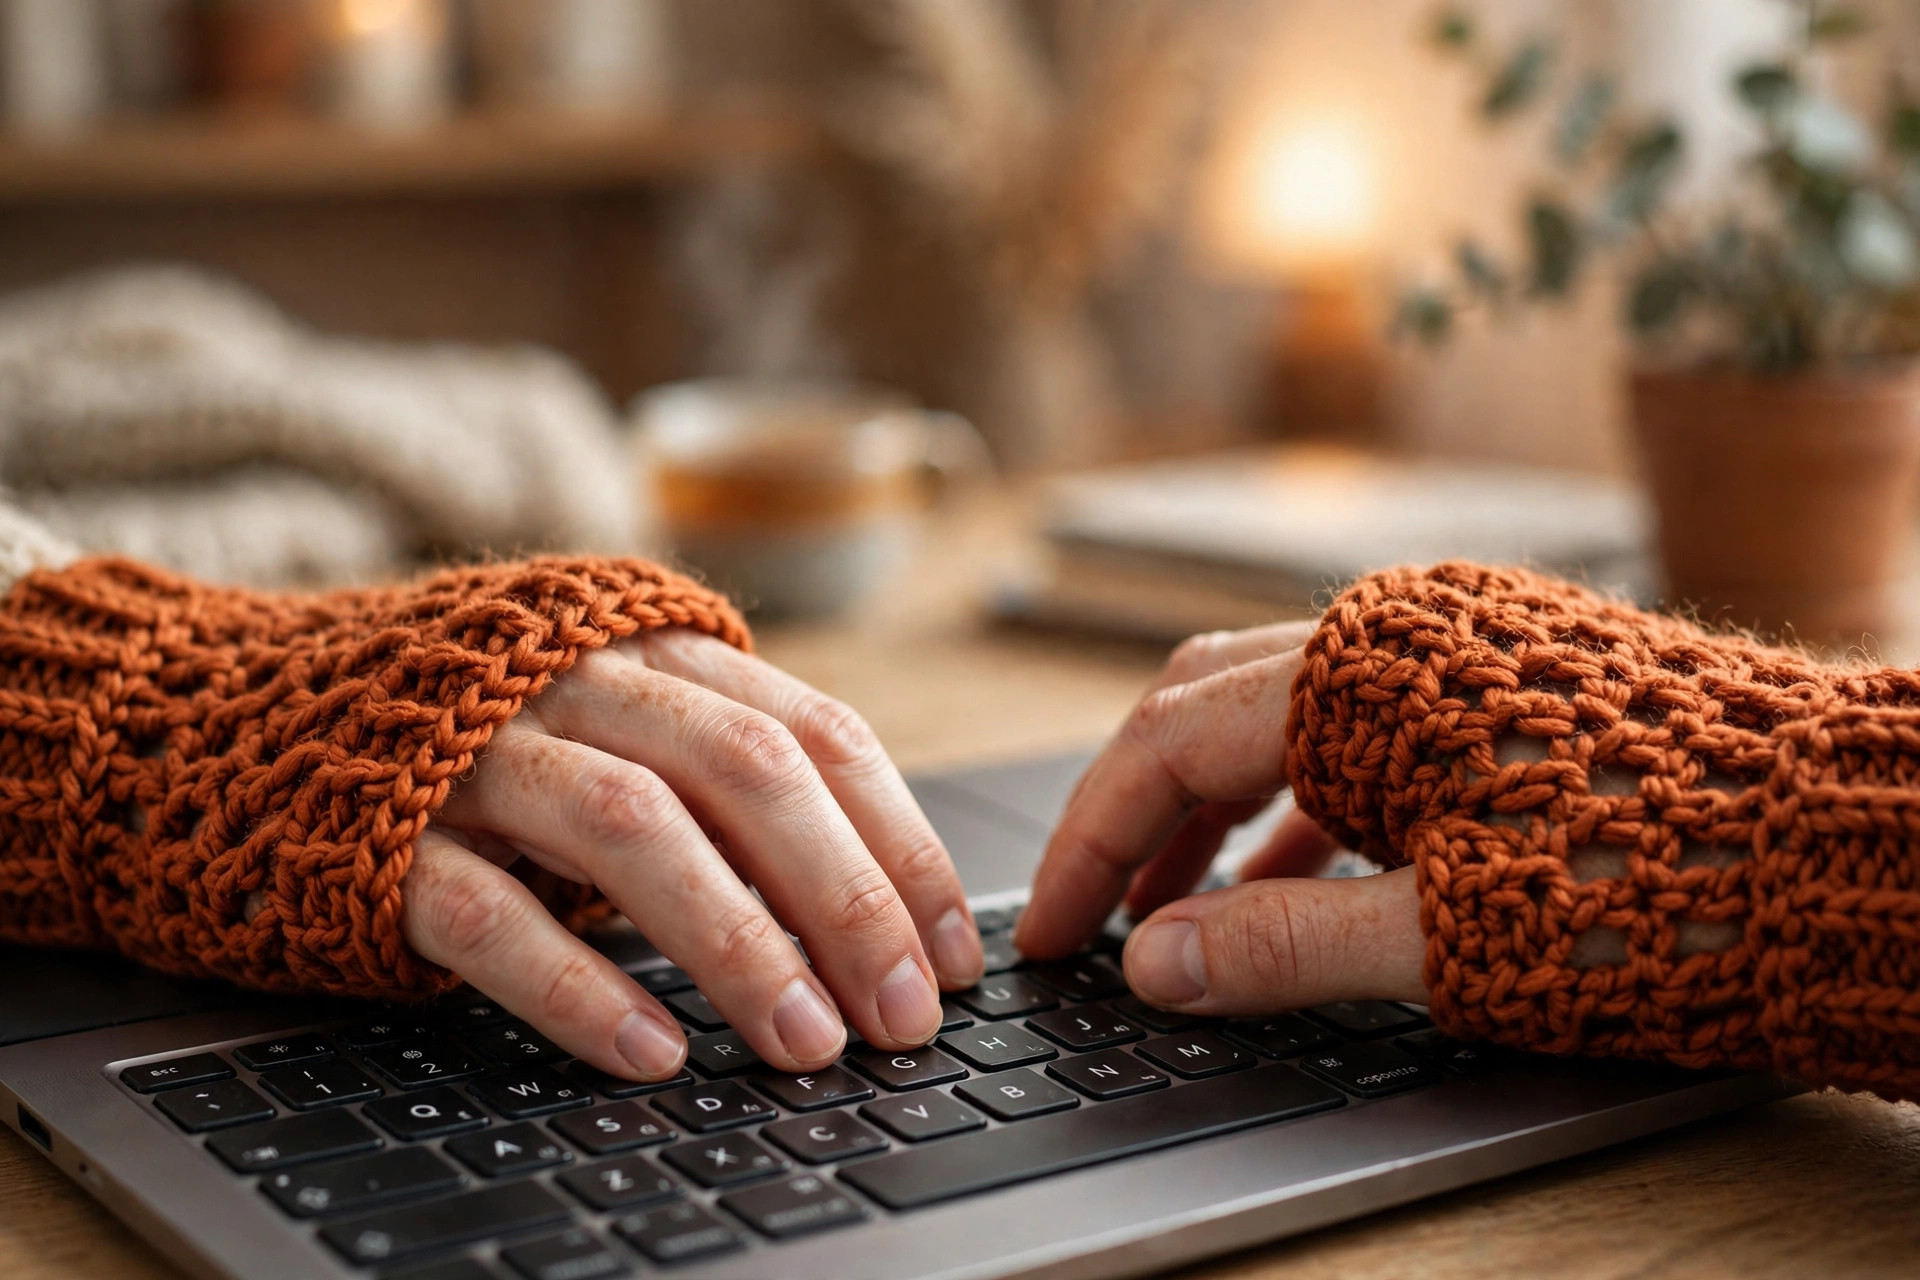
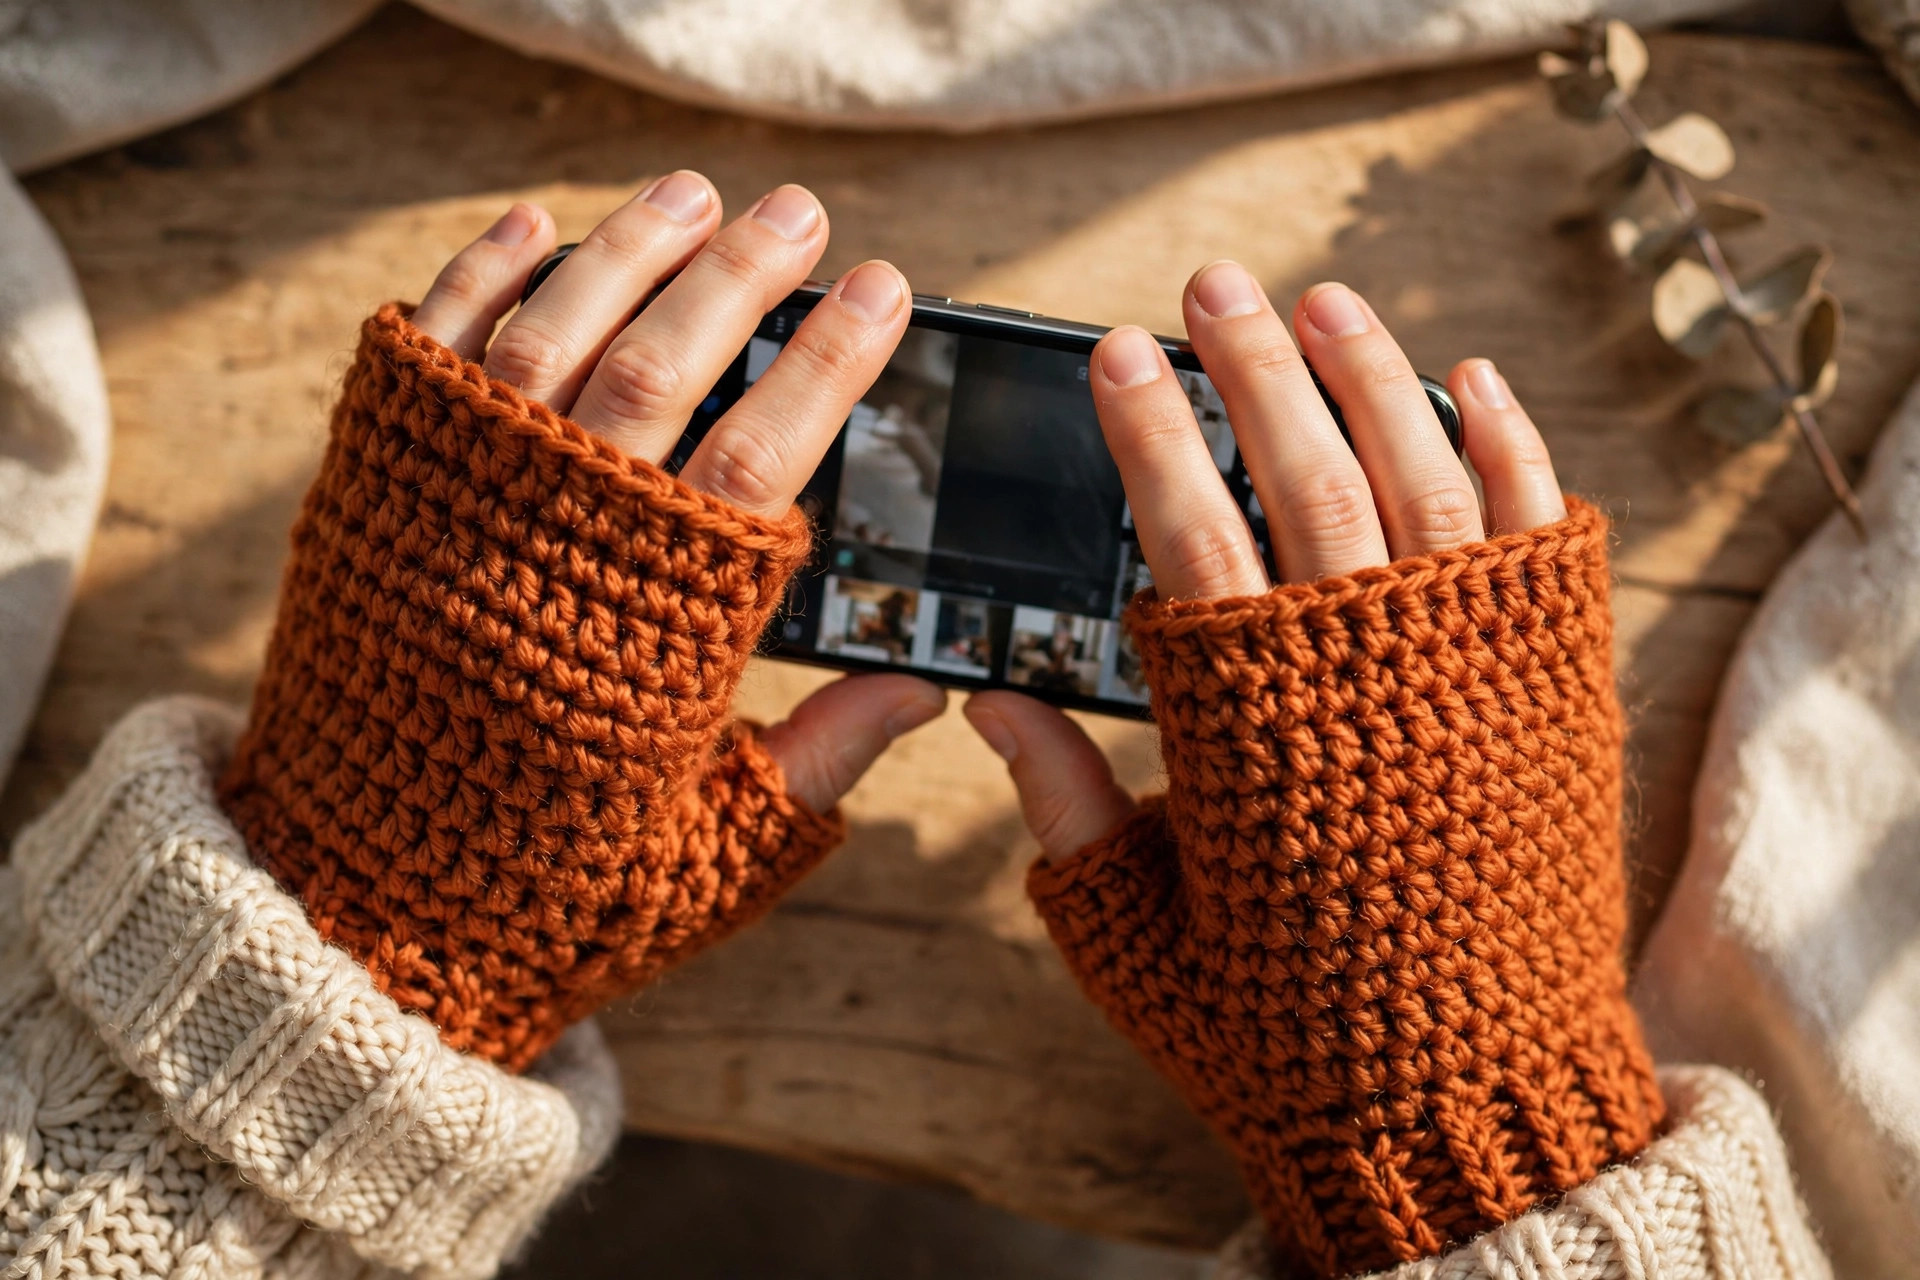
Mittens are warmer, but mittens make you choose between warm hands and using your hands. Fingerless gloves split the difference beautifully: your palms and wrists stay toasty while your fingertips stay free for phones, keyboards, zippers, and crochet hooks. They are the gloves you actually wear instead of stuffing in a pocket.
This pattern is engineered for comfort. The cuff is worked in back-loop-only single crochet, which creates a ribbing that stretches and springs back instead of gaping. The hand has just enough length to cover your knuckles without bunching, and the thumb opening is placed and sized so the edge does not dig into the web of your thumb: the most common complaint about store-bought fingerless gloves.
They are also dangerously giftable. At three hours a pair and one skein of yarn, you can outfit a whole family in a week of evenings. Make them in school colors, team colors, or classic neutrals, and add a matching neck warmer crochet pattern for a set that looks planned.
Materials you'll need
| Supply | What to get |
|---|---|
| Worsted yarn | Worsted-weight (#4) wool or wool-blend, about 150 yds / 137 m |
| Crochet hook | 5.0 mm (H) |
| Tapestry needle | For weaving in ends |
| Notions | Scissors, stitch markers, measuring tape |
Wool or a wool blend is the best choice here: it is warm, elastic, and the ribbing keeps its spring. Acrylic works fine for easy care and sensitive skin, but choose one with some bounce rather than a limp, drapey acrylic. Avoid cotton for winter gloves: it holds moisture and feels cold when damp. A tonal or heathered yarn hides the round joins beautifully.
A note on yardage: 150 yards comfortably makes the pair as written with yarn to spare for a swatch. If you are lengthening the cuff or the hand, add 30 yards per inch of extra length per mitt.
Size, gauge and skill level
The mitt is worked in two parts: a ribbed cuff worked flat in rows and joined into a ring, then the hand worked in joined rounds on top of the cuff. Chain 2 at the start of each hand round does not count as a stitch.
| Measurement | Value |
|---|---|
| Finished mitt | About 7.5 in / 19 cm tall, fits 7-8.5 in / 18-22 cm hand circumference |
| Cuff | About 2.75 in / 7 cm tall, stretchy ribbing |
| Approx. time | About 3 hours for the pair |
- Finished size: adult medium, fitting hands 7 to 8.5 inches around the knuckles. The ribbed cuff stretches to fit and springs back, so one size covers most adults. For a smaller hand, work 24 cuff rows instead of 28; for a larger hand, work 32.
- Gauge: 14 half double crochet and 10 rows = 4 in (10 cm) with the 5.0 mm hook. For the cuff, 9 back-loop single crochet rows = about 2.5 inches of circumference: count your rows rather than measuring, since ribbing stretches.
- Skill level: beginner. You need chain, single crochet, half double crochet, working in the back loop only, front and back post stitches, and joining a seam. The thumb opening is just a chain skipped across stitches: simpler than it sounds.
A note on handedness: the mitts are identical until the thumb round. Work the thumb opening, try the mitt on, and mark which side feels better for each hand: most people prefer the thumb seam toward the palm.
Abbreviations, US terms
| Abbreviation | Meaning |
|---|---|
| ch | chain |
| sc | single crochet |
| hdc | half double crochet |
| sl st | slip stitch |
| fpdc | front post double crochet |
| bpdc | back post double crochet |
| st(s) | stitch(es) |
| R | round |
| FO | fasten off |
| BLO | back loop only |
| [ ] | total stitch count at the end of the round or row |
Reading the pattern: the cuff is worked in rows and joined into a ring before the hand rounds begin. On the hand, chain 2 at the start of each round does not count as a stitch: join with a slip stitch to the first half double crochet.
The crochet fingerless gloves pattern (US terms)
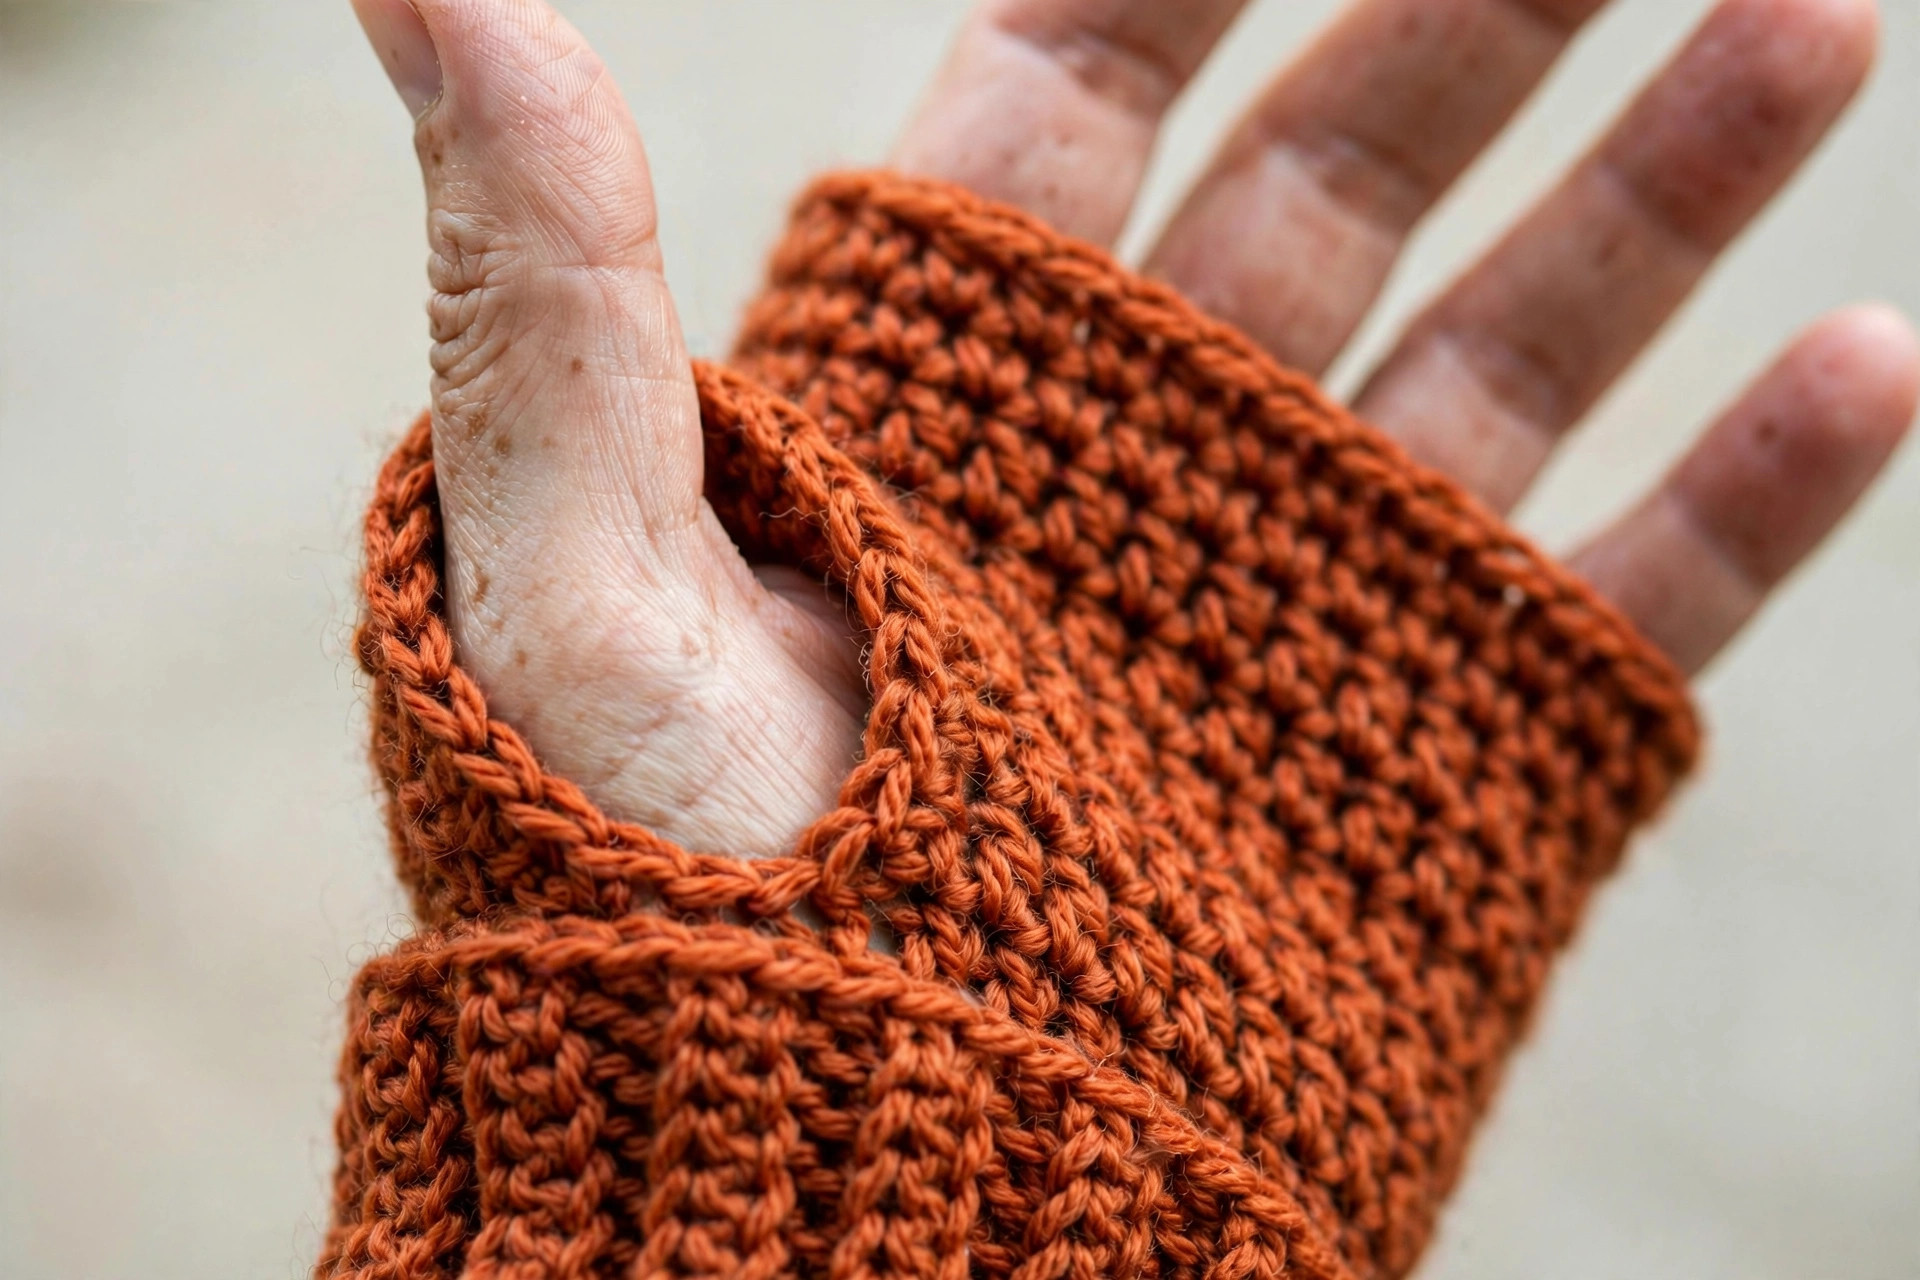
Make two identical mitts. Work the cuff, join it, then build the hand on top. The thumb is finished last.
Cuff (make 2)
- Row 1: Ch 10. Sc in 2nd ch from hook and in each ch across. [9]
- Rows 2-28: Ch 1, turn, sc in BLO of each st across. [9]
The cuff strip should measure about 8 inches long and 2.75 inches tall. Fold it in half with Row 1 meeting Row 28, and slip stitch the short ends together through both layers to form a ring. Do not fasten off: turn the ring so the seam is at the back, and continue with the hand.
Hand
Work around the top edge of the cuff ring, placing one stitch per row-end. It helps to mark the seam at the back and start R1 there.
- R1: Ch 2 (does not count as st), hdc in each row-end around the cuff. Join with sl st to first hdc. [28]
- R2: Ch 2, hdc in each st around. Join. [28]
- R3: Ch 2, hdc in each st around. Join. [28]
Thumb opening
- R4: Ch 2, hdc in next 22 sts, ch 4, skip next 4 sts, hdc in last 2 sts. Join with sl st to first hdc. [28, counting the 4 chains as stitches]
Try the mitt on: the 4-stitch gap should sit at the base of your thumb. If it sits too high or low, note the placement and adjust the hdc counts before and after the gap on the second mitt.
- R5: Ch 2, hdc in each st and each ch around. Join. [28]
- R6: Ch 2, hdc in each st around. Join. [28]
- R7: Ch 2, hdc in each st around. Join. [28]
- R8: Ch 2, hdc in each st around. Join. [28]
- R9: Ch 2, hdc in each st around. Join. [28]
The hand should now measure about 3.5 inches from the top of the cuff. For longer fingers, add one or two more hdc rounds before the top ribbing.
Top ribbing
- R10: Ch 2, (fpdc in next st, bpdc in next st) around. Join. [28]
- R11: Ch 2, (fpdc in next st, bpdc in next st) around. Join. [28]
FO, leaving a 6-inch tail. Weave in the end on the inside.
Thumb edging (both mitts)
Join yarn with a slip stitch at any corner of the thumb opening.
- R1: Ch 1, sc evenly around the opening: 4 sc across the skipped stitches, 4 sc across the chains, and 2 sc down each side. Join with sl st to first sc. [12]
- R2: Ch 1, sc in each st around. Join. [12]
FO and weave in the end. The edging stops the opening from stretching out and gives the thumb a clean finished edge.
Finishing touches and assembly
There is almost no assembly: weave in the cuff tail, the hand tail, and the thumb tail on the inside of each mitt, trimming close after weaving through 2 inches of stitches. Give each mitt a gentle stretch in every direction to even out the ribbing and settle the thumb edging.
Try both mitts on and check three things: the cuff stays up without squeezing, the thumb opening does not gap or bind, and the top ribbing sits below your knuckles without covering them. If the cuff slides down, work the cuff rows with a 4.5 mm hook next time for a firmer rib: hook size changes ribbing tension more than yarn choice does.
For a polished look, steam the mitts lightly: hold a steamer a few inches above the fabric (never press the iron directly on wool ribbing) and let them cool flat. The post stitches in the top ribbing will pop and the cuff will lie smooth.
Tips and tricks
- Count the cuff rows, do not measure: ribbing lies to a tape measure because it stretches. 28 rows is 28 rows: trust the count and the finished cuff will fit.
- Keep the seam at the back of the hand: start R1 at the cuff seam and keep it centered. A drifting seam ends up under the thumb, where you will feel it.
- Mark the thumb gap before R4: place stitch markers on the 4 stitches to skip. It is easy to miscount mid-round, and frogging ribbing is miserable.
- Tame the top curl: if the top edge rolls, your R10-R11 tension is tighter than the hand. Work the ribbing rounds with a 5.5 mm hook for a relaxed edge that lies flat.
- Weave ends through the seam: run tails along the inside of the cuff seam instead of across open stitches. The seam hides them completely and they never poke out during wear.
- Block as a pair: steam both mitts together so they match. Even a small tension difference between mitt one and mitt two disappears with blocking.
Variations to try next
- Long arm-warmers: work 40 cuff rows for a 4-inch cuff and add 4 more hdc rounds to the hand. They tuck beautifully into coat sleeves. For a full-length version, see our arm warmer crochet pattern.
- Convertible mittens: crochet a simple mitten flap (a half-circle of hdc) and button it to the top ribbing. Warmth when you need it, fingers when you do not.
- Striped cuffs: change colors every 7 cuff rows for bold stripes that line up perfectly around the wrist. Carry the unused color up the side: the seam hides the floats.
- Lace-top version: replace R6-R9 with (dc, ch 1, skip 1) mesh for a dressier mitt that still keeps the wrist warm.
- Kids size: chain 8 for the cuff, work 22 rows, then 24 stitches around the hand with a 3-stitch thumb gap. One evening per pair, and kids lose gloves constantly, so cheap yarn is smart.
For truly cold days, pair these with our easy mitten crochet pattern: full mittens for the commute, fingerless mitts for the desk.
Troubleshooting tips
- The cuff is too loose: you worked 28 rows but your wrist is small. Frog back to 24 rows, or drop to a 4.5 mm hook for the cuff only: ribbing gauge responds strongly to hook size.
- The thumb hole is in the wrong place: the gap placement depends on where your R1 started. Move the 4 skipped stitches 2 stitches earlier or later in R4 to center the gap on your thumb base.
- The hand twists around the cuff: the cuff seam and the R1 join drifted apart. Keep both marked and aligned: the hand should stack directly above the cuff with no rotation.
- Gaps at the thumb corners: the chain-4 bridge leaves small holes at its ends. When weaving in the thumb tail, take two tiny stitches across each corner: they close invisibly.
- One mitt is bigger than the other: classic second-mitt syndrome: your tension relaxed. Block both together, and if the difference is visible, the larger mitt becomes the gift and you keep the smaller.
- Top ribbing flares: you added stitches accidentally in R5 when working into the chains. Count after R5: it must be exactly 28 before you continue.
Frequently asked questions
Are fingerless gloves hard to crochet for a beginner? Not with this construction. There is no shaping: a ribbed rectangle becomes the cuff, plain rounds become the hand, and the thumb is a simple chain gap. If you can single crochet and half double crochet, you can make these.
How much yarn do I need for one pair? About 150 yards of worsted-weight yarn. Most 200-yard skeins leave enough for a swatch plus a little extra, so one skein per pair is a safe buy.
Will these fit my hands? The pattern fits hands 7 to 8.5 inches around the knuckles, which covers most adults. Work fewer cuff rows for smaller hands or more for larger hands: each row changes the circumference by about a quarter inch.
Can I make these in a different yarn weight? Yes, but recalculate. For DK weight, go down to a 4.0 mm hook and add about 4 cuff rows and 4 hand stitches. For bulky, use a 6.0 mm hook and subtract the same. Always swatch the ribbing: it behaves differently from the hand fabric.
How do I wash crocheted fingerless gloves? Hand wash cold with a little wool wash, squeeze (never wring), and lay flat to dry. Wool mitts washed this way keep their shape for years. Acrylic versions can go in a mesh bag on gentle.
Can I sell mitts made from this pattern? Yes. Finished mitts made from this original pattern may be sold in small batches. Please credit Little Loop Finds as the pattern designer and do not redistribute the pattern text itself.
More free patterns to try
Keep the cozy going with these winter accessories:
- Arm warmer crochet pattern: longer coverage for truly cold days
- Easy mitten crochet pattern: full mittens when fingers need full cover
- Neck warmer crochet pattern: a matching cowl in the same ribbing style
- Free balaclava crochet pattern: full head and neck warmth for the coldest commutes
- Free crochet boot cuff patterns: the same ribbed cuff technique, worn at the ankle