Crochet Scarecrow Pattern Free (Cute Fall Amigurumi)
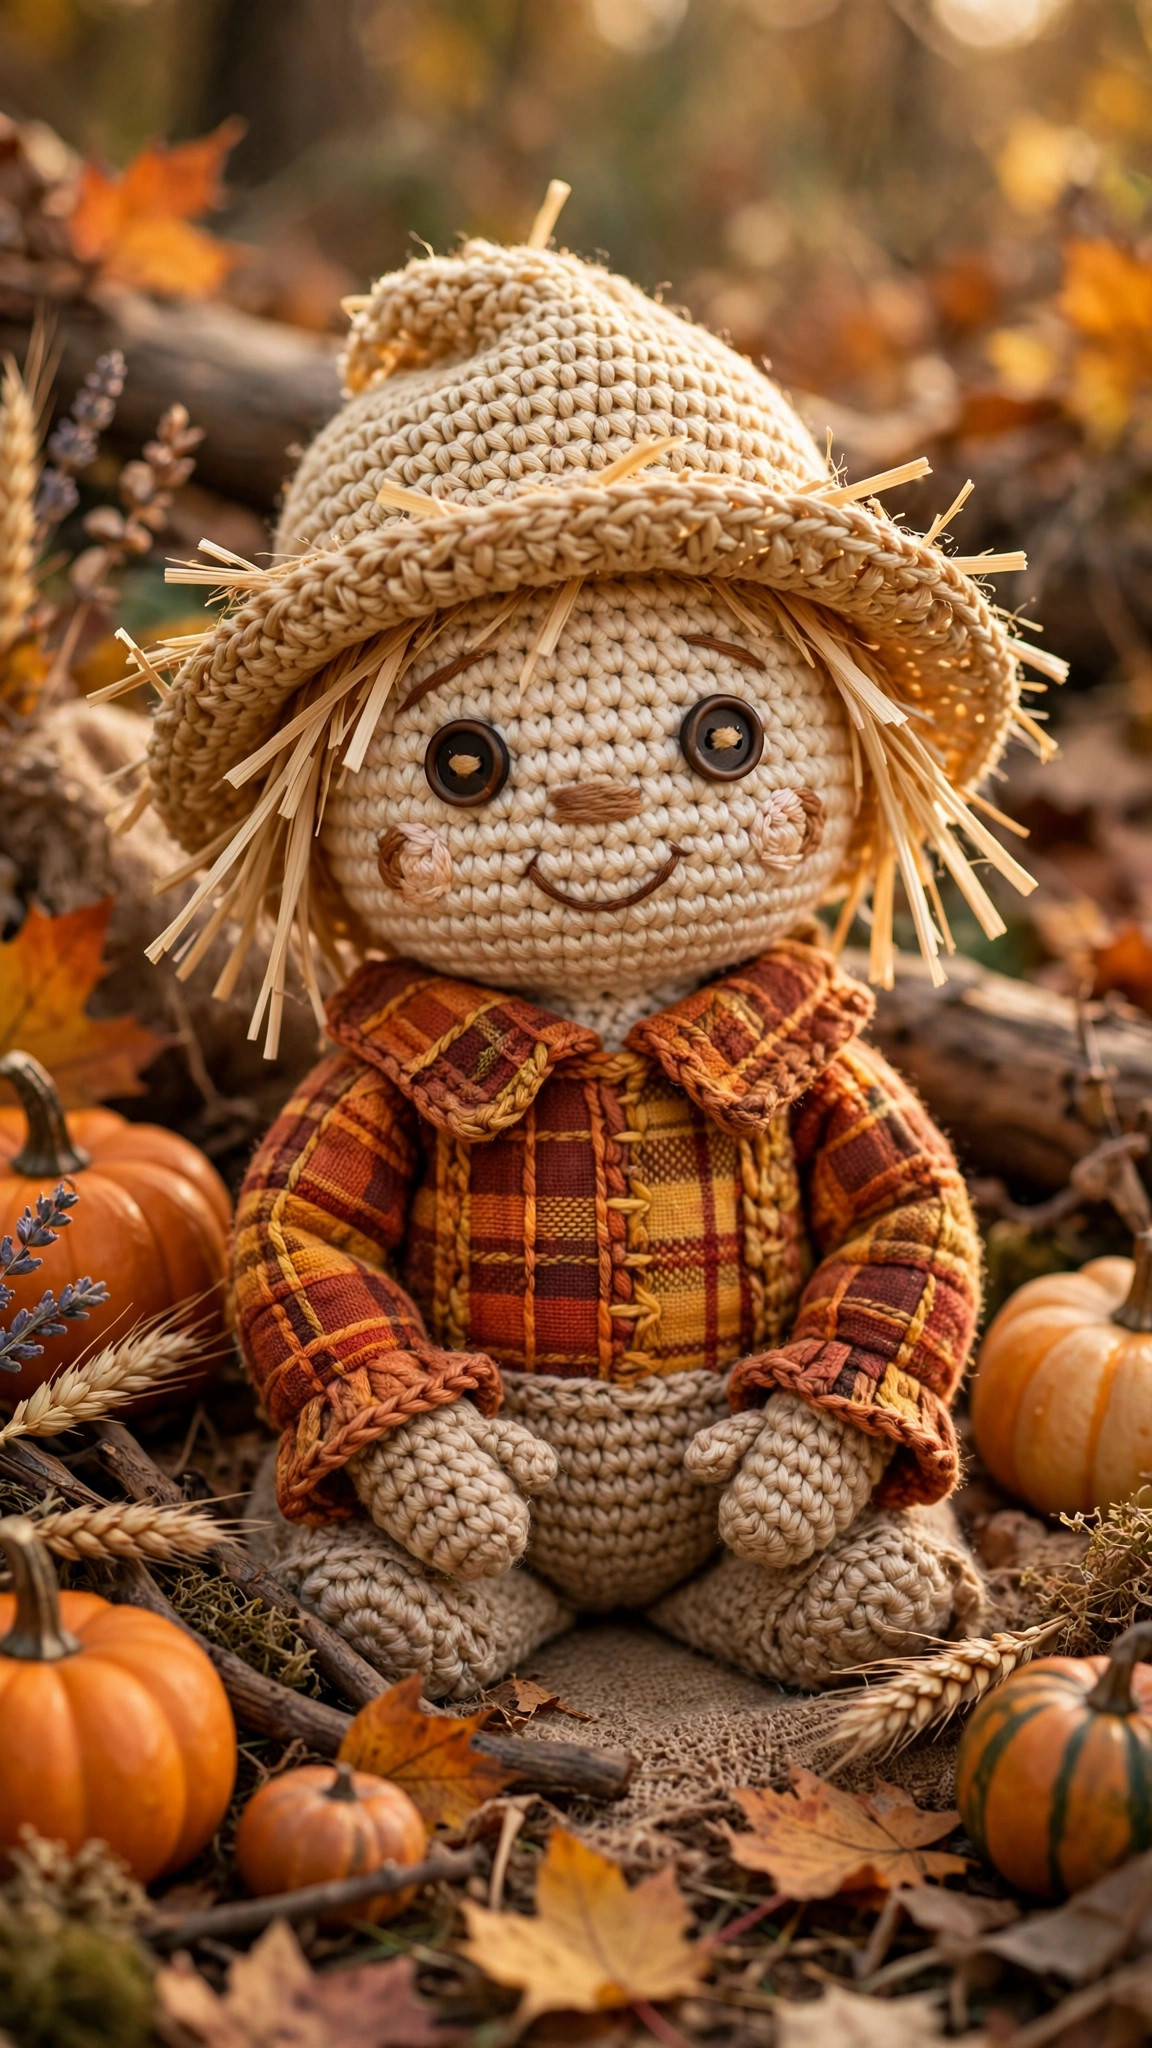
Stitch a friendly 12-inch scarecrow with this free amigurumi pattern, complete with straw hat, patched overalls, and a lopsided smile.

Amigurumi · Crochet
- Finished size
- About 12 in tall
- Making time
- 6 to 8 hours
- Hook
- US G-6 (4.0 mm)
- Set
- Doll, hat, overalls, patches
- Skill
- Easy
In this post
- Key Takeaways
- Table of Contents
- Why You Will Love This Project
- Finished Size, Skill Level, and Time
- Materials You Need
- Abbreviations (US Terms)
- A Note on Gauge
- Part 1: Head
- Part 2: Body
- Part 3: Overalls, Straps, and Buttons
- Part 4: Arms and Legs
- Part 5: Straw Hat
- Part 6: Hair, Face, and Patches
- Assembly
- Toddler-Safe Face Option
- Make a Whole Scarecrow Family
- Care Instructions
- Frequently Asked Questions
Every fall deserves a friendly scarecrow, and this free crochet scarecrow pattern gives you one you can cuddle. Our original amigurumi design stands about 12 inches tall, wears a floppy straw hat, patched overalls, and a lopsided smile that looks handmade in the best possible way. It is the kind of project that makes people pick it up, turn it around, and ask where you got the pattern.
This is a Little Loop Finds original, written in US terms and completely free. The construction is classic amigurumi: simple shapes worked in the round, stuffed, and sewn together. If you have made even one stuffed toy before, you will feel right at home. If this is your first amigurumi, the scarecrow is a forgiving place to start, because the patches, straw hair, and tilted hat hide every little wobble.
Fall makers love this one for mantel displays, Thanksgiving table decor, craft fair tables, and gifts for kids who are old enough for button-free toys (or keep reading for a fully embroidered, toddler-safe face option). Pair it with a mini pumpkin or two and you have an instant autumn vignette.
Key Takeaways
- Free and original: this crochet scarecrow pattern is a Little Loop Finds original design in US terms, free for personal use.
- Classic amigurumi build: head, body, limbs, and hat worked in simple rounds; sewn together with an embroidered smile.
- About 12 inches tall: a satisfying shelf-size finished doll using worsted weight yarn.
- Weekend project: roughly 6 to 8 hours total, including assembly and face details.
- Customizable: swap the face for embroidery to make it toddler safe, and change colors for a whole scarecrow family.
Table of Contents
- Why You Will Love This Project
- Finished Size, Skill Level, and Time
- Materials You Need
- Abbreviations (US Terms)
- A Note on Gauge
- Part 1: Head
- Part 2: Body
- Part 3: Overalls, Straps, and Buttons
- Part 4: Arms and Legs
- Part 5: Straw Hat
- Part 6: Hair, Face, and Patches
- Assembly
- Toddler-Safe Face Option
- Make a Whole Scarecrow Family
- Care Instructions
- Frequently Asked Questions
Why You Will Love This Project
Scarecrows hit the fall-craft trifecta: they are seasonal without being tied to a single holiday, they photograph beautifully, and they use up those warm rust, mustard, and denim scraps every crocheter accumulates. This design leans into the charm with a slightly oversized head, stubby limbs, and a hat that sits at a jaunty tilt no matter how carefully you sew it.
The pattern is written round by round with stitch counts at the end of every round, so you always know you are on track. The overalls are the cleverest part: instead of shaping complex pants, you crochet a simple bib and straps that sew onto the body, which looks exactly like real overalls from the front. Buttons, patches, and straw hair finish the story.
If fall amigurumi is your thing, our easy crochet pumpkin pattern makes the perfect companion pieces to display beside your scarecrow.
Finished Size, Skill Level, and Time
- Finished size: about 12 inches tall from boots to hat brim, using worsted weight yarn and the recommended hook.
- Skill level: advanced beginner to easy. You should know magic ring, single crochet, increase, decrease, and basic sewing with a yarn needle.
- Making time: 6 to 8 hours total, including stuffing, assembly, and face embroidery.
Materials You Need
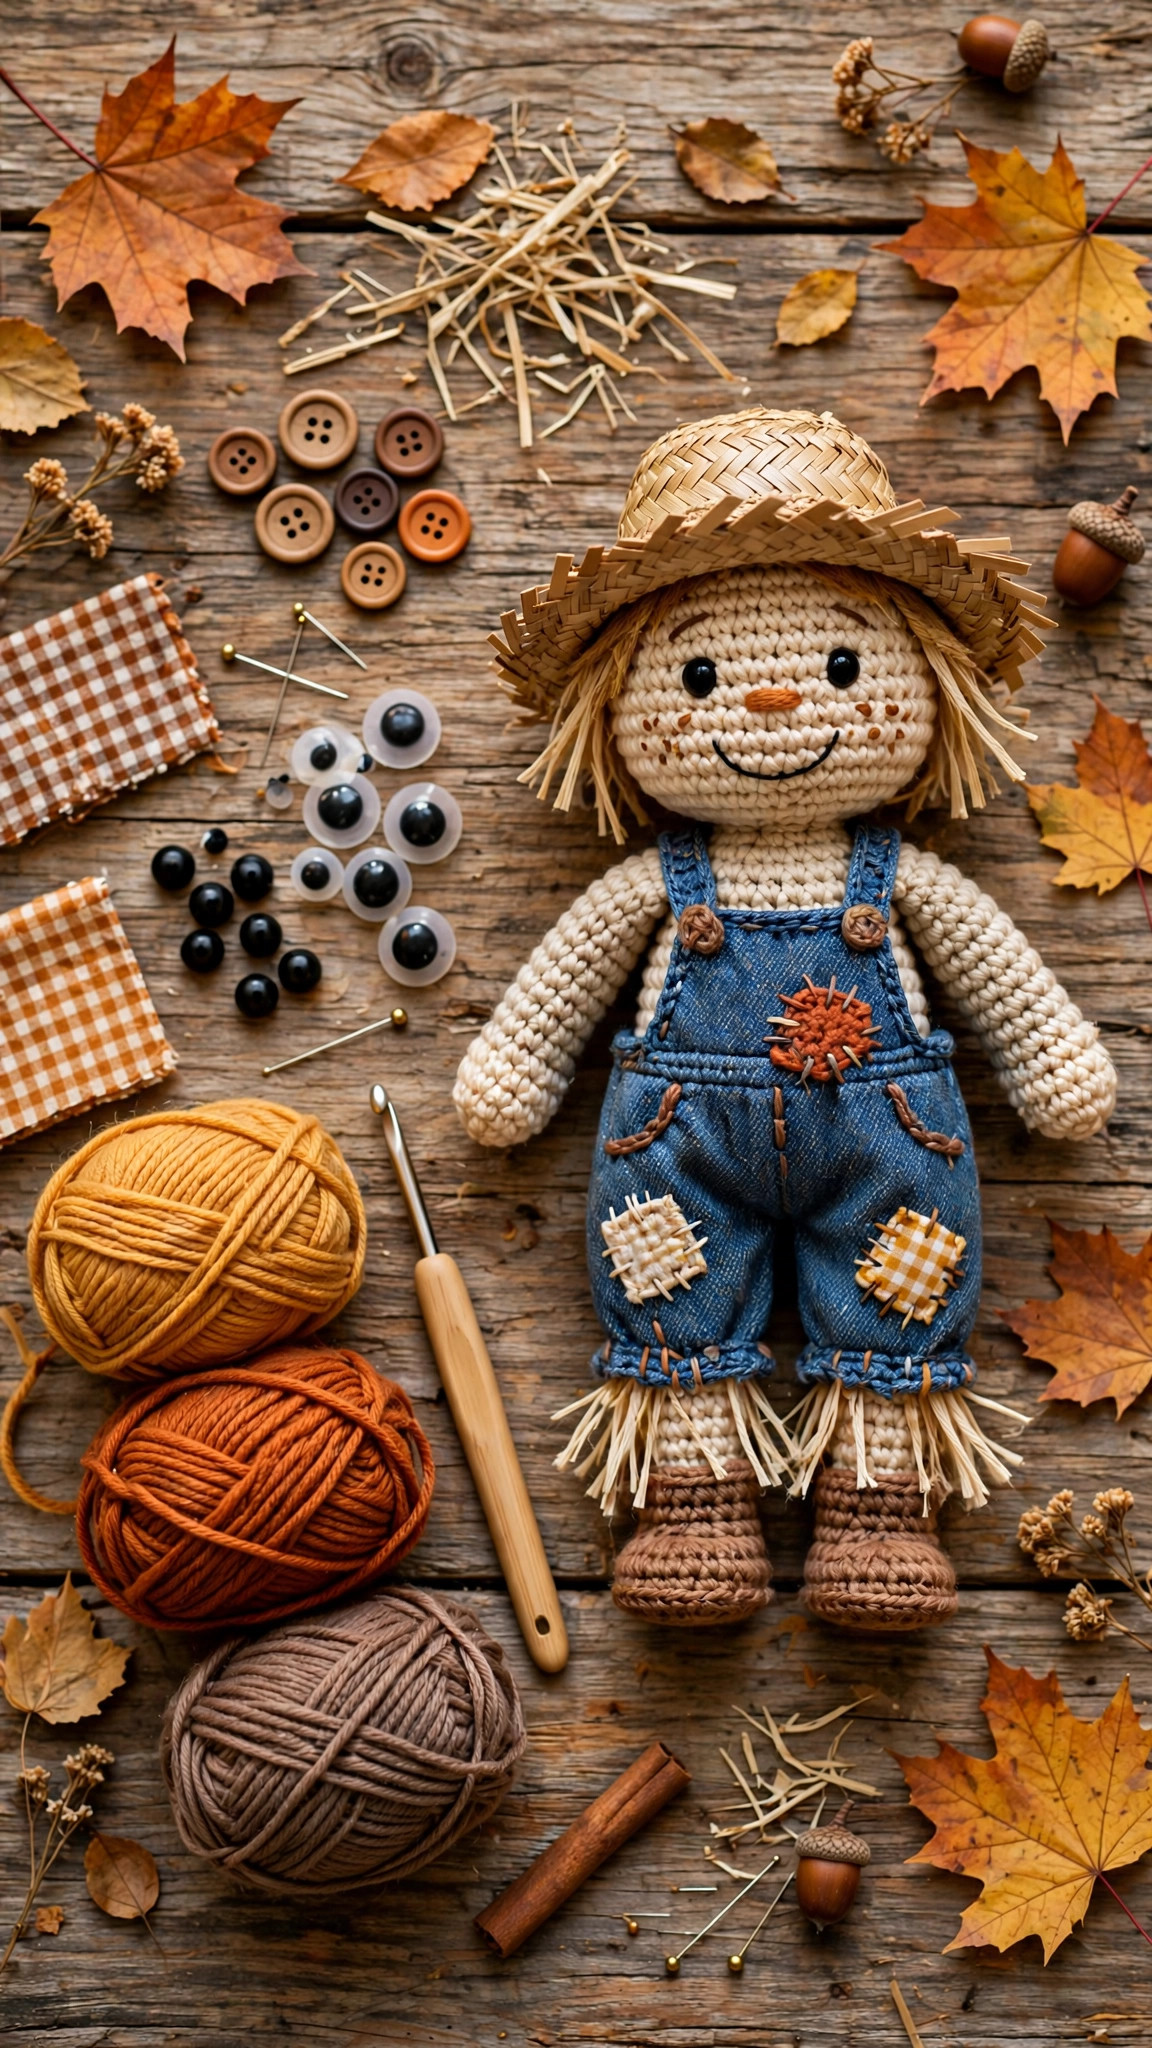
- Worsted weight (#4) yarn in: tan or peach (skin, about 60 yards), rust or red (shirt, about 80 yards), denim blue (overalls, about 60 yards), straw yellow (hat and hair, about 70 yards), brown (boots and patches, about 40 yards), plus tiny scraps of cream and green for patches.
- US G-6 (4.0 mm) crochet hook.
- Two 10 mm safety eyes (or black yarn for an embroidered, toddler-safe face).
- Polyester fiberfill stuffing.
- Yarn needle, scissors, and stitch markers.
- Brown embroidery floss or yarn for the smile.
Abbreviations (US Terms)
- MR = magic ring
- ch = chain
- sc = single crochet
- inc = increase (2 sc in same st)
- dec = invisible decrease
- sl st = slip stitch
- st(s) = stitch(es)
- rep = repeat
- BLO = back loop only
A Note on Gauge
Gauge matters less for amigurumi than for garments, but one rule is firm: your stitches must be tight enough that the stuffing does not show through. If you can see white fiberfill peeking between stitches, go down a hook size. Most crocheters get the right density with a 4.0 mm hook and worsted yarn; tight crocheters may prefer 3.75 mm.
Part 1: Head
Worked in continuous rounds in skin color. Place a stitch marker in the first stitch of each round and move it up as you go.
Rnd 1: 6 sc in MR. (6) Rnd 2: Inc in each st around. (12) Rnd 3: (Sc in next st, inc in next st) rep 6 times. (18) Rnd 4: (Sc in next 2 sts, inc in next st) rep 6 times. (24) Rnd 5: (Sc in next 3 sts, inc in next st) rep 6 times. (30) Rnd 6: (Sc in next 4 sts, inc in next st) rep 6 times. (36) Rnds 7 to 12: Sc in each st around. (36) Rnd 13: (Sc in next 4 sts, dec) rep 6 times. (30) Rnd 14: (Sc in next 3 sts, dec) rep 6 times. (24)
Pause here to place the safety eyes between Rnds 10 and 11, about 7 stitches apart, then stuff the head firmly. Continue:
Rnd 15: (Sc in next 2 sts, dec) rep 6 times. (18) Rnd 16: (Sc in next st, dec) rep 6 times. (12) Rnd 17: Dec 6 times. (6)
Fasten off, thread the tail through the front loops of the remaining 6 stitches, pull closed, and weave in the end.
Part 2: Body
Worked in continuous rounds in shirt color (rust).
Rnd 1: 6 sc in MR. (6) Rnd 2: Inc in each st around. (12) Rnd 3: (Sc in next st, inc in next st) rep 6 times. (18) Rnd 4: (Sc in next 2 sts, inc in next st) rep 6 times. (24) Rnd 5: (Sc in next 3 sts, inc in next st) rep 6 times. (30) Rnds 6 to 11: Sc in each st around. (30) Rnd 12: (Sc in next 3 sts, dec) rep 6 times. (24) Rnd 13: Sc in each st around. (24)
Fasten off, leaving a long tail for sewing the head to the body. Stuff the body firmly, shaping it into a slightly rounded barrel.
Part 3: Overalls, Straps, and Buttons
The overalls are appliqued onto the body, which keeps the construction simple and looks convincingly like real workwear.
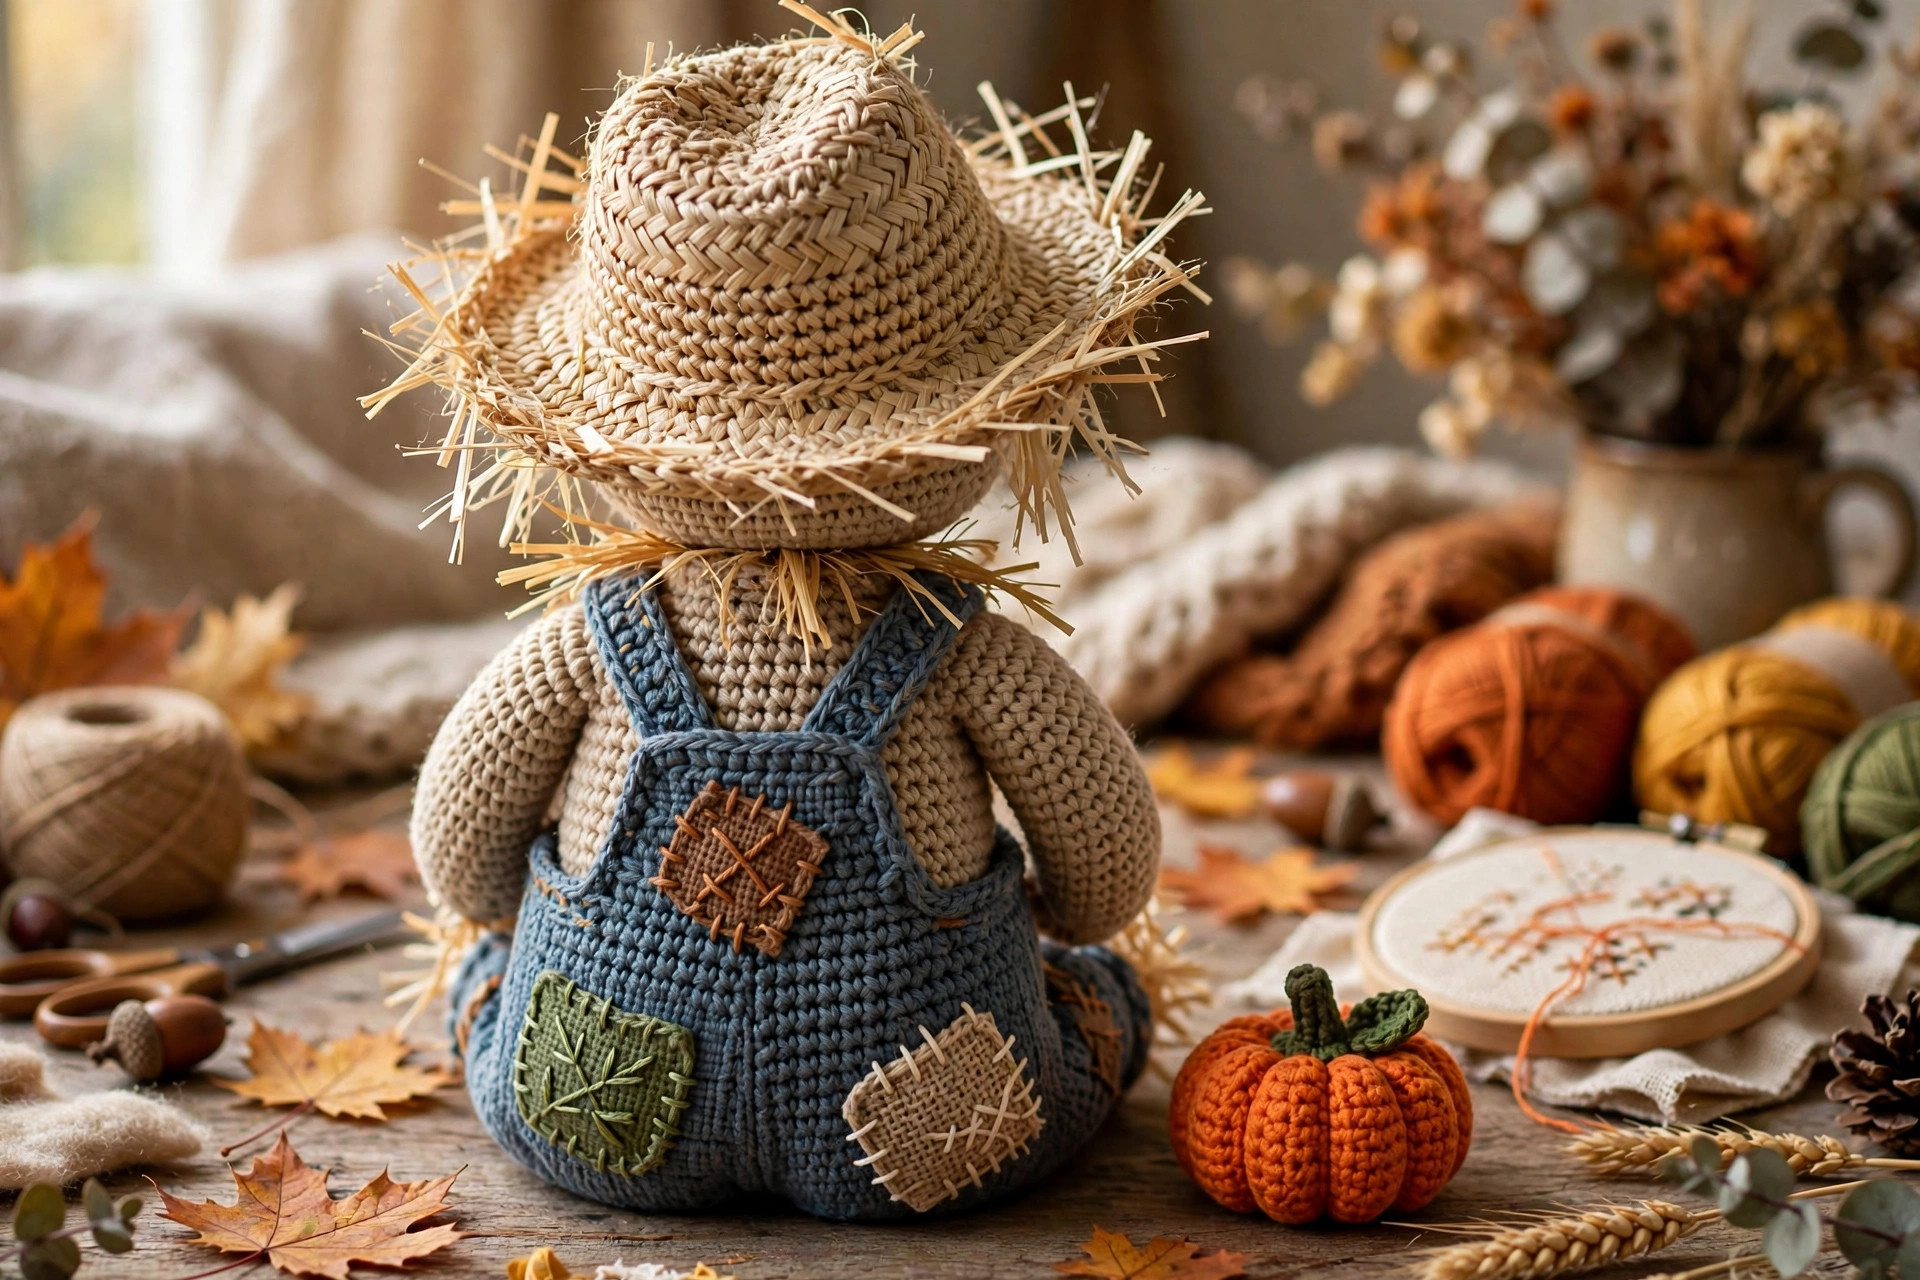
Bib (denim blue): Ch 11. Row 1: Sc in 2nd ch from hook and across (10 sc). Rows 2 to 8: Ch 1, turn, sc across (10 sc). Fasten off, leaving a tail for sewing. Center the bib on the front of the body and sew it on around all four edges.
Straps (make 2, denim blue): Ch 21. Sc in 2nd ch from hook and across (20 sc). Fasten off, leaving tails. Sew one end of each strap to the top corners of the bib, run them up over the shoulders, and sew the other ends to the back of the body.
Buttons (make 2, brown): Rnd 1: 6 sc in MR. Rnd 2: Inc in each st (12). Sl st to join, fasten off, leaving a tail. Sew one button to each top corner of the bib, over the strap ends.
Knee patches (make 2, cream or green): Ch 6. Work 4 rows of sc (5 sc per row). Sew one patch to the front of each leg later, or onto the body sides for extra charm.
Part 4: Arms and Legs
Arms (make 2): Start in shirt color. Rnds 1 to 8: Work exactly like a small tube: Rnd 1: 6 sc in MR (6). Rnd 2: (Sc, inc) rep 3 times (9). Rnds 3 to 8: Sc around (9). Rnd 9: Change to skin color. Sc around (9). Rnd 10: (Sc in next st, dec) rep 3 times (6). Stuff lightly, fasten off, thread tail through remaining stitches, and pull closed. Sew the arms to the sides of the body at about Rnd 7, angled slightly downward.
Legs with boots (make 2): Start in brown for the boot. Rnd 1: 6 sc in MR. (6) Rnd 2: Inc in each st around. (12) Rnds 3 to 4: Sc around. (12) Rnd 5: (Sc in next 2 sts, dec) rep 3 times. (9) Rnd 6: Change to denim blue. Sc around. (9) Rnds 7 to 10: Sc around. (9) Stuff, fasten off, and close like the arms. Sew the legs to the bottom of the body, then sew a knee patch onto the front of each leg.
Part 5: Straw Hat
Worked in continuous rounds in straw yellow.
Rnd 1: 6 sc in MR. (6) Rnd 2: Inc in each st around. (12) Rnd 3: (Sc in next st, inc in next st) rep 6 times. (18) Rnd 4: (Sc in next 2 sts, inc in next st) rep 6 times. (24) Rnds 5 to 8: Sc in each st around. (24) Rnd 9: (Sc in next 3 sts, inc in next st) rep 6 times. (30) Rnd 10: (Sc in next 4 sts, inc in next st) rep 6 times. (36) Rnd 11: Sc in each st around. (36)
Sl st to the next stitch, fasten off, and weave in the end. For the hat band, thread a 12-inch length of rust yarn onto your yarn needle and weave it in and out around Rnd 8, tying a small bow at the side.
Part 6: Hair, Face, and Patches
Straw hair: Cut about 24 strands of straw yellow yarn, each 5 inches long. Fold each strand in half and attach with a lark's head knot around the head, just below where the hat brim will sit: push the folded loop through a stitch, pull the ends through the loop, and tighten. Work two rows of knots all the way around for full, sticking-out straw hair. Trim unevenly for a rustic look.
Smile: With brown embroidery floss, stitch a wide friendly smile across Rnds 12 to 13 of the face, adding two short vertical stitch lines through the smile for the classic stitched look.
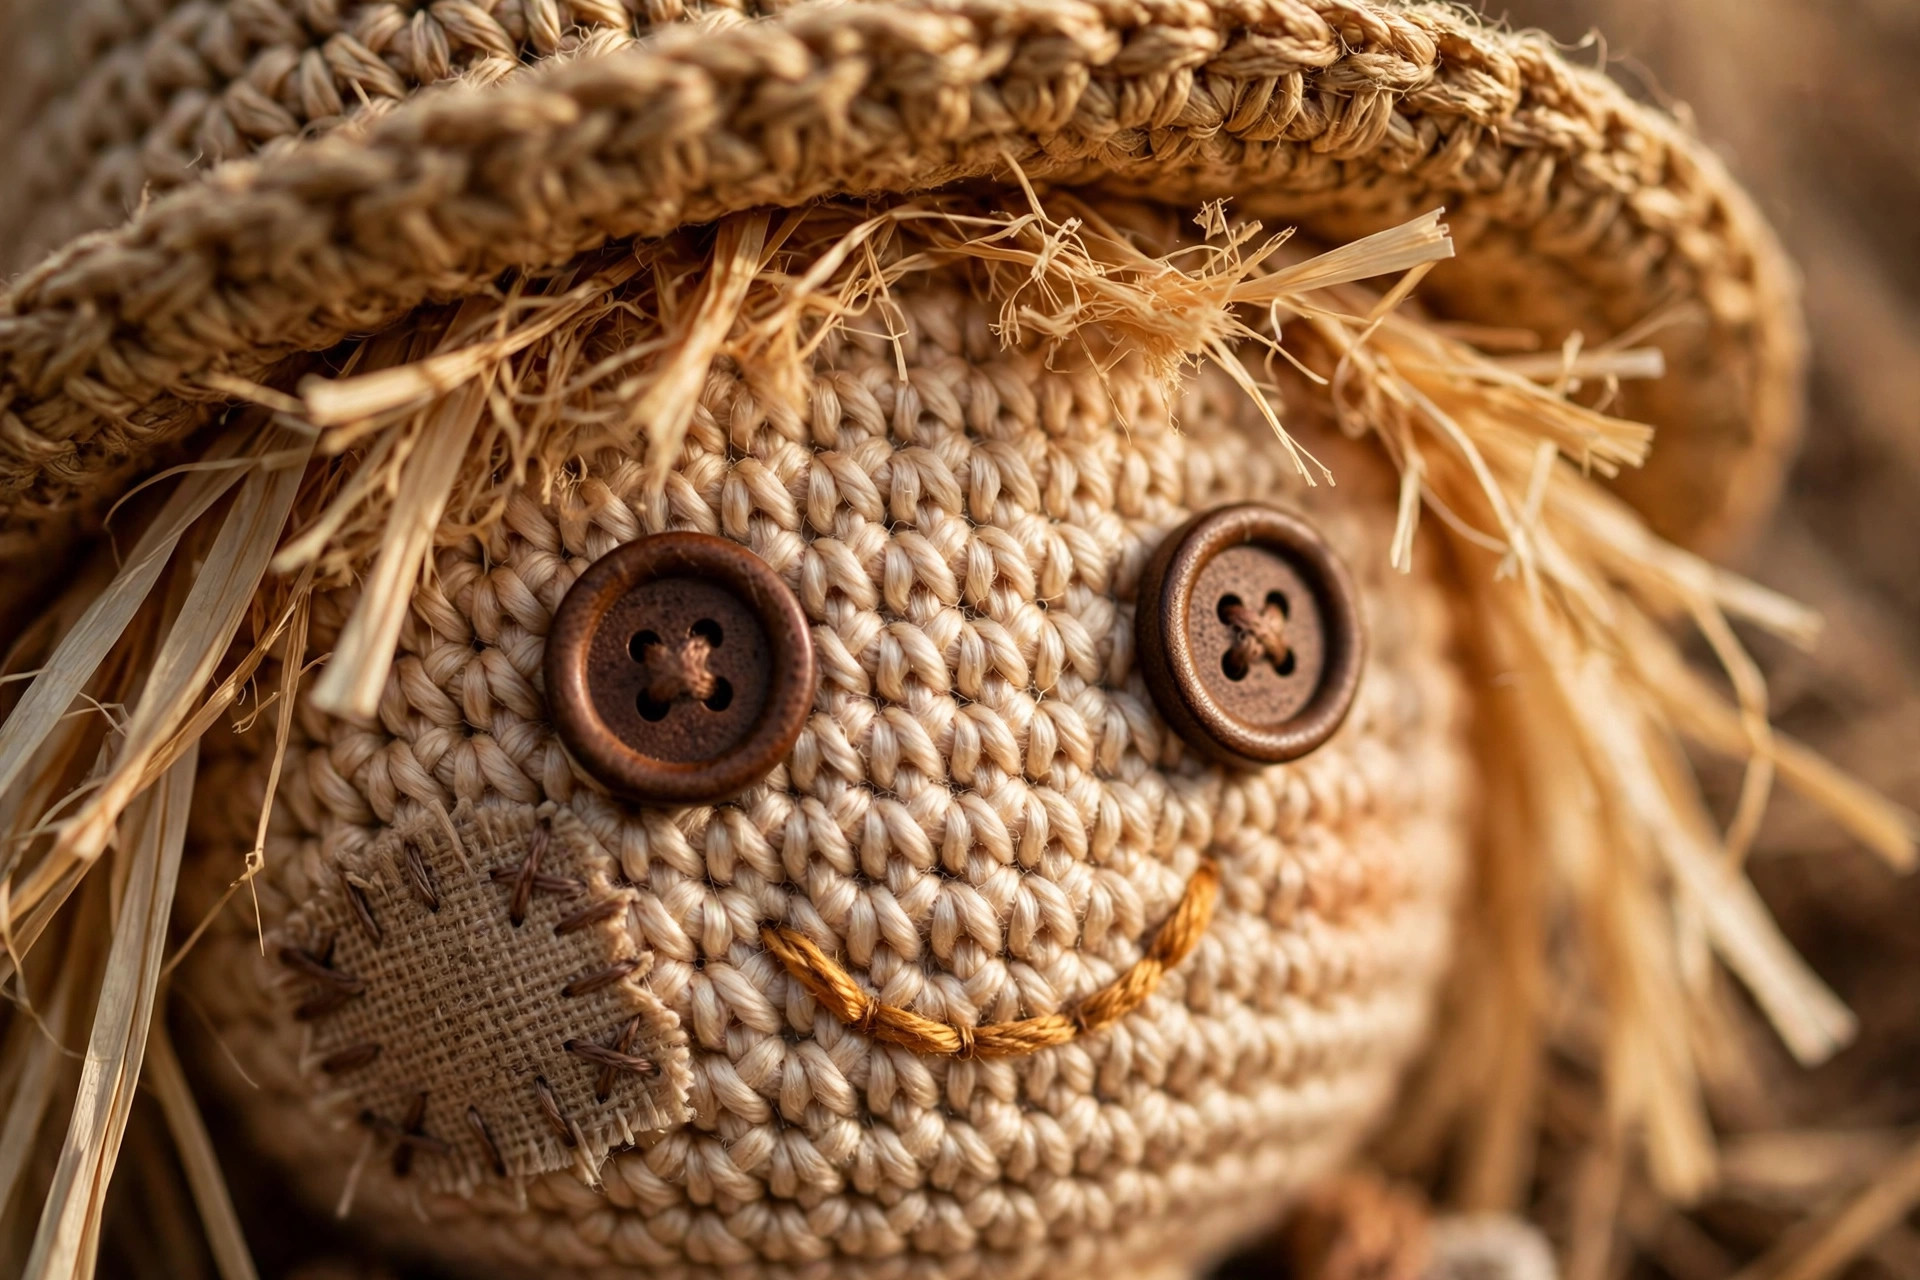
Cheek patch: Make one small patch (ch 5, 3 rows of sc in cream) and sew it to one cheek at a jaunty angle.
Nose: A tiny triangle works beautifully: ch 3, sc in 2nd ch, sc in next, fasten off, and sew it centered between the eyes. Or embroider a simple triangle with brown yarn.
Assembly
Sew the pieces together in this order for the sturdiest result:
- Sew the head to the body using the long tail left on the body, stitching through both layers all the way around. Add a bit more stuffing to the neck join as you close it so the head does not wobble.
- Sew the arms to the body sides.
- Sew the legs to the body bottom, checking that the doll sits upright.
- Position the hat tilted slightly to one side and sew it down with a few hidden stitches at the front and back so it never slips.
- Weave in every remaining end, then give the straw hair a final fluff and trim.
Stand your scarecrow up, step back, and admire your work. Tweak the hat tilt until it looks just mischievous enough.
Seasonal amigurumi fans should also try our free snowman crochet pattern when winter arrives, it uses the same round-by-round construction.
Toddler-Safe Face Option
Safety eyes are not safe for children under three, since they can loosen over time. For a toddler-safe scarecrow, skip the safety eyes and embroider everything: two French knots or satin-stitch ovals for eyes, the same stitched smile, and skip the small buttons on the overalls (embroider button circles instead). The result is just as cute and fully cuddly for little hands.
Our crochet gnomes patterns collection includes more embroidered-face toys that are perfect for young children.
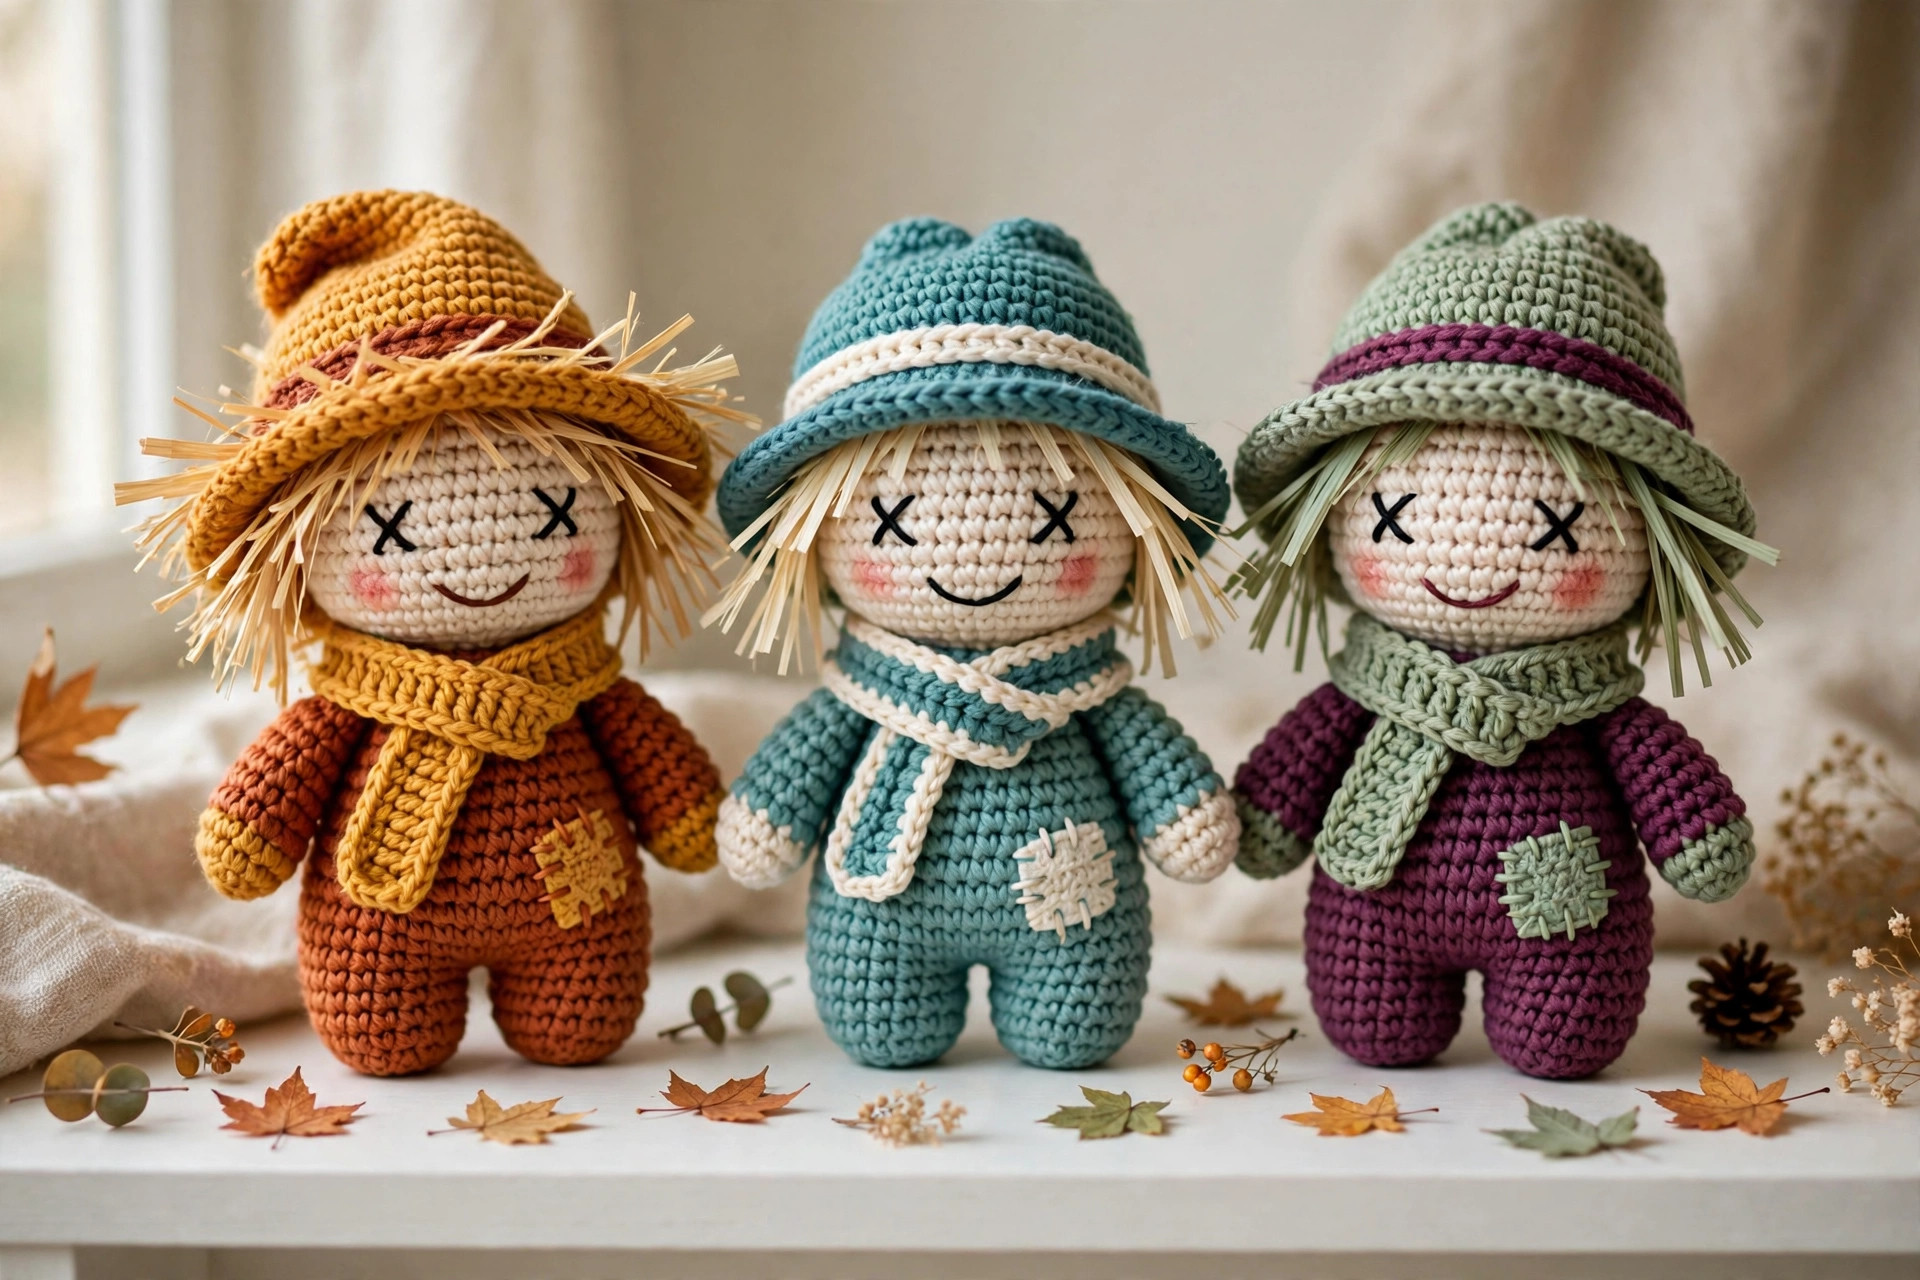
Make a Whole Scarecrow Family
Once you have made one scarecrow, variations are easy and addictive:
- Mrs. Scarecrow: add yarn braids instead of short straw hair, a flower on the hat band, and a patchwork skirt (a simple crocheted cone in BLO).
- Baby scarecrow: work the whole pattern with a 3.5 mm hook and lighter tension for a 9-inch version.
- Spooky scarecrow: use dark brown and black yarns, skip the smile, and stitch X-shaped eyes for a Halloween version that pairs perfectly with our crochet ghost pattern.
- Mini ornament scarecrow: stop after the head and hat, add a hanging loop, and you have a tree ornament in under two hours.
Care Instructions
Dust your scarecrow with a soft brush or a cool hairdryer now and then. For deeper cleaning, hand wash gently in cool water with mild soap, squeeze (never wring), reshape, and air dry. The straw hair can be refluffed with your fingers after washing. Keep the doll out of direct sun for long stretches to protect the colors.
Frequently Asked Questions
Is this crochet scarecrow pattern really free?
Yes. This is an original Little Loop Finds design, and the complete pattern above is free for personal use. You may sell finished dolls you make from it; please credit the pattern to Little Loop Finds.
How big is the finished scarecrow?
About 12 inches tall from the bottom of the boots to the brim of the hat, when made with worsted weight yarn and a 4.0 mm hook. Using a smaller hook and tighter tension gives a slightly smaller doll.
I have never made amigurumi. Can I make this?
Yes, with patience. The pattern lists every round with stitch counts, and the shapes are all simple spheres and tubes. Practice the magic ring and invisible decrease on scrap yarn first, and you will be ready.
How do I keep the head from wobbling?
The neck join is the usual weak spot. Stuff both the head and body very firmly, add extra stuffing into the neck as you sew the join closed, and take small, tight stitches all the way around. A chenille stem or a short wooden dowel inserted through the neck adds professional-level stability.
Can I use safety eyes on a toy for a toddler?
No. Safety eyes can work loose with chewing and rough play, so they are not recommended for children under three. Use the embroidered face option described above for toddler-safe toys.
My hat will not stay tilted. What should I do?
Sew it down. Place three or four small stitches through the hat brim into the head at the front, side, and back. Hidden stitches under the brim are invisible and hold the jaunty angle permanently.
How long does the scarecrow take to make?
Most makers finish in 6 to 8 hours, spread over a weekend. The pieces stitch up quickly; assembly, hair, and face details take about a third of the total time, so do not rush that part.
Happy fall crocheting, and may your scarecrow guard many cozy autumns to come.