Free Amigurumi Body Pattern: Build Any Doll Base
A sturdy human doll body base in US terms: original design, joined-leg construction, and endless costume possibilities.

Amigurumi · Crochet
- Finished size
- About 10 in tall
- Making time
- About 6 hours
- Hook
- 3.5 mm, worsted yarn
- Pieces
- Legs, torso, 2 arms, head
- Skill
- Easy
In this post
- Table of contents
- Why you'll love this amigurumi body pattern
- Materials you'll need
- Size, gauge and skill level
- Abbreviations, US terms
- The amigurumi body pattern (US terms)
- Assembly: putting your doll together
- Tips and tricks
- Variations to try next
- Troubleshooting tips
- Frequently asked questions
- More free patterns to try
Every great doll starts with a good body. Princesses, pirates, elves, grandmothers, superheroes: they all stand on the same foundation. This free amigurumi body pattern gives you that foundation: a sturdy, well-proportioned human body base in US terms, ready to become anyone you can imagine.
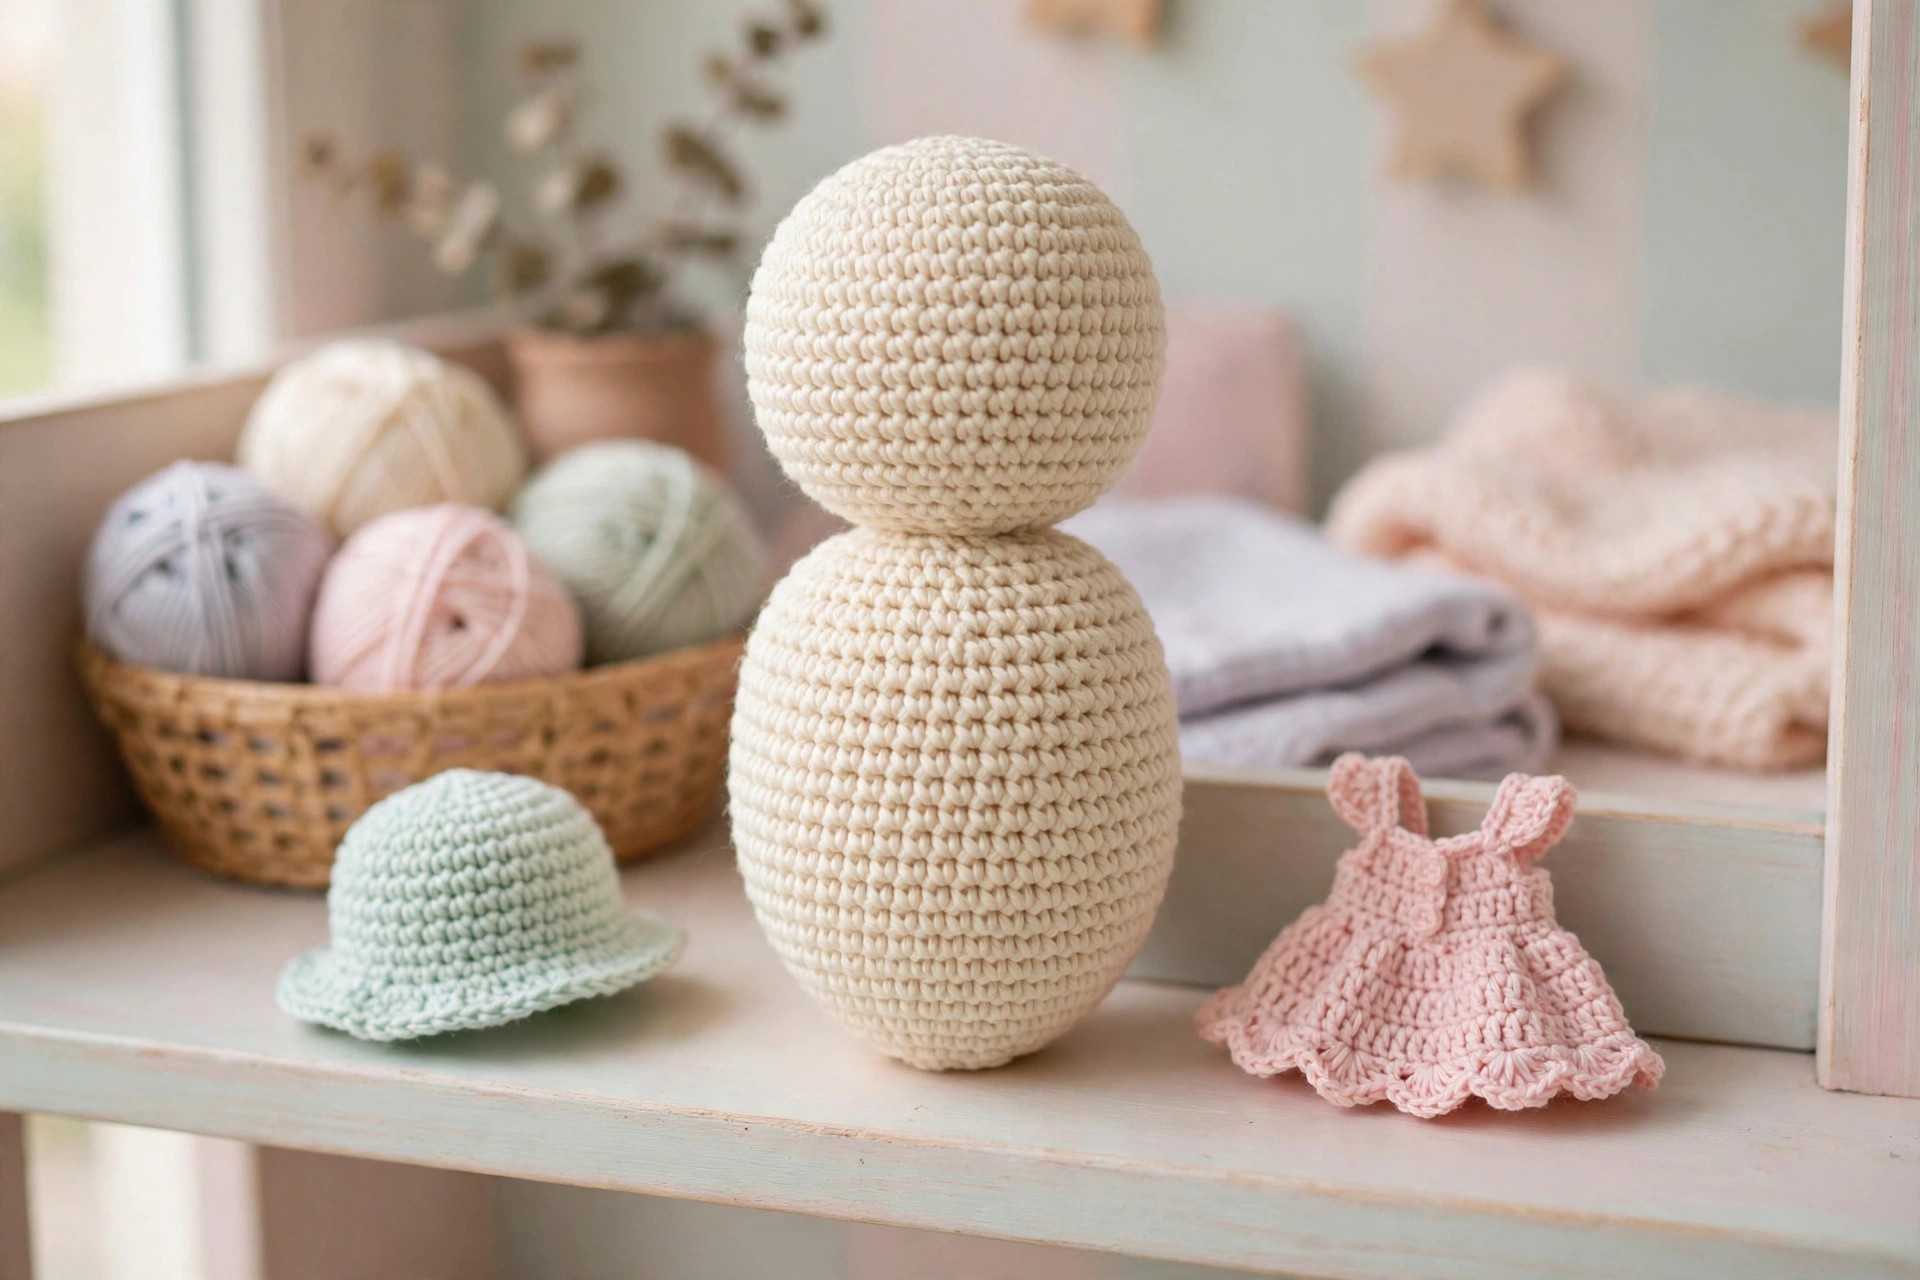
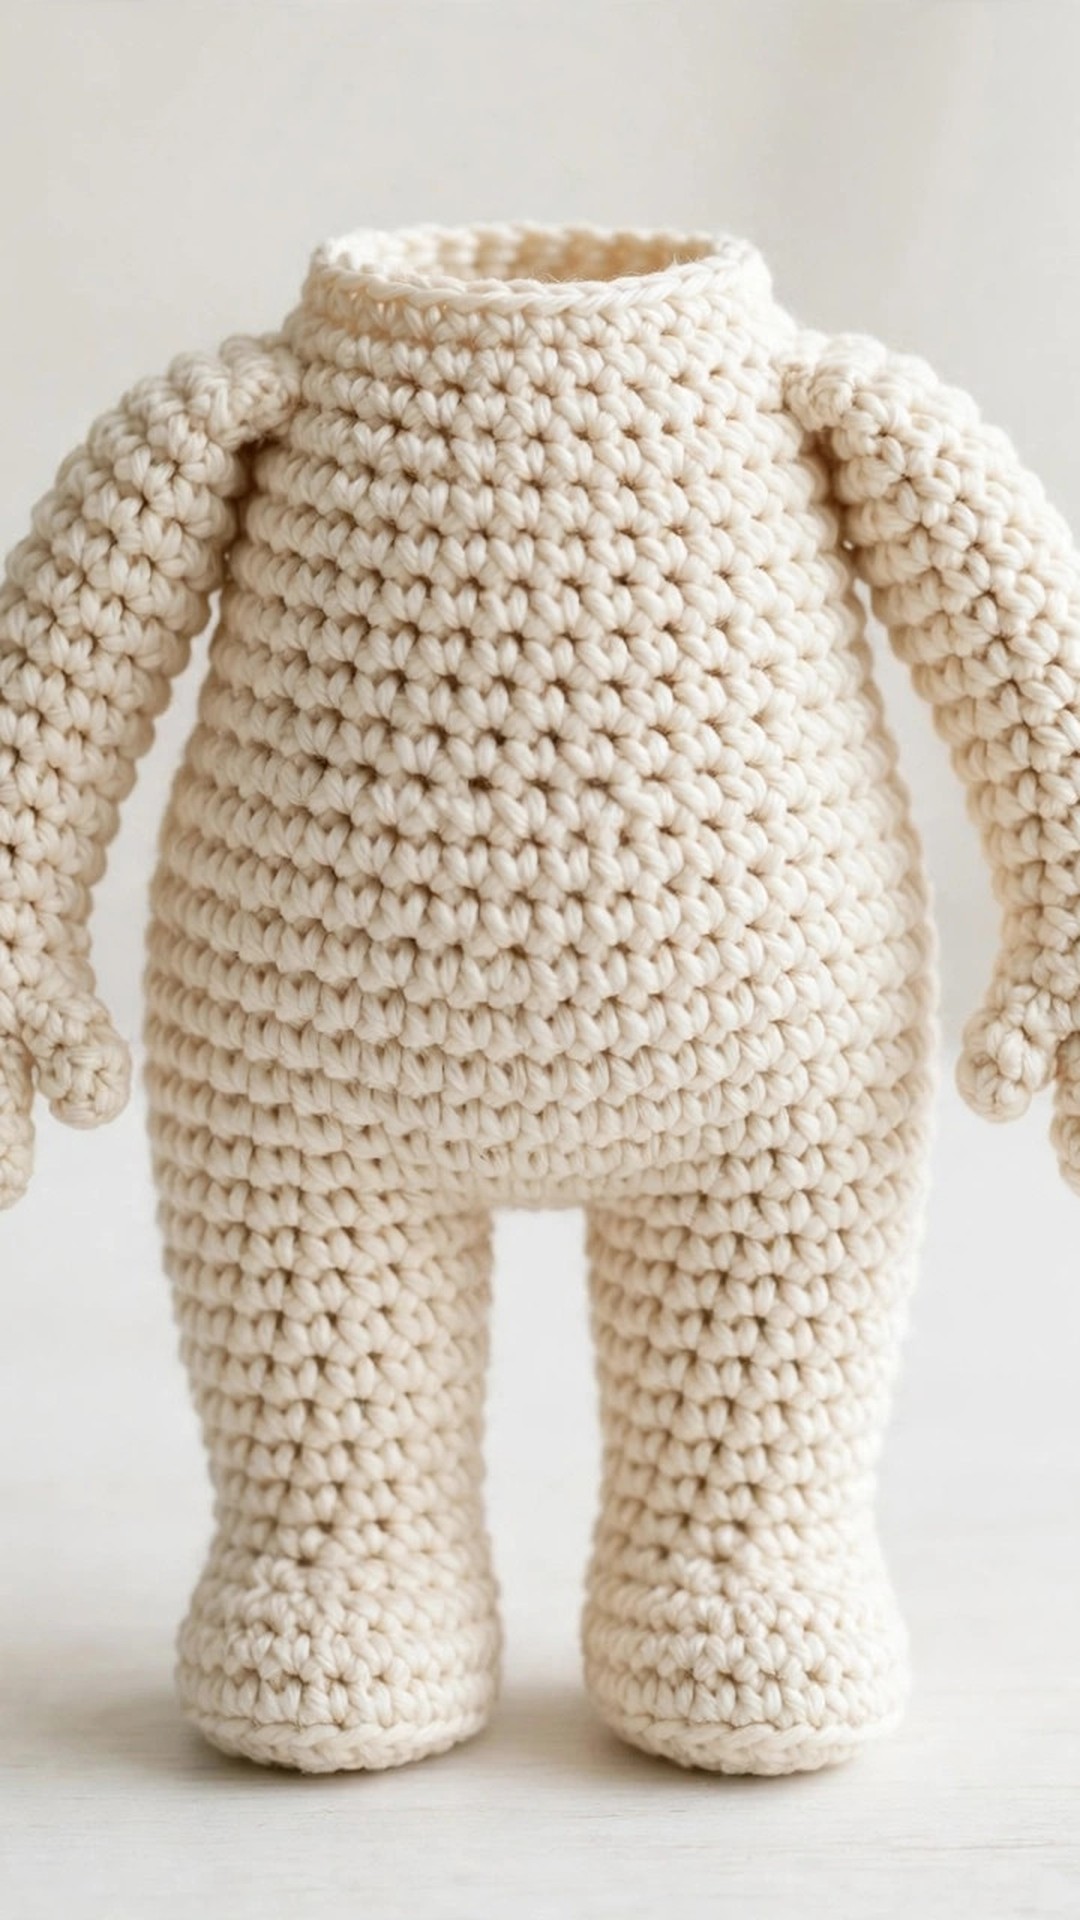
The body is built from five pieces: two legs joined seamlessly into a torso, two arms, and a classic round head. No tricky joins, no complicated shaping, just friendly single-crochet rounds that grow a little person in your hands. Stuff it, dress it, add a face, and you have a doll that stands, sits, and survives enthusiastic play.
This is an original Little Loop Finds design. The finished doll measures about 10 inches tall in worsted yarn: a perfect shelf size that is also big enough for little hands to hold. Use the body exactly as written for a classic doll, or treat it as your design laboratory for a whole cast of characters.
Table of contents
- Why you'll love this amigurumi body pattern
- Materials you'll need
- Size, gauge and skill level
- Abbreviations, US terms
- The amigurumi body pattern (US terms)
- Assembly: putting your doll together
- Tips and tricks
- Variations to try next
- Troubleshooting tips
- Frequently asked questions
- More free patterns to try
Why you'll love this amigurumi body pattern
Learning one body pattern is like learning one good bread recipe: suddenly a hundred variations are within reach. Most amigurumi dolls share the same anatomy, and this pattern captures it in its cleanest form. Once you have made this body once, you will recognize its bones inside nearly every doll pattern you ever meet.
The construction is the clever part. The legs are joined with a short chain bridge, so the torso grows directly upward from them with no seam and no sewing. The arms attach later with a simple whipstitch, and the head sits on a neat neck. If you can increase and decrease in the round, you can make this body.
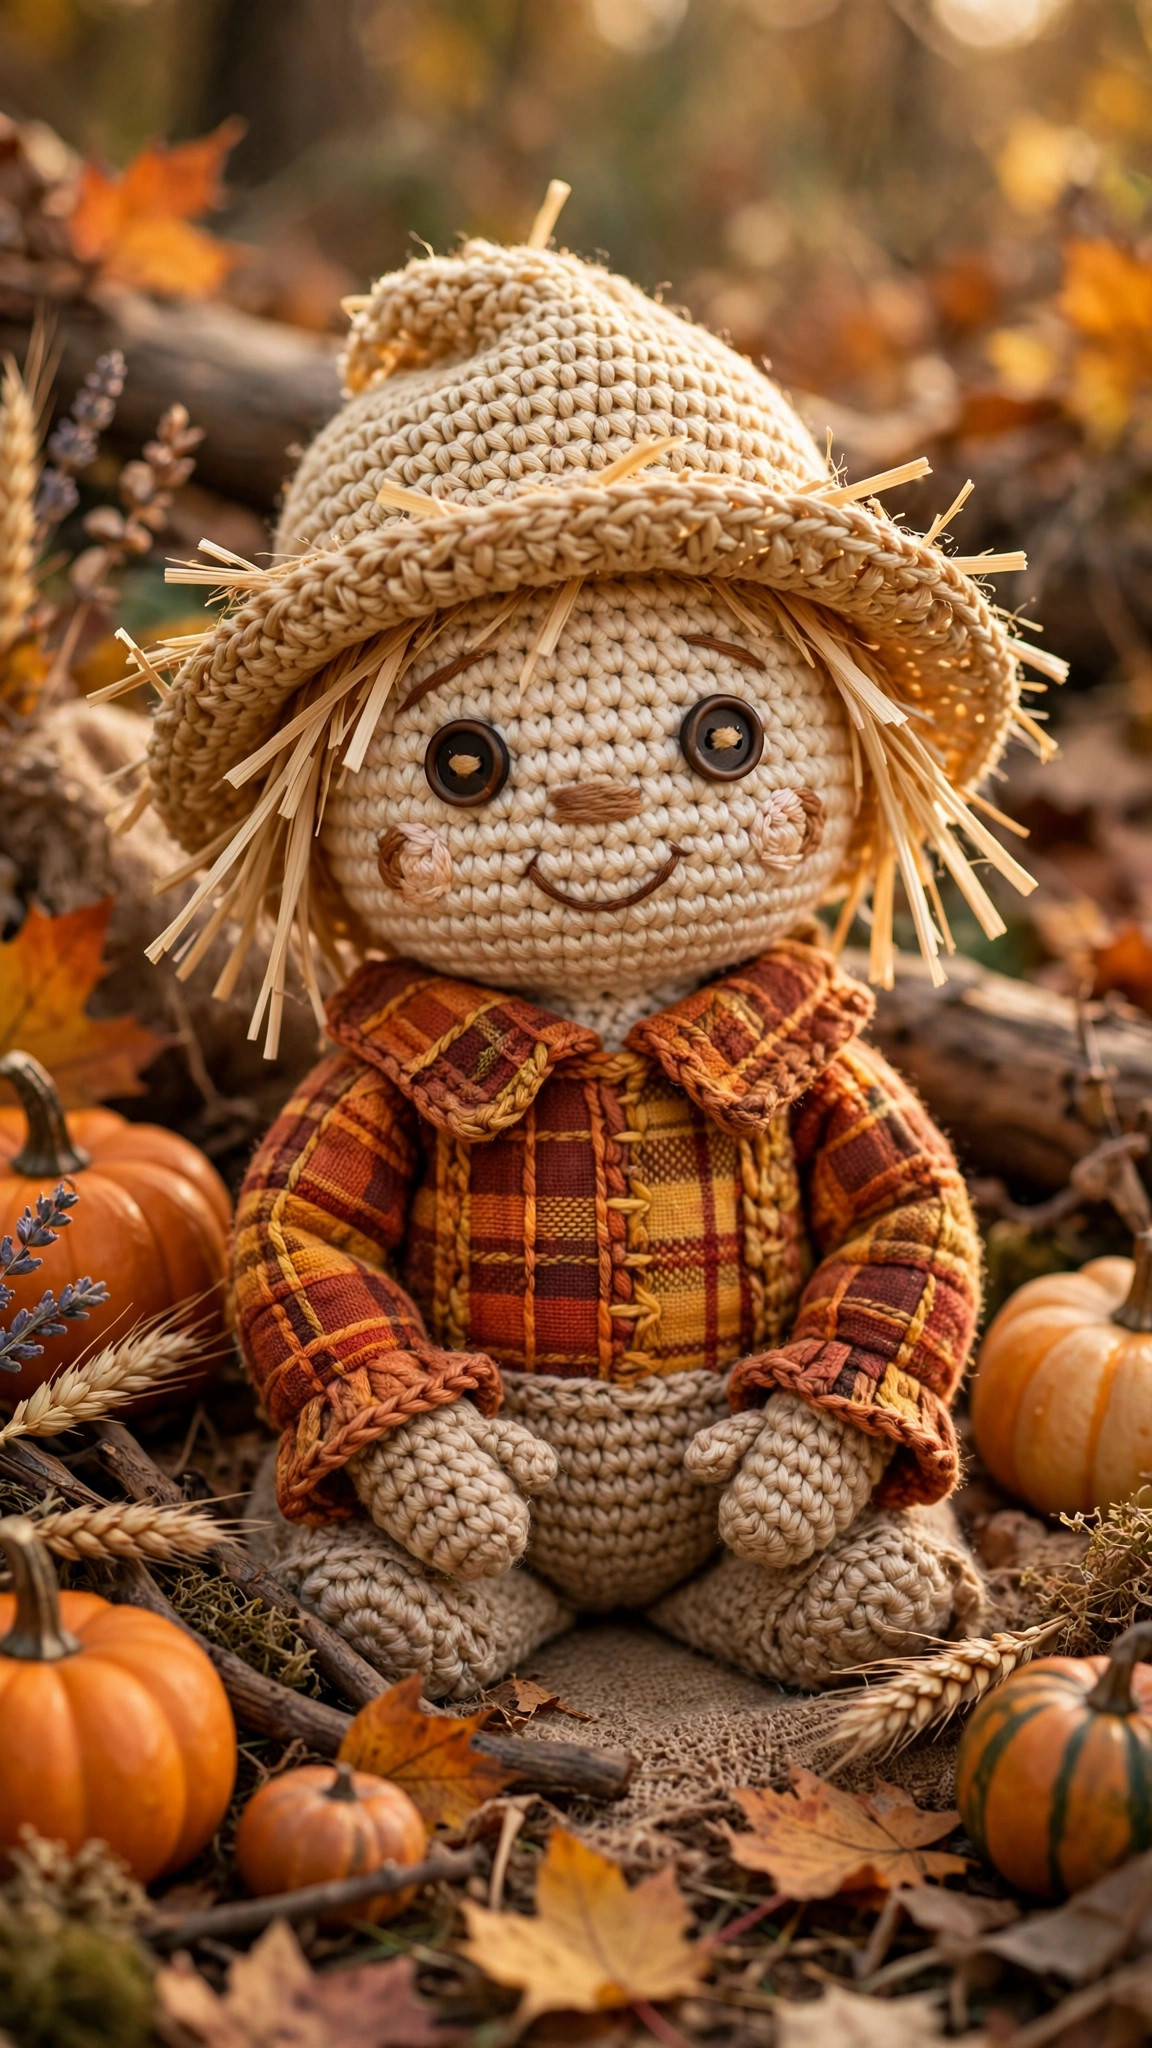
It is also genuinely fun to dress. A plain body begs for a story: crochet a tiny dress, embroider overalls, or add yarn hair. Our complete amigurumi doll free pattern shows one fully dressed example of what this kind of base can become.
Materials you'll need
| Supply | What to get |
|---|---|
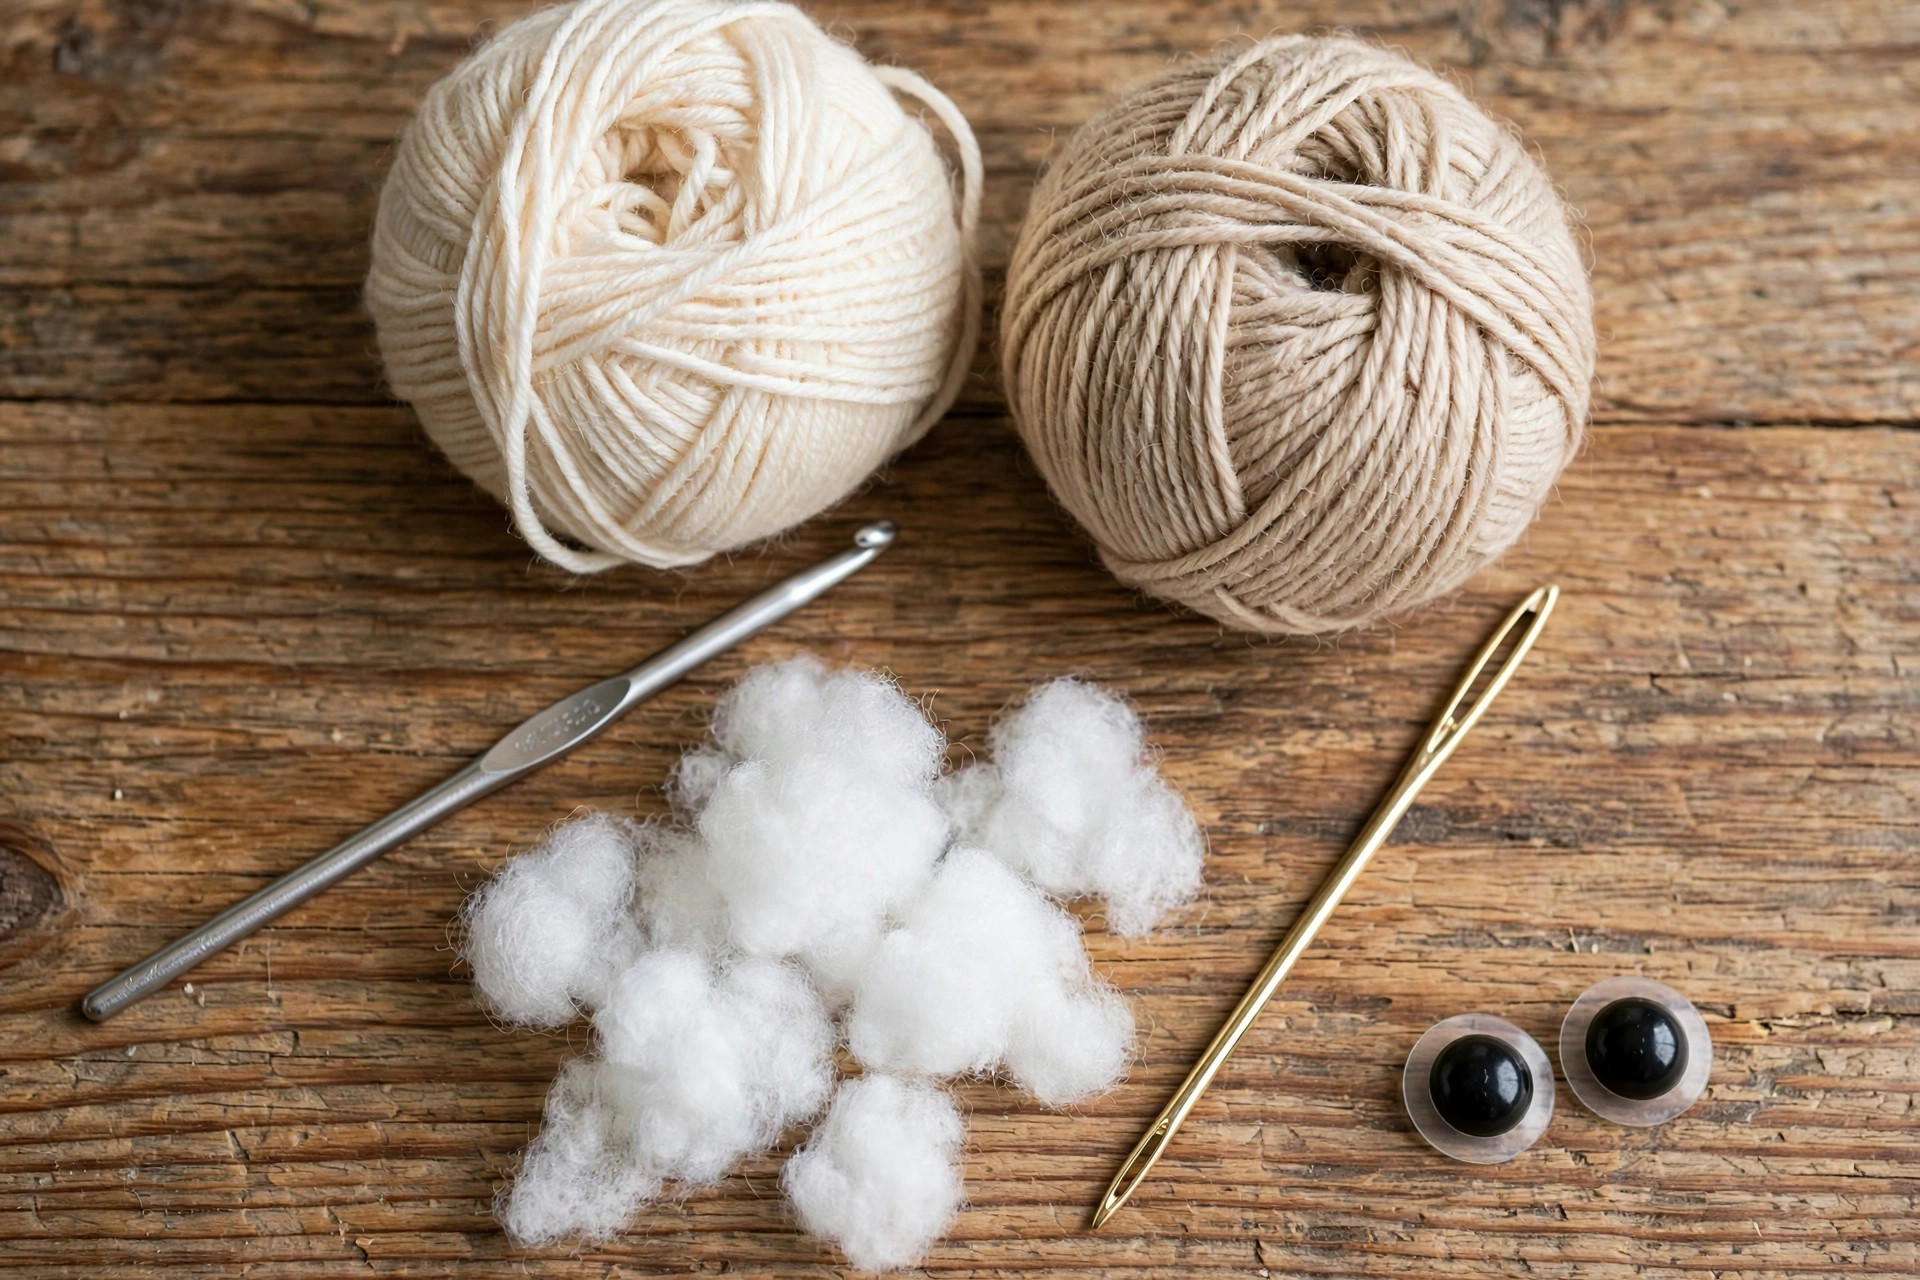
| Skin-tone yarn | Worsted-weight (#4) yarn in a skin tone, about 150 yds / 137 m |
| Hair/contrast yarn | Worsted-weight (#4) yarn in a second colour for hair or clothing accents, about 40 yds / 37 m |
| Crochet hook | 3.5 mm (E) |
| Safety eyes | Two 10 mm safety eyes with washers (or embroider the eyes instead) |
| Stuffing | Polyester fiberfill, about 4 oz / 115 g |
| Tapestry needle | For sewing pieces together and embroidering features |
| Notions | Scissors, stitch markers, pins, blush or fabric marker for cheeks (optional) |
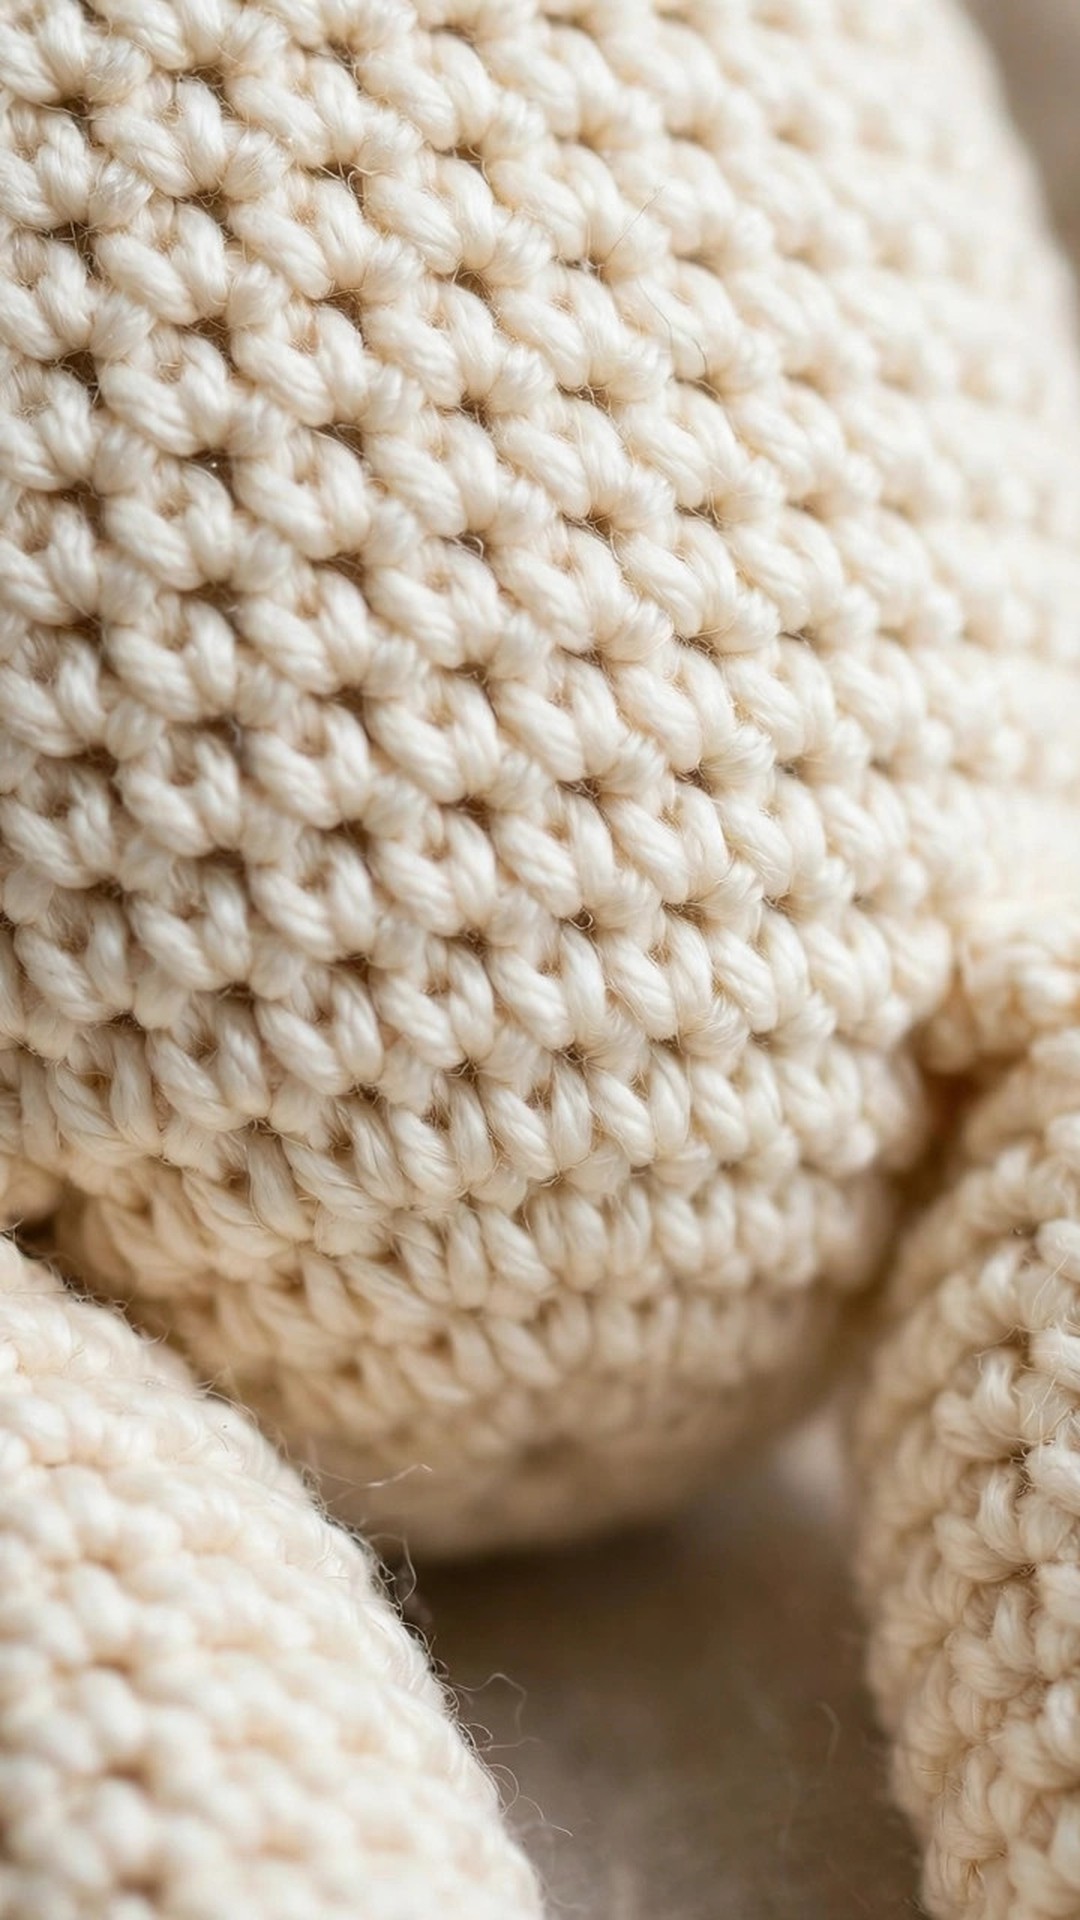
Choose a skin tone you love working with: cream, tan, cocoa, or peach. The yarn should be smooth and slightly matte so stitches read cleanly. If you plan to dress the doll, keep the body in a single tone and let the clothes provide the colour: it is the classic approach and it looks charming every time.
A note on safety eyes: safety eyes lock in with a washer, but they are not recommended for children under three. For a baby or toddler doll, embroider the eyes with a few satin stitches instead. The head pattern includes placement for both options.
Size, gauge and skill level
Everything is worked in continuous spiral rounds: do not join at the end of a round, just keep going and move the stitch marker up each round. The legs are joined with a chain bridge, which is explained step by step in the pattern.
| Measurement | Value |
|---|---|
| Finished height | About 10 in / 25 cm standing |
| Head circumference | About 7.5 in / 19 cm |
| Approx. time | About 6 hours total |
- Finished size: the doll stands about 10 inches tall and sits about 7 inches. In DK yarn with a 3.0 mm hook it comes out around 8 inches: a sweet travel size. In bulky yarn with a 5.0 mm hook it becomes a gloriously huggable 13-inch doll.
- Gauge: gauge is not critical for the fit, but your stitches must be tight enough that the stuffing does not peek through. If you can see fiberfill between stitches, drop half a hook size. A typical gauge is about 20 sc and 22 rounds = 4 in (10 cm).
- Skill level: easy. You should know how to work a magic ring, single crochet in the round, increase, and decrease, and you should be comfortable sewing pieces together. The leg-joining step sounds scarier than it is: the pattern walks you through it stitch by stitch.
New to working in the round? Our guide on how to crochet a magic ring covers the exact start used for the legs, arms, and head below.
Abbreviations, US terms
| Abbreviation | Meaning |
|---|---|
| MR | magic ring |
| ch | chain |
| sc | single crochet |
| inc | increase: 2 sc in the same stitch |
| dec | invisible decrease |
| st(s) | stitch(es) |
| R | round |
| FO | fasten off |
| [ ] | total stitch count at the end of the round |
Reading the pattern: work in a continuous spiral unless told otherwise. When you join the legs, count carefully on the joining round: it is the only round where the stitch count changes in an unusual way, and a correct count there keeps everything smooth.
The amigurumi body pattern (US terms)
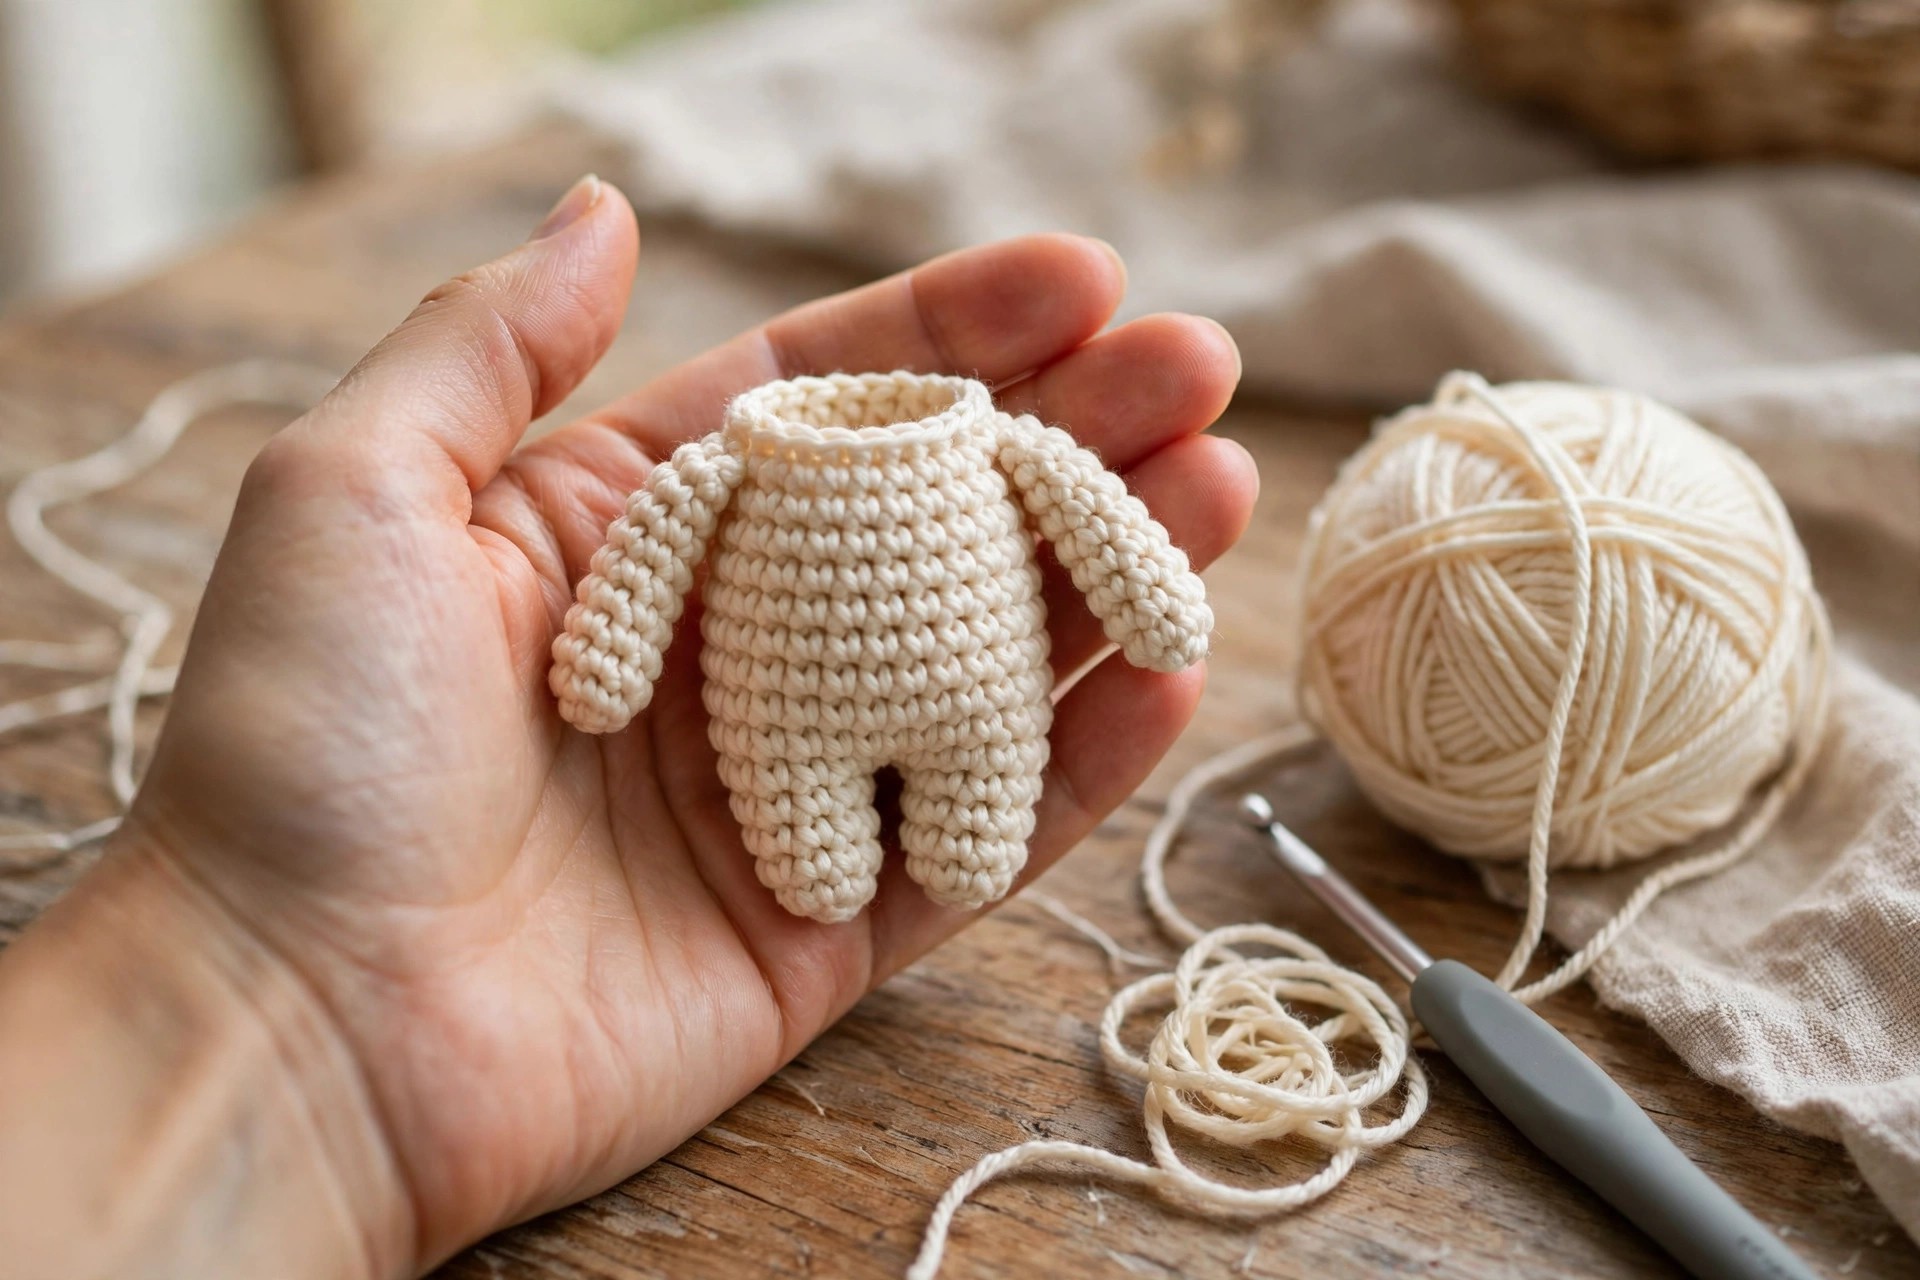
Work the legs first, join them, then build the torso upward in one continuous piece. The arms and head are made separately and attached during assembly. Stuff each piece firmly as you go, adding small pinches of fiberfill and shaping with your hands.
Legs (skin tone, make 2)
- R1: MR, 6 sc in ring. [6]
- R2: inc in each st around. [12]
- R3-R5: sc in each st around. [12]
- R6: (2 sc, dec) x3. [9]
- R7-R12: sc in each st around. [9]
Stuff the foot and lower leg firmly, leaving the top two rounds lightly stuffed so the join stays flexible. FO the FIRST leg. Work the SECOND leg the same way but do NOT fasten off: you will continue from it to join the legs.
Joining the legs: from the second leg, ch 3. This chain is the bridge between the legs. Now, holding the first leg with its last round facing you, sc into any stitch of the first leg's last round: this is the first stitch of the joined round. Continue: sc in the next 8 sts of the first leg (9 sts total on the first leg), sc in each of the 3 ch (working into the chain), sc in the 9 sts of the second leg, then sc in the other side of the 3 ch. Count: 9 + 3 + 9 + 3 = 24 stitches. Place your marker: this is the new R1 of the body, and the back centre of the chain bridge is the back of the doll.
Body and torso (continue from the join)
- R1 (joined): sc in each st around. [24]
- R2-R4: sc in each st around. [24]
- R5: (7 sc, inc) x3. [27]
- R6-R9: sc in each st around. [27]
- R10: (7 sc, dec) x3. [24]
- R11-R13: sc in each st around. [24]
- R14: (2 sc, dec) x6. [18]
- R15: (sc, dec) x6. [12]
- R16-R17: sc in each st around. [12]
Stuff the hips firmly first, shaping them round, then the waist, then the chest. R16 and R17 form the neck: stuff them medium-firm so the head has support but can tilt slightly. FO, leaving a long tail for sewing the head on.
A note on colour changes for clothing: if you want built-in pants or a shirt, change colours at the natural lines: switch at R10 for a shirt, or work the legs in a trouser colour from R1. Crochet the colour change on the last yarn-over of the previous round for a clean line.
Arms (skin tone, make 2)
- R1: MR, 6 sc in ring. [6]
- R2: (sc, inc) x3. [9]
- R3-R10: sc in each st around. [9]
Stuff the hand and forearm firmly, the upper arm lightly: a slightly floppy shoulder lets the arms rest naturally against the body. FO, leaving a long tail for sewing. Flatten the top of each arm (do not close it) so it sews on as a smooth flap.
Head (skin tone)
- R1: MR, 6 sc in ring. [6]
- R2: inc in each st around. [12]
- R3: (sc, inc) x6. [18]
- R4: (2 sc, inc) x6. [24]
- R5: (3 sc, inc) x6. [30]
- R6-R10: sc in each st around. [30]
- R11: (3 sc, dec) x6. [24]
- R12: (2 sc, dec) x6. [18]
- R13: (sc, dec) x6. [12]
- R14: dec x6. [6]
If using safety eyes, insert them now between R8 and R9, about 7 stitches apart, and press the washers on firmly inside. Stuff the head firmly and evenly, keeping it round: roll it between your palms to smooth the filling. FO, thread the tail through the front loops of the last 6 stitches, pull to close, and weave in the end. The head will be sewn to the neck in assembly.
Assembly: putting your doll together
Pin everything before sewing a single stitch: doll proportions are judged by the face, and the face is judged at arm's length, not under your nose.
Attach the head to the neck. Centre the head on the neck (R16-R17), tilted very slightly forward for a natural look. Pin it, then whipstitch around the base with the long tail left on the body, going around twice for strength. The head should not wobble: if it does, sew a second round of stitches catching deeper into both pieces.
Sew on the arms. Pin each flattened arm top to the sides of the body at about R13, angled slightly forward. Whipstitch across the flattened top and a few stitches down each side. The arms should hang just above the hip line: hold the doll up and check the silhouette before you knot off.
Add the face. With safety eyes placed between R8 and R9, embroider the details: a small smile with dark yarn (a gentle curve 4 stitches wide, centred below the eyes), tiny straight eyebrows two rounds above the eyes if you like, and blush: two soft circles of pink blush or fabric marker on the cheeks, three rounds below the outer eye corners. For a fully embroidered face, work the eyes as satin-stitch ovals, 3 stitches wide and 4 tall, with one white highlight stitch each.
Add hair (optional). The simplest hair: cut 30 strands of yarn about 8 inches long, fold each in half, pull the loop through a crown stitch with your hook, then pull the ends through the loop to knot. Work a fringe line from ear to ear, then fill the crown and trim to a bob.
Final check. Roll the doll gently to even the stuffing, check that it stands on its own, and weave every tail deep inside the body, changing direction once so nothing works loose.
Tips and tricks
Stuff in stages, not at the end. The legs must be stuffed before they are joined, the hips before the waist narrows, the head before it closes. Add fiberfill in small pinches and press it into the corners: amigurumi shaping is really stuffing shaping, with crochet as the container.
Keep the join round relaxed. The chain bridge between the legs is the one place beginners pull too tight. Work those chains at your normal tension: the bridge will disappear into the stuffing, but a puckered bridge shows as a dimple.
Pin the face from a distance. Pin the eyes and mouth, then set the doll on a shelf and walk across the room. Faces that look perfect up close often drift when viewed normally. A phone photo reveals lopsided features instantly.
Match your sewing yarn to the piece. Sew the head and arms on with skin-tone yarn: matching tails disappear into the seam. Weave final ends deep into the stuffing where they can never escape.
Variations to try next
One body, a whole cast of characters:
- Princess doll. Crochet a simple cone dress in the contrast colour and slip it over the torso. Add long yarn hair and embroidered lashes: the base body carries the whole costume.
- Pirate. Change to black at R1 of the legs for boots, add a striped shirt change at R10, and crochet a tiny tricorn hat. The same 10-inch body becomes a swashbuckler.
- Sleepy baby. Work the whole body one hook size down, embroider closed eyes as two curved lines, and skip the hair. Add a tiny blanket: instant nursery gift.
- Animal friend. Keep the body exactly as written but replace the head with an animal head: the proportions match beautifully. The gummy bear crochet pattern head scaled at 100 percent sits perfectly on this neck.
- Chibi style. Work the body as written but make the head one increase round larger (continue to 36 stitches before the plain rounds). Big-head proportions are the whole secret of kawaii dolls, and this base adapts instantly.
- Mini version. Work everything in DK yarn with a 3.0 mm hook for an 8-inch doll, perfect for travel companions. Our mini amigurumi patterns free collection shows how charming small-scale bodies can be.
Troubleshooting tips
- My joined round has 23 or 25 stitches, not 24. You missed a chain stitch or worked into a leg stitch twice. The fix is easy: on R1, add an increase or decrease to land on 24, then continue normally. One adjusted round is invisible after stuffing.
- The torso twists slightly above the join. The first leg was not aligned with the second: one leg faces a quarter-turn off. Undo back to the join, rotate the first leg until its round start lines up with the second leg's, and rejoin.
- I can see stuffing through the stitches. Your tension is too loose or the hook is too big. Drop half a hook size and keep stitches snug. For a finished piece, the only real fix is reworking it: no extra filling hides gappy fabric.
- The head wobbles on the neck. Sew around the base a second time, catching deeper into both the head and the neck, and add a small extra pinch of stuffing at the neck for support.
- The doll will not stand up. The leg bottoms are overstuffed and rounded. Press the soles flat against a table while the stuffing is fresh: flat soles make a stable doll.
- The arms stick out sideways. They were sewn on too high or with the tops unflattened. Remove them, flatten the tops firmly, and re-pin lower, at R13 to R14, angled slightly forward so they rest against the torso.
Frequently asked questions
Is this free amigurumi body pattern really free?
Yes, the complete body pattern above is free, with no email signup and no PDF purchase required. Make as many bodies as you like.
What can I make with just a doll body?
Anything: the body is a base, not a finished character. Add a face, hair, and clothes to make dolls, or attach an animal head from another pattern to make a plush friend. Costumes, uniforms, fantasy outfits: the body is the constant, the dressing is the fun.
How long does the body take to crochet?
About 6 hours total: roughly 3 hours for the legs and torso, 1.5 hours for the arms and head, and 1.5 hours for assembly, the face, and optional hair.
How much yarn do I need?
About 150 yds of skin-tone worsted and 40 yds of a contrast colour, plus small amounts for embroidered features. Two skeins total is plenty.
Can I make the body bigger or smaller?
Yes, without changing a single stitch count. DK yarn with a 3.0 mm hook makes an 8-inch doll; bulky (#5) yarn with a 5.0 mm hook makes a 13-inch doll. Keep tension tight so the stuffing stays hidden.
Are safety eyes safe for a child's doll?
Safety eyes lock in with a washer, but they are not recommended for children under three because small parts are always a risk. For young children, embroider the eyes as described in the assembly section: just as sweet, fully soft.
Can I sell dolls made from this pattern?
Yes! You may sell finished dolls made from this pattern in small batches (craft fairs, markets, custom orders). Please credit Little Loop Finds as the pattern designer.
More free patterns to try
Now that you have a body, give it friends. The free crochet panda pattern uses the same round-head construction, and the one piece crochet teddy bear pattern free applies the same joined technique to a whole bear.