Crochet Pet Bed Free Pattern: Chunky Round Bed
A chunky round bolster bed with a rolled rim and a separate washable cushion: original design, US terms, 3 sizes, and beginner friendly.

Home · Crochet
- Finished size
- 18, 22 or 26 in round
- Making time
- About 6 to 10 hours
- Hook
- 9 mm, super bulky yarn
- Set
- Bed, rim, cushion
- Skill
- Beginner
In this post
- Table of contents
- Why you'll love this crochet pet bed pattern
- Materials you'll need
- Size, gauge and skill level
- Abbreviations, US terms
- The crochet pet bed pattern (US terms)
- Making the cushion
- Finishing touches and assembly
- Tips and tricks
- Variations to try next
- Troubleshooting tips
- Frequently asked questions
- More free patterns to try
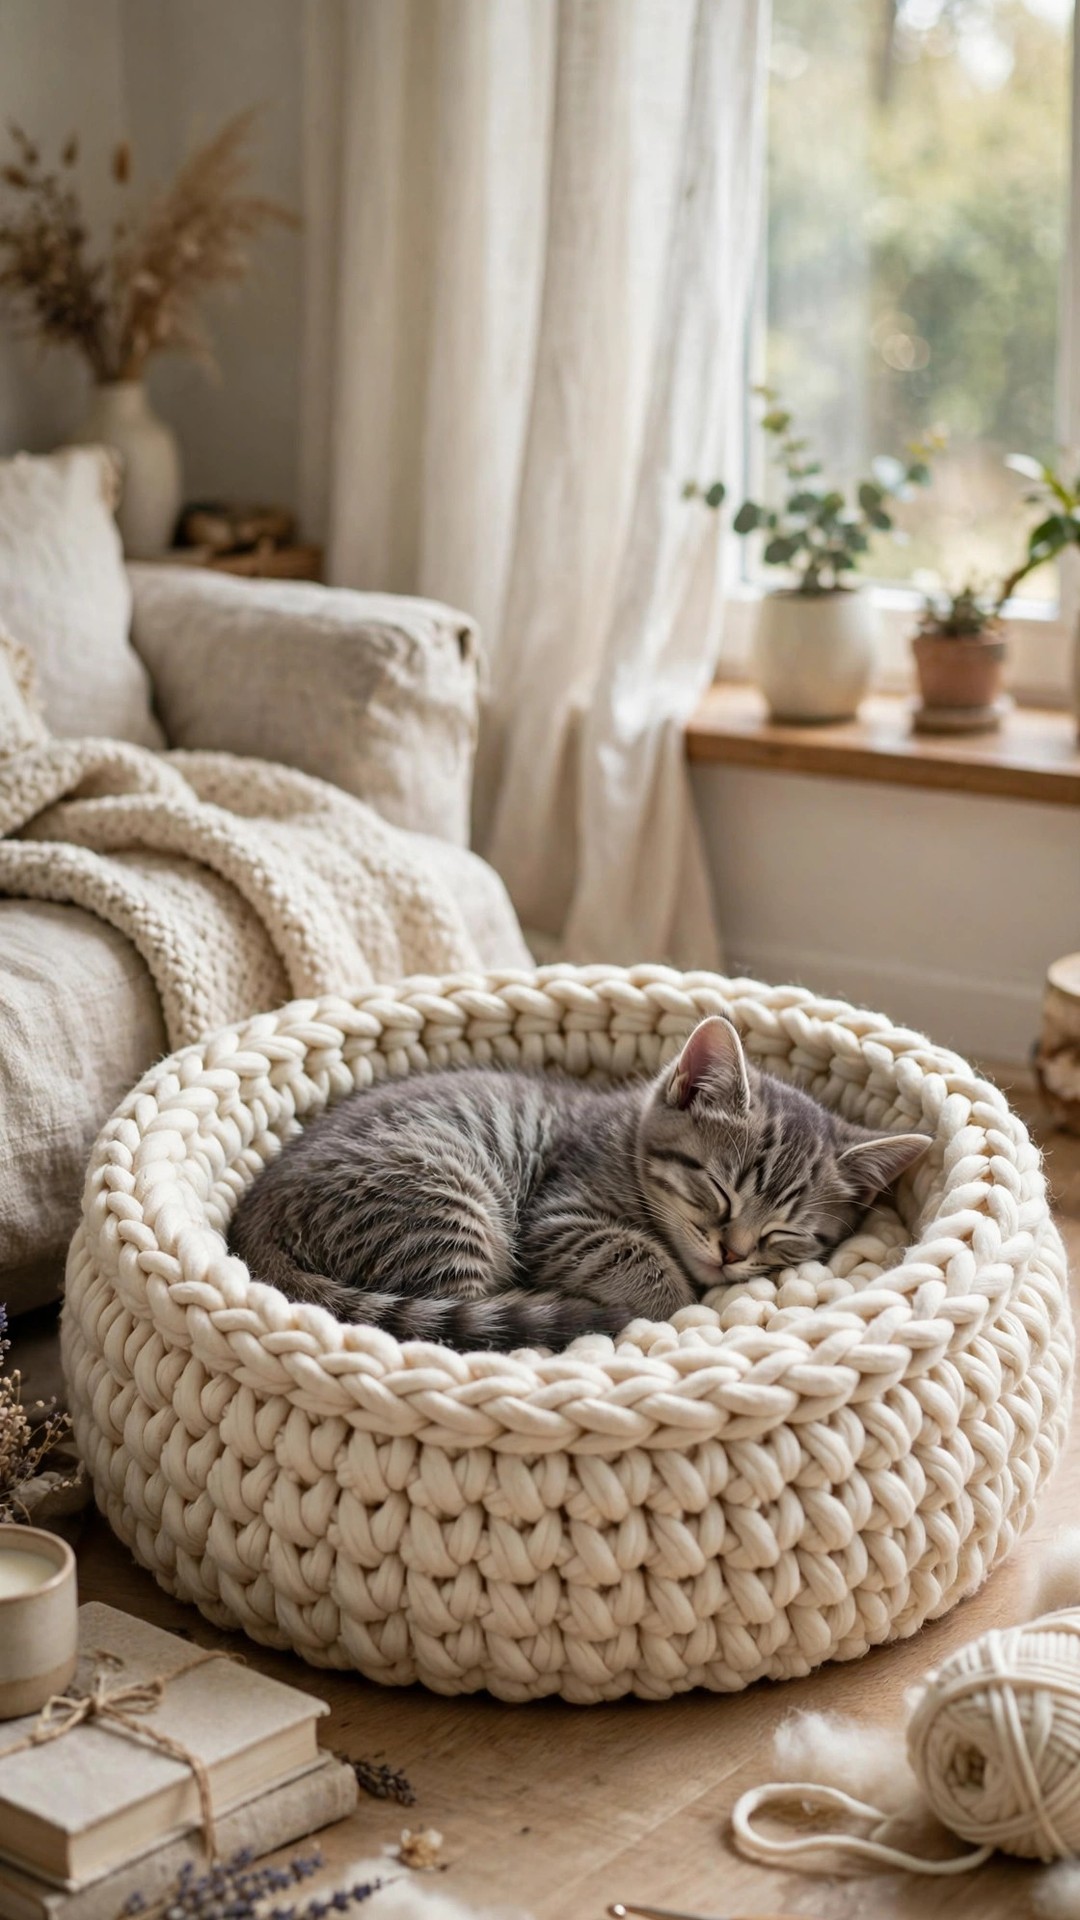
Store-bought pet beds flatten into sad pancakes within months. A crocheted pet bed does the opposite: the thick, springy stitches bounce back wash after wash, and you get to pick the exact color that matches your sofa. This crochet pet bed free pattern makes a chunky round bolster bed with a cozy rolled rim and a separate stuffed cushion, sized for cats, small dogs, medium dogs, and large dogs.
The whole bed is worked in super bulky yarn with a 9 mm hook, so the small size finishes in a single weekend. No seams, no zippers, no complicated shaping: one big circle, a straight wall, and a rolled edge.
This is an original Little Loop Finds design in US terms, written for confident beginners. If you can single crochet in the round, you can make this bed.
Table of contents
- Why you'll love this crochet pet bed pattern
- Materials you'll need
- Size, gauge and skill level
- Abbreviations, US terms
- The crochet pet bed pattern (US terms)
- Making the cushion
- Finishing touches and assembly
- Tips and tricks
- Variations to try next
- Troubleshooting tips
- Frequently asked questions
- More free patterns to try
Why you'll love this crochet pet bed pattern
Pets love a bed with edges. Animal behaviorists call it nesting: dogs circle and cats knead because a defined, slightly raised rim feels safe. This pattern builds that rim right in, a soft rolled bolster all the way around, so your pet gets the security of a donut bed with the washability of crochet.
The chunky construction is the secret to its durability. Super bulky yarn worked at a tight gauge makes a dense, almost felt-like fabric that resists claws and holds its shape, while staying soft under paws. And because the cushion is a separate piece, you can pull it out and wash the two parts on different cycles.
It is also one of the most giftable projects in crochet. Every pet owner you know wants one, the small size uses only three skeins, and a handmade bed beats anything from the pet aisle on both charm and longevity. Make the bed first, then let the pet "test" it for the photos: the product shots basically take themselves.
If you are making a full pet corner, pair this bed with our crochet cat bed pattern free for a second napping spot, or crochet the matching crochet dog collar pattern in the same yarn.
Materials you'll need
- Super bulky (#6) yarn: amounts by size below. Choose an acrylic or acrylic-blend labeled machine washable: this bed will be washed, often.
- Small (cats and dogs up to 12 lb): about 350 yds (3 skeins of a typical 120-yd super bulky skein) - Medium (dogs 13 to 35 lb): about 500 yds (4 to 5 skeins) - Large (dogs 36 to 65 lb): about 700 yds (6 skeins)
- Crochet hook: 9 mm (M/N-13). The slightly small hook for the yarn weight is deliberate: it makes dense, supportive fabric.
- Polyester fiberfill: about 8 oz for the small cushion, 12 oz for medium, 16 oz for large. Or reuse the filling from a retired pillow.
- Stitch marker: essential for the long base rounds.
- Tapestry needle: a large-eye needle that fits super bulky yarn.
- Scissors.
- Optional: a tape measure, and a non-slip rug pad cut to size for the bed's underside if your floors are slick.
Pick a yarn with some texture if your pet is a scratcher: a lightly textured or tweedy super bulky hides claw marks far better than a smooth, solid color.
Size, gauge and skill level
Finished sizes (base diameter, before the rim rolls):
| Size | Fits | Base diameter | Wall height |
|---|---|---|---|
| Small | Cats, dogs up to 12 lb | 18 in | 5 in |
| Medium | Dogs 13 to 35 lb | 22 in | 6 in |
| Large | Dogs 36 to 65 lb | 26 in | 7 in |
When in doubt, size up. Pets like room to stretch, and a slightly roomy bed gets used more than a snug one.
Gauge: 8 single crochet stitches and 9 rows = 4 inches, worked in the round with a 9 mm hook. Gauge matters more here than in most toy patterns because it sets the bed's diameter: measure your base circle after round 6. It should be about 9 inches across. Adjust your hook up or down if it is off by more than an inch.
Skill level: beginner. The pattern uses only chains, single crochet, and working in the back loop. The rolled rim sounds fancy and is genuinely just folding and whipstitching.
Time: about 6 hours for small, 8 hours for medium, 10 hours for large, plus about an hour for the cushion. Super bulky yarn means every round flies by.
Abbreviations, US terms
All instructions use US crochet terms:
- ch : chain
- sc : single crochet
- inc : increase (2 sc in the same stitch)
- BLO : back loop only
- st(s) : stitch(es)
- MR : magic ring
- [ ] : stitch count at the end of the round
Work in continuous spirals for the base and cushion. The wall rounds are also worked in a spiral: just keep moving your marker up.
Sizing key: where instructions differ by size, they are written as Small (Medium, Large). Example: "work to R19 (R23, R27)" means round 19 for small, 23 for medium, 27 for large.
The crochet pet bed pattern (US terms)
Base
The base is a flat circle. Work loosely enough that it lies flat: if the edges start to ruffle, your tension is too tight for the increases, so consciously relax your hand for the next round.
- R1: 6 sc in MR [6]
- R2: inc in each st around [12]
- R3: (sc, inc) x6 [18]
- R4: (2 sc, inc) x6 [24]
- R5: (3 sc, inc) x6 [30]
- R6: (4 sc, inc) x6 [36]
- R7: (5 sc, inc) x6 [42]
- R8: (6 sc, inc) x6 [48]
- R9: (7 sc, inc) x6 [54]
- R10: (8 sc, inc) x6 [60]
- R11: (9 sc, inc) x6 [66]
- R12: (10 sc, inc) x6 [72]
- R13: (11 sc, inc) x6 [78]
- R14: (12 sc, inc) x6 [84]
- R15: (13 sc, inc) x6 [90]
- R16: (14 sc, inc) x6 [96]
- R17: (15 sc, inc) x6 [102]
- R18: (16 sc, inc) x6 [108]
- R19: (17 sc, inc) x6 [114]
Stop here for Small: your base should measure about 18 inches across. For Medium, continue:
- R20: (18 sc, inc) x6 [120]
- R21: (19 sc, inc) x6 [126]
- R22: (20 sc, inc) x6 [132]
- R23: (21 sc, inc) x6 [138]
Stop here for Medium: about 22 inches across. For Large, continue:
- R24: (22 sc, inc) x6 [144]
- R25: (23 sc, inc) x6 [150]
- R26: (24 sc, inc) x6 [156]
- R27: (25 sc, inc) x6 [162]
Stop here for Large: about 26 inches across. Slip stitch to the first stitch of the last round and do not fasten off: the wall starts immediately.
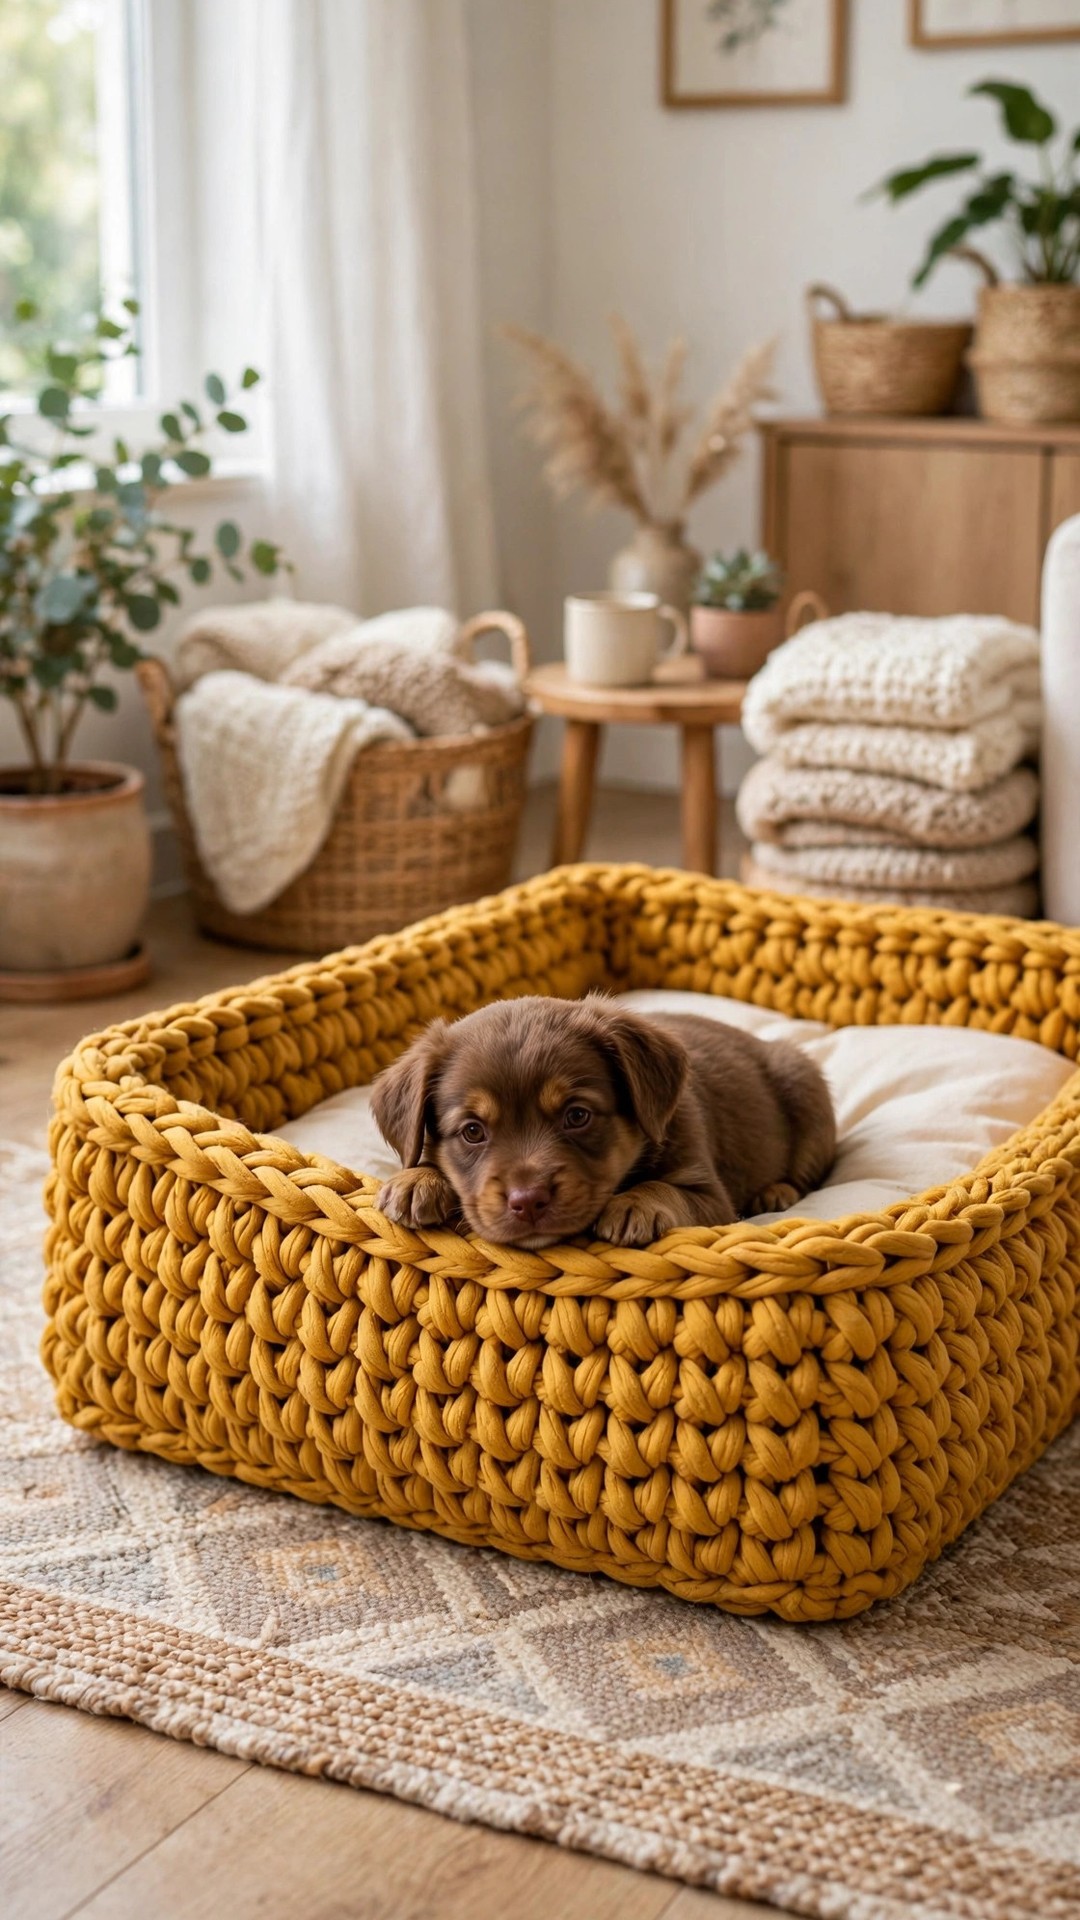
Wall
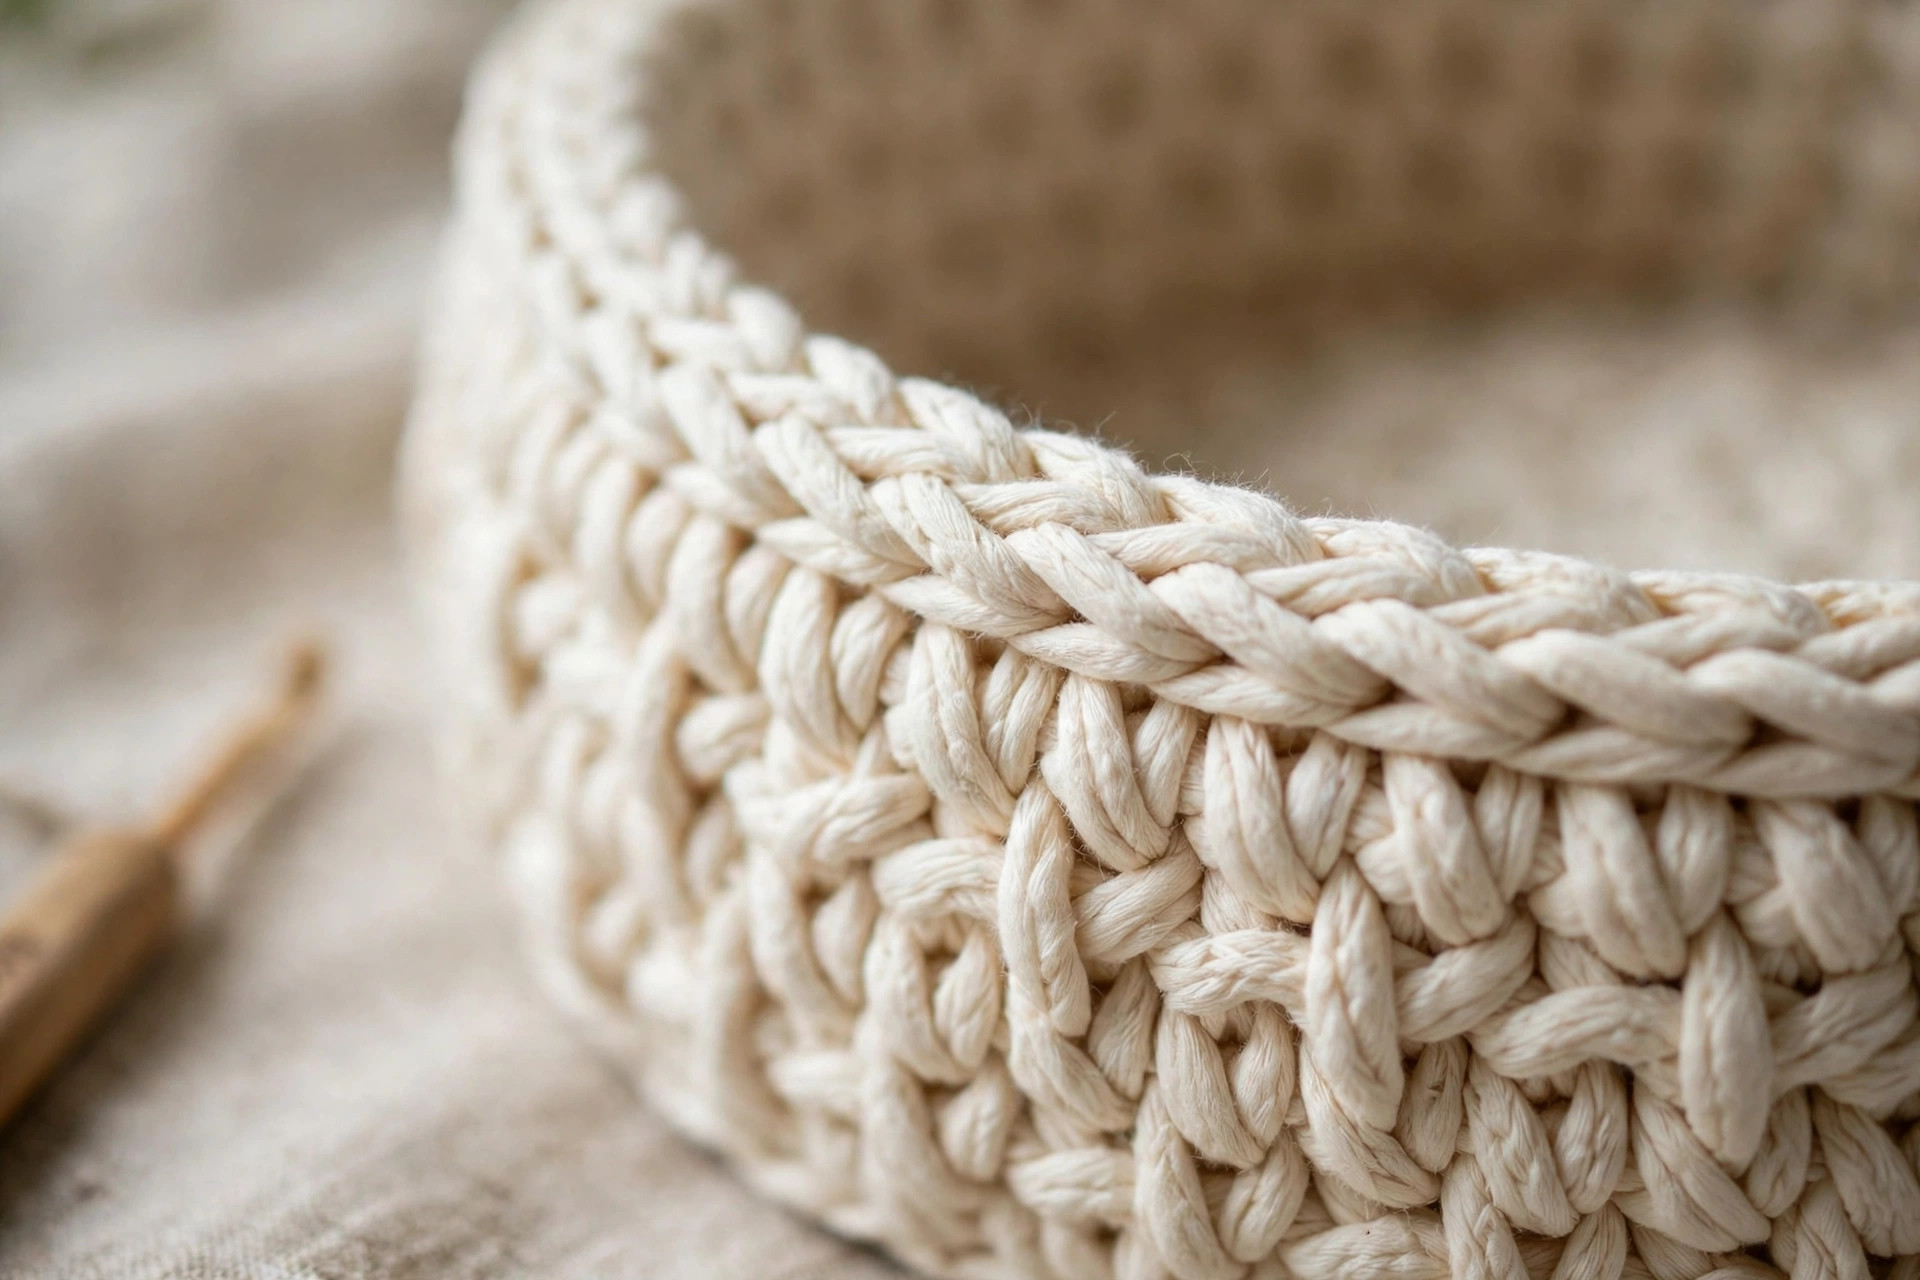
The wall turns the flat circle into a bed with sides. The first round is worked in the back loop only, which creates the crisp fold where the base becomes the wall.
- W1: BLO sc in each st around [114 (138, 162)]
- W2-W6 (W2-W7, W2-W8): sc in each st around: work 5 rounds for Small, 6 for Medium, 7 for Large.
The wall should stand about 5 (6, 7) inches tall. If yours leans outward, that is fine: the rolled rim in the next step pulls it back in and gives the bed its classic bolster look.
Rolled rim
This is the cozy bolster edge pets lean against. You will work three more rounds, then fold them outward and stitch them down.
- Rim R1-R3: sc in each st around [114 (138, 162)] (3 rounds)
Fasten off, leaving a tail about 4 times the bed's circumference (roughly 60 inches for Small, 75 for Medium, 90 for Large): you will whipstitch with it, and running short mid-seam is miserable.
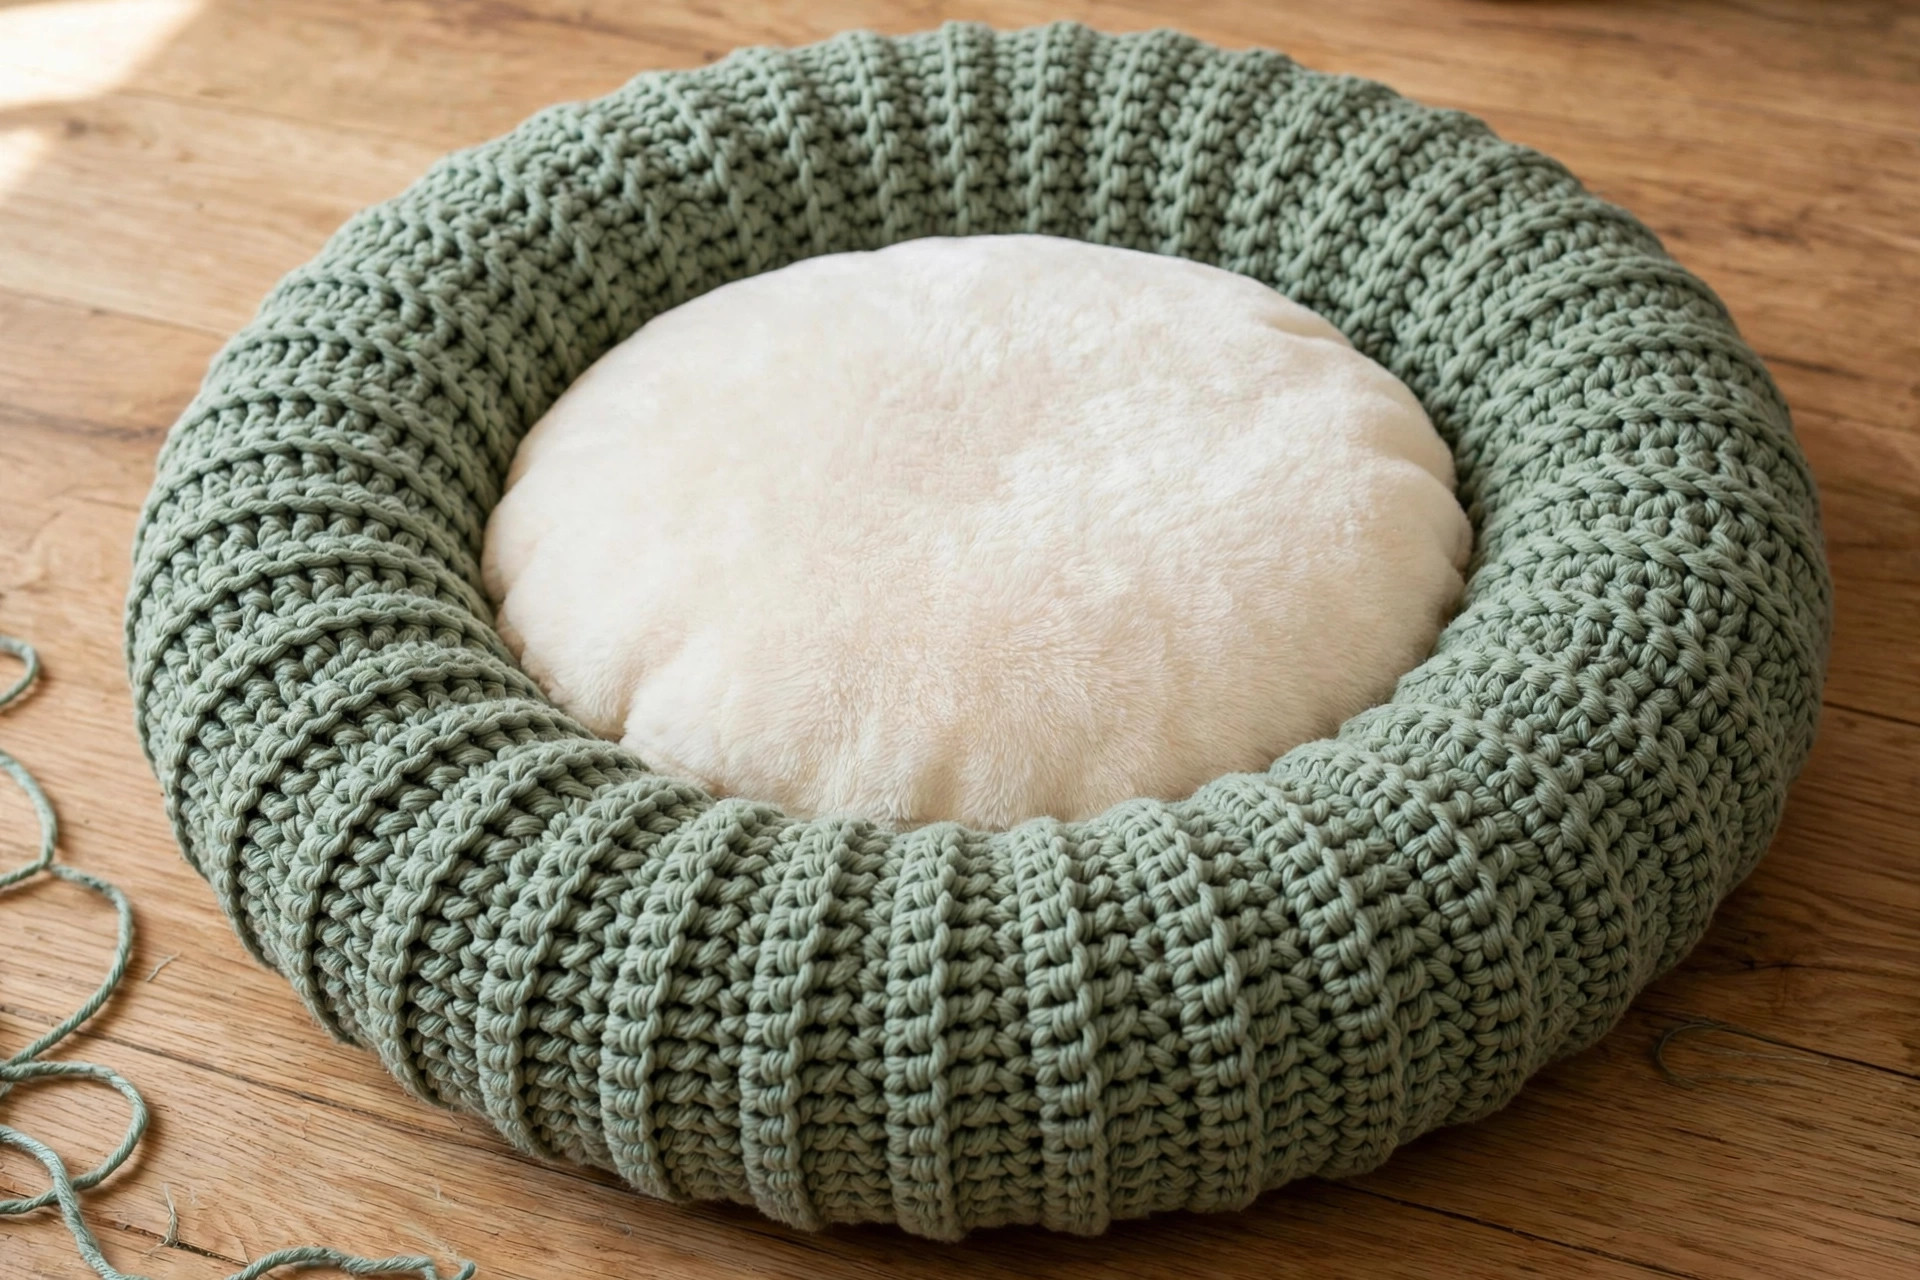
Fold the three rim rounds outward and down so they roll against the outside of the wall, like a cuff. Pin the fold in place in 8 to 12 spots around the bed. Thread your tapestry needle with the long tail and whipstitch the bottom edge of the folded rim to the wall, catching one loop of the rim and one stitch of the wall with each stitch. Work all the way around, then weave the end into the wall fabric.
The rim should form a plump, even bolster. If one section looks thinner, unpick a few whipstitches there, ease more fabric into the fold, and re-stitch: the fold hides all adjustments.
Making the cushion
The cushion is a lightly stuffed disc that sits inside the bed. Work it slightly smaller than the base so it nestles inside the walls.
- C1: 6 sc in MR [6]
- C2: inc in each st around [12]
- C3: (sc, inc) x6 [18]
- C4: (2 sc, inc) x6 [24]
- Continue the standard increase circle (adding 6 stitches per round) until you reach R15 for Small [90], R19 for Medium [114], R27 minus 4 rounds for Large [138].
- Next round: BLO sc in each st around (this starts the cushion's side).
- Work 2 more rounds of sc in each stitch.
- Begin stuffing: add fiberfill in handfuls, distributing it evenly. The cushion should be plump but squashable: about 3 inches thick for Small, 4 for Medium and Large.
- Decrease rounds: (13 sc, dec) x6, then (12 sc, dec) x6, continuing to decrease 6 stitches per round until 12 stitches remain. Add final handfuls of stuffing as the opening narrows.
- Fasten off, close the opening like the base pieces in amigurumi (thread through front loops, pull tight), and weave in the end.
Place the cushion inside the bed. It should sit just below the top of the rolled rim: the rim rises a couple of inches above the cushion, which is exactly the nesting pocket pets love.
Finishing touches and assembly
There is almost no assembly: the bed is one piece plus the cushion. The finishing is about durability, because this project will be washed, dragged, and napped on daily.
Weave in every end twice. Super bulky tails work loose faster than thinner yarn. Weave each tail through the fabric in one direction for 3 inches, then double back for 2 inches. Trim close.
Check the rim seam. Tug the rolled rim gently all the way around. Any whipstitch that pops gets reinforced with two extra stitches: a pet kneading the rim will find every weak spot.
Optional non-slip base. If the bed slides on hard floors, cut a circle of non-slip rug pad one inch smaller than the base and whipstitch it to the underside with a few yarn tacks. It also adds a washable barrier between the bed and the floor.
First wash. Wash the bed and cushion separately on gentle with mild detergent, then air dry or tumble low. This first wash softens the yarn and pre-shrinks everything evenly: the bed that comes out of the dryer is the bed your pet will use for years.
Tips and tricks
Weigh your yarn, not your optimism. If your skein label shows different yardage than the figures above, do the math before you start: running out of a dye lot mid-wall is miserable. Buy one extra skein and return it if unopened.
The marker is non-negotiable. Base rounds run past 160 stitches with no visible joins: move your marker up every round, or lose count on round 21.
Tension check at round 6. Lay the circle flat: it should measure about 9 inches across and lie flat. Ruffling means your tension is too tight: go up half a hook size. Cupping means too loose: go down. Fixing it at round 6 takes minutes; fixing it at round 20 takes an evening.
Stuff the cushion in layers. Three thin layers of fiberfill beat one big clump. Fluff each handful before placing it, and press the cushion flat between layers so the filling distributes edge to edge.
Wash before first use. Beyond softening the yarn, the first wash settles the stitches and the rolled rim into their final positions. Your pet gets the broken-in version from day one.
Variations to try next
One bed pattern, many pets:
- Two-tone bed. Work the base in one color and switch to a contrast color at the wall's first round. The color change lands exactly on the fold, so the join looks intentional and crisp. A cream base with a sage wall is a classic.
- Extra-lofty rim. Work 5 rim rounds instead of 3 before folding, for a taller, plusher bolster. Senior pets and anxious rescues especially love a high rim to burrow against.
- Outdoor porch bed. Use a washable, fade-resistant acrylic and skip the fiberfill cushion: instead, crochet the cushion cover and slip a cheap outdoor pillow form inside. Hose it down, air dry, done.
- Kitten starter bed. Work the Small size but stop the wall after 3 rounds for a low, easy-entry bed that tiny kittens and senior cats can step into. Our crochet cat bed pattern free has more feline-scale ideas.
- Matching basket set. The base-and-wall construction is nearly identical to a storage basket: stop the wall at 8 inches, skip the rim roll, and you have a toy basket in the same yarn. Our crochet basket pattern free shows the basket version in detail.
Troubleshooting tips
- The base will not lie flat. The most common cause is tight tension on the increase rounds. Block it: dampen the base, pin it flat to a towel, and let it dry. If it still cups or ruffles badly, rework with a hook half a size larger (for cupping) or check that you are not skipping increases (for ruffling).
- The rolled rim looks uneven. Unpin it and redistribute the fold evenly, pin in 12 spots instead of 8, then whipstitch. Slight unevenness disappears after the first wash.
- The cushion slides around inside the bed. Make the next cushion one round wider, or sew three small yarn loops to the cushion's underside and matching loops inside the bed, tying them together with short yarn ties. The ties also make the cushion removable for washing.
- Stitches look gappy and the fiberfill shows. Your hook is too big for the yarn, or your tension is loose. The bed needs dense fabric to support weight: go down a hook size. For the current piece, an extra layer helps: work a second base circle and whipstitch the two together.
- My pet will not use the bed. Put a worn T-shirt of yours on the cushion for a few days: your scent does more persuading than any treat. Place the bed where the pet already naps rather than where you wish they would nap, and give it a week.
Frequently asked questions
Is this crochet pet bed pattern really free?
Yes, the complete pattern above is free, with no email signup and no PDF purchase required. The bed is a blog post you can follow start to finish.
What skill level is this pet bed pattern?
Beginner. If you can single crochet in the round and work a back-loop-only round, you can make this bed. The rolled rim is just folding and whipstitching, and every size is spelled out round by round.
How long does it take to crochet the pet bed?
About 6 hours for the small size, 8 for medium, and 10 for large, plus about an hour for the cushion. Super bulky yarn and a 9 mm hook make this one of the fastest big projects in crochet.
How much yarn do I need?
About 350 yds for small, 500 yds for medium, and 700 yds for large, in super bulky (#6) machine-washable yarn. Buy one extra skein beyond your estimate to be safe.
Is a crocheted bed safe for pets who chew?
For light chewers, yes: the dense fabric resists casual gnawing, and there are no buttons, zippers, or small parts. For determined destroyers, supervise use and check the bed regularly for loose yarn. If your pet eats non-food items, a crocheted bed is not the right choice: use a chew-proof commercial bed instead.
How do I wash the crocheted pet bed?
Machine wash the bed and cushion separately on gentle with mild detergent, then air dry or tumble low. The separate cushion means you can wash the parts on different schedules, and the whole bed gets softer with every wash.
Can I sell the finished pet beds I make?
Yes! You may sell finished beds made from this pattern in small batches (craft fairs, markets, custom orders). Please credit Little Loop Finds as the pattern designer. Pet beds are excellent craft fair sellers: bring one with a stuffed animal "model" in it.
More free patterns to try
If your pet has claimed this bed before the ends were woven in, the handmade pet corner is just getting started. Our crochet cat bed pattern free makes a second napping spot in a different style, the crochet pillow pattern free uses the same cushion technique for your own sofa, and the chunky yarn crochet blanket patterns collection has throws that match the bed's cozy weight. For storage that matches, see the crochet basket pattern free.