Crochet Coat Pattern (Free Long Open Coat)
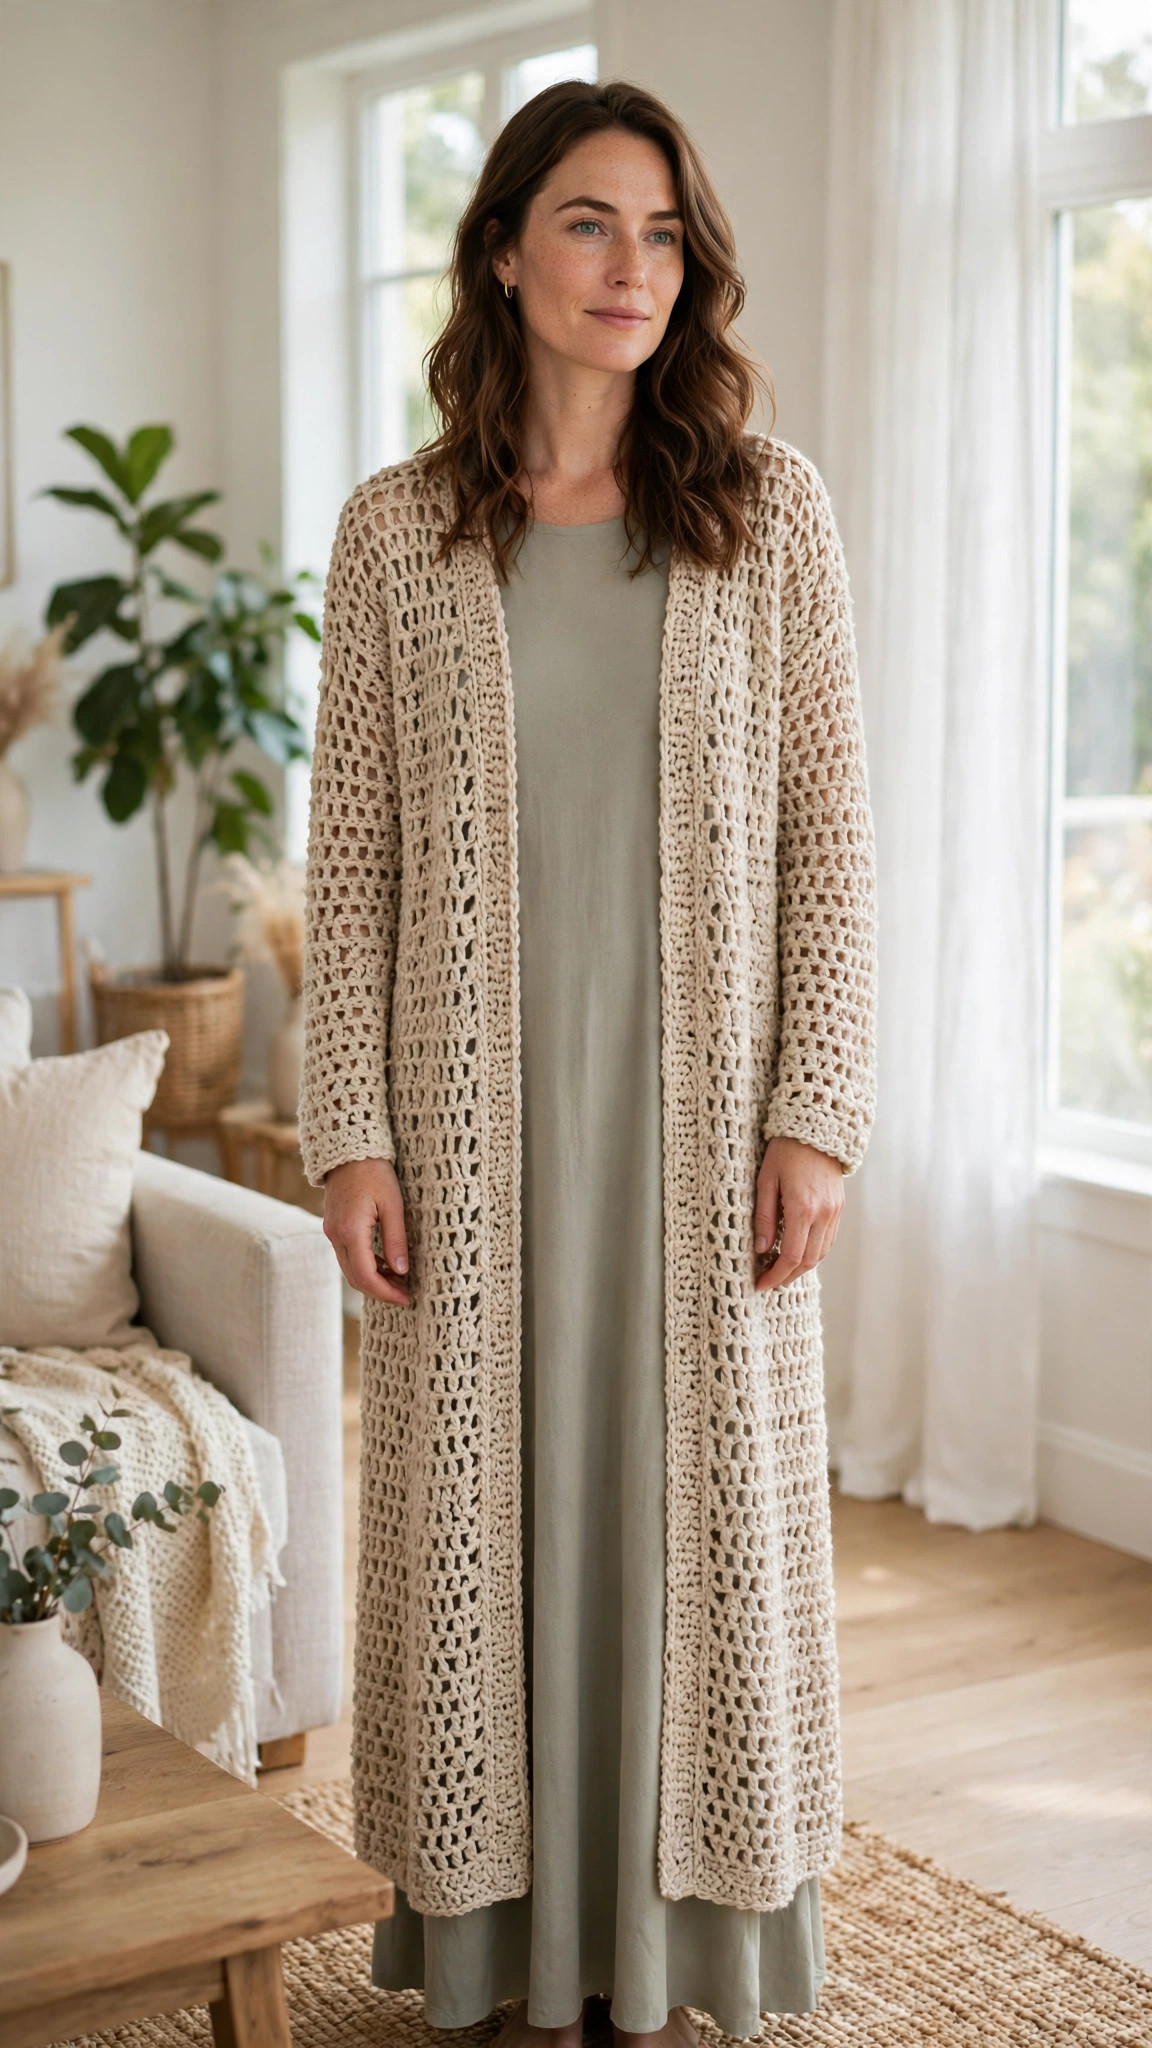
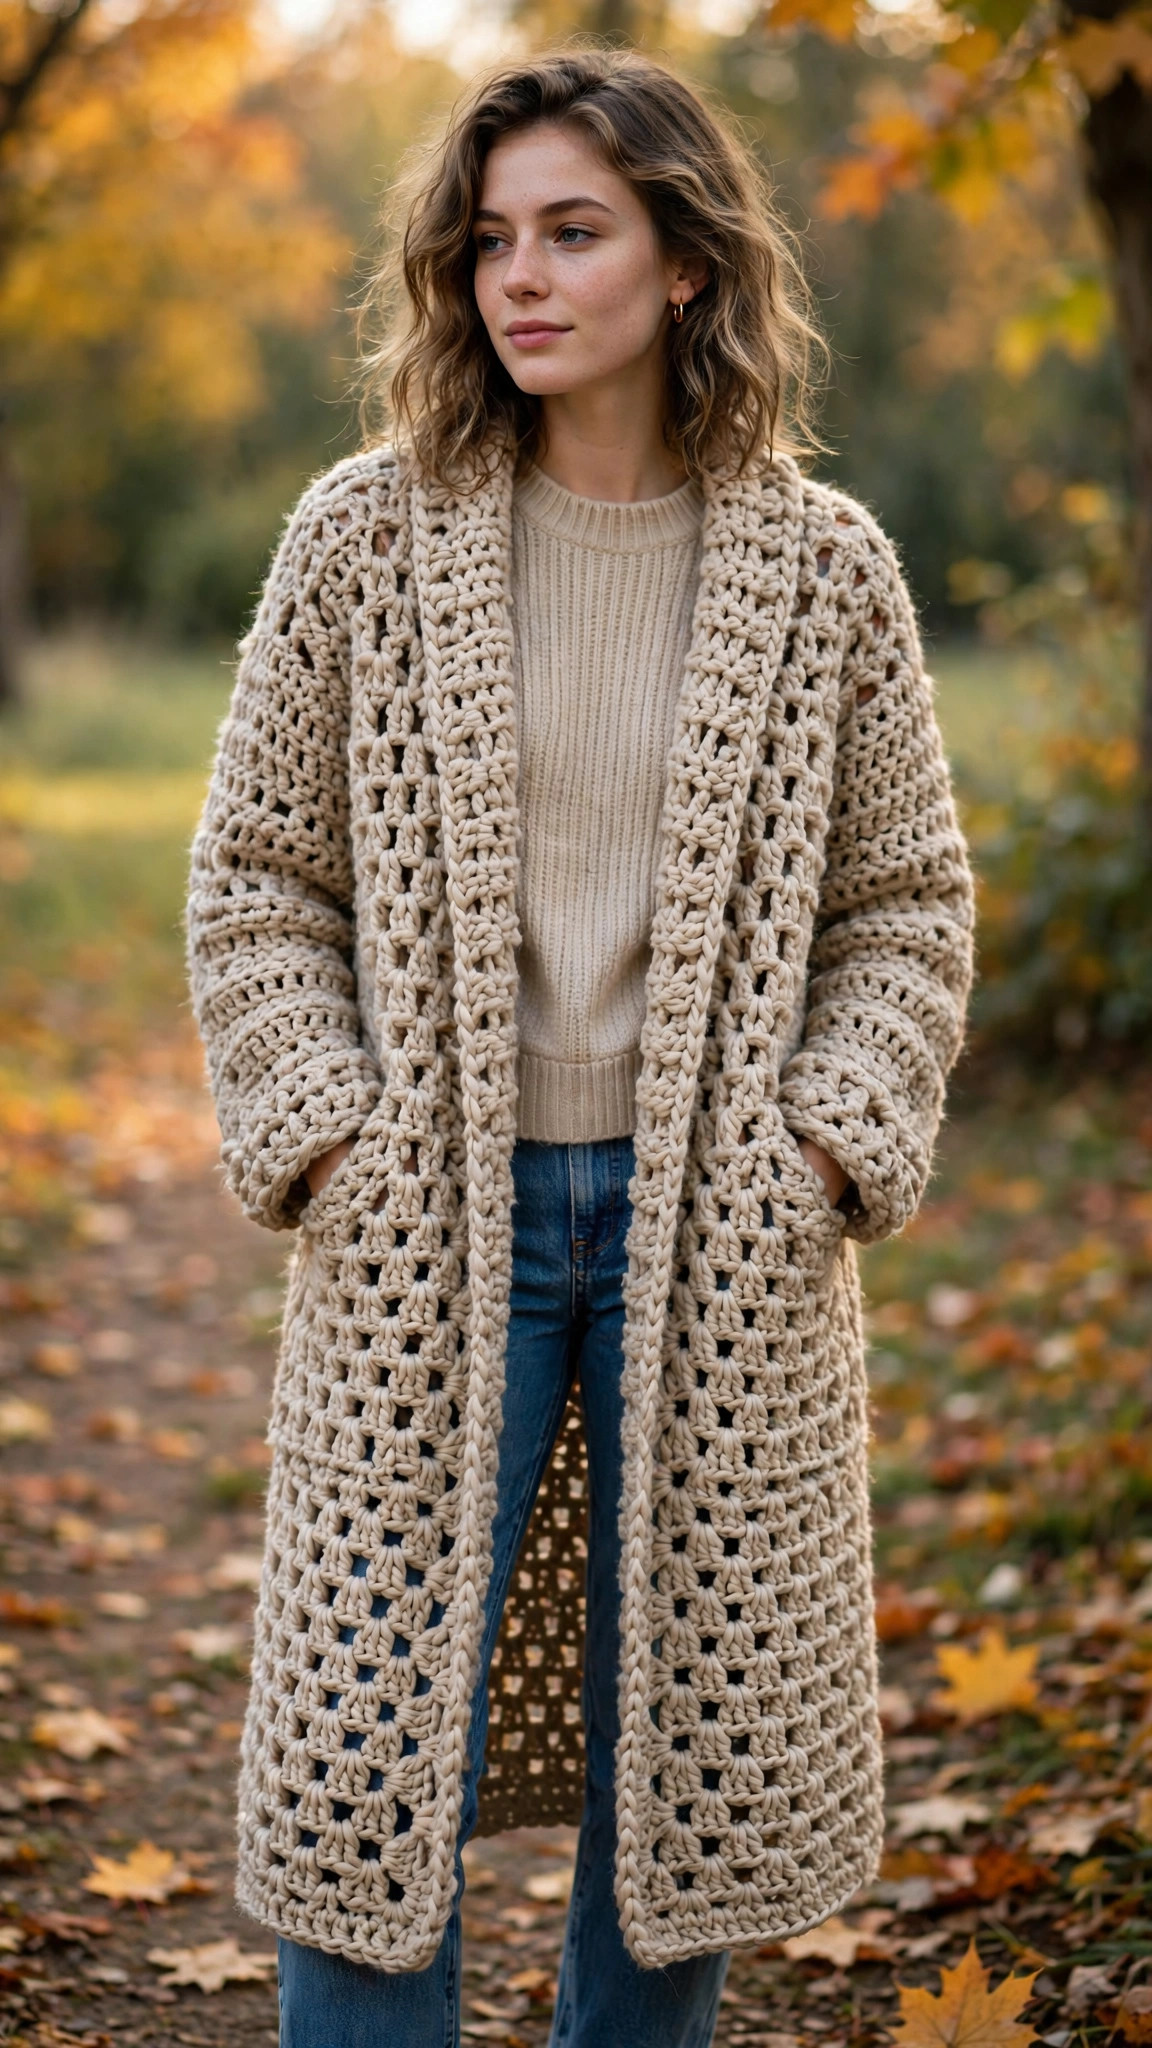
Crochet a long open coat in sizes S to L with wide sleeves, patch pockets, and a tie belt in about twenty hours, then wear it as your favorite outerwear layer.

Patterns · Crochet
- Finished size
- 38 in long, S/M/L
- Making time
- 20 hours
- Hook
- US J-10 (6.0 mm)
- Set
- Coat, pockets
- Skill
- Intermediate
In this post
- Key Takeaways
- Table of Contents
- Why You Will Love This Crochet Coat
- Finished Size, Skill Level, and Time
- Materials You Need
- Abbreviations (US Terms)
- Gauge and Sizing Notes
- Part 1: The Back Panel
- Part 2: The Front Panels and Sleeves
- Part 3: Pockets, Assembly, Border, and Belt
- Variations: Colors, Sizes, and Uses
- Troubleshooting a Coat That Does Not Fit
- Care Instructions
- Frequently Asked Questions
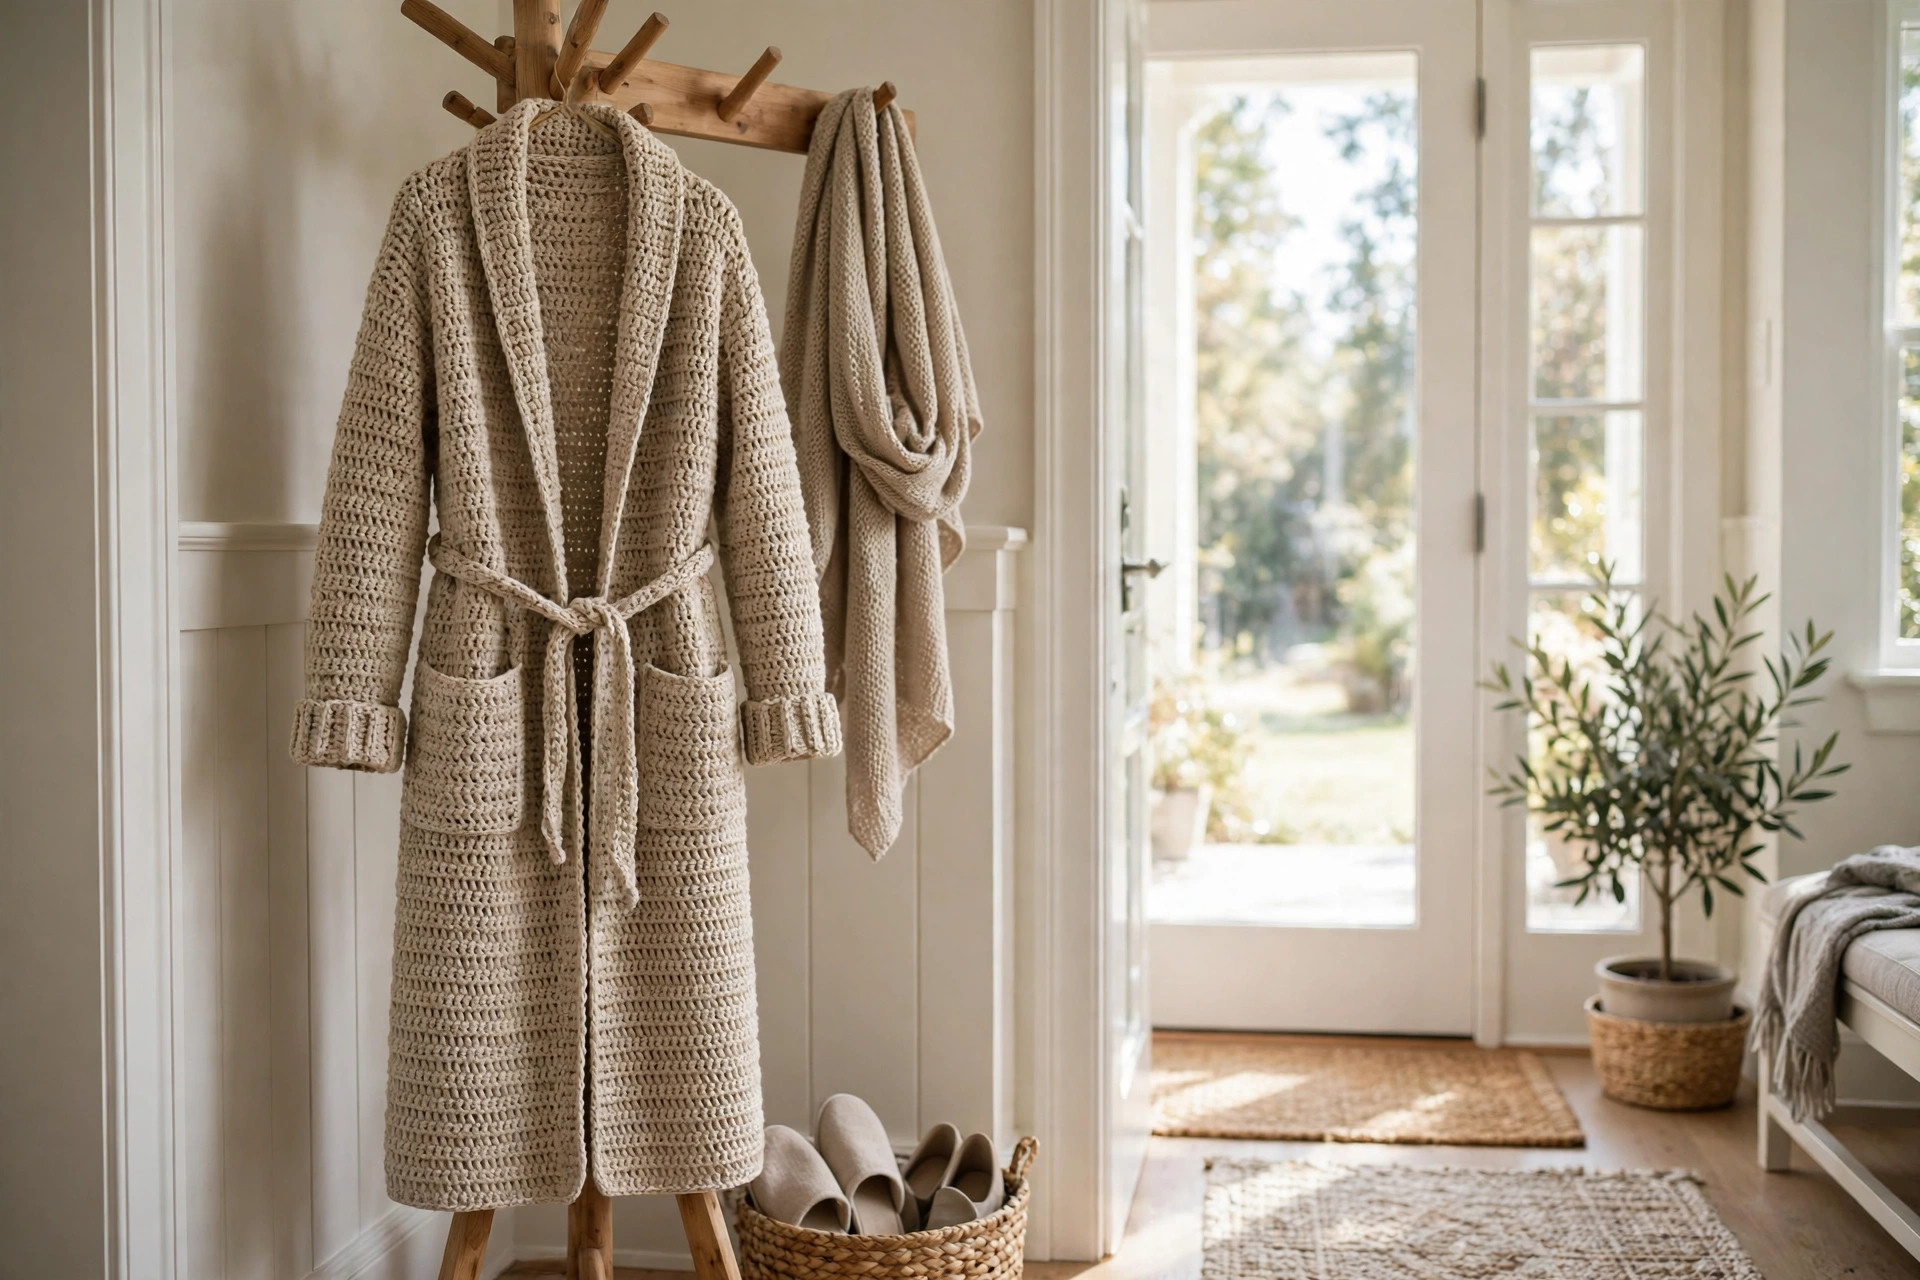
A crochet coat is the coziest layer you can make with a hook. This free crochet coat pattern makes a long open coat that falls below the knee, with wide sleeves, roomy patch pockets, and an optional tie belt. It is warm, drapey, and made to be worn as outerwear over a sweater and jeans.
This is an original Little Loop Finds design, written in US terms and completely free. The coat is worked in flat panels of double crochet, with no tricky shaping, and the pieces are sewn together with simple seams.
A quick note on scope: this post is about one specific crochet coat, a long open coat worn as an outerwear layer. It is not a cardigan, which is shorter and lighter. If you want a shorter layer for indoors, our crochet cardigan sweater pattern is the one to make.
Key Takeaways
- Free original pattern: a Little Loop Finds original design, written in US terms, and completely free.
- A long open coat: a below the knee outerwear layer with wide sleeves and patch pockets.
- Sizes S to L: a 44, 48, or 52 inch bust, with a 38 inch length.
- Simple construction: flat double crochet panels with straight seams, no tricky shaping.
- A 20 hour project: one coat takes about 20 hours, spread over a few weeks.
Table of Contents
- Why You Will Love This Crochet Coat
- Finished Size, Skill Level, and Time
- Materials You Need
- Abbreviations (US Terms)
- Gauge and Sizing Notes
- Part 1: The Back Panel
- Part 2: The Front Panels and Sleeves
- Part 3: Pockets, Assembly, Border, and Belt
- Variations: Colors, Sizes, and Uses
- Troubleshooting a Coat That Does Not Fit
- Care Instructions
- Frequently Asked Questions
Why You Will Love This Crochet Coat
A handmade coat is a statement piece, and this one earns compliments every time you wear it. The long open front moves beautifully when you walk, the wide sleeves fit easily over a thick sweater, and the big patch pockets hold your phone, your keys, and your hands on a cold day.
A crochet coat is also a wonderfully forgiving project. The panels are flat rectangles with gentle shaping, the drop shoulder means there is no fussy sleeve cap to set in, and the open front means the fit does not have to be exact. Work it in a calm neutral for everyday wear, or in a bold color for a coat that turns heads.
Finished Size, Skill Level, and Time
- Finished size: length 38 inches from the shoulder, sleeve 22 inches long. Bust: size S 44 inches, size M 48 inches, size L 52 inches. The coat is meant to be worn open with about 6 inches of ease.
- Skill level: Intermediate. You need a foundation chain, double crochet, increases, decreases, and simple seaming.
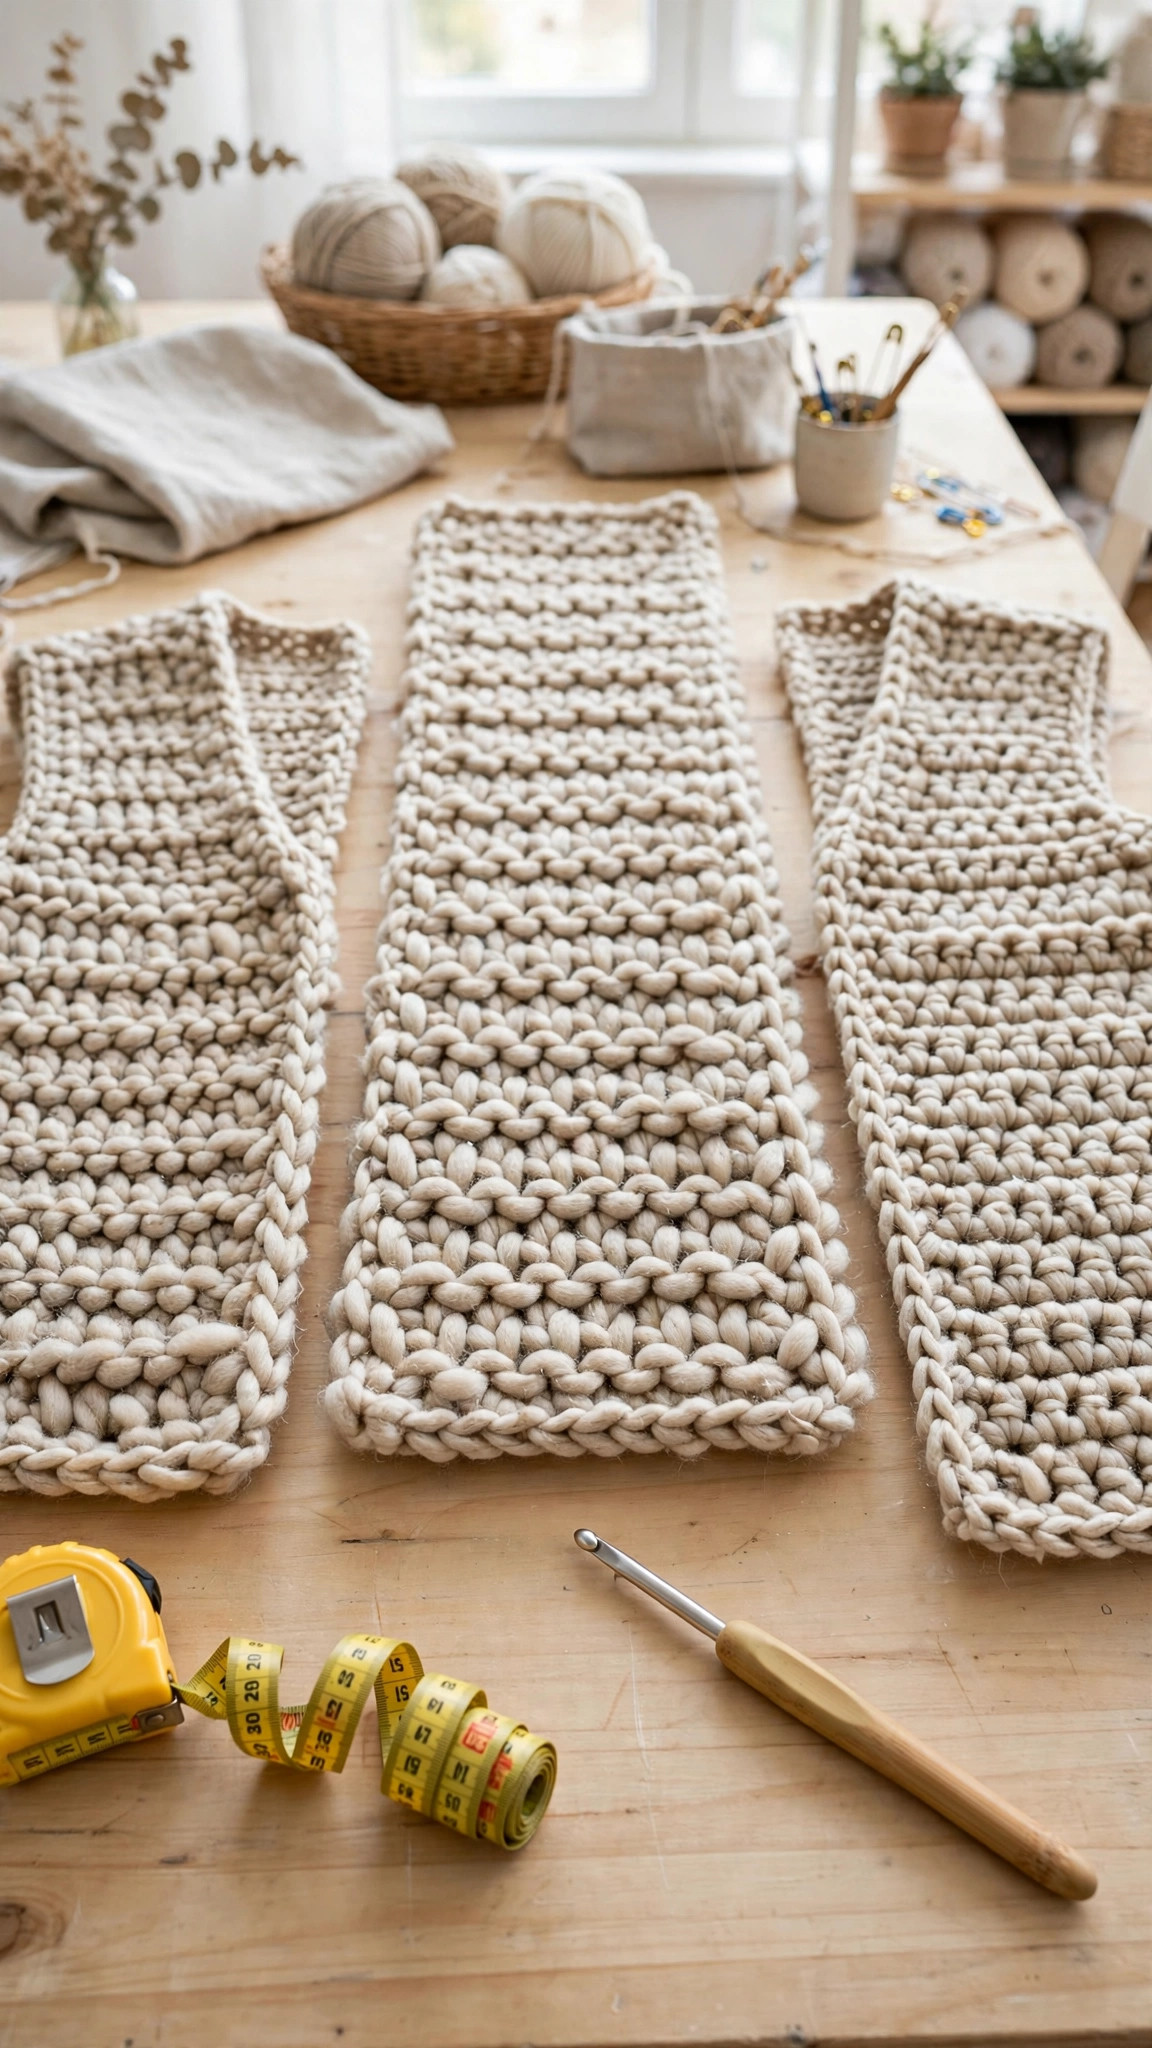
- Time: about 20 hours per coat: 7 hours for the back panel, 6 hours for the two front panels, 4 hours for the sleeves, 3 hours for the pockets, assembly, border, and belt.
Materials You Need
| Item | What to get |
|---|---|
| Yarn, main color | Bulky weight (size 5) yarn in oatmeal, size S 1,800 yards, size M 2,000 yards, size L 2,200 yards |
| Yarn, pocket trim | Bulky weight (size 5) yarn in a contrast color, 60 yards, optional |
| Hook | US J-10 (6.0 mm), or the size that gives you the gauge below |
| Notions | Tapestry needle, scissors, tape measure, stitch markers, pins |
Bulky weight yarn is the best choice for a crochet coat because it works up fast, the fabric is warm and thick enough for outerwear, and the drape is soft rather than stiff. A smooth acrylic or wool blend yarn is a good pick, because it is warm, it washes well, and it does not pill too fast. Choose a calm oatmeal, charcoal, or camel for a coat you will wear every day. Avoid very fuzzy yarns, because they hide the stitches and shed onto everything you wear underneath.
Abbreviations (US Terms)
- ch = chain
- sl st = slip stitch
- sc = single crochet
- dc = double crochet
- dc2tog = double crochet 2 together (work 2 dc as one stitch, decreasing by 1 stitch)
- inc = increase (2 dc in the same stitch)
- st(s) = stitch(es)
- rep = repeat
Gauge and Sizing Notes
Gauge matters on a coat more than on any small project, because a small error grows across 78 stitches and 76 rows. Work a swatch of 12 dc stitches and 8 rows in the main color. It should be about 4 inches square. If it is wider, go down a hook size. If it is narrower, go up a hook size.
Measure your bust before you start and pick the size with about 6 inches of ease, because this coat is meant to be worn open over a sweater. The pattern gives stitch counts for sizes S, M, and L in that order, written as S (M, L) through the pattern. Count your stitches at the end of every row on the back panel, because the back is the widest piece and it sets the size of the whole coat. If your panels come out wider than the pattern says, go down a hook size and start again.
Part 1: The Back Panel
The back panel is the biggest piece of the coat, a wide rectangle with gentle armhole shaping near the top. Work it flat in rows, and keep your edges straight by counting every row.
The Back Panel
With the main color, ch 69 (75, 81).
- Row 1: dc in the 4th ch from the hook and in each ch across. (66 (72, 78) dc)
- Rows 2 to 58: ch 3 (counts as dc), turn, dc in each st across. (66 (72, 78) dc)
- Row 59: ch 3, turn, dc2tog, dc in each st across to the last 2 sts, dc2tog. (64 (70, 76) dc)
- Row 60: ch 3, turn, dc in each st across. (64 (70, 76) dc)
- Row 61: ch 3, turn, dc2tog, dc in each st across to the last 2 sts, dc2tog. (62 (68, 74) dc)
- Row 62: ch 3, turn, dc in each st across. (62 (68, 74) dc)
- Row 63: ch 3, turn, dc2tog, dc in each st across to the last 2 sts, dc2tog. (60 (66, 72) dc)
- Row 64: ch 3, turn, dc in each st across. (60 (66, 72) dc)
- Rows 65 to 76: ch 3, turn, dc in each st across. (60 (66, 72) dc)
Fasten off, leaving a long tail for seaming. The back panel should be about 22 (24, 26) inches wide and 38 inches long. Lay it flat and measure the width at the top, the middle, and the hem, because the three numbers should match. If the top is narrower than the hem, that is the armhole shaping, and it is meant to be there. Our oversized sweater crochet pattern free uses the same straight panel shaping if you want a shorter layer in the same style.
Part 2: The Front Panels and Sleeves
The two front panels mirror each other, and the sleeves are tapered rectangles with no cap shaping, which is what makes this a drop shoulder coat. Work both fronts and both sleeves the same way, and keep your stitch counts the same on each pair.
The Front Panels (make 2)
With the main color, ch 36 (39, 42).
- Row 1: dc in the 4th ch from the hook and in each ch across. (33 (36, 39) dc)
- Rows 2 to 58: ch 3 (counts as dc), turn, dc in each st across. (33 (36, 39) dc)
- Row 59: ch 3, turn, dc2tog, dc in each st across to the last 2 sts, dc2tog. (31 (34, 37) dc)
- Row 60: ch 3, turn, dc in each st across. (31 (34, 37) dc)
- Row 61: ch 3, turn, dc2tog, dc in each st across to the last 2 sts, dc2tog. (29 (32, 35) dc)
- Row 62: ch 3, turn, dc in each st across. (29 (32, 35) dc)
- Row 63: ch 3, turn, dc2tog, dc in each st across to the last 2 sts, dc2tog. (27 (30, 33) dc)
- Row 64: ch 3, turn, dc in each st across. (27 (30, 33) dc)
- Rows 65 to 76: ch 3, turn, dc in each st across. (27 (30, 33) dc)
Fasten off, leaving a long tail for seaming. Each front panel should be about 11 (12, 13) inches wide and 38 inches long. Lay both panels side by side and check that they are the same length, because the armhole shaping is worked on the outer edge of each panel, and the straight front edges should match.
The Sleeves (make 2)
With the main color, ch 42.
- Row 1: dc in the 4th ch from the hook and in each ch across. (39 dc)
- Rows 2 to 8: ch 3 (counts as dc), turn, dc in each st across. (39 dc)
- Row 9: ch 3, turn, inc in the first st, dc in each st across to the last st, inc in the last st. (41 dc)
- Rows 10 to 15: ch 3, turn, dc in each st across. (41 dc)
- Row 16: ch 3, turn, inc in the first st, dc in each st across to the last st, inc in the last st. (43 dc)
- Rows 17 to 22: ch 3, turn, dc in each st across. (43 dc)
- Row 23: ch 3, turn, inc in the first st, dc in each st across to the last st, inc in the last st. (45 dc)
- Rows 24 to 29: ch 3, turn, dc in each st across. (45 dc)
- Row 30: ch 3, turn, inc in the first st, dc in each st across to the last st, inc in the last st. (47 dc)
- Rows 31 to 36: ch 3, turn, dc in each st across. (47 dc)
- Row 37: ch 3, turn, inc in the first st, dc in each st across to the last st, inc in the last st. (49 dc)
- Rows 38 to 44: ch 3, turn, dc in each st across. (49 dc)
Fasten off, leaving a long tail for seaming. Each sleeve should be about 13 inches wide at the cuff, 16 inches wide at the top, and 22 inches long. Lay both sleeves side by side and check that the increase rows line up, because matching sleeves are what make the coat look neat.
Part 3: Pockets, Assembly, Border, and Belt
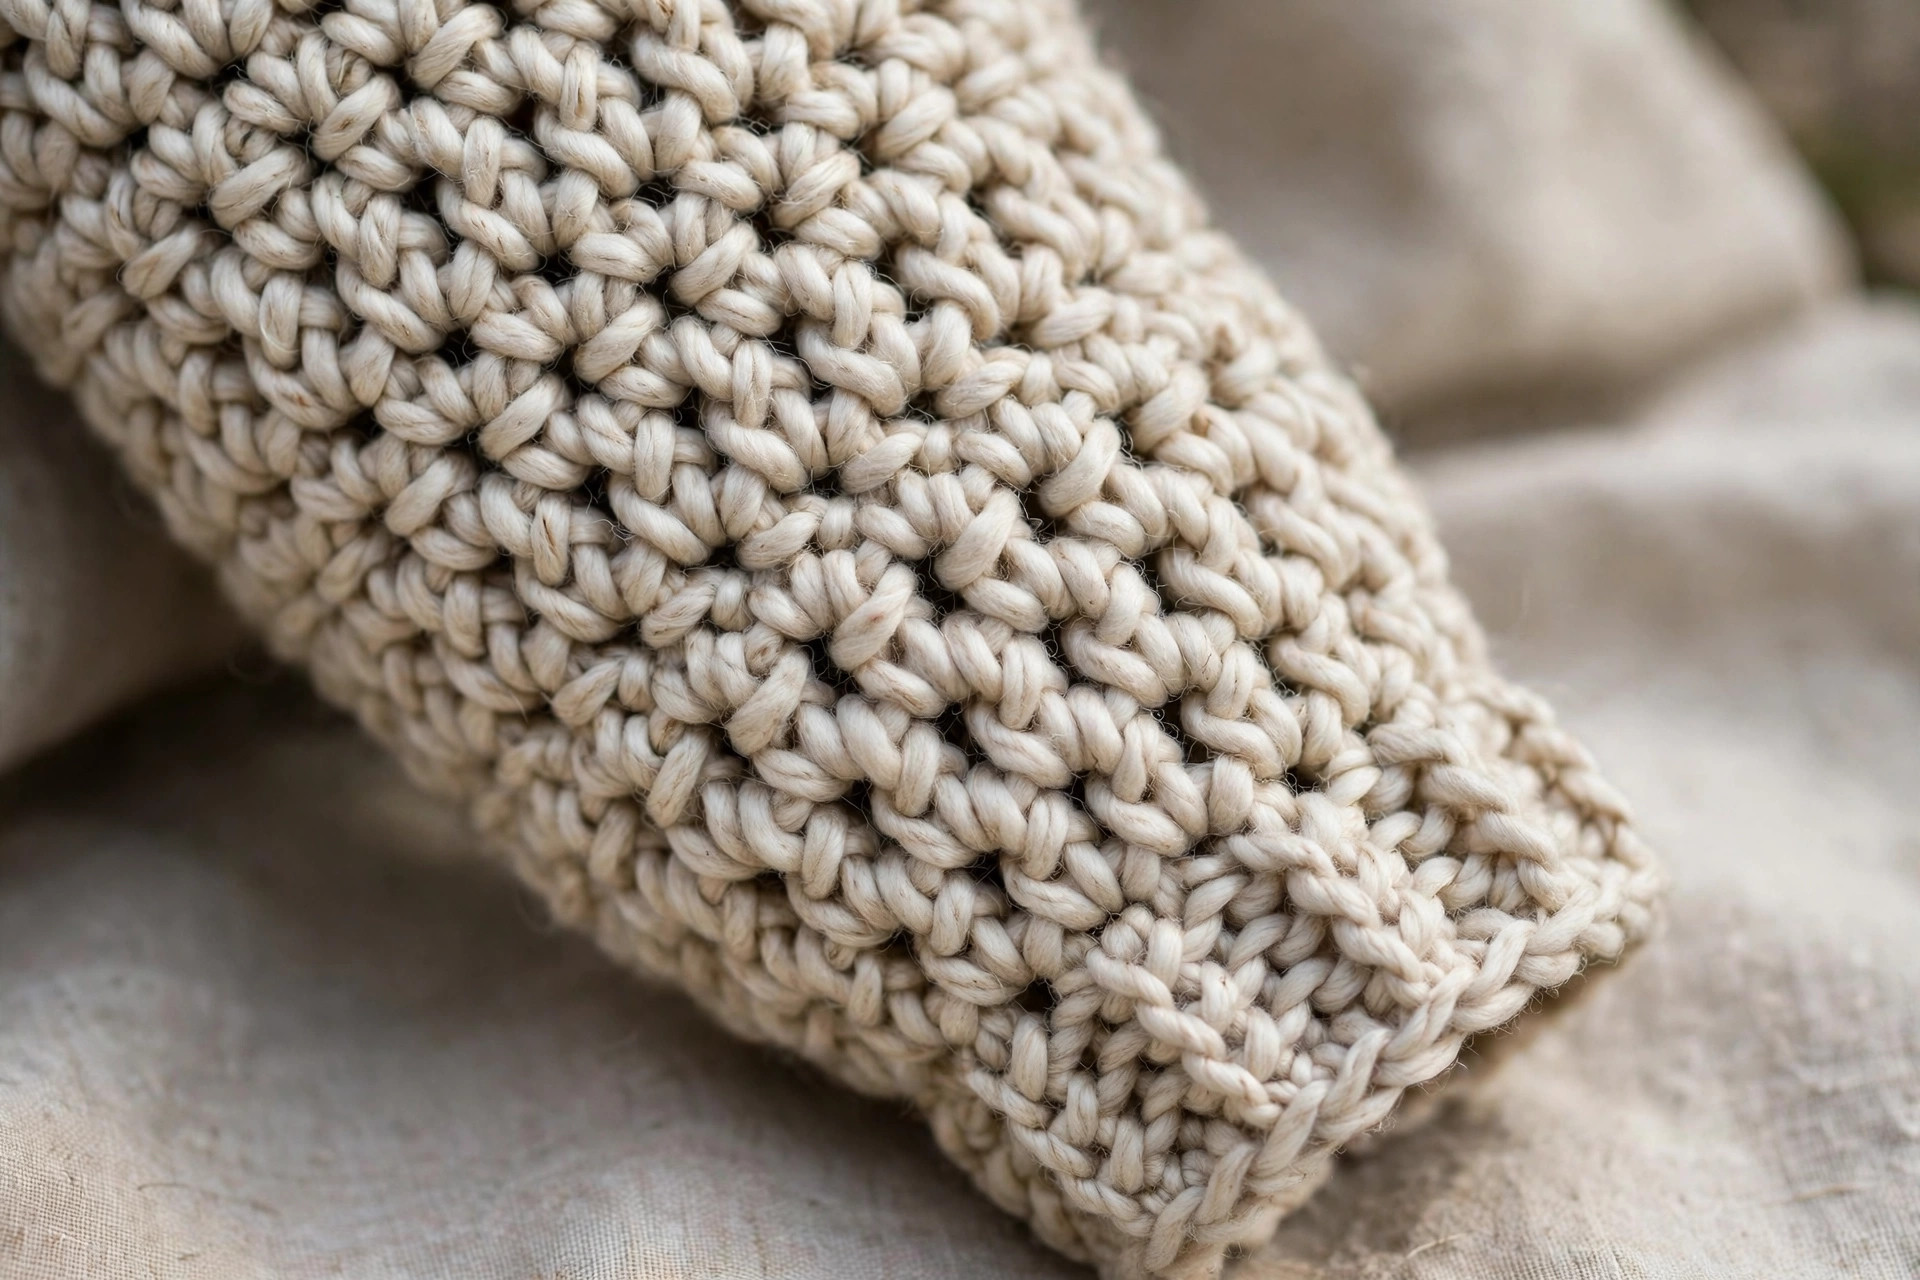
This is the part where flat panels become a coat. Pin everything before you sew, try it on as you go, and take your time with the seams, because neat seaming is what makes a handmade coat look store bought.
The Patch Pockets (make 2)
With the main color, ch 22.
- Row 1: sc in the 2nd ch from the hook and in each ch across. (21 sc)
- Rows 2 to 16: ch 1, turn, sc in each st across. (21 sc)
Fasten off, leaving a long tail for sewing. Each pocket should be about 7 inches wide and 8 inches tall. If you want a contrast trim, work one row of sc around the top edge of each pocket in the contrast color before you sew it on.
Pin one pocket to each front panel, centered about 10 inches up from the hem and 2 inches in from the side edge. Sew around three sides of each pocket with the long tail, leaving the top edge open. Stitch twice around the top corners, because pockets take the most wear.
Assembly
Lay the back panel flat with the right side facing up. Lay the two front panels on top of it, right sides together, with the straight front edges in the center and the shaped edges at the outside. Pin the shoulder seams and sew each front panel to the back panel along the top edge for 5 inches, leaving a 10 inch opening in the center for the neck.
Open the coat flat again. Pin one sleeve to each armhole, matching the center of the sleeve top to the shoulder seam, and easing the sleeve top into the opening. Sew the sleeve tops in place. Then fold the coat so the front and back meet, and sew the underarm and side seams in one long line, from the sleeve cuff all the way down to the hem, on each side. Our simple crochet sweater pattern uses the same sew as you go method if you want another garment to practice on.
The Border
With the main color, join the yarn at the bottom of the right front edge.
- Row 1: ch 1, work 1 sc in each row end up the front edge, 1 sc in each stitch across the back neck, and 1 sc in each row end down the left front edge, about 182 sc in total. Work 1 row of sc along the hem edge as well.
- Rows 2 to 3: ch 1, turn, sc in each st around the whole border.
Fasten off and weave in the ends. The border firms up the front edges, stops them from curling, and gives the coat a finished look.
The Tie Belt (optional)
With the main color, ch 181.
- Row 1: sc in the 2nd ch from the hook and in each ch across. (180 sc)
- Row 2: ch 1, turn, sc in each st across. (180 sc)
Fasten off and weave in the ends. Thread the belt through the border stitches at the waist, or wear it loose around the coat. The belt is about 60 inches long, which fits all three sizes.
Variations: Colors, Sizes, and Uses
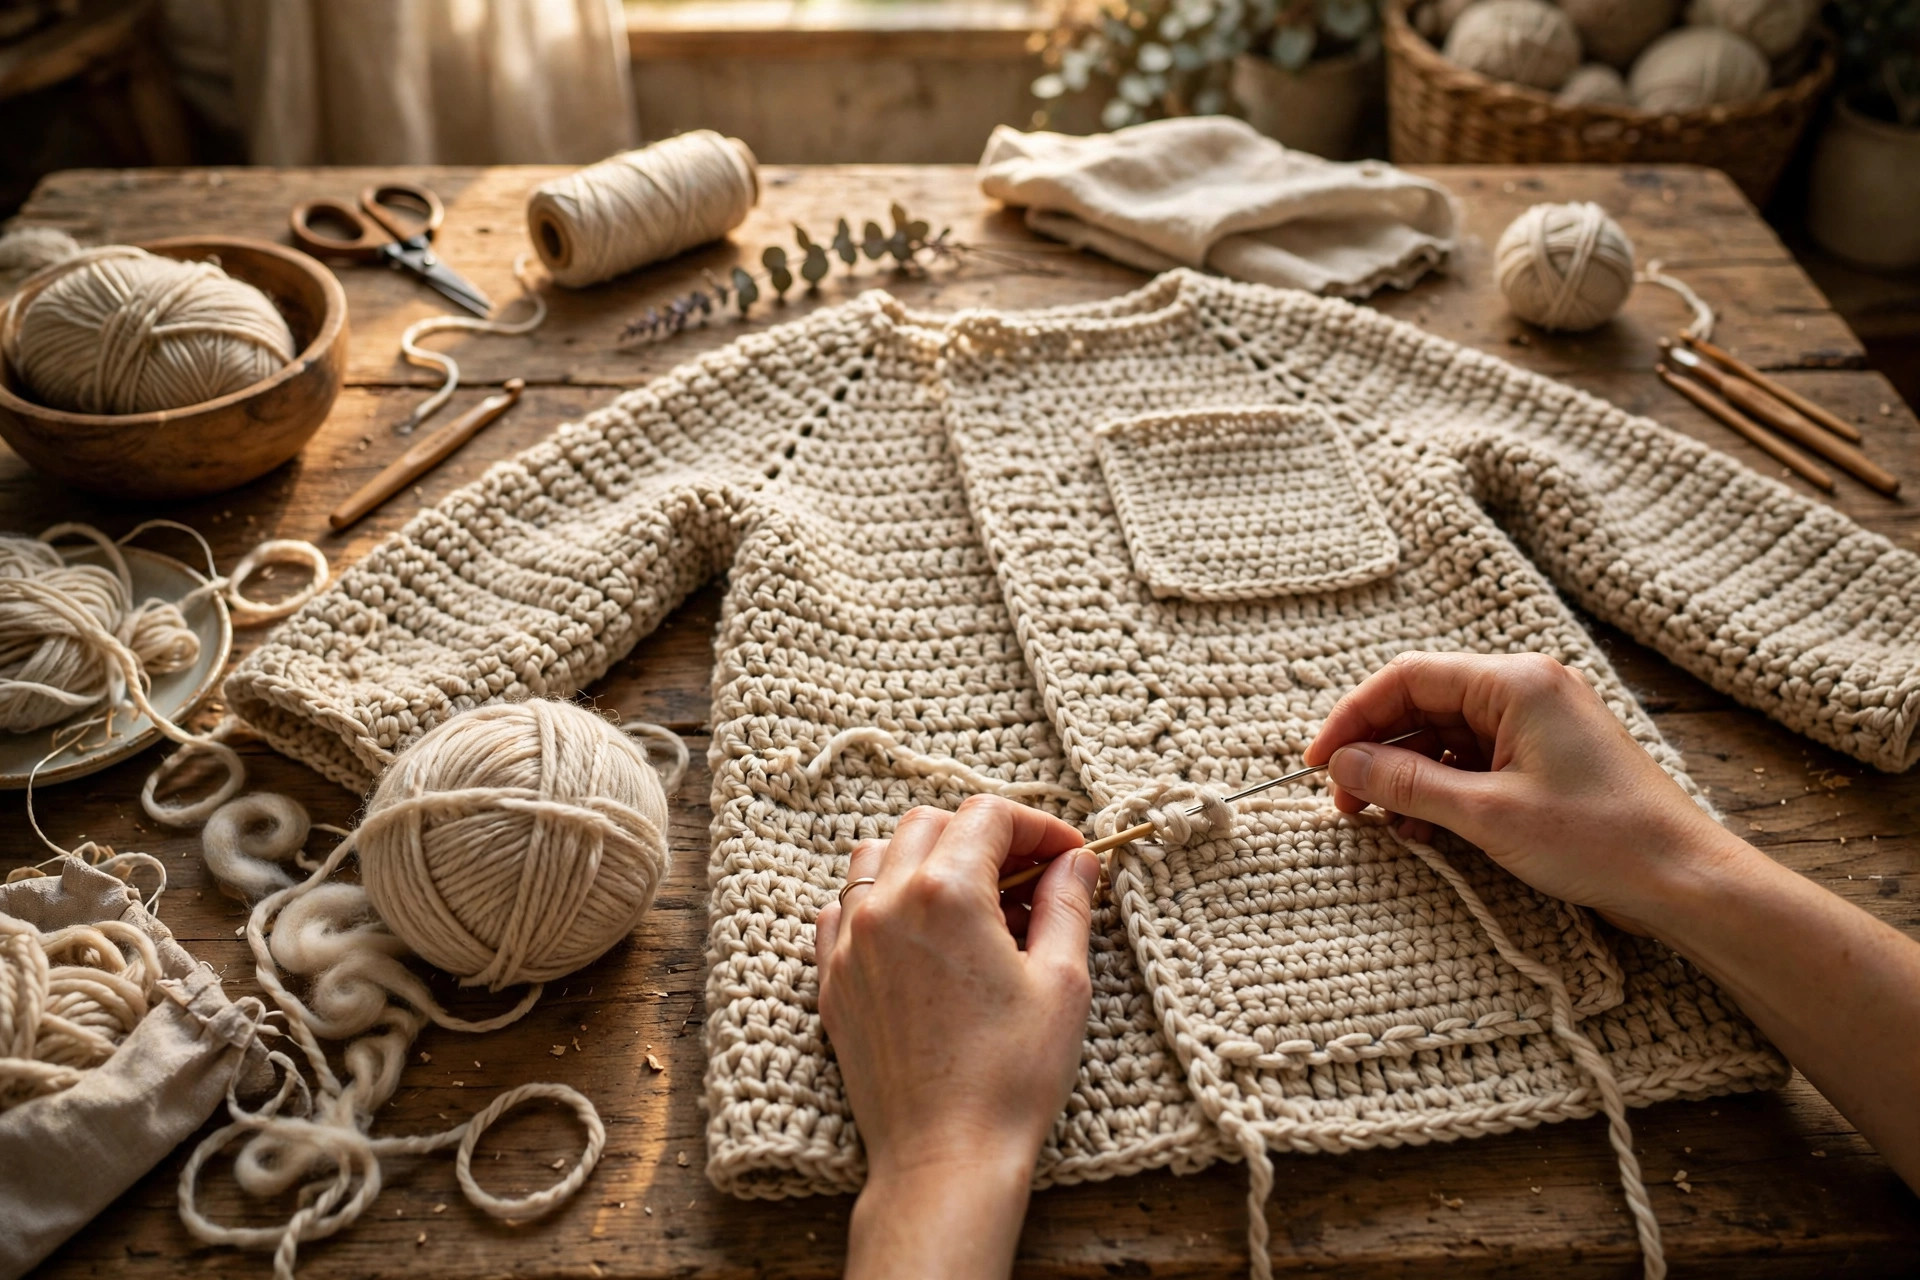
- Classic camel coat: work the whole coat in camel with dark brown pockets for a timeless outerwear look.
- Charcoal with a bright belt: make the coat in charcoal and the belt in mustard or rust for a pop of color. Our free crochet ruana pattern makes a matching layer for milder days.
- Shorter jacket version: stop the panels at row 56 instead of row 76 for a hip length jacket that is about 28 inches long.
- Extra warm winter coat: hold two strands of worsted weight yarn together instead of one strand of bulky, and go up to a US K-10.5 (6.5 mm) hook for a thicker fabric.
Troubleshooting a Coat That Does Not Fit
- My coat is too wide. Your gauge is looser than the pattern gauge. Measure your swatch again and go down a hook size before you restart the back panel.
- My coat is too short. You may have worked fewer rows than the pattern says. Count the rows on the back panel, because it should have 76 rows.
- My sleeves are different lengths. One sleeve has more rows than the other. Count the rows on each sleeve and check that both have 44 rows with increases on rows 9, 16, 23, 30, and 37.
- My front edges curl. The border is missing or too loose. Work the 3 row sc border around the whole front opening, and keep your stitches even.
- My shoulder seams pull. The seam was sewn too tightly. Take the seam out and re-sew it with a looser whipstitch, matching stitch for stitch.
Care Instructions
Hand wash a crochet coat in cool water with a mild detergent, and press the water out gently without wringing. Reshape the coat while it is damp, lay it flat on a clean towel, and let it dry fully away from direct heat. Keep the coat on a wide hanger or folded on a shelf, because a thin wire hanger will stretch the shoulders out of shape.
Frequently Asked Questions
Is this crochet coat pattern good for beginners?
It is best for an advanced beginner or intermediate crocheter. You need double crochet, increases, decreases, and simple seaming. One coat takes about 20 hours, so it is a good project to work on over a few weeks.
What yarn is best for a crochet coat?
Bulky weight acrylic or wool blend yarn is the best choice, because it is warm, it works up fast, and it drapes well. Oatmeal, charcoal, and camel are classic coat colors that go with everything.
How long is the finished coat?
The finished coat is 38 inches long from the shoulder, which falls below the knee on most people. The sleeves are 22 inches long, and the bust is 44 inches in size S, 48 inches in size M, and 52 inches in size L.
Does the coat have buttons or a closure?
No, this coat is open in the front and is worn as an outerwear layer. The optional tie belt closes it at the waist, and the border keeps the front edges neat.
Can I make the coat in a bigger size?
Yes, add 6 stitches to the back panel foundation chain and 3 stitches to each front panel foundation chain for each size up, and work 2 more rows before the armhole shaping for extra length.
How do I wash a crochet coat?
Hand wash it in cool water with a mild detergent, press the water out without wringing, and lay it flat to dry. Reshape it while it is damp, and keep it off thin wire hangers so the shoulders hold their shape.
Can I sell coats made from this pattern?
Yes, you may sell finished coats made from this free pattern, with credit to Little Loop Finds. Do not sell or republish the pattern text itself. A coat in a neutral color with a matching crochet snood pattern makes a lovely cold weather set for a market stall.
Happy stitching, and may your little coat keep you warm on every cold day ahead.