Crochet Cloak Pattern (Hooded Storybook Cloak)
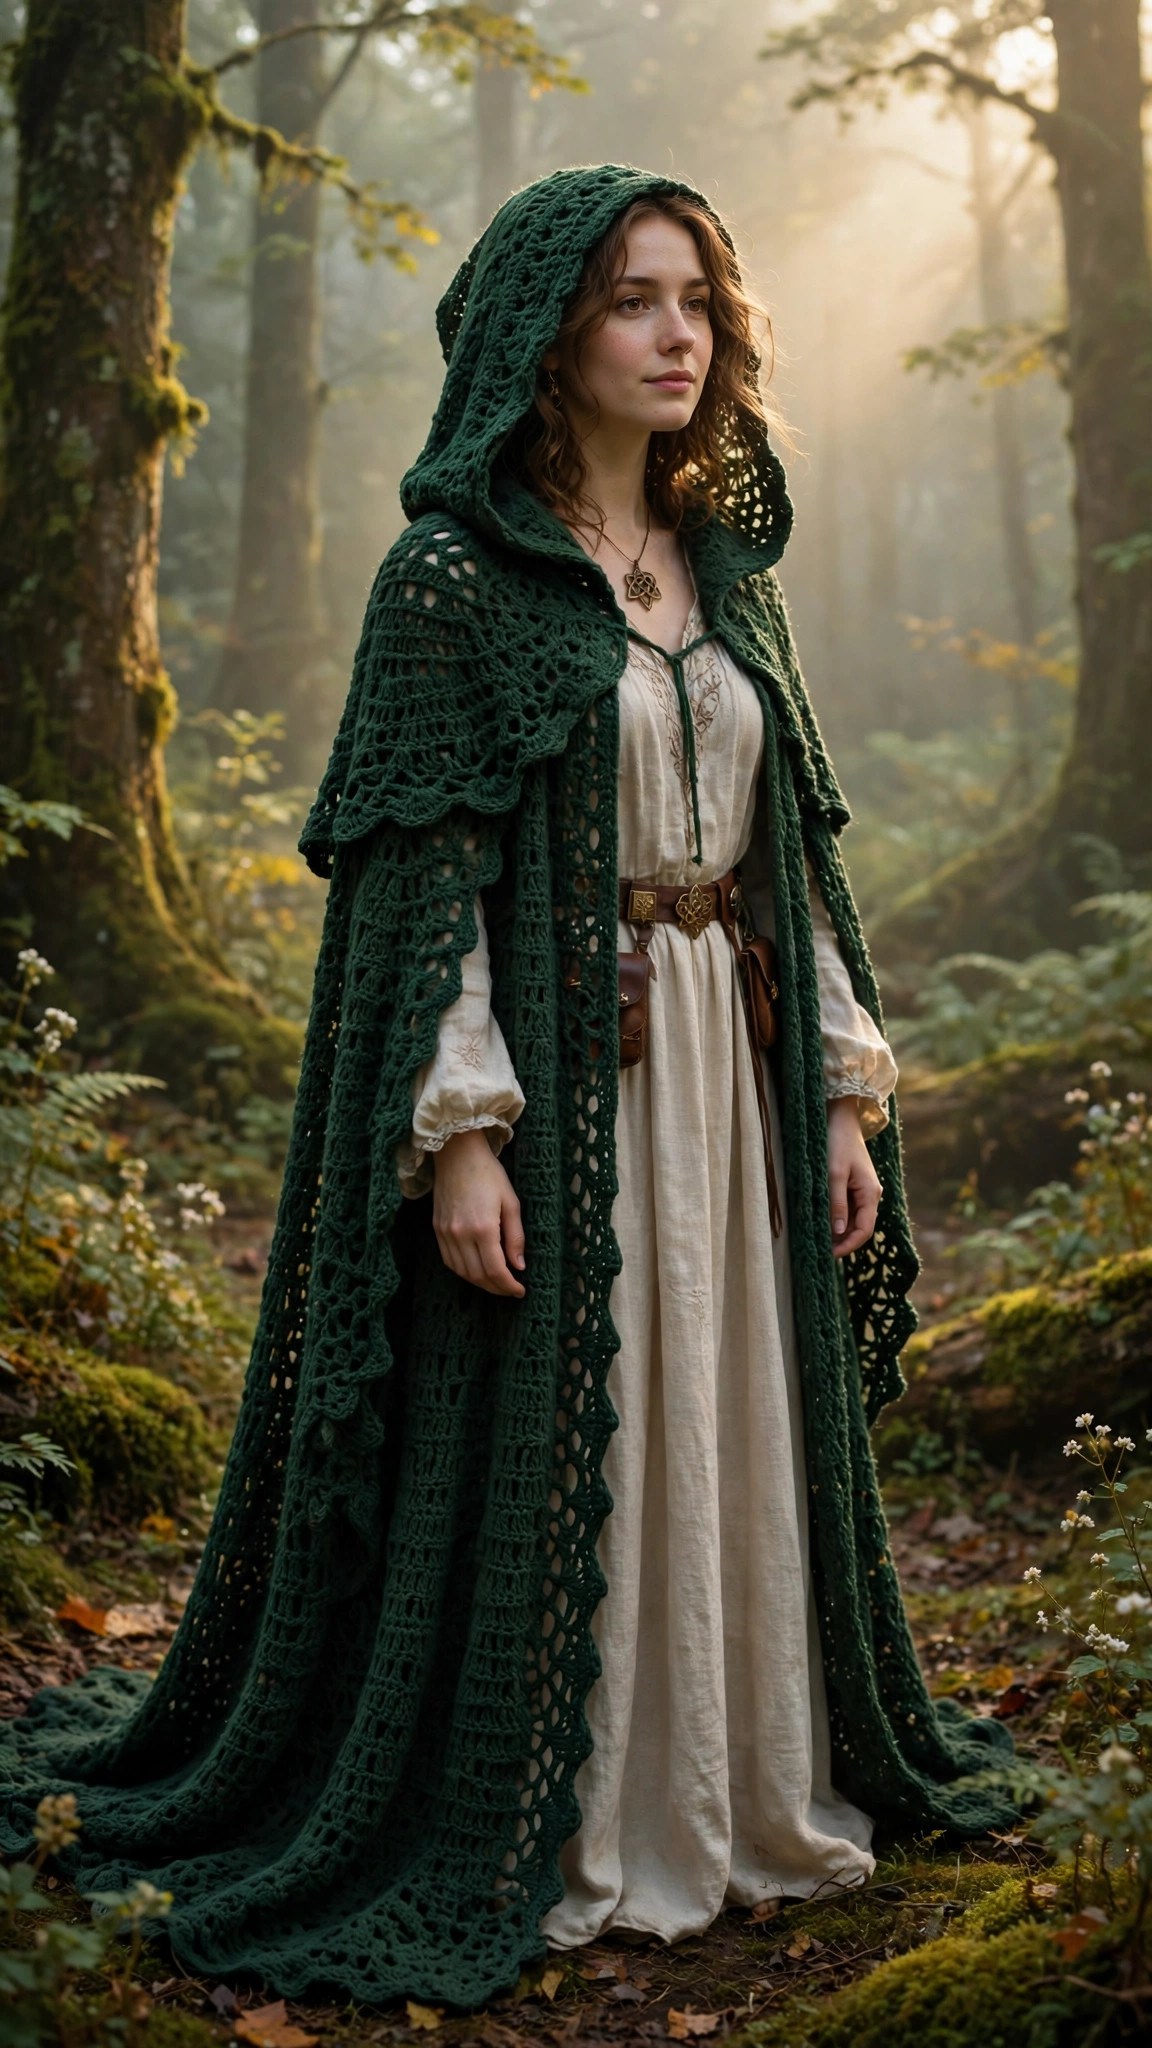
Crochet a flowing hooded cloak, open at the front and floor length, in about eighteen hours, then wear it to a Renaissance fair or a cozy evening by the fire.

Patterns · Crochet
- Finished size
- 56 in long
- Making time
- 18 hours
- Hook
- US J-10 (6.0 mm)
- Set
- Cloak, hood, ties
- Skill
- Easy to Intermediate
In this post
- Key Takeaways
- Table of Contents
- Why You Will Love This Cloak
- Finished Size, Skill Level, and Time
- Materials You Need
- Abbreviations (US Terms)
- Gauge and Sizing Notes
- Part 1: The Yoke and Shoulders
- Part 2: The Body and Skirt
- Part 3: The Hood, Ties, and Finishing
- Variations: Colors, Lengths, and Uses
- Troubleshooting a Cloak That Does Not Look Right
- Care Instructions
- Frequently Asked Questions
A crochet cloak is the most magical garment you will ever make. This free crochet cloak pattern makes a flowing hooded cloak in soft yarn, open at the front, with a deep hood and a floor length skirt that moves beautifully when you walk. It is a fantasy storybook garment, perfect for dress up, a Renaissance fair, a Halloween costume, or a cozy evening by the fire.
This is an original Little Loop Finds design, written in US terms and completely free. The cloak is worked from the top down in simple rows, with no shaping at the waist and no sleeves to fit, so it is far easier than it looks.
A quick note on scope: this post is about one specific crochet garment, an open, hooded, unshaped cloak that hangs straight from the shoulders to the floor. It is not a coat and it is not a poncho. A coat is a structured garment with fitted sleeves and a shaped body, like our crochet coat pattern, and a poncho is a closed pullover shape with no opening at the front, like our crochet poncho free pattern. A cloak is open down the front, has a hood, and flows freely with no shaping at all, which is what makes it so easy to fit and so dramatic to wear.
Key Takeaways
- Free original pattern: a Little Loop Finds original design, written in US terms, and completely free.
- A hooded storybook cloak: a flowing cloak with a deep hood, an open front, and a floor length skirt.
- One size fits most: worked top down with no waist shaping, so it fits a wide range of bodies.
- Simple stitches: worked in rows with double crochet, chains, and simple increases only.
- A 18 hour project: one cloak takes about 18 hours, spread over a few evenings.
Table of Contents
- Why You Will Love This Cloak
- Finished Size, Skill Level, and Time
- Materials You Need
- Abbreviations (US Terms)
- Gauge and Sizing Notes
- Part 1: The Yoke and Shoulders
- Part 2: The Body and Skirt
- Part 3: The Hood, Ties, and Finishing
- Variations: Colors, Lengths, and Uses
- Troubleshooting a Cloak That Does Not Look Right
- Care Instructions
- Frequently Asked Questions
Why You Will Love This Cloak
A crochet cloak turns an ordinary evening into a story. Pull the hood up and you are a woodland wanderer, a storybook witch, or a traveler on a long road. Let it fall open and it frames whatever you are wearing underneath, adding drama to a simple dress or a Renaissance fair costume. It is a garment that makes the wearer feel like a character, and that feeling is the whole point.
The construction is wonderfully simple for such a dramatic piece. There are no sleeves to set in, no waist shaping to calculate, and no buttons or zippers to install. You work the yoke across the shoulders, increase gently down the body, and let the skirt fall straight to the floor. The hood is a simple rectangle folded and seamed, and the ties are two short chains. If you can double crochet and chain, you can make this cloak.
Finished Size, Skill Level, and Time
- Finished size: one size fits most adults. The cloak is about 24 inches wide across the back at the shoulders, 56 inches long from the shoulder to the hem, and the hood is about 14 inches deep. Child sizes are given in the sizing notes below.
- Skill level: Easy to Intermediate. You need chain, single crochet, double crochet, increases, and basic seaming. The open stitch pattern is a simple repeat you will memorize after a few rows.
- Time: about 18 hours per cloak: 3 hours for the yoke, 9 hours for the body and skirt, 3 hours for the hood, and 3 hours for ties, edging, and finishing.
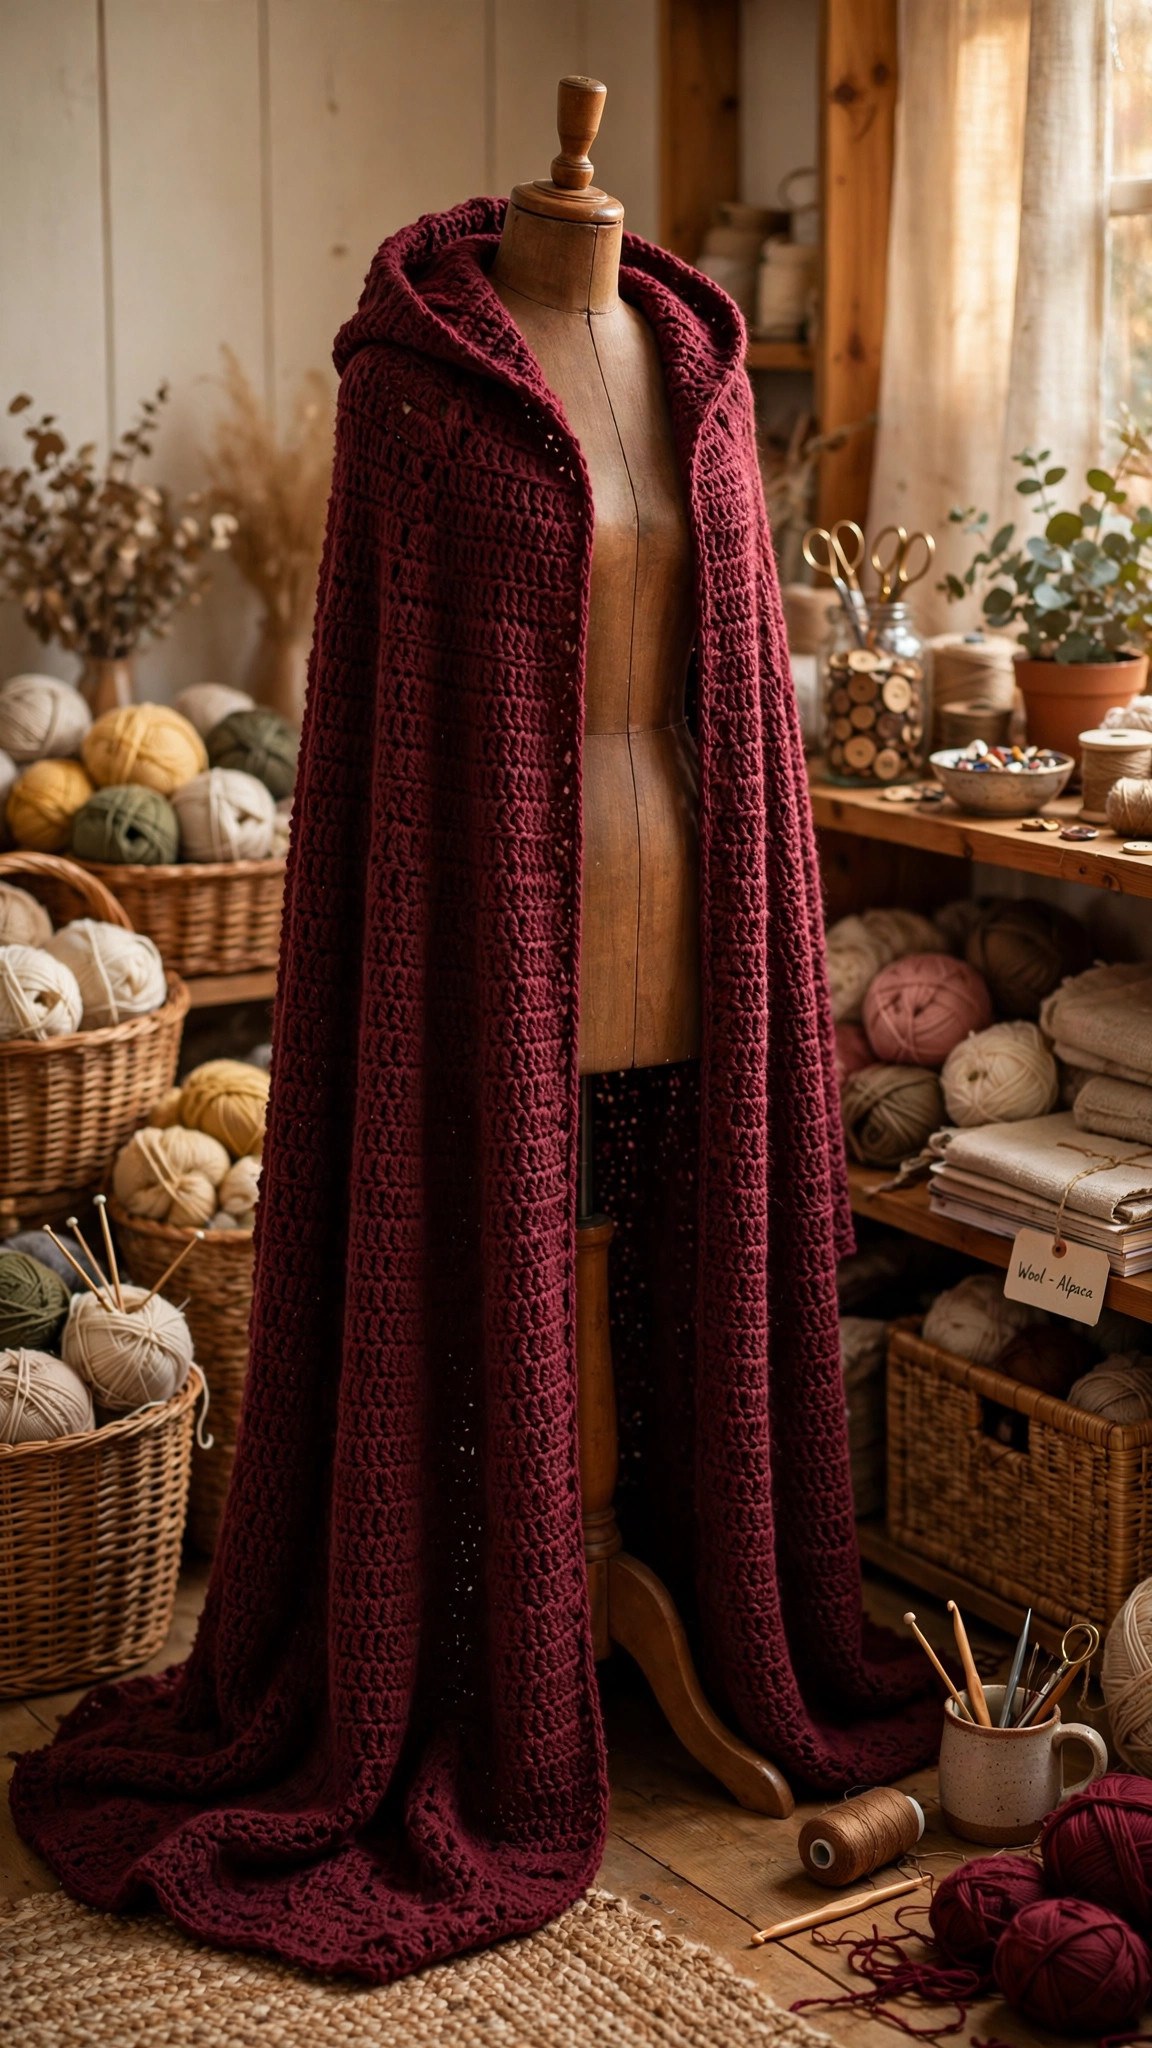
Materials You Need
| Item | What to get |
|---|---|
| Yarn, main color | Worsted weight yarn in deep forest green, 1,800 yards |
| Yarn, accent color | Worsted weight yarn in a matching darker shade, 100 yards, for the edging |
| Hook | US J-10 (6.0 mm), or the size that gives you the gauge below |
| Notions | Tapestry needle, scissors, tape measure, stitch markers, pins, 2 wooden toggles or buttons for the ties, optional |
Soft worsted weight yarn is the best choice for a crochet cloak because it drapes well, is warm without being heavy, and shows the open stitch pattern clearly. A wool blend gives the cloak a beautiful drape and a little extra warmth for outdoor wear, while an acrylic yarn makes it machine washable and easy to care for.
Choose a dark, rich color for the full storybook effect. Deep forest green, burgundy, charcoal, and midnight blue all look wonderful in a cloak, and they hide the wear of a Renaissance fair weekend. A lighter color works too, but it will show dirt more quickly, so save the cream and pale gold for indoor dress up.
Abbreviations (US Terms)
- ch = chain
- sl st = slip stitch
- sc = single crochet
- hdc = half double crochet
- dc = double crochet
- tr = treble crochet
- inc = increase (2 dc in the same stitch)
- dec = decrease (dc 2 together)
- st(s) = stitch(es)
- rep = repeat
- RS = right side
- FO = fasten off
- sp = space
Gauge and Sizing Notes
Gauge matters on a cloak because it sets the drape. Work a swatch of 12 dc and 8 rows in the main color with the open stitch pattern from Part 2. It should be about 4 inches wide and 4 inches tall. If it is wider, go down a hook size. If it is narrower, go up a hook size. A slightly loose gauge is better than a tight one here, because a cloak should flow, not stand stiff.
You can change the size easily. For a child, work the yoke to a smaller starting chain and stop the skirt sooner: a child age 6 to 8 needs about 40 inches of length, and a child age 9 to 12 needs about 48 inches. For a taller adult, add length to the skirt by repeating the body rows until the hem brushes the floor. For a wider cloak, add 2 stitches at each increase point in the yoke. Keep the same stitch pattern throughout. Our crochet shawl pattern free uses the same open stitch gauge if you want to practice the drape on a smaller piece first.
Part 1: The Yoke and Shoulders
The yoke is the top of the cloak, worked flat in rows from the neck down to the shoulders. It starts narrow at the neck and grows wider as you go, so it sits comfortably across the shoulders and lets the cloak fall open at the front.
The Neck and Yoke
With the main color, chain 60. This is the neck edge. Turn and work the yoke in rows.
- Row 1: dc in the 4th ch from the hook, dc in each ch across. Turn. (58)
- Row 2: ch 3, dc in each st across. Turn. (58)
- Row 3: ch 3, dc in the next 6 sts, 2 dc in the next st, (dc in the next 7 sts, 2 dc in the next st) rep 6 times, dc in the last 6 sts. Turn. (65)
- Row 4: ch 3, dc in each st across. Turn. (65)
- Row 5: ch 3, dc in the next 7 sts, 2 dc in the next st, (dc in the next 8 sts, 2 dc in the next st) rep 6 times, dc in the last 7 sts. Turn. (72)
- Row 6: ch 3, dc in each st across. Turn. (72)
- Row 7: ch 3, dc in the next 8 sts, 2 dc in the next st, (dc in the next 9 sts, 2 dc in the next st) rep 6 times, dc in the last 8 sts. Turn. (79)
- Row 8: ch 3, dc in each st across. Turn. (79)
The yoke should now be about 24 inches wide and 6 inches deep. It should lie flat across your shoulders with the front edges hanging straight down. If it pulls tight across the chest, work one more increase row. If it gapes open, work the next rows without increases until the body starts.
Part 2: The Body and Skirt
The body and skirt are worked in one long open stitch pattern that gives the cloak its flowing drape. The pattern is a simple two row repeat, easy to memorize, and it grows gently wider as you go so the skirt flares a little at the hem.
The Open Stitch Pattern
Work the body in rows, turning at the end of each row. The pattern repeat is worked over the yoke stitches.
- Row 1: ch 3, dc in the next st, (ch 1, skip 1 st, dc in the next 2 sts) rep across to the last st, dc in the last st. Turn.
- Row 2: ch 3, dc in each st and each ch-1 sp across. Turn.
- Row 3: ch 3, dc in the next st, (ch 1, skip 1 st, dc in the next 2 sts) rep across to the last st, dc in the last st. Turn.
- Row 4: ch 3, dc in each st and each ch-1 sp across. Turn.
Repeat rows 1 to 4 for the whole body. Every 10th row, work an increase row: ch 3, dc in the next st, 2 dc in the next st, then continue in pattern, adding 2 dc at the center back and 2 dc at each front edge. This gentle flare is what makes the skirt flow instead of hanging straight.
Continue the body until the cloak measures 50 inches from the shoulder, or your chosen length. For a floor length cloak on an average adult, this is about 56 inches total from the shoulder to the hem. Try the cloak on as you go, standing on a chair if you need to, and stop when the hem brushes the floor. Our free crochet ruana pattern uses the same open stitch repeat if you want to practice the pattern on a smaller wrap first.
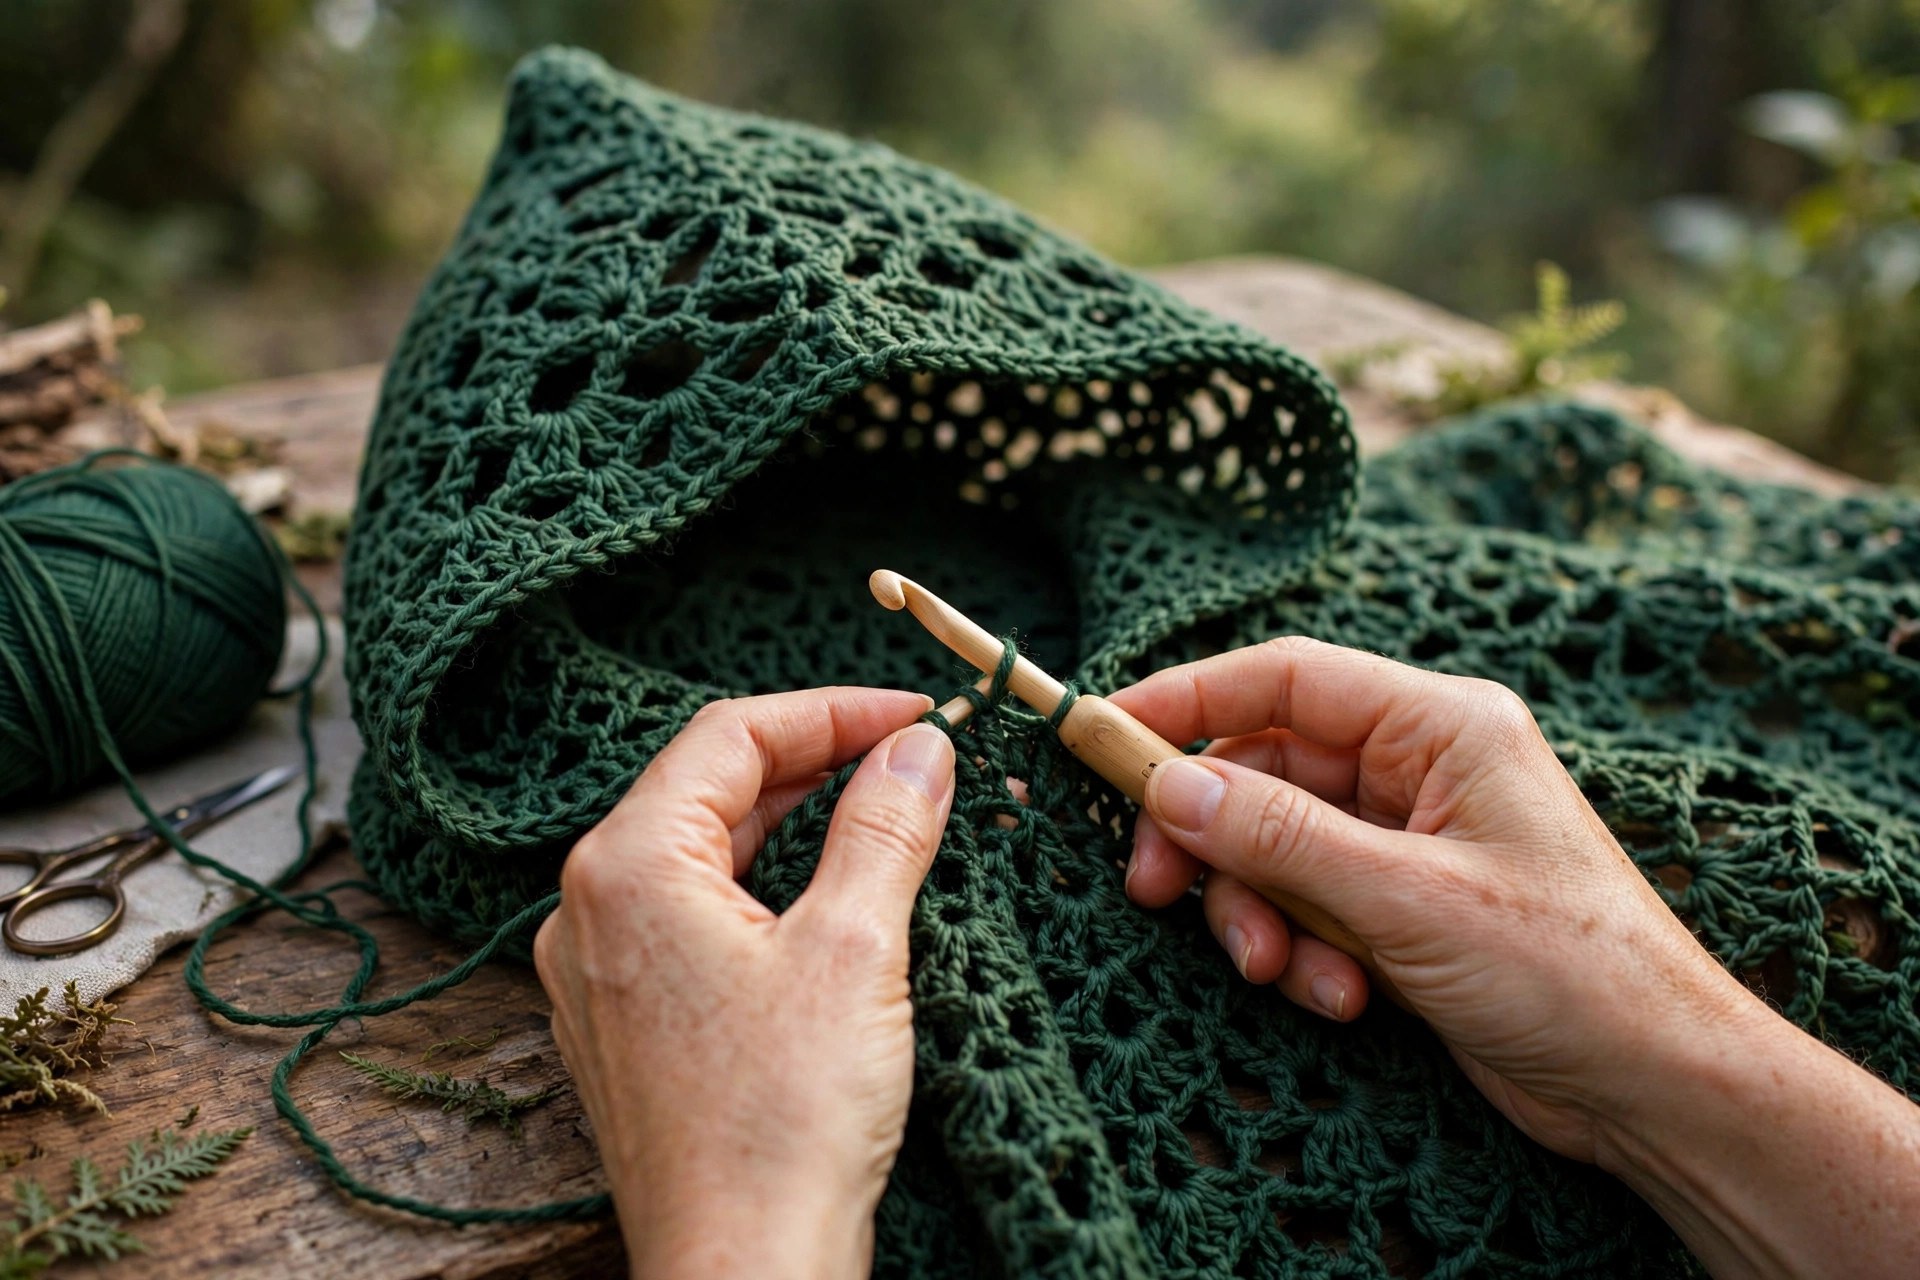
The Hem
When the skirt reaches your chosen length, work a hem edging with the accent color. Join the accent color at the bottom right corner.
- Hem row 1: ch 1, sc in each st across the bottom edge. Turn.
- Hem row 2: ch 1, sc in the first st, (ch 3, skip 1 st, sc in the next st) rep across. Turn.
- Hem row 3: ch 1, sc in each st and each ch-3 sp across. Turn.
Fasten off the accent color and weave in the ends. The hem should be about 1 inch deep, with a gentle scalloped edge that helps the skirt swing when you walk.
Part 3: The Hood, Ties, and Finishing
The hood is a simple rectangle folded in half and seamed, then sewn to the neck edge of the cloak. The ties close the cloak at the chest, and a front edging finishes the open edges neatly.
The Hood
With the main color, chain 46. Work the hood in rows of double crochet.
- Rows 1 to 28: ch 3, dc in each st across. Turn. (44)
The hood rectangle should be about 22 inches wide and 14 inches deep. Fold it in half so the short edges meet, and seam the top edge from the fold to the front opening with a tapestry needle, working whipstitches through both layers. Leave the bottom edge open. Turn the hood right side out and try it on: it should fall in a soft point at the back and frame the face at the front.
Attaching the Hood
Pin the open bottom edge of the hood to the neck edge of the cloak, centered at the back, with the front edges of the hood lining up with the front edges of the cloak. With the main color and a tapestry needle, whipstitch the hood to the neck all the way around. Work two rows of stitches for strength, because the hood is heavy and will pull on the seam.
The Front Edging and Ties
Join the accent color at the bottom of the right front edge. Work sc evenly up the front edge, around the hood opening, and down the left front edge, placing 2 sc in each corner so the edging lies flat. Fasten off and weave in the ends.
For the ties, cut 2 lengths of yarn, each about 24 inches long. Chain a cord with each length, or braid 3 strands together for a thicker tie. Sew one tie to each front edge at chest height, about 12 inches down from the neck. Add a wooden toggle or button to each tie if you like a fastened look. Our crochet scoodie free pattern uses the same hood and tie construction if you want to practice the shaping on a smaller hooded piece first.
Final Finishing
Block the cloak gently: lay it flat on a clean towel, mist it with water, and smooth the skirt and hood into shape. Let it dry flat away from direct heat. Check the whole cloak from every side. The hood should sit centered, the hem should be even, and the front edges should hang straight. Weave in all the loose ends, and try the cloak on one more time with the hood up and down.
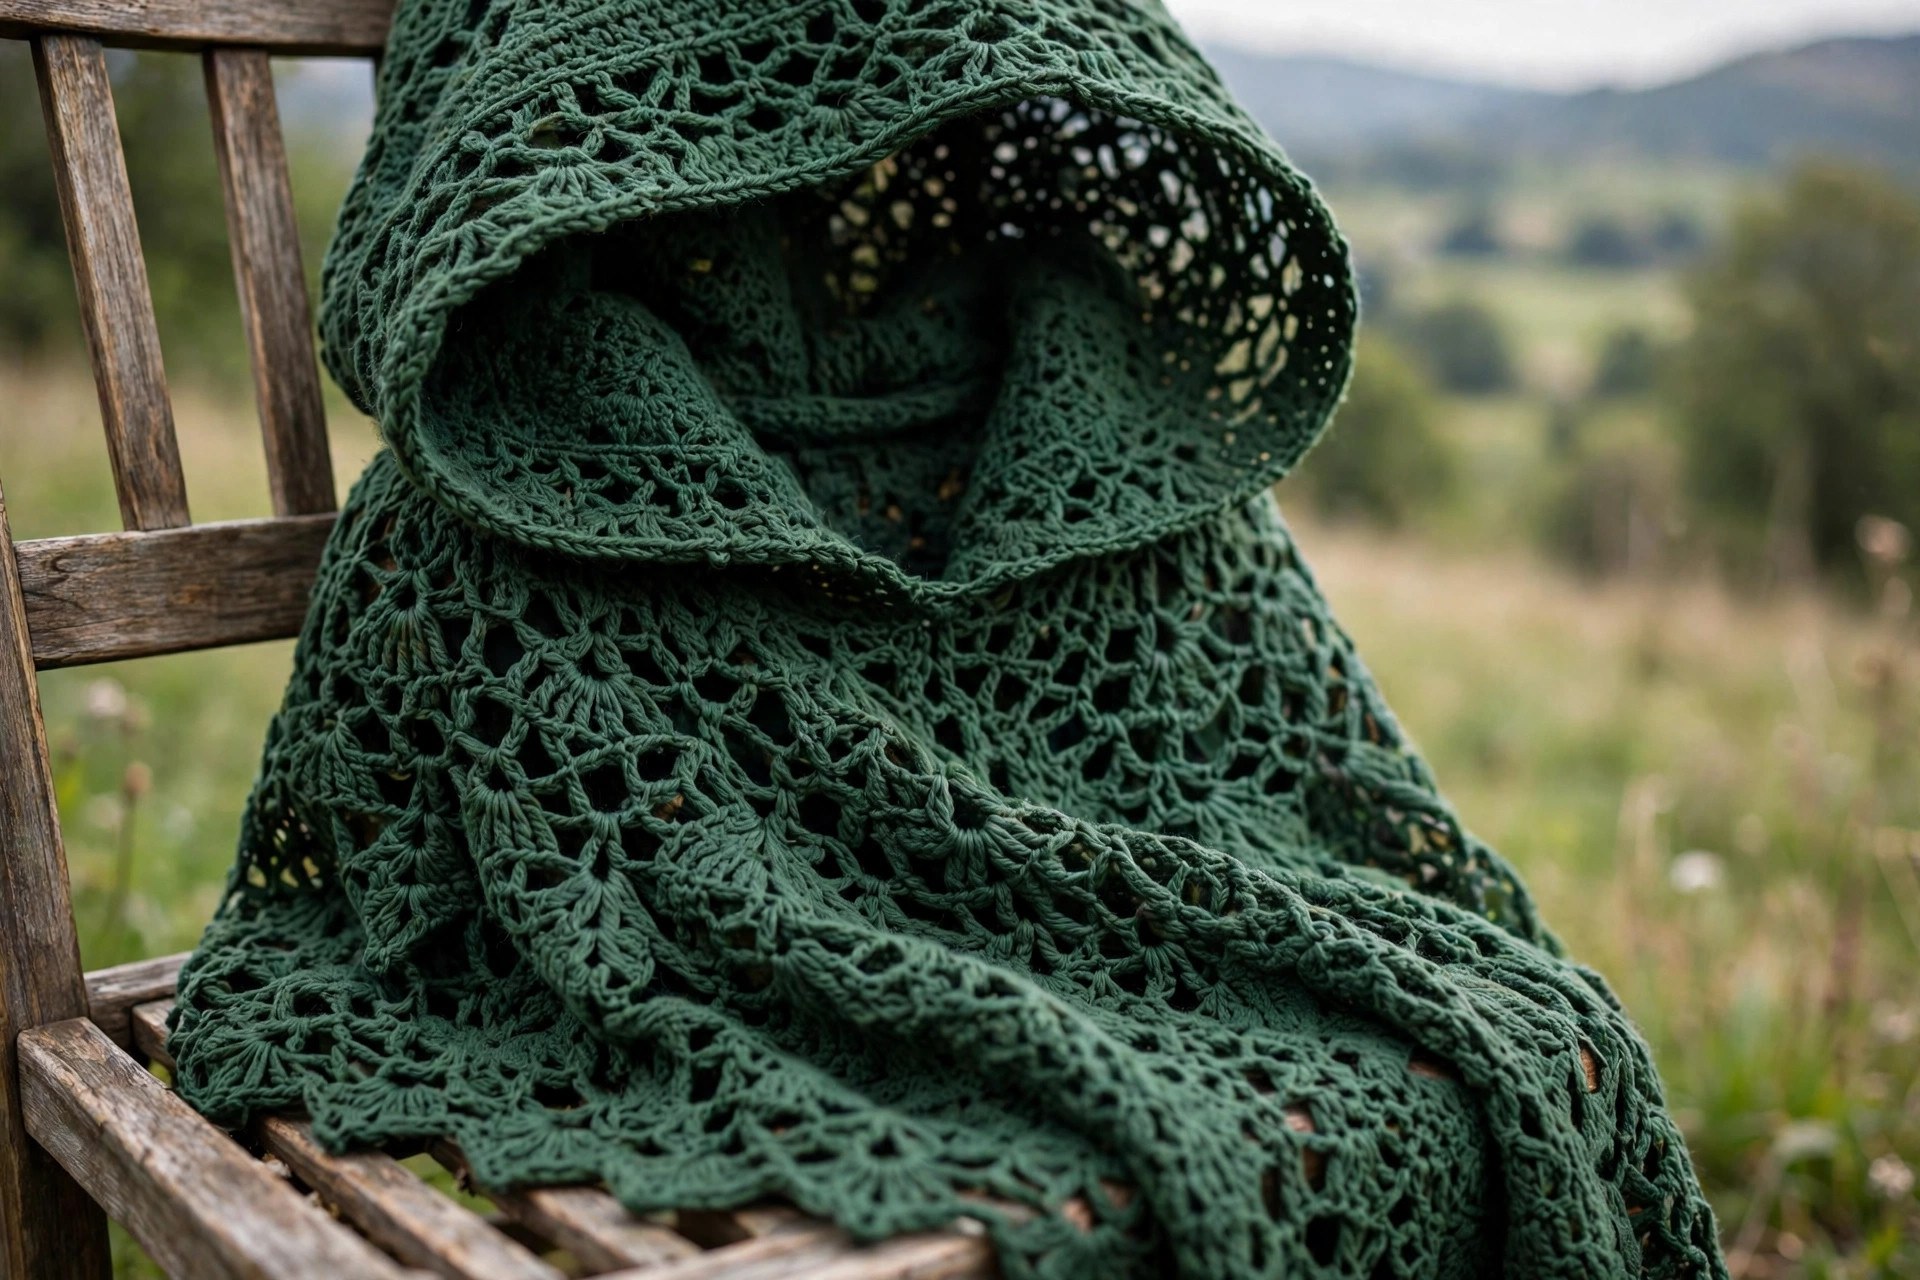
Variations: Colors, Lengths, and Uses
- Forest green storybook cloak: work the whole cloak in deep forest green with a darker green edging, the classic woodland look.
- Burgundy Renaissance cloak: make the cloak in deep burgundy with gold or cream ties for a Renaissance fair.
- Midnight wizard cloak: work the cloak in midnight blue with silver star appliques sewn on the hood for a wizard costume.
- Short capelet cloak: stop the skirt at the waist for a short capelet, about 24 inches long, perfect over a dress.
- Child dress up cloak: work the yoke to a smaller starting chain and stop the skirt at 40 inches for a child age 6 to 8.
Troubleshooting a Cloak That Does Not Look Right
- My cloak is too stiff and does not flow. The gauge is too tight. Go up a hook size, or work the open stitch rows a little looser, so the fabric drapes.
- My hood pulls the cloak backward. The hood seam is too far back. Move the hood forward on the neck edge so more of it sits over the shoulders, and work a second row of stitches to anchor it.
- My hem is uneven. The skirt rows were worked at different tensions. Measure the cloak flat from the shoulder to the hem at five points across, and add or remove a row on the short side to even it out.
- My front edges curl inward. The edging was worked too tightly. Work the front edging one hook size larger, and block the edges flat with a warm iron through a cloth.
- My ties come undone. The cords are too smooth. Braid the ties instead of chaining them, and knot the ends so they grip when tied.
Care Instructions
Hand wash a crochet cloak in cool water with a mild detergent, and press the water out gently without wringing. Reshape the hood and the skirt, and lay it flat to dry away from direct heat. Do not put a crochet cloak in the washing machine or the dryer, because the tumbling can felt the yarn and stretch the open stitch pattern out of shape. Store the cloak folded on a shelf or hung on a wide padded hanger, never on a thin wire hanger that will dent the shoulders.
Frequently Asked Questions
Is a crochet cloak hard to make?
No, it is easier than it looks. You need chain, single crochet, double crochet, increases, and basic seaming. There are no sleeves and no waist shaping, so the fit is forgiving. One cloak takes about 18 hours.
What is the difference between a cloak, a coat, and a poncho?
A cloak is open down the front, has a hood, and hangs unshaped from the shoulders to the floor. A coat is a structured garment with fitted sleeves and a shaped body. A poncho is a closed pullover shape with no opening at the front. This pattern is a cloak, not a coat or a poncho.
What yarn is best for a crochet cloak?
Worsted weight yarn is the best choice, because it drapes well, is warm without being heavy, and shows the open stitch pattern clearly. A wool blend gives a beautiful drape, while acrylic makes the cloak easy to care for.
How do I make the cloak longer or shorter?
Work the body rows until the cloak reaches your chosen length. For a floor length cloak on an average adult, work until it measures about 56 inches from the shoulder to the hem. For a child, stop at 40 to 48 inches.
Can I wear a crochet cloak to a Renaissance fair?
Yes, it is perfect for a Renaissance fair, a Halloween costume, or dress up. Choose a deep color like forest green or burgundy, and add wooden toggles or a brooch at the chest for a finished look.
Can I sell cloaks made from this pattern?
Yes, you may sell finished cloaks made from this free pattern, with credit to Little Loop Finds. Do not sell or republish the pattern text itself. A forest green cloak with a matching hooded cowl crochet pattern makes a lovely pair for a market stall.
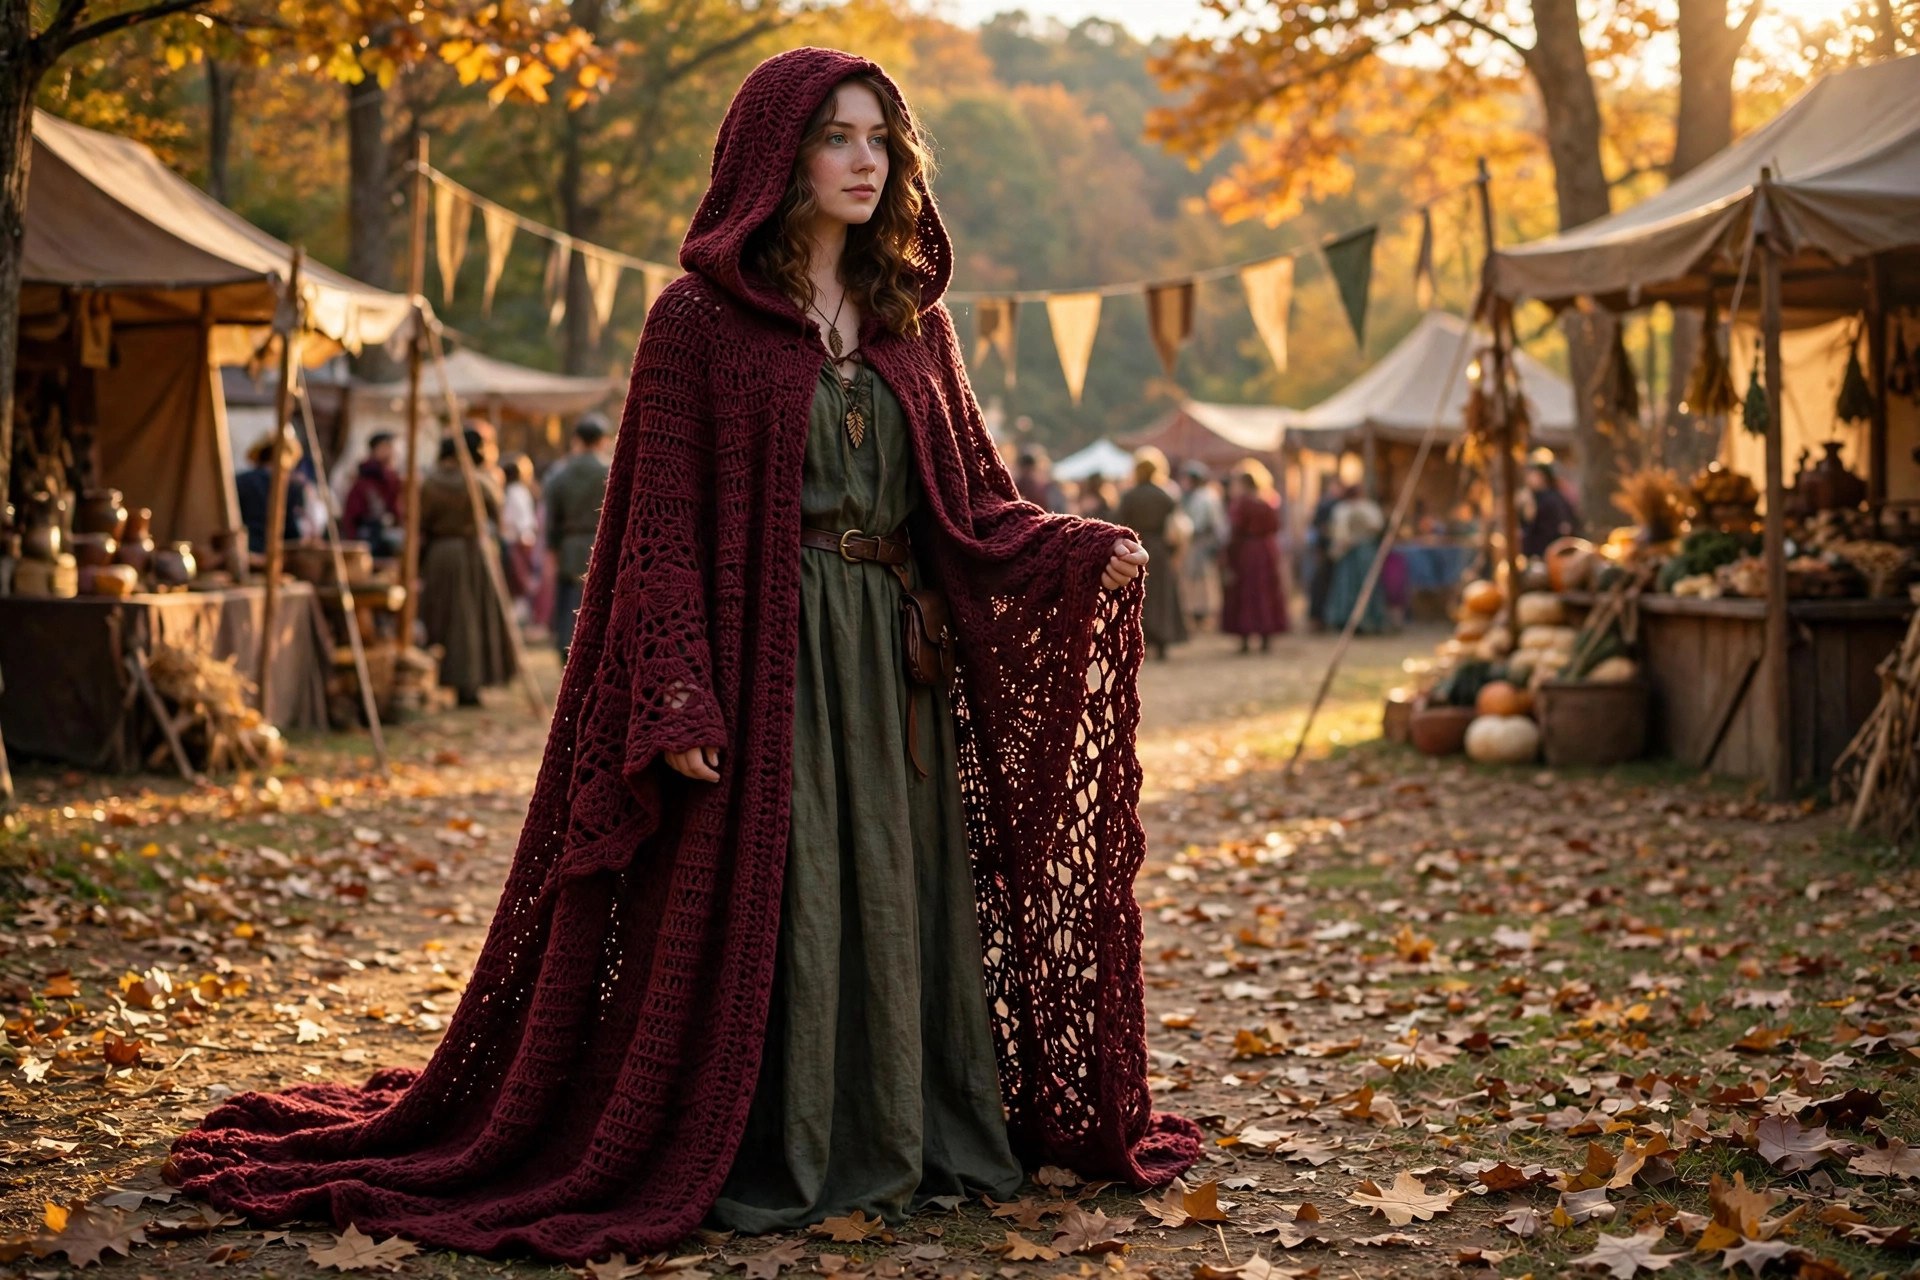
Happy stitching, and may your cloak carry you into every story you want to live in.