Crochet Apple Pattern (Amigurumi Apple)
Crochet a cute amigurumi apple with a stem and leaf in about three hours, then gift it to a teacher or tuck it into a play kitchen.

Patterns · Crochet
- Finished size
- 4 in tall
- Making time
- 3 hours
- Hook
- US G-6 (4.0 mm)
- Set
- Apple, stem, leaf
- Skill
- Easy
In this post
- Key Takeaways
- Table of Contents
- Why You Will Love This Apple
- Finished Size, Skill Level, and Time
- Materials You Need
- Abbreviations (US Terms)
- Gauge and Sizing Notes
- Part 1: The Apple Body
- Part 2: The Stem and Leaf
- Part 3: Shaping, Face, and Assembly
- Variations: Colors, Sizes, and Uses
- Troubleshooting an Apple That Does Not Look Right
- Care Instructions
- Frequently Asked Questions
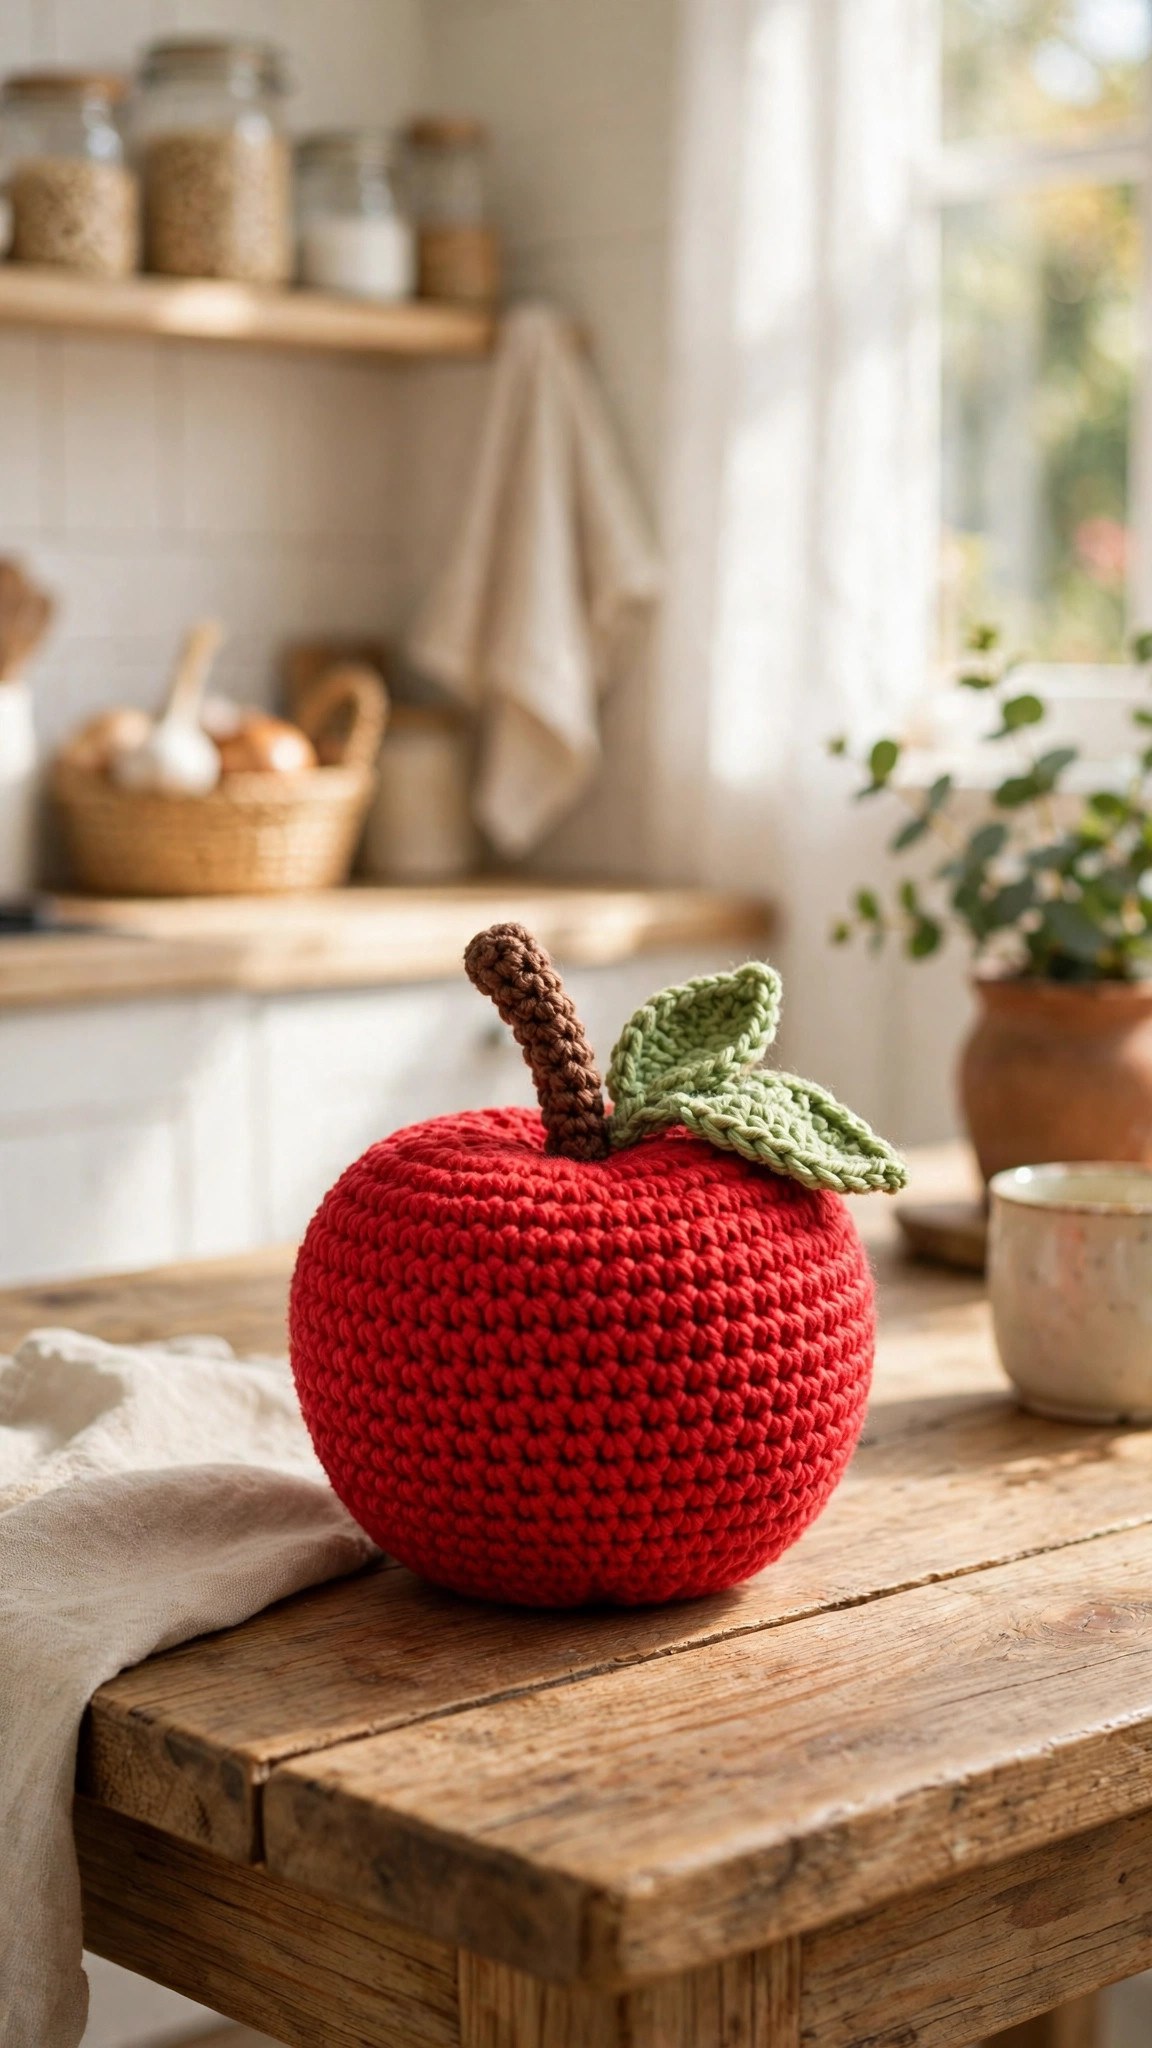
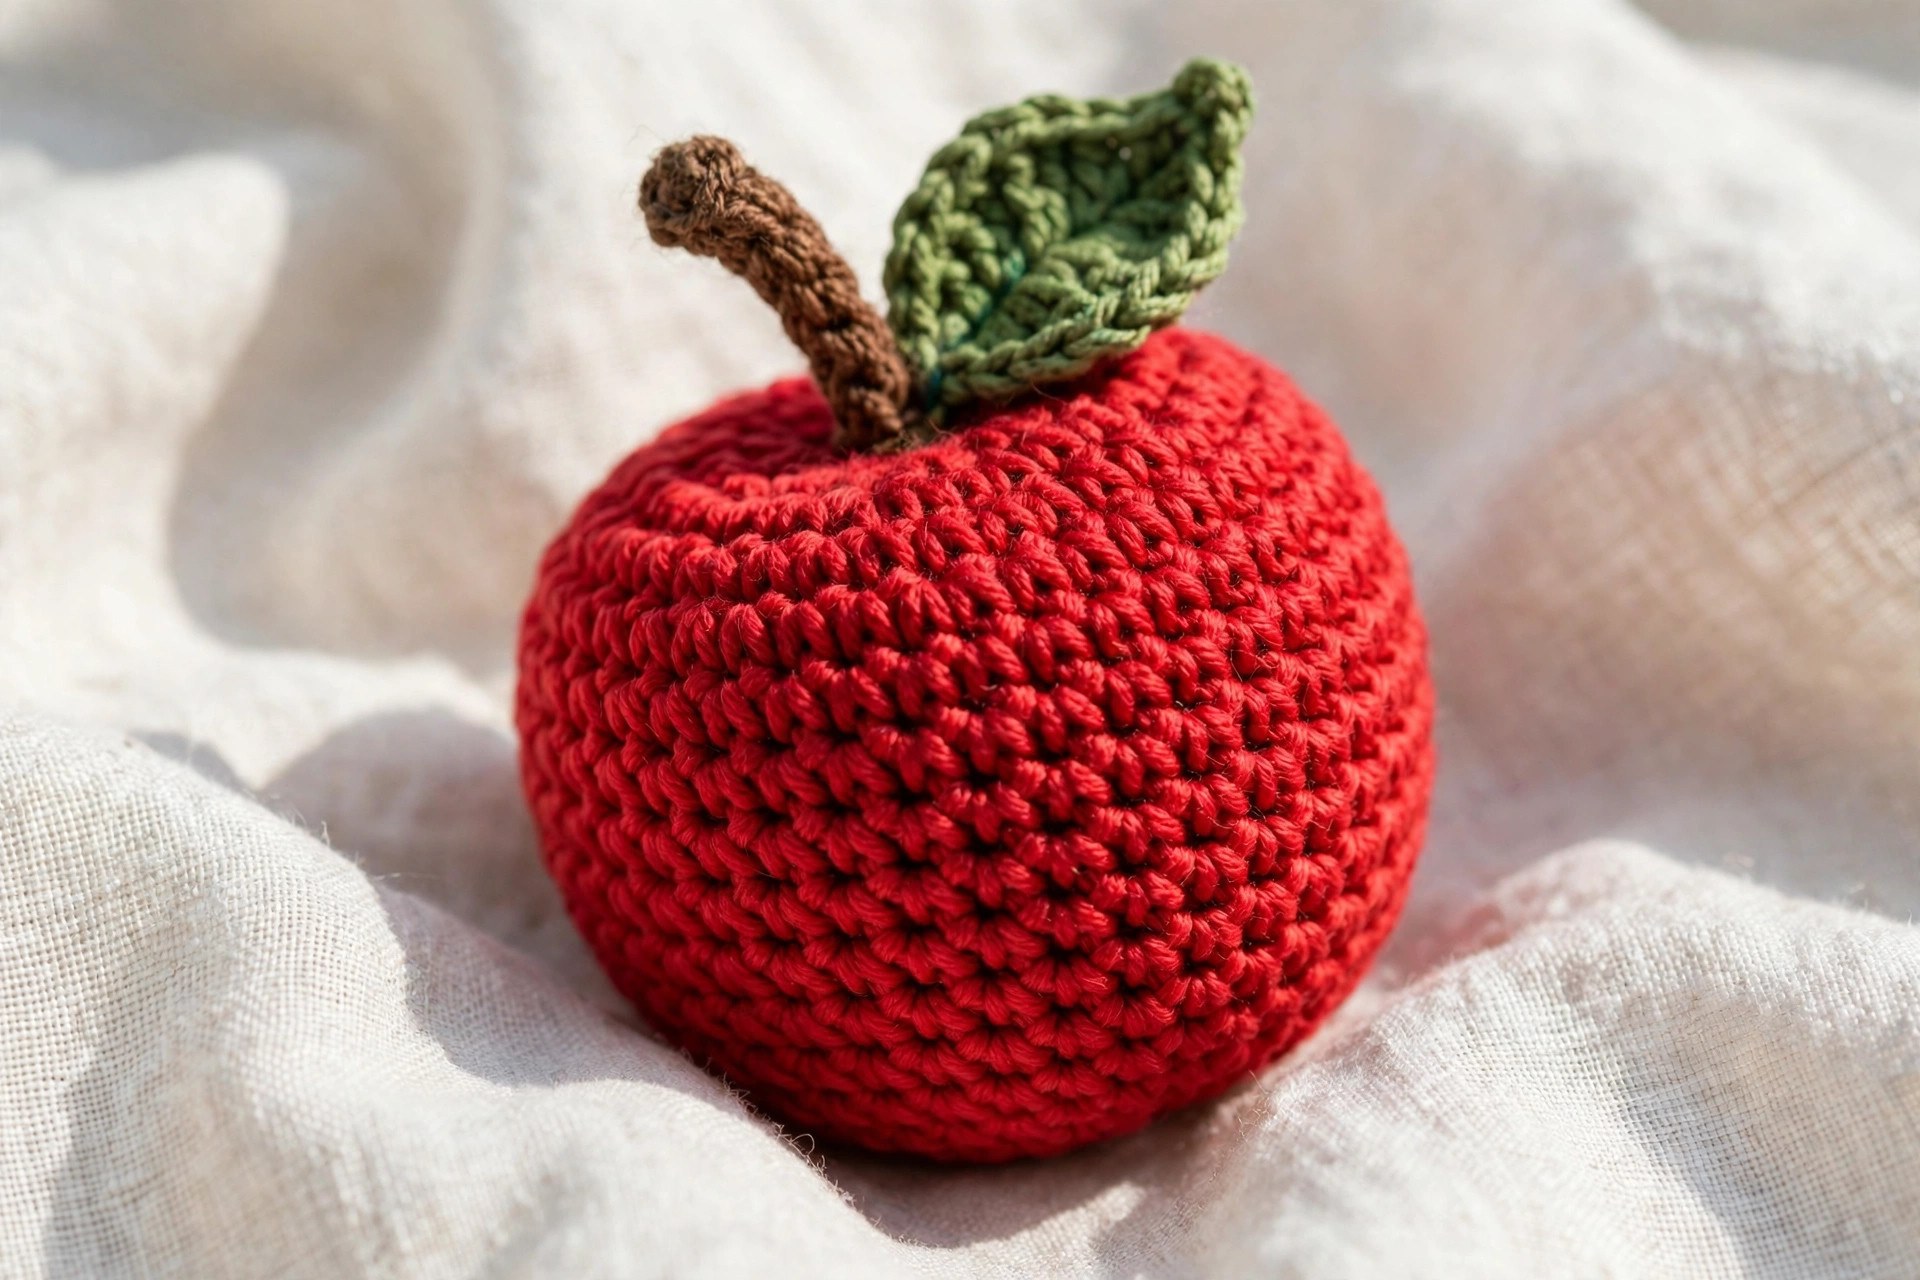
A crochet apple is the sweetest little project you will make all autumn. This free crochet apple pattern makes a cute amigurumi apple in bright red yarn, with a brown stem and a green leaf on top. It stands about 4 inches tall, a wonderful teacher gift, a cheerful piece of play food, or a bright spot on a kitchen shelf.
This is an original Little Loop Finds design, written in US terms and completely free. The apple is worked in the round with simple single crochet, then stuffed and shaped with a little cinching at the top and bottom, so it is a great first amigurumi fruit.
A quick note on scope: this post is about one specific crochet fruit, a round amigurumi apple with a stem and a leaf. If you want a different fruit for your basket, our crochet strawberry pattern is a good match, and our crochet pineapple pattern adds a tropical friend to the same fruit bowl.
Key Takeaways
- Free original pattern: a Little Loop Finds original design, written in US terms, and completely free.
- A cute amigurumi apple: a round red apple with a brown stem and a green leaf.
- A 4 inch plush: about 4 inches tall when finished, perfect for a teacher gift or play food.
- Simple stitches: worked in the round with single crochet, increases, and decreases only.
- A 3 hour project: one apple takes about 3 hours.
Table of Contents
- Why You Will Love This Apple
- Finished Size, Skill Level, and Time
- Materials You Need
- Abbreviations (US Terms)
- Gauge and Sizing Notes
- Part 1: The Apple Body
- Part 2: The Stem and Leaf
- Part 3: Shaping, Face, and Assembly
- Variations: Colors, Sizes, and Uses
- Troubleshooting an Apple That Does Not Look Right
- Care Instructions
- Frequently Asked Questions
Why You Will Love This Apple
A crochet apple turns a simple fruit into a keepsake. The round red body, the little brown stem, and the bright green leaf make it instantly recognizable, and it looks charming anywhere you put it. Give it to a teacher at the start of the school year, tuck it into a play kitchen, or set it in a fruit bowl on the table where it will make people smile every morning.
The pieces are small and quick, each one finishing in a single sitting. The body is one round ball of single crochet, the stem is a tiny tube, and the leaf is a flat oval you can finish in minutes. The shaping at the end, a gentle cinch through the center, is what turns a ball into an apple, and it is very satisfying to watch it happen.
An apple is also a wonderful first amigurumi project because there is almost nothing to get wrong. The shape is forgiving, the colors are simple, and the whole thing comes together in one evening. If you have made a ball before, you can make this apple. If you have never made amigurumi at all, this is a friendly place to start, and you will finish with something you are proud to give away.
Finished Size, Skill Level, and Time
- Finished size: about 4 inches tall and 4 inches wide, not counting the stem. The stem adds about 1 inch, and the leaf is about 2 inches long.
- Skill level: Easy. You need a magic ring, single crochet, increases, decreases, and basic seaming. The face is optional, and the apple looks lovely with no face at all.
- Time: about 3 hours per apple: 1 hour for the body, 30 minutes for the stem and leaf, 30 minutes for shaping and assembly, and 1 hour for finishing and weaving in ends.

Materials You Need
| Item | What to get |
|---|---|
| Yarn, main color | Worsted weight yarn in bright red, 80 yards |
| Yarn, stem color | Worsted weight yarn in brown, 10 yards |
| Yarn, leaf color | Worsted weight yarn in green, 15 yards |
| Hook | US G-6 (4.0 mm), or the size that gives you the gauge below |
| Eyes | 8 mm black safety eyes, 1 pair, optional, or black yarn for embroidery |
| Notions | Polyester stuffing, tapestry needle, scissors, tape measure, stitch markers, pins |
Soft worsted weight yarn is the best choice for an amigurumi apple because it is sturdy, easy to see while you stitch, and makes a plush that holds its round shape. A smooth cotton yarn also works well and gives the apple a crisp, clean surface that looks almost polished. Avoid very fuzzy yarns, because they hide the stitches and make the shaping harder to see.
Safety eyes give the apple a cute kawaii face, but they are not safe for children under three. For a young child, leave the face off entirely or embroider the eyes with black yarn instead. A plain apple with no face is a classic teacher gift and looks lovely on a desk, so do not feel you must add a face at all.
Abbreviations (US Terms)
- MR = magic ring
- ch = chain
- sl st = slip stitch
- sc = single crochet
- hdc = half double crochet
- dc = double crochet
- inc = increase (2 sc in the same stitch)
- dec = decrease (sc 2 together)
- st(s) = stitch(es)
- rep = repeat
- RS = right side
- FO = fasten off
Gauge and Sizing Notes
Gauge matters on amigurumi because the stitches must be tight enough that the stuffing does not show through. Work a swatch of 12 sc and 12 rows in the main color. It should be about 3 inches wide and 3 inches tall. If it is wider, go down a hook size. If it is narrower, go up a hook size.
You can change the size easily. Use a thinner yarn and a smaller hook for a mini apple about 2 and a half inches tall, perfect for a keychain or a dollhouse, or a chunky yarn and a larger hook for a big apple about 6 inches tall, perfect for a play kitchen centerpiece. Keep the same stitch counts and only change the yarn and hook. Stuff the body firmly as you go, adding stuffing a little at a time so the shape stays even. Our crochet mushroom pattern uses the same tight stitch gauge if you want to practice the tension on a simpler round shape first.
Part 1: The Apple Body
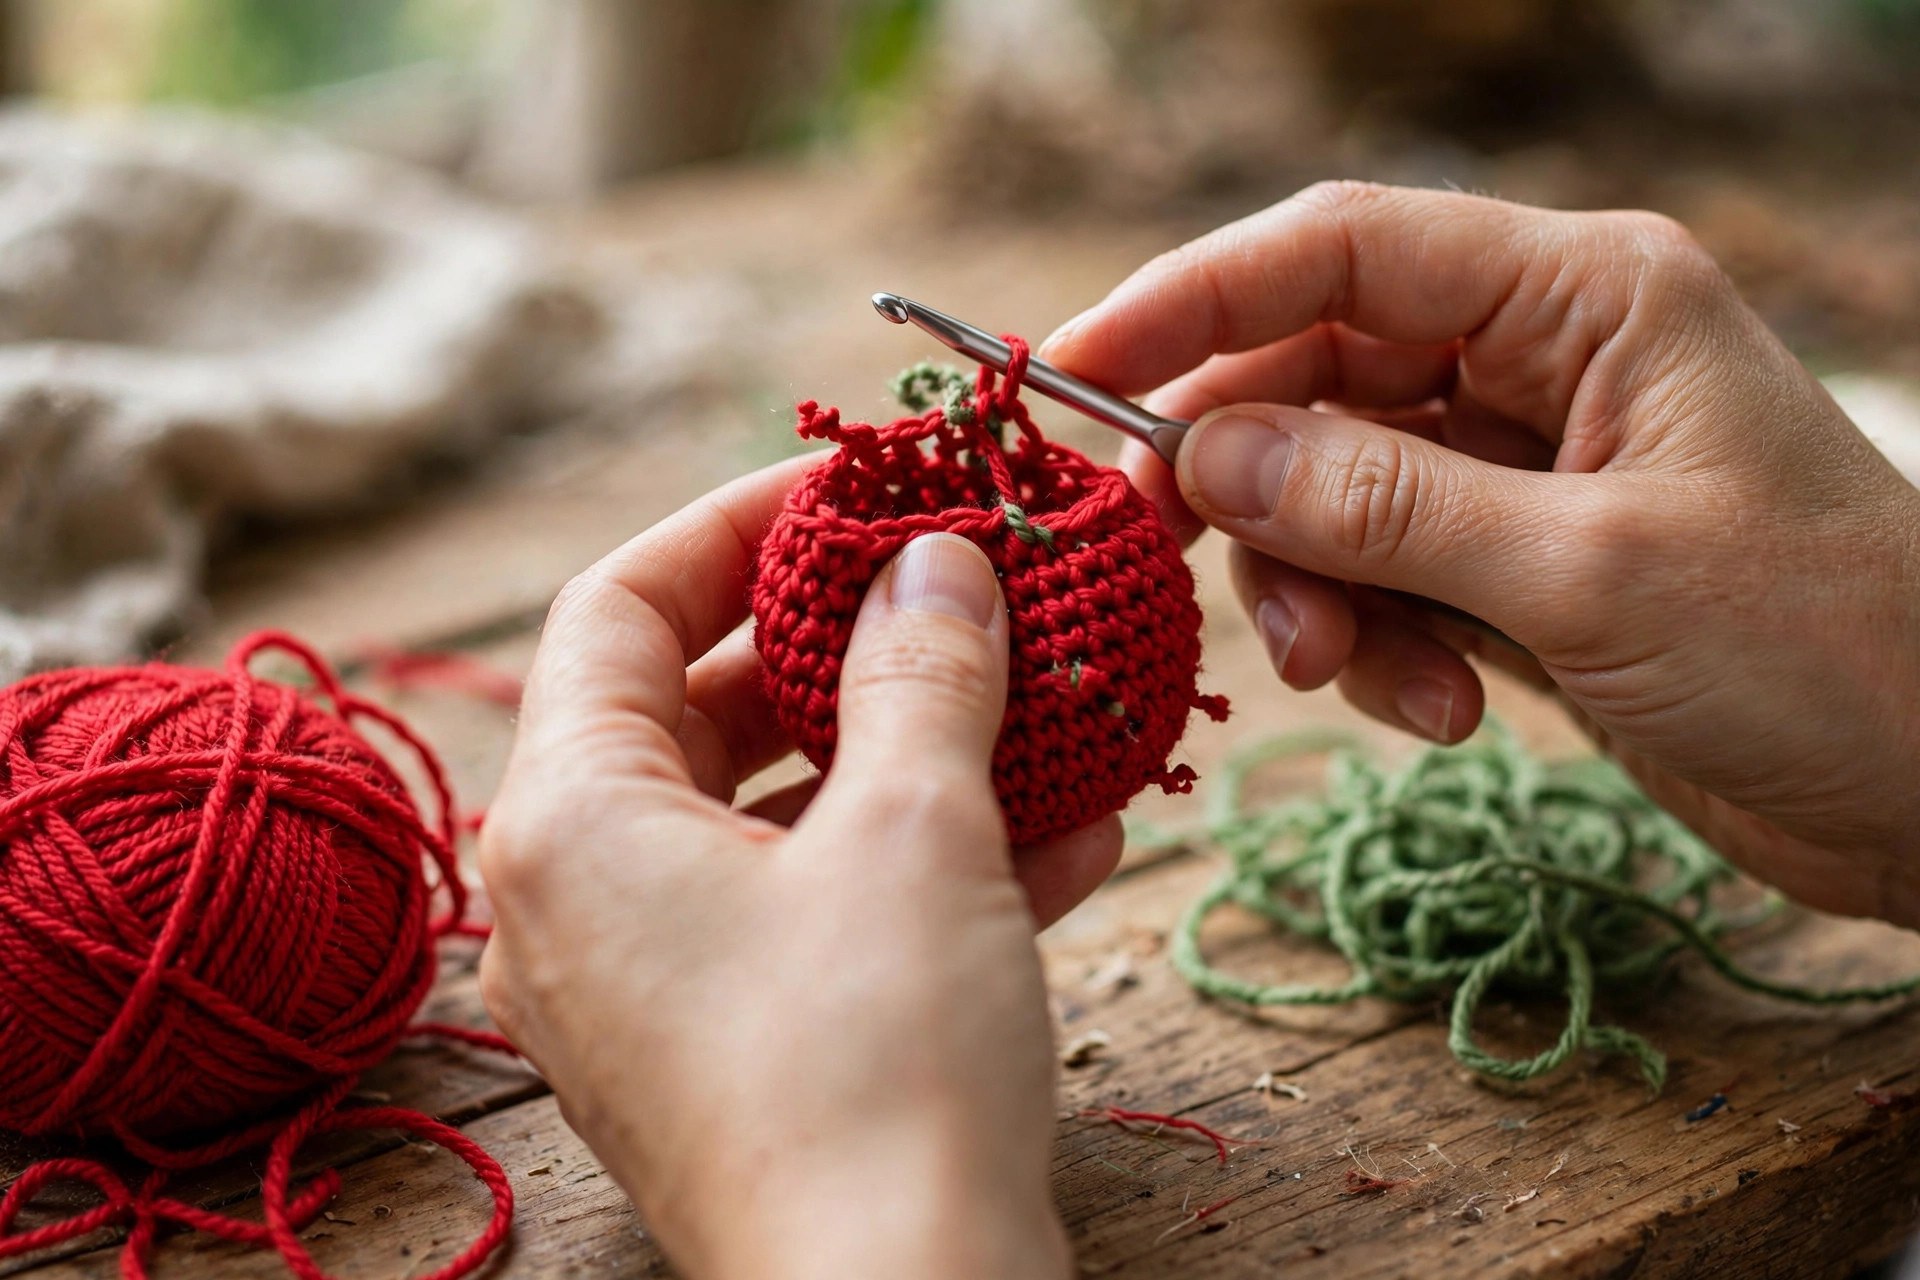
The apple body is one round piece, worked from the top down in continuous rounds. It starts small, grows wide in the middle, and closes at the bottom. The shaping that makes it look like an apple comes later, when you cinch the top and bottom together.
The Body
With the main color, work in continuous rounds. Place a stitch marker at the start of each round and move it up as you go.
- Round 1: MR, 6 sc in the ring. (6)
- Round 2: inc in each st around. (12)
- Round 3: (sc, inc) rep 6 times. (18)
- Round 4: (2 sc, inc) rep 6 times. (24)
- Round 5: (3 sc, inc) rep 6 times. (30)
- Round 6: (4 sc, inc) rep 6 times. (36)
- Round 7: (5 sc, inc) rep 6 times. (42)
- Round 8: (6 sc, inc) rep 6 times. (48)
- Rounds 9 to 15: sc in each st around. (48)
- Round 16: (6 sc, dec) rep 6 times. (42)
- Round 17: (5 sc, dec) rep 6 times. (36)
- Round 18: (4 sc, dec) rep 6 times. (30)
- Round 19: (3 sc, dec) rep 6 times. (24)
Stuff the body firmly now, shaping it into a round ball that is slightly wider than it is tall. Add the safety eyes between rounds 11 and 12, about 7 stitches apart, if you are making a face, and do it before you close the body any further.
- Round 20: (2 sc, dec) rep 6 times. (18)
- Round 21: (sc, dec) rep 6 times. (12)
- Round 22: dec 6 times. (6)
Fasten off and close the hole. The body should be about 4 inches wide and 4 inches tall, a plump round ball. Set it aside while you make the stem and leaf.
Part 2: The Stem and Leaf
The stem is a tiny brown tube, and the leaf is a flat green oval with a pointed tip. Both pieces are quick, and together they are what make the ball read as an apple at a glance.
The Stem
With the stem color, work in continuous rounds.
- Round 1: MR, 5 sc in the ring. (5)
- Rounds 2 to 7: sc in each st around. (5)
Fasten off, leaving a long tail for sewing. Do not stuff the stem. The stem should be about 1 inch long and slightly curved when you bend it. If you want a straighter stem, work one more round. If you want a shorter stem, work one fewer round.
The Leaf
With the leaf color, work flat in rows to make a pointed oval.
- Row 1: ch 8, sc in the 2nd ch from the hook, hdc in the next ch, dc in the next 3 ch, hdc in the next ch, sc in the last ch. Turn. (7)
- Row 2: ch 1, sc in the first st, hdc in the next st, dc in the next 3 sts, hdc in the next st, sc in the last st. Turn. (7)
- Row 3: ch 1, sc in each st across, working 3 sc in the center st to shape the point. Turn. (9)
Fasten off, leaving a long tail for sewing. The leaf should be about 2 inches long and 1 inch wide, with a gentle point at one end. Our crochet leaf pattern uses the same pointed oval shaping if you want to practice the leaf on its own first.
Part 3: Shaping, Face, and Assembly
This is the part where a red ball becomes an apple. You will cinch the top and bottom together to make the classic dimple, sew on the stem and leaf, and add the face if you want one.
The Apple Dimple
Cut a long piece of red yarn, about 18 inches, and thread it on a tapestry needle. Push the needle into the center of the bottom of the apple and bring it out through the center of the top. Pull gently until the top dips down into a shallow dimple, then push the needle back down through the center to the bottom. Repeat this 2 or 3 times, pulling a little tighter each time, until the apple has a clear dent at the top and a smaller one at the bottom.
Tie the yarn off firmly at the bottom and weave in the end. The dimple should be about half an inch deep at the top. Do not pull so hard that the apple puckers or the stuffing shows through. If the dimple looks uneven, add one more pass through the center on the shallow side.
Attaching the Stem and Leaf
Sew the stem into the center of the top dimple with the long brown tail, working small whipstitches around the base of the stem. Push the base of the stem down into the dimple slightly so it sits in the dent the way a real apple stem does, and sew it firmly so it does not wobble.
Sew the leaf to the side of the stem, right where the stem meets the apple, with the green tail. Angle the leaf outward and slightly upward, like a real leaf growing from the stem. Sew along the bottom edge of the leaf only, so the tip can lift a little and look natural.
The Face
If you are making a face, embroider the smile with black yarn and a tapestry needle, working a small curved line below and between the eyes. Add two tiny pink cheeks with a few stitches of pink yarn, one on each side of the smile, if you like a blushing apple. Keep the face small and low on the front of the apple, between rounds 11 and 14, so the apple still looks like an apple first and a character second.
Final Finishing
Check the whole apple from every side. The dimple should be centered, the stem should stand upright, and the leaf should point outward. Add a little more stuffing through the bottom seam if any spot feels soft, and weave in all the loose ends. Our easy crochet pumpkin pattern uses the same dimple cinching technique if you want to practice the shaping on another autumn fruit first.
Variations: Colors, Sizes, and Uses
- Classic red apple: work the whole body in bright red with a brown stem and a green leaf.
- Green Granny Smith apple: make the body in bright green with a darker green leaf for a tart apple look.
- Golden apple: work the body in golden yellow for a fall harvest apple.
- Mini apple: use a thinner yarn and a smaller hook for a mini apple about 2 and a half inches tall, perfect for a keychain or a dollhouse fruit bowl.
- Big play food apple: use a chunky yarn and a larger hook for a big apple about 6 inches tall, perfect for a play kitchen.
- Apple with a worm: add a tiny green worm peeking out of a small hole in the side for a playful bookworm gift, using a small tube of green yarn with two black French knot eyes.
Troubleshooting an Apple That Does Not Look Right
- My stuffing shows through the stitches. The gauge is too loose. Go down a hook size, or work the stitches a little tighter, so the fabric hides the stuffing.
- My apple looks like a ball, not an apple. The dimple is too shallow. Run the cinching yarn through the center 2 or 3 more times and pull a little tighter, until the top dips down clearly.
- My stem wobbles. The stem was sewn to the surface instead of into the dimple. Push the base of the stem down into the dent and sew around the base twice.
- My apple is lopsided. The stuffing is uneven. Add stuffing a little at a time, turning the apple as you go, and shape it with your hands before you close the bottom.
- My leaf curls up too much. The leaf was worked too tightly. Block it flat with a warm iron through a cloth, or work the leaf one hook size larger.
- My face looks crooked. The eyes were placed without measuring. Count the stitches between the eyes and mark the smile curve with pins first, then embroider along the pins for a smooth, even line.
Care Instructions
Hand wash a crochet apple in cool water with a mild detergent, and press the water out gently without wringing. Reshape the round body, straighten the stem, and lay it flat to dry away from direct heat. Do not put an amigurumi apple in the washing machine or the dryer, because the tumbling can felt the yarn and loosen the safety eyes. Store the apple on a shelf, in a fruit bowl, or in a toy basket.
Frequently Asked Questions
Is this crochet apple pattern good for beginners?
Yes, it is a great first amigurumi project. You need a magic ring, single crochet, increases, decreases, and basic seaming. One apple takes about 3 hours.
What yarn is best for an amigurumi apple?
Worsted weight yarn is the best choice, because it is sturdy, easy to see while you stitch, and makes a plush that holds its round shape. A smooth cotton yarn also works well and gives the apple a crisp surface.
Are safety eyes safe for a child?
Safety eyes are fine for children over three, but not safe for children under three. For a very young child, leave the face off or embroider the eyes with black yarn instead.
How do I make the apple dimple?
Thread a long piece of red yarn on a tapestry needle, push it from the center of the bottom through to the center of the top, and pull gently. Repeat 2 or 3 times until the top dips down into a shallow dimple.
How do I make the apple bigger or smaller?
Use the same stitch counts and only change the yarn and hook. A thinner yarn and a smaller hook makes a mini apple about 2 and a half inches tall, and a chunky yarn and a larger hook makes a big apple about 6 inches tall.
Can I sell apples made from this pattern?
Yes, you may sell finished apples made from this free pattern, with credit to Little Loop Finds. Do not sell or republish the pattern text itself. A red apple with a matching crochet strawberry pattern makes a lovely pair for a market stall.

Happy stitching, and may your little apple bring a smile to every teacher, child, and kitchen shelf you know.