Crochet Book Cover Pattern (Fitted, with Button)
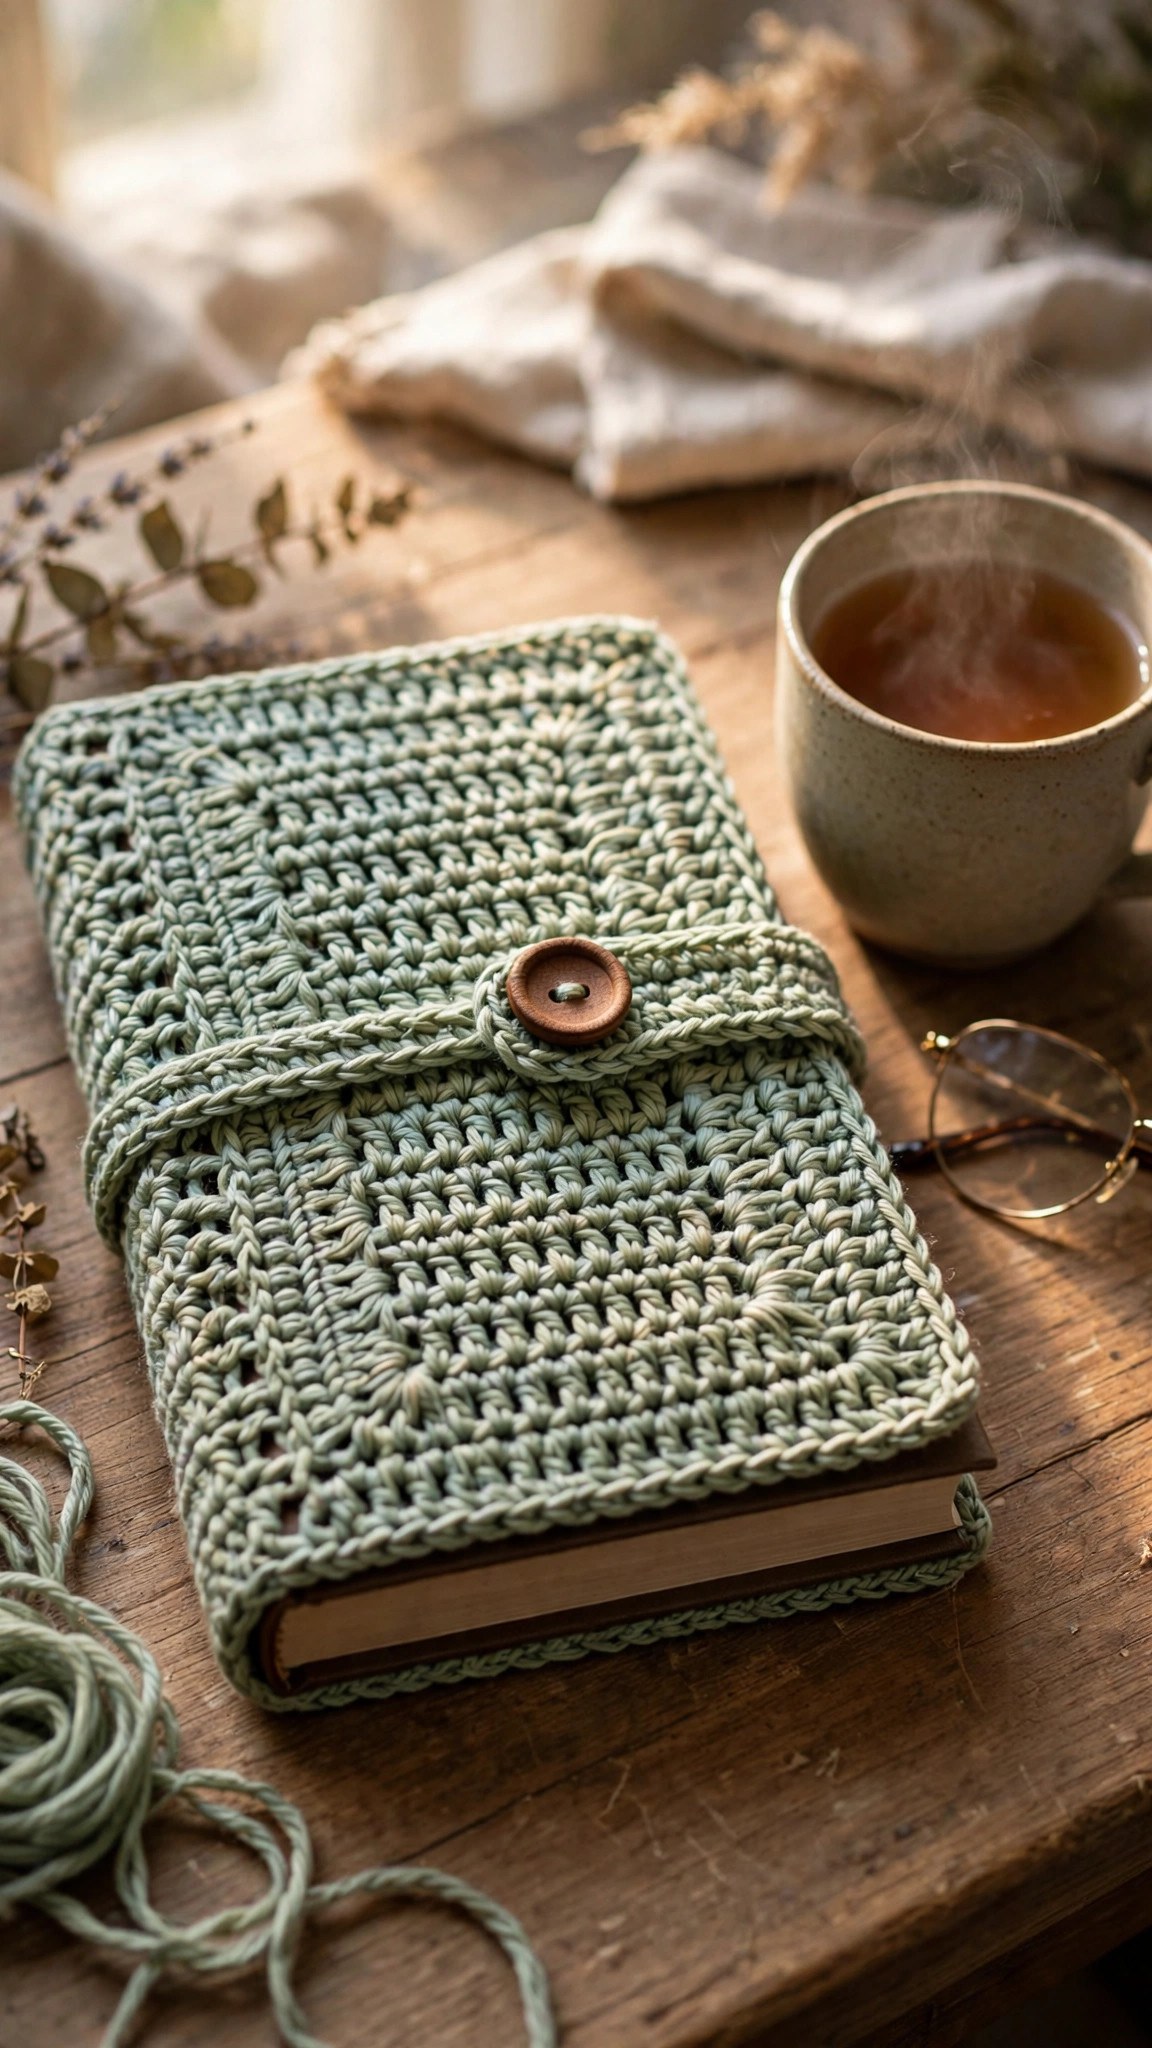
Crochet a fitted book cover with a button and strap closure in about four hours, then protect a favorite book or gift it to a reader.

Patterns · Crochet
- Finished size
- Made to measure
- Making time
- 4 hours
- Hook
- US H-8 (5.0 mm)
- Set
- Cover, strap
- Skill
- Easy
In this post
- Key Takeaways
- Table of Contents
- Why You Will Love This Book Cover
- Finished Size, Skill Level, and Time
- Materials You Need
- Abbreviations (US Terms)
- Gauge and Sizing Notes
- Part 1: Measuring Your Book and the Front Panel
- Part 2: The Back Panel, Spine, and Strap
- Part 3: The Button, Edging, and Assembly
- Variations: Colors, Sizes, and Uses
- Troubleshooting a Book Cover That Does Not Fit Right
- Care Instructions
- Frequently Asked Questions
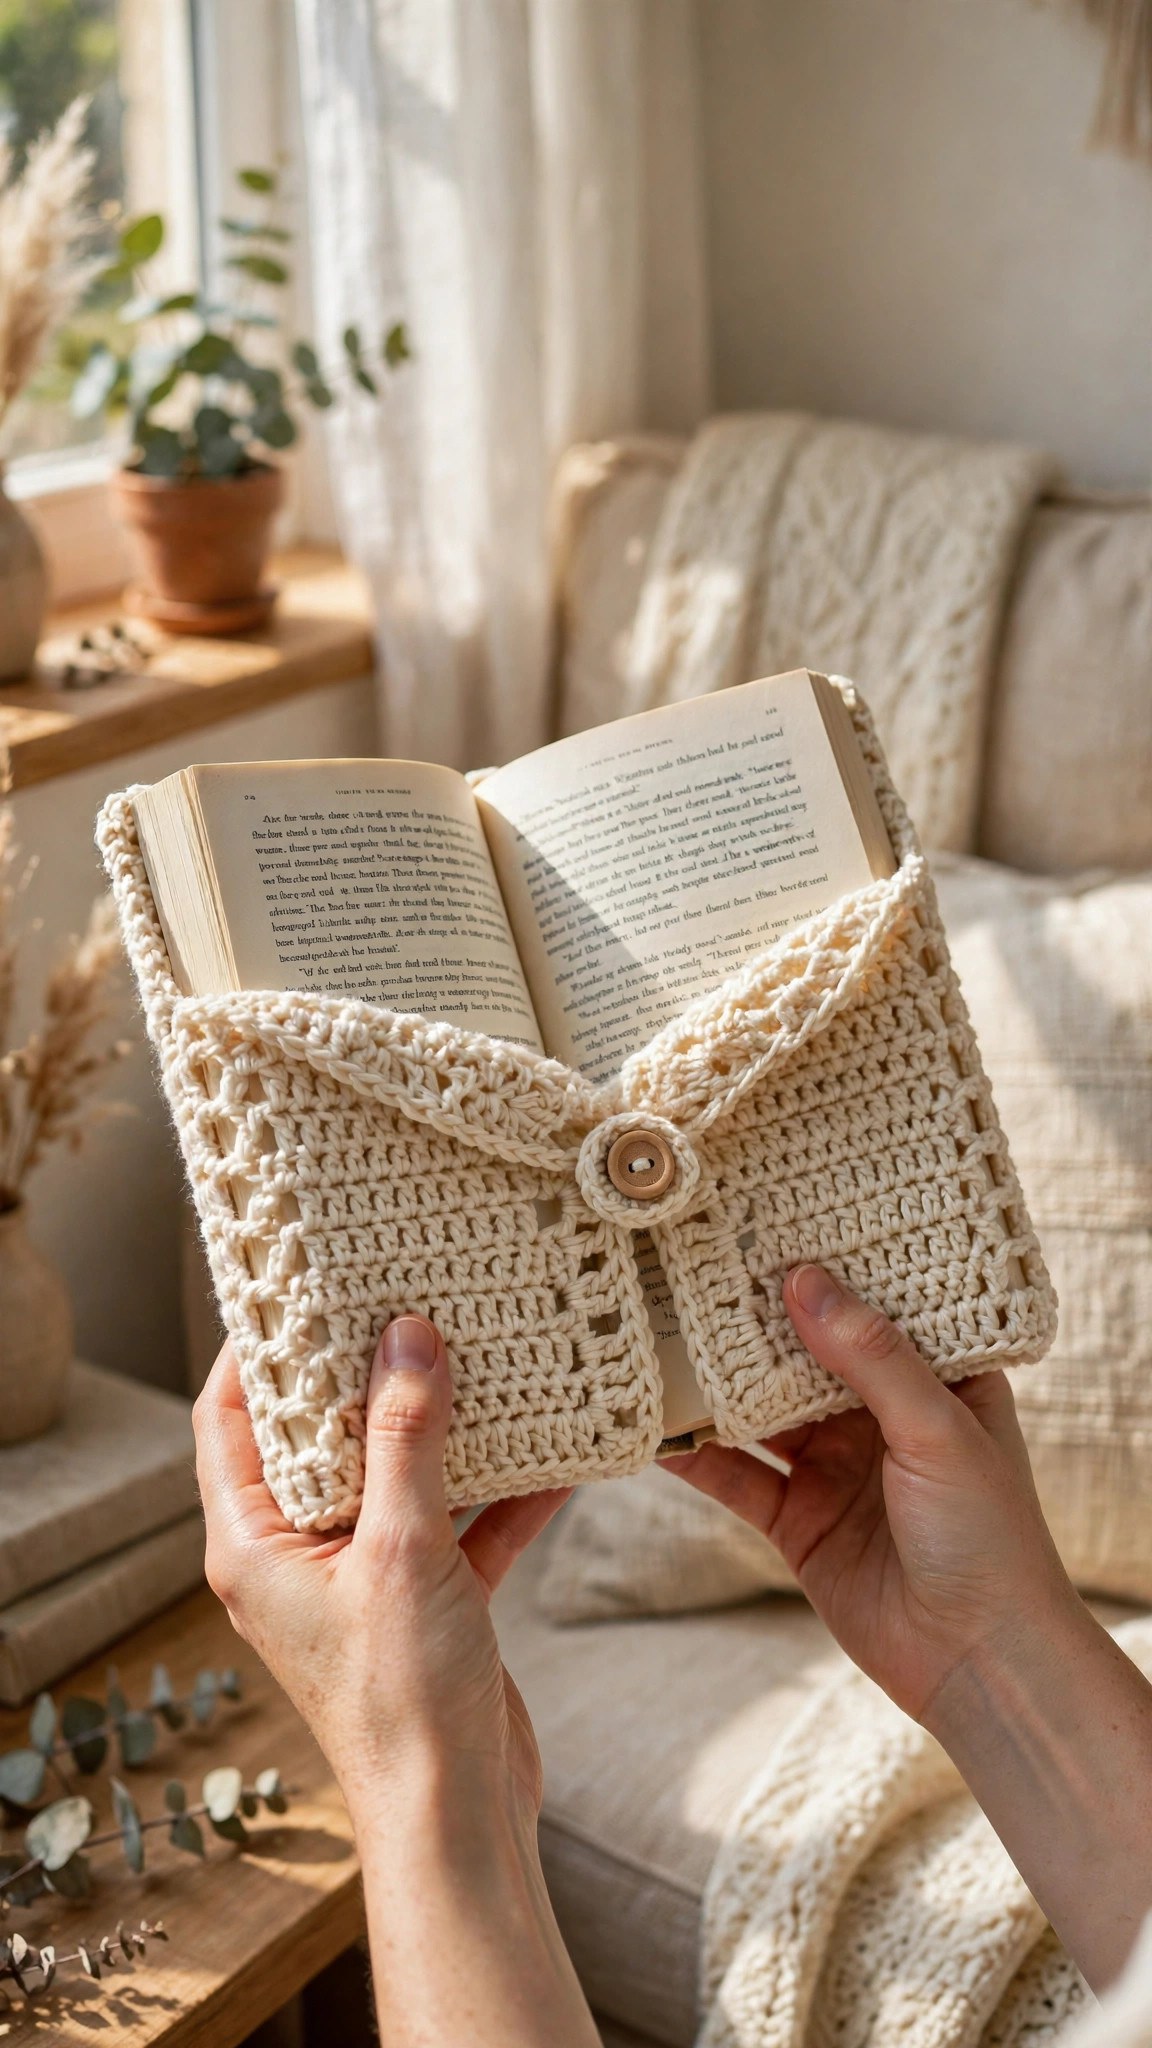
A crochet book cover is the simplest way to keep a favorite book safe. This free crochet book cover pattern makes a fitted cover with a button and strap closure that slips over a paperback or hardcover and protects it from scuffs, spills, and bent corners. It fits snugly, opens flat for reading, and looks lovely on a shelf.
This is an original Little Loop Finds design, written in US terms and completely free. The cover is worked flat in rows with simple single crochet and half double crochet, then sewn at the edges, so it is a great project for a confident beginner.
A quick note on scope: this post is about one specific crochet book cover, a fitted cover with a button and strap closure that wraps the front and back boards of a book. That is different from our book sleeve crochet pattern, which is a padded pouch that a book slides into. This cover stays on the book while you read, while a sleeve comes off before you open it.
Key Takeaways
- Free original pattern: a Little Loop Finds original design, written in US terms, and completely free.
- A fitted book cover: a snug cover with a button and strap closure that stays on while you read.
- Fits paperback or hardcover: made to measure, so it fits the book you choose.
- Simple stitches: worked flat in rows with single crochet and half double crochet only.
- A 4 hour project: one book cover takes about 4 hours.
Table of Contents
- Why You Will Love This Book Cover
- Finished Size, Skill Level, and Time
- Materials You Need
- Abbreviations (US Terms)
- Gauge and Sizing Notes
- Part 1: Measuring Your Book and the Front Panel
- Part 2: The Back Panel, Spine, and Strap
- Part 3: The Button, Edging, and Assembly
- Variations: Colors, Sizes, and Uses
- Troubleshooting a Book Cover That Does Not Fit Right
- Care Instructions
- Frequently Asked Questions
Why You Will Love This Book Cover
A crochet book cover turns an ordinary paperback into something special. The soft stitches protect the cover from scratches and spills, the button strap keeps the book closed in your bag, and the handmade look makes even a well loved book feel like a treasure. Slip it on a novel you carry everywhere, or make one as a gift for a reader in your life.
The cover is worked flat in rows, so there is no shaping in the round and no tricky joins. You measure your book first, then work the panels to match, which means the finished cover fits the book you made it for.
The fitted shape is the best part, because the cover hugs the book instead of sliding around. The flaps tuck inside the front and back boards, the spine panel flexes as the book opens, and the strap holds everything closed when the book is in your bag.
Finished Size, Skill Level, and Time
- Finished size: made to measure for your book. The sample fits a standard paperback 8 inches tall, 5.5 inches wide, and 1 inch thick. The pattern includes the measuring steps to fit any paperback or hardcover.
- Skill level: Easy. You need chain, single crochet, half double crochet, and basic seaming. The buttonhole is a simple chain space, and the strap is a short row of stitches.
- Time: about 4 hours per book cover: 1 hour for measuring and the front panel, 1 hour for the back panel and spine, 1 hour for the strap and edging, and 1 hour for finishing.
Materials You Need
| Item | What to get |
|---|---|
| Yarn, main color | DK or light worsted weight cotton yarn, 150 yards |
| Yarn, accent color | DK or light worsted weight cotton yarn, 30 yards, for the edging and strap |
| Hook | US H-8 (5.0 mm), or the size that gives you the gauge below |
| Button | 1 inch wooden or coconut button, 1 |
| Notions | Tapestry needle, scissors, tape measure, stitch markers, pins |
Cotton yarn is the best choice for a crochet book cover because it is sturdy, holds its shape, and does not stretch out of shape the way acrylic can. Avoid very fuzzy or bulky yarns, because they make the cover thick and hard to fold around the book.
Choose a button that is flat and about 1 inch wide. A wooden button looks lovely on a sage green or cream cover, and a coconut button suits a natural cotton cover.
Abbreviations (US Terms)
- ch = chain
- sl st = slip stitch
- sc = single crochet
- hdc = half double crochet
- dc = double crochet
- st(s) = stitch(es)
- rep = repeat
- RS = right side
- WS = wrong side
- FO = fasten off
Gauge and Sizing Notes
Gauge matters on a fitted book cover because the cover must match your book. Work a swatch of 12 sc and 12 rows in the main color. It should measure about 3 inches square. If it is wider, go down a hook size. If it is narrower, go up a hook size.
Measure your book before you start. Measure the height from top to bottom, the width of the front board, and the thickness of the spine. Add half an inch to the height for ease, and add the spine thickness to the width when you work the full wrap. The sample numbers in this pattern fit a standard paperback 8 inches tall, 5.5 inches wide, and 1 inch thick.
If your book is much thicker than 1 inch, add extra stitches to the spine panel. If your book is a tall hardcover, add extra rows to the panels. Add or remove stitches in multiples of 2 to change the width, and add or remove rows in pairs to change the height.
Part 1: Measuring Your Book and the Front Panel
The cover is worked as one long flat piece: the front panel, the spine panel, and the back panel, all in one. The flaps that tuck inside the boards are worked at each end.
Measuring Your Book
Lay your book flat and closed. Measure the height from the top edge to the bottom edge, and write it down. Measure the width of the front board from the spine to the outer edge. Measure the thickness of the spine. For the sample paperback, the numbers are 8 inches tall, 5.5 inches wide, and 1 inch thick.
Add half an inch to the height for ease, so the sample panel is 8.5 inches tall. The front panel width is the board width, 5.5 inches. The flap that tucks inside the front board is 2.5 inches wide.
The Front Flap
With the main color, work flat in rows. The flap tucks inside the front board and holds the cover in place.
- Row 1: ch 11, sc in the 2nd ch from the hook, sc in each ch across. Turn. (10)
- Rows 2 to 34: ch 1, sc in each st across. Turn. (10)
The flap should be about 2.5 inches wide and 8.5 inches tall. Do not fasten off. You will continue straight into the front panel from this same piece of yarn.
The Front Panel
Continue with the main color, working flat in rows across the full width of the front panel.
- Row 35: ch 1, sc in each st across the flap, then ch 12 and continue: sc in the 2nd ch from the hook and in each ch across, so the row now has 22 sts. Turn. (22)
- Rows 36 to 70: ch 1, sc in each st across. Turn. (22)
The front panel should be about 5.5 inches wide and 8.5 inches tall, matching the front board of your book. Mark the last row with a stitch marker so you know where the spine panel begins. Our crochet hook roll pattern uses the same flat panel method if you want to practice the rows on a smaller piece first.
Part 2: The Back Panel, Spine, and Strap
The spine panel sits between the front and back panels, and it needs to flex as the book opens and closes. The back panel mirrors the front panel, and the strap is worked separately and sewn to the back edge.
The Spine Panel
Continue with the main color, working flat in rows. The spine panel is worked in half double crochet so it has a little more stretch than the single crochet panels.
- Rows 71 to 74: ch 2, hdc in each st across. Turn. (22)
- Row 75: ch 2, hdc in each st across, then ch 4 to widen the row for the spine thickness. Turn. (26)
The spine panel should be about 1 inch wide when folded, matching the thickness of your book. If your book is thicker than 1 inch, work two more rows of half double crochet before the back panel.
The Back Panel
Continue with the main color, working flat in rows.
- Rows 76 to 110: ch 1, sc in each st across. Turn. (26)
- Row 111: ch 1, sc in each st across, then dec 4 sts evenly across the row to return to 22 sts. Turn. (22)
The back panel should match the front panel: about 5.5 inches wide and 8.5 inches tall. Mark this row with a stitch marker so you know where the back flap begins.
The Back Flap
Continue with the main color, working flat in rows. The back flap tucks inside the back board, just like the front flap.
- Rows 112 to 146: ch 1, sc in each st across the first 10 sts only, leaving the rest of the row unworked. Turn. (10)
Fasten off, leaving a long tail for sewing. The back flap should be about 2.5 inches wide and 8.5 inches tall, the same size as the front flap. Fold the whole piece around your book to check the fit before you move on: the flaps should tuck neatly inside the boards, and the spine panel should sit flat against the spine.
The Strap
With the accent color, work flat in rows to make the strap that closes the cover.
- Row 1: ch 5, sc in the 2nd ch from the hook, sc in each ch across. Turn. (4)
- Rows 2 to 18: ch 1, sc in each st across. Turn. (4)
- Row 19: ch 1, sc in the first st, ch 2, skip 2 sts, sc in the last st. Turn. (2 sc, 1 buttonhole)
- Rows 20 to 21: ch 1, sc in each st and in each ch of the buttonhole across. Turn. (4)
Fasten off, leaving a long tail for sewing. The strap should be about 5 inches long and 1 inch wide, with a buttonhole near one end. The buttonhole is a simple chain space, so it stretches a little and grips the button well.
Part 3: The Button, Edging, and Assembly
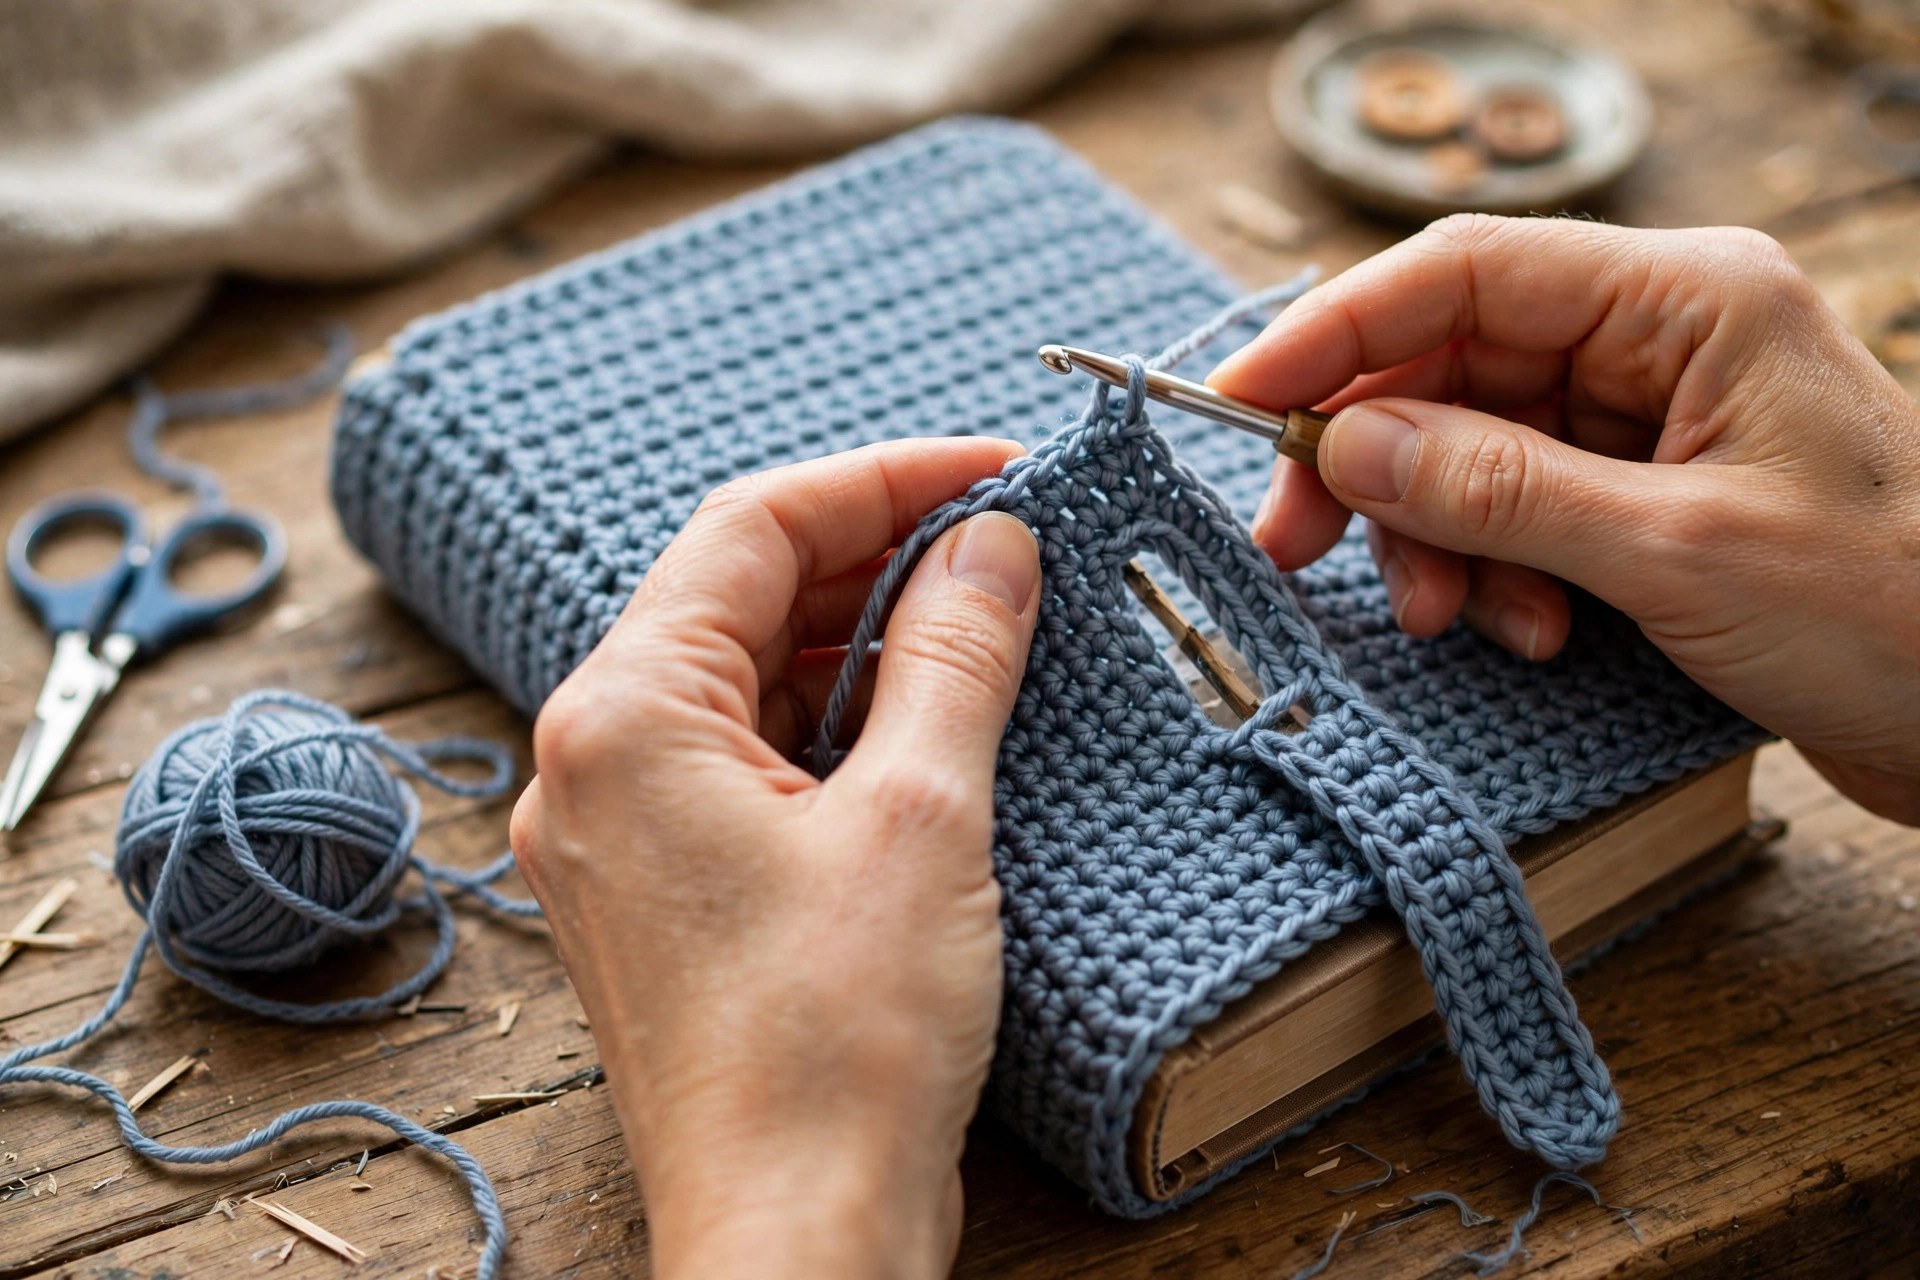
This is the part where the flat piece becomes a book cover. Sew the flaps into pockets, add the edging, sew on the button and the strap, and check the fit on your book.
Sewing the Flap Pockets
Fold the front flap to the inside of the front panel, wrong sides together, so the flap forms a pocket that the front board slides into. With the main color and a tapestry needle, whipstitch the top and bottom edges of the flap to the panel, leaving the inner edge open. Repeat with the back flap and the back panel.
Slide the book into the cover to check the fit. The boards should slide into the pockets easily, and the cover should sit flat without pulling. If a pocket is too tight, take out a few stitches of the seam and resew it a little looser.
Adding the Edging
With the accent color, work a single crochet edging all the way around the outside edge of the cover. Join the yarn at a corner, work 1 sc in each stitch along the top and bottom edges, and 1 sc in each row end along the sides. Work 3 sc in each corner stitch to turn the corner neatly.
The edging gives the cover a tidy finished look and adds a little stiffness to the edges, which helps the cover hold its shape.
Sewing on the Button and Strap
Sew the button to the front panel, centered, about 1 inch from the outer edge. Use the main color yarn and sew through the button holes several times, then knot the yarn on the inside of the cover.
Sew the strap to the back panel, centered on the outer edge, with the buttonhole end free. When the book is closed, the strap should reach across the spine and the buttonhole should sit over the button with a little tension. If the strap is too short, add two more rows before the buttonhole row. If it is too long, take out two rows.
Final Finishing
Put the cover on your book and close it. The strap should hold the book closed without pulling, and the cover should open flat when you read. Check the whole cover from every side, trim any loose ends, and weave in the tails on the inside of the cover.
Variations: Colors, Sizes, and Uses
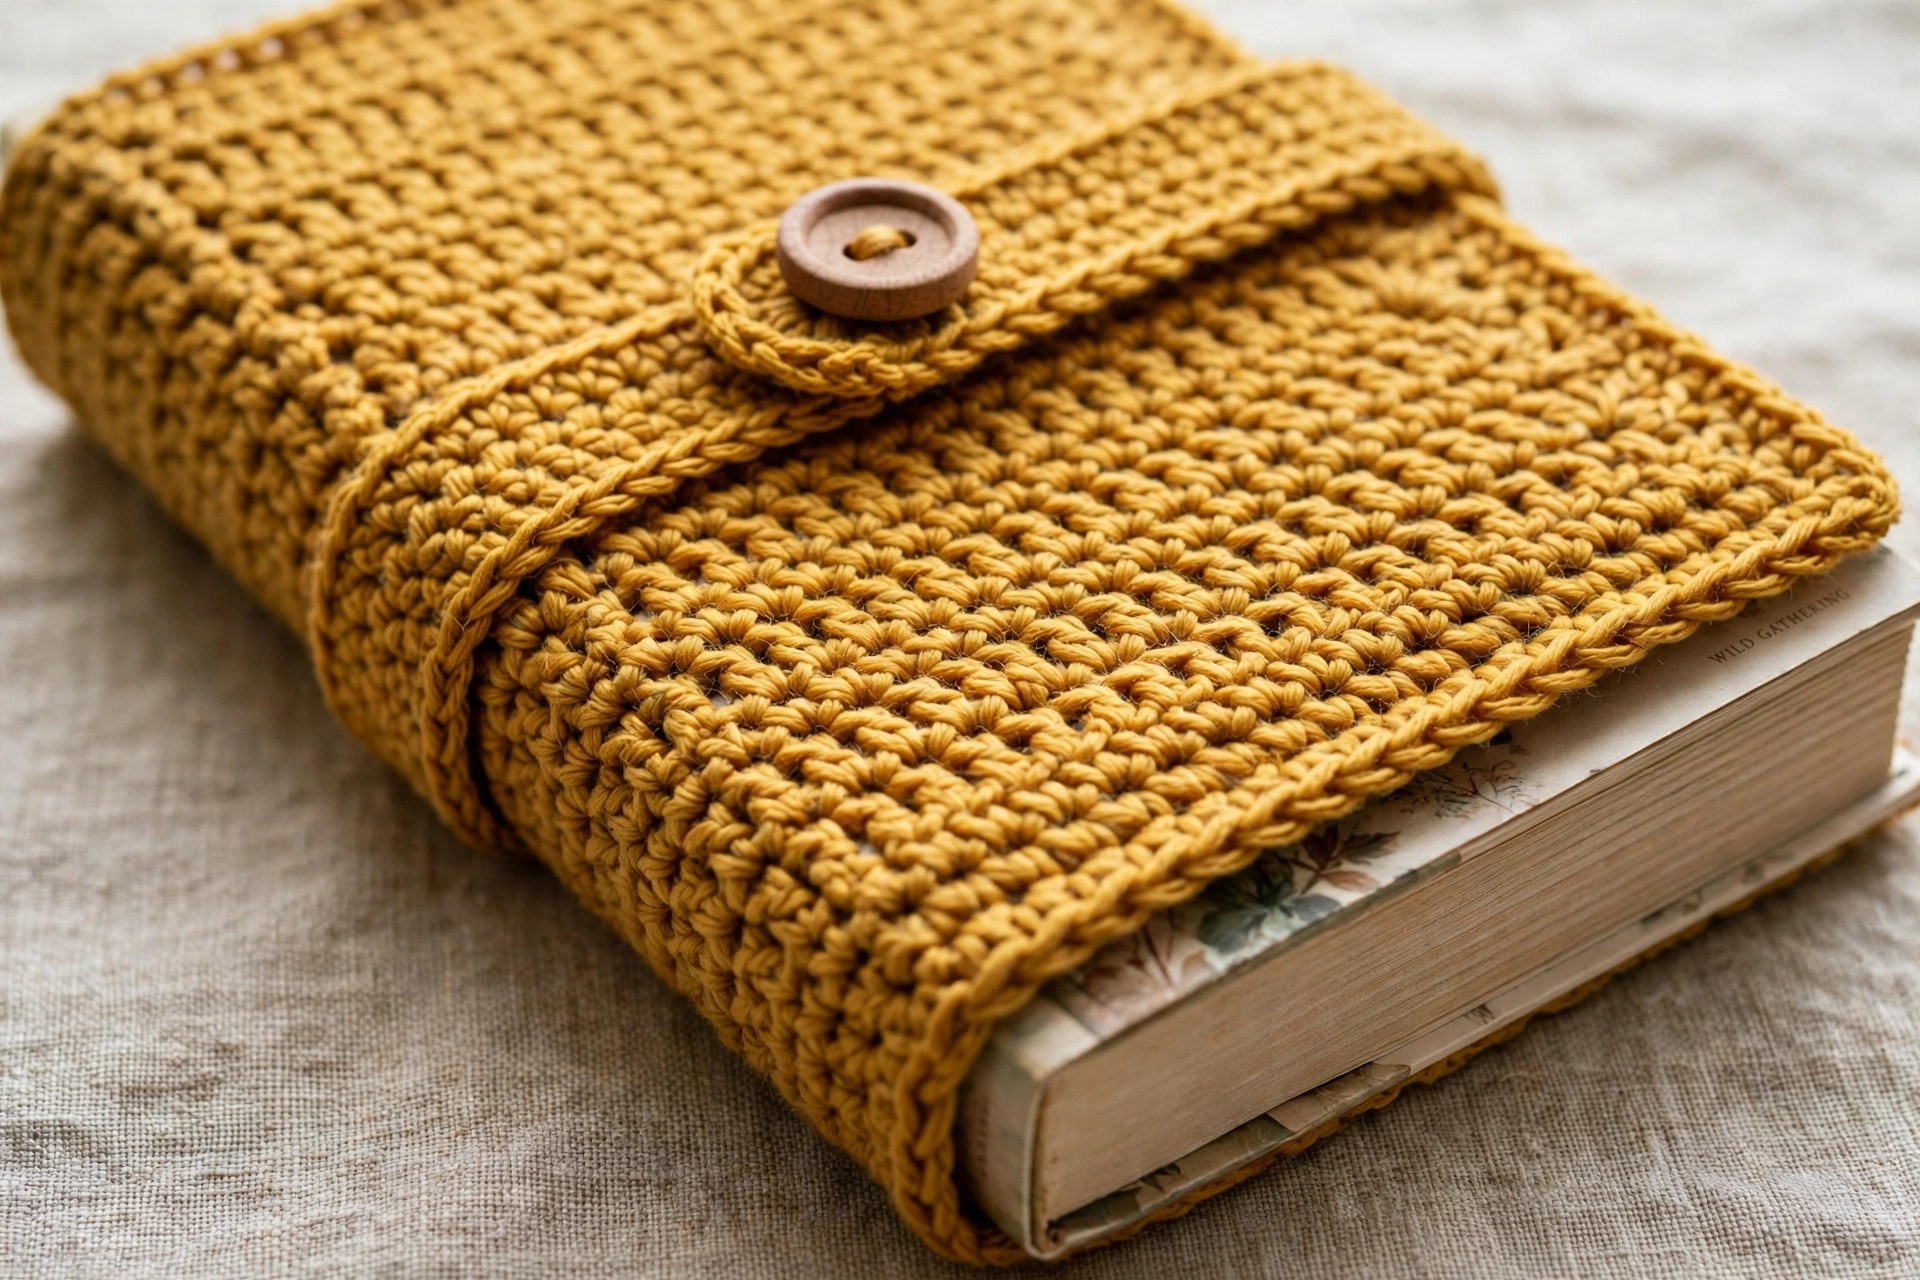
- Classic sage cover: work the whole cover in sage green with a cream edging and a wooden button.
- Two tone cover: make the panels in cream and the edging and strap in dusty blue for a fresh contrast.
- Striped cover: change the main color every 10 rows for soft stripes across the panels.
- Hardcover size: add rows to the panels and stitches to the spine to fit a tall hardcover.
- Mini journal cover: use a thinner yarn and a smaller hook for a small notebook or journal cover.
A crochet book cover makes a lovely gift for a reader, a student, or a teacher. Pair it with a new book and a crochet cross bookmark pattern free for a complete present.
Troubleshooting a Book Cover That Does Not Fit Right
- My cover is too tight. The gauge is too small or the book was measured without ease. Go up a hook size, or add half an inch to the height and a few stitches to the width.
- My cover slides off the book. The flaps are too short. Make the flaps 3 inches wide instead of 2.5 inches, so they grip more of the board.
- My spine panel bunches up. The spine panel is too wide for the book. Take out a row or two of half double crochet so the panel matches the spine thickness.
- My strap will not reach the button. The strap is too short. Add rows before the buttonhole row until the buttonhole sits over the button with a little tension.
- My buttonhole is too loose. The chain space stretched. Work the buttonhole with one fewer chain, or sew a few small stitches across the buttonhole to tighten it.
- My edges curl. The edging is too tight. Work the edging with a hook one size larger, or add an extra stitch at each corner.
Care Instructions
Hand wash a crochet book cover in cool water with a mild detergent, and press the water out gently without wringing. Reshape the panels and the strap, and lay the cover flat to dry away from direct heat. Do not put a crochet book cover in the washing machine or the dryer, because the tumbling can felt the yarn and stretch the cover out of shape.
Frequently Asked Questions
Will this cover fit a hardcover book?
Yes, if you measure the hardcover first and adjust the panels. Add rows to match the height, add stitches to match the board width, and add half double crochet rows to the spine panel to match the thickness. The pattern is written so you can adjust it to any book.
What yarn is best for a crochet book cover?
Cotton yarn is the best choice, because it is sturdy, holds its shape, and does not stretch out of shape the way acrylic can. Use a DK or light worsted weight cotton in a smooth finish so the stitch texture shows clearly.
How is this different from a book sleeve?
A fitted book cover stays on the book while you read, with flaps that tuck inside the boards and a strap that closes over the front. A book sleeve is a padded pouch that the whole book slides into for carrying, and it comes off before you open the book. Our book sleeve crochet pattern is the pouch version if you want that instead.
Can I make this cover for a different size book?
Yes. Measure the height, board width, and spine thickness of your book, then adjust the rows and stitch counts to match. Add or remove stitches in multiples of 2 to change the width, and add or remove rows in pairs to change the height.
How do I make the buttonhole?
The buttonhole is a simple chain space. On the buttonhole row, work a single crochet, chain 2, skip 2 stitches, and work a single crochet in the last stitch. On the next row, work single crochet into each chain of the space to close the top of the hole.
Can I sell book covers made from this pattern?
Yes, you may sell finished book covers made from this free pattern, with credit to Little Loop Finds. Do not sell or republish the pattern text itself. A book cover with a matching crochet bookmark pattern makes a lovely pair for a market stall.
Happy stitching, and may your new book cover keep every favorite book safe.