Christmas patchwork snowman tree sewing pattern
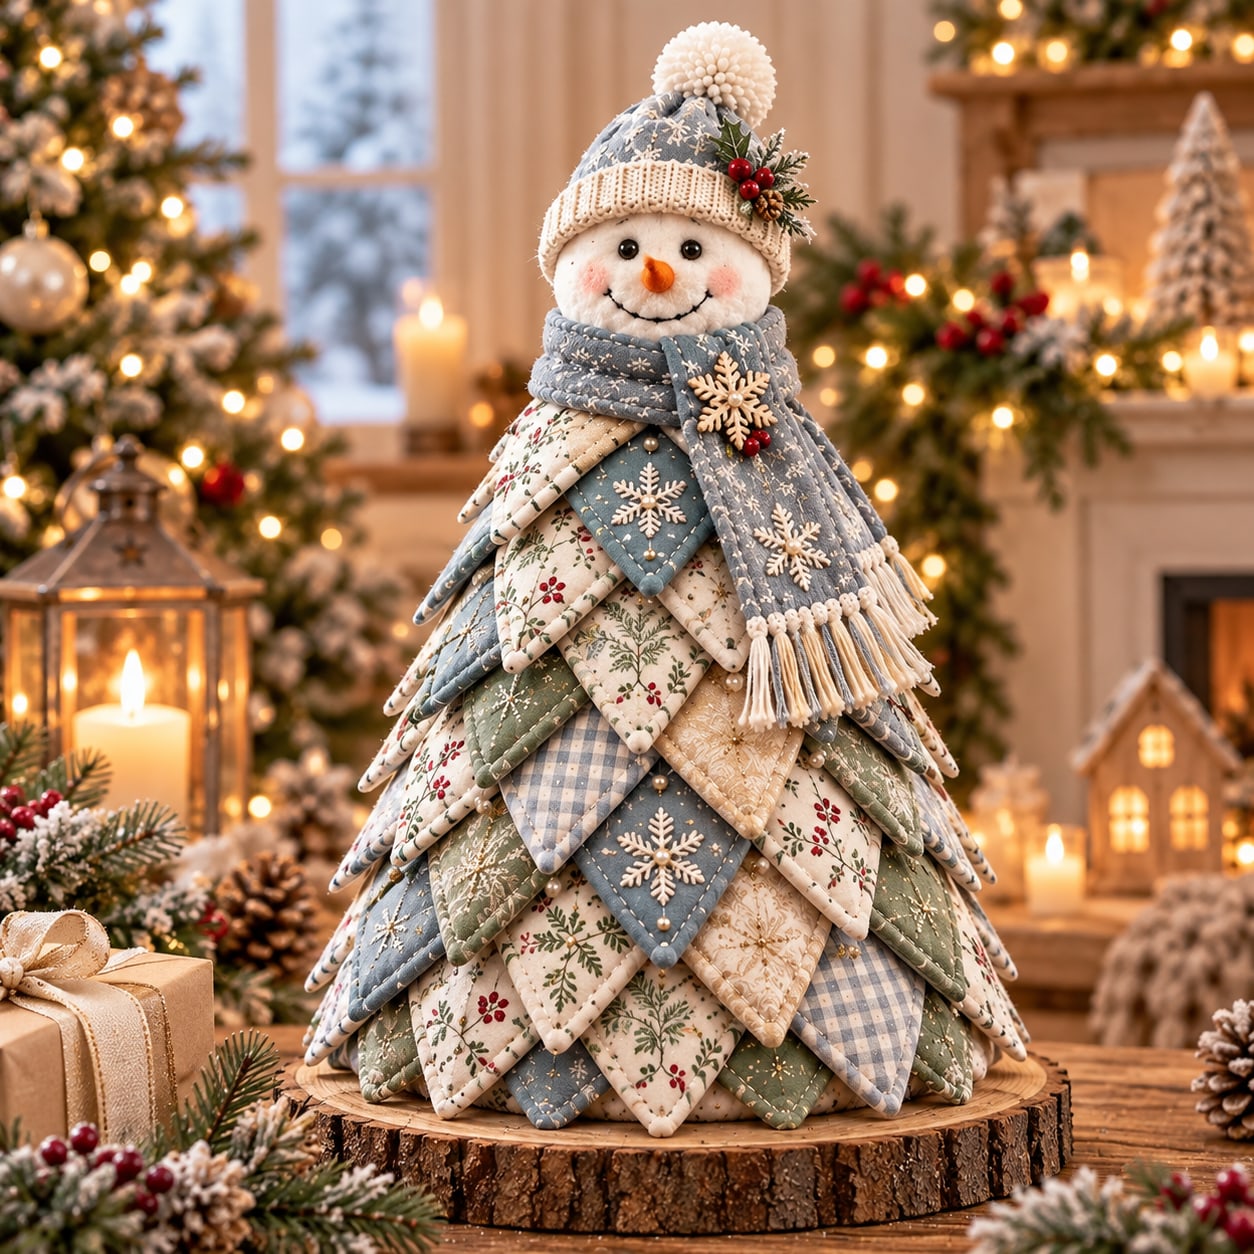
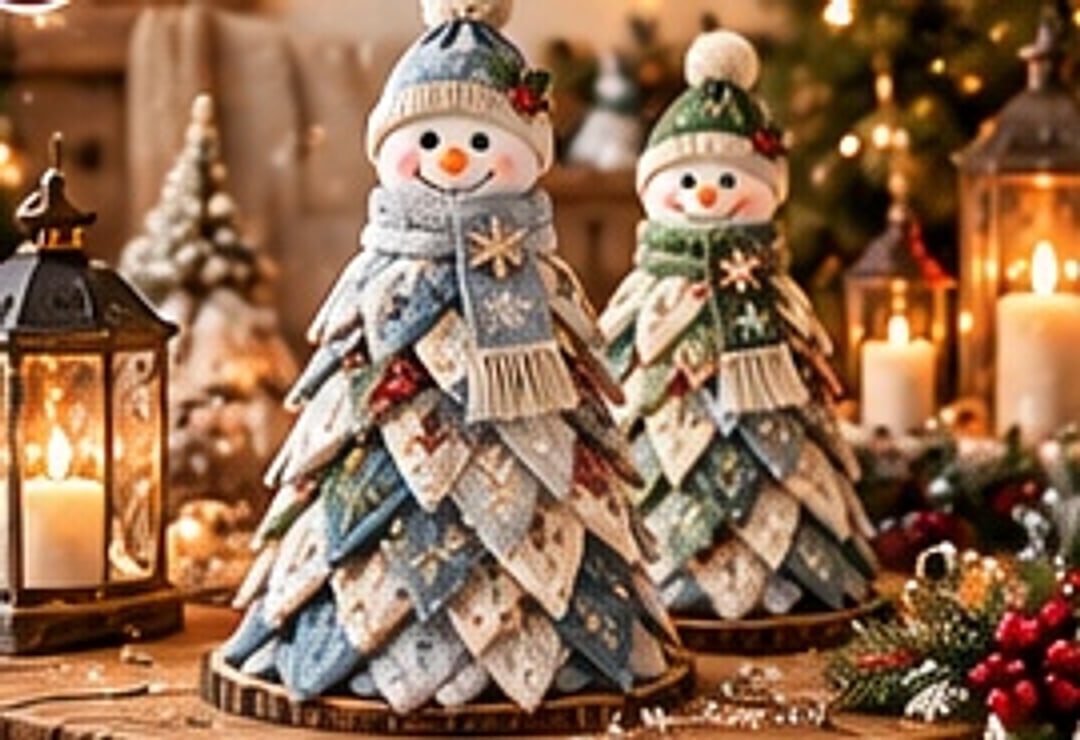
A soft sculptural cone tree covered row by row in quilted dusty ice blue, winter ivory and frosted sage flaps, with a cosy snowman keeping watch on top. Calm, handmade and boutique rather than bright and plastic.

Christmas · Sewing
- Finished height
- 40 cm / 16 in
- Making time
- About 5–7 hours
- Seam allowance
- 1 cm cone, 0.7 cm flaps
- Pieces
- 42 flaps in 6 rows
- Skill
- Confident beginner
In this post
- Pattern at a Glance
- Why This Tree Looks Premium
- Before You Begin
- Materials + Exact Quantities
- Tools + Fabric Choices
- Pattern Pieces + Cut Quantities
- Print + Prepare the Templates
- Construction Roadmap
- Sewing the Cone Body
- Sewing the Patchwork Flaps
- Attaching the Six Flap Rows
- Making the Snowman Head
- Hat, Scarf and Final Assembly
- Troubleshooting
- Final Quality Checklist
- Care, Display + Safety
- License Note
If you love Christmas decor that feels calm, handmade and boutique rather than bright and plastic, this tree is made for you. Instead of a standard red-and-green novelty tree, you build a soft cone body and cover it — row by row — with individually sewn, padded and quilted fabric flaps. Up close it looks like careful patchwork. From a distance it reads as one elegant winter tree with a friendly snowman keeping watch on top.
The palette is what gives it a premium feel. Dusty ice blue, winter ivory and frosted sage are mixed in a gentle repeating rhythm, with champagne gold thread and tiny pearl or berry accents used sparingly. Muted cranberry appears only as a small accent, never as the main event. A tailored hat, a soft draped scarf and a fluffy pom-pom finish the snowman without crowding the patchwork below. The result is quiet, luxurious and very giftable — perfect for a tabletop, a mantel, a shelf, a holiday centrepiece, a handmade gift or a craft-fair table.
This is a confident beginner sewing pattern. If you can cut accurately, sew a straight seam, turn a small padded shape, press carefully and topstitch 2–3 mm from an edge, you can make it. The making time is about 5–7 hours for careful cutting, flap sewing, quilting and final hand assembly. Most of that time is the relaxing, repetitive flap sewing — the construction itself is straightforward.
Make one complete tree first before you think about batch production. Batting thickness, fabric weight and flap fullness change the final silhouette more than you might expect. Finish your first tree, style it, photograph it, then use it as your reference sample for colourways, gifts or market stock.
Pattern at a Glance
| Detail | Measurement |
|---|---|
| Finished height | Approx. 40 cm / 16 in |
| Body width at base | Approx. 27–29 cm / 10.5–11.5 in |
| Cone body height | Approx. 28 cm before head |
| Patchwork flaps | 42 total — 18 large, 14 medium, 10 small |
| Flap rows | 6 staggered rows |
| Snowman head | 12.5 cm / 5 in fleece circle pair, stuffed |
| Seam allowances | Cone 1 cm (3/8 in); flaps, head and hat 0.7 cm (1/4 in) |
| Topstitching | 2–3 mm from finished edge |
| Skill level | Confident beginner |
| Making time | Approx. 5–7 hours |
| Base | 22.5 cm / 8.9 in stabilizer disc + 25 cm base circle |
| Best use | Tabletop, mantel, shelf, centrepiece, gift |
Colour palette: Dusty Ice Blue · Winter Ivory · Frosted Sage · Champagne Gold · Muted Cranberry (accent only)
Why This Tree Looks Premium
Most fabric Christmas trees rely on bright colour to do all the work. This design does the opposite. It uses order, padding and quiet winter colour to create richness.
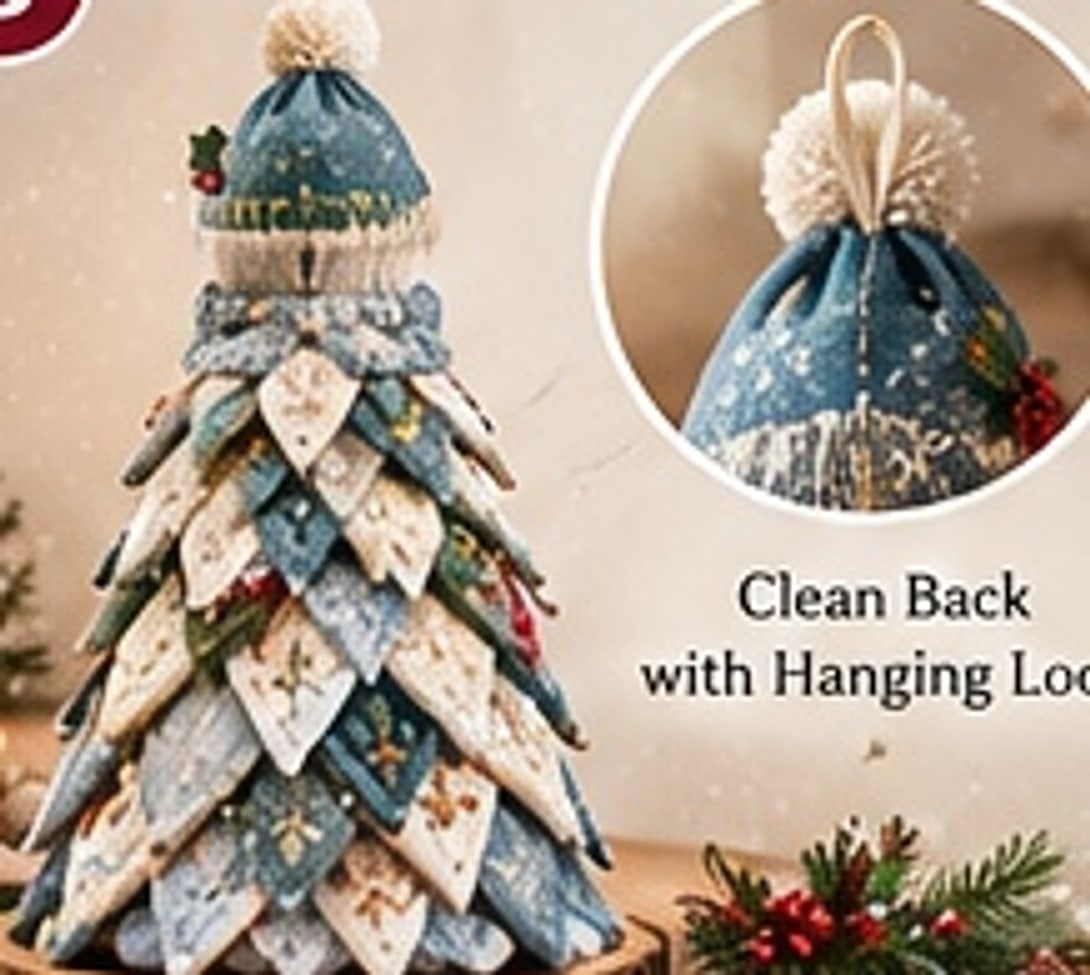
Orderly overlapping flap rows. Forty-two padded flaps are attached in six staggered rows, largest at the bottom and smallest at the top. Each new flap point is centred over the gap between two flaps in the row below, and only the top of each flap is stitched down so the lower half stays dimensional. That offset is what makes the finished tree look full and layered rather than flat or stacked.
Soft winter palette with a strict rhythm. Dusty ice blue, winter ivory and frosted sage repeat around every row. Cranberry is kept to a small accent, and champagne-gold quilting thread is used selectively rather than everywhere. Even colour splits without a rhythm tend to clump; a quiet repeating sequence reads as boutique and intentional from every side.
Clean quilting lines. Every flap gets one centre vein line and two gentle diagonal quilting lines. The quilting is deliberately simple — no dense stitching that flattens the padding. It suggests a leaf-like surface, catches the light softly and keeps each flap plump.
A proper snowman, simply finished. The head is a firmly stuffed fleece sphere with bead eyes set level, a small orange felt carrot nose, a tiny stitched smile and soft blush. The hat is tailored with a folded brim ring and a 6 cm pom-pom. The scarf is soft and un-interfaced so it drapes instead of standing stiff. Nothing shouts; everything looks considered.
Restrained accents only. Three to seven pearl-like beads or a small berry detail on selected flaps is enough. The patchwork remains the main feature. If you are tempted to add charms, mixed prints or extra decorations everywhere, stop — overcrowding is the fastest way to lose the premium feel.
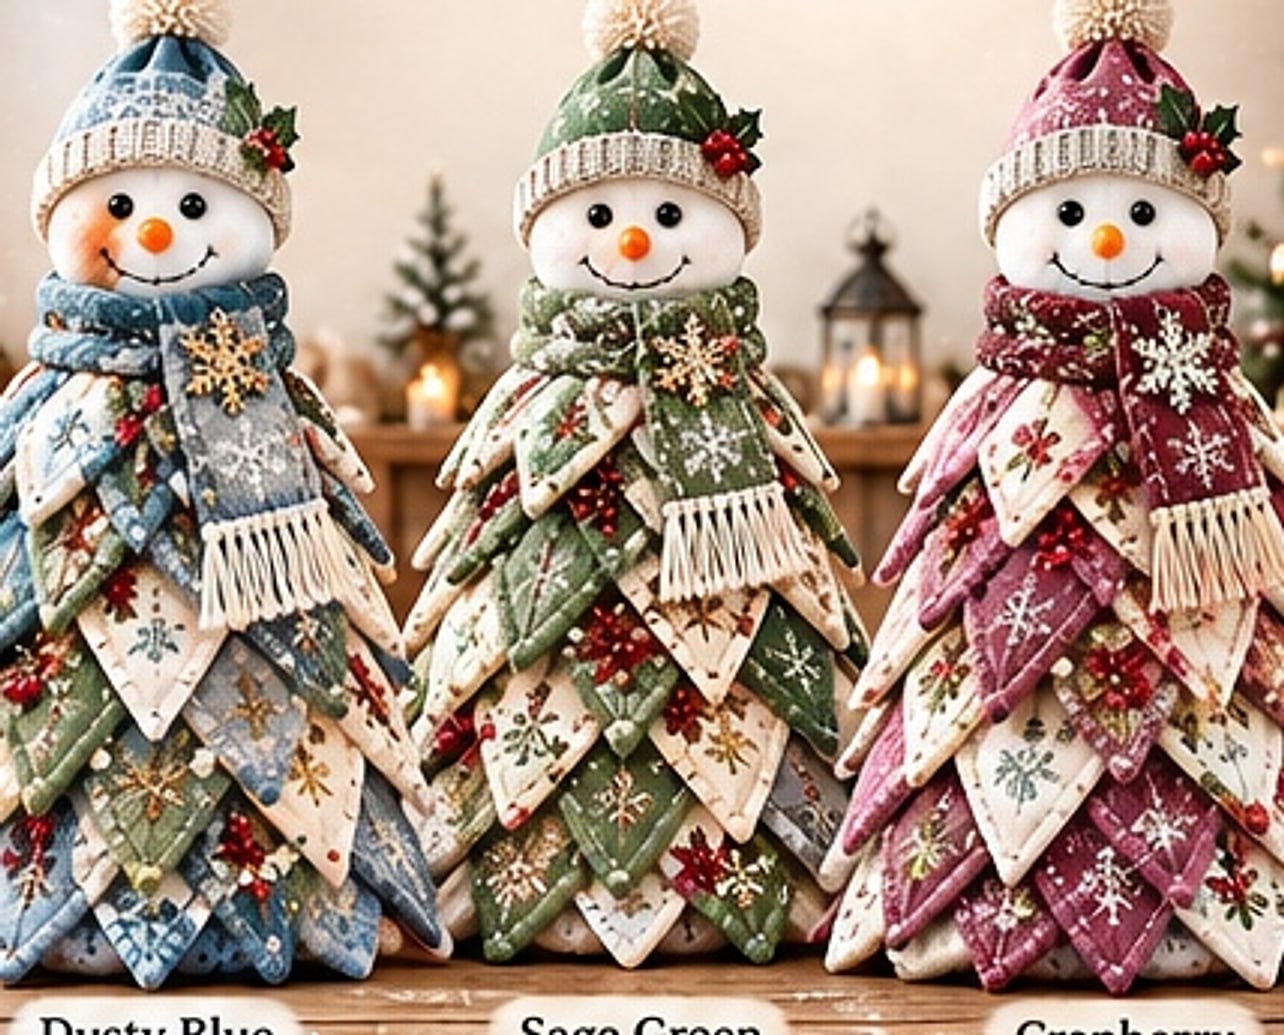
Visual goal to keep in mind. From across the room the tree should read as one soft winter silhouette. Up close, neat topstitching, plump but not bulky flaps, balanced quilting and a tidy snowman face provide the handmade detail that supports a premium presentation.
Before You Begin
Read the whole pattern through once before you cut. The flap sewing is repetitive and relaxing once you are organised, but the rows must go on in order, evenly spaced and staggered, or the tree will look messy no matter how pretty the fabrics are.
Start-here checklist:
- Print the template pages at 100% / Actual Size and check both calibration squares before cutting fabric.
- Press all fabrics first. Fuse interfacing to a scrap and test your iron setting.
- Make one complete flap first — sew, turn, topstitch and quilt it — and check the fullness. Adjust batting trimming before you batch-sew all 42.
- Keep flap sizes in labelled stacks: Large / Medium / Small. Lay all finished flaps out on the table before attaching so colours stay balanced.
- Check the cone stands flat and straight before a single flap goes on. A leaning cone cannot be fixed by patchwork.
- Decide your colour rhythm before assembly. Write the sequence down if it helps; mid-row improvisation is where clumps happen.
Key terms in this pattern:
| Term | Meaning |
|---|---|
| RST | Right sides together |
| SA | Seam allowance |
| Cone SA | 1 cm / 3/8 in |
| Flap, head and hat SA | 0.7 cm / 1/4 in, included in templates |
| Topstitch | 2–3 mm from the finished edge |
| Flap unit | 2 fabric pieces + 1 batting piece, sewn and turned |
Recommended working order: print and check → cut and pair → sew cone body → add base → sew and quilt all 42 flaps → attach six rows → make head and face → hat and scarf → attach head → dress and embellish → final balance check.
Materials + Exact Quantities
Choose stable woven fabrics for the flaps and cone. Quilting cotton, cotton-linen blend and soft woven-look cotton all work beautifully. Small-scale winter botanicals and tiny snowflake or berry prints suit the calm palette. Avoid thick upholstery fabric, slippery satin and large novelty prints — points will not turn cleanly and the pattern rhythm will fight the design.
| Material | Quantity |
|---|---|
| Dusty ice blue cotton | 45 x 110 cm (18 x 44 in) |
| Winter ivory cotton | 45 x 110 cm (18 x 44 in) |
| Frosted sage cotton | 35 x 110 cm (14 x 44 in) |
| Muted cranberry accent cotton | 20 x 55 cm (8 x 22 in) |
| Cone base / lining cotton | 50 x 110 cm (20 x 44 in) |
| Low-loft batting | 90 x 110 cm (36 x 44 in) |
| Lightweight interfacing | 50 x 110 cm (20 x 44 in) |
| White fleece or minky (head) | 30 x 30 cm (12 x 12 in) |
| Fiberfill | Approx. 180–220 g total |
| Base stabilizer disc | 22.5 cm / 8.9 in diameter |
| Black eyes / beads | 2, 8–10 mm |
| Orange felt (nose) | 8 x 8 cm (3 x 3 in) |
| Hat fabric | 25 x 30 cm (10 x 12 in) |
| Brim fabric | 8 x 40 cm (3 x 16 in) |
| Pom-pom | 1, approx. 6 cm / 2.4 in |
| Scarf fabric | 8 x 55 cm (3.1 x 21.7 in) |
| Pearl / berry accents | Optional, 3–7 pieces |
The fiberfill total covers the cone body stuffing plus 35–45 g reserved for a firmly stuffed snowman head. If your fleece is very stretchy, stuff the head a little firmer than feels natural — it settles, and a soft head will sag under the hat.
Fabric-saving note: Cut the largest flaps first and nest medium and small flaps into the remaining spaces. Cranberry is accent only, so offcuts from other projects are often enough. Keep directional prints upright on every flap piece; on a tree this size, points draw the eye and consistent print direction looks intentional.
Tools + Fabric Choices
You will need your usual sewing tools, plus a few items that make padded small-shape work much easier:
- Sewing machine with a straight stitch
- Fabric scissors or a rotary cutter
- Pins or clips, and a hand-sewing needle for ladder stitch and head attachment
- A turning tool or blunt chopstick for shaping flap points and the head curve
- Iron and pressing cloth
- Ruler and a removable fabric marker for row guides and face placement
- Optional walking foot for quilted layers
Best fabrics: quilting cotton, cotton-linen blend, soft woven-look cotton, and small-scale winter botanicals or tiny snowflake and berry prints. Press everything before cutting, and fuse a test scrap of interfacing first — cone panels need their points sharp and lower edges smooth, and a too-hot iron on fleece or minky will show.
Pattern Pieces + Cut Quantities
Every flap unit uses two matching fabric pieces with one low-loft batting piece against the front. That keeps each flap dimensional but light. Tracing the flap templates onto reusable template plastic or card is worth the few minutes it takes if you plan to make more than one tree.
| Piece | Cut quantity / material |
|---|---|
| Tree Base Cone Panel | Cut 4 base cotton + 4 interfacing |
| Base Circle | Cut 1 base cotton, 25 cm diameter |
| Large Flap | 18 units = 36 fabric pieces + 18 batting |
| Medium Flap | 14 units = 28 fabric pieces + 14 batting |
| Small Flap | 10 units = 20 fabric pieces + 10 batting |
| Snowman Head Circle | Cut 2 white fleece, 12.5 cm diameter |
| Hat Body | Cut 2 |
| Hat Brim | Cut 1 rectangle, 8 x 38 cm |
| Scarf | Cut 1 rectangle, 8 x 55 cm |
| Carrot Nose | Cut 1 orange felt triangle |
| Pom-pom placement guide | Printed guide only |
| Optional embellishment guide | Printed guide only |
Seam allowances used throughout: Cone seams 1 cm (3/8 in). Flap units, head and hat 0.7 cm (1/4 in). Topstitching 2–3 mm from the finished edge. All templates already include their seam allowance — cut on the solid outer line.
Suggested colour rhythm
Mix dusty ice blue, winter ivory and frosted sage in a repeating rhythm across all three flap sizes, with cranberry used only as a small accent — a flap here and there, never a whole cluster. Lay all 42 finished flaps on the table before attaching anything. If one print dominates several neighbouring positions, move contrasting flaps before you stitch the next row; colour balance is decided on the table, not on the tree.
Print + Prepare the Templates
Template accuracy matters because six rows must meet evenly around a cone. A template that prints even 5% small will change both flap size and how the rows cover the body.
Printer settings:
- Print template pages at 100% / Actual Size. Turn off Fit to Page, Shrink and Scale to Fit.
- Print the calibration page first. Measure both test squares with a rigid ruler: one should be exactly 5 x 5 cm and the other 2 x 2 in. If either is off, stop and fix the printer scaling before printing the remaining template pages.
- A4 template pages are designed to fit without overlapping text. Use the solid line as the cutting line.
- Keep grainline arrows parallel to the fabric grain. For flap templates, cut mirrored fabric pairs only when your print has a direction, and make sure both pieces of a pair face the correct way after turning.
- Transfer the six row guide marks onto the cone panels before sewing — marking them after the cone is stuffed is far harder.
If you plan to make multiples — for family gifts, a craft-fair table or a small handmade shop run — trace each master piece onto template plastic or thin card once your test print checks out. Mark the template name, cut quantities and grain direction on each piece.
Construction Roadmap
The tree is built in this order. Seventeen small steps, grouped here so you can see the whole make before you start:
- Prepare and sew the cone body
- Add the stable base disc and base circle
- Sew, turn and quilt all 42 flaps
- Attach six staggered flap rows
- Make and stuff the snowman head
- Add face, hat and scarf
- Hand stitch the head to the tree top
- Add restrained embellishments
- Final balance, shaping and thread trim
Best result tip: Work slowly on the flap rows. The visual quality of this project comes more from even spacing and colour rhythm than from adding extra decorations.
Sewing the Cone Body
Step 1 — Prepare the Cone Panels
Fuse lightweight interfacing to the wrong side of all four Tree Base Cone panels. Transfer the six row guide marks before sewing, while the panels are still flat.
Maker tip: Keep the panel points sharp and the lower edges smooth. Do not stretch the bias edges as you fuse and handle them.
Check before the next step: All four panels match, and the row marks sit at the same heights on every panel.
Step 2 — Sew the Tree Body
Sew the four cone panels together with 1 cm (3/8 in) seams. Leave a 10 cm opening in the final seam for turning and stuffing. Press seams open where possible.
Maker tip: Clip only at the very top point if needed. Turn the cone, stuff it evenly with fiberfill, and keep checking that it stands straight as you fill — add stuffing in small handfuls and tease out any lumps before moving on.
Check before the next step: The cone stands evenly, and the four seams meet neatly at the top.
Step 3 — Add the Base Support
Insert the 22.5 cm stabilizer disc at the bottom. Turn the seam allowance of the 25 cm fabric base circle inward and hand stitch or machine stitch it to the cone base. Close any remaining body opening with ladder stitch as you finish the base.
Maker tip: Baste the circle first and check that the cone stands without leaning before you commit to final stitches. An off-centre disc is the main cause of a leaning tree, and this is the last easy moment to correct it.
Check before the next step: The base is flat and stable before any patchwork flaps are added.
Sewing the Patchwork Flaps
This is the heart of the project. You will repeat the same stages — sew, turn, quilt — for all 42 flaps. Work size by size in batches. The repetition is genuinely calming once the first flap checks out, and watching labelled stacks grow is very satisfying.
Step 4 — Make One Flap Unit
For each flap, place two matching fabric pieces right sides together with one batting piece against the wrong side of the front piece. Sew around the edge with a 0.7 cm (1/4 in) seam, leaving a 3 cm opening near the top. Trim, turn and press.
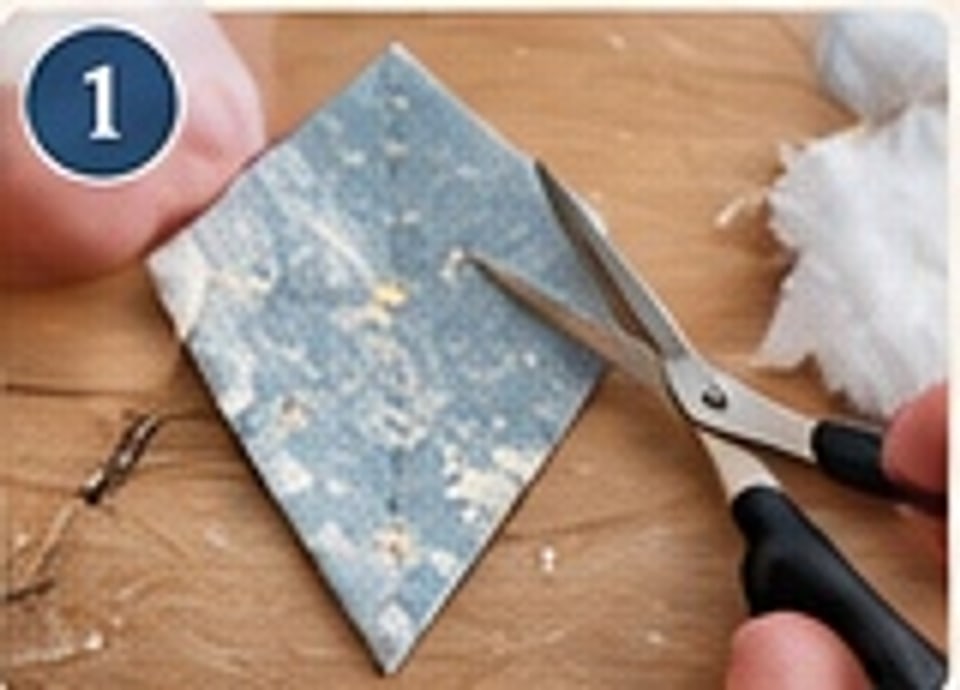
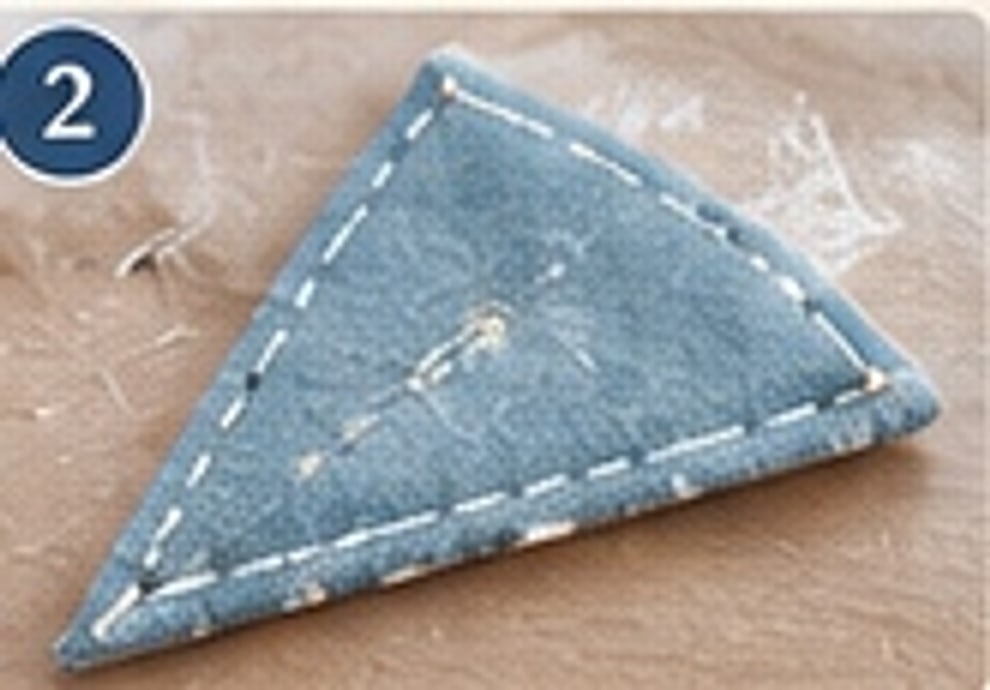
Maker tip: Use a blunt turning tool to shape the pointed tip without piercing it. A slightly rounded, intact point always looks better than a pierced one with batting poking through.
Check before the next step: The point is crisp and the flap is softly padded, not bulky. If the batting makes the seam hard to turn, trim the next batting pieces 2–3 mm inside the cutting edge.
Step 5 — Quilt and Close the Flap
Topstitch 2–3 mm from the edge all the way around. Add one centre vein line and two gentle diagonal quilting lines. The topstitching closes the turning opening as you sew.
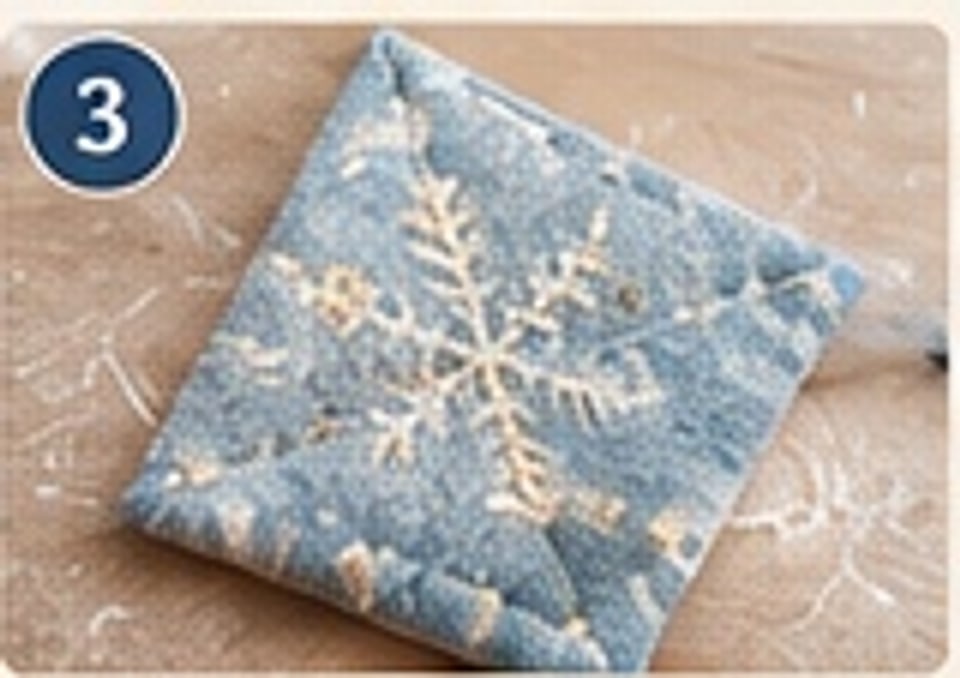
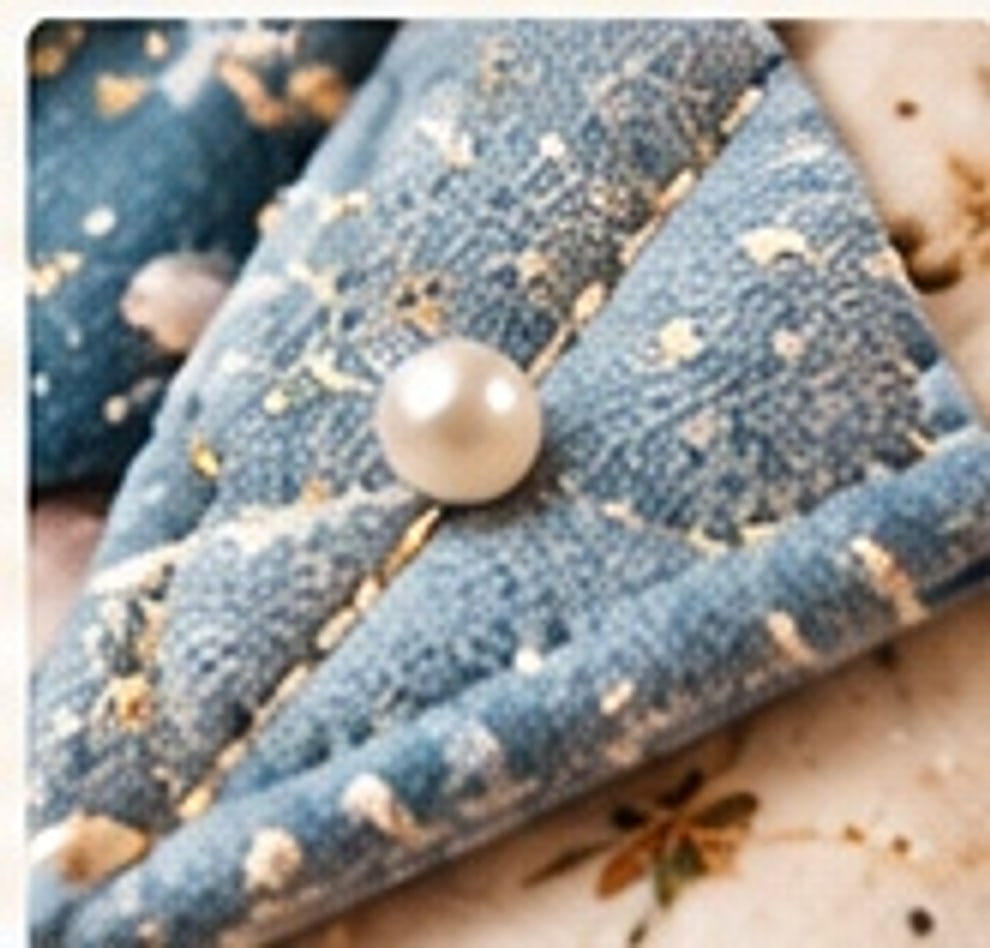
Maker tip: Use matching thread for most flaps; champagne thread can be used selectively on a few flaps for a quiet luxury glint. Slightly lengthen your stitch if quilting lines start to pucker or flatten the padding.
Check before the next step: The flap lies flat with no puckers, and the quilting is balanced on both sides of the centre vein.

Step 6 — Make All Patchwork Sets
Prepare 18 large, 14 medium and 10 small flap units — 42 in total. Mix dusty ice blue, winter ivory and frosted sage in a repeating rhythm, with cranberry used only as a small accent.
Maker tip: Lay all finished flaps on the table before attaching so the colours stay balanced. Stand back and squint: heavy clumps of one print are easy to see from a distance and easy to fix now, and much harder to fix once rows are stitched.
Check before the next step: You have 42 completed flap units with no heavy colour clumps, stacked by size.
Attaching the Six Flap Rows
Attach the rows from the bottom up, using the guide marks you transferred to the cone panels. Stitch only across the top 2 cm of each flap so the lower half lifts away from the body and stays dimensional. Centre each flap point over the gap between two flaps in the row below.
Step 7 — Attach the Bottom Row
Mark the first row 2 cm above the base. Position 10 large flaps evenly around the cone with their points extending about 1 cm below the base line. Stitch across the top of each flap.
Maker tip: Overlap neighbouring flaps slightly so no cone fabric shows between them.
Check before the next step: The bottom row forms a continuous, level skirt around the tree.
Step 8 — Build Row Two
Place 8 large flaps on the next guide line, rotating the row so each new point falls over a gap in the row below.
Maker tip: Check the tree from all four sides after pinning and before stitching. It is much easier to repin than to unpick.
Check before the next step: The overlap is staggered and the silhouette remains round.
Step 9 — Build the Middle Rows
Attach 8 medium flaps on row three and 6 medium flaps on row four. Keep the same staggered pattern and reduce overlap slightly as the cone narrows.
Maker tip: Do not force the flaps upward; let their padded points hang naturally.
Check before the next step: Rows look rhythmic and evenly spaced with no exposed cone fabric.
Step 10 — Finish the Upper Rows
Attach 6 small flaps on row five and 4 small flaps on row six. Hand-tack the uppermost corners where machine access becomes difficult.
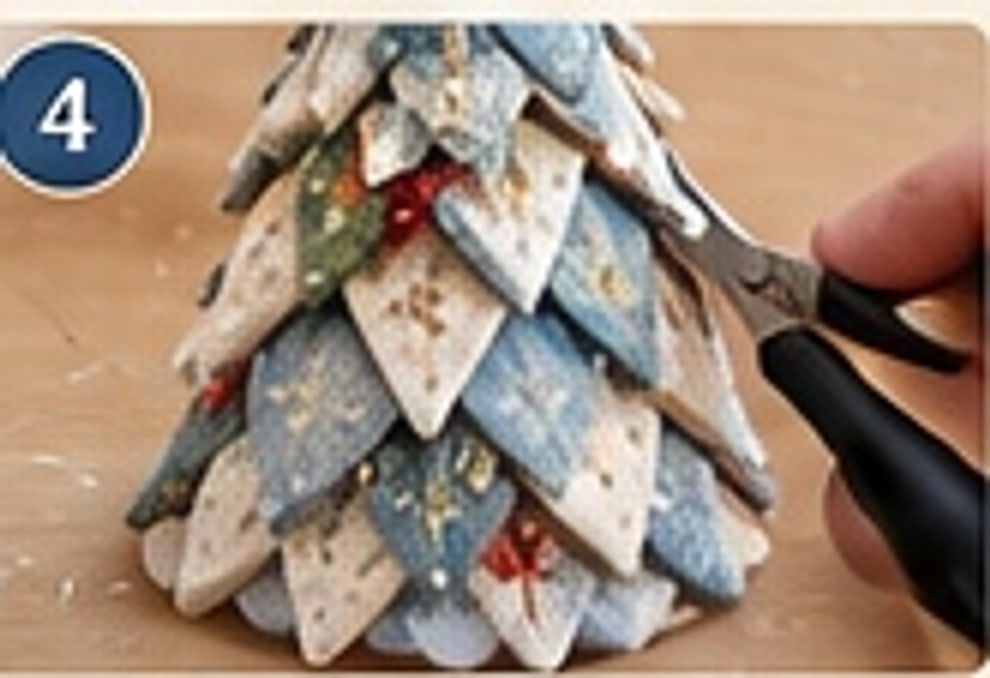
Maker tip: Leave the very top 3–4 cm clear for the snowman head and scarf.
Check before the next step: The patchwork body is full, symmetrical and tapers cleanly toward the tip.
Six Patchwork Rows — Placement Guide
| Row | Flap size | Count | Guide height from base |
|---|---|---|---|
| 1 – bottom | Large | 10 | 2 cm |
| 2 | Large | 8 | 6 cm |
| 3 | Medium | 8 | 10 cm |
| 4 | Medium | 6 | 14 cm |
| 5 | Small | 6 | 18 cm |
| 6 – top | Small | 4 | 22 cm |
Use the counts as a starting rhythm; a small shift of a few millimetres is fine if needed for even spacing. Count your remaining flaps as you go: 18 large, 14 medium and 10 small should be exactly used up by the six rows. Any spares are useful replacements if a point did not turn well.
Making the Snowman Head
Step 11 — Make the Snowman Head
Place the two head circles right sides together. Sew with a 0.7 cm (1/4 in) seam, leaving a 4 cm opening. Clip the curve, turn, stuff firmly with about 35–45 g fiberfill, then ladder stitch the opening closed.
Maker tip: Roll the stuffed head gently between your palms to smooth the shape before you close it fully. Add stuffing in small amounts and keep the surface even — fleece shows every lump.
Check before the next step: The head is rounded and firm enough to hold the hat without sagging.
Step 12 — Add the Face
Mark the eyes 3.0 cm apart and slightly above centre. Add 8–10 mm black beads or safety eyes, a small orange felt carrot nose, a tiny stitched smile and soft blush.

Maker tip: Keep the expression simple and symmetrical; this is decor, not a toy. Mark everything with a removable marker and check from arm's length before you fix anything permanently.
Check before the next step: Both eyes sit level, the nose points forward and the smile is centred.
Hat, Scarf and Final Assembly
Step 13 — Make the Winter Hat
Sew the two hat-body pieces right sides together. Turn and press. Join the brim strip into a ring, fold it lengthwise, then attach it around the hat opening. Add the 6 cm pom-pom and a tiny berry sprig at one side.
Maker tip: Test the hat on the stuffed head before final stitching. If it slips, take a small tuck at the back or plan a few hidden hand tacks later.
Check before the next step: The brim fits snugly without compressing the head.
Step 14 — Make the Scarf
Fold the 8 x 55 cm scarf strip lengthwise, sew the long edge, turn and press. Finish each end with a narrow hem or short fringe. Add one optional embroidered snowflake near an end.
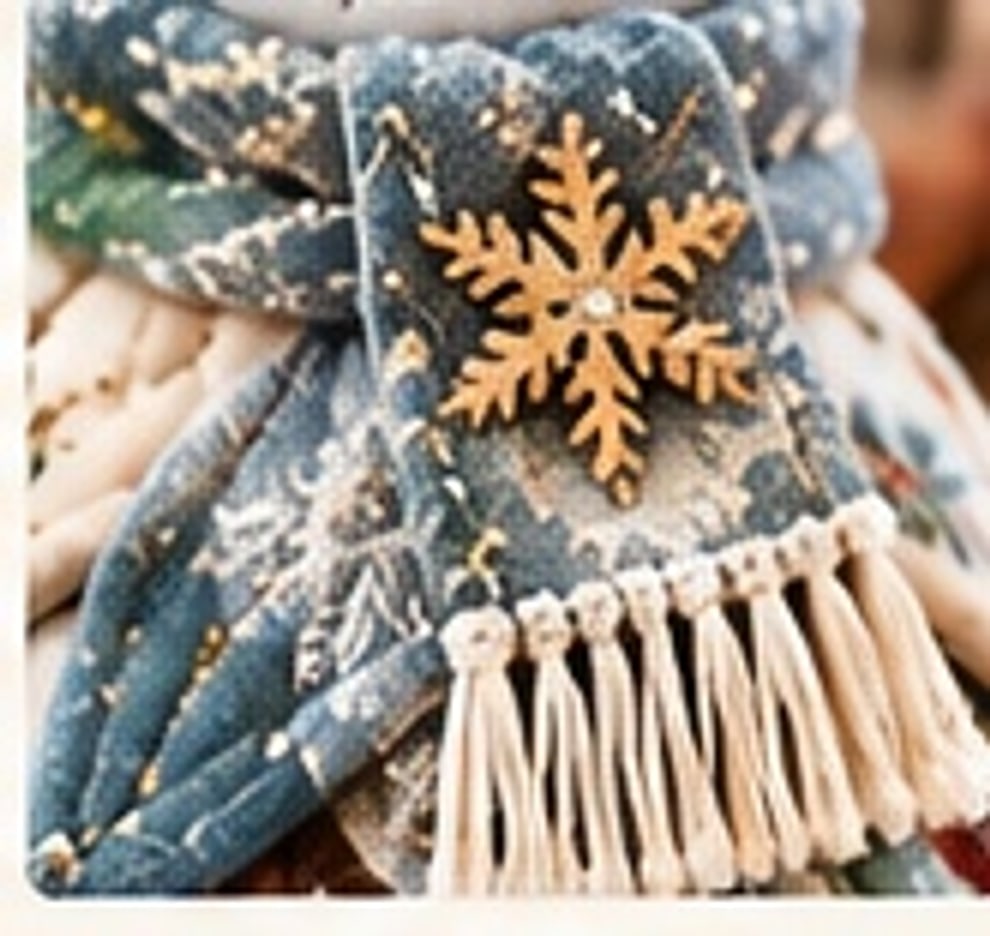
Maker tip: Keep the scarf soft; do not interface it. A stiff scarf stands away from the neck and hides the patchwork you worked hardest on.
Check before the next step: The scarf wraps once around the neck and drapes without hiding too many flaps.
Step 15 — Attach the Head
Centre the snowman head over the cone top. Hand stitch through the lower back of the head into the cone tip several times, then reinforce evenly around the neck line.
Maker tip: Check front, back and side views before tightening the final stitches. Attachment stitches on one side only are the main cause of a tilting head.
Check before the next step: The head is straight and does not wobble.
Step 16 — Dress the Snowman
Place the hat, wrap the scarf and tack both accessories invisibly at a few points. Add 3–5 pearl-like beads or a small berry detail to selected flaps only.
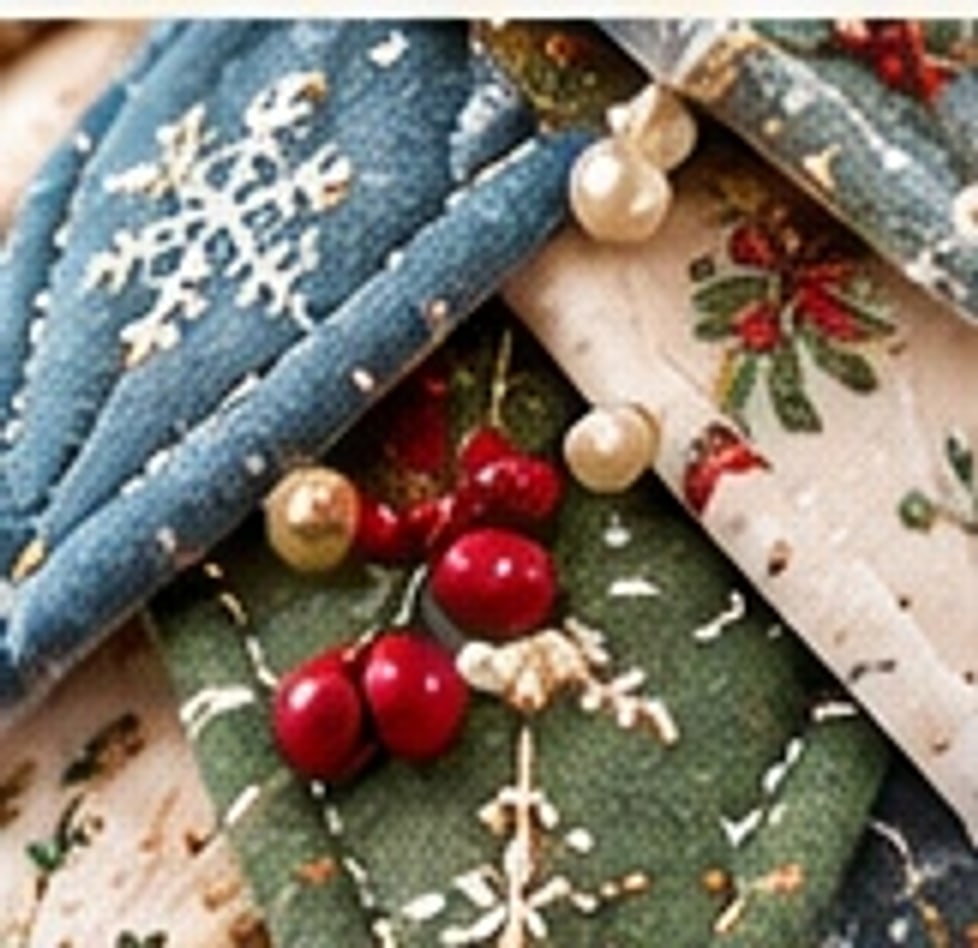
Maker tip: Stop embellishing before the design feels busy. Step back after every few accents; if your eye goes to the decorations before the patchwork, you have added enough.
Check before the next step: Accessories feel secure and the snowman face stays clearly visible.
Step 17 — Final Balance and Finish
Close any remaining body opening with ladder stitch. Steam lightly from a distance, shape the flap rows with your fingers and trim all threads.
Maker tip: Do not press directly onto the pom-pom, face details or dimensional embellishments. Steam from a distance and shape with your fingers instead.
Check before the next step: The tree stands flat, the head is centred and the rows look even from every angle.
Troubleshooting
| Problem | Likely cause | Fix |
|---|---|---|
| Cone leans | Base disc off-centre or uneven stuffing | Open the base if needed; centre the disc and redistribute stuffing. |
| Rows look messy | Flaps not staggered or guide marks uneven | Unpick the last row and repin using equal gaps. |
| Flaps look flat | Batting too thin or quilting too tight | Use low-loft batting and slightly lengthen your stitch. |
| Flaps look bulky | Batting too thick or seam not trimmed | Trim batting and seam allowance before turning. |
| Tree looks colour-heavy | One print dominates several neighbouring flaps | Move contrasting flaps before stitching the next row. |
| Head tilts | Attachment stitches only on one side | Re-centre and reinforce evenly around the neck. |
| Hat slips | Brim too loose | Take a small tuck at the back or add hidden hand tacks. |
| Scarf hides face | Scarf too high or bulky | Lower the wrap and reduce overlap around the neck. |
Almost every problem on this list is a spacing or centring problem, not a sewing problem. Pin first, view the tree from all four sides, then stitch — that one habit prevents most unpicking.
Final Quality Checklist
Before you photograph, gift or sell your tree, check each point:
- Tree stands flat and does not lean.
- All six flap rows are staggered and evenly spaced.
- No raw edges or turning openings are visible.
- Head is centred and firmly attached.
- Eyes are level; nose and smile are centred.
- Hat and scarf are secure but still look soft.
- No loose pins, threads or unsecured beads remain.
- Colours are balanced around all sides, not only the front.
- Final piece is lightly shaped by hand and photographed from front, back and detail views.
Care, Display + Safety
Care: Spot clean only. Keep dry. Store upright or in a roomy box so the flap points and pom-pom are not crushed. Steam very lightly from a distance if needed, and reshape the rows with your fingers after storage.
Display ideas: This tree was designed for tabletop Christmas decor, mantel display, shelf styling and holiday centrepieces. It styles beautifully on a wooden slice or cake stand, beside a lantern or a small stack of wrapped gifts, and in pairs or threes at slightly different scales if you adjust your cone size. Because the back is finished neatly, it works in the centre of a table where it will be seen from every side.

Safety: This is a decorative item, not a toy. Small eyes, beads and berries can be choking hazards. Keep away from babies and young children, and away from open flames, candles and heaters.

License Note
Personal use and small-scale handmade selling of finished physical trees are allowed. Please do not copy, share, upload, redistribute, resell or give away the digital PDF or printable template pages.
Thank you for sewing your winter snowman tree. Take your time on the flap rows, trust the colour rhythm, and check your tree from every side before each row is stitched — that patience is exactly what makes the finished piece look premium.
The box below contains an Etsy link. If you buy through it, we may earn a small commission at no extra cost to you. Learn more.
No time to make one?
Find handmade fabric snowman Christmas trees from independent makers on Etsy.
Browse on Etsy (opens Etsy in a new tab)