Crochet Candy Cane Pattern (Festive, Free)
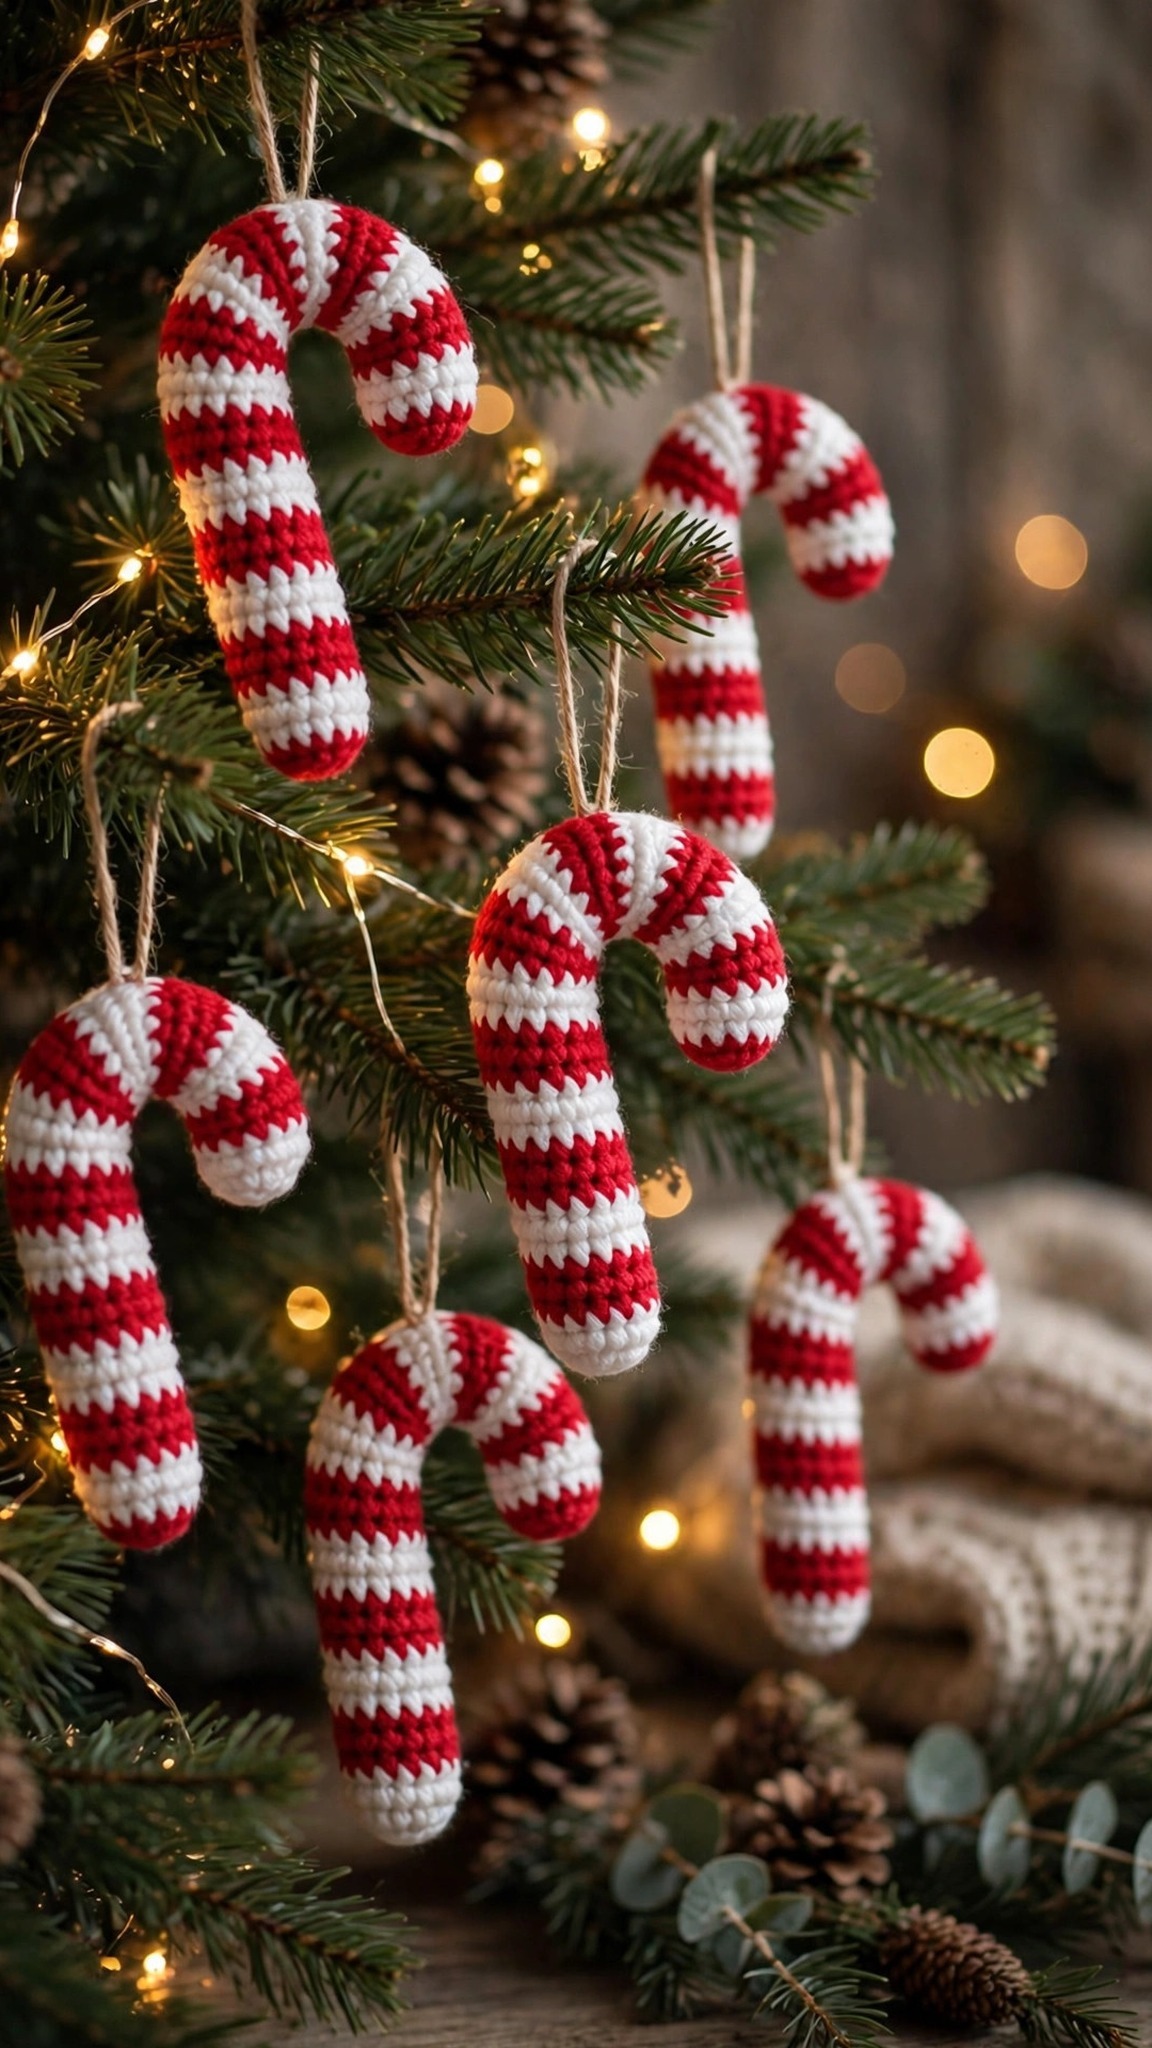
Crochet soft 8 inch striped candy cane ornaments with crisp red and white bands and a hook curve that hangs perfectly on the tree.

Home Decor · Crochet
- Finished size
- 8 in long
- Making time
- 1 to 2 hours each
- Hook
- US F-5 (3.75 mm)
- Set
- Cane, loop, bow and garland guide
- Skill
- Beginner
In this post
- Key Takeaways
- Table of Contents
- Why You Will Love These Candy Canes
- Finished Size, Skill Level, and Time
- Materials You Need
- Abbreviations (US Terms)
- Part 1: The Striped Tube
- Part 2: Shaping the Hook
- Part 3: The Hanging Loop and Bow
- Making a Candy Cane Garland
- Variations: Beyond Classic Red and White
- Troubleshooting Striped Crochet
- Care Instructions
- Frequently Asked Questions
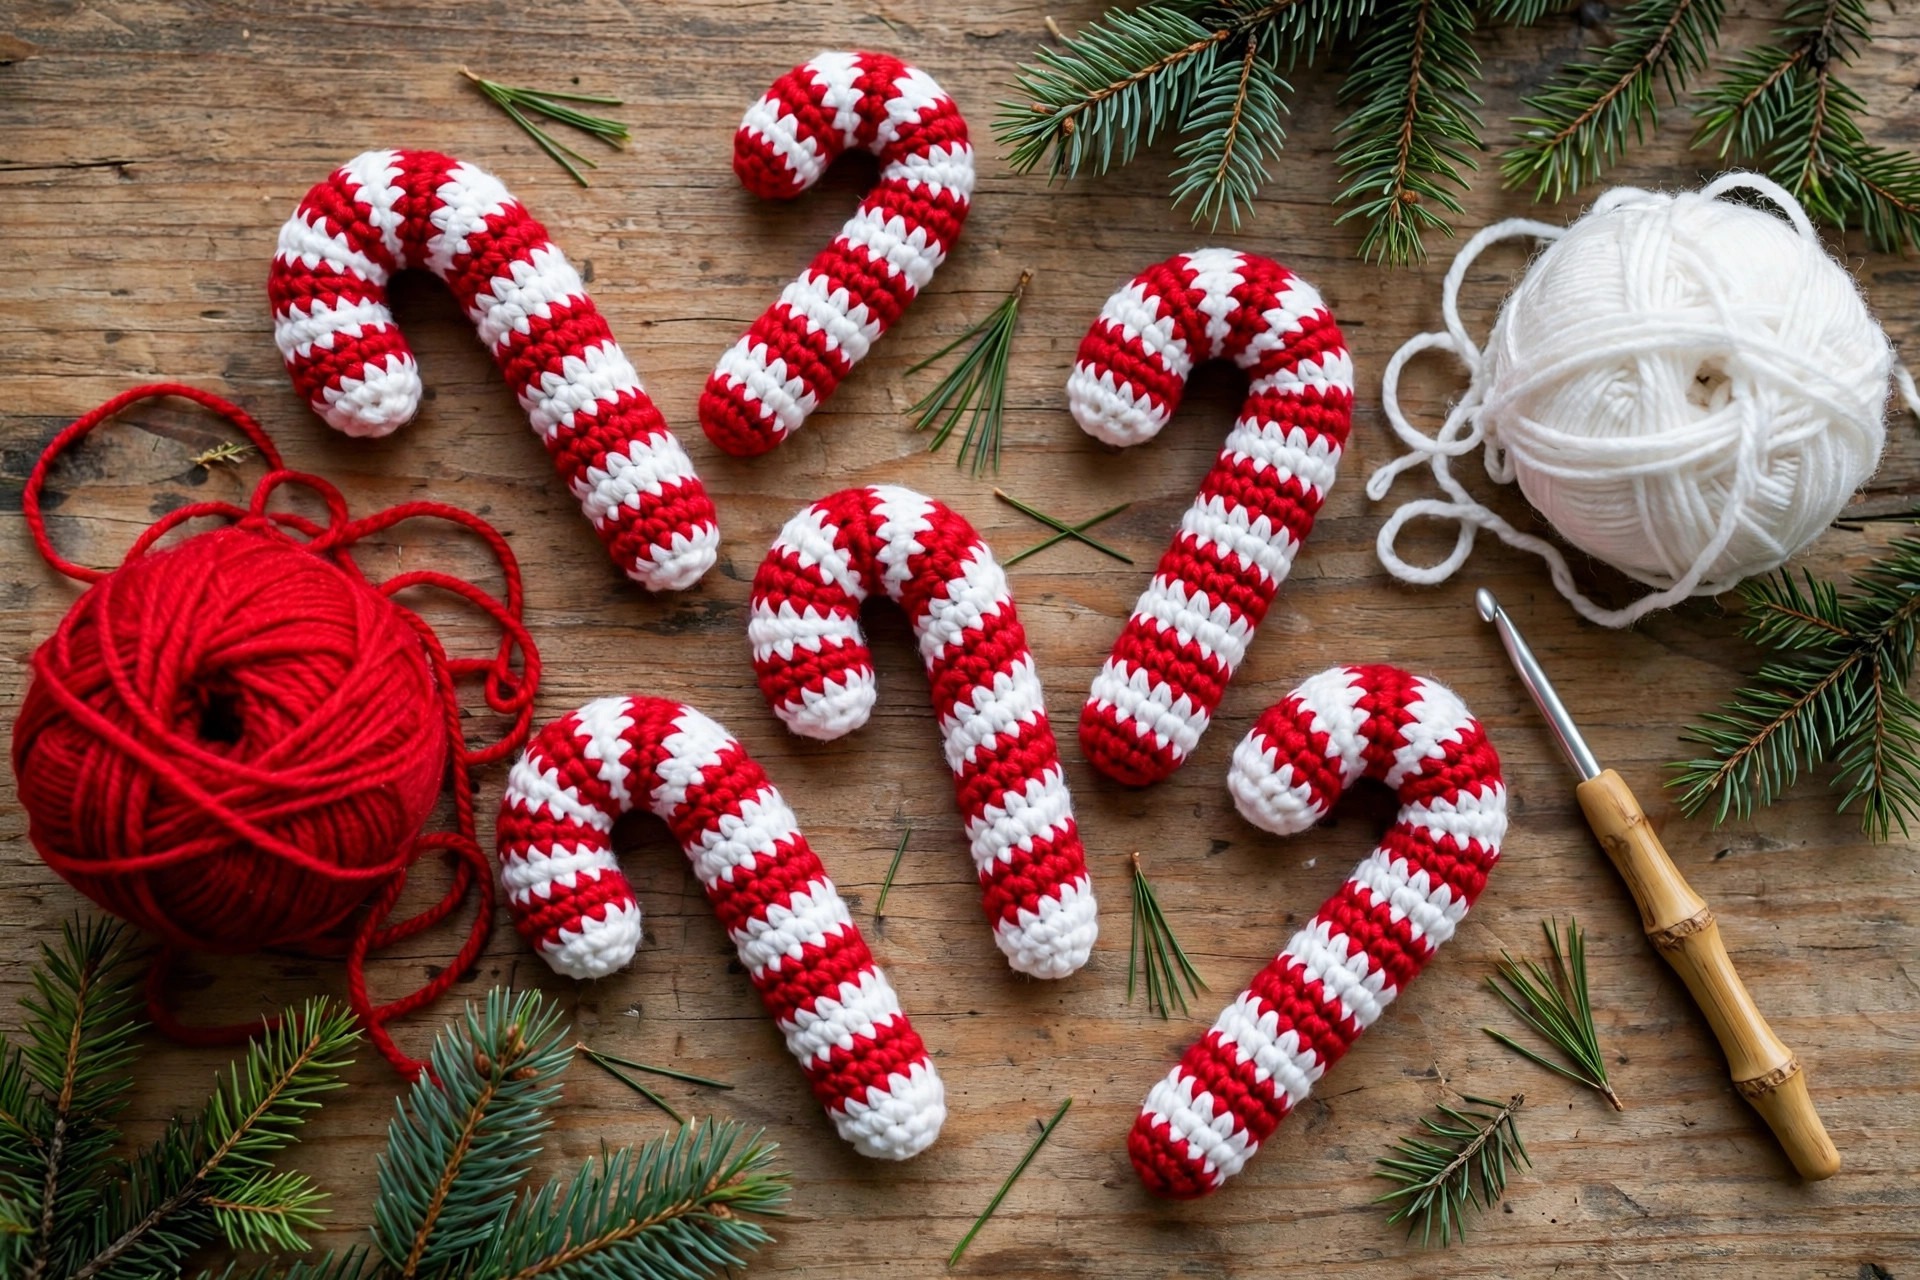
Nothing says Christmas quite like a candy cane: that bold red and white swirl, that cheerful hook shape, that instant feeling of a tree dressed for the holidays. This free crochet candy cane pattern makes soft, striped candy cane ornaments you can hang on the tree, string into a garland, or tuck into stockings and gift baskets. Each cane is about 8 inches long, worked in simple single crochet with a stripe trick that keeps the colors crisp.
This is an original Little Loop Finds design, written in US terms and completely free. The cane is worked as a long striped tube, shaped into its classic hook with a pipe cleaner or wire inside, so it holds its curve beautifully on the tree. You will learn a clean way to change colors in the round, a neat way to close the ends, and a simple hanging loop that looks tidy from every angle.
Make one cane in an evening, or a whole candy cane forest in a weekend. They are perfect for tree decorating, garlands across a mantel, classroom gifts, and craft fair tables, and for anyone who loves Christmas decor that never melts, never breaks, and never goes stale.
Key Takeaways
- Free original pattern: this crochet candy cane pattern is a Little Loop Finds original design, written in US terms, and completely free.
- Crisp candy stripes: a clean color change method keeps the red and white stripes sharp, with no carried yarn showing through.
- Tree ready shape: a pipe cleaner core holds the classic hook curve, so canes hang perfectly straight from the tree.
- Quick and stash busting: about 1 to 2 hours per cane, and a great way to use up leftover red and white yarn.
- Endlessly versatile: tree ornaments, garlands, gift toppers, stocking stuffers, and craft fair best sellers.
Table of Contents
- Why You Will Love These Candy Canes
- Finished Size, Skill Level, and Time
- Materials You Need
- Abbreviations (US Terms)
- Part 1: The Striped Tube
- Part 2: Shaping the Hook
- Part 3: The Hanging Loop and Bow
- Making a Candy Cane Garland
- Variations: Beyond Classic Red and White
- Troubleshooting Striped Crochet
- Care Instructions
- Frequently Asked Questions
Why You Will Love These Candy Canes
Crocheted candy canes look far more impressive than they are difficult, and that is exactly why they are so satisfying. The stripe pattern is a simple two row repeat, the tube shape is just single crochet in the round, and the pipe cleaner trick does all the shaping work for you.
They are also wonderfully practical. Unlike real candy canes, these never get sticky, never break when a cat bats them off the tree, and never need replacing in January. They survive years of holiday storage and look just as fresh on their tenth Christmas as they did on their first.
And let us talk about giftability. A set of three crocheted candy canes tied with a ribbon is a perfect teacher gift, neighbor gift, or stocking stuffer. A garland of them transforms a mantel in an afternoon, and a whole tree dressed in handmade canes, mixed with a crochet garland pattern, is the kind of Christmas decor people ask about.
Finished Size, Skill Level, and Time
- Finished size: about 8 inches long and 1 inch wide, with a 2.5 inch hook curve, in worsted weight yarn with a 3.75 mm hook. Using chunky yarn and a 5.0 mm hook makes a jumbo 11 inch cane.
- Skill level: easy. You should know how to single crochet in the round and change colors. The shaping uses a pipe cleaner, not tricky crochet shaping.
- Making time: 1 to 2 hours per cane, including the loop and bow. A garland of 6 canes takes about a weekend afternoon.
Materials You Need
| Material | Details |
|---|---|
| Worsted weight (#4) yarn | About 30 yards of red and 30 yards of white per cane (a little less for a mini cane) |
| US F-5 (3.75 mm) crochet hook | Go down to 3.5 mm if your stitches look gappy, since the pipe cleaner should never show through |
| Pipe cleaners or craft wire | One 12 inch pipe cleaner per cane, in white or red, for shaping the hook |
| Yarn needle with a large eye, and scissors | For weaving in ends and sewing the loop |
| Stitch marker | For marking round beginnings, since stripe counting depends on it |
| Small amount of green yarn (optional) | For a holly leaf accent, or ribbon for a bow |
| Ribbon or ornament hooks | For hanging, about 6 inches per cane |
A note on yarn choice: smooth worsted weight acrylic gives the crispest stripes, because the stitch definition keeps each color band clean. Fuzzy yarn blurs the stripe edges and makes the cane look pink instead of red and white. Cotton yarn makes a slightly stiffer cane that holds its curve even better.
Abbreviations (US Terms)
- MR = magic ring
- ch = chain
- sc = single crochet
- inc = increase (2 sc in same st)
- dec = decrease (single crochet 2 together; invisible decrease recommended)
- sl st = slip stitch
- st(s) = stitch(es)
- FO = fasten off
Part 1: The Striped Tube
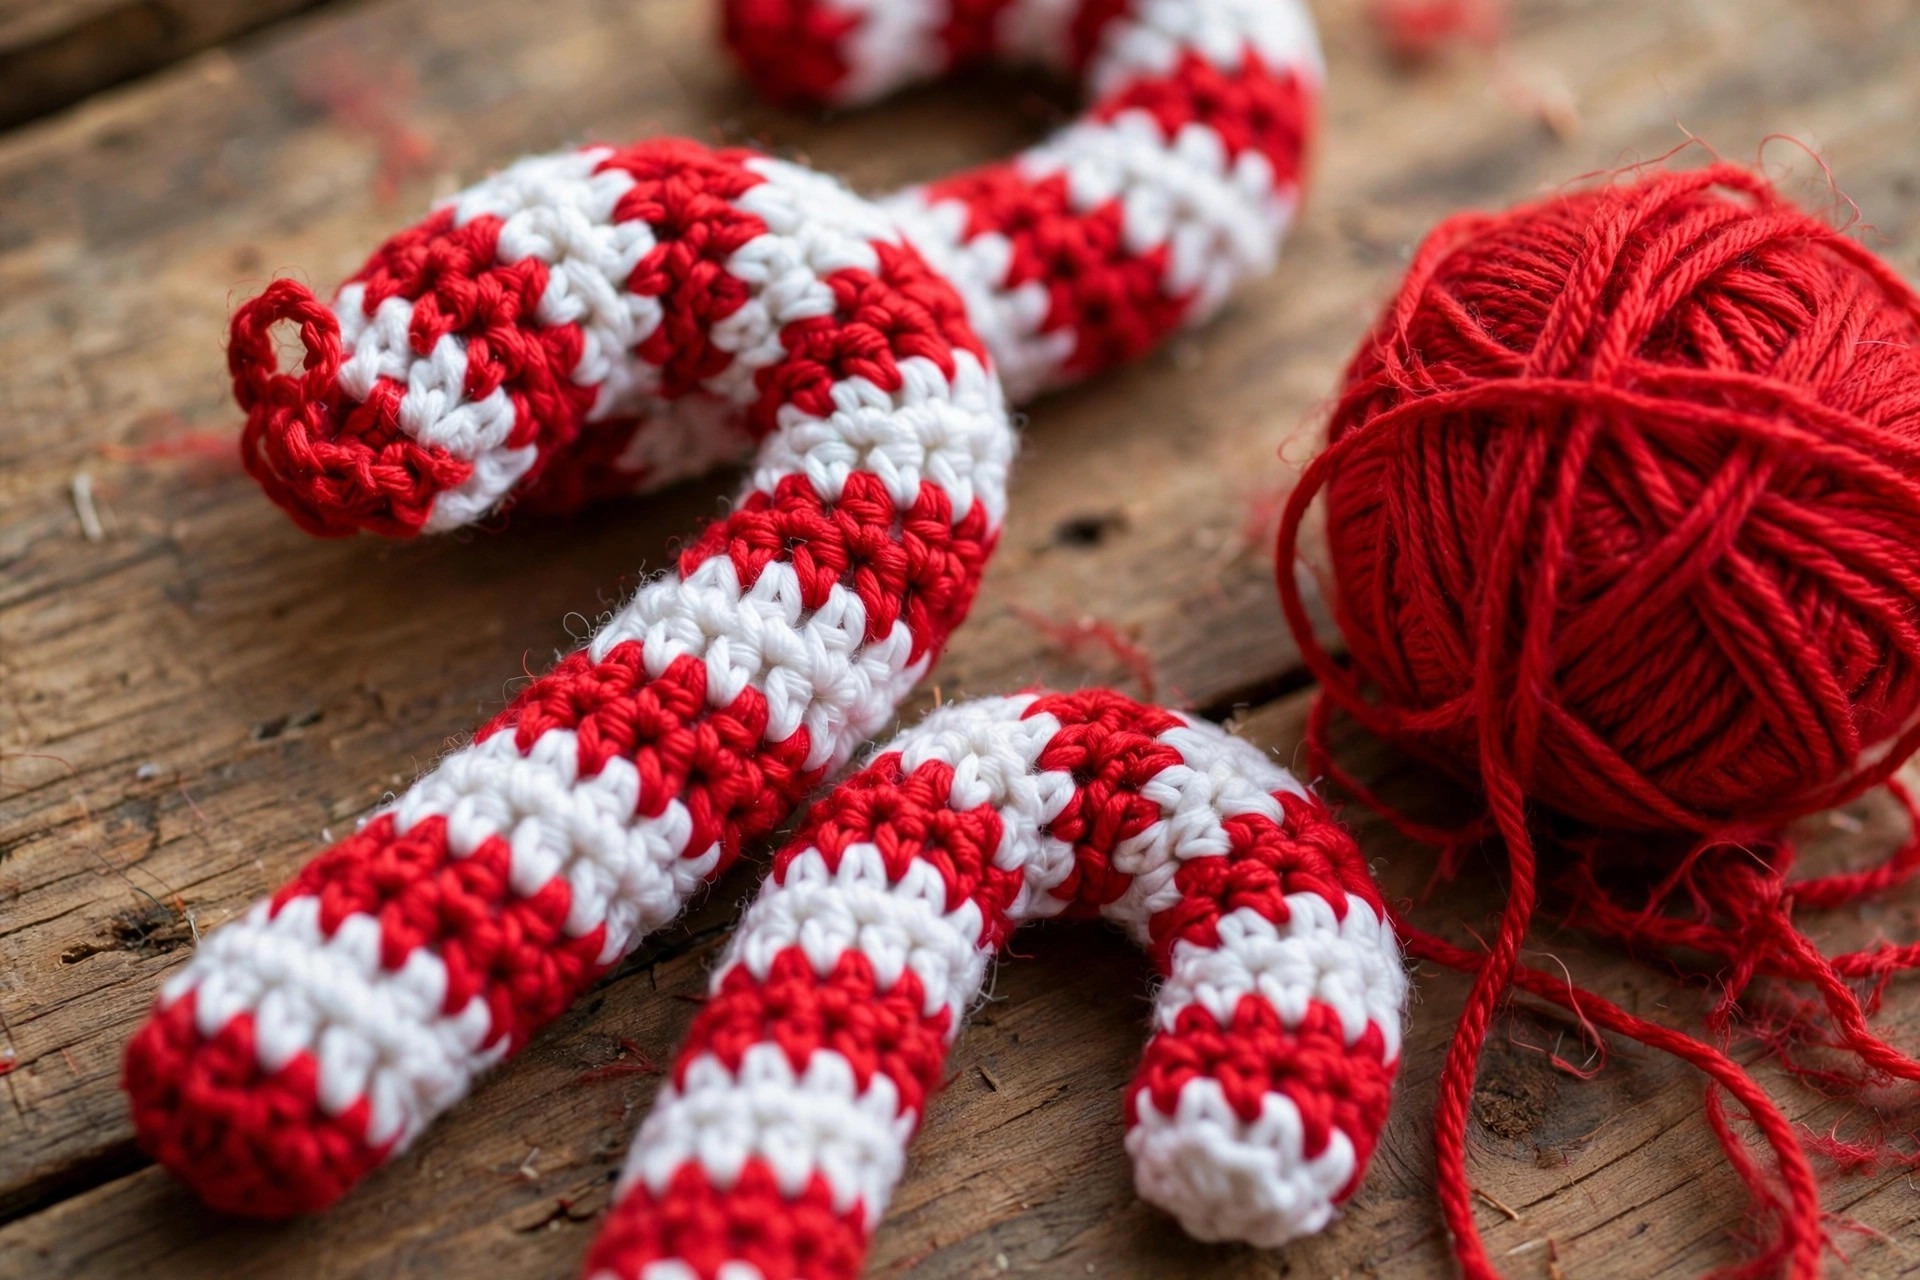
Worked in continuous rounds, starting with red yarn. Place a stitch marker in the first stitch of each round and move it up as you go. The stripe pattern is 2 rounds of red followed by 2 rounds of white, repeated for the whole tube.
Changing colors cleanly: On the last stitch of a color, work the single crochet until you have 2 loops on the hook, then yarn over with the new color and pull through both loops. Drop the old color (do not carry it up the inside, since carried yarn shows through light stripes), and pick it up again when its turn comes back.
- Round 1 (red): MR 8 sc. (8)
- Round 2 (red): Sc in each st around. (8)
- Round 3 (white): Sc in each st around, changing to white on the last stitch of round 2. (8)
- Round 4 (white): Sc in each st around. (8)
- Rounds 5 to 6 (red): Sc in each st around. (8) Change back to red on the last stitch of round 4.
- Rounds 7 to 8 (white): Sc in each st around. (8)
- Rounds 9 to 10 (red): Sc in each st around. (8)
- Rounds 11 to 12 (white): Sc in each st around. (8)
- Rounds 13 to 14 (red): Sc in each st around. (8)
- Rounds 15 to 16 (white): Sc in each st around. (8)
- Rounds 17 to 18 (red): Sc in each st around. (8)
- Rounds 19 to 20 (white): Sc in each st around. (8)
- Rounds 21 to 22 (red): Sc in each st around. (8)
- Rounds 23 to 24 (white): Sc in each st around. (8)
- Rounds 25 to 26 (red): Sc in each st around. (8)
- Rounds 27 to 28 (white): Sc in each st around. (8)
- Rounds 29 to 30 (red): Sc in each st around. (8)
- Rounds 31 to 32 (white): Sc in each st around. (8)
- Rounds 33 to 34 (red): Sc in each st around. (8)
- Rounds 35 to 36 (white): Sc in each st around. (8)
You should now have a striped tube about 9 inches long, but about an inch will be used in the hook curve. Do not stuff the tube yet. The pipe cleaner goes in first.
Closing the starting end: Thread the red tail from round 1 through the front loops of the starting stitches, pull tight to close, and weave in the end. This end becomes the bottom tip of the cane, so make it neat and slightly rounded rather than pointed.
Closing the top end: After round 36, work one decrease round in white: (Sc in next 2 sts, dec) 2 times. (6) Do not fasten off yet, because this end gets shaped into the hook in the next section, and you will use the tail to close it after shaping.
A quick word on stripe counting: stripes always run in pairs, so if the last round is the first white round, the next round is white again. Count pairs, not rounds.
Part 2: Shaping the Hook
This is the fun part.
- Insert the pipe cleaner: Fold one end of a 12 inch pipe cleaner into a tiny loop (so the cut end cannot poke through the yarn), and slide it into the tube from the open top end, pushing it all the way down to the closed bottom tip.
- Add a little stuffing (optional): If you want a firmer cane, wrap a thin layer of fiberfill around the pipe cleaner before inserting it. Most crocheters skip this, since the pipe cleaner alone gives plenty of structure.
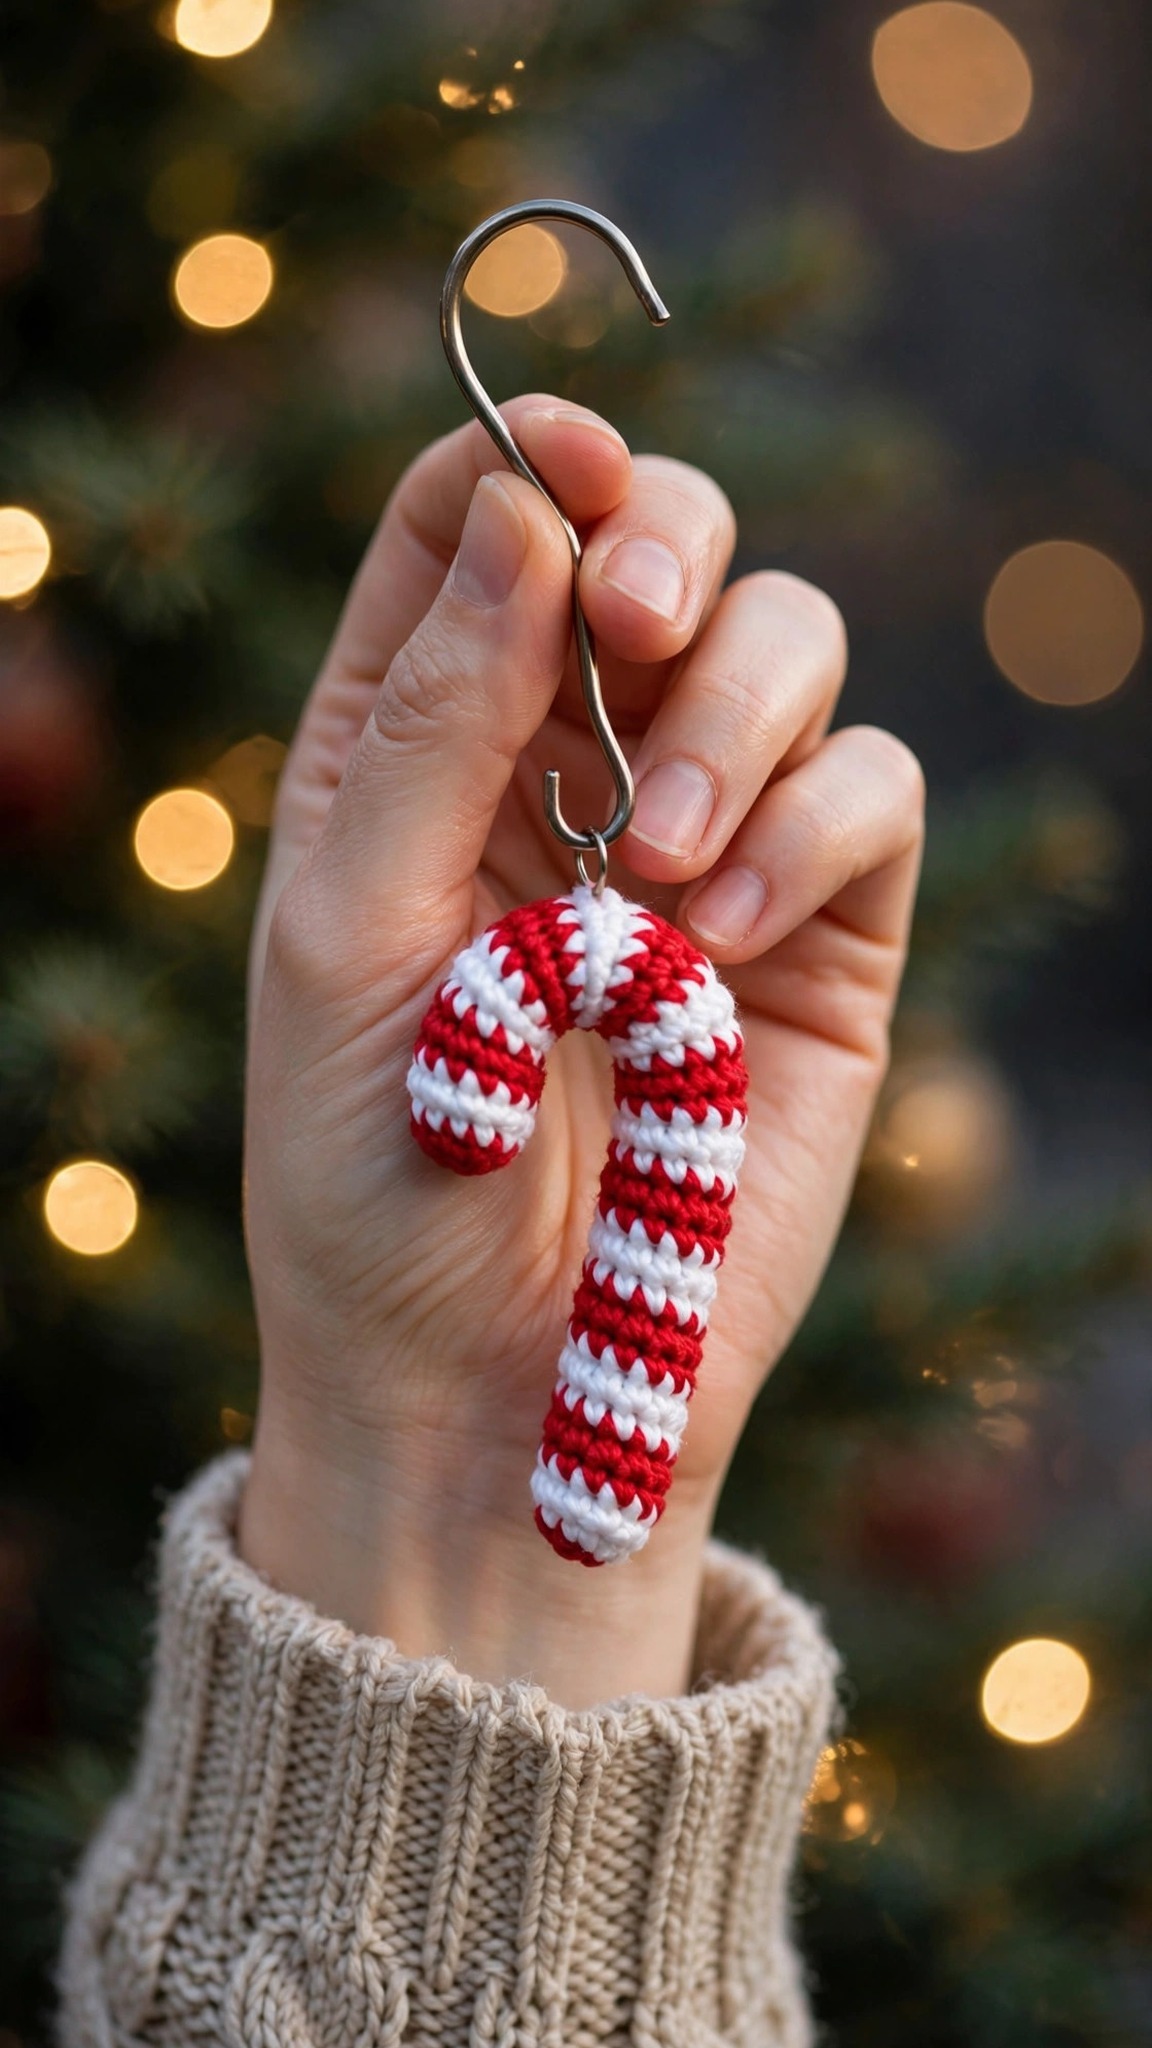
- Bend the hook: Bend the top 2.5 inches of the tube into a smooth J shape, curving it over and down. Bend gently and adjust until the curve looks even.
- Close the top end: With the hook shape held in place, thread the white tail through the front loops of the remaining 6 stitches, pull tight to close, and weave the end in securely. Tuck the trimmed pipe cleaner end inside the tube before you close it, so no wire pokes out.
- Check the hang: Hold the cane by its hook curve and let it dangle. It should hang straight, with the long stem vertical. If it leans, rebend the pipe cleaner slightly until it hangs true.
If you prefer a wire free cane for a baby's room or a classroom, skip the pipe cleaner and stuff the tube firmly instead, then hand sew the hook curve in place with a few stitches through the bend.
Part 3: The Hanging Loop and Bow
Hanging loop: Cut a 6 inch length of ribbon, or crochet a chain of 20 in matching yarn. Fold it into a loop and sew both ends securely to the inside of the hook curve, hiding the join inside the bend. Test the loop by hanging the cane from your finger before you finish the ends.
Bow (optional, but so festive): Cut two 8 inch lengths of ribbon in red, green, or gold. Tie them into a small bow and sew it to the front of the cane where the hook meets the stem. For a more handmade feel, crochet a tiny bow: chain 12, work 2 rows of single crochet, pinch the middle with yarn, and wrap the center tightly.
Holly leaf accent (optional): In green yarn, chain 6, single crochet in the 2nd chain from the hook, half double crochet in the next 2 chains, double crochet in the next chain, and single crochet in the last chain, then work back down the other side in reverse. Sew one or two leaves beside the bow with a tiny red French knot berry.
Making a Candy Cane Garland
A garland is just a row of canes with a plan.
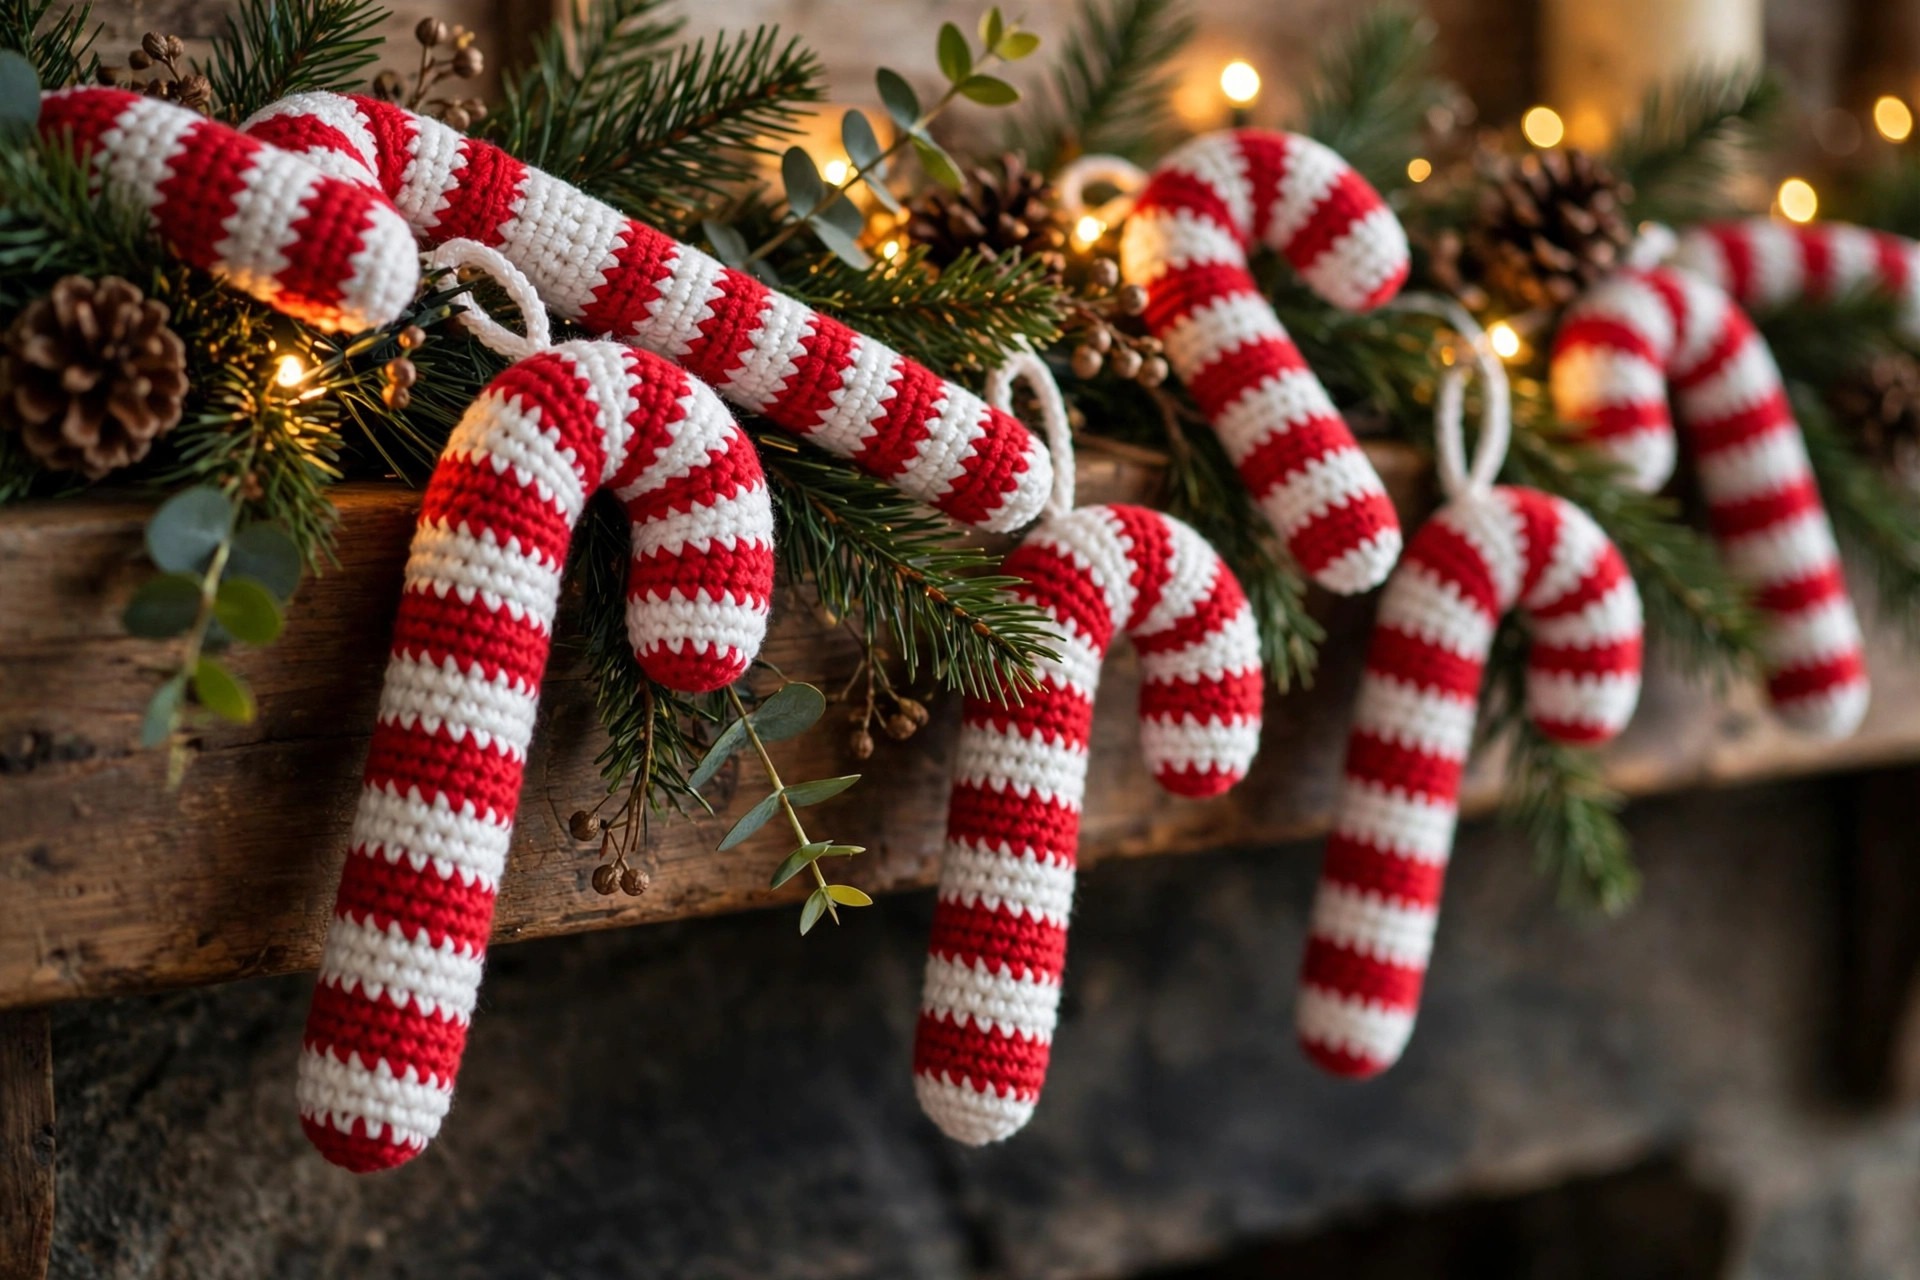
- Decide your length: For a mantel, 6 canes spaced about 6 inches apart works beautifully. For a staircase, plan 1 cane per foot of banister, alternating cane direction (one hook left, one hook right) for a rhythmic look.
- Crochet a connecting chain: In green or white yarn, chain a length about 6 inches longer than your finished garland, then work a row of single crochet back along the chain for sturdiness.
- Attach the canes: Sew or tie each cane to the garland chain by its hanging loop, spacing them evenly. Alternate red and white dominant canes if you made any in reversed colors, for a lively pattern.
- Add greenery: Tuck small sprigs of faux pine, or crochet a few simple leaves, between the canes. This fills the gaps and makes the garland look lush rather than sparse.
- Hang and adjust: Drape the garland with a gentle swag, not pulled tight, and step back to check the spacing. A garland that sags slightly in the middle looks natural and festive, while a taut garland looks stiff.
A candy cane garland pairs beautifully with a crochet Christmas tree pattern on the mantel and a crochet Christmas tree skirt pattern under the tree, since the same red and white palette ties the whole room together.
Variations: Beyond Classic Red and White
- Peppermint pink: Swap the red for a soft pink for a sweet, vintage candy cane that suits a pastel Christmas tree.
- Green and white mint cane: Use green instead of red for a minty twist that looks wonderful mixed with classic red canes on the same tree.
- Rainbow candy cane: Work the stripes in a rainbow sequence (red, orange, yellow, green, blue, violet) for a modern cane that kids go wild for.
- Mini canes: Use fingering weight yarn and a 2.5 mm hook, work only 20 rounds, and make a 4 inch mini cane. These are perfect for a tabletop tree, for gift tags, or as a set of 6 in a little gift box.
- Jumbo porch cane: Use chunky yarn, a 6.0 mm hook, and a thick wire core, and make an 18 inch cane for a porch planter or a front door display.
- Candy cane pair ornaments: Make one cane in classic red and white and one in reversed colors (white where the red was), and hang them crossed on the tree as a pair. This looks intentional and polished, and it is a lovely gift set.
- Advent countdown canes: Make 24 mini canes and hang one per day through December. Our crochet advent calendar pattern uses the same mini scale and pairs perfectly with a cane countdown.
Troubleshooting Striped Crochet
- My stripes jog sideways at the color change: This is normal in the round, since each round spirals slightly. Minimize the jog by changing color on the last stitch as described above.
- My white stripes look pink: You carried the red yarn up the inside of the tube. Drop the old color at each change instead of carrying it.
- My cane will not hold its hook shape: Use a standard craft pipe cleaner (not a flimsy one), make sure it runs the full length of the tube, and bend it firmly into the J shape.
- My pipe cleaner pokes through: Fold the cut ends into tiny loops before inserting, and go down a hook size so the stitches are tighter.
- My cane hangs crooked: The hook bend is uneven, or the loop is sewn off center. Rebend the pipe cleaner and reposition the loop so it sits at the balance point of the curve.
- My stripes are uneven widths: You changed colors after 1 round instead of 2 somewhere. Count pairs from the bottom: red, red, white, white, and so on. If you spot the mistake early, it is faster to frog back than to live with it.
Care Instructions
Spot clean your candy canes with a damp cloth and mild soap, and let them air dry away from direct heat. If a cane gets truly dirty, hand wash gently in cool water, reshape the hook while damp, and lay flat to dry. Do not machine wash or tumble dry. If a cane loses its curve in storage, just rebend the pipe cleaner. Store canes hanging or laid flat in a box, not crammed in a bag.
For more soft ornament ideas, our crochet ornaments free patterns roundup is a great next stop.
Frequently Asked Questions
Is this crochet candy cane pattern really free?
Yes. This is a free original Little Loop Finds pattern, written in US terms. You can make as many candy canes as you like for gifts, decor, or sale of finished items, and the pattern itself is for personal use, so please link back to this page.
What skill level do I need for this candy cane?
This candy cane is rated easy. You need single crochet in the round and a basic color change. If you can crochet a simple tube, you can make this cane, and the pipe cleaner shaping means there is no tricky crochet shaping to learn.
How long does one candy cane take to crochet?
Most crocheters finish one cane in 1 to 2 hours, including the loop and bow. The stripe rhythm becomes automatic after the first few rounds, so your second cane will be noticeably faster than your first.
Do I need a pipe cleaner, or can I stuff the cane instead?
A pipe cleaner is strongly recommended, since it holds the hook curve crisply and lets the cane hang straight. If you want a completely soft cane for a baby's room, stuff it firmly instead and hand sew the curve in place.
Can I make these candy canes in other colors?
Absolutely, and you should. Pink, green, rainbow, and pastel versions all work beautifully with the same stripe method. Just keep the two colors high contrast, so the stripes read clearly, and avoid fuzzy yarn, which blurs the stripe edges.
Are crocheted candy canes safe for kids?
Yes, with a note: the standard version contains a pipe cleaner, which is fine for decor but not ideal as a toy for very young children who might chew through the yarn. For a child's toy version, skip the pipe cleaner, stuff the cane firmly, and sew the curve in place, so the whole cane is soft.
Can I sell finished candy canes made from this pattern?
Yes, you may sell finished candy canes made from this pattern at craft fairs or in your own shop. Credit to Little Loop Finds as the pattern designer is appreciated.
Happy holiday stitching.


