Crochet baby hat pattern: soft brimmed cap for babies
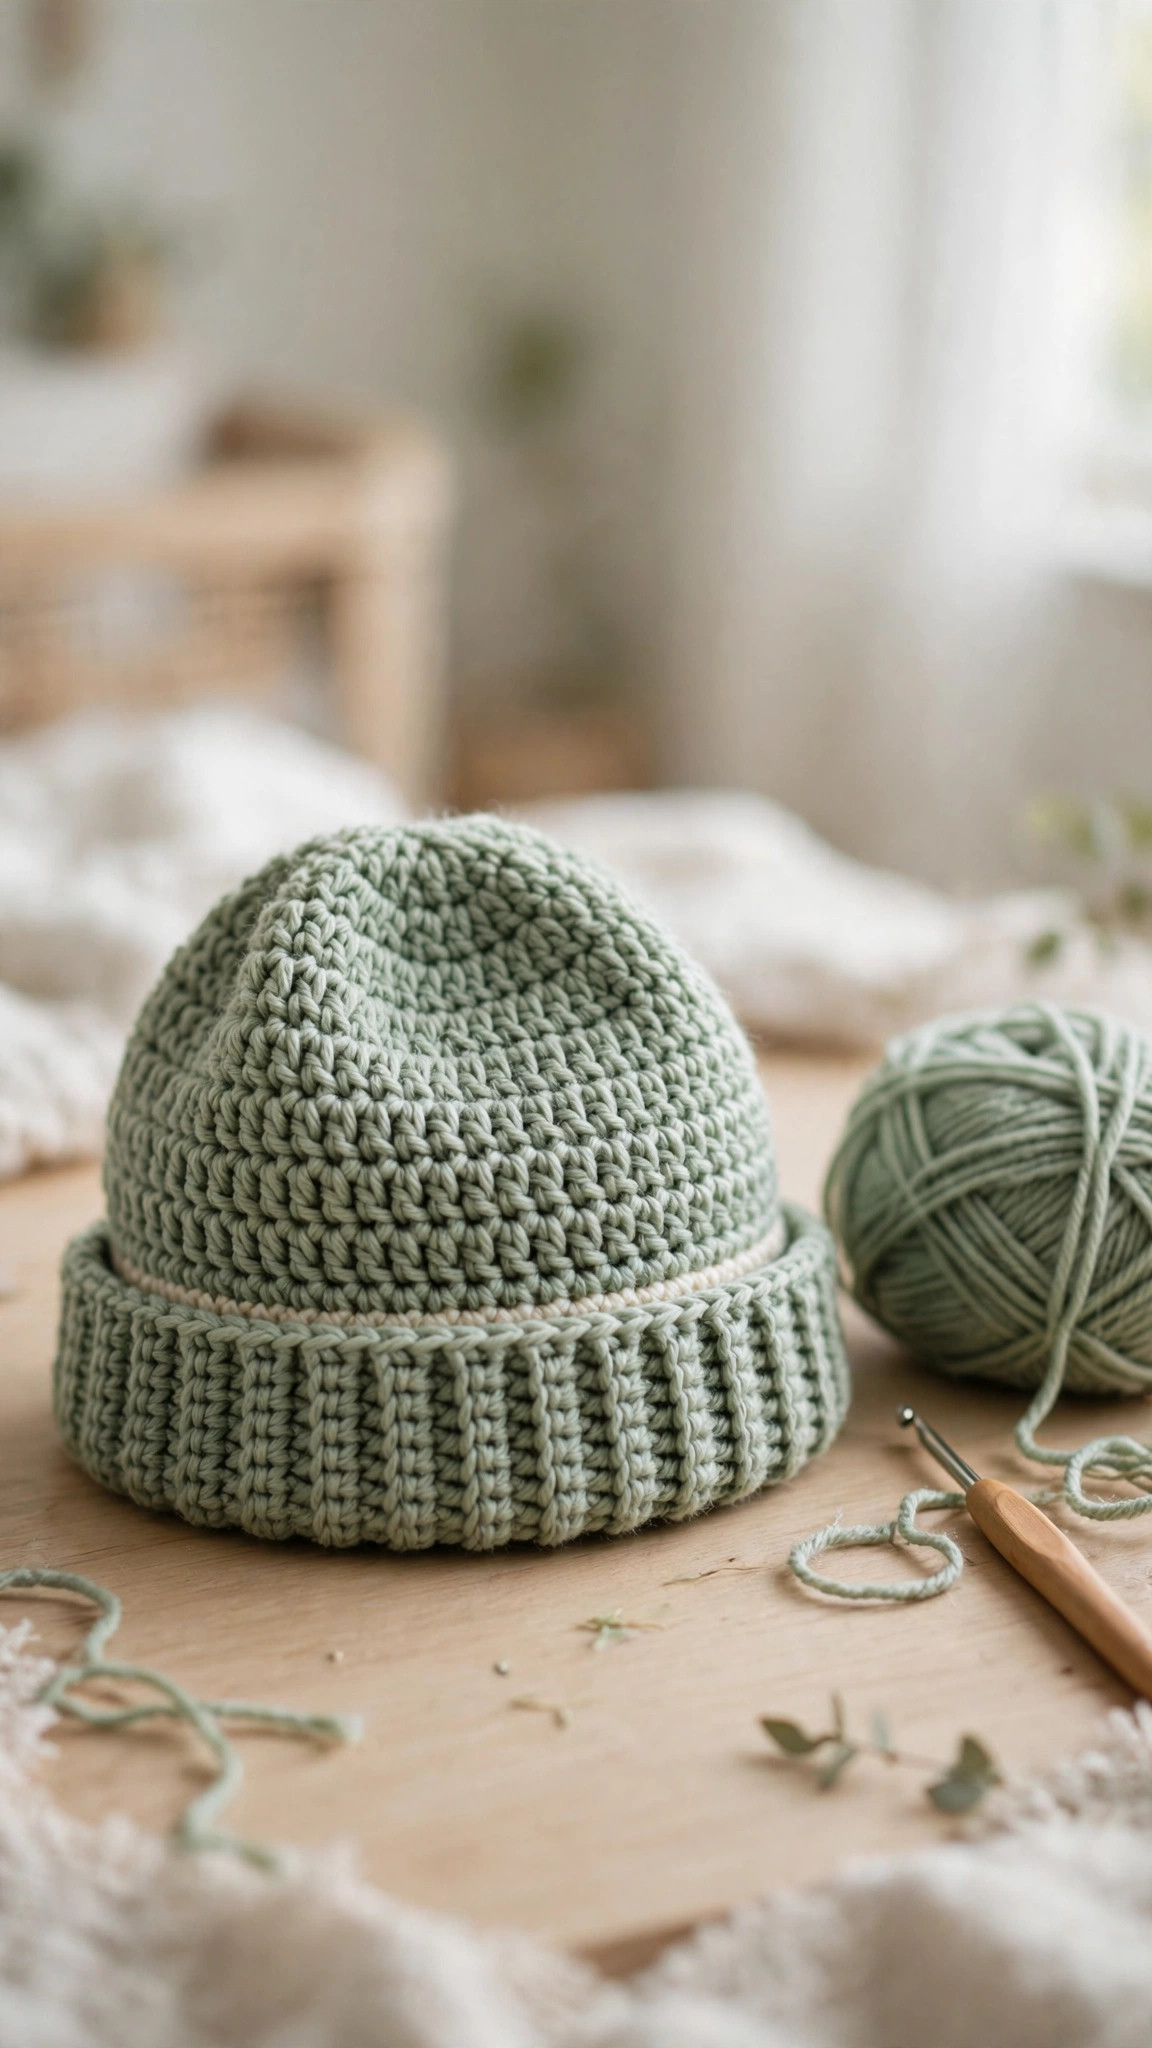
A soft brimmed baby cap with a folded ribbed brim and cream stripe: a real hat, not a bonnet, worked top down in the round in about two hours.

Baby · Crochet
- Finished size
- 13 in around (0–3 months)
- Making time
- About 2 hours
- Hook
- 4.0 mm, DK-weight yarn
- Sizes
- Newborn to 12 months
- Skill
- Beginner
In this post
If you have been searching for a crochet baby hat pattern that makes a real hat, not a bonnet, this soft brimmed cap is the one. It is worked top down in the round: a smooth crown, a cosy half-double crochet body, and a folded ribbed brim that stays put without any ties. Sage green with a cream stripe, it fits newborns through 12 months and works up in about two hours, which makes it perfect for a last-minute baby shower gift or a quick stash-busting evening project.
A hat is not a bonnet: read this first
This is important, because the two get mixed up constantly. A bonnet ties under the chin: it has strings, it covers the ears and the back of the neck, and it stays on because it is tied. A hat does not tie. This pattern makes a hat: a soft cap with a folded brim that sits on the head, covers the top of the ears, and stays on because the ribbed brim hugs the head gently. There are no ties, no strings, and nothing under the chin.
Why does the distinction matter? A bonnet and a hat fit differently and are searched for differently. If you want a bonnet, we already have one: our baby bonnet crochet pattern is a proper tie-under-the-chin bonnet with a sweet ruffled edge. This post is the hat version: brimmed, soft, tie-free, and made to be pulled on and off with one hand while you hold a baby with the other.
Why you'll love this crochet baby hat pattern
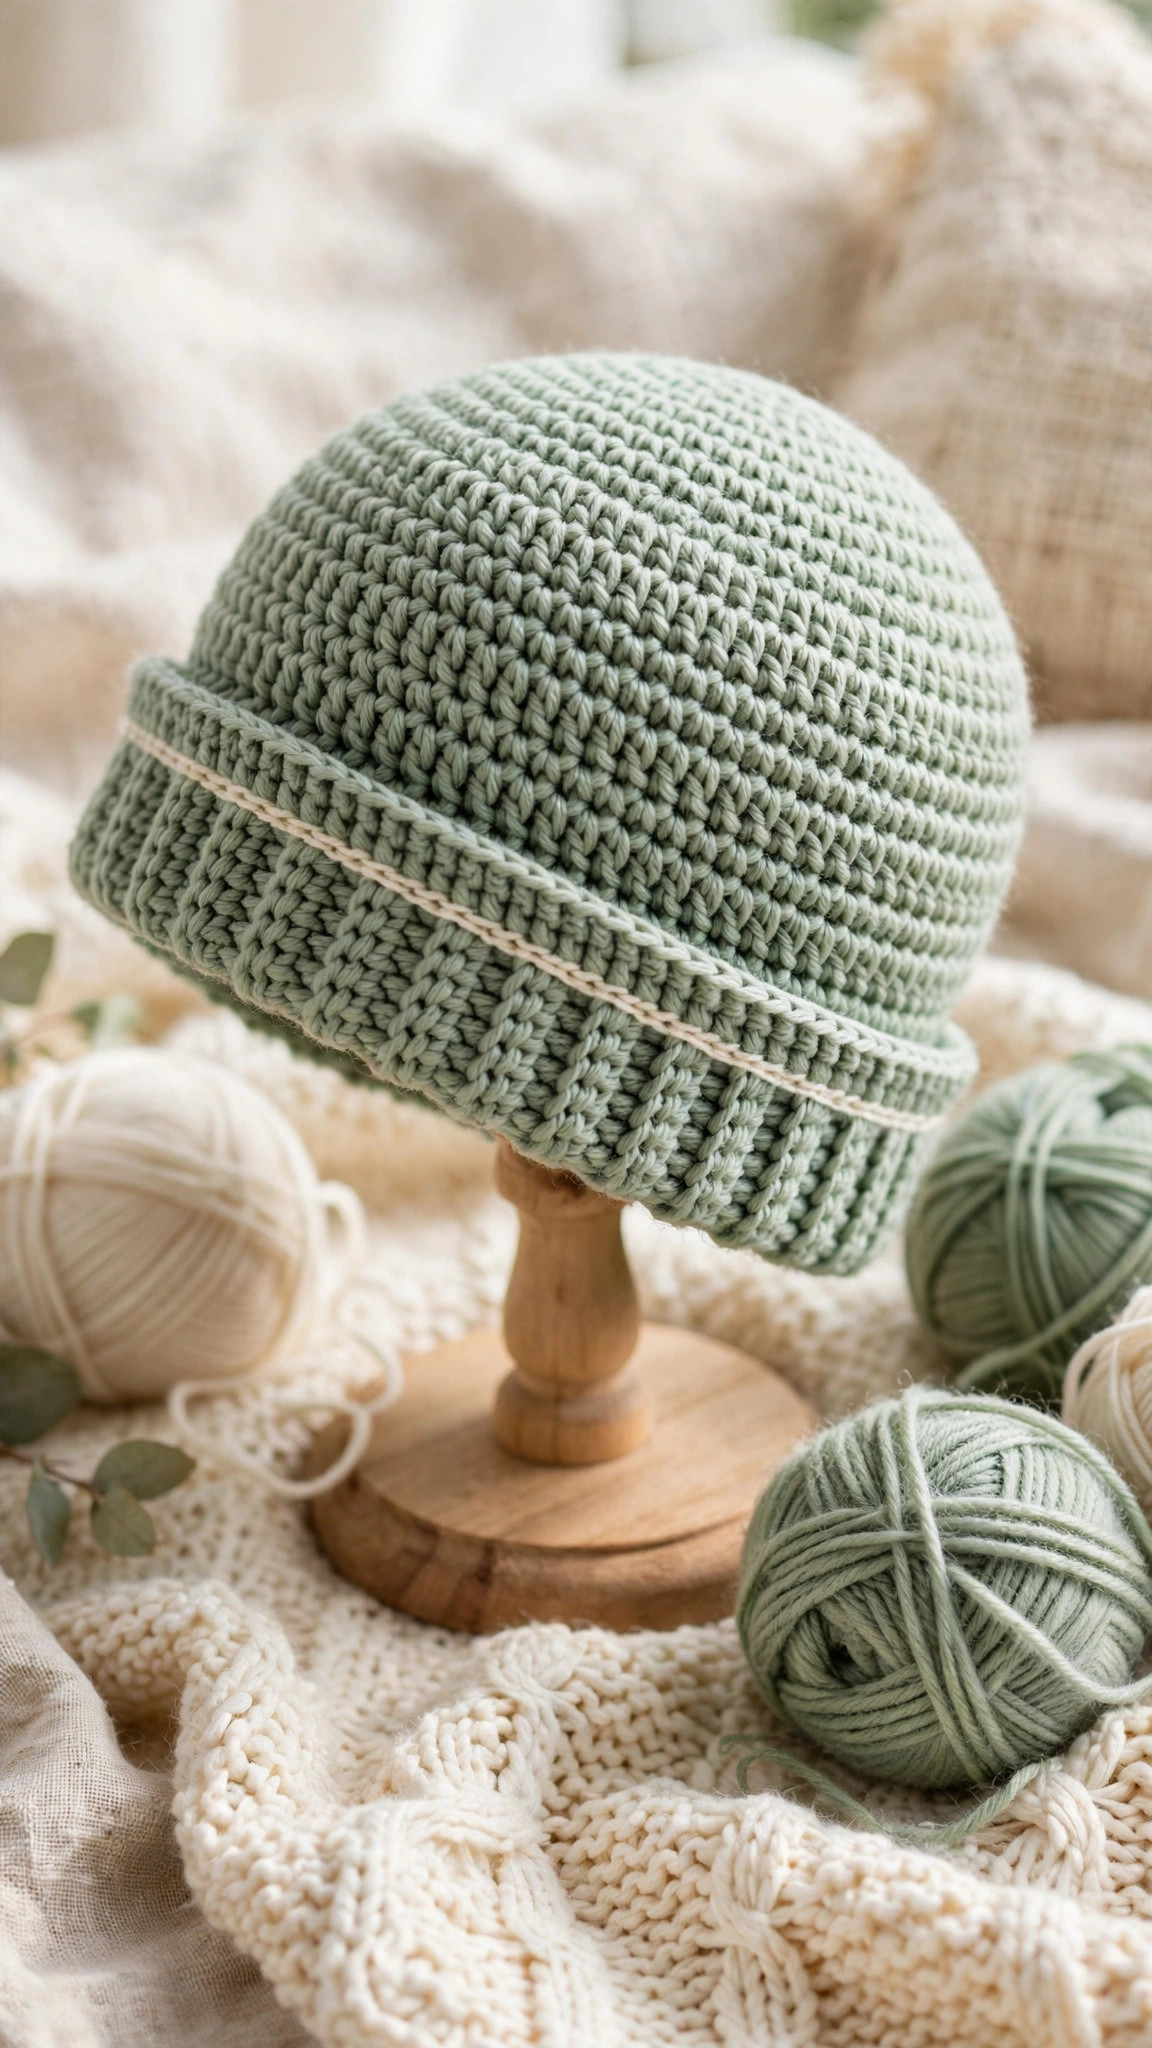
Most baby hat patterns fall into one of two traps: they are either a plain beanie with no shaping, which slides down over the baby's eyes, or a fussy lace cap that takes longer to make than the baby wears it. This pattern dodges both. The crown increases are spaced so the hat is round, not pointy, the body is plain half-double crochet that works up fast, and the folded brim does two jobs at once: it keeps the hat on and it keeps little ears warm.
The brim is the clever part: front-post and back-post double crochet ribbing, folded up, which gives a double layer of warmth over the ears and a neat, store-bought look. The cream stripe sits just above the brim, so the colour change is a clean line. And because the whole hat is worked in the round with no seaming, there is nothing to rub against a baby's soft head.
It is also a stash buster: the 0–3 month size uses less than half a ball of sage green yarn and a few yards of cream. If you like quick baby makes, our crochet infant shoes pattern pairs perfectly with this hat for a complete gift set, and the lovey blanket crochet pattern is another two-hour baby gift.
Materials you'll need
| Supply | What to get |
|---|---|
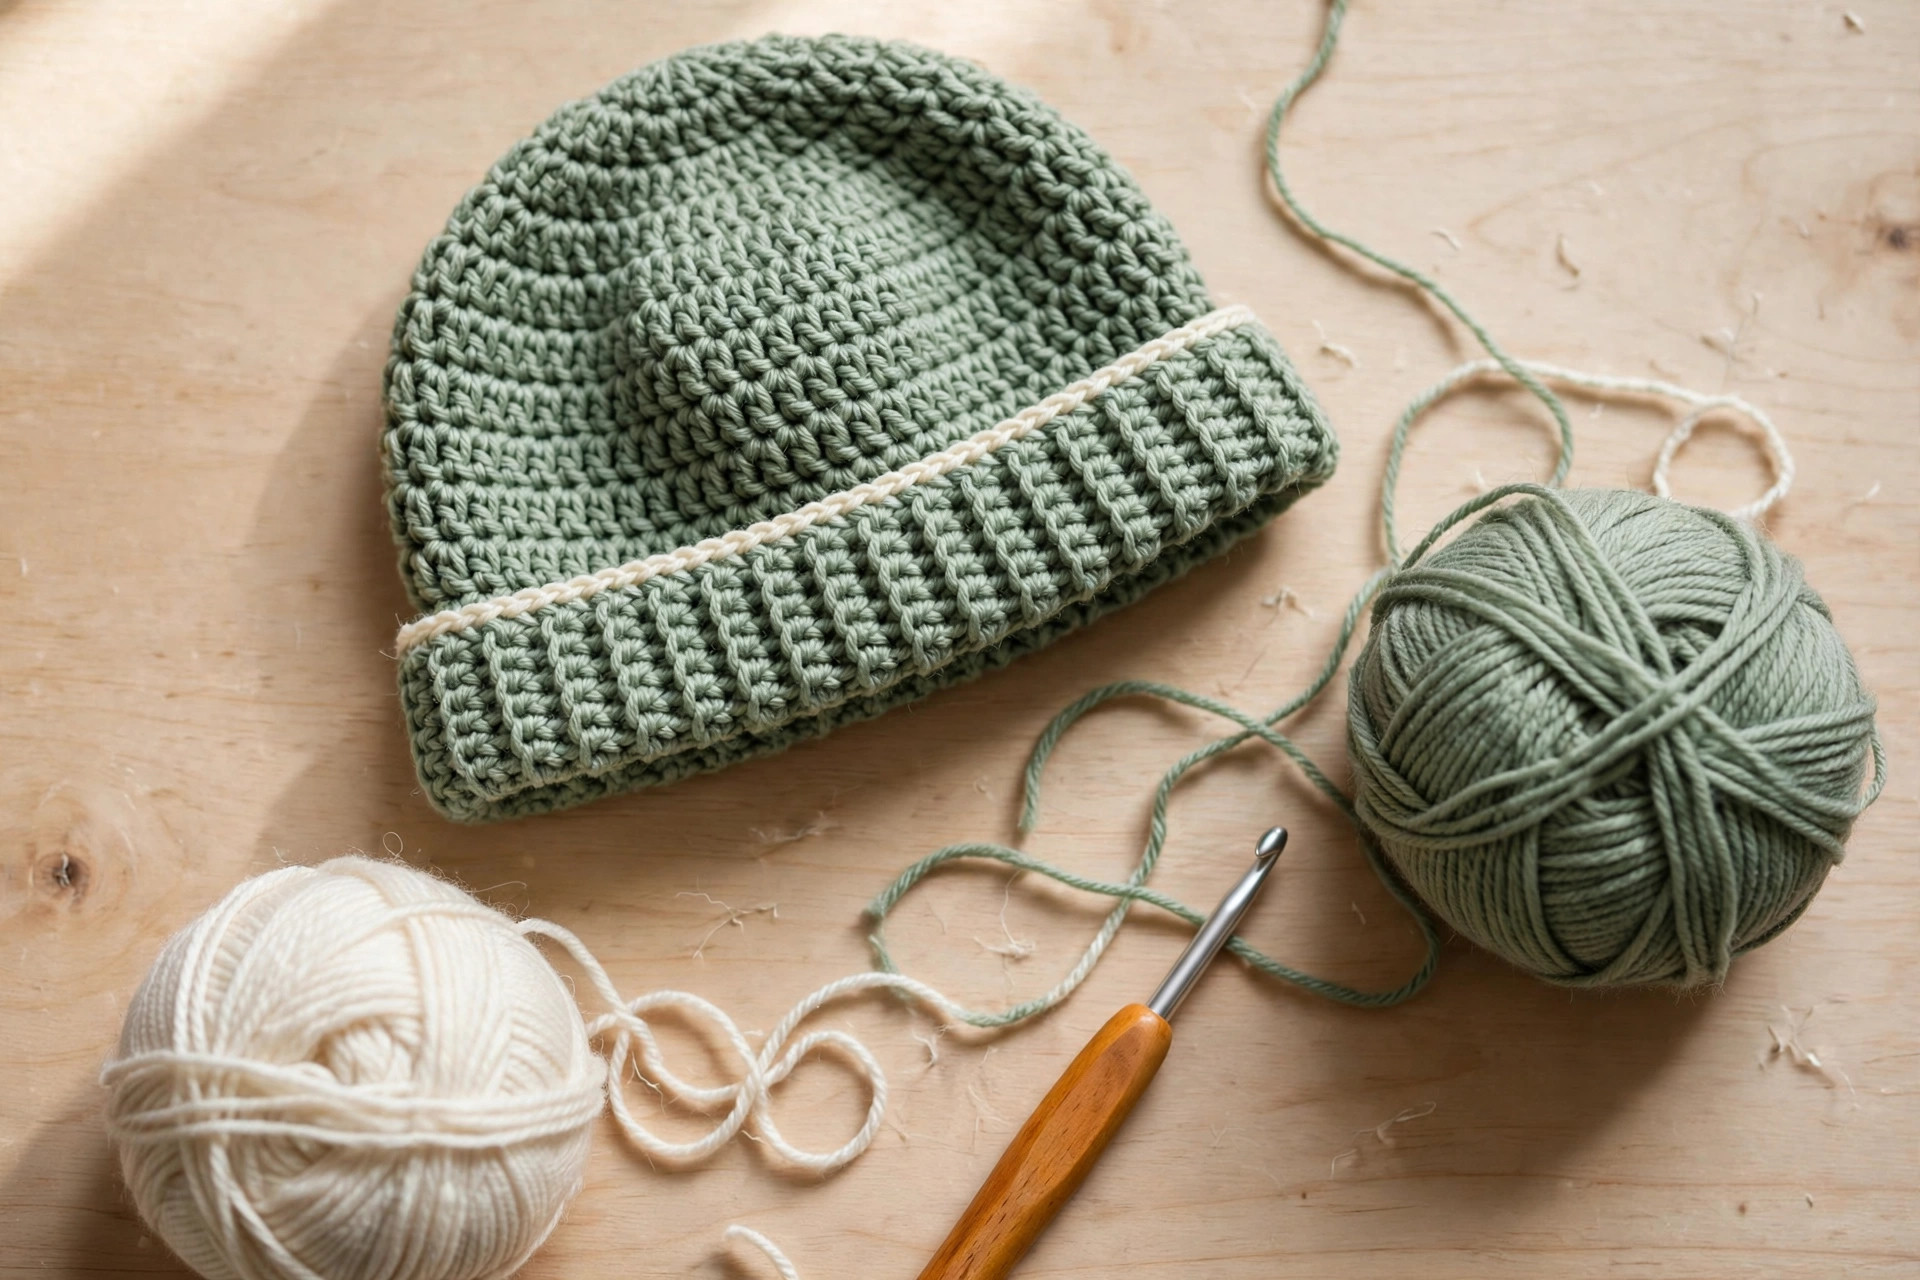
| Main color (A) | DK-weight (#3) yarn in sage green, about 90 yds / 82 m (1 ball) for 0–3 months |
| Contrast color (B) | DK-weight (#3) yarn in cream, about 20 yds / 18 m |
| Crochet hook | 4.0 mm (G-6) |
| Tapestry needle | For weaving in ends |
| Notions | Stitch markers, scissors, tape measure |
| Optional | A small wooden button for the brim, sewn on very firmly |
A soft DK-weight acrylic or acrylic-blend yarn is the best pick here: gentle on baby skin, machine washable, and light enough that the hat does not overheat a baby indoors. Avoid wool unless you know the baby is not sensitive to it, and avoid any yarn with metallic thread or sequins.
Yarn amounts by size (approximate): Newborn — A: 70 yds, B: 15 yds. 0–3 months — A: 90 yds, B: 20 yds. 3–6 months — A: 110 yds, B: 25 yds. 6–12 months — A: 130 yds, B: 30 yds.
A note on baby safety: never add ties, strings, or cords to a baby hat, and never use buttons that could come loose on a hat for a baby under one year. The brim is designed to stay on without any fastening.
Size, gauge and skill level
The hat is worked top down in continuous rounds for the crown, then in joined rounds for the body and brim. Use a stitch marker in the first stitch of every round.
| Size | Head circumference | Hat circumference | Crown rounds | Total rounds |
|---|---|---|---|---|
| Newborn | 13–14 in / 33–36 cm | 12 in / 30 cm | 5 | 16 |
| 0–3 months | 14–15 in / 36–38 cm | 13 in / 33 cm | 6 | 18 |
| 3–6 months | 15–16 in / 38–41 cm | 14 in / 36 cm | 6 | 20 |
| 6–12 months | 16–17 in / 41–43 cm | 15 in / 38 cm | 7 | 22 |
- Finished size (0–3 months): about 13 in (33 cm) around, 5.5 in (14 cm) tall from crown to brim edge before folding, 4.5 in (11 cm) tall with the brim folded up. The hat has about 1 in of negative ease, so it hugs the head gently.
- Gauge: 16 hdc and 12 rows = 4 in (10 cm) with a 4.0 mm hook. Crochet a small swatch first: if your hat comes out too big, drop to a 3.5 mm hook; if too small, go up to a 4.5 mm hook. Gauge matters more here than in amigurumi, because a baby hat that is an inch too big slides over the eyes.
- Skill level: confident beginner. You should know how to chain, half-double crochet, double crochet, and work front-post and back-post stitches. The ribbed brim is explained stitch by stitch.
If you have never made a hat before, this is the perfect first one: the crown increases follow a simple rhythm, the body is plain half-double crochet, and the brim is just ribbing repeated. If the crown looks pointy, your increases are too close together; if it ripples, they are too far apart.
Abbreviations — US terms
| Abbreviation | Meaning |
|---|---|
| ch | chain |
| hdc | half-double crochet |
| dc | double crochet |
| sc | single crochet |
| sl st | slip stitch |
| fpdc | front-post double crochet |
| bpdc | back-post double crochet |
| inc | increase: 2 hdc in the same stitch |
| dec | decrease: hdc 2 stitches together |
| st(s) | stitch(es) |
| RS | right side |
| FO | fasten off |
| [ ] | total stitch count at the end of the round |
A note on turning chains: the ch 2 at the start of a half-double crochet round counts as a stitch here, so work the first hdc into the same stitch as the chain join. The ch 2 at the start of a ribbed brim round does not count as a stitch. Both are stated in the pattern where they matter.
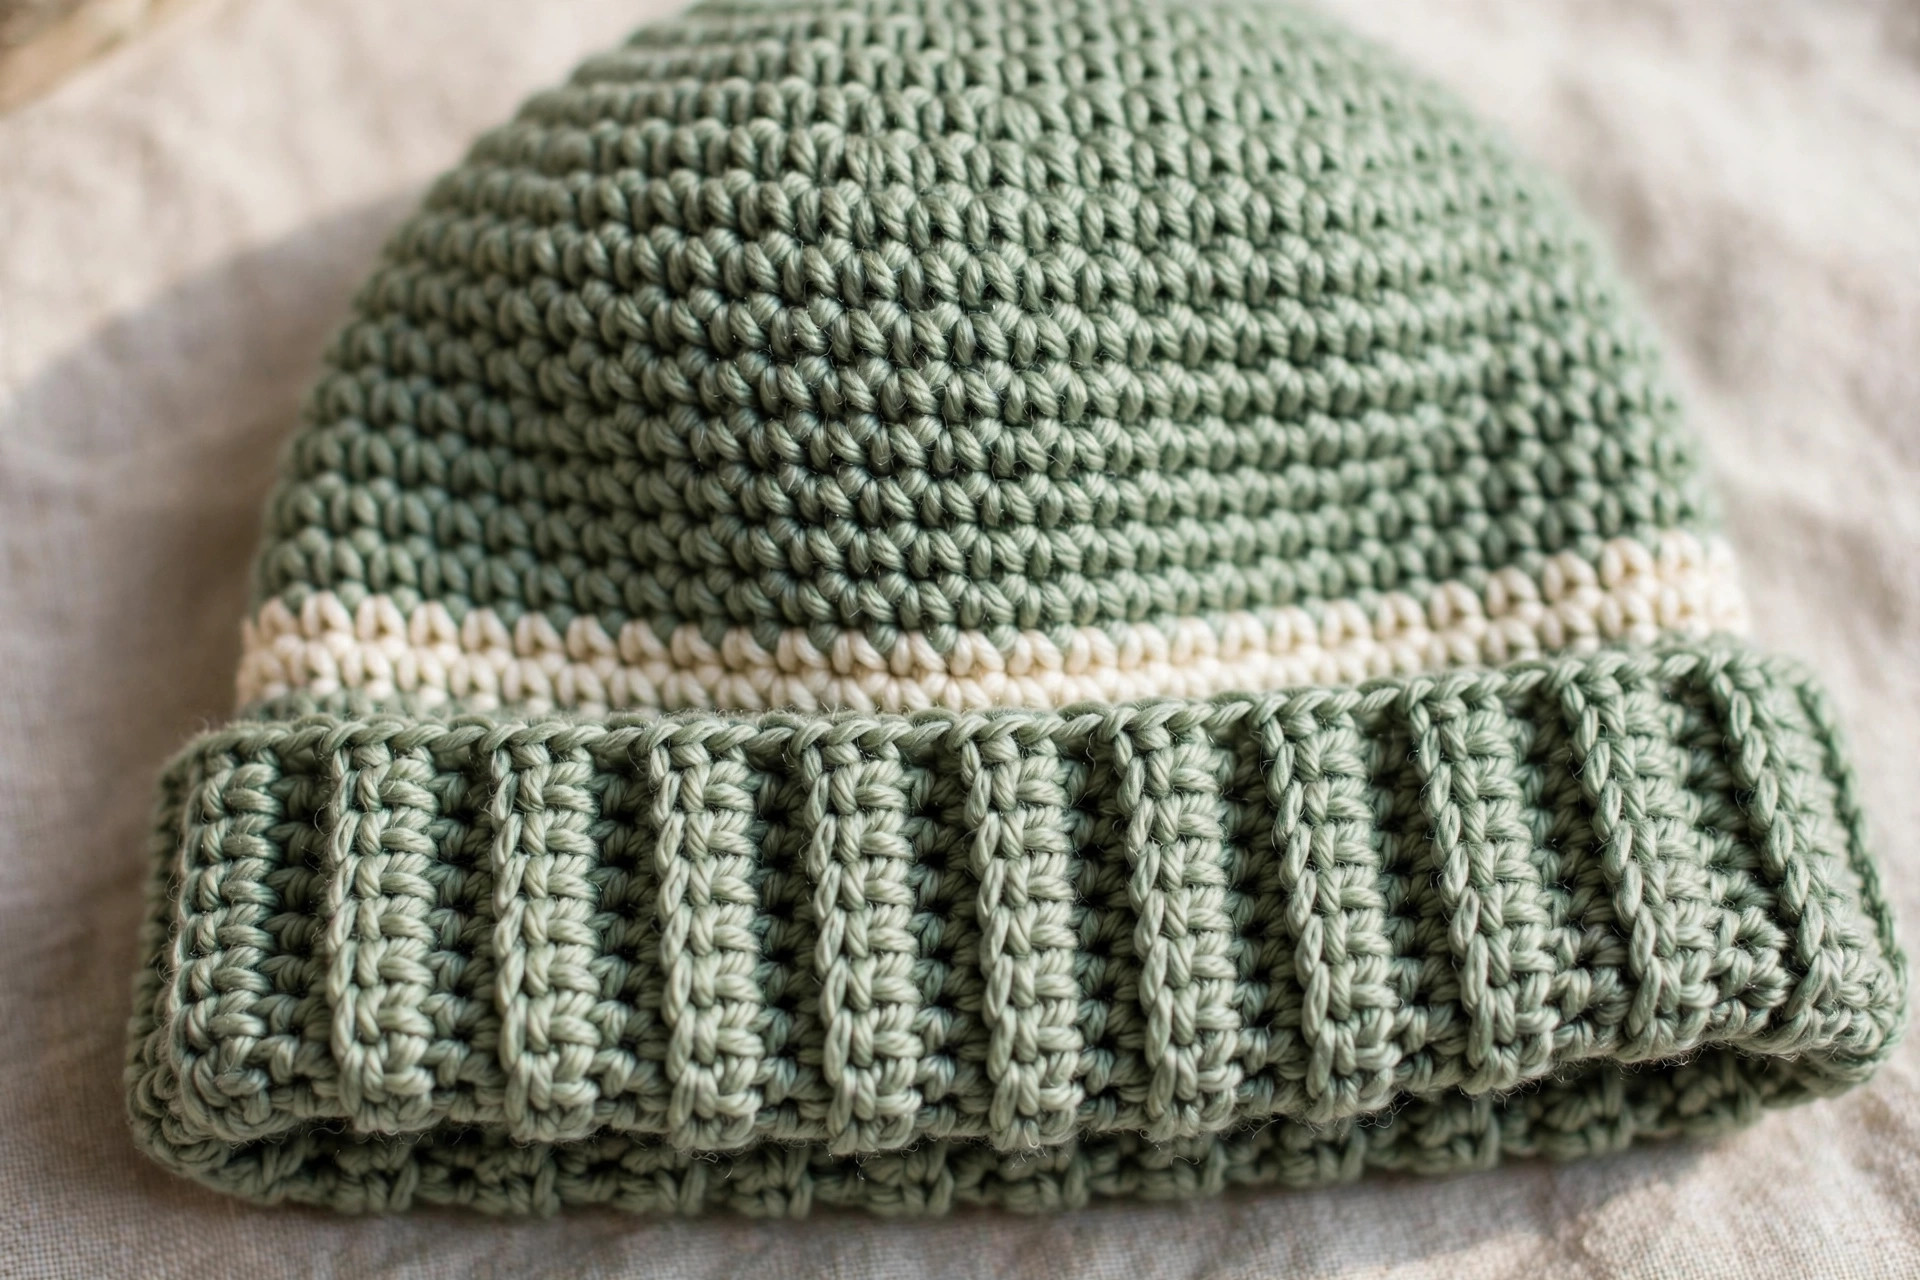
The pattern (US terms)
Work the crown in continuous rounds, then join each body and brim round with a slip stitch. Instructions below are for the 0–3 month size, with Newborn, 3–6 months, and 6–12 months in brackets: Newborn (0–3 months, 3–6 months, 6–12 months).
Crown
With color A and a 4.0 mm hook, start with a magic ring.
- Round 1: ch 2 (counts as hdc), 9 hdc in MR, join with sl st to top of ch 2. [10]
- Round 2: ch 2, hdc in same st, 2 hdc in each st around, join. [20]
- Round 3: ch 2, hdc in same st, (hdc in next st, 2 hdc in next st) around, join. [30]
- Round 4: ch 2, hdc in same st, (hdc in next 2 sts, 2 hdc in next st) around, join. [40]
- Round 5: ch 2, hdc in same st, (hdc in next 3 sts, 2 hdc in next st) around, join. [50]
- Round 6: ch 2, hdc in same st, (hdc in next 4 sts, 2 hdc in next st) around, join. [60]
Stop here for the Newborn size (after Round 5, 50 stitches). For the 3–6 month size, stop after Round 6 as well but work the body two rounds longer. For the 6–12 month size, add Round 7: ch 2, hdc in same st, (hdc in next 5 sts, 2 hdc in next st) around, join. [70]
The crown should lie flat like a small plate, about 4 in (10 cm) across for the 0–3 month size. If the edge ripples, your stitches are too loose; if the crown cups like a bowl, your increases are too few.
Body
Continue in color A, joined rounds, no increases.
- Rounds 7–13 (0–3 months): ch 2 (counts as hdc), hdc in each st around, join with sl st to top of ch 2. [60]
Work 5 body rounds for Newborn, 7 for 0–3 months, 8 for 3–6 months, and 9 for 6–12 months. The body should measure about 3 in (8 cm) from the last crown round to the stripe for the 0–3 month size.
Cream stripe
The stripe is two rounds of cream (B), worked exactly like the body rounds.
- Stripe Round 1: join color B. Ch 2 (counts as hdc), hdc in each st around, join. [60]
- Stripe Round 2: ch 2, hdc in each st around, join. [60]
Fasten off color B and rejoin color A for the brim. The stripe should sit about 1.5 in (4 cm) above the bottom edge of the finished hat, just above the folded brim.
Folded ribbed brim
The brim is worked in color A in front-post and back-post double crochet ribbing, then folded up. The ch 2 at the start of each brim round does not count as a stitch.
- Brim Round 1: ch 2, *fpdc around next st, bpdc around next st; rep from * around, join with sl st to first fpdc. [30 fpdc, 30 bpdc]
- Brim Rounds 2–4: ch 2, *fpdc around next fpdc, bpdc around next bpdc; rep from * around, join. [30 fpdc, 30 bpdc]
Work 3 brim rounds for Newborn, 4 for 0–3 and 3–6 months, and 5 for 6–12 months. The brim should measure about 1.5 in (4 cm) tall for the 0–3 month size. Fold the brim up so its top edge sits just below the cream stripe, and the ribbing shows on the outside. The fold is the brim: do not sew it up, because an unfixed fold lets the parent adjust how much ear coverage the baby gets.
Tip: if the ribbing looks loose and the brim flops down, work the brim with a 3.5 mm hook instead of a 4.0 mm hook. A tighter brim grips better and holds its fold.
Finishing the hat
Fasten off, leaving a 6 in tail. Weave in the ends, working them into the wrong side for at least 2 in. Turn the hat right side out, fold the brim up, and gently shape the crown with your hands: it should be a smooth dome, not a point.
Try the hat on something round before you gift it: a ball or a rolled-up towel about the size of a baby's head. The brim should sit just above the eyebrows and the crown smooth. One hook size up or down fixes a brim that is too loose or too tight.
Finishing touches
Block it lightly. Lay the hat flat on a towel, shape the crown into a dome, fold the brim up, and mist it lightly with water. Let it dry completely. Do not stretch the hat while blocking: it should keep its gentle negative ease.
Check the brim fold. Put the hat on your fist: the brim should fold at the same height all the way around, with the cream stripe just above it.
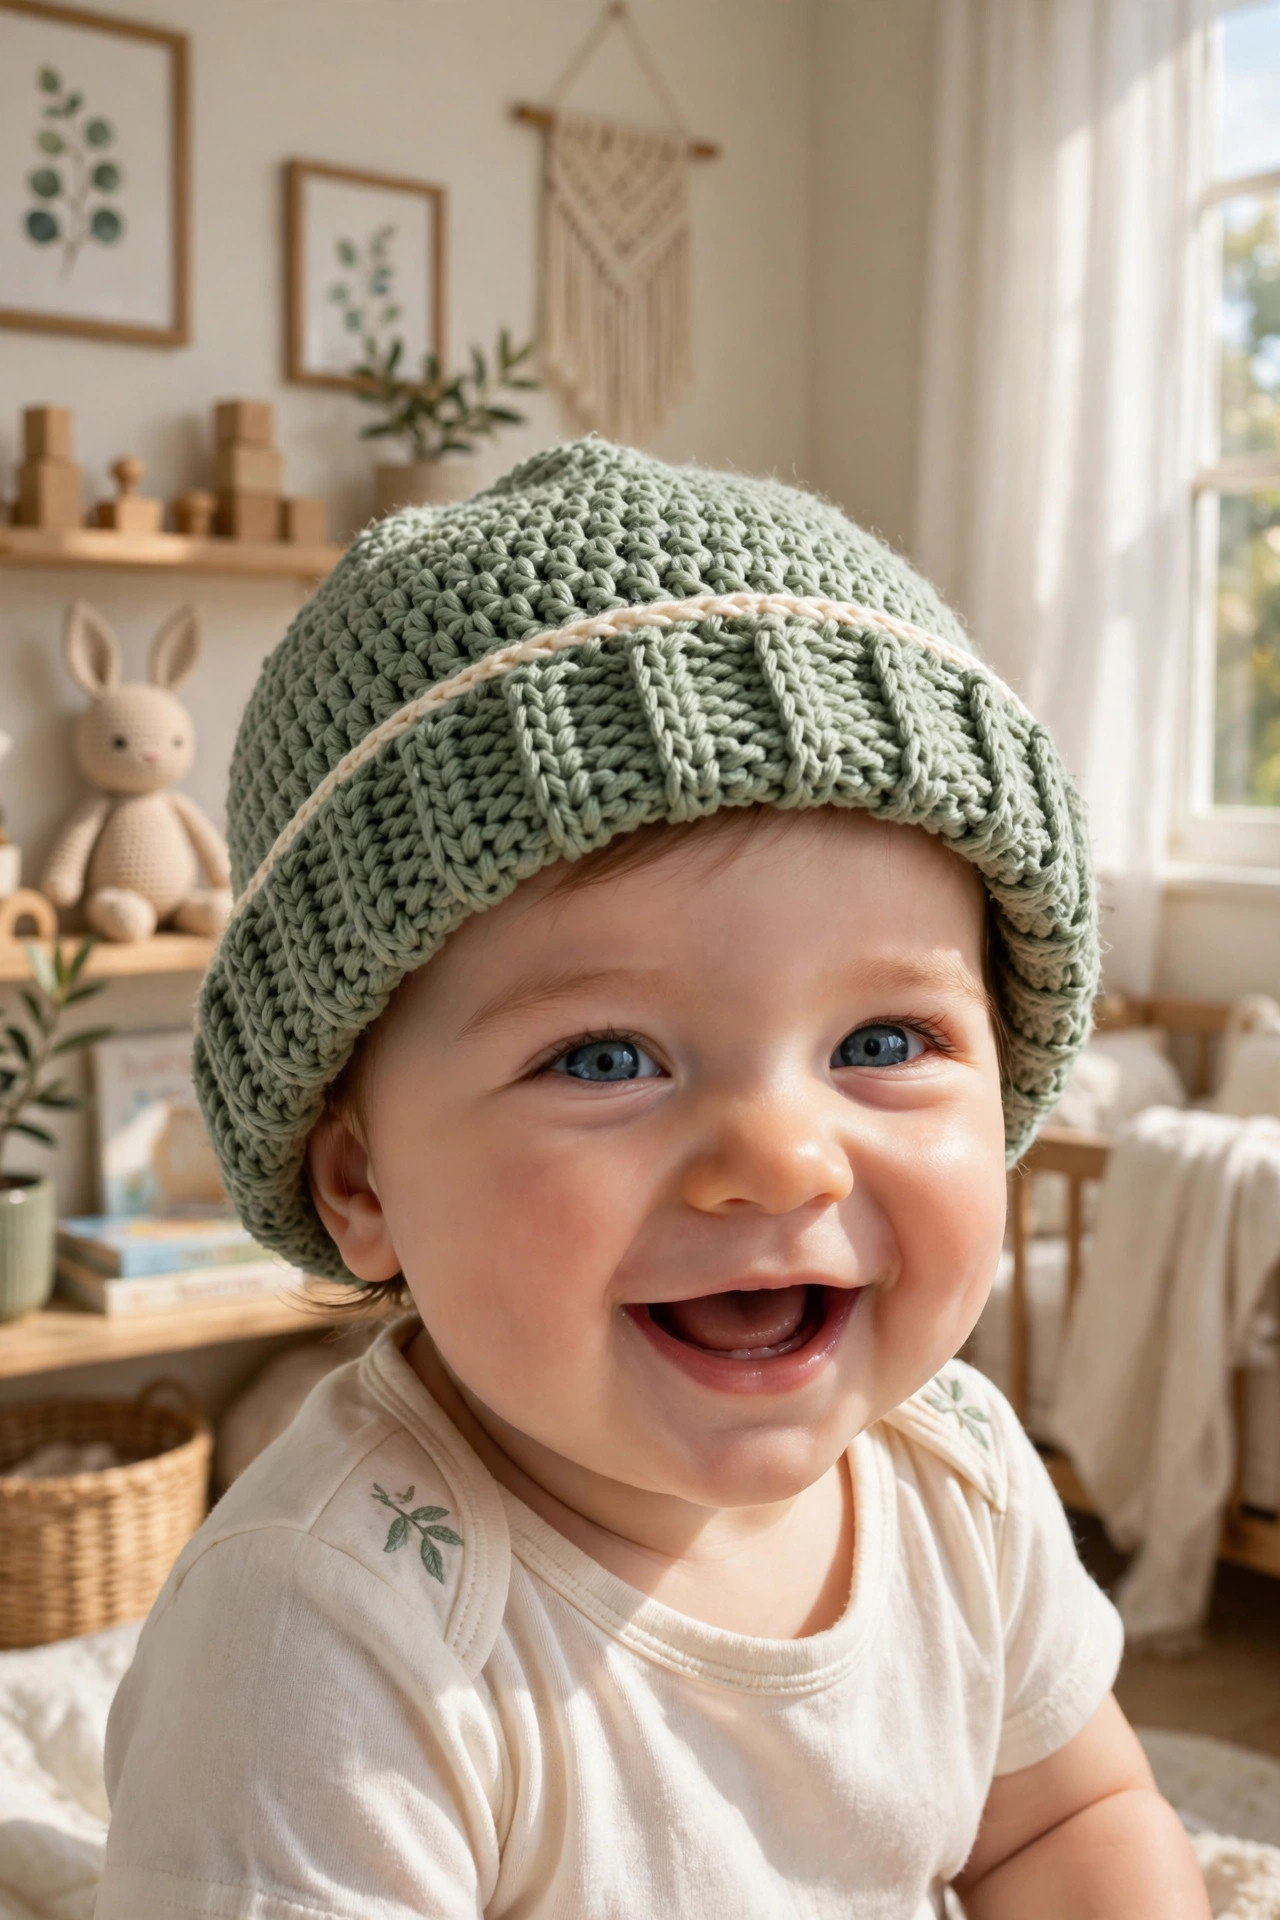
Three cute variations to try next
Once you have made one hat, the same crown and brim make a whole wardrobe of baby hats. Same construction, three personalities:
- Bear ears hat. Make the hat as written, then add two small round ears: work 6 sc in a magic ring, increase to 12, work 2 rounds straight, fasten off, and sew one ear to each side of the crown. Use the main color for the ears and cream for the inner ear. It pairs beautifully with our free crochet bunny pattern for a woodland nursery set.
- Striped rainbow hat. Work the body in cream and add three thin stripes in dusty pink, sage, and mustard, one round each, just above the brim. If you like baby colour play, the crochet earflap hat pattern uses the same crown rhythm with cosy earflaps.
- Festive elf hat. Work the crown as written, then keep increasing the body by one stitch every other round for 6 extra rounds so the hat grows into a long point, and add a cream pom-pom at the tip. For the full festive set, our crochet elf hat pattern is the matching grown-up version.
And if this hat gave you the baby-make bug, the free crochet Santa hat pattern is the next quick make, or keep it soft with the free ribbed beanie pattern, another two-hour project.
Troubleshooting tips
- Your hat is pointy, not round. Your crown increases are too close together, or you stopped increasing too early. The crown should lie flat like a plate after the last increase round; if it points up, add one more increase round.
- The hat slides down over the baby's eyes. The body is too long or the brim is too loose. Work two fewer body rounds, or work the brim with a hook half a size smaller so it grips.
- The brim will not stay folded up. The ribbing is too loose, or the brim is too short to hold a fold. Work one more brim round, or tack the fold with two tiny stitches on the inside at the front and back.
- The stripe jogs where the round joins. The colour change join is showing. Join the cream with a slip stitch, chain 2, and work the first hdc into the same stitch: the join will sit at the back of the hat where nobody looks.
- The hat is too tight and leaves a mark. Your gauge is too tight, or you picked a size too small. Go up half a hook size, or make the next size up: babies grow fast, and a slightly big hat is worn longer than a slightly small one.
- The crown ripples like a ruffle. You added too many stitches in an increase round. Count every round: each crown increase round should add exactly 10 stitches, no more.
Frequently asked questions
Is this crochet baby hat pattern really free?
Yes, the complete pattern above is free, no email signup, no PDF purchase required.
Is this a bonnet or a hat?
This is a hat: a soft brimmed cap with a folded ribbed brim and no ties. A bonnet ties under the chin. If you want a bonnet, our baby bonnet crochet pattern is the proper tie-under-the-chin version.
What skill level is this baby hat pattern?
Confident beginner. If you can half-double crochet in the round and work a front-post double crochet, you have every skill this pattern needs. The ribbed brim is explained stitch by stitch.
How long does it take to make?
About 2 hours for the 0–3 month size: roughly 30 minutes for the crown, 45 minutes for the body and stripe, and 30 minutes for the brim and finishing. The newborn size takes about 90 minutes.
How much yarn do I need?
For the 0–3 month size, about 90 yds of sage green and 20 yds of cream in DK-weight yarn. One ball of the main color is plenty for any size, and the cream is a small amount from your stash.
What size should I make for a newborn gift?
Make the 0–3 month size. Newborns outgrow the newborn size in a few weeks, and the 0–3 month size fits most babies from birth to three months because of the gentle stretch in the brim.
Can I sell the finished hats I make?
Yes! You may sell finished hats made from this pattern in small batches (craft fairs, markets, gifts). Please credit Little Loop Finds as the pattern designer with a link back to this page.
More free patterns to try
If this hat was fun, keep the hook moving. The baby bonnet crochet pattern is the tie-under-the-chin companion to this hat, the crochet infant shoes pattern completes the gift set, the crochet earflap hat pattern adds cosy earflaps for winter, and the lovey blanket crochet pattern is another two-hour baby gift.