Crochet Ski Mask Pattern Free: Cozy Balaclava
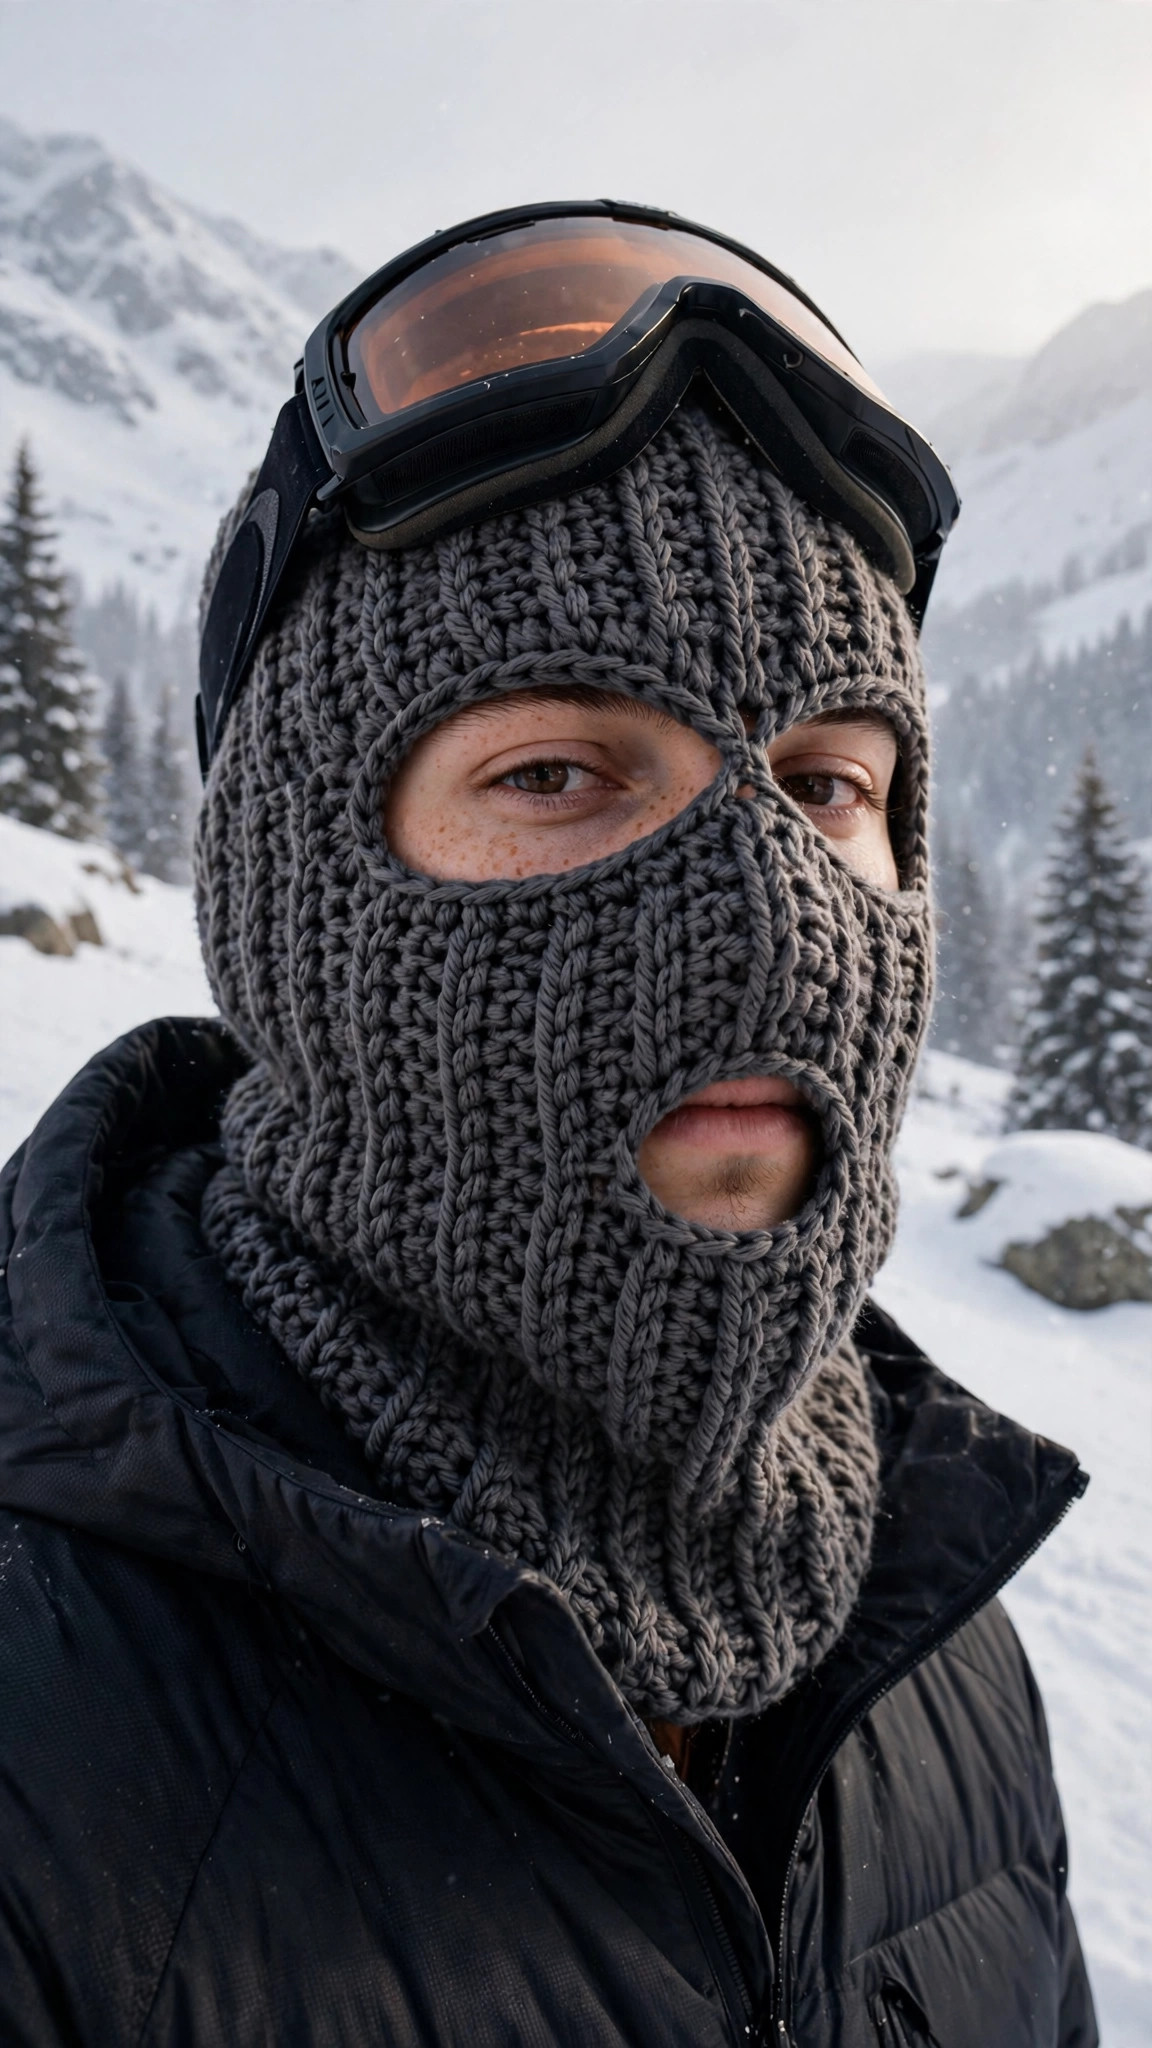
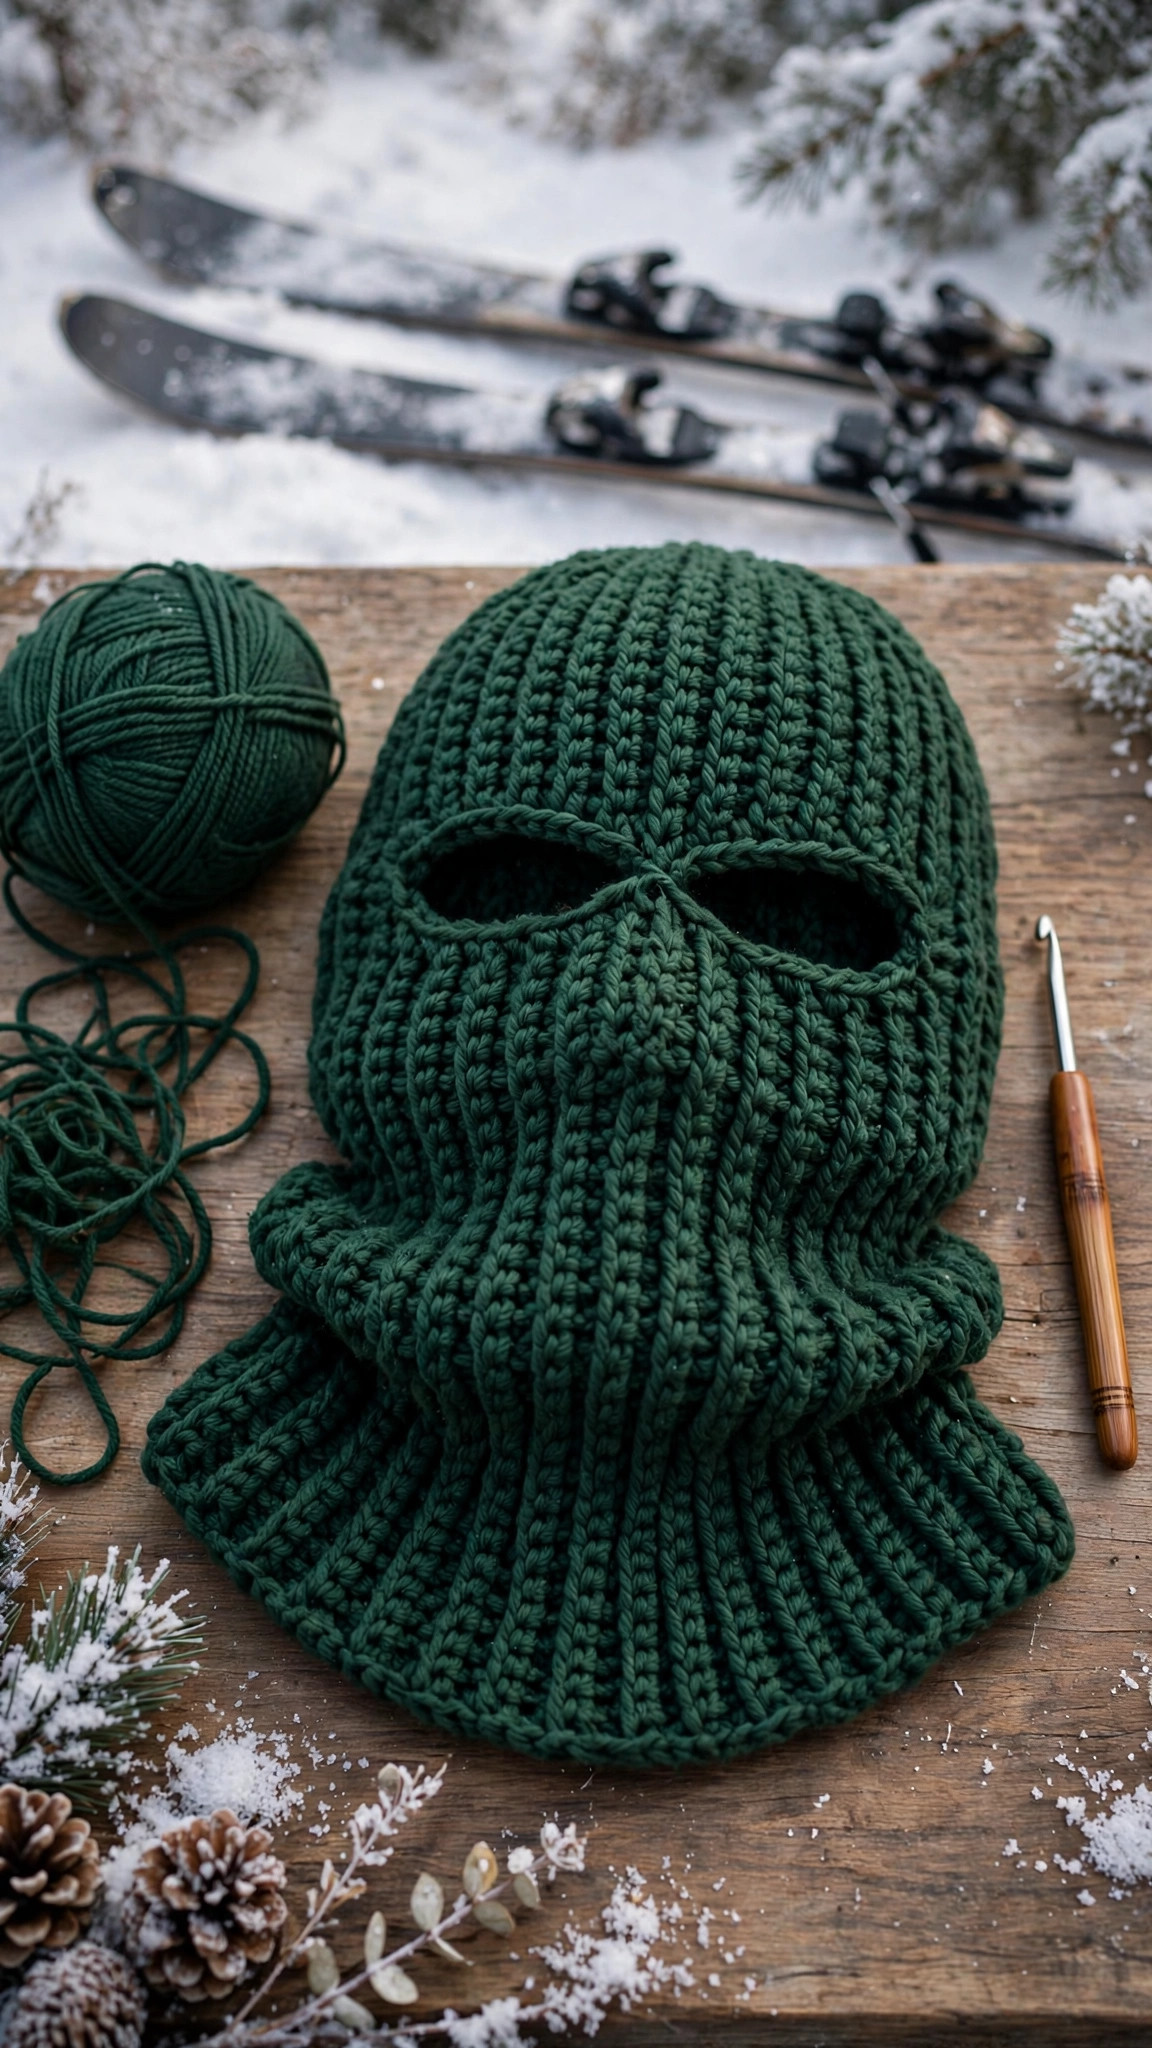
A warm balaclava-style ski mask worked top-down in half double crochet rounds, with a wide goggle-friendly eye opening, a separate breathable mouth opening and a snug ribbed neck — in child, teen/small adult and adult large sizes.

Winter Gear · Crochet
- Finished size
- 3 sizes, child to adult large
- Making time
- About 3–5 hours
- Hook
- 5.0 mm, worsted-weight yarn
- Construction
- Worked in rounds, no sewing
- Skill
- Easy
In this post
A cold lift queue, a biting headwind on the slopes, or a frosty walk to the school bus stop — a crochet ski mask solves all three. This balaclava-style design covers your head, ears, cheeks and neck in one warm piece, with a wide eye opening that fits under goggles and a separate mouth opening so you can breathe and talk without pulling the mask down.
This is an original Little Loop Finds design, worked top-down in joined half double crochet rounds. Start at the crown, increase evenly to your size, crochet straight down past the eyes and mouth, then finish with a snug ribbed neck that tucks inside a ski jacket. The openings are made by chaining across skipped stitches — no cutting, no sewing pieces together afterwards.
The pattern includes three sizes — child, teen/small adult, and adult large — with every stitch count given for every round. If you can chain, half double crochet and slip stitch, you have every skill this mask needs.
Contents
- Why you'll love this ski mask
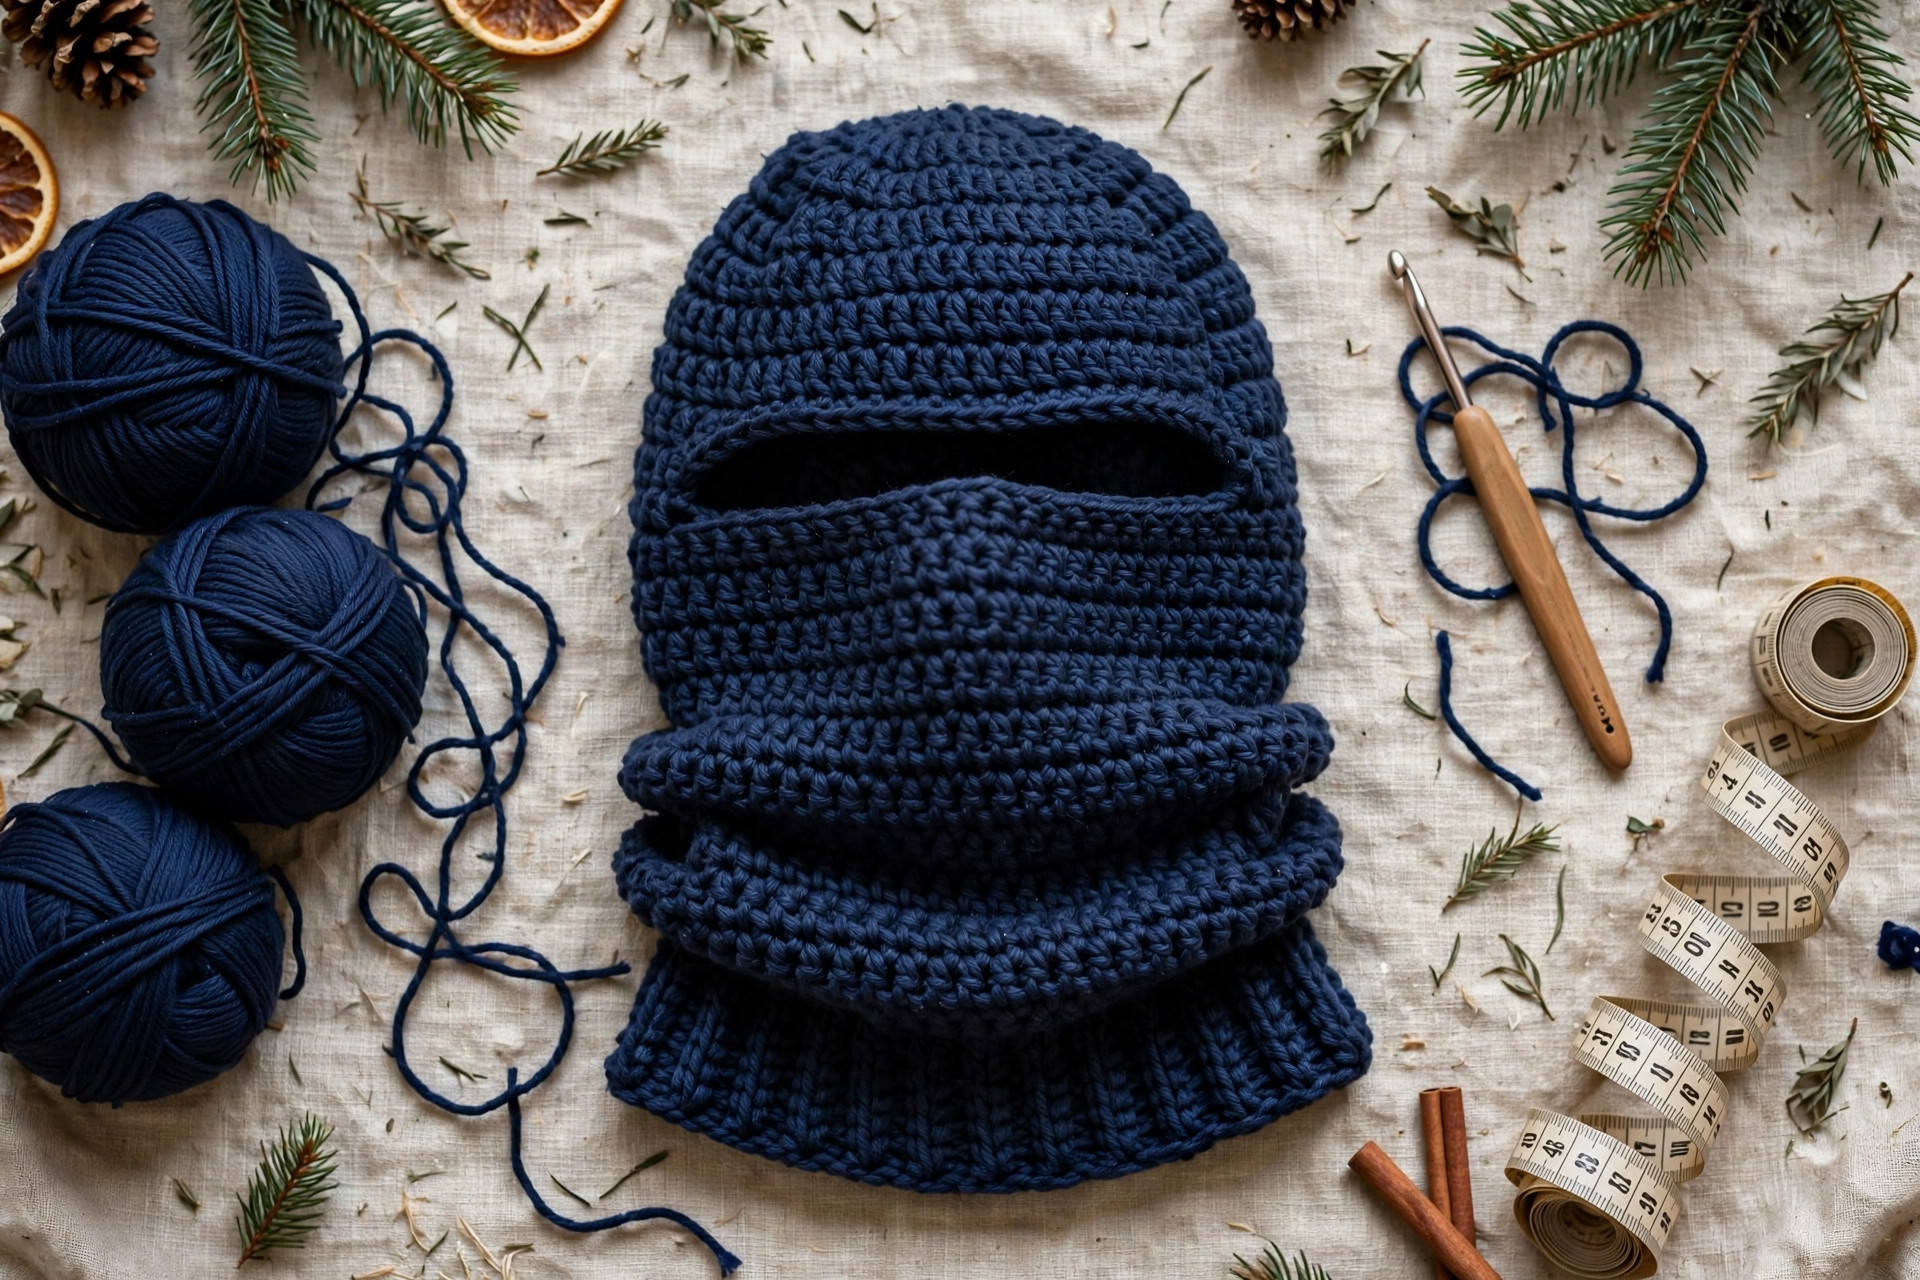
- Materials you'll need
- Size, gauge and skill level
- Abbreviations — US terms
- The pattern (US terms)
- Finishing your ski mask
- Tips for a mask that fits and lasts
- FAQ
- What to crochet next
Why you'll love this ski mask
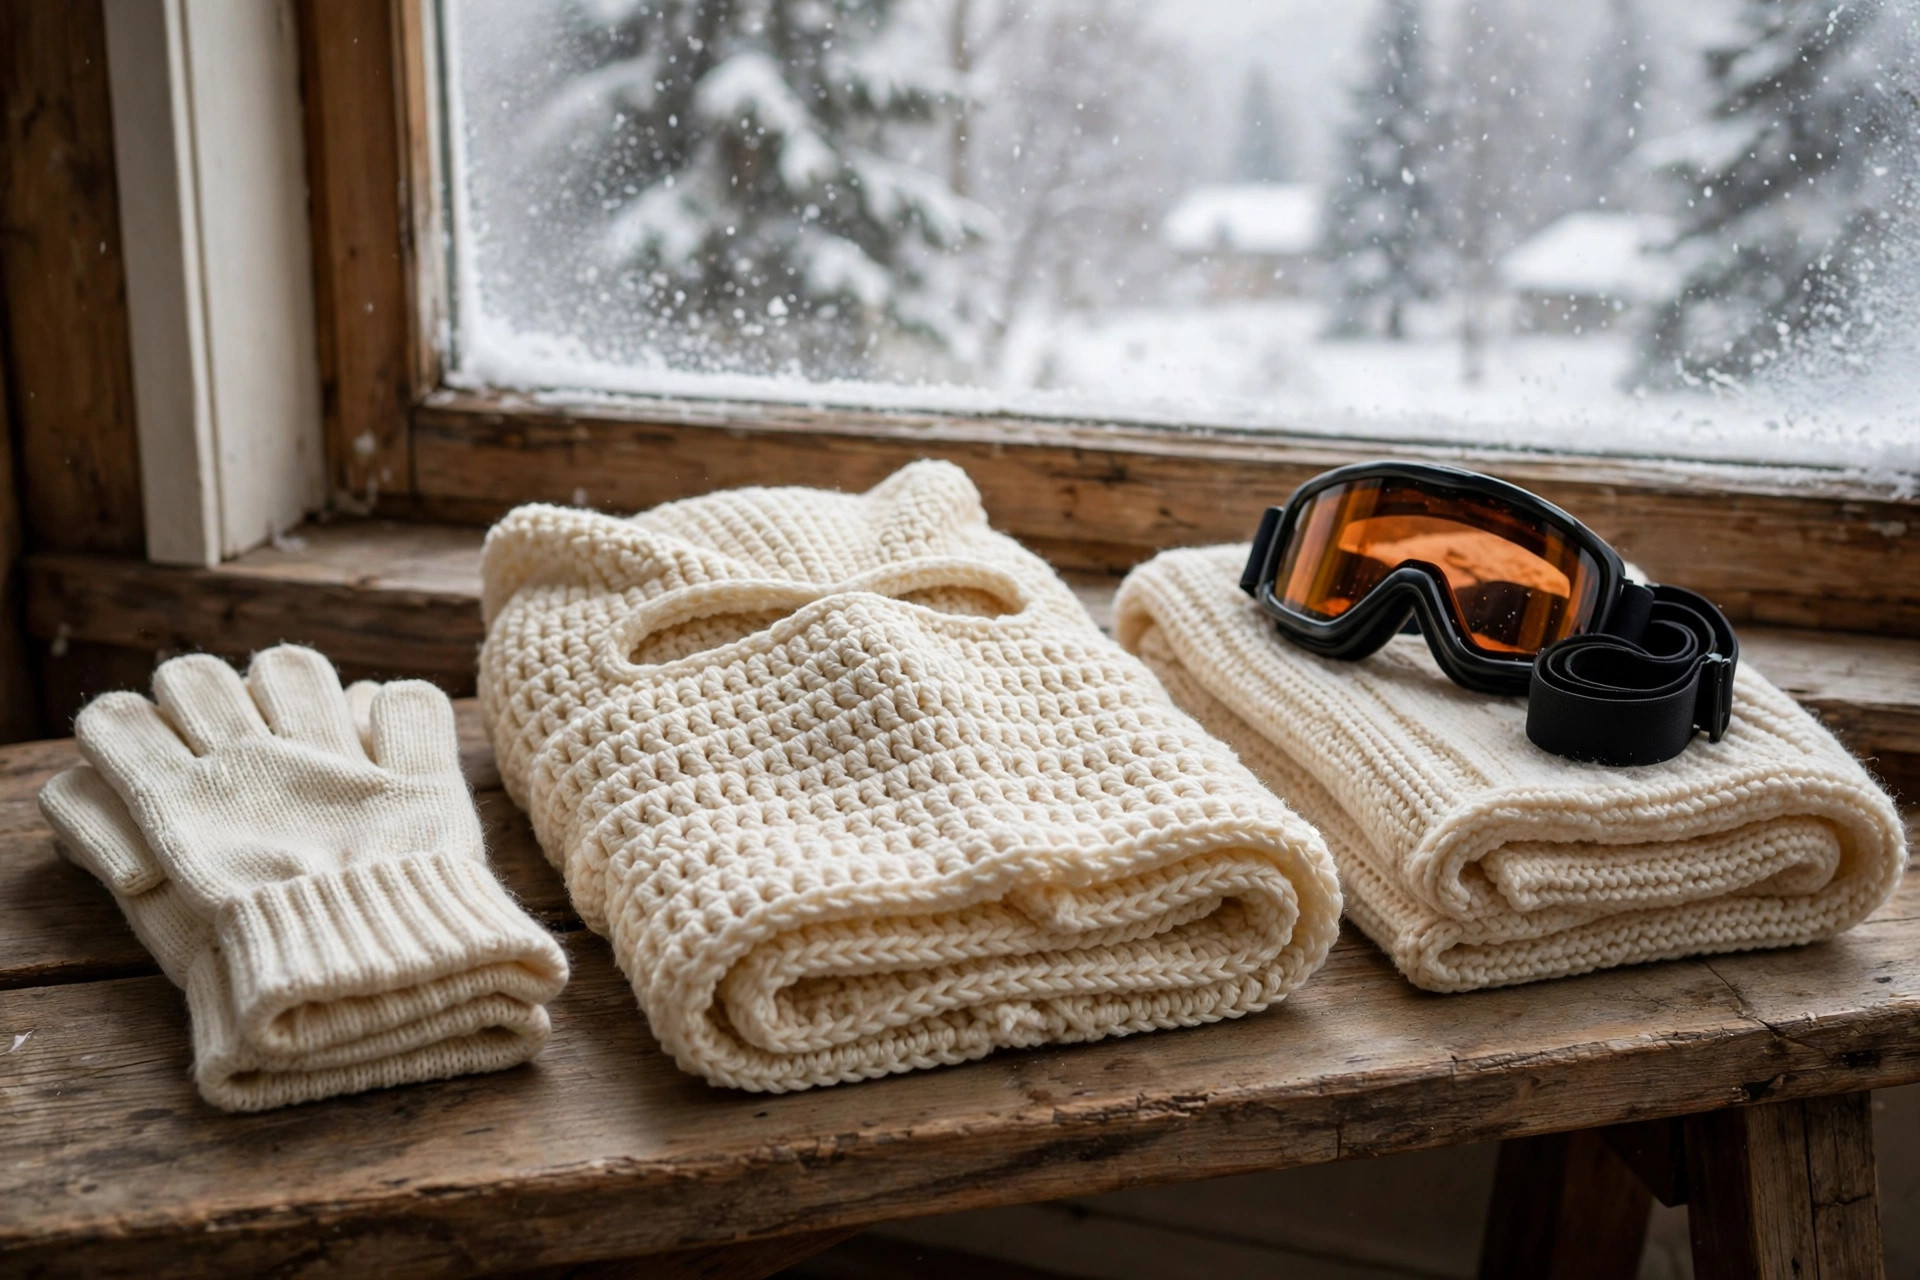
First, the coverage. A hat alone leaves your cheeks, chin and neck exposed, and a scarf slips down the moment you turn your head. This balaclava covers everything in one piece and stays put on the chairlift and in a howling wind, while the ribbed neck sits flat under a jacket collar.
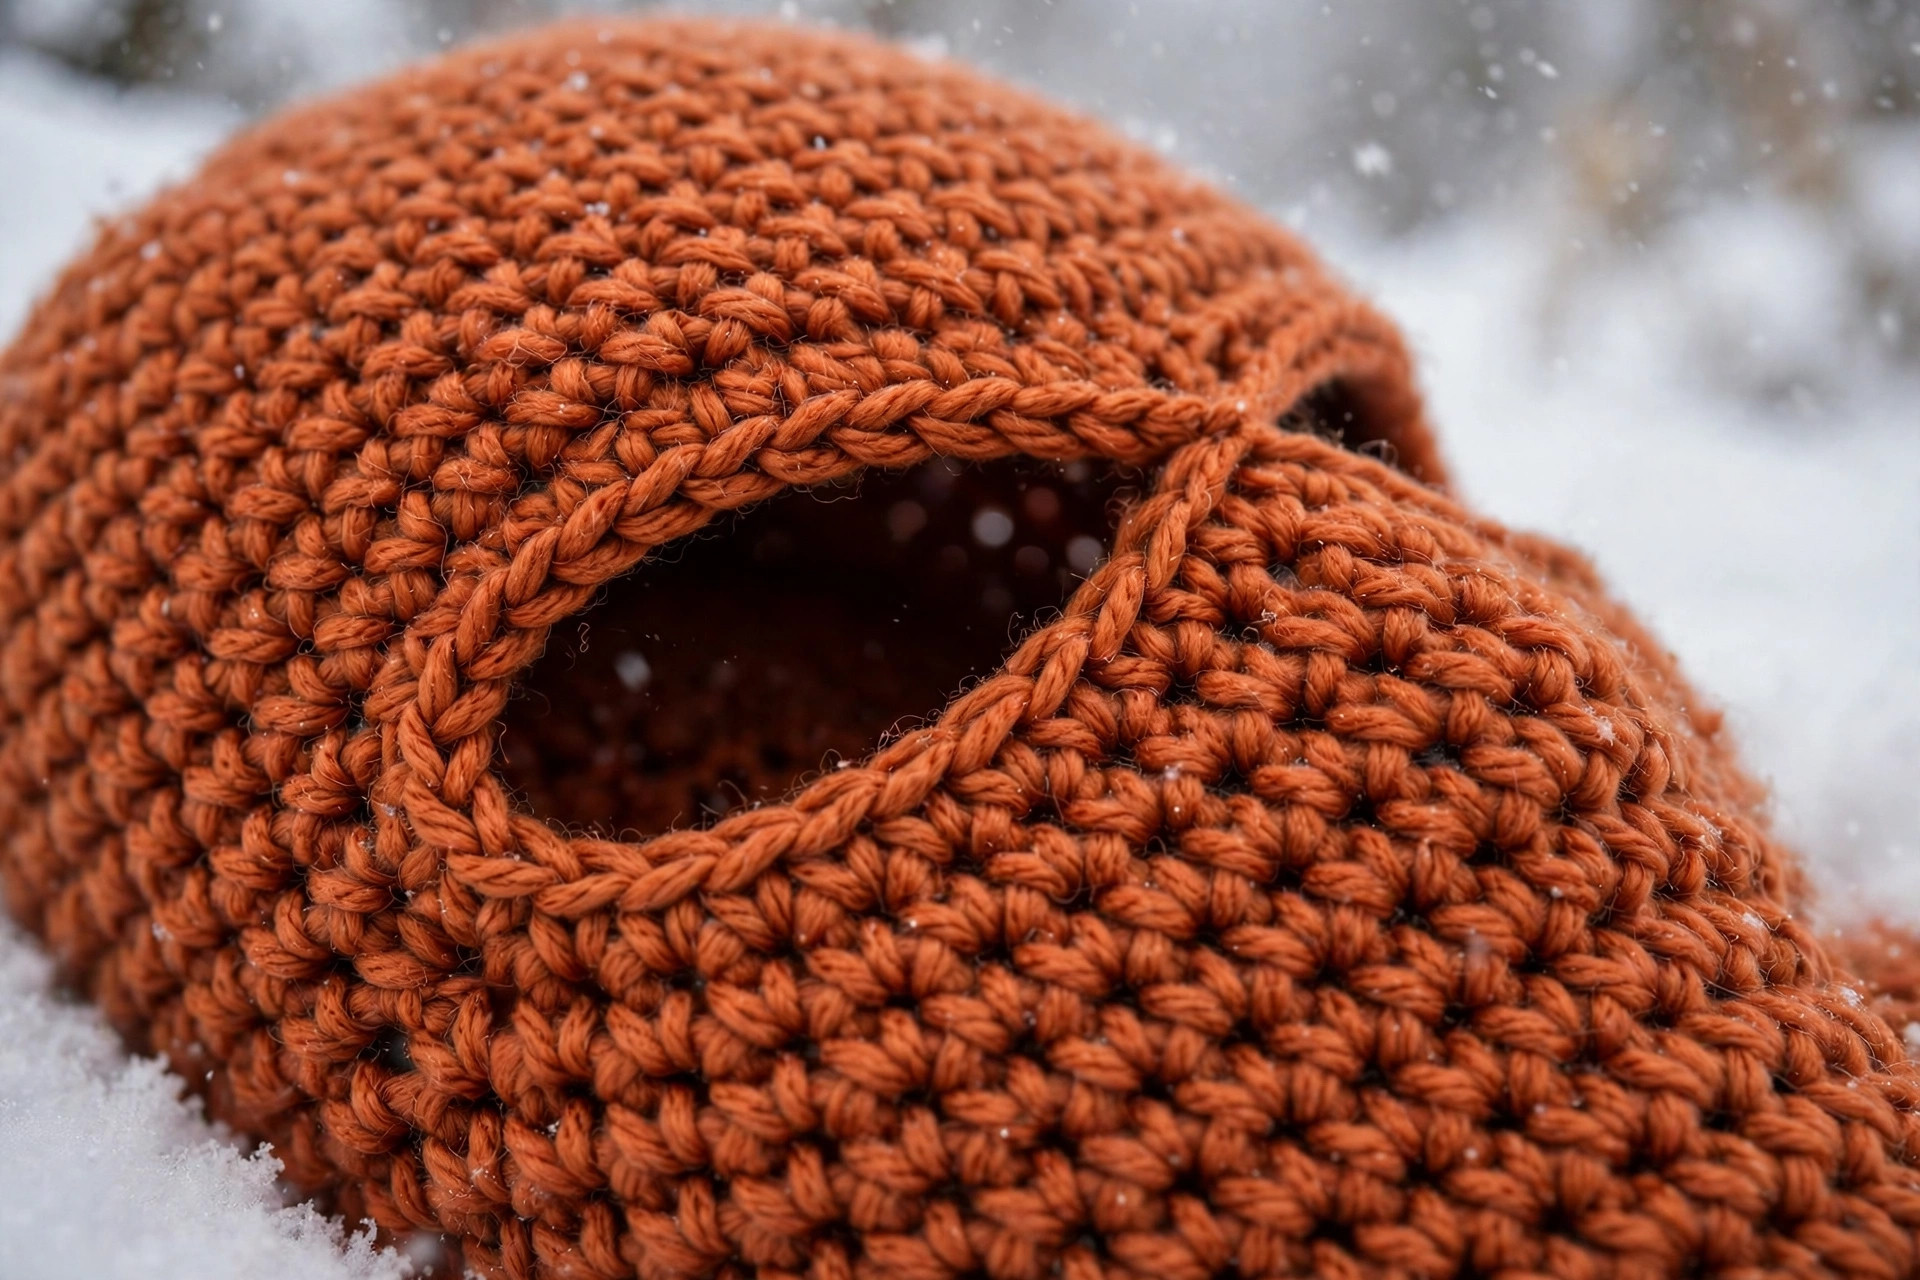
Second, the openings are genuinely practical. The eye opening is wide enough for ski goggles to sit over without bunching, with a smooth, stretchy chain-bridge edge. The separate mouth opening lets your breath escape instead of soaking the fabric, which keeps the mask warmer on a long day outside.
Third, it is fast and forgiving. Half double crochet grows quickly but stays dense enough to block wind, the crown increases follow a simple add-seven rhythm, and after that you are mostly crocheting straight rounds and trying the mask on as you go.
Finally, it is endlessly giftable. Work it in a team colour, add a stripe round, or make matching masks for the whole family. Pair it with a warm free crochet hoodie pattern for the coldest days, or keep it classic in charcoal or navy like proper winter sport gear.
Materials you'll need
Worsted weight yarn is the sweet spot for a ski mask: thick enough to be warm and wind-resistant, fine enough that the openings sit comfortably under goggles or a helmet. Choose a soft acrylic or an acrylic-wool blend. Acrylic is washable and holds its shape well around the openings; a wool blend adds warmth and spring. Avoid very dark or fuzzy yarn for your first mask, because you need to see your stitches clearly when you place the openings.
You will need roughly 180 yards (child), 230 yards (teen/small adult), and 280 yards (adult large). One 100-gram ball is usually enough for the child size; plan on two balls for the adult sizes.
| Supply | What to get |
|---|---|
| Yarn | Worsted weight (category 4) acrylic or acrylic-wool blend, approx. 180–280 yards depending on size |
| Hook | 5.0 mm (US H-8) crochet hook |
| Notions | Yarn needle with a large eye for weaving in ends and neatening the openings |
| Measuring | Tape measure for head size and gauge checking |
| Cutting | Sharp scissors |
| Optional | 4 stitch markers to mark the front centre and the sides of the openings; contrast yarn for an optional stripe |
Size, gauge and skill level
Skill level: Easy. You should know how to chain, half double crochet, work a magic ring (a chain-4 ring works too), slip stitch to join rounds, and increase.
Finished sizes:
| Size | To fit head circumference | Finished circumference | Finished length (crown to neck edge) | Approx. fit |
|---|---|---|---|---|
| Child | About 18–19 inches | About 16 inches | About 13 inches | Ages 5–9 years |
| Teen / Adult S/M | About 21–22 inches | About 20 inches | About 15.5 inches | Most teens and women |
| Adult L | About 23–24 inches | About 22 inches | About 16.5 inches | Most men / larger heads |
Measure head circumference around the forehead, just above the eyebrows and ears. The finished mask measures smaller than the head on purpose: the fabric stretches, and that negative ease keeps the eye opening in place. Between sizes? Choose smaller under a helmet, larger worn on its own.
Length is easy to adjust: add or remove plain rounds before the eye opening, and add neck rounds for a longer bib. Try the mask on as you go.
Gauge: 14 half double crochet stitches and 10 rounds = 4 inches, with a 5.0 mm hook. One extra stitch per 4 inches becomes almost a whole size across the head. Too many stitches means too small — go up a hook size; too few means too big — go down a size.
Abbreviations — US terms
US terms throughout. (UK note: a US half double crochet is a UK half treble; a US single crochet is a UK double crochet.)
| Abbreviation | Meaning |
|---|---|
| ch | chain |
| sc | single crochet |
| hdc | half double crochet |
| inc | increase — work 2 hdc into the same stitch |
| sl st | slip stitch |
| BLO | back loop only |
| st(s) | stitch(es) |
| rnd(s) | round(s) |
How to work the openings: Each opening takes two rounds. First you chain across the front and skip the stitches underneath, leaving a gap. Next round, work one half double crochet into each chain to restore your full count and give the opening a neat, stretchy top edge.
A note on rounds: Join each round with a slip stitch into the first half double crochet, then chain 2 to start the next round. That chain 2 does not count as a stitch, and the first stitch of each round goes into that same first stitch. Mark the first stitch and move the marker up as you go — it keeps the back centre join line and the front centre easy to find.
The pattern (US terms)
Instructions are written for Child (Teen/Adult S/M, Adult L). Where one number appears, it applies to all sizes. Read Step 3 once before you start — after that, everything is plain rounds and two simple chain bridges.
Step 1: The crown
The crown is a flat circle adding 7 stitches per round. Stagger the increases so the crown stays round instead of angular.
Rnd 1: Into a magic ring, ch 2 (does not count), 7 hdc, join with a sl st to the first hdc. 7 hdc
Rnd 2: Ch 2, inc in each st around, join. 14 hdc
Rnd 3: Ch 2, [hdc, inc] 7 times, join. 21 hdc
Rnd 4: Ch 2, [hdc in next 2 sts, inc] 7 times, join. 28 hdc
Rnd 5: Ch 2, [hdc in next 3 sts, inc] 7 times, join. 35 hdc
Rnd 6: Ch 2, [hdc in next 4 sts, inc] 7 times, join. 42 hdc
Rnd 7: Ch 2, [hdc in next 5 sts, inc] 7 times, join. 49 hdc
Rnd 8: Ch 2, [hdc in next 6 sts, inc] 7 times, join. 56 hdc — Child: stop here, go to Step 2.
Rnd 9 (S/M and L only): Ch 2, [hdc in next 7 sts, inc] 7 times, join. 63 hdc
Rnd 10 (S/M and L only): Ch 2, [hdc in next 8 sts, inc] 7 times, join. 70 hdc — Teen/Adult S/M: stop here, go to Step 2.
Rnd 11 (L only): Ch 2, [hdc in next 9 sts, inc] 7 times, join. 77 hdc — Adult L: stop here, go to Step 2.
Lay the crown over the wearer's head. It should curve down like a shallow cap to roughly the hairline. A rippling edge means loose tension — drop a hook size for the body rather than unpicking.
Step 2: The body — down to the eyes
Plain rnd: Ch 2, hdc in each st around, join with a sl st to the first hdc. 56 (70, 77) hdc
Repeat until you have worked 6 (7, 8) rounds in total after the last increase round. The lower edge should sit just above the eyebrows when pulled on. Add a round to drop the eye opening lower, or work one fewer to raise it. Now mark the front centre — count half your stitches from the join. Both openings are centred on this point.
Step 3: The eye opening
The eye opening spans 16 (20, 22) stitches centred at the front.
Eye opening round: Ch 2, hdc in each of the first 20 (25, 27) sts, ch 16 (20, 22), skip the next 16 (20, 22) sts, hdc in each of the remaining 20 (25, 28) sts, join with a sl st to the first hdc. You have worked 40 (50, 55) hdc plus 16 (20, 22) chains, so your working count for the next round is still 56 (70, 77) positions. (Adult L splits 27 stitches before the opening and 28 after it, which keeps the 22-stitch opening centred.)
Pull the mask on and check in a mirror: the opening should sit across your eyes, top edge just below your eyebrows, bottom edge around cheekbone height. Too high or low? Unpick just this round, adjust Step 2 by a round, and rework it.
Round after the opening: Ch 2, hdc in each hdc and in each ch around, join with a sl st to the first hdc. 56 (70, 77) hdc
Work into the chains firmly, one stitch per chain, without twisting — this round forms the top edge of the opening, so neat stitches make the whole mask look professional.
Step 4: Between the eyes and the mouth
Plain rnd: Ch 2, hdc in each st around, join. 56 (70, 77) hdc
Repeat until you have worked 3 (4, 4) rounds in total after the eye opening, including the round into the chains. Pulled on, the lower edge should sit just above the top lip. Add a round for a longer face; work one fewer for a shorter face.
Step 5: The mouth opening
The mouth opening spans 10 (12, 14) stitches, centred at the front on the same marker line.
Mouth opening round: Ch 2, hdc in each of the first 23 (29, 31) sts, ch 10 (12, 14), skip the next 10 (12, 14) sts, hdc in each of the remaining 23 (29, 32) sts, join with a sl st to the first hdc. You have worked 46 (58, 63) hdc plus 10 (12, 14) chains, keeping your working count at 56 (70, 77) positions.
Round after the opening: Ch 2, hdc in each hdc and in each ch around, join with a sl st to the first hdc. 56 (70, 77) hdc
Check the fit: you should be able to talk clearly and breathe freely, with the fabric sitting above your top lip and below your bottom lip without covering either.
Step 6: The chin and neck
Plain rnd: Ch 2, hdc in each st around, join. 56 (70, 77) hdc
Repeat until you have worked 4 (5, 5) rounds in total after the mouth opening, including the round into the chains. The mask should cover the chin fully and reach the base of the throat. Try it on with a jacket zipped up — the ribbed neck should start where the collar starts, so the two overlap.
Step 7: The ribbed neck
The neck uses alternating front-post and back-post half double crochet, which pulls the fabric in for a snug fit without decreases. Work the first round slowly if post stitches are new to you, or work these rounds in back loop only for a simpler, slightly looser rib.
Rib rnd: Ch 2, [front-post hdc around the next st, back-post hdc around the next st] repeat around, join with a sl st to the first hdc. 56 (70, 77) hdc
For a front-post hdc: yarn over, insert your hook from front to back around the post of the stitch below, and complete the hdc as usual. For back-post, insert from back to front. Your count does not change.
Repeat until you have worked 6 (7, 8) rounds of ribbing. The neck should measure about 2.5 (3, 3.25) inches deep — snug enough to seal out wind, loose enough to pull over the head. Add two rounds for a longer bib.
Fasten off, leaving a 6-inch tail for weaving in.
Finishing your ski mask
Weave in both tails securely — about an inch in one direction, back the opposite way, then once more at an angle — and trim only after weaving. Mask ends move a lot as the piece is pulled on and off, and that three-direction weave stops them creeping out.
Neaten the openings. With the mask inside out, check each opening corner. If a corner has a small hole, take one or two tiny stitches across it from the inside with matching yarn, snug enough to close the gap without puckering. This one step makes a handmade ski mask look shop-bought.
If an edge curls, lay the mask flat, mist lightly, shape the openings with your fingers, and leave to dry. Acrylic usually needs nothing more than a gentle smooth by hand.
Optional extras: work the last crown round in a contrast colour for a sporty stripe, or stitch a small initial at the neck rib on children's masks. Keep embellishments away from the eye opening, where anything raised fights with goggles. Complete your winter set with a cosy crochet earflap hat for milder days and this easy mitten crochet pattern in the same yarn.
Tips for a mask that fits and lasts
Try on at every stage. Check after the crown (shallow cap to the hairline), before the eye opening (edge just above the eyebrows), after the eye opening (clear view with goggles on), and before the ribbing (chin covered). Fit is everything in a balaclava, and every check takes seconds.
Keep your front centre marked. Move the marker up every few rounds. Both openings are centred on it, and a mouth opening drifted two stitches sideways looks wrong all day.
Work the opening chains relaxed. Tight chains make a tight, uncomfortable opening. Chain at normal tension or a touch looser, and count twice before skipping stitches — a miscounted bridge is the most common ski mask mistake.
Choose yarn for the slopes. A ski mask meets wind, snow and frequent washing. Smooth, tightly plied, acrylic-rich blends survive best and keep the openings crisp. Save haloed yarns for scarves — fuzz around the eyes gets annoying within an hour. Tuck a holder from this crochet chapstick holder pattern onto your jacket zip for lip balm on the mountain.
Think about helmets and goggles. Worn under a helmet, choose the smaller size and skip raised extras so the crown sits smooth. Worn on its own for walking or sledging, the standard fit with the longer neck is warmer.
FAQ
Is this ski mask really suitable for an easy-level crocheter?
Yes. The whole mask is half double crochet in joined rounds, with two chain-bridge openings and a ribbed neck — no charts, no colour changes, no sewing. If post stitches feel like a stretch, use the back-loop-only alternative in Step 7.
Will this mask fit under a ski helmet and goggles?
Yes — that is what it was designed for. The eye opening lets goggles seal over the top edge, the crown is smooth with no seams, and the smaller end of each size range sits flat under a helmet. Try the mask on with your goggles before the ribbing and adjust the plain rounds if needed.
How much yarn do I need for one mask?
About 180 yards (child), 230 yards (teen/small adult), and 280 yards (adult large) in worsted weight yarn. A longer neck uses a little more, so check your remaining yarn before the mouth opening if you are near the end of a ball.
Can I make the mask with only an eye opening?
You can — skip Step 5 and work those rounds as plain rounds, keeping your count at 56 (70, 77). Be aware that a covered mouth gets damp from breathing on a long day outdoors, which feels colder over time. Most skiers prefer the separate mouth opening for that reason.
Can I use a different yarn weight?
You can, but the sizes will change — chunky yarn makes a bigger mask from the same counts, DK a smaller one. Compare your gauge with the pattern gauge (14 hdc and 10 rounds to 4 inches) and choose the size whose count gives the circumference you need.
How do I wash a handmade ski mask?
Check the yarn band first. Acrylic and most blends can be machine washed gently and dried flat. Wool blends are happier hand washed in lukewarm water, rolled in a towel and dried flat away from heat. Never hang a wet mask to dry; the water's weight stretches the neck ribbing.
What to crochet next
Your face is slope-ready — now finish the winter kit:
- Carry your lodge-day essentials in this roomy crochet hobo bag pattern in matching yarn.
- Practise your ribbing on cosy boot tops with a quick pair of boot cuffs.
- Build your stitch confidence with a simple hat project before your next snow day.
Happy crocheting — see you on the slopes!
The box below contains an Etsy link. If you buy through it, we may earn a small commission at no extra cost to you. Learn more.
No time to make one?
Short on time? Find handmade crochet balaclava ski masks from independent makers on Etsy.
Browse on Etsy (opens Etsy in a new tab)