Mallard Duck Crochet Pattern (Amigurumi Duck)
Crochet a soft amigurumi mallard with a green head and yellow bill in about six hours, then display it on a shelf or gift it to a nature lover.

Patterns · Crochet
- Finished size
- 8 in tall
- Making time
- 6 hours
- Hook
- US E/4 (3.5 mm)
- Set
- Duck, wings
- Skill
- Intermediate
In this post
- Key Takeaways
- Table of Contents
- Why You Will Love This Mallard Duck
- Finished Size, Skill Level, and Time
- Materials You Need
- Abbreviations (US Terms)
- Gauge and Sizing Notes
- Part 1: The Head and Bill
- Part 2: The Body, Wings, and Tail
- Part 3: The Legs, Feet, and Assembly
- Variations: Colors, Sizes, and Uses
- Troubleshooting a Duck That Does Not Sit Right
- Care Instructions
- Frequently Asked Questions
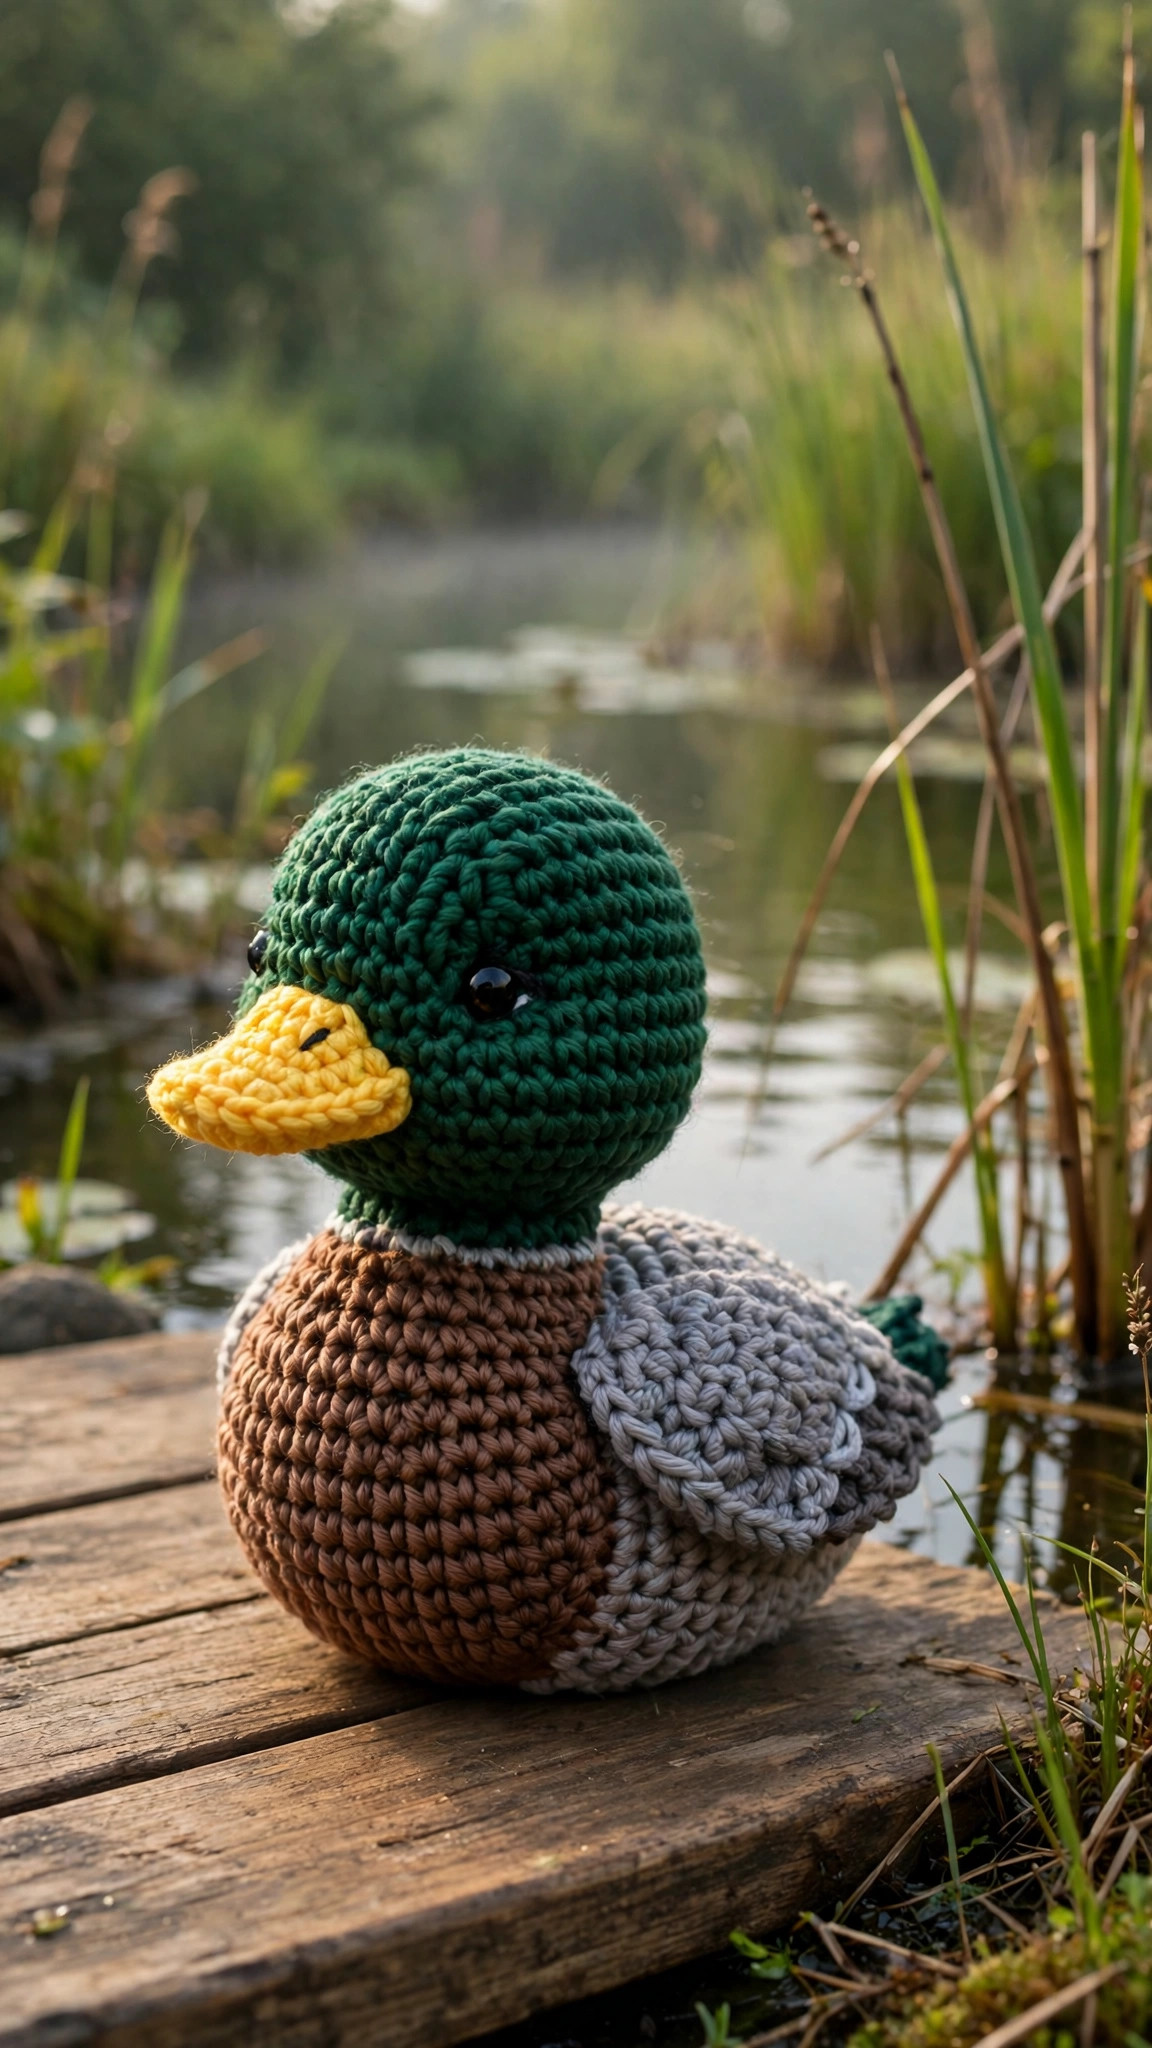
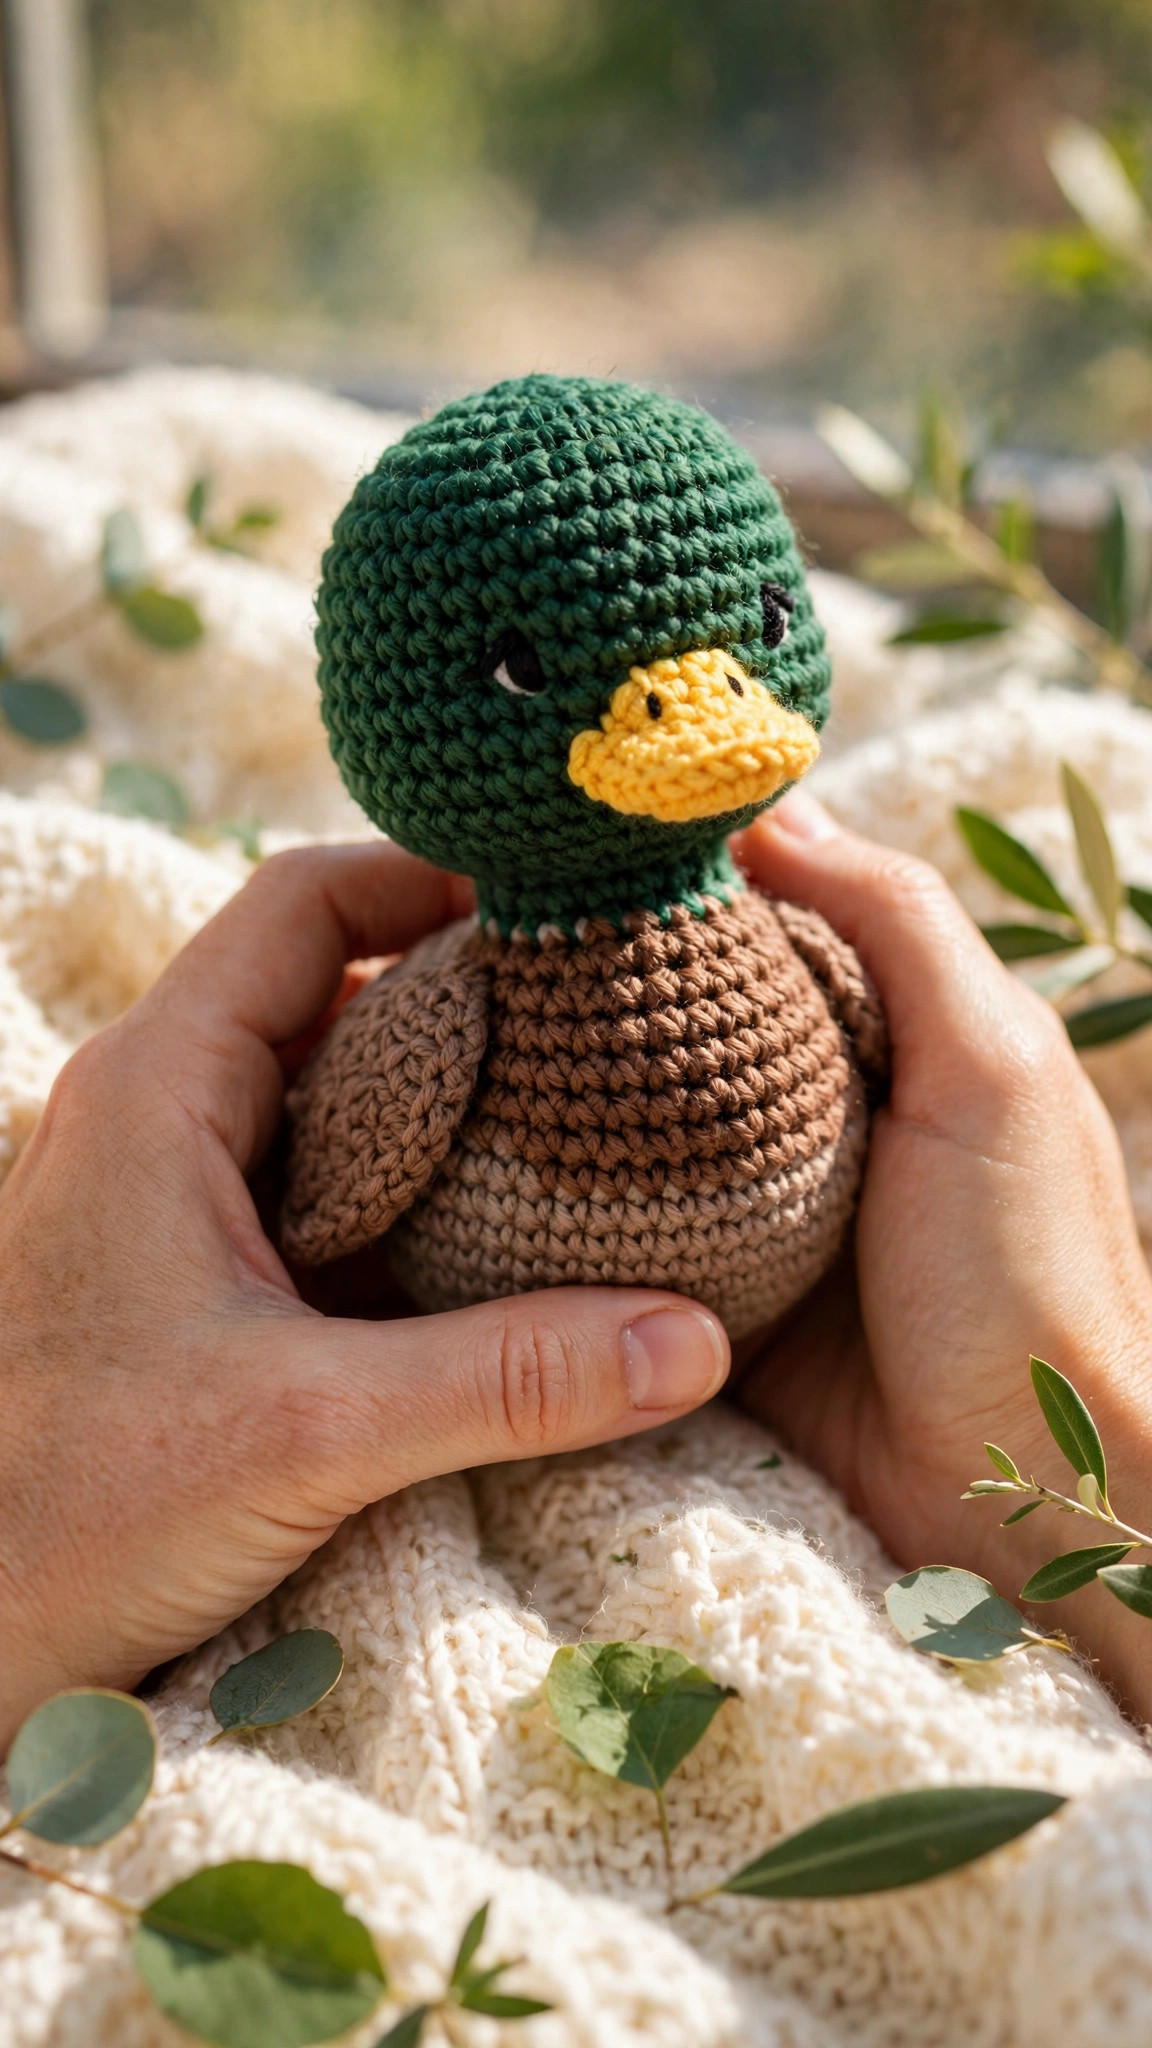
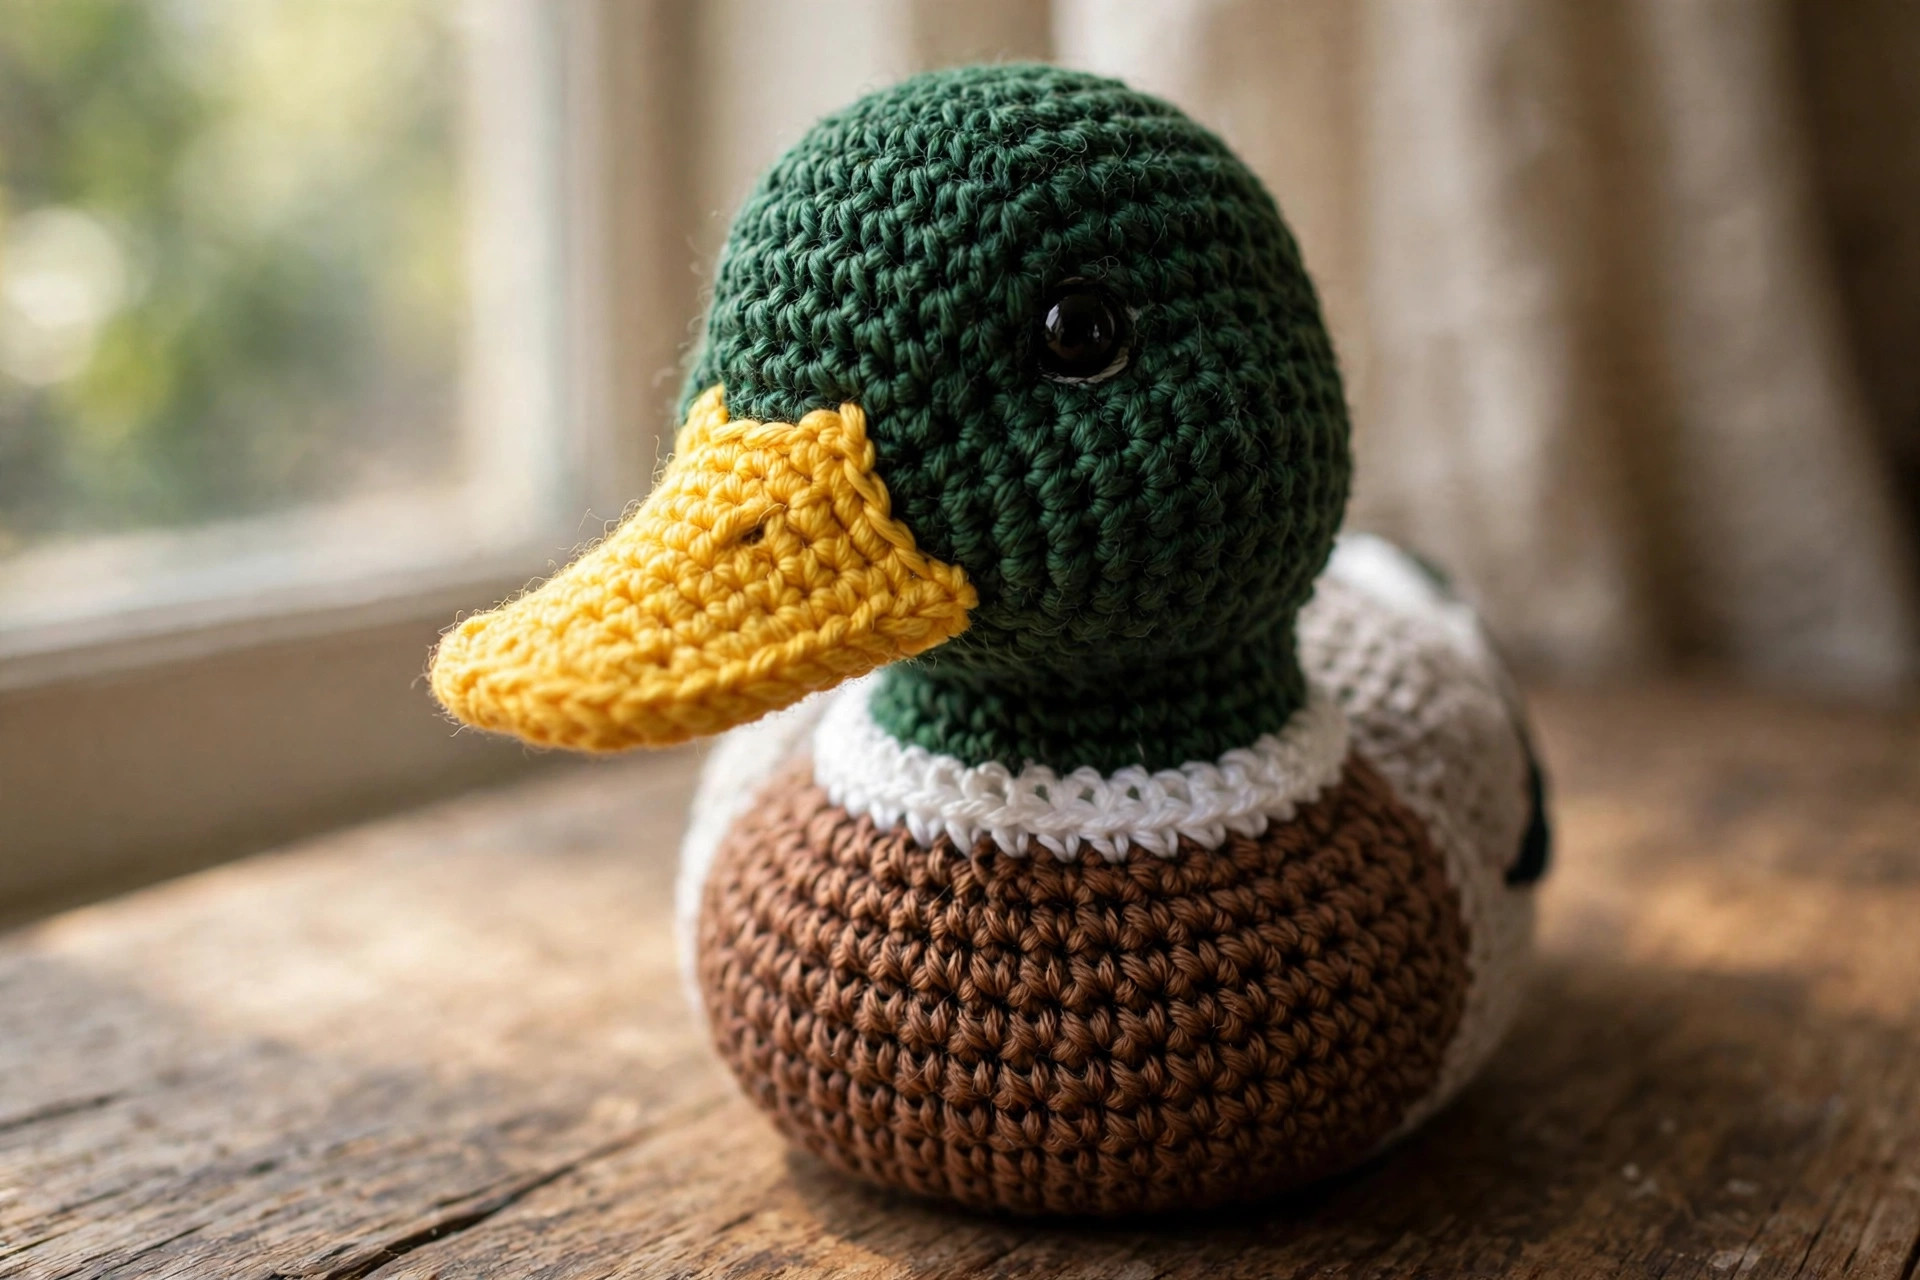
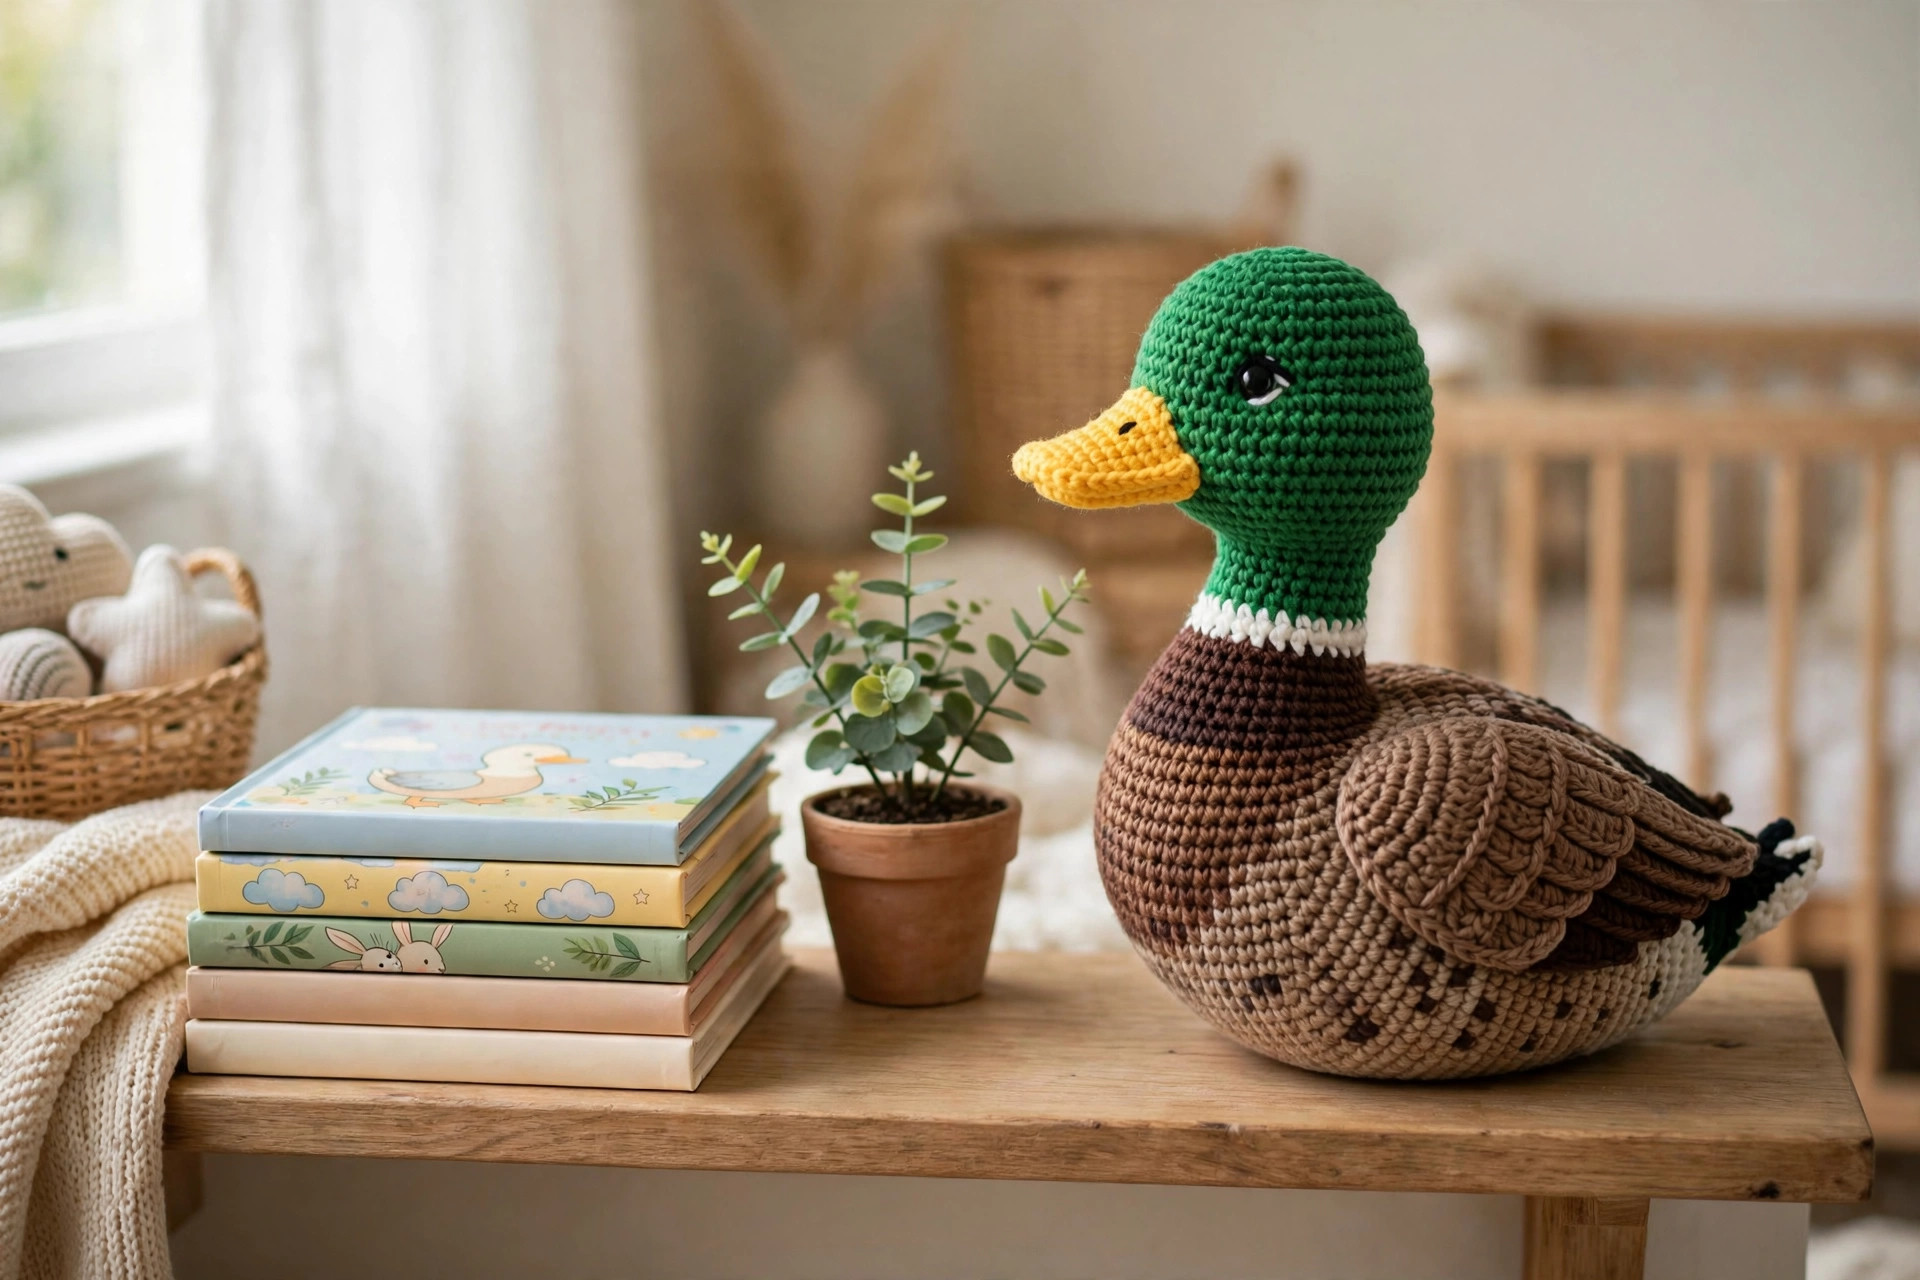
This free mallard duck crochet pattern makes a soft amigurumi mallard about 8 inches tall, with a glossy green head, a bright yellow bill, a white neck ring, and grey wings. It sits up on its own, so it works as a nursery toy or a sweet shelf decoration.
This is an original Little Loop Finds design, written in US terms and completely free. The duck is worked in rounds, with the body, wings, and tail made separately and sewn on. If you can single crochet in the round, you can make this mallard in a weekend.
A quick note on scope: this post is about one specific amigurumi mallard duck, the male mallard with the green head and yellow bill. If you want a simpler duck, our free crochet duck pattern is a good start.
Key Takeaways
- Free original pattern: a Little Loop Finds original, written in US terms, and completely free.
- A classic male mallard: green head, yellow bill, white neck ring, brown chest, and grey wings.
- Sits up on its own: the flat based body lets the duck sit on a shelf or a nursery table.
- A weekend project: one mallard takes about 6 hours, worked in simple rounds.
- Great for nature lovers: a sweet gift for bird watchers or nursery decor.
Table of Contents
- Why You Will Love This Mallard Duck
- Finished Size, Skill Level, and Time
- Materials You Need
- Abbreviations (US Terms)
- Gauge and Sizing Notes
- Part 1: The Head and Bill
- Part 2: The Body, Wings, and Tail
- Part 3: The Legs, Feet, and Assembly
- Variations: Colors, Sizes, and Uses
- Troubleshooting a Duck That Does Not Sit Right
- Care Instructions
- Frequently Asked Questions
Why You Will Love This Mallard Duck
Mallards are the ducks most of us grew up seeing at the park pond. The green head is surprisingly easy to crochet, because the color change is a single clean round. The yellow bill pops against the green, and the white neck ring gives the duck its classic look.
Finished Size, Skill Level, and Time
- Finished size: about 8 inches tall when sitting, and about 6 inches long from bill to tail.
- Skill level: Intermediate. You need a magic ring, single crochet in the round, increases and decreases, and basic seaming.
- Time: about 6 hours per duck: 2 hours for the head and bill, 2 hours for the body and wings, and 2 hours for the legs and assembly.
Materials You Need
| Item | What to get |
|---|---|
| Yarn, dark green | DK weight yarn in dark green, about 50 yards |
| Yarn, yellow | DK weight yarn in bright yellow, about 20 yards |
| Yarn, brown | DK weight yarn in chestnut brown, about 40 yards |
| Yarn, grey | DK weight yarn in medium grey, about 40 yards |
| Yarn, white | DK weight yarn in white, about 15 yards |
| Yarn, orange | DK weight yarn in orange, about 15 yards, for the legs and feet |
| Yarn, black | DK weight yarn in black, a small amount, for the tail tip |
| Hook | US E/4 (3.5 mm), or the size that gives you the gauge below |
| Notions | Tapestry needle, scissors, tape measure, stitch markers, polyester stuffing, 2 black safety eyes 10 mm |
DK weight yarn is the best choice for an amigurumi mallard because it makes a firm fabric that holds its shape and hides the stuffing. A smooth acrylic or cotton blend works well and washes easily. Avoid very fuzzy yarns, because they hide the shaping.
Abbreviations (US Terms)
- ch = chain
- sl st = slip stitch
- sc = single crochet
- hdc = half double crochet
- inc = increase, work 2 sc in the same stitch
- dec = decrease, single crochet 2 stitches together
- st(s) = stitch(es)
- rep = repeat
- RS = right side
Gauge and Sizing Notes
Gauge matters because the fabric must be tight enough to hide the stuffing. Work a swatch of 10 sc and 10 rows in the grey yarn with your 3.5 mm hook. It should be about 2 inches wide and 2 inches tall, with no gaps you can see through. If you can see gaps, go down a hook size. If your stitches are very tight, go up a hook size.
Part 1: The Head and Bill
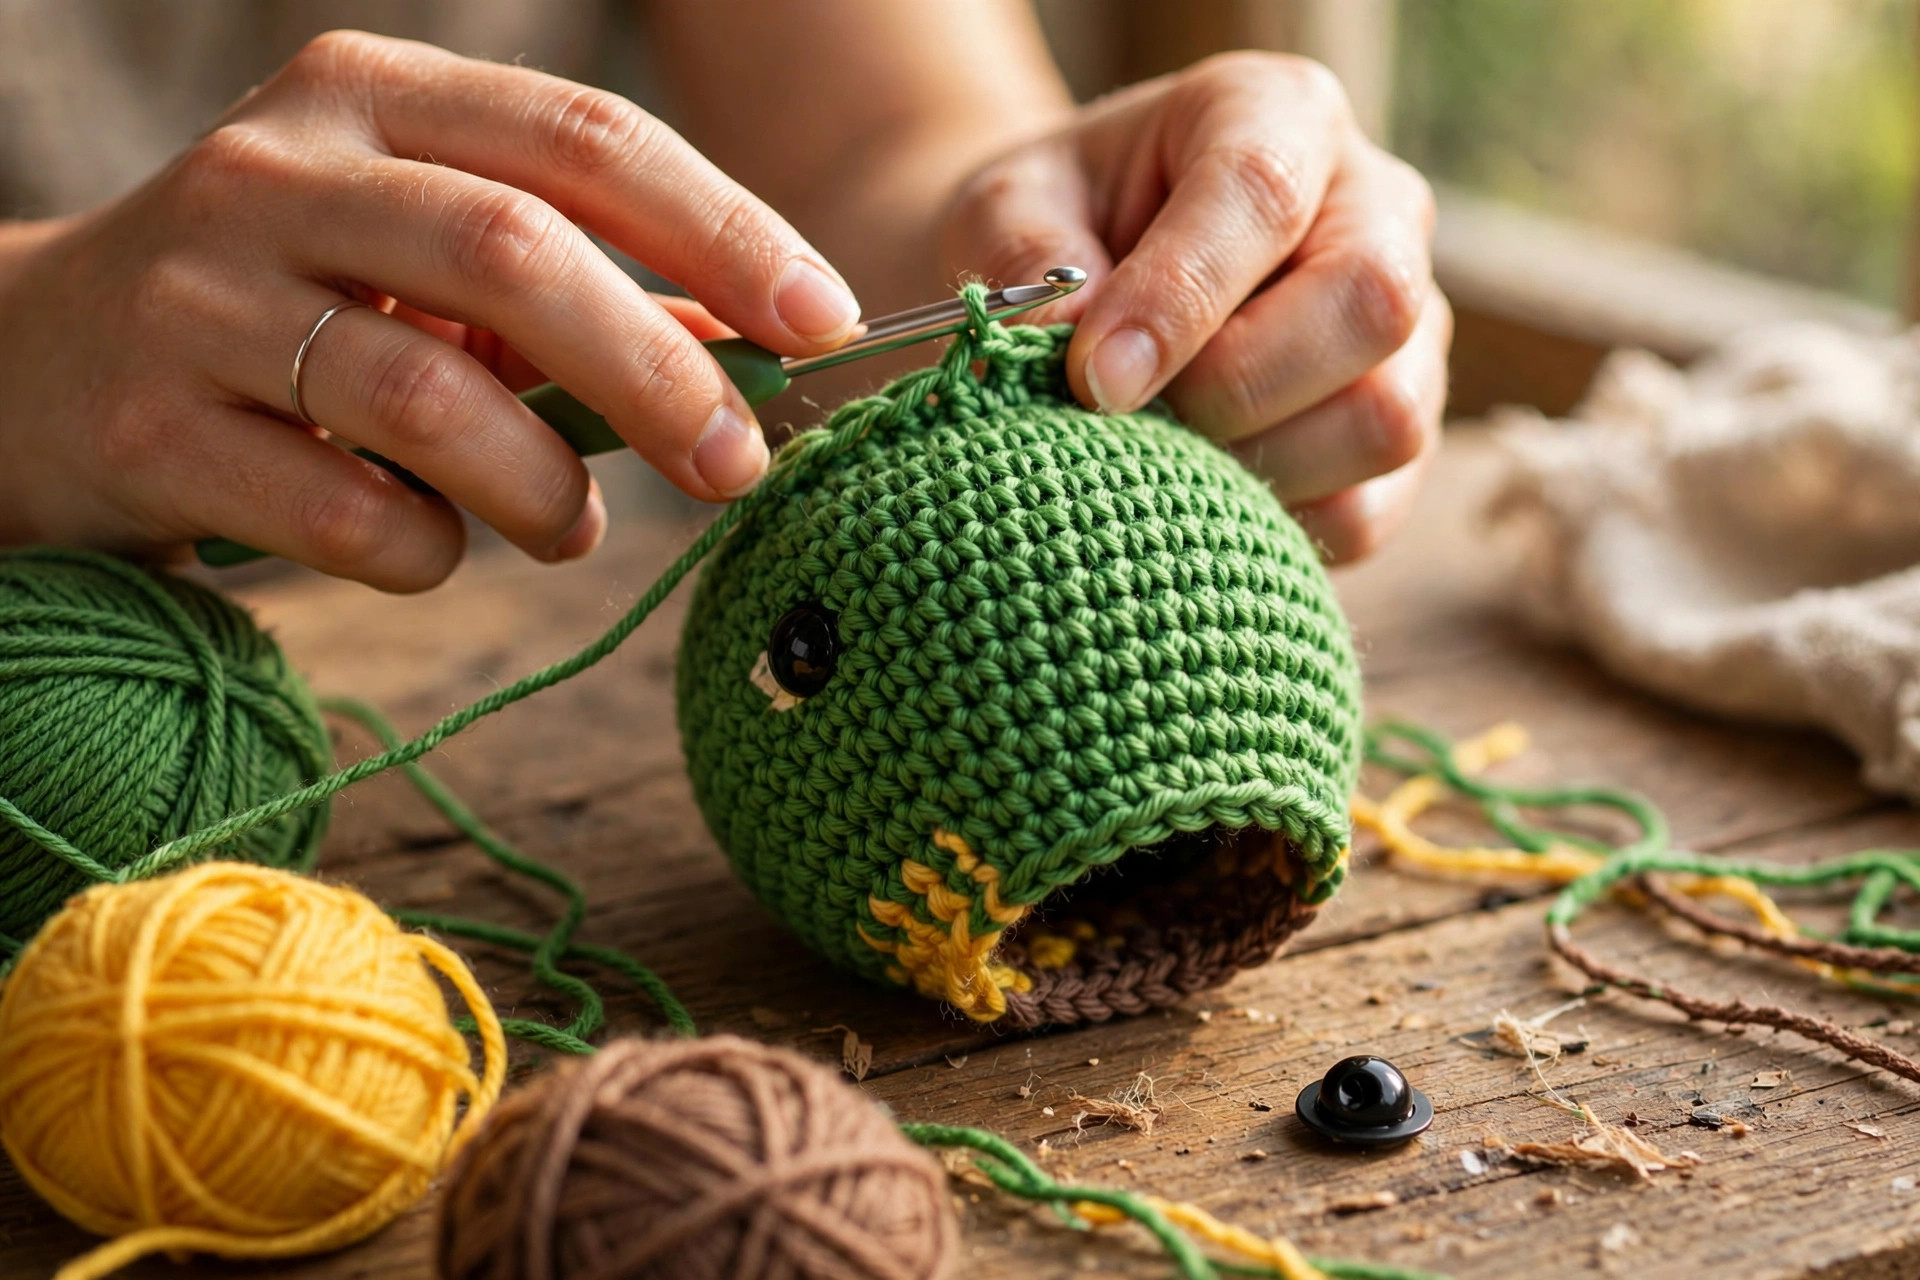
Work the head in green, using a stitch marker to mark the first stitch of each round, and move it up as you go.
The Head (dark green)
With the dark green yarn, make a magic ring.
- Round 1: ch 1, work 6 sc in the ring, pull the ring closed. (6 sts)
- Round 2: inc in each st around. (12 sts)
- Round 3: sc in the first st, inc in the next st, rep around. (18 sts)
- Round 4: sc in the first 2 sts, inc in the next st, rep around. (24 sts)
- Round 5: sc in the first 3 sts, inc in the next st, rep around. (30 sts)
- Round 6: sc in the first 4 sts, inc in the next st, rep around. (36 sts)
- Round 7: sc in the first 5 sts, inc in the next st, rep around. (42 sts)
- Rounds 8 to 13: sc in each st around. (42 sts)
- Round 14: sc in the first 5 sts, dec over the next 2 sts, rep around. (36 sts)
- Round 15: sc in the first 4 sts, dec over the next 2 sts, rep around. (30 sts)
- Round 16: sc in the first 3 sts, dec over the next 2 sts, rep around. (24 sts)
Place the safety eyes between rounds 11 and 12, about 7 stitches apart. Stuff the head firmly, shaping it into a round ball, then continue.
- Round 17: sc in the first 2 sts, dec over the next 2 sts, rep around. (18 sts)
- Round 18: sc in the first st, dec over the next 2 sts, rep around. (12 sts)
Fasten off, leaving a long tail. Thread the tail through the remaining stitches, pull it closed, and weave in the end. The head should be a neat sphere about 3.5 inches across. Our pigeon crochet pattern uses the same sphere start if you want to practice on another bird first.
The Bill (yellow)
With the yellow yarn, make a magic ring.
- Round 1: ch 1, work 6 sc in the ring, pull the ring closed. (6 sts)
- Round 2: inc in each st around. (12 sts)
- Round 3: sc in the first st, inc in the next st, rep around. (18 sts)
- Round 4: sc in the first 2 sts, inc in the next st, rep around. (24 sts)
- Rounds 5 to 7: sc in each st around. (24 sts)
- Round 8: sc in the first 2 sts, dec over the next 2 sts, rep around. (18 sts)
Fasten off, leaving a long tail. Flatten the bill so it is slightly wider than it is tall, about 1.5 inches wide and 1 inch tall. Sew it to the front of the head, centered below the eyes, with small stitches around the back edge. Stuff the bill lightly before you close the last few stitches, so it holds its shape.
The White Neck Ring
With the white yarn, chain 30 and join with a sl st to form a ring, taking care not to twist the chain. Work 2 rounds of sc around, then fasten off, leaving a long tail. Slip the ring over the bottom of the head and sew it in place, just above where the head joins the body. The ring should be snug and level all the way around.
Part 2: The Body, Wings, and Tail
The body is an egg shape, wider at the back and narrower at the front, worked in rounds from the tail end up to the neck. The wings are flat ovals, and the tail is a small fan of stitches.
The Body (brown chest, grey back)
With the brown yarn, make a magic ring.
- Round 1: ch 1, work 6 sc in the ring, pull the ring closed. (6 sts)
- Round 2: inc in each st around. (12 sts)
- Round 3: sc in the first st, inc in the next st, rep around. (18 sts)
- Round 4: sc in the first 2 sts, inc in the next st, rep around. (24 sts)
- Round 5: sc in the first 3 sts, inc in the next st, rep around. (30 sts)
- Round 6: sc in the first 4 sts, inc in the next st, rep around. (36 sts)
- Round 7: sc in the first 5 sts, inc in the next st, rep around. (42 sts)
- Round 8: sc in the first 6 sts, inc in the next st, rep around. (48 sts)
- Rounds 9 to 14: sc in each st around. (48 sts)
Change to the grey yarn, pulling the new yarn snug on the first grey round.
- Rounds 15 to 20: sc in each st around. (48 sts)
- Round 21: sc in the first 6 sts, dec over the next 2 sts, rep around. (42 sts)
- Round 22: sc in the first 5 sts, dec over the next 2 sts, rep around. (36 sts)
- Round 23: sc in the first 4 sts, dec over the next 2 sts, rep around. (30 sts)
Stuff the body firmly, shaping it into an egg. The base should be flat enough for the duck to sit up on its own.
- Round 24: sc in the first 3 sts, dec over the next 2 sts, rep around. (24 sts)
- Round 25: sc in the first 2 sts, dec over the next 2 sts, rep around. (18 sts)
- Round 26: sc in the first st, dec over the next 2 sts, rep around. (12 sts)
Fasten off, leaving a long tail. Thread the tail through the remaining stitches, pull it closed, and weave in the end. The body should be about 5 inches long and 4 inches across at its widest point. Our crochet goose pattern free uses the same egg shaped body if you want to practice on a bigger bird first.
The Wings (make 2, grey)
With the grey yarn, make a magic ring.
- Round 1: ch 1, work 6 sc in the ring, pull the ring closed. (6 sts)
- Round 2: inc in each st around. (12 sts)
- Round 3: sc in the first st, inc in the next st, rep around. (18 sts)
- Round 4: sc in the first 2 sts, inc in the next st, rep around. (24 sts)
- Rounds 5 to 10: sc in each st around. (24 sts)
- Round 11: sc in the first 2 sts, dec over the next 2 sts, rep around. (18 sts)
- Round 12: sc in the first st, dec over the next 2 sts, rep around. (12 sts)
Fasten off, leaving a long tail. Flatten each wing into a flat oval about 3 inches long and 2 inches wide. Do not stuff the wings.
The Tail (grey and black)
With the grey yarn, ch 12.
- Row 1: sc in the second ch from the hook, sc in each ch across. Turn. (11 sts)
- Row 2: ch 1, sc in each st across. Turn. (11 sts)
- Row 3: ch 1, dec over the first 2 sts, sc in each st across to the last 2 sts, dec over the last 2 sts. Turn. (9 sts)
- Row 4: ch 1, sc in each st across. Turn. (9 sts)
- Row 5: ch 1, dec over the first 2 sts, sc in each st across to the last 2 sts, dec over the last 2 sts. Turn. (7 sts)
Change to the black yarn.
- Row 6: ch 1, sc in each st across. Turn. (7 sts)
- Row 7: ch 1, dec over the first 2 sts, sc in each st across to the last 2 sts, dec over the last 2 sts. Turn. (5 sts)
Fasten off, leaving a long tail. The tail should be a small pointed fan about 2.5 inches long, with a black tip.
Part 3: The Legs, Feet, and Assembly
The Legs and Feet (make 2, orange)
With the orange yarn, make a magic ring.
- Round 1: ch 1, work 6 sc in the ring, pull the ring closed. (6 sts)
- Round 2: inc in each st around. (12 sts)
- Round 3: sc in the first st, inc in the next st, rep around. (18 sts)
- Rounds 4 to 6: sc in each st around. (18 sts)
Fasten off, leaving a long tail. Stuff the foot lightly so it holds a round shape about 1.5 inches across.
For the leg, chain 8 with the orange yarn, join with a sl st to the top of the foot, and work 2 rounds of sc around the chain to make a short tube. Fasten off, leaving a long tail. The leg should be about 1 inch long.
To make the webbed foot, use the orange yarn and a tapestry needle to work three short straight stitches across the front of each foot, fanning out like a duck foot.
Assembling the Duck
Sew the head to the top front of the body with the long green tail. The head should tilt slightly forward, so the bill points down a little.
Sew one wing to each side of the body with the long grey tails, placing them just below the grey section, with the top edge of each wing level with the middle of the body. The wings should lie flat and point slightly backward, toward the tail.
Sew the tail to the back of the body with the long grey tail, placing it at the wide end and angling it slightly upward. The black tip should point up and back.
Sew the legs to the underside of the body, spacing them about 2 inches apart and toward the front, so the duck sits upright. Set the duck on a flat surface and check that it sits steadily. Our free crochet chicken pattern uses the same leg placement trick if you want to compare the balance on another bird.
Give the finished duck a brush to lift any loose fibers, and check all the seams once more.
Variations: Colors, Sizes, and Uses
- Female mallard: work the head in mottled brown and use a brown and orange bill, for a female mallard.
- Duckling mallard: work the whole duck in soft yellow with an orange bill for a baby mallard. Our crochet robin pattern makes a sweet woodland set.
- Bigger display mallard: use chunky yarn with a 5.0 mm hook for a mallard about 12 inches tall.
- Keychain mallard: use fine yarn with a 2.5 mm hook for a mallard about 4 inches tall that fits on a keyring.
- Pond scene mallard: make two mallards, one male and one female, and display them with a blue crocheted pond mat. A matching free crochet hummingbird pattern adds a second bird to the scene.
Troubleshooting a Duck That Does Not Sit Right
- My duck tips over. The legs are too far forward or too far back. Move them toward the center until the duck sits steadily.
- My head is too big for the body. Your head gauge is looser than your body gauge. Count your stitches at the end of each increase round, and go down a hook size.
- My stuffing shows through the stitches. Your gauge is too loose. Go down a hook size, and stuff a little less firmly.
- My bill looks lopsided. The bill was sewn off center. Take it off and re-sew it between the eyes.
- My wings stick out instead of lying flat. The wings were stuffed, or sewn too tightly at the top. Do not stuff the wings, and sew them with loose, even stitches.
Care Instructions
Keep an amigurumi mallard dry, and store it on a shelf away from direct sunlight. If it gets dusty, shake it gently outdoors. If it needs washing, hand wash it in cool water with a mild detergent, press the water out without wringing, and let it dry flat. Do not machine wash or tumble dry it.
Frequently Asked Questions
Is this mallard duck crochet pattern good for beginners?
It is best for an intermediate crocheter. You need single crochet in the round, increases and decreases, and basic seaming. One mallard takes about 6 hours, so it is a good weekend project.
What makes a mallard different from a regular duck?
A male mallard has a glossy green head, a bright yellow bill, a white neck ring, a brown chest, and grey wings. A regular duck pattern often uses one color.
Can I use safety eyes for a duck made for a child?
Safety eyes are fine for a display duck or a toy for an older child. For a baby or a child under three, sew the eyes on with black yarn instead.
What yarn is best for an amigurumi mallard?
DK weight yarn is the best choice, because it makes a firm fabric that holds its shape and hides the stuffing.
Can I sell mallards made from this pattern?
Yes, you may sell finished mallards made from this free pattern, with credit to Little Loop Finds. Do not sell or republish the pattern text itself. A pair of mallards, one male and one female, makes a lovely stall item at a craft market.
Happy stitching, and may your little mallard bring a bit of the pond to your shelf.