Pigeon Crochet Pattern (Free Amigurumi Pigeon)
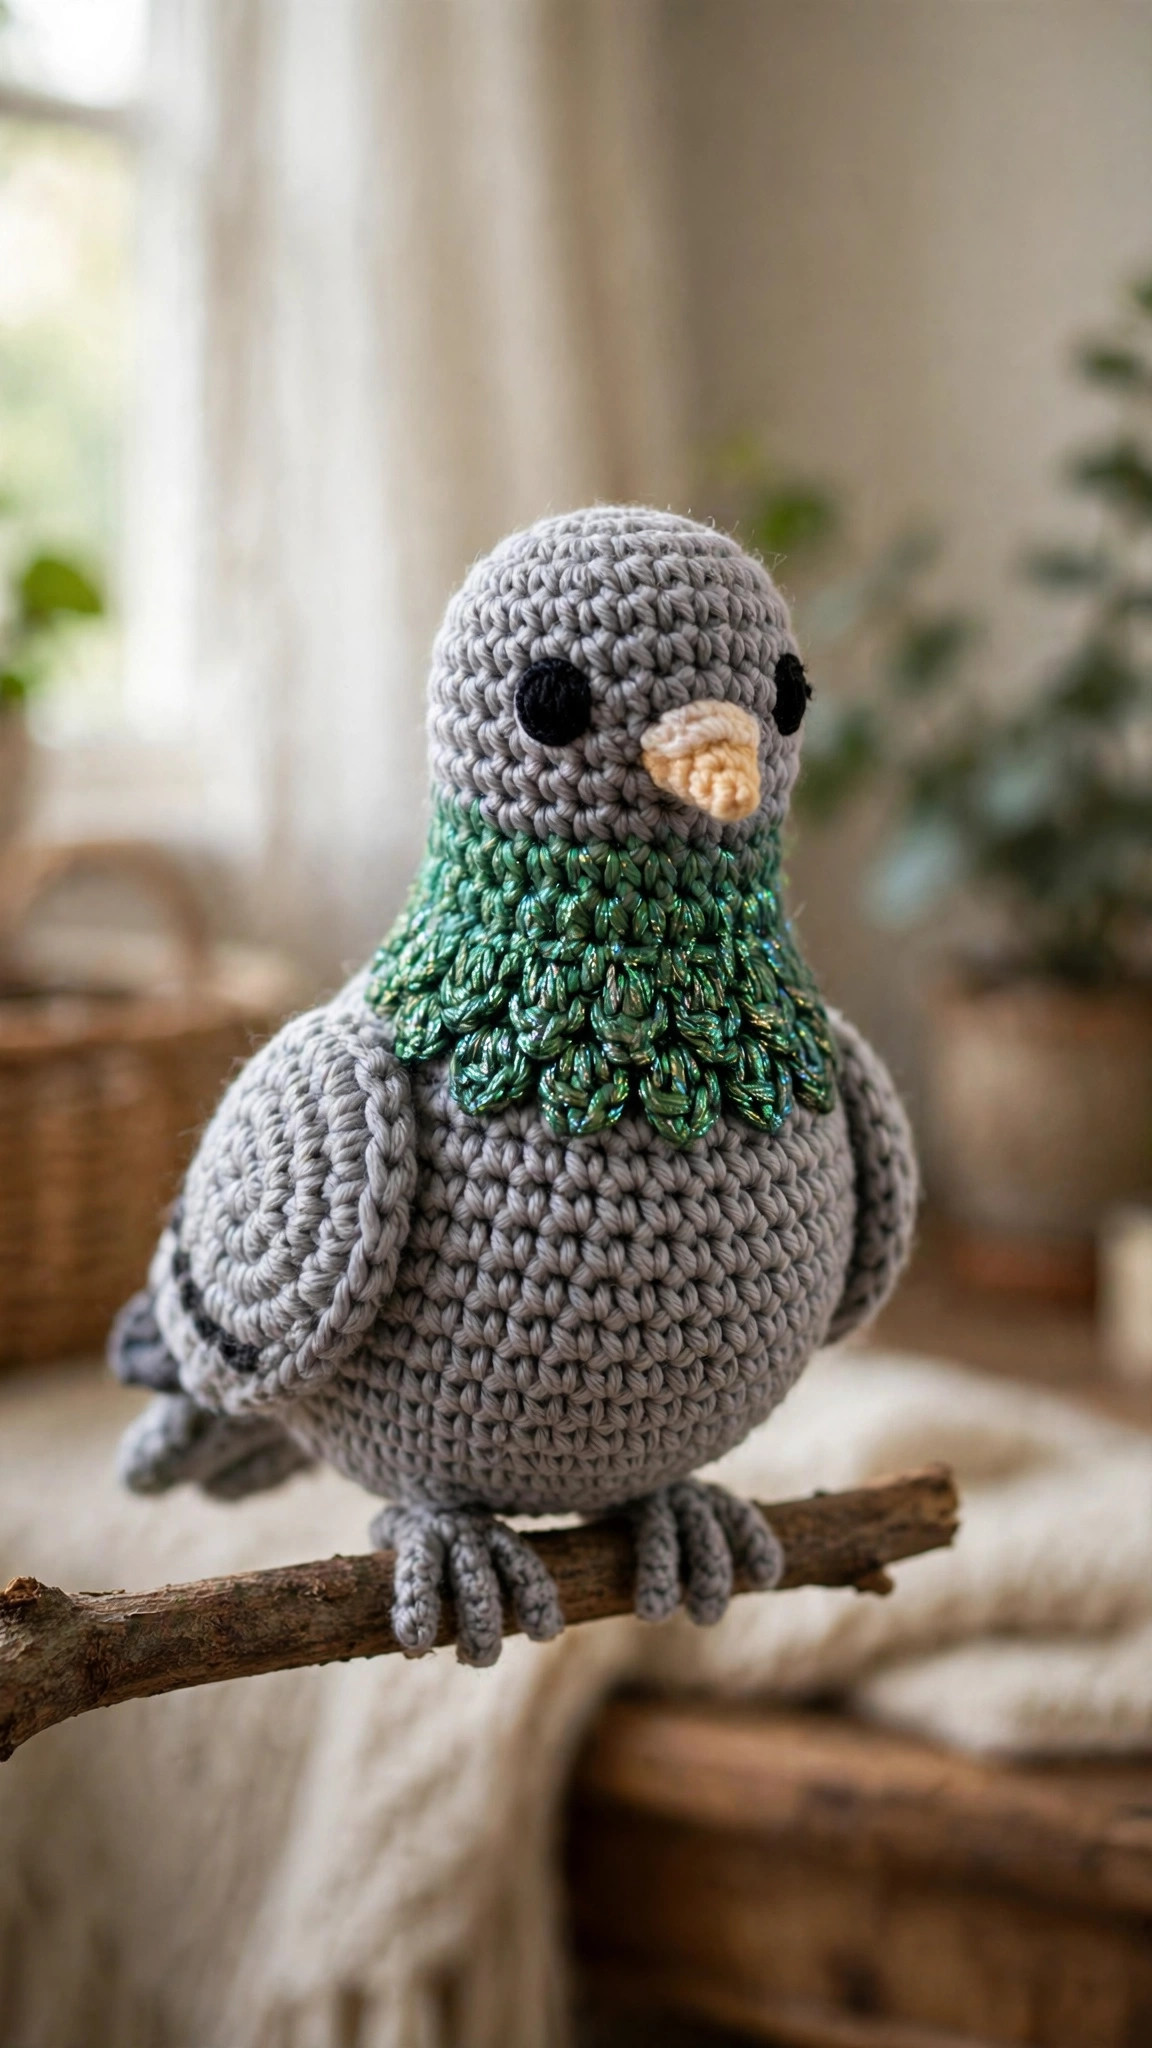
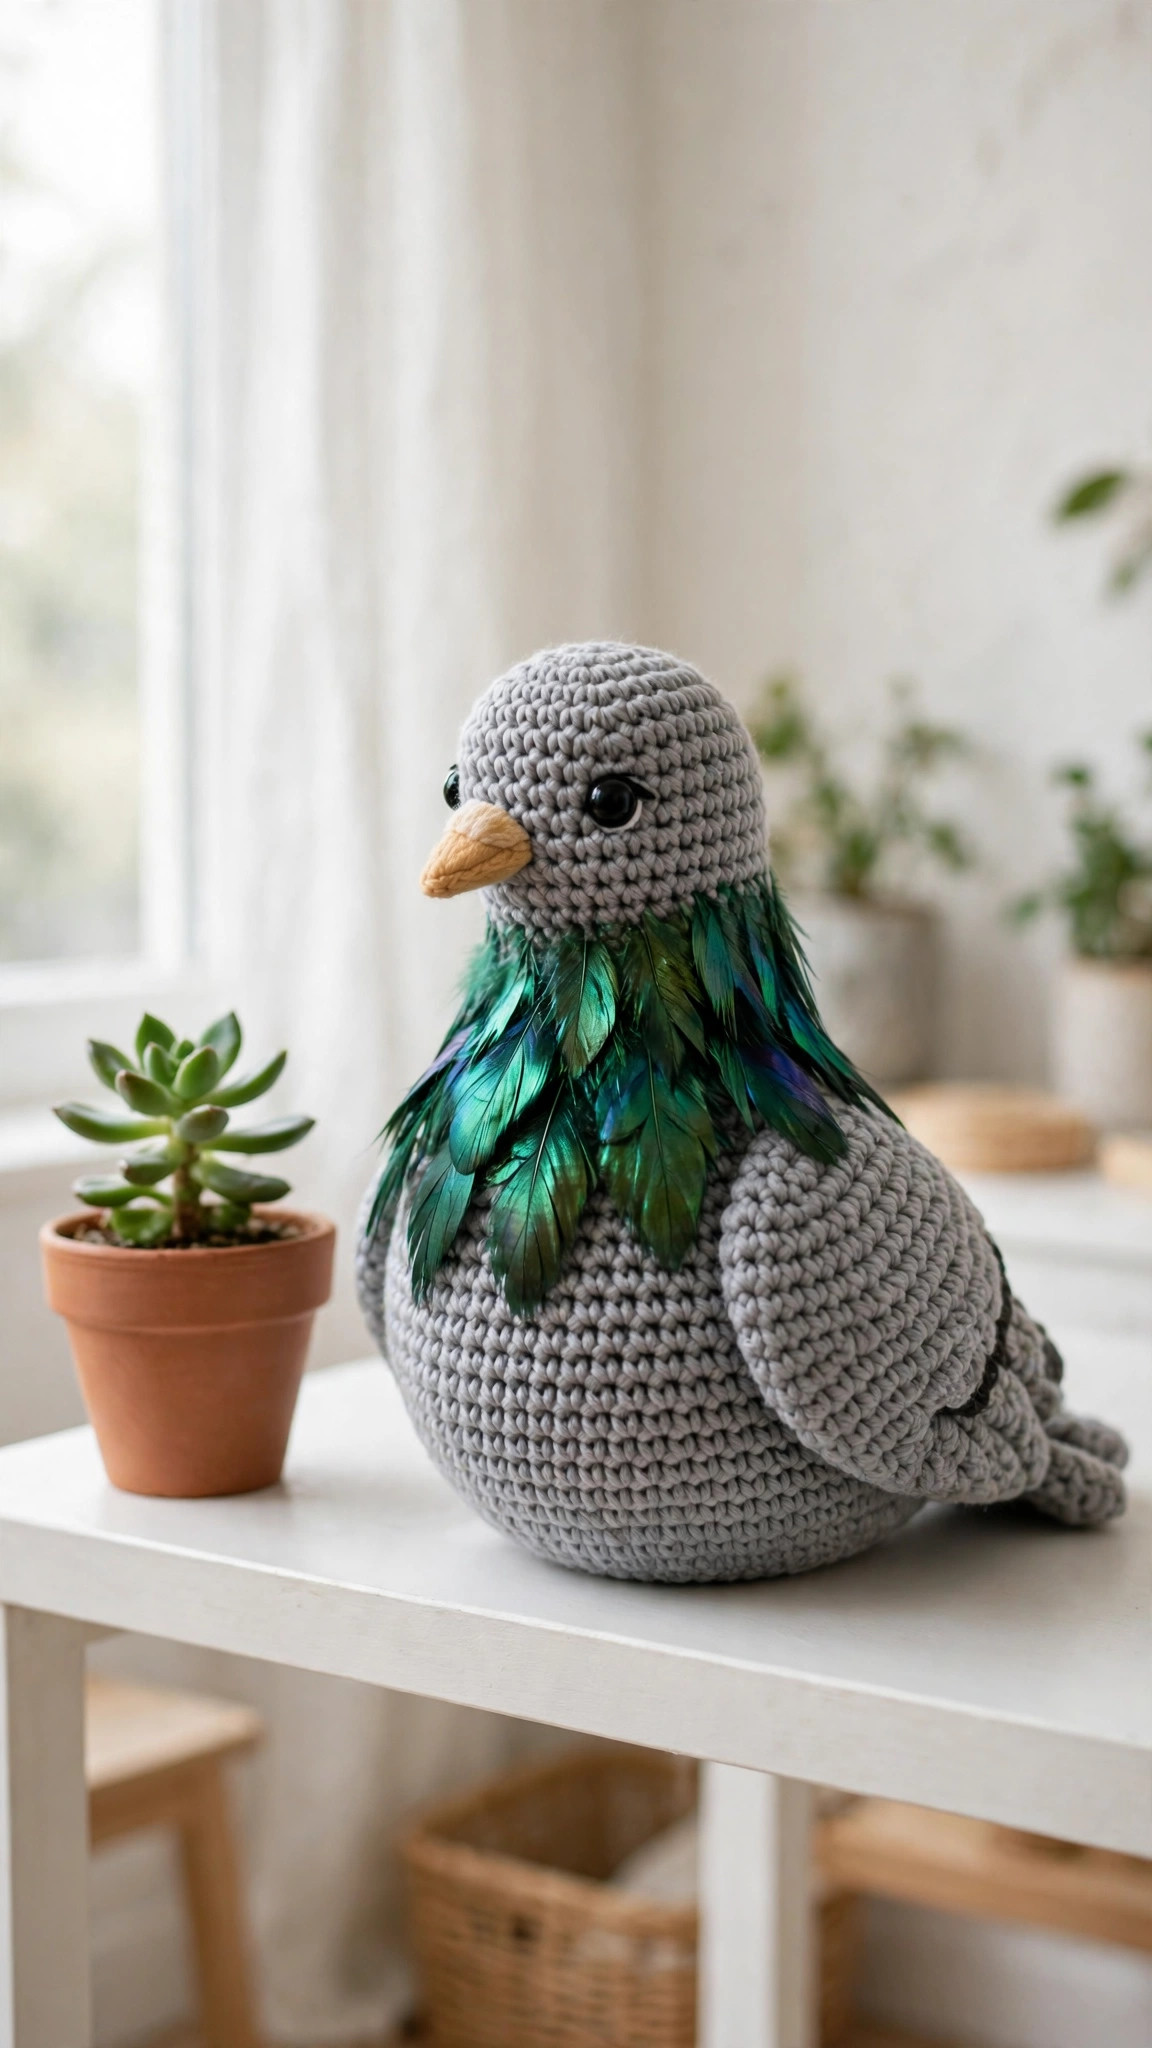
Crochet a cute grey amigurumi pigeon with an iridescent green neck and a perched pose in about six hours, then set it on a shelf or a desk for a bit of park bench charm.

Patterns · Crochet
- Finished size
- 7 in tall
- Making time
- 6 hours
- Hook
- US E-4 (3.5 mm)
- Set
- Pigeon, wings
- Skill
- Easy
In this post
- Key Takeaways
- Table of Contents
- Why You Will Love This Crochet Pigeon
- Finished Size, Skill Level, and Time
- Materials You Need
- Abbreviations (US Terms)
- Gauge and Sizing Notes
- Part 1: The Head and Body
- Part 2: The Wings and Tail
- Part 3: Beak, Feet, and Assembly
- Variations: Colors, Sizes, and Uses
- Troubleshooting a Pigeon That Does Not Look Right
- Care Instructions
- Frequently Asked Questions
A crochet pigeon is one of the sweetest little birds you can make with a hook. This free pigeon crochet pattern makes a cute grey amigurumi pigeon with an iridescent green neck, a soft round body, and a perched pose that looks lovely on a shelf, a desk, or a windowsill. It is small, quick, and full of personality.
This is an original Little Loop Finds design, written in US terms and completely free. The pigeon is worked in continuous rounds of single crochet, with no colorwork and no tricky shaping, and the pieces are sewn together with simple stitches. If you have made one amigurumi animal before, you can make this pigeon.
A quick note on scope: this post is about one specific crochet pigeon, a grey amigurumi pigeon with a green neck in a perched pose. It is a different bird from our crochet robin pattern, which is a smaller red breasted bird, and it uses its own shaping and colors. If you like small birds, the robin is a fun second project after this one.
Key Takeaways
- Free original pattern: a Little Loop Finds original design, written in US terms, and completely free.
- A cute grey pigeon: a soft grey body with an iridescent green neck and a perched pose.
- Small and quick: about 7 inches tall, worked in single crochet in the round.
- Beginner friendly: magic ring, single crochet, increases, and decreases are all you need.
- A 6 hour project: one pigeon takes about 6 hours, perfect for a weekend.
Table of Contents
- Why You Will Love This Crochet Pigeon
- Finished Size, Skill Level, and Time
- Materials You Need
- Abbreviations (US Terms)
- Gauge and Sizing Notes
- Part 1: The Head and Body
- Part 2: The Wings and Tail
- Part 3: Beak, Feet, and Assembly
- Variations: Colors, Sizes, and Uses
- Troubleshooting a Pigeon That Does Not Look Right
- Care Instructions
- Frequently Asked Questions
Why You Will Love This Crochet Pigeon
Pigeons are gentle, round, and charming, and this little crochet version captures all of that in a soft grey bundle. The iridescent green neck is the star of the show, a small patch of shimmer that makes the pigeon look like the real birds you see in a park. The perched pose means it sits up nicely on its own, so it works as a shelf decoration, a desk companion, or a gift for a bird lover.
A crochet pigeon is also a wonderful stash buster. It uses small amounts of grey, green, dark grey, orange, and pink yarn, so it is a great way to use up leftover balls from bigger projects. The whole bird is made from simple shapes, a round body, two flat wings, a small tail, and a tiny beak, so nothing about it is fiddly or frustrating. If you are new to amigurumi, this is a kind and forgiving first bird.
Finished Size, Skill Level, and Time
- Finished size: about 7 inches tall and 4 inches wide at the body, sitting in a perched pose. The wingspan is about 5 inches from tip to tip when the wings are spread.
- Skill level: Easy to advanced beginner. You need a magic ring, single crochet, increases, decreases, and simple seaming.
- Time: about 6 hours per pigeon: 2 hours for the head and body, 1 hour for the wings and tail, 1 hour for the beak and feet, and 2 hours for stuffing and assembly.
Materials You Need
| Item | What to get |
|---|---|
| Yarn, main color | Worsted weight (size 4) yarn in soft grey, about 120 yards |
| Yarn, neck | Worsted weight (size 4) yarn in iridescent green or teal, about 30 yards |
| Yarn, accents | Worsted weight (size 4) yarn in dark grey, orange, and pink, about 15 yards each |
| Hook | US E-4 (3.5 mm), or the size that gives you the gauge below |
| Notions | Tapestry needle, scissors, stitch marker, polyester stuffing, two 9 mm safety eyes |
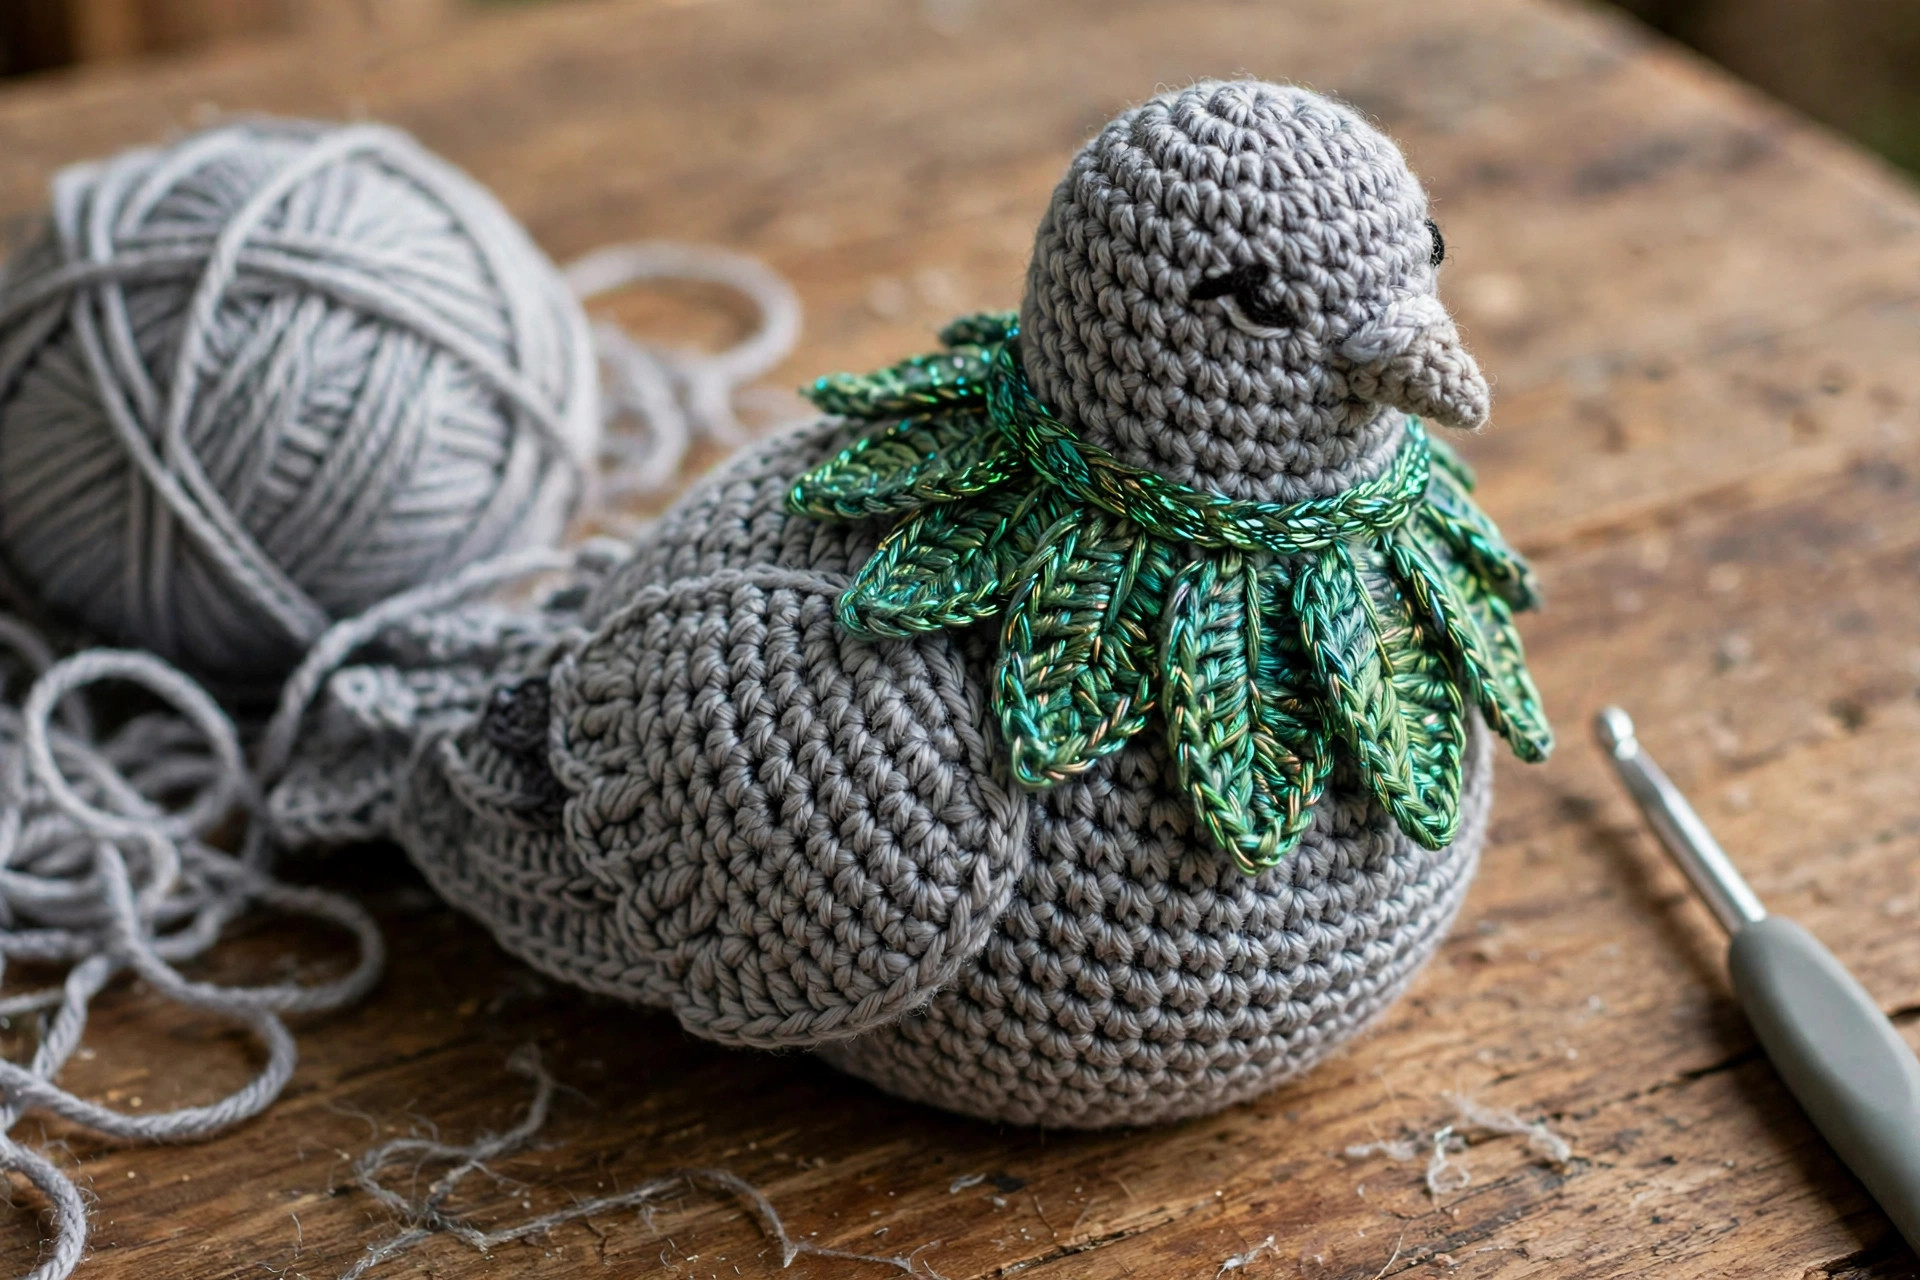
Worsted weight acrylic yarn is the best choice for a crochet pigeon because it is easy to find, it holds its shape well, and it comes in every shade of grey and green you could want. A smooth acrylic is a good pick, because the stitches stay neat and the stuffing does not show through. Choose a soft medium grey for the body, a green with a little shine for the neck, and a warm orange for the beak. Avoid very fuzzy yarns, because they hide the stitches and make the pigeon look messy. For the eyes, 9 mm safety eyes give the pigeon a sweet, alert look. If the pigeon is for a small child, use embroidered eyes instead of safety eyes.
Abbreviations (US Terms)
- MR = magic ring
- ch = chain
- sl st = slip stitch
- sc = single crochet
- inc = increase (2 sc in the same stitch)
- dec = decrease (sc 2 stitches together)
- st(s) = stitch(es)
- rep = repeat
- rnd(s) = round(s)
Gauge and Sizing Notes
Gauge matters on amigurumi more than on a scarf or a blanket, because loose stitches let the stuffing show through. Work a small swatch of 10 sc stitches and 10 rows in the main grey color. It should be about 2 inches square. If it is wider, go down a hook size. If it is narrower, go up a hook size.
The pigeon is worked in continuous rounds, so use a stitch marker to mark the first stitch of every round and move it up as you go. Count your stitches at the end of every round on the body, because a missed increase early on will make the whole bird lopsided. If your pigeon comes out bigger than 7 inches, your hook is too big or your yarn is heavier than worsted weight. A smaller hook gives a tighter fabric and a neater bird.
Part 1: The Head and Body
The head and body are worked as one piece, starting at the top of the head and working down to the flat base. This is the classic amigurumi bird shape, and it means there is no seam between the head and the body. Work the neck patch in green as you go, following the color changes in the rounds below.
The Head and Body
With the grey yarn, make a magic ring.
- Rnd 1: 6 sc in the ring. (6 sts)
- Rnd 2: inc in each st around. (12 sts)
- Rnd 3: (sc in the next st, inc in the next st) rep around. (18 sts)
- Rnd 4: (sc in the next 2 sts, inc in the next st) rep around. (24 sts)
- Rnd 5: (sc in the next 3 sts, inc in the next st) rep around. (30 sts)
- Rnds 6 to 10: sc in each st around. (30 sts)
- Rnd 11: (sc in the next 3 sts, dec) rep around. (24 sts)
- Rnd 12: change to the green yarn, sc in each st around. (24 sts)
- Rnd 13: (sc in the next 2 sts, inc in the next st) rep around, in green. (32 sts)
- Rnd 14: change back to grey, sc in each st around. (32 sts)
- Rnd 15: (sc in the next 3 sts, inc in the next st) rep around. (40 sts)
- Rnd 16: (sc in the next 4 sts, inc in the next st) rep around. (48 sts)
- Rnds 17 to 24: sc in each st around. (48 sts)
- Rnd 25: (sc in the next 6 sts, dec) rep around. (42 sts)
- Rnd 26: (sc in the next 5 sts, dec) rep around. (36 sts)
- Rnd 27: (sc in the next 4 sts, dec) rep around. (30 sts)
- Rnd 28: (sc in the next 3 sts, dec) rep around. (24 sts)
- Rnd 29: (sc in the next 2 sts, dec) rep around. (18 sts)
- Rnd 30: (sc in the next st, dec) rep around. (12 sts)
Fasten off, leaving a long tail. Stuff the head and body firmly, shaping the body so it is round and full, with a slightly flat base so the pigeon sits up in its perched pose. Place the safety eyes between rounds 8 and 9, about 6 stitches apart, before you finish stuffing. Close the base with the long tail, weaving through the front loops of the last round and pulling tight. Our free crochet duck pattern uses the same one piece head and body method if you want another bird in the same style.
Part 2: The Wings and Tail
The wings are flat ovals worked in rows, and the tail is a small fan of stitches worked in rows. Both are quick to make, and they give the pigeon its shape and character. Work both wings the same way, and keep your stitch counts the same on each one.
The Wings (make 2)
With the grey yarn, ch 9.
- Row 1: sc in the 2nd ch from the hook and in each ch across. (8 sc)
- Row 2: ch 1, turn, inc in the first st, sc in each st across to the last st, inc in the last st. (10 sc)
- Row 3: ch 1, turn, sc in each st across. (10 sc)
- Row 4: ch 1, turn, inc in the first st, sc in each st across to the last st, inc in the last st. (12 sc)
- Rows 5 to 7: ch 1, turn, sc in each st across. (12 sc)
- Row 8: ch 1, turn, dec, sc in each st across to the last 2 sts, dec. (10 sc)
- Row 9: ch 1, turn, dec, sc in each st across to the last 2 sts, dec. (8 sc)
- Row 10: ch 1, turn, dec, sc in each st across to the last 2 sts, dec. (6 sc)
Fasten off, leaving a long tail for sewing. Each wing should be about 3 inches long and 2 inches wide. Work one row of sc in dark grey around the bottom edge of each wing if you want the wing tips to look like real pigeon feathers. Lay both wings side by side and check that they are the same size, because matching wings are what make the pigeon look neat.
The Tail
With the dark grey yarn, ch 10.
- Row 1: sc in the 2nd ch from the hook and in each ch across. (9 sc)
- Rows 2 to 5: ch 1, turn, sc in each st across. (9 sc)
- Row 6: ch 1, turn, dec, sc in each st across to the last 2 sts, dec. (7 sc)
Fasten off, leaving a long tail for sewing. The tail should be about 2 inches long and 2 inches wide. Work one row of sc in grey along each long edge to neaten it up, or leave the edges plain for a softer look.
Part 3: Beak, Feet, and Assembly
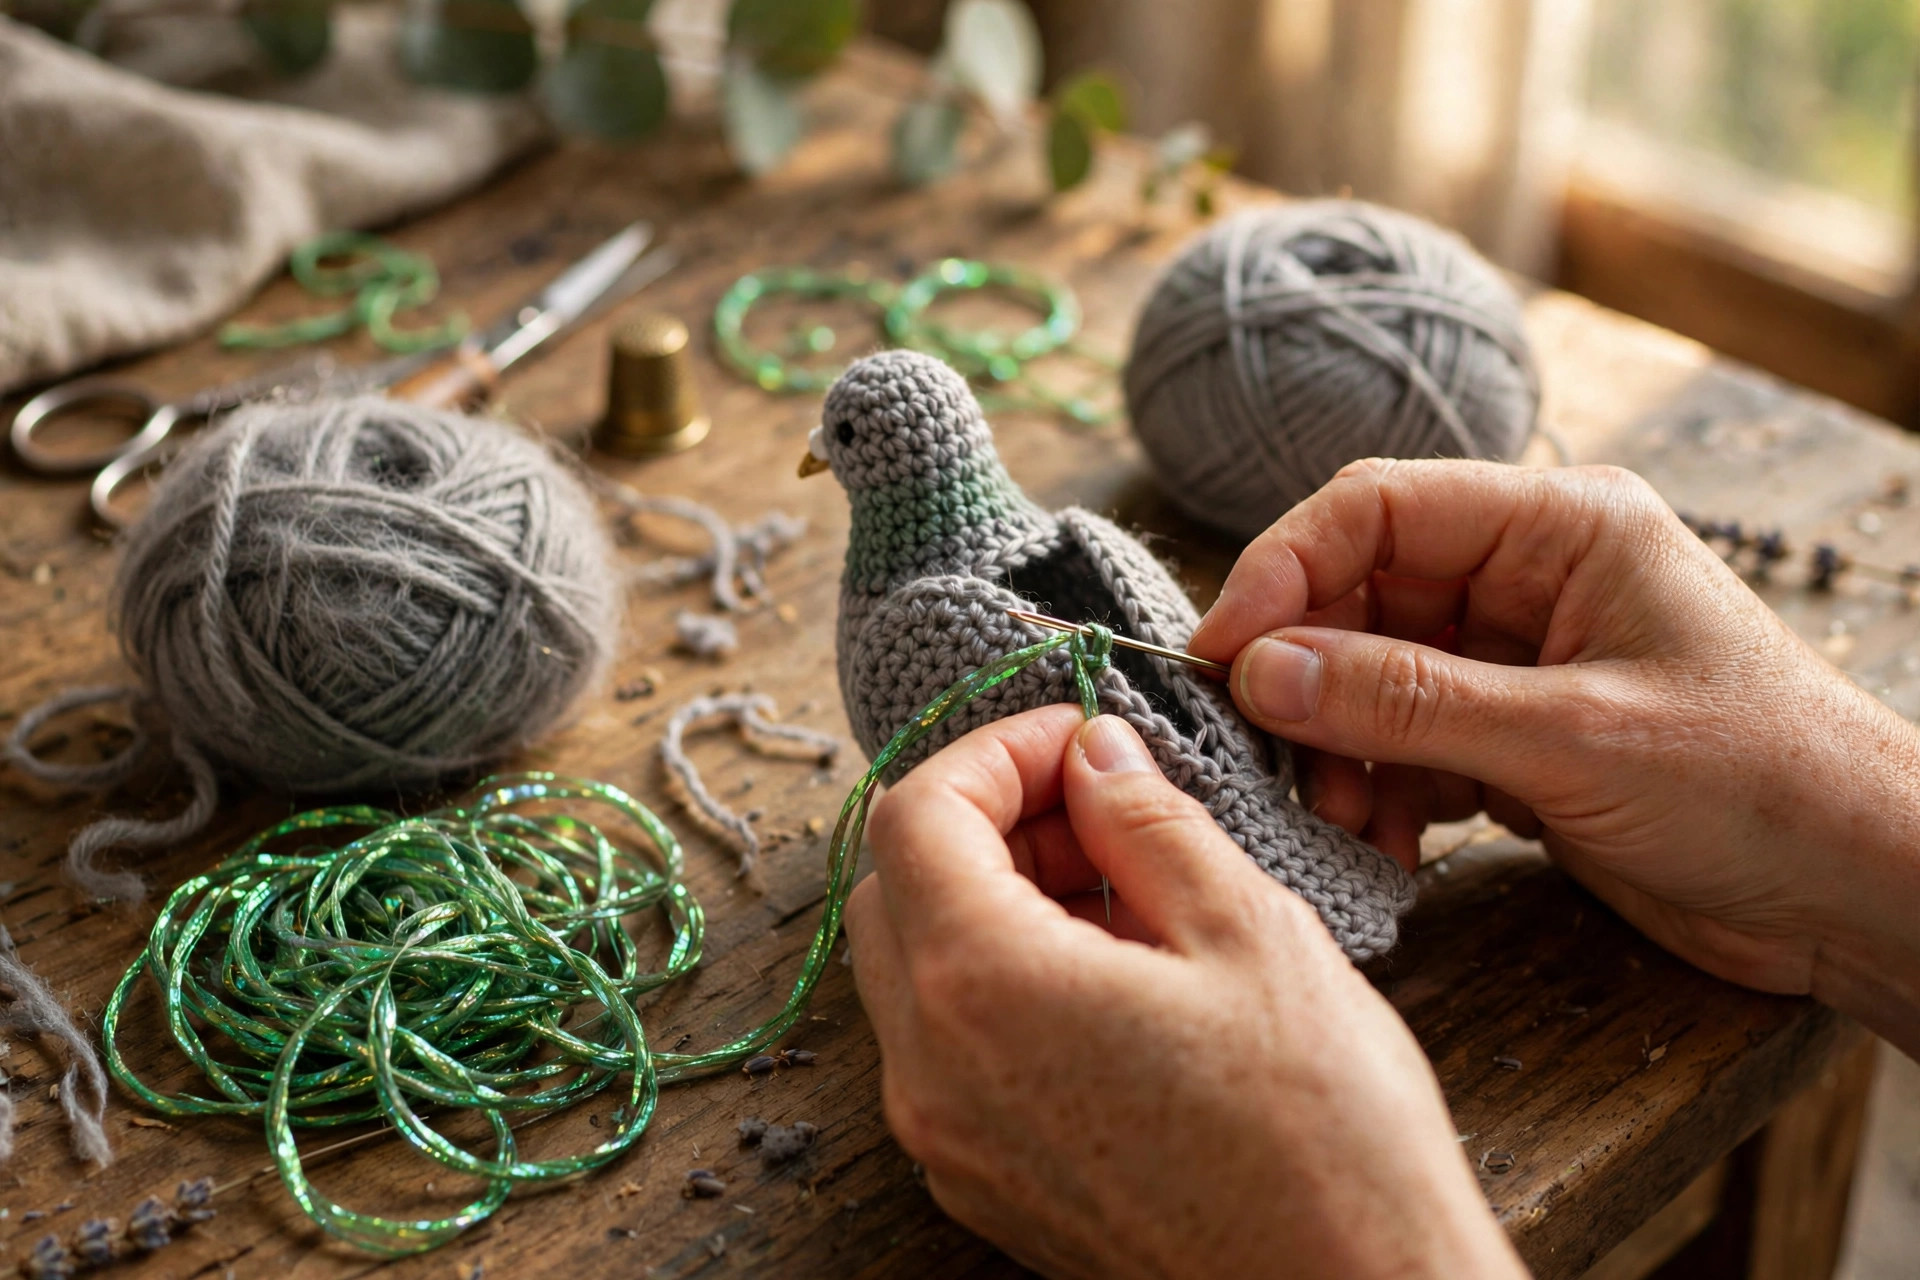
This is the part where the pieces become a pigeon. Pin everything before you sew, step back and look at the face from the front, and take your time with the placement, because the eyes and beak are what give the pigeon its expression.
The Beak
With the orange yarn, make a magic ring.
- Rnd 1: 4 sc in the ring. (4 sts)
- Rnd 2: (sc in the next st, inc in the next st) rep around. (6 sts)
- Rnd 3: sc in each st around. (6 sts)
Fasten off, leaving a long tail for sewing. The beak should be about half an inch long. Stuff it very lightly with a tiny pinch of stuffing so it holds its shape, or leave it unstuffed for a flatter beak. Sew a small dark grey stitch across the base of the beak for the cere, the little bump above a pigeon beak.
The Feet (make 2)
With the pink yarn, ch 6.
- Row 1: sl st in the 2nd ch from the hook, sl st in the next ch, ch 3, sl st in the 2nd ch from the hook, sl st in the next ch, ch 3, sl st in the 2nd ch from the hook, sl st in the next ch, sl st in the last ch.
Fasten off, leaving a long tail for sewing. Each foot should have three little toes, and it should be about 1 inch wide. The toes are what make the feet look like a real pigeon, so keep them even and do not pull the chains too tight.
Assembly
Sew the beak to the front of the head, centered between the eyes and just below them, between rounds 9 and 10. Sew one wing to each side of the body, angled slightly downward, with the top of each wing at about round 16 and the bottom at about round 24. Sew the tail to the back of the body at about round 26, angled slightly downward so it sticks out behind the pigeon. Sew one foot to each side of the base, about 1 inch apart, so the pigeon stands evenly. Our free crochet hummingbird pattern uses the same pin first, sew second method if you want another small bird to practice on.
Variations: Colors, Sizes, and Uses
- Classic city pigeon: work the whole bird in medium grey with a dark grey tail, just like the pigeons in a park.
- White dove version: make the body in white and skip the green neck for a peaceful dove. Our owl crochet pattern is another soft bird that pairs well with a dove.
- Bigger pigeon: use bulky weight yarn and a US H-8 (5.0 mm) hook for a pigeon about 10 inches tall.
- Pigeon keychain: use fingering weight yarn and a US B-1 (2.25 mm) hook for a tiny pigeon about 3 inches tall, and add a keyring to the top of the head.
- A pigeon pair: make two pigeons in different shades of grey and perch them together on a shelf or a branch for a sweet display.
Troubleshooting a Pigeon That Does Not Look Right
- My pigeon is lopsided. One side has more stitches than the other. Count the stitches at the end of every round on the body, because a missed increase early on will tilt the whole bird.
- The stuffing shows through. Your stitches are too loose. Go down a hook size and work tighter single crochet, or add a little more stuffing so the fabric is full.
- The eyes are uneven. The eyes were placed without measuring. Count the stitches between the eyes, about 6 stitches apart, and place them on the same round before you sew anything.
- The wings stick out too far. The wings were sewn too high or too flat. Pin them first, angled slightly downward, and check the look from the front before you sew.
- My pigeon will not sit up. The base is too round. Flatten the base with your hands after stuffing, and sew the feet a little wider apart so the pigeon balances.
Care Instructions
Spot clean a crochet pigeon with a damp cloth and a little mild soap, and let it air dry. If the pigeon gets very dirty, hand wash it in cool water with a mild detergent, press the water out gently without wringing, and reshape it while it is damp. Keep the pigeon out of direct sunlight for long stretches, because the green neck yarn can fade. Store it on a shelf or in a basket, away from pets that like to chew yarn.
Frequently Asked Questions
Is this pigeon crochet pattern good for beginners?
Yes, it is a great first amigurumi bird. You need a magic ring, single crochet, increases, and decreases. One pigeon takes about 6 hours, and the pieces are simple shapes that are easy to sew together.
What yarn is best for a crochet pigeon?
Worsted weight acrylic yarn is the best choice, because it is easy to find, it holds its shape well, and it comes in every shade of grey and green. A smooth acrylic keeps the stitches neat and stops the stuffing from showing through.
How big is the finished pigeon?
The finished pigeon is about 7 inches tall and 4 inches wide at the body, sitting in a perched pose. The wingspan is about 5 inches from tip to tip when the wings are spread.
How do I make the iridescent green neck?
Work rounds 12 and 13 in green yarn, as written in the pattern, then change back to grey. A green yarn with a little shine or a metallic thread gives the best iridescent look. You can also brush the green neck lightly with a soft brush to fluff the fibers.
Can I make the pigeon in other colors?
Yes, pigeons come in many colors. Try white for a dove, brown for a wood pigeon, or a darker charcoal grey for a city pigeon. Keep the beak orange and the feet pink for a realistic look.
Can I sell pigeons made from this pattern?
Yes, you may sell finished pigeons made from this free pattern, with credit to Little Loop Finds. Do not sell or republish the pattern text itself. A pigeon with a matching mini amigurumi pattern makes a lovely gift set for a bird lover.
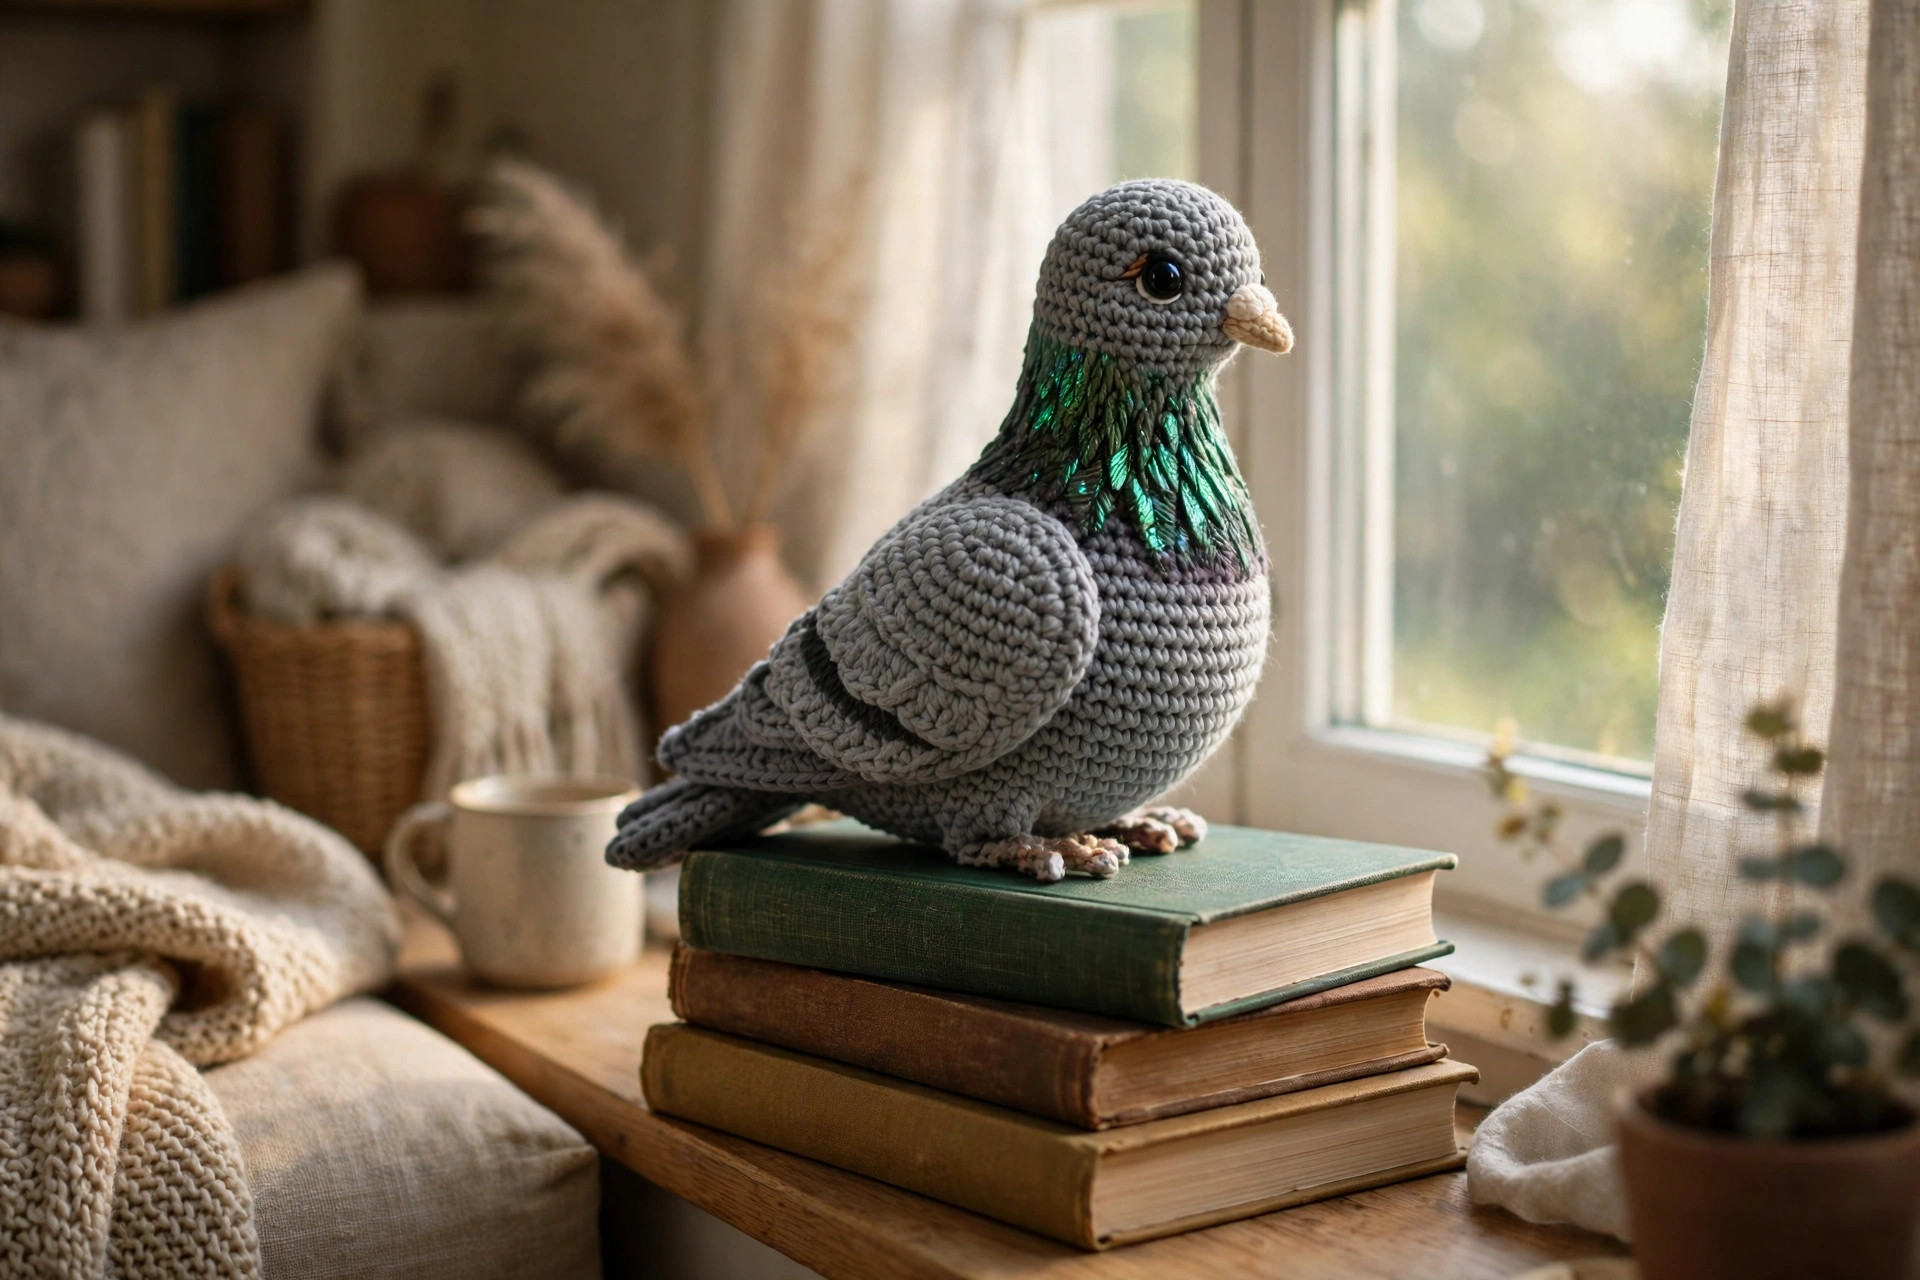
Happy stitching, and may your little pigeon bring a bit of park bench charm into your home.