Crochet Goose Pattern Free (Amigurumi)
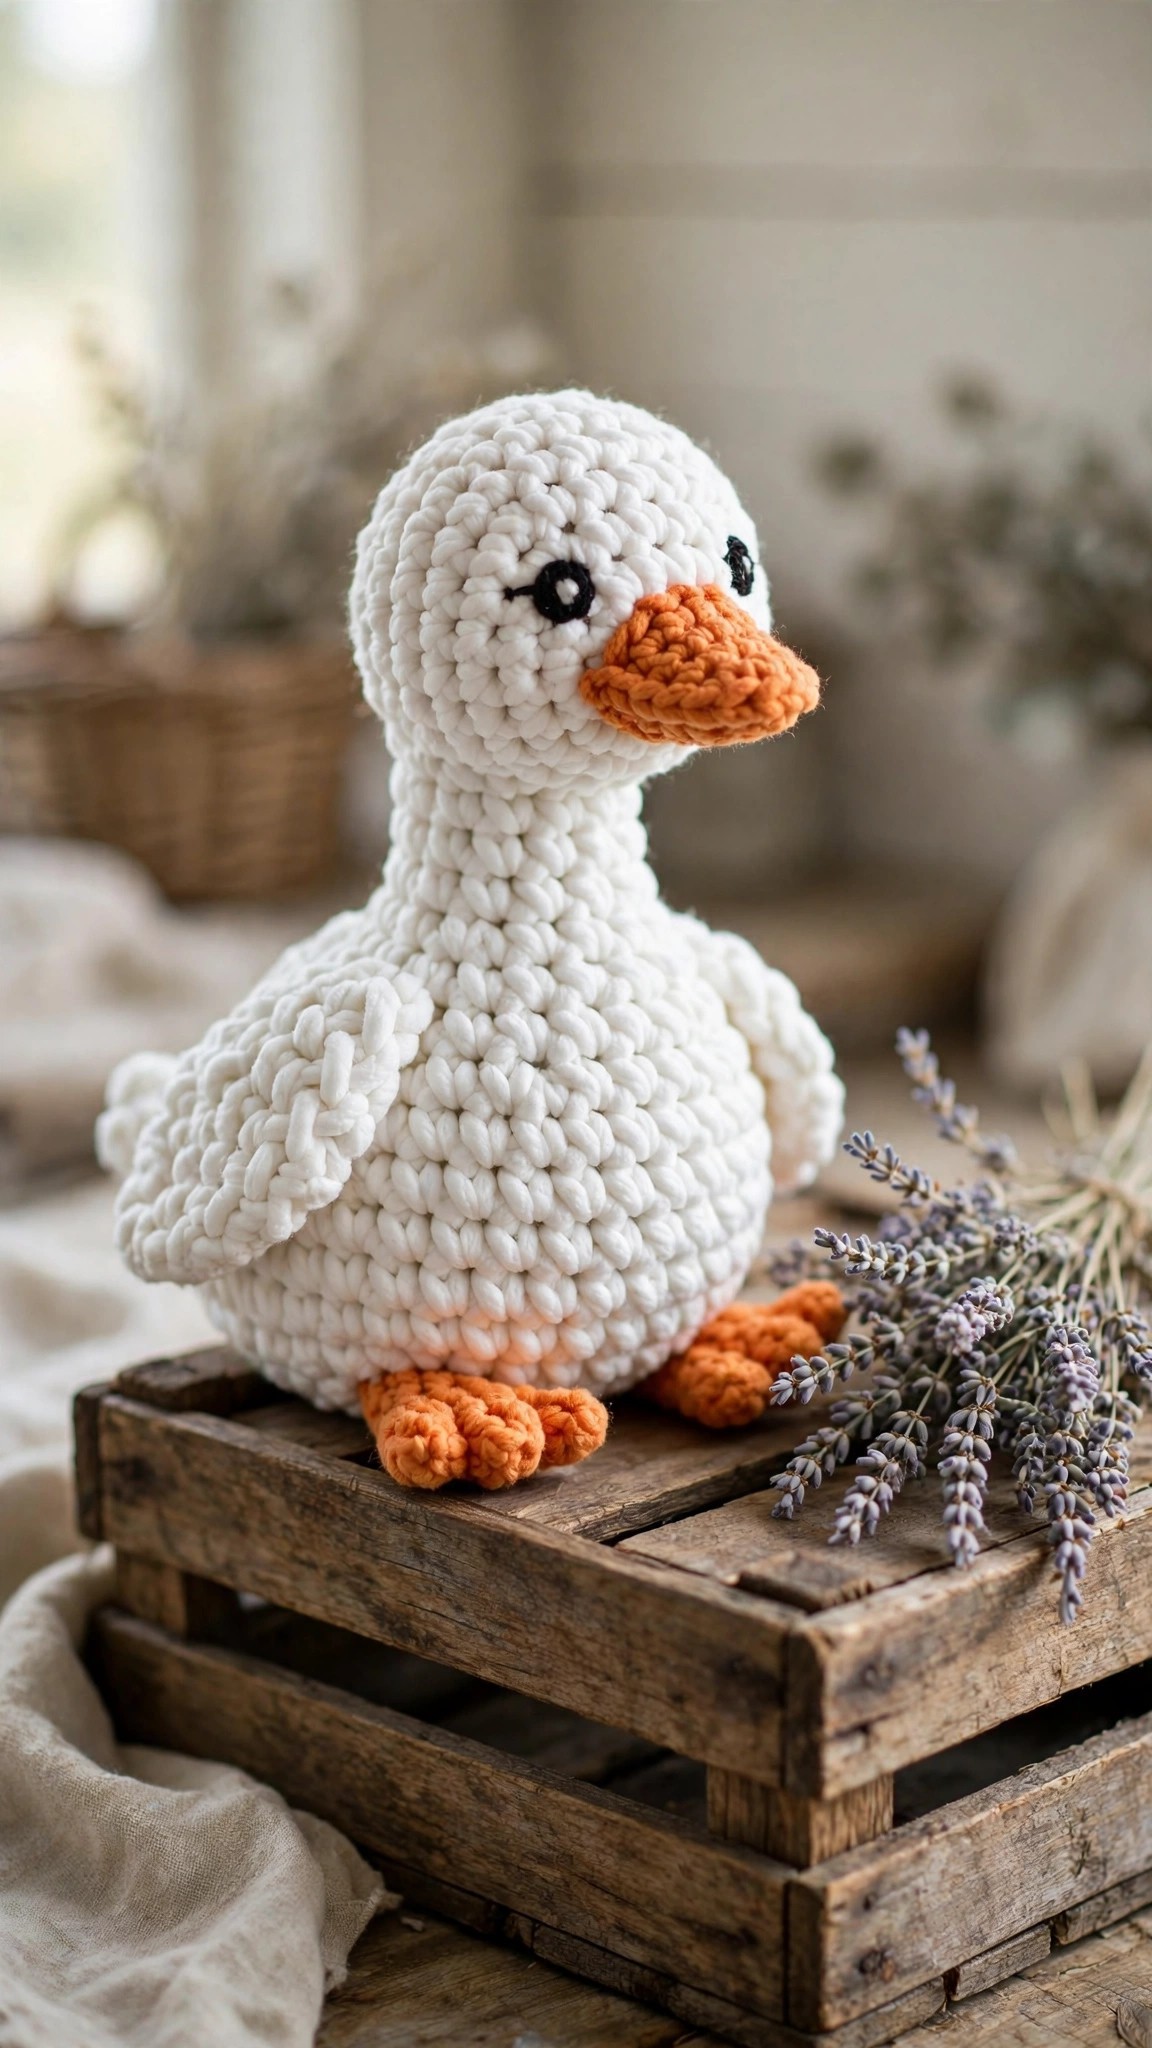
Crochet a squishy 9 inch farmhouse goose plush in chenille yarn, with an orange beak and embroidered eyes.

Amigurumi · Crochet
- Finished size
- 9 in tall
- Making time
- 6 to 8 hours
- Hook
- US J-10 (6.0 mm)
- Set
- Goose, beak, wings and feet guide
- Skill
- Easy
In this post
- Key Takeaways
- Table of Contents
- Why You Will Love This Goose
- Finished Size, Skill Level, and Time
- Materials You Need
- Abbreviations (US Terms)
- Part 1: The Body
- Part 2: The Head
- Part 3: Beak and Face
- Part 4: Wings and Tail
- Part 5: Webbed Feet
- Assembly
- Variations: Build a Gaggle
- Troubleshooting Chenille Amigurumi
- Care Instructions
- Frequently Asked Questions
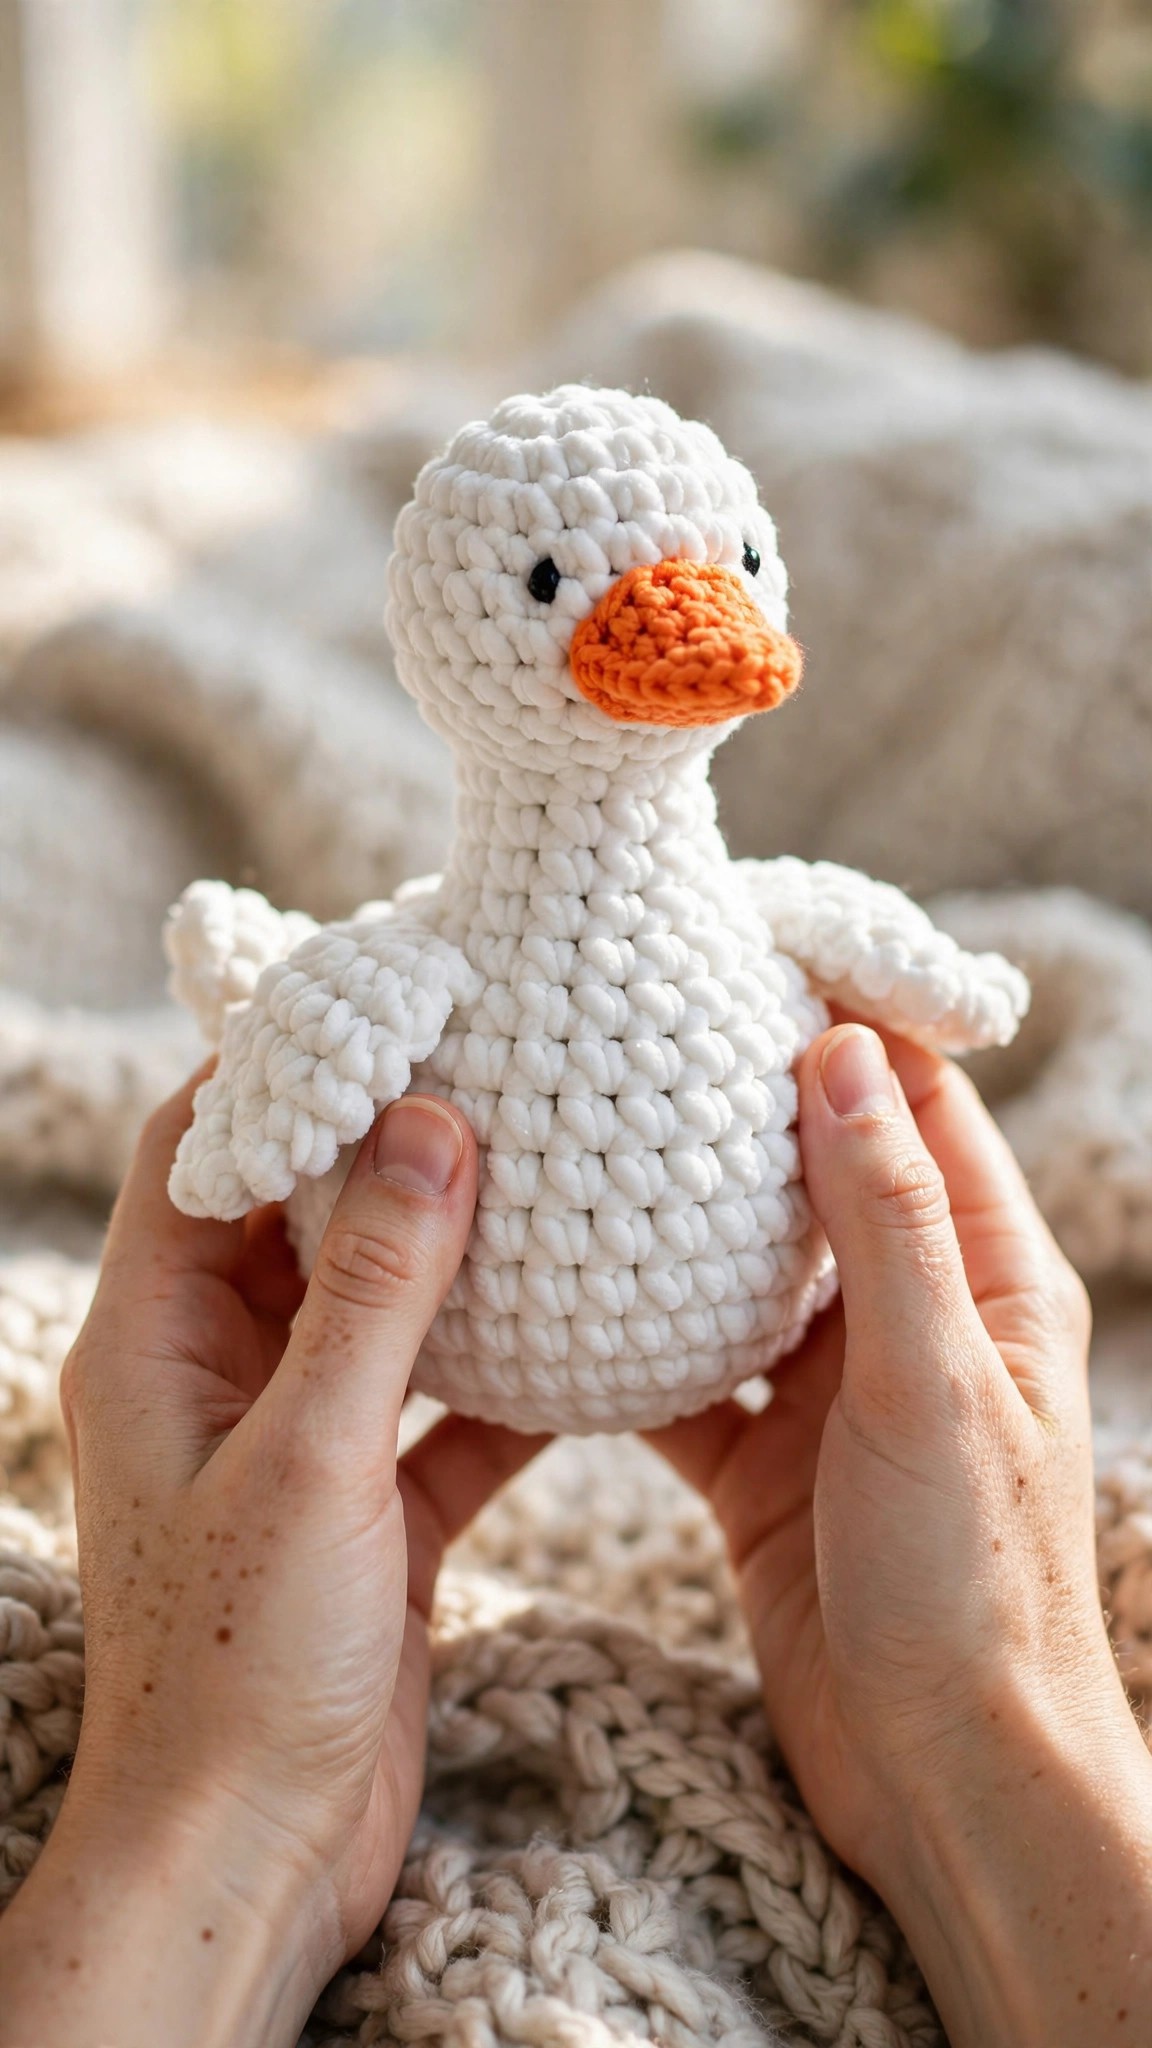
There is something deeply comforting about a chunky goose. Maybe it is the farmhouse nostalgia, or the way geese waddle through life with total confidence, but a plush goose just makes a room feel warmer. This free crochet goose pattern makes a squishy 9 inch farmhouse style goose in soft chenille yarn, with a bright orange beak, embroidered eyes, and little webbed feet that let it sit upright on a desk or shelf.
This is an original Little Loop Finds design, written in US terms and completely free. The goose is worked in simple single crochet rounds with basic increases and decreases, using super bulky chenille yarn and a big hook, so the pieces grow fast and the stitches stay easy to see. If you are new to amigurumi, chunky yarn is the kindest possible teacher: every stitch is visible, mistakes are easy to spot and fix, and a finished goose appears in hours, not days.
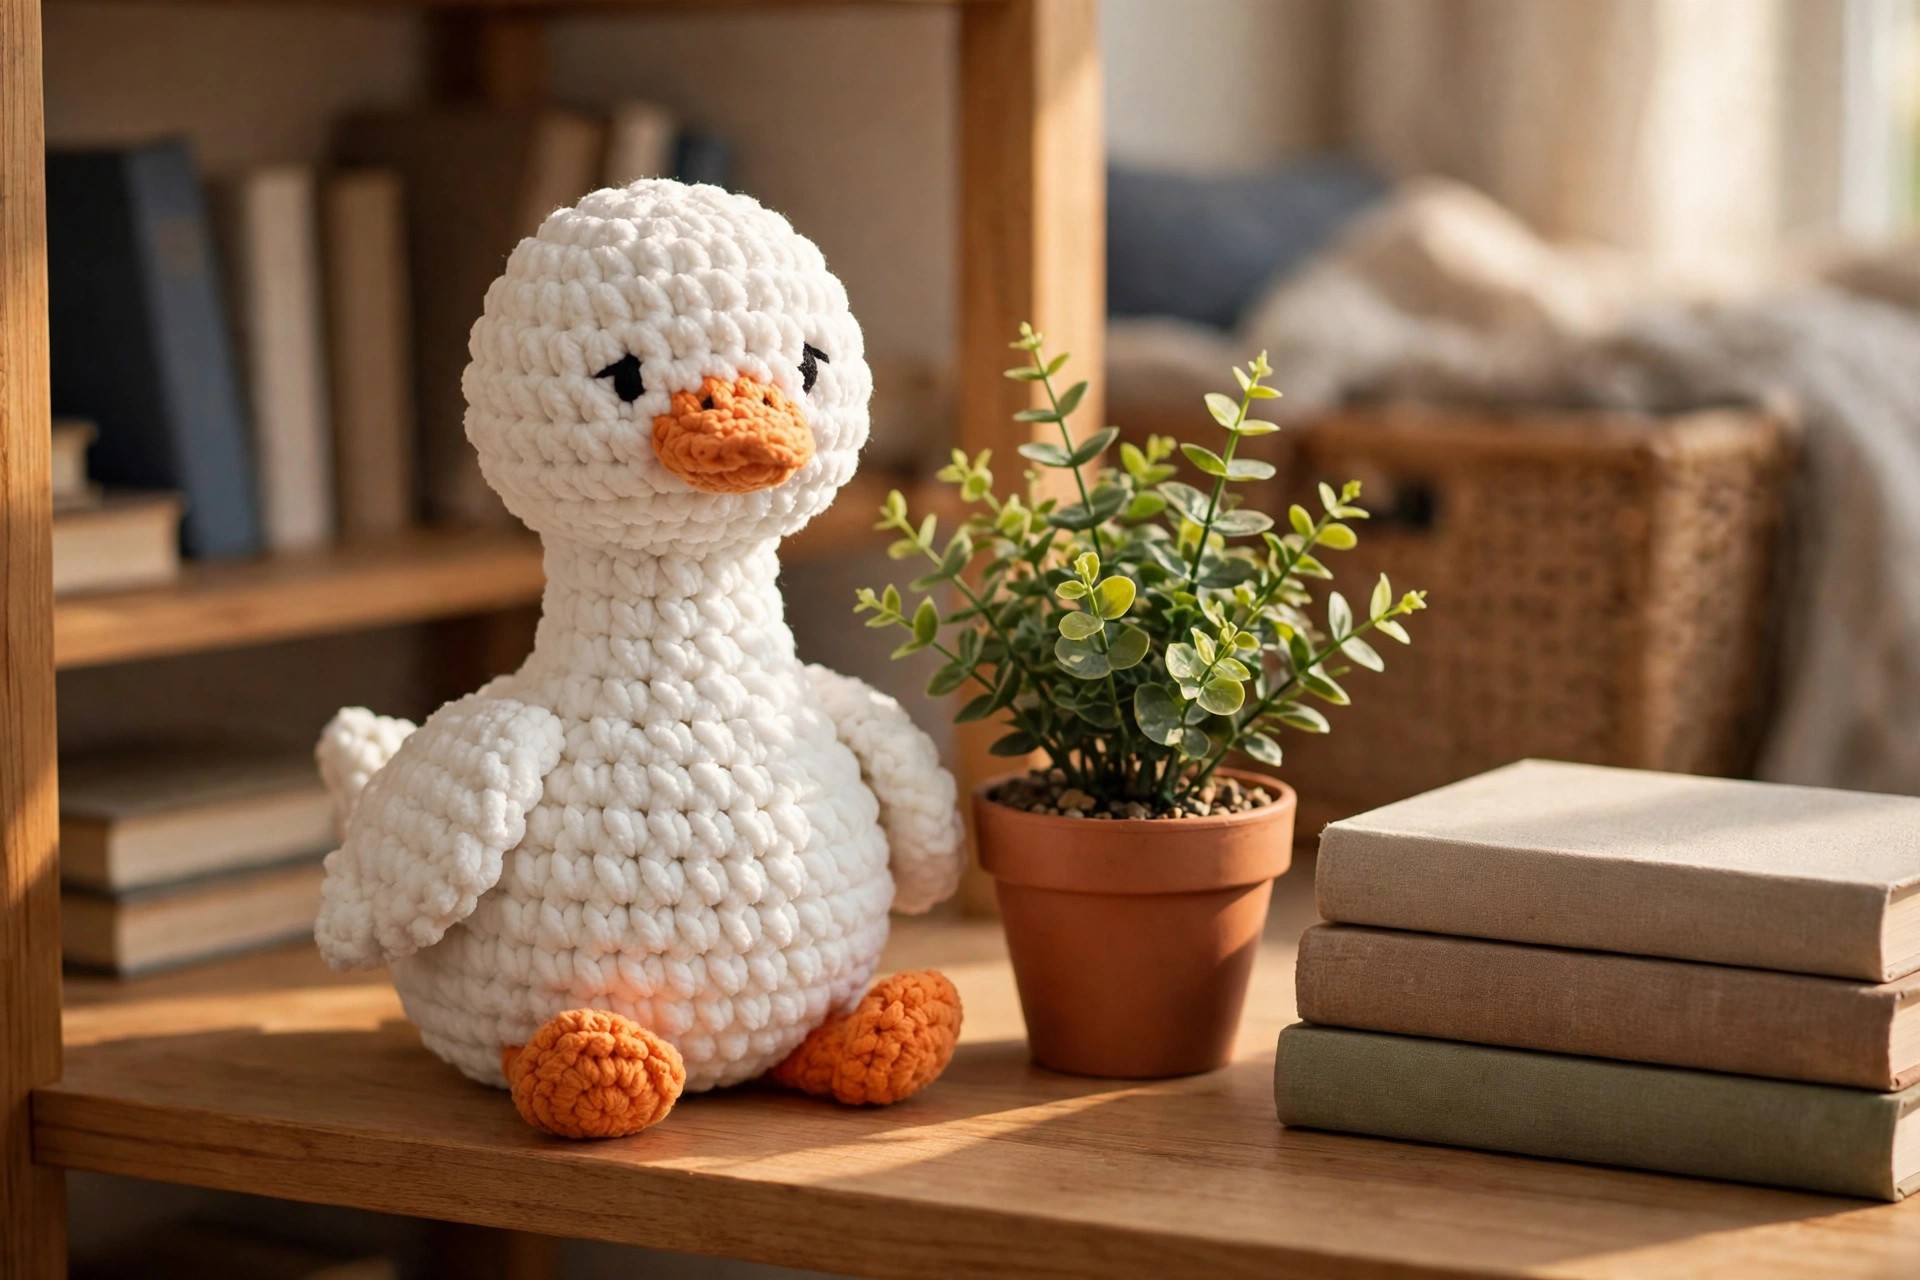
She is a perfect desk buddy, a sweet gift for kids, and a lovely piece of farmhouse decor for a nursery or reading nook. Make her in classic white, try a gray goose, or stitch a whole gaggle in different sizes. Once you feel how squishy chenille amigurumi is, one goose is never enough.
Key Takeaways
- Free original pattern: this crochet goose pattern is a Little Loop Finds original amigurumi design, written in US terms, and completely free.
- Chunky and quick: super bulky chenille yarn and a 6.0 mm hook mean fast rounds you can actually see.
- Beginner friendly amigurumi: only single crochet, increases, and decreases, with embroidered eyes for a kid safe finish.
- Weekend project: about 6 to 8 hours of stitching plus assembly.
- Farmhouse charm: orange beak, webbed feet, and folded wings give big cozy cottage energy.
Table of Contents
- Why You Will Love This Goose
- Finished Size, Skill Level, and Time
- Materials You Need
- Abbreviations (US Terms)
- Part 1: The Body
- Part 2: The Head
- Part 3: Beak and Face
- Part 4: Wings and Tail
- Part 5: Webbed Feet
- Assembly
- Variations: Build a Gaggle
- Troubleshooting Chenille Amigurumi
- Care Instructions
- Frequently Asked Questions
Why You Will Love This Goose
Chunky chenille amigurumi is having a well deserved moment, and this goose shows exactly why. The thick yarn makes every round feel like real progress, the finished plush is unbelievably soft and huggable, and the simple shapes let the texture do all the talking. There is no fiddly colorwork, no tiny parts, just round, squishy, satisfying crochet.
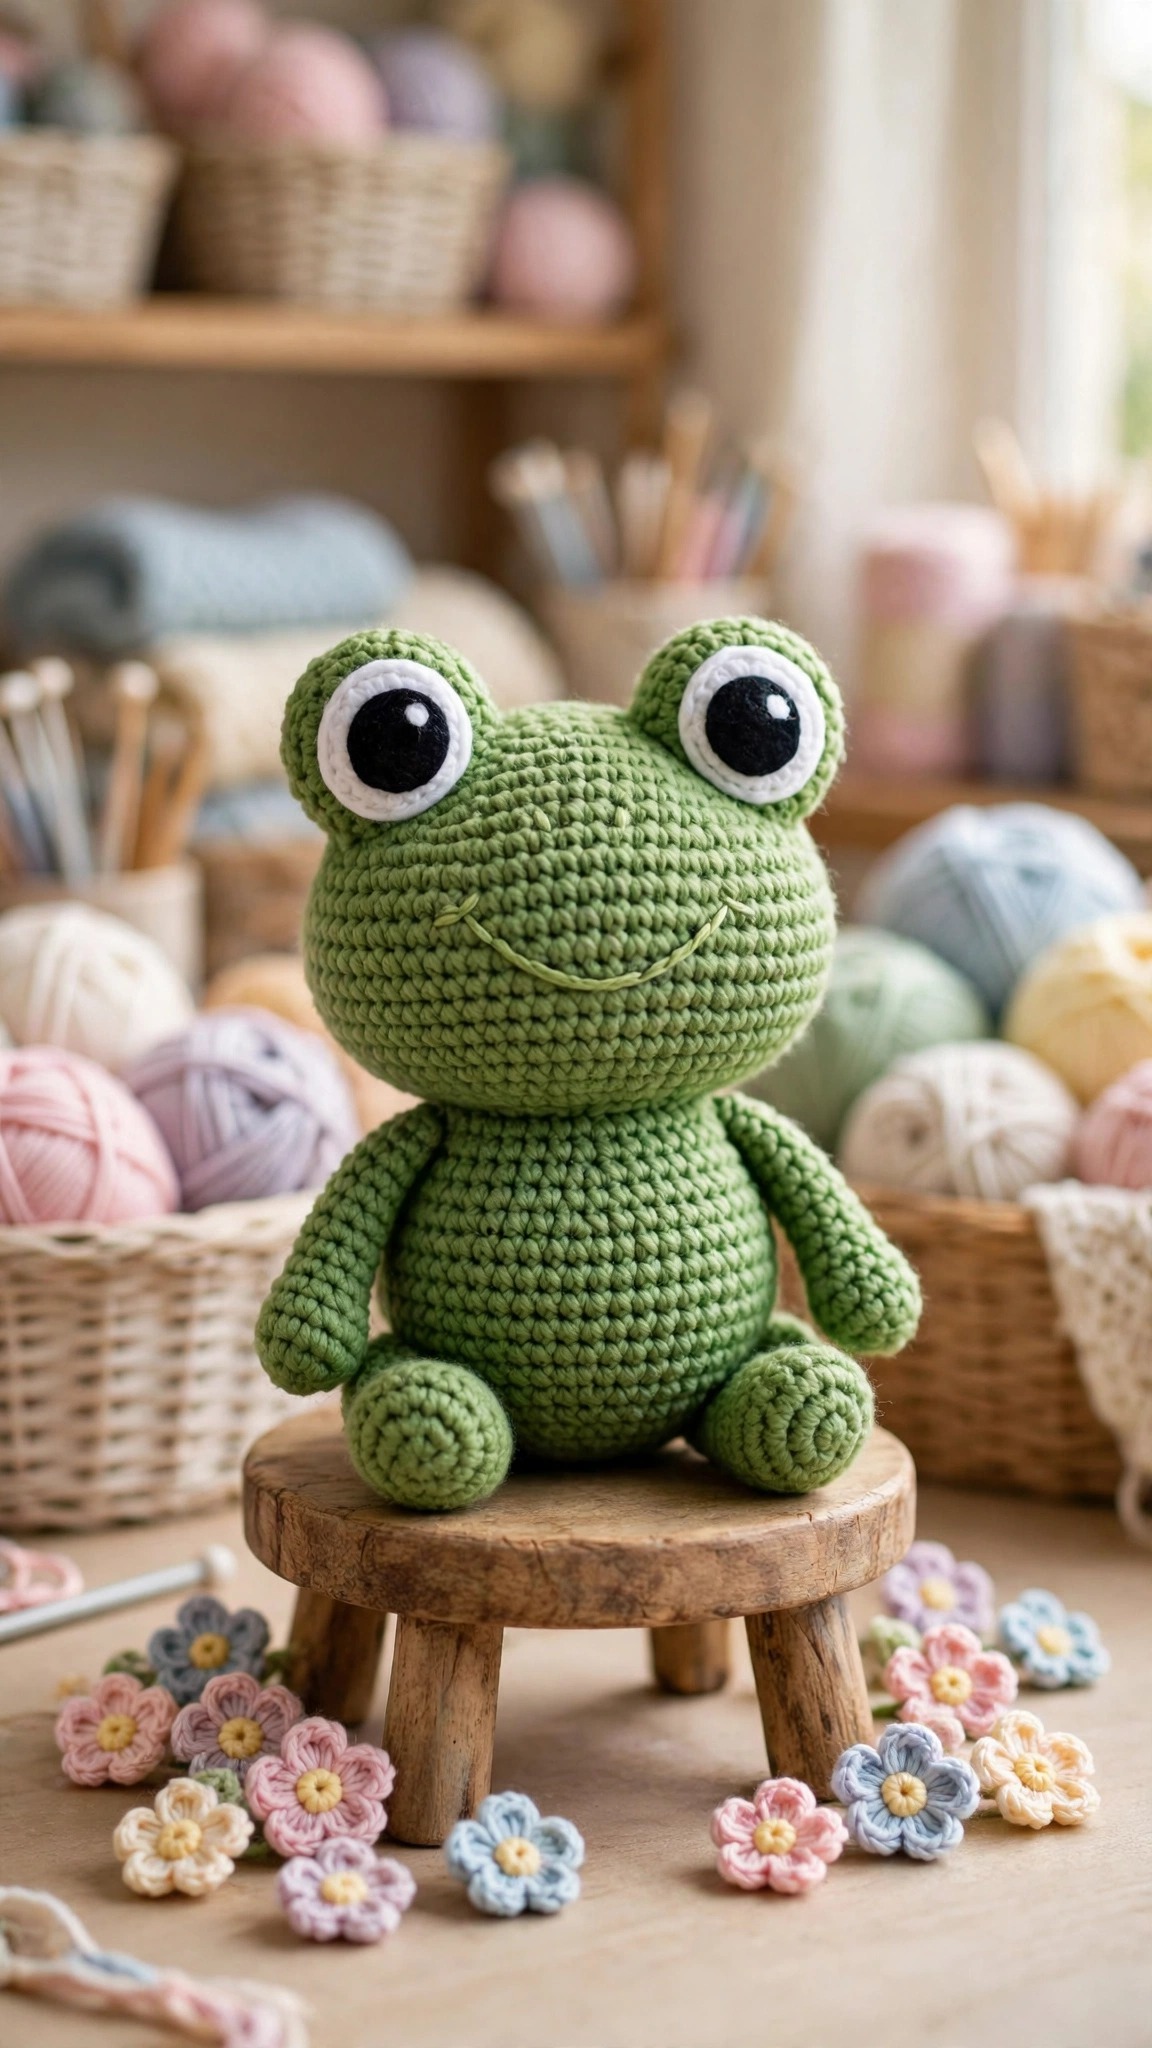
She is also wonderfully forgiving. Chenille yarn hides minor tension wobbles the way a cozy sweater hides everything, and the embroidered eyes mean you never have to commit to safety eye placement or worry about little hands. The whole design is built from five simple shapes: body, head, beak, wings, and feet. If you have made any amigurumi animal before, like our crochet frog pattern, you will recognize the construction instantly and breeze through it.
And let us talk about giftability. A handmade goose is the kind of gift people keep. It works for baby showers (with embroidered eyes, no small parts), for kids who love farm animals, for the friend whose desk needs a mascot, and for anyone decorating in farmhouse style. She photographs beautifully too, so if you sell finished plushies, this one earns its table space at craft fairs.
Finished Size, Skill Level, and Time
- Finished size: about 9 inches tall and 6 inches wide in super bulky chenille yarn with a 6.0 mm hook. Using a smaller hook and worsted weight yarn makes a 6 inch mini goose.
- Skill level: easy. You should know how to single crochet in the round, increase, and decrease. Embroidery for the face is simple straight stitching.
- Making time: 6 to 8 hours of crocheting, plus about 1 hour for the face and assembly.
Materials You Need
- Super bulky (#6) chenille or blanket yarn: about 200 yards of white (or gray), and 30 yards of orange for the beak and feet.
- US J-10 (6.0 mm) crochet hook. Go down to 5.5 mm if your stitches look gappy, since stuffing should never show through chenille.
- Polyester fiberfill stuffing, a generous amount. Chunky plushies drink stuffing.
- Yarn needle with a large eye, and scissors.
- Stitch marker for marking round beginnings.
- Black worsted weight yarn for embroidering the eyes (or two 12 mm safety eyes if the goose is not for a small child).
- Small amount of pink yarn for optional blush cheeks.
A note on chenille yarn: it sheds a little when you cut it and it can worm (form little loops) if your tension is very loose. Keep your tension even and slightly firm, and weave in ends with a yarn needle rather than pulling them tight. The softness is absolutely worth these tiny quirks.
Abbreviations (US Terms)
- MR = magic ring
- ch = chain
- sc = single crochet
- inc = increase (2 sc in same st)
- dec = decrease (single crochet 2 together; invisible decrease recommended)
- sl st = slip stitch
- st(s) = stitch(es)
- FO = fasten off
Part 1: The Body
Worked in continuous rounds in white chenille. Place a stitch marker in the first stitch of each round and move it up as you go. Chenille stitches can be hard to count, so count out loud for the first few rounds until you trust your eyes.
- Round 1: MR 6 sc. (6)
- Round 2: Inc in each st around. (12)
- Round 3: (Sc in next st, inc) 6 times. (18)
- Round 4: (Sc in next 2 sts, inc) 6 times. (24)
- Round 5: (Sc in next 3 sts, inc) 6 times. (30)
- Round 6: (Sc in next 4 sts, inc) 6 times. (36)
- Rounds 7 to 12: Sc in each st around. (36) Work 6 rounds even.
- Round 13: (Sc in next 4 sts, dec) 6 times. (30)
- Round 14: Sc in each st around. (30)
- Round 15: (Sc in next 3 sts, dec) 6 times. (24)
- Round 16: Sc in each st around. (24) Begin stuffing firmly, shaping a plump pear body.
- Round 17: (Sc in next 2 sts, dec) 6 times. (18) Add more stuffing.
- Round 18: (Sc in next st, dec) 6 times. (12)
- Round 19: Dec 6 times. (6) FO, leaving a long tail. Thread the tail through the front loops of the remaining stitches, pull tight to close, and weave in the end.
The body should feel firm and springy. Under stuffed chenille sags and wrinkles, so pack the fiberfill in generous handfuls. The finished body is a plump pear shape, wider at the bottom so the goose sits upright on her own.
Part 2: The Head
Worked in white chenille, in continuous rounds.
- Round 1: MR 6 sc. (6)
- Round 2: Inc in each st around. (12)
- Round 3: (Sc in next st, inc) 6 times. (18)
- Round 4: (Sc in next 2 sts, inc) 6 times. (24)
- Rounds 5 to 8: Sc in each st around. (24) Work 4 rounds even.
- Round 9: (Sc in next 2 sts, dec) 6 times. (18)
- Round 10: (Sc in next st, dec) 6 times. (12) Stuff firmly, shaping a round head.
- Round 11: Dec 6 times. (6) FO, close the same way as the body.
Set the head aside for now. The face goes on before the head is sewn to the body, because embroidery is much easier on a loose head you can turn in your hands.
Part 3: Beak and Face
Beak (make 1, in orange chenille):
- Round 1: MR 6 sc. (6)
- Round 2: (Sc in next st, inc) 3 times. (9)
- Round 3: Sc in each st around. (9)
- Round 4: (Sc in next 2 sts, inc) 3 times. (12) FO, leaving a tail for sewing.
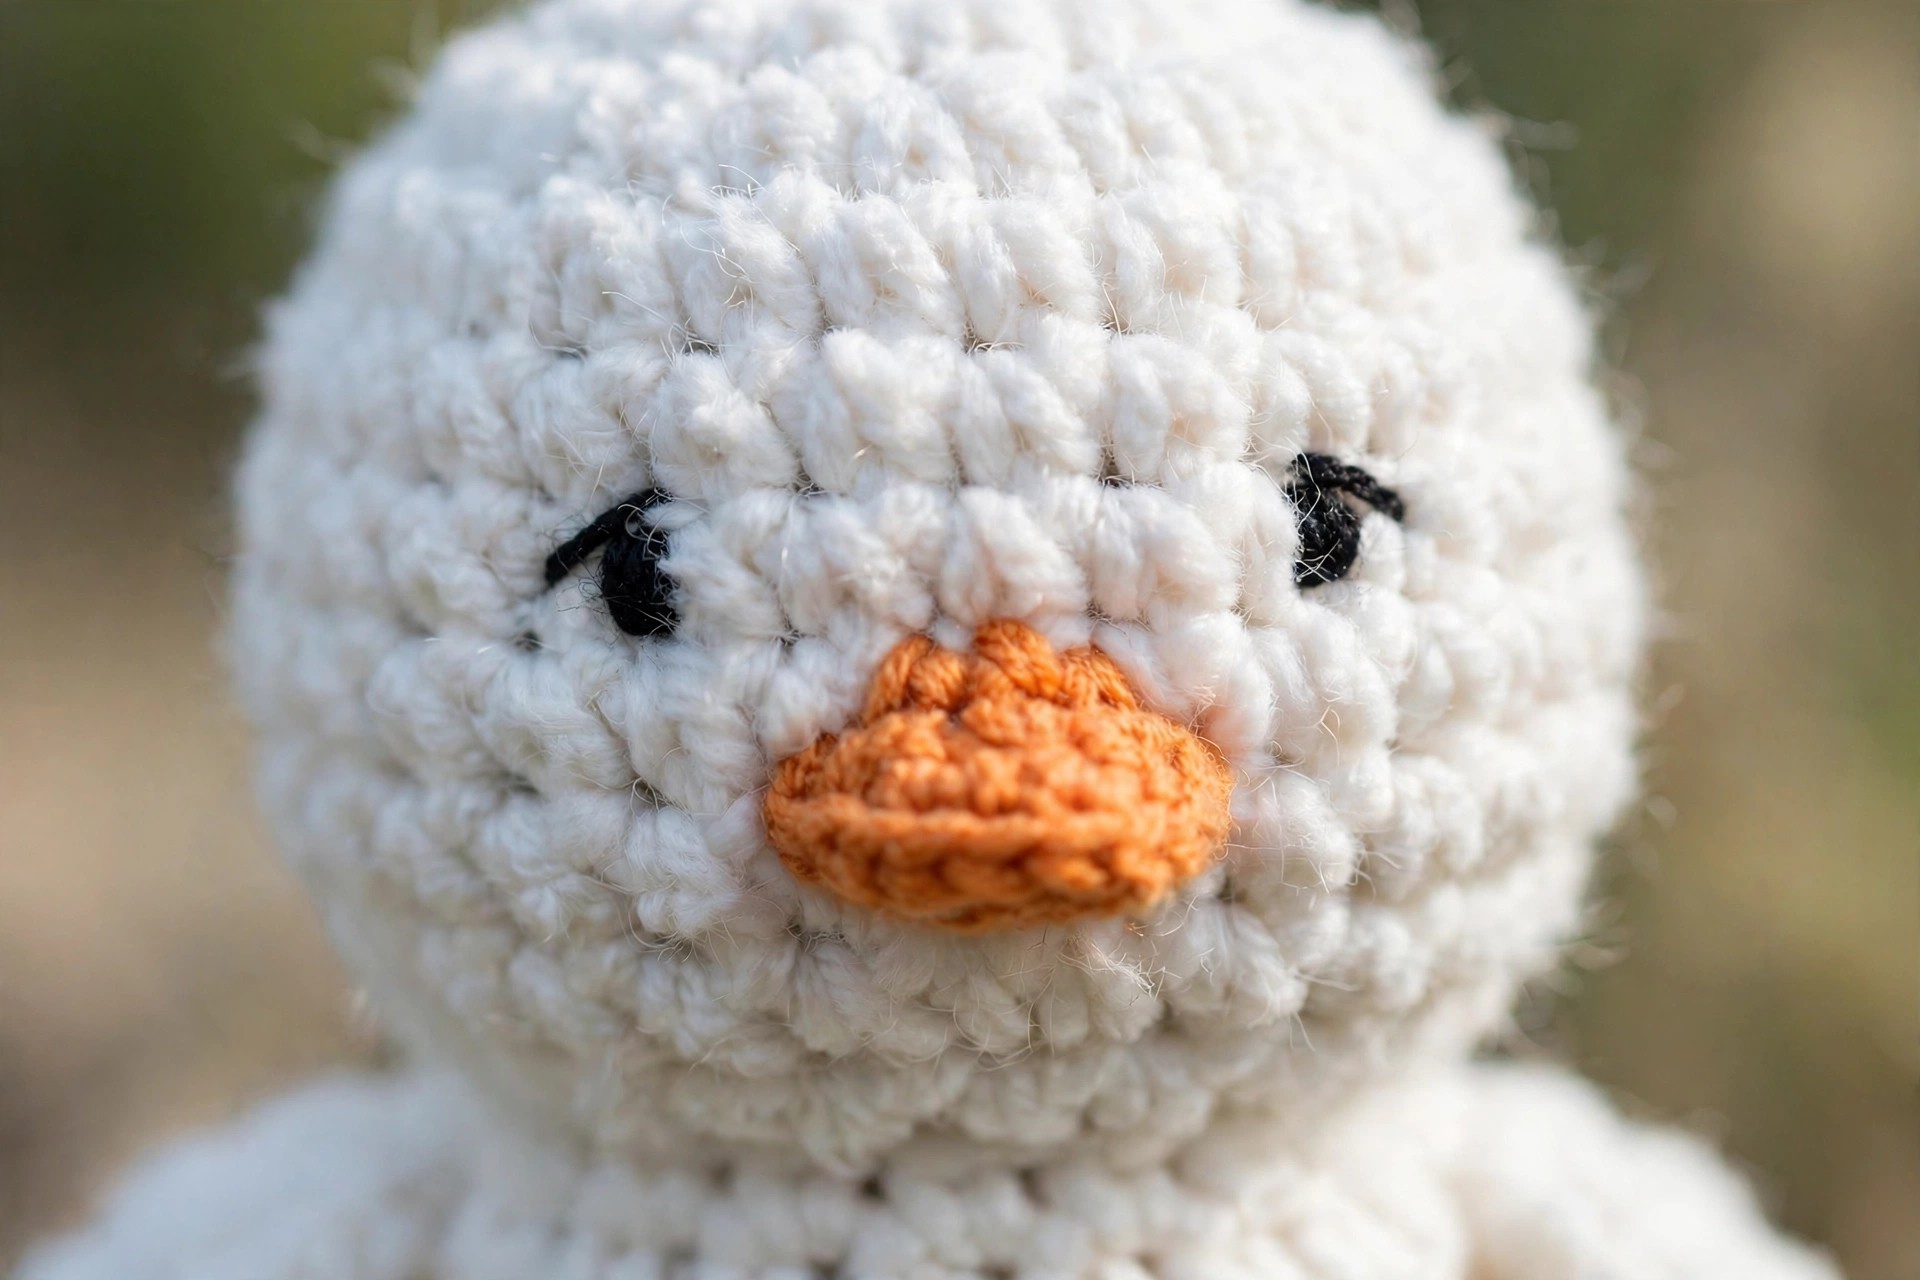
Press the beak flat into a rounded triangle. Sew it to the front of the head, centered, with the top of the beak around round 5 and the point reaching toward round 8. Stitch through both layers of the beak and into the head all the way around the edge.
Face: Using black worsted weight yarn and a yarn needle, embroider two eyes as small straight stitch ovals, one on each side of the beak, positioned between rounds 5 and 6 of the head, about 4 stitches out from the beak. Make each eye about 3 stitches wide and 2 rounds tall, going over the stitches twice for a bold look. Add optional blush: with pink yarn, stitch 3 short straight stitches in a little fan shape below and outside each eye.
Part 4: Wings and Tail
Wings (make 2, in white chenille):
- Round 1: MR 6 sc. (6)
- Round 2: (Sc in next st, inc) 3 times. (9)
- Rounds 3 to 5: Sc in each st around. (9) Work 3 rounds even.
- Round 6: (Sc in next st, dec) 3 times. (6) FO, leaving a tail for sewing. Do not stuff.
Press each wing flat. You will sew them to the sides of the body later, angled slightly downward like folded wings.
Tail (make 1, in white chenille):
- Round 1: MR 6 sc. (6)
- Round 2: (Sc in next st, inc) 3 times. (9)
- Round 3: Sc in each st around. (9) FO, leaving a tail for sewing. Do not stuff.
The tail is a small rounded nub that gives the back of the goose its classic perky silhouette. Press it flat the same way as the wings.
Part 5: Webbed Feet
Feet (make 2, in orange chenille): Worked flat in turned rows to make a webbed oval.
- Row 1: Ch 7. Sc in 2nd ch from hook and in each ch across. (6) Ch 1, turn.
- Row 2: Inc in first st, sc in next 4 sts, inc in last st. (8) Ch 1, turn.
- Row 3: Sc in each st across. (8) FO, leaving a tail for sewing.
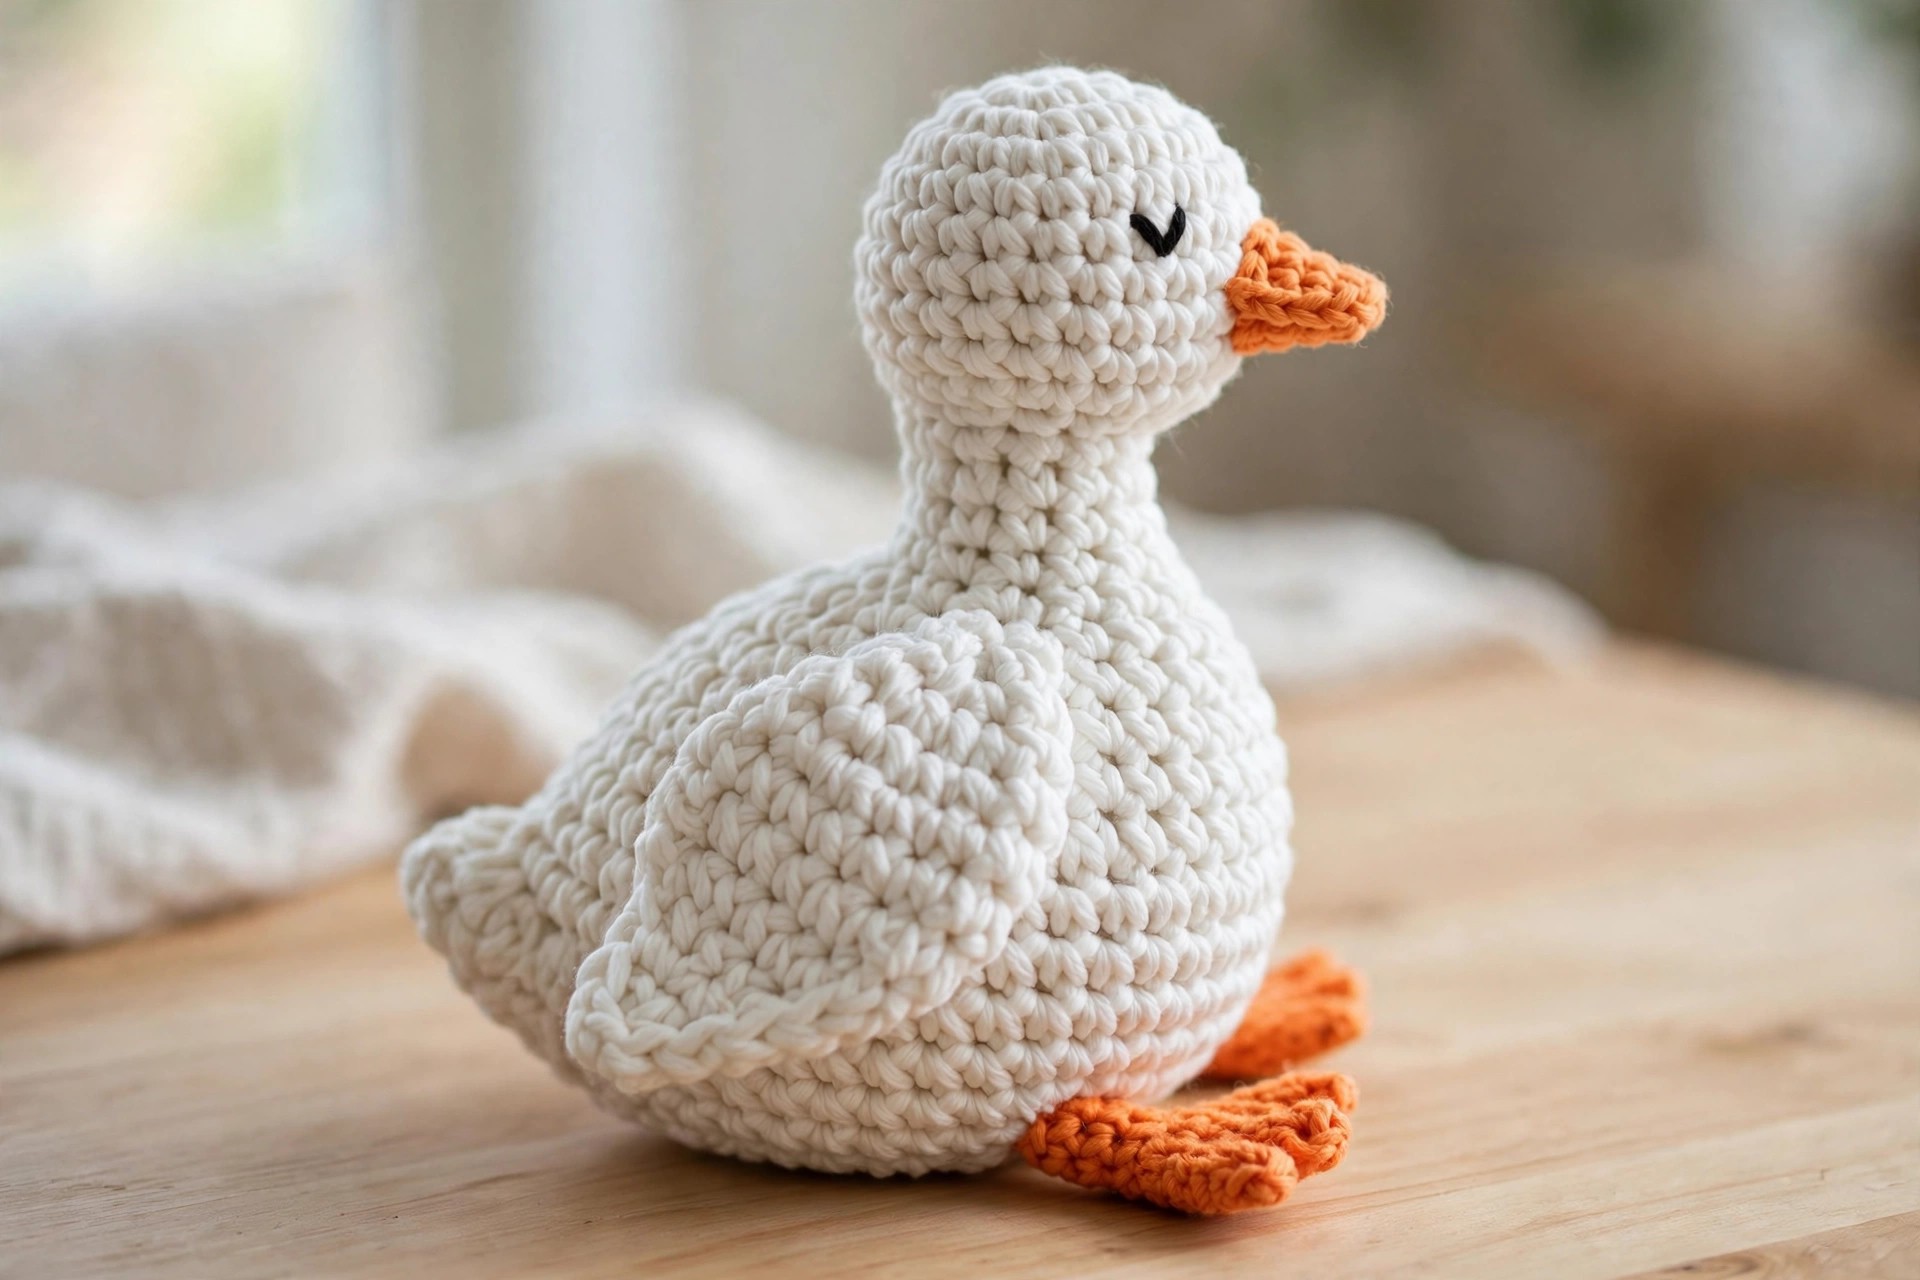
Each foot is a little rounded paddle. You will sew one under each side of the body's base, sticking out forward like webbed feet, which is what lets the goose sit upright without tipping.
Assembly
Pin everything before you sew a single stitch. Set the body upright and place the head on top, centered, tilted very slightly forward so the goose gazes ahead instead of at the ceiling. The head's round 1 (the closed top) faces up; sew around the base of the head where it meets the body's round 19 area, going under the head's bottom stitches and into the body's top stitches. Take your time here, a well seated head is the difference between charming and lopsided.
Sew the wings to the sides of the body at about round 10, angled so the tips point slightly down and back. Press them flat as you sew so they lie like folded wings instead of sticking out. Sew the tail to the back of the body at about round 12, centered. Finally, sew one foot under each side of the base, positioned so the front edge of each foot peeks out from under the body. Set the goose on a table and check that she sits level; adjust the feet before you knot off.
Weave in all ends on the inside of the pieces. Give the whole goose a gentle fluff with your fingers to even out the chenille, and she is ready for her close up.
Variations: Build a Gaggle
- Gray farmhouse goose: work the body, head, wings, and tail in soft gray chenille with the orange beak and feet. Instant rustic charm.
- Baby gosling: stop the body at round 12 (skip the decrease rounds, close at 36 stitches with a gathered top) and scale the head down by one increase round. A palm sized gosling to tuck beside the big goose.
- Christmas goose: add a tiny red crocheted scarf (chain 40, work 2 rows of hdc) and a sprig of holly colors at the neck. Festive desk decor.
- Sleepy goose: embroider the eyes as curved lines instead of ovals for a content, snoozing expression. Perfect for a nursery.
- The farmyard set: pair your goose with our free crochet chicken pattern and free crochet duck pattern for a full barnyard shelf, or add the free crochet goat pattern for maximum farmhouse.
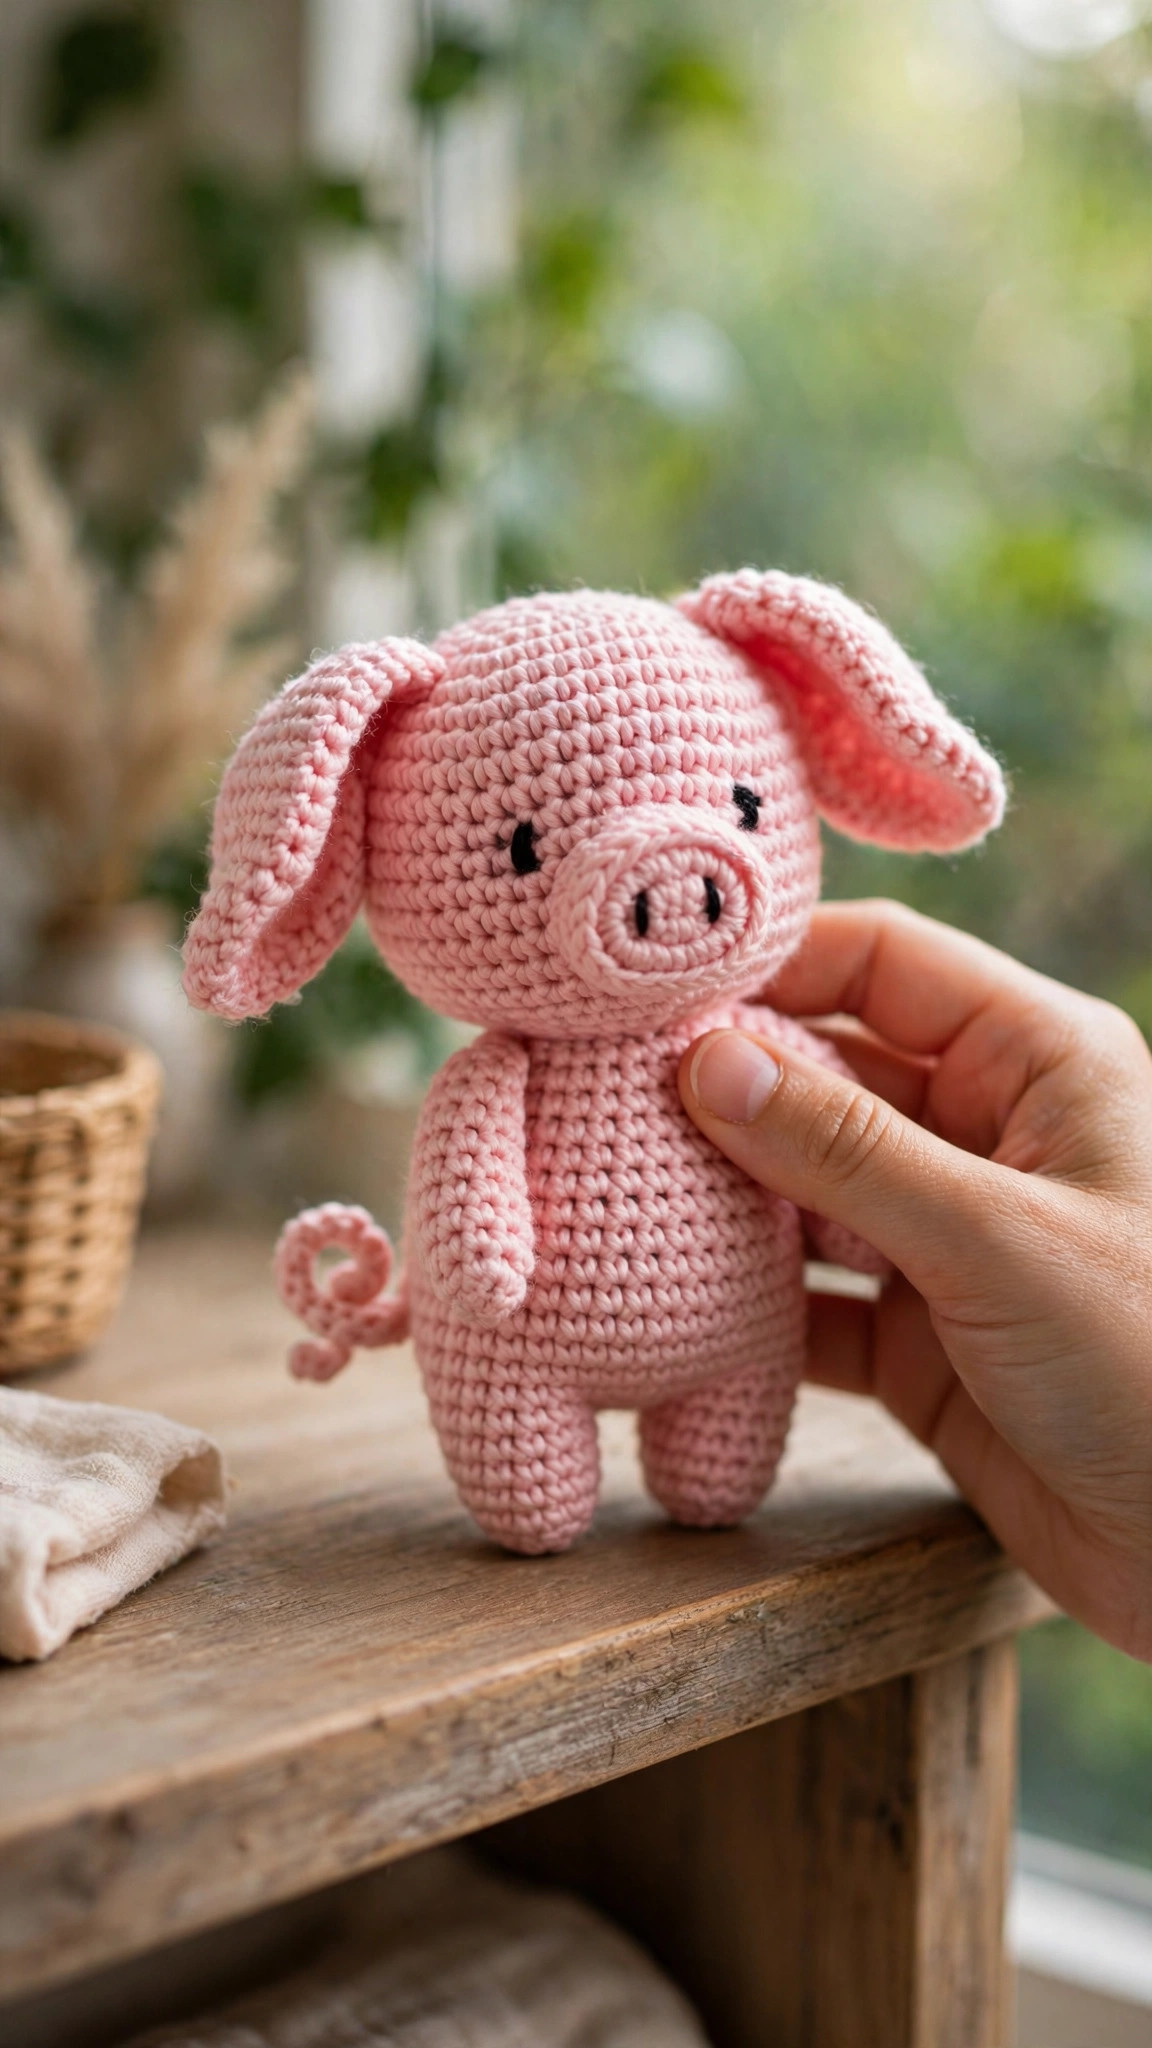
For another quick amigurumi in the same chunky style, our crochet piglet pattern uses the same chenille technique with a totally different personality.
Troubleshooting Chenille Amigurumi
I cannot see my stitches. Chenille hides stitch anatomy, especially in white. Count by feeling the top loops with your fingertip, and use a stitch marker in the first stitch of every round without exception. Working under a bright lamp helps enormously.
The yarn is worming (making little loops). Your tension is too loose. Chenille needs a firm, even tension; consciously tighten each stitch as you complete it. If worming has already happened, you can usually coax the loops back in with your yarn needle.
Stuffing shows through. Go down half a hook size, or work your decreases a touch tighter. With chenille, slightly tight is always better than slightly loose. Add stuffing gradually rather than all at once to avoid stretching the stitches.
The head wobbles. The head needs a firm neck joint. When sewing, take deep bites into both the head base and the body top, and work two full rounds of whipstitch around the join. A small extra handful of stuffing packed into the neck area before closing helps too.
The goose will not sit upright. The feet are doing the balancing work. Reposition them slightly forward and make sure the body's base is well stuffed and flat. A goose that still tips can be fixed with a tiny bit of poly pellet weight sewn into the base inside a scrap of fabric.
Care Instructions
Spot clean with a damp cloth and mild soap; chenille does not love the washing machine. If a full wash is needed, hand wash in cool water, press out the water in a towel (never wring), and air dry away from direct heat. Fluff the yarn with your fingers once dry. Keep away from Velcro and anything scratchy, which can rough up the chenille surface.
Frequently Asked Questions
Is this crochet goose pattern really free?
Yes, completely free. This is an original Little Loop Finds design in US terms, and the full instructions are in this post. You may sell finished geese you make from it; please credit Little Loop Finds and do not redistribute the pattern text.
Can a beginner crochet this goose?
Yes, if you know single crochet in the round plus increases and decreases. Chenille yarn is actually easier for beginners than thin yarn because the stitches are big and visible. Take the counting seriously in the first few rounds and the rest is smooth sailing.
What is the best yarn substitute if I cannot find chenille?
Super bulky (#6) blanket yarn is the same category and works perfectly. In a pinch, hold two strands of worsted weight yarn together and use a 6.0 mm hook; the goose will be slightly smaller and a bit less plush, but still adorable.
Are embroidered eyes safe for babies?
Embroidered eyes have no small parts, which makes them the safest choice for toys intended for children under 3. Use them instead of safety eyes for any goose meant as a baby or toddler gift, and make sure all ends are woven in very securely.
How much stuffing does the goose need?
More than you think. A 9 inch chenille goose takes a surprisingly generous amount of fiberfill, roughly two large handfuls for the body and one for the head. Buy the big bag; loosely stuffed chenille wrinkles and sags.
Can I make the goose bigger or smaller?
To size up, add one more increase round to the body and head (to 42 and 30 stitches) and add matching even rounds. To size down, stop the body increases at 30 stitches and the head at 18, trimming the even rounds. Keep the beak, wings, feet, and tail proportional by working them as written for the closest size.
Why does my chenille yarn shed when I cut it?
Chenille is made of tiny fibers wrapped around a core thread, and cutting releases the loose ends. It is normal and harmless. Trim shed bits with scissors rather than pulling them, and weave in ends with a yarn needle instead of tugging them through tightly.