Free Crochet Hummingbird Pattern: Tiny Amigurumi Bird
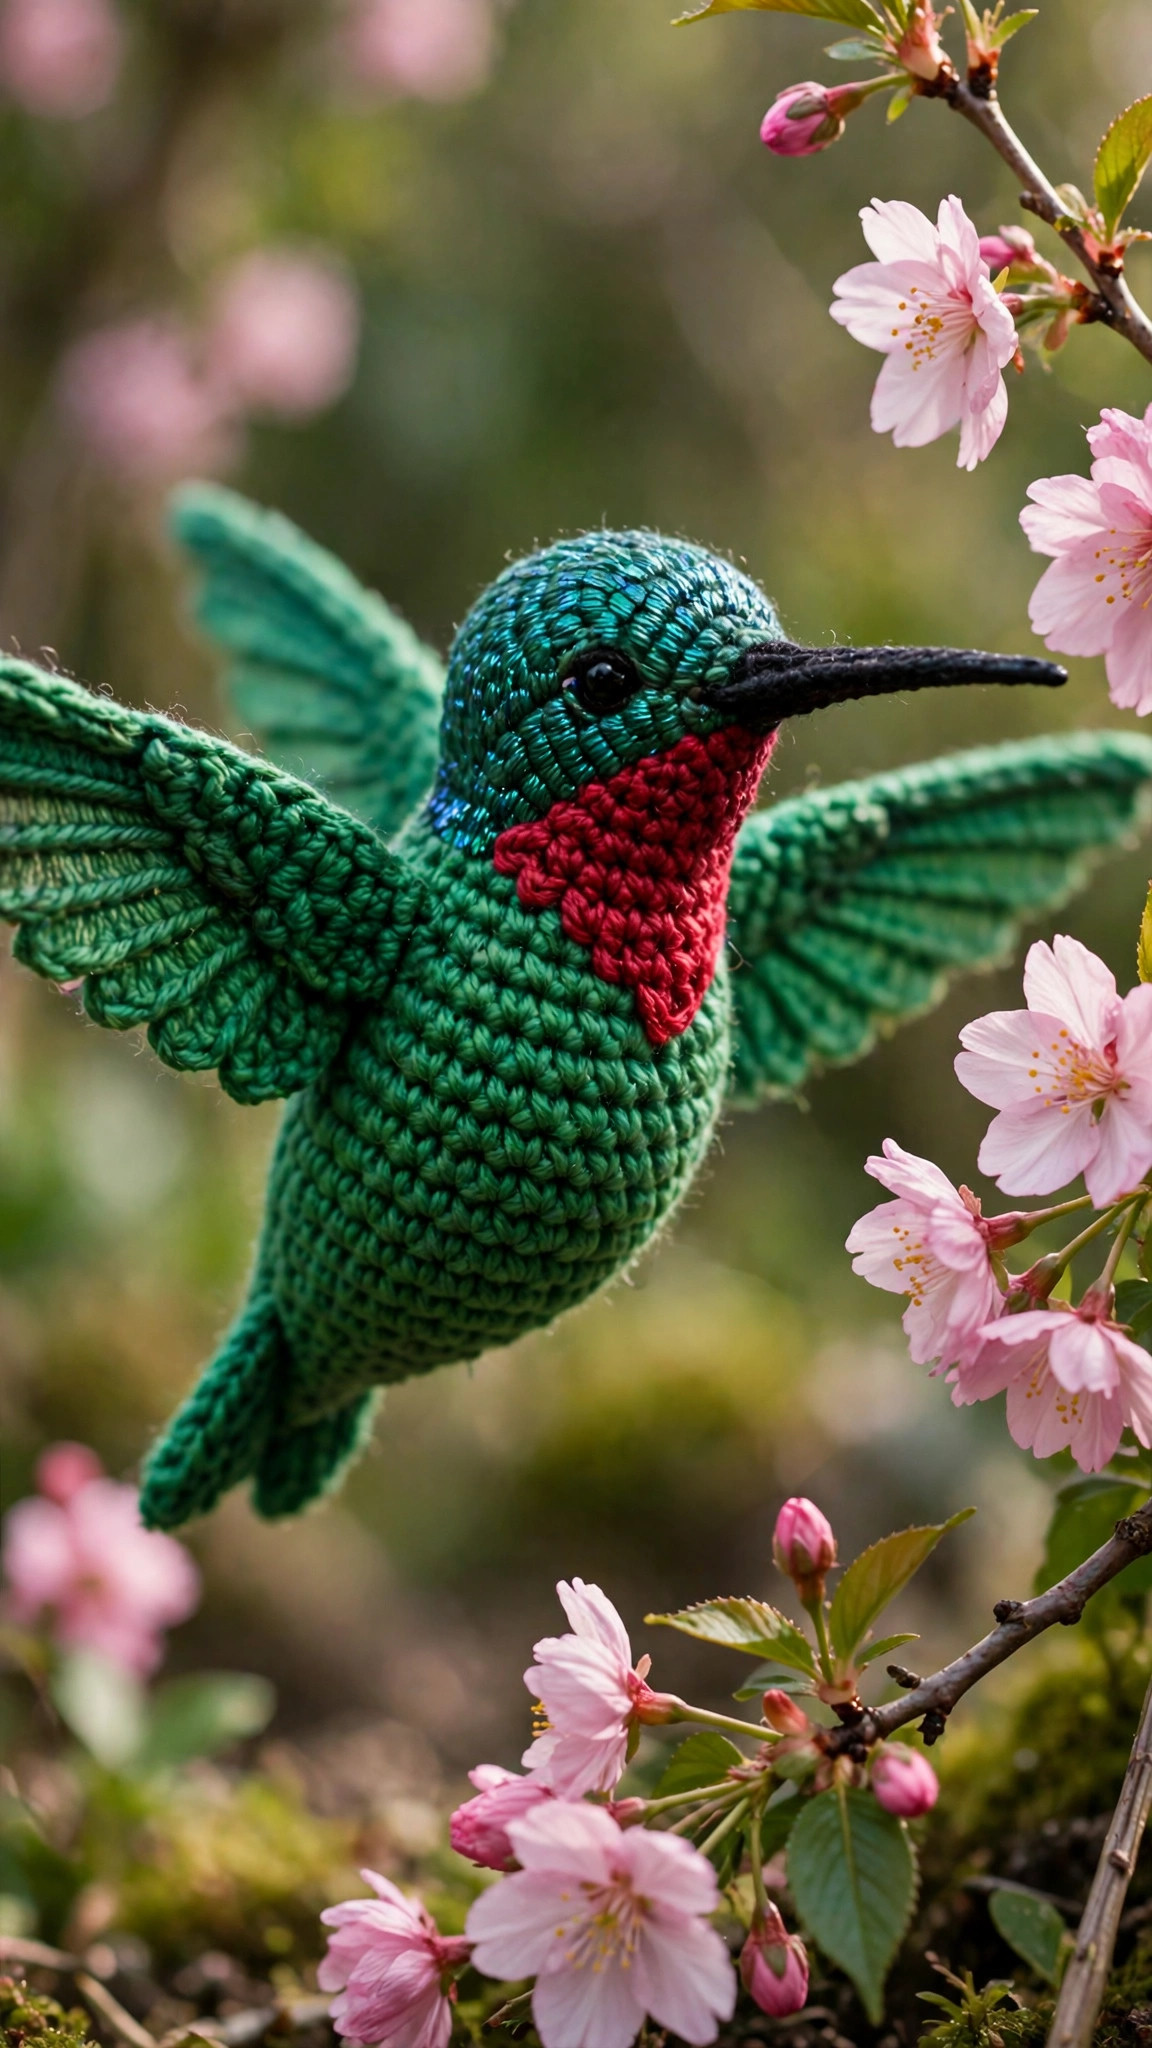
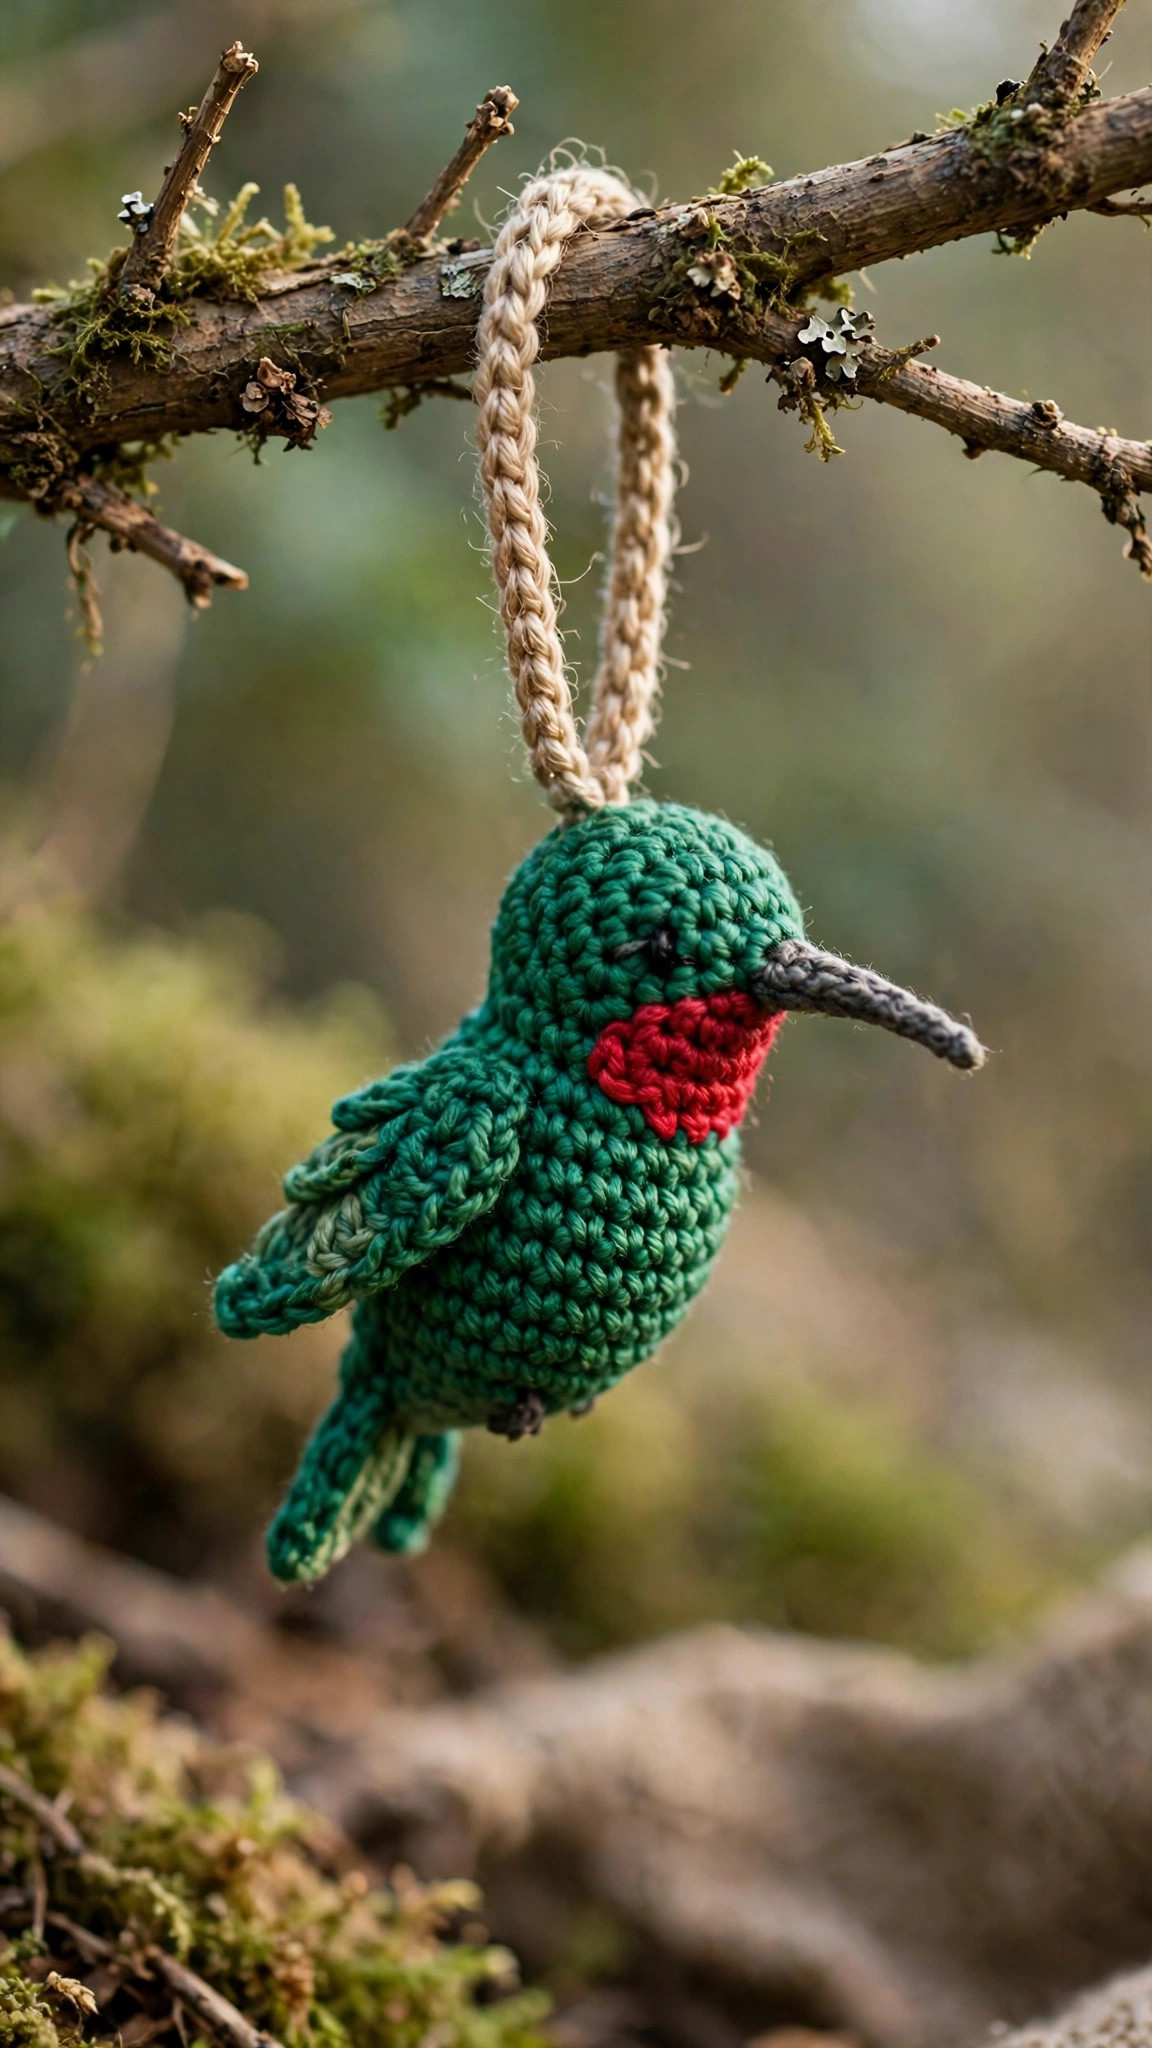
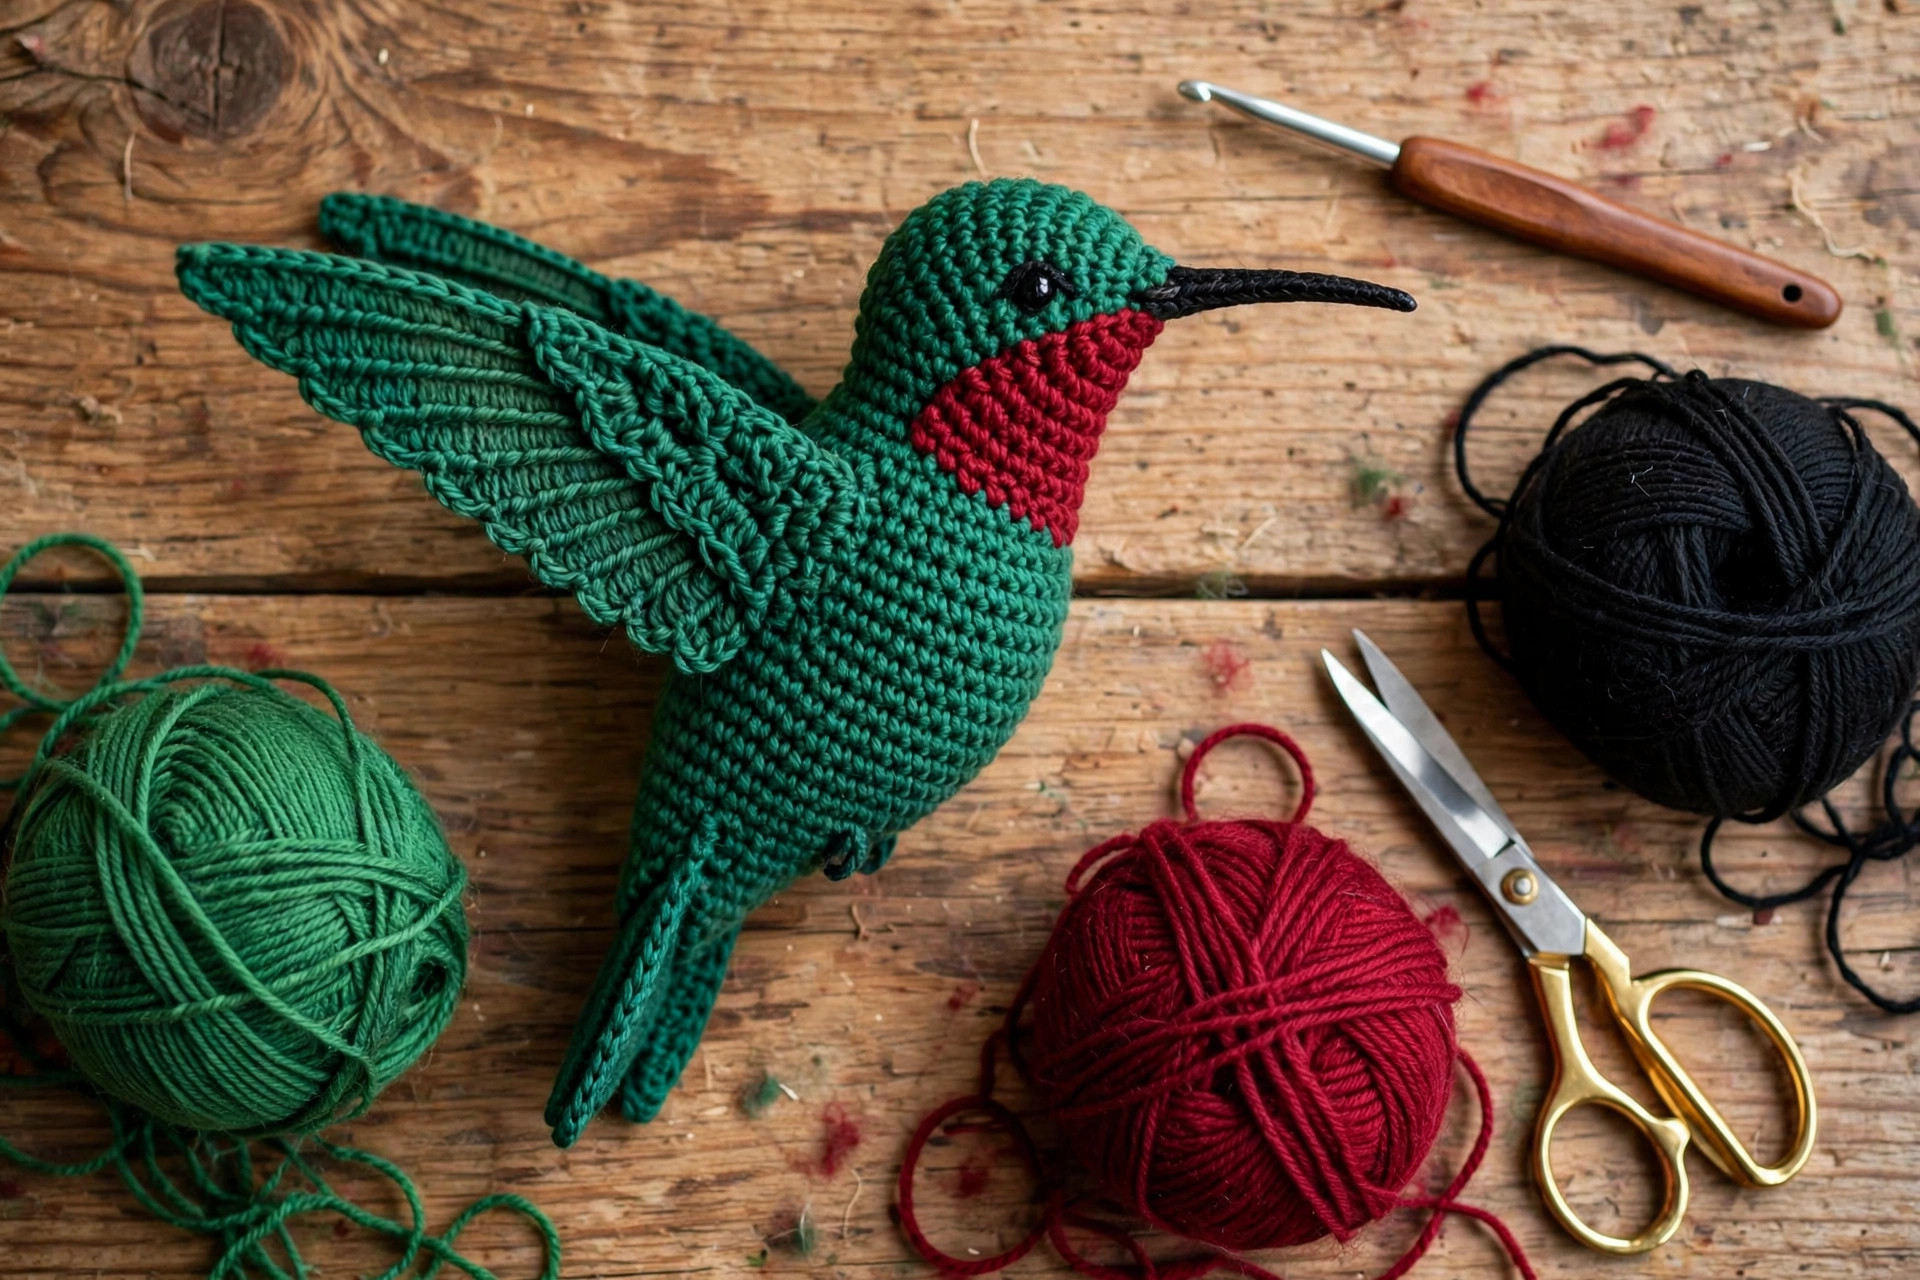
A tiny hovering amigurumi hummingbird with an emerald green body, an iridescent teal head, a ruby-red throat patch and two layered wings angled up as if it is frozen mid-hover — worked in easy single crochet spirals, with full stitch counts for every piece.

Amigurumi · Crochet
- Finished size
- About 12 cm / 4.75 in long
- Making time
- About 2–3 hours
- Hook
- 3.0–3.5 mm, DK or worsted yarn
- Pieces
- 7 pieces to assemble
- Skill
- Intermediate
In this post
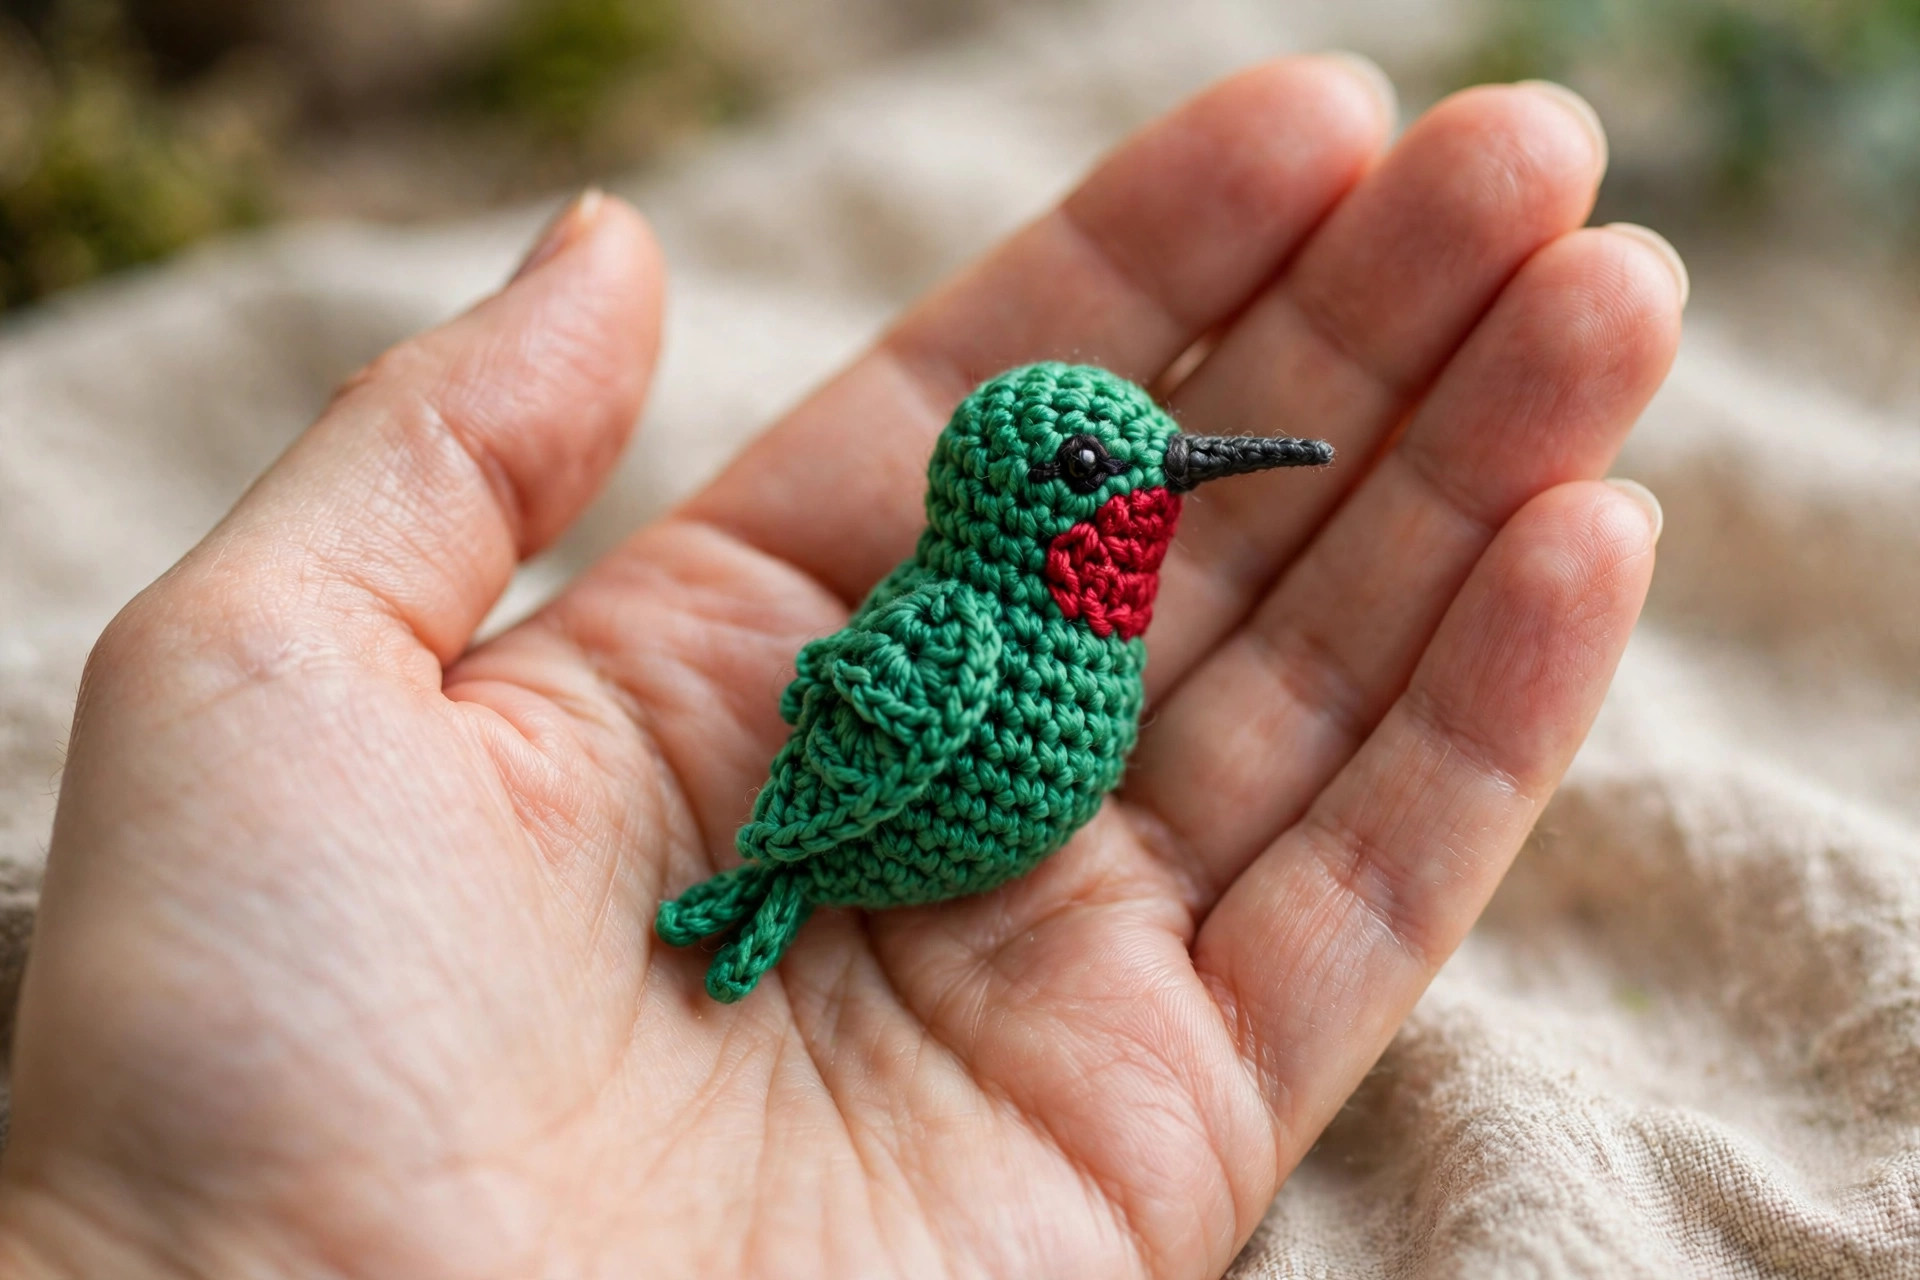
A real hummingbird never sits still — it hovers, darts and vanishes in a flash of green. This free crochet hummingbird pattern catches it in its best pose: frozen mid-hover, wings up, long beak tipped towards an imaginary flower. A tiny make at about 12 cm (4.75 in) from beak to tail, it has an emerald body, an iridescent teal head, a ruby-red throat, and two layered wings sewn on at that unmistakable upward angle.
This is an original Little Loop Finds design with our own stitch math throughout. Body and head are simple single crochet spirals, wings and tail are flat panels in rows, and the beak is a tiny tapered cone — or embroider it instead. Every round and row has its count written out.
Add the optional hanging loop and it can dangle in a sunny window or on a Christmas tree. Without it, it perches happily on a shelf edge or in a gift recipient's palm.
Contents
- Why you'll love this crochet hummingbird
- Materials you'll need
- Size, gauge and skill level
- Abbreviations — US terms
- The pattern (US terms)
- Finishing and assembly
- Tips for a hummingbird that looks right
- FAQ
- What to crochet next
Why you'll love this crochet hummingbird
First, the proportions are true to the bird: a compact body, a round head, and a bill almost as long as the head itself. This body is deliberately small — 24 stitches at its widest — so the bird looks delicate, and the slender beak does the silhouette work.
Second, it is a wonderful scrap-buster: roughly 35 grams across four colours, and the ruby throat takes under two grams. If you enjoy small, bright birds, our free crochet parrot pattern uses the same spiral technique in a bigger package.
Third, the hovering pose is built in, not faked: layered wings sewn on angled sharply upwards, forked tail tipped down behind. Hang it from its loop and it settles into that nose-down hover — no wire needed.
Finally, it makes an unusually good gift: quick for a weekend, light to post, at home in a window or on a nursery mobile. Pair it with our crochet hanging plants free pattern for a hanging garden that never needs watering.
Materials you'll need
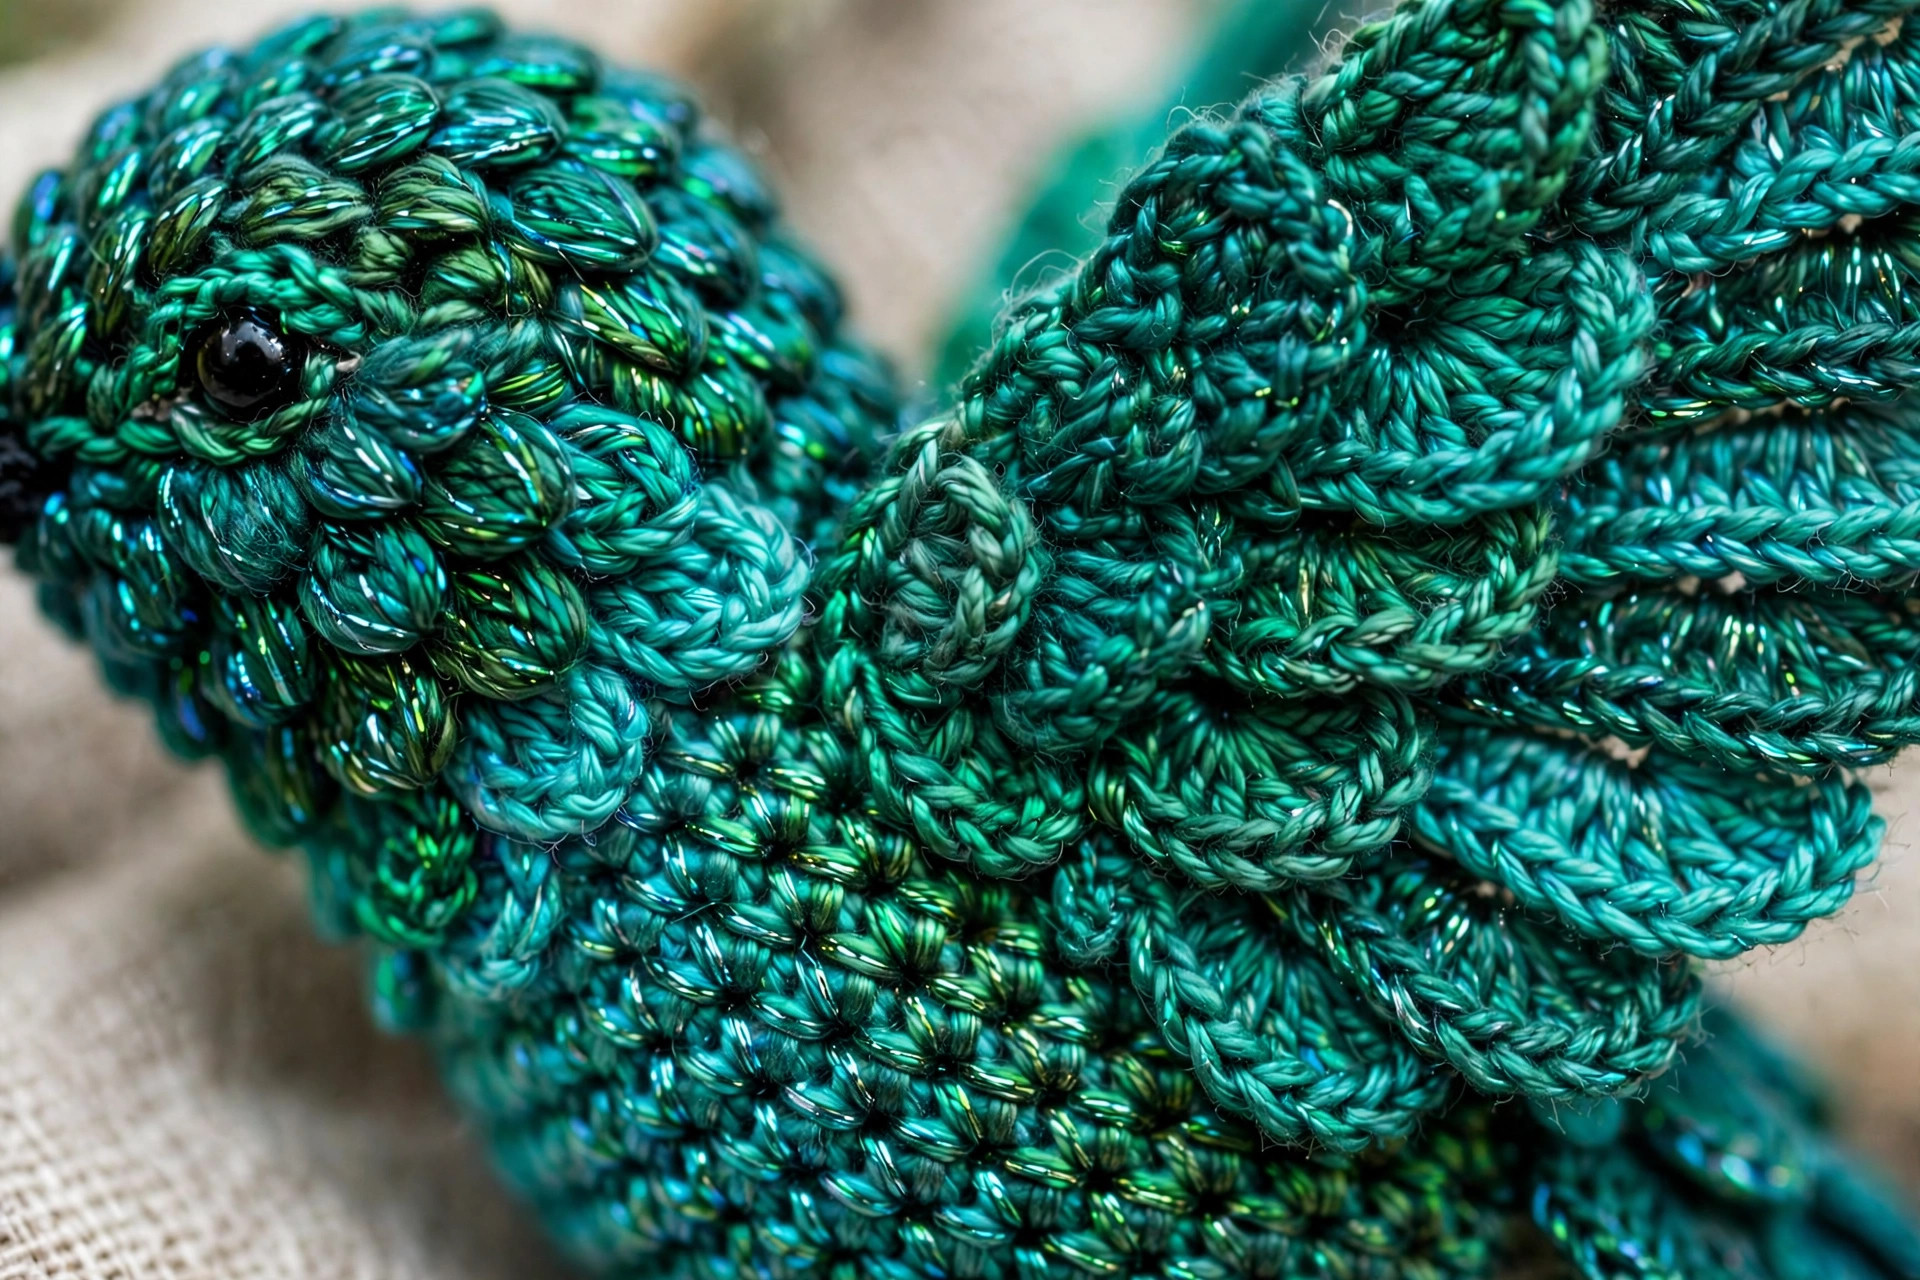
DK (category 3) or light worsted (category 4) both work — DK gives the daintiest bird, worsted a slightly bigger one. Choose a smooth acrylic or acrylic-cotton blend with a slight sheen if you can: that shine sells the iridescent feathers.
Keep the colours jewel-bright — emerald, blue-green teal, ruby red, and plain black for beak and eyes.
| Supply | What to get |
|---|---|
| Body yarn | DK or worsted weight in emerald green, about 20 g / 45 yards |
| Head and wing yarn | DK or worsted weight in iridescent teal or blue-green, about 12 g / 28 yards |
| Throat yarn | Small amount, about 2 g, of ruby red yarn |
| Beak yarn | Small amount of black yarn, plus black embroidery thread if embroidering the beak |
| Hook | 3.0 mm (US C-2/D-3) for DK, or 3.5 mm (US E-4) for worsted |
| Eyes | 6 mm black safety eyes, one pair — or black yarn for embroidered eyes |
| Stuffing | Polyester fibre fill, about 10 g — one small handful |
| Notions | Yarn needle with a large eye, stitch marker, sharp scissors |
| Optional | Pins, plus clear nylon thread or matching yarn for the hanging loop |
A note on hook size: you work smaller than the ball band suggests on purpose — tight stitches stop stuffing showing through as pale speckles. If daylight shows between stitches, drop half a millimetre.
Size, gauge and skill level
Skill level: Intermediate. The stitches are only single crochet, increases and decreases, but the pieces are small, the beak is fiddly, and the wings ask for tidy sewing. Confident beginners will manage — our crochet flower pattern free is a good warm-up for working small.
Finished size: About 12 cm (4.75 in) from beak tip to tail end, the body itself about 6 cm (2.5 in) long. In worsted with a 3.5 mm hook, expect closer to 13 cm (5 in); in DK with a 3.0 mm hook, about 11 cm (4.25 in).
Gauge: Not critical, but density is everything: 10 sc measure about 4 cm (1.5 in) in DK with a 3.0 mm hook, and the fabric should feel firm with no holes when stretched.
The pieces: 7 in total — body, head, throat patch, beak, 2 layered wings and 1 forked tail panel. Assembly order: face first, then head to body, then throat, tail and wings last.
Abbreviations — US terms
US terms throughout. (UK note: a US single crochet is a UK double crochet.)
| Abbreviation | Meaning |
|---|---|
| MR | magic ring |
| ch | chain |
| sc | single crochet |
| inc | increase — 2 sc in the same stitch |
| dec | decrease — single crochet 2 together, invisible decrease recommended |
| st(s) | stitch(es) |
| rnd(s) | round(s) |
| FO | fasten off |
Invisible decrease: Insert your hook into the front loop only of the next stitch, then into the front loop only of the stitch after it. Yarn over, pull through both front loops, yarn over, pull through both loops. Use this wherever the pattern says "dec" on rounded pieces.
A note on rounds: Body and head are worked in continuous spirals — do not join or turn; mark the first stitch of each round. Wings and tail are worked flat in rows, with a turning chain that does not count as a stitch. The bold number is your stitch count — on a bird this small, one lost stitch shows.
The pattern (US terms)
Work the pieces in order — body, head, throat patch, beak, wings, tail — leaving a long tail, about 25 cm (10 in), on every piece to be sewn on. That tail is your sewing thread.
The body — emerald green
The body is a plump little torpedo, worked from the tail end forwards, so the magic-ring end sits neatly underneath.
- R1: MR, 6 sc (6)
- R2: inc in each st around (12)
- R3: [sc, inc] × 6 (18)
- R4: [2 sc, inc] × 6 (24)
- R5–R9: sc in each st around (24) — 5 rounds even
This is the widest the body gets — it should look like a fat green olive. Exactly right.
- R10: [2 sc, dec] × 6 (18)
- R11: sc in each st around (18)
- R12: [sc, dec] × 6 (12)
Stuff now, firmly but not rock-hard, pushing tufts towards the tail end first. Leave the neck end softer — it makes sewing the head on easier.
- R13: dec × 6 (6)
FO. Thread the tail through the front loops of the remaining stitches, pull tight to close, and weave the end inside.
The head — iridescent teal
The head is a simple round ball — the beak and throat patch add the drama. Work it in teal, or in emerald with teal only on the wings.
- R1: MR, 6 sc (6)
- R2: inc in each st around (12)
- R3: [sc, inc] × 6 (18)
- R4: [2 sc, inc] × 6 (24)
- R5–R7: sc in each st around (24) — 3 rounds even
- R8: [2 sc, dec] × 6 (18)
- R9: sc in each st around (18)
Place the eyes now, before closing the head — the washers are far easier to reach. They sit between Rounds 6 and 7, about 6 stitches apart, the beak position centred just below them. Push the 6 mm safety eyes in, check they sit level, then press the washers on until they click. For a child under three, embroider the eyes instead.
- R10: [sc, dec] × 6 (12)
Stuff the head firmly, pushing stuffing out to the sides so the cheeks stay round.
- R11: dec × 6 (6)
FO, leaving a long tail for sewing. Close the 6 stitches as for the body, but keep this tail — you will sew with it.
The throat patch (gorget) — ruby red
The gorget is the glittering throat patch a male hummingbird flashes in the sun — here, one tiny disc, pinched into a teardrop as you sew. Four minutes, and it transforms the bird.
- R1: MR, 6 sc (6)
- R2: [2 sc, inc] × 2 (8)
- R3: sc in each st around (8)
FO, leaving a long tail. Flatten the cup into a shallow disc and pinch one edge into a soft teardrop: wide end under the beak, point down the chest.
The beak — black
The beak is a tiny tapered cone, worked from the tip so the magic ring gives a neat point. Four-stitch rounds are fiddly — use your marker.
- R1: MR, 4 sc (4)
- R2: sc in each st around (4)
- R3: [sc, inc] × 2 (6)
- R4: sc in each st around (6)
- R5: sc in each st around (6)
FO, leaving a long tail. Do not stuff — the cone holds its shape. The open 6-stitch end is the base, sewn flat against the head.
Embroidered alternative: Skip the cone and work 5 or 6 long straight stitches in black, fanned slightly over about 1.5 cm (0.6 in) at the beak position, tapering by eye. It reads beautifully at this scale.
The wings — teal, make 2 (each with 2 layers)
Each wing is two flat panels layered together — a large outer wing and a smaller inner wing on top. The layered edge suggests feathers, the prettiest detail on the bird. Work both in teal, or the inner layer in emerald.
Outer wing (make 2):
- Row 1: Ch 9. Sc in the 2nd ch from the hook and in each ch across (8)
- Row 2: Ch 1, turn. Sc in each st across (8)
- Row 3: Ch 1, turn. Dec, sc in next 4 sts, dec (6)
- Row 4: Ch 1, turn. Sc in each st across (6)
- Row 5: Ch 1, turn. Dec, sc in next 2 sts, dec (4)
- Row 6: Ch 1, turn. Dec × 2 (2)
- Row 7: Ch 1, turn. Dec (1)
FO, leaving a long tail. The chained edge is the wing's straight front edge; the point you have just finished is the wingtip.
Inner wing (make 2):
- Row 1: Ch 6. Sc in the 2nd ch from the hook and in each ch across (5)
- Row 2: Ch 1, turn. Sc in each st across (5)
- Row 3: Ch 1, turn. Dec, sc in next st, dec (3)
- Row 4: Ch 1, turn. Sc in each st across (3)
- Row 5: Ch 1, turn. Work 3 sc together, or dec then sc into the same final st to centre the point (2), then pull through and FO
FO, leaving a long tail. Lay each inner wing on its outer wing, straight edges aligned, and sew along the straight edge only. The layered tips stay free, like feathers.
The tail — emerald green
The tail is one small flat panel split into two prongs — that lovely forked hummingbird silhouette.
- Row 1: Ch 11. Sc in the 2nd ch from the hook and in each ch across (10)
- Row 2: Ch 1, turn. Sc in each st across (10)
- Row 3: Ch 1, turn. Sc in each st across (10)
- Row 4 (first prong): Ch 1, turn. Sc in the first 5 sts only (5)
- Row 5: Ch 1, turn. Sc in each st across (5)
FO the first prong, leaving a short tail to weave in. Rejoin the emerald yarn at the sixth stitch of Row 3 with a slip stitch.
- Row 4 (second prong): Ch 1, sc in the remaining 5 sts (5)
- Row 5: Ch 1, turn. Sc in each st across (5)
FO, leaving a long tail for sewing. The chained edge is the tail's base; the prongs are the forked tip. The panel should measure about 3.5 cm (1.4 in).
Finishing and assembly
Assemble in this order: beak and throat onto the head, head onto the body, tail underneath, and wings absolutely last — they are the pose, and everything else should be settled first.
1. Add the beak. Centre the cone's wide end on the face, just below and between the eyes, and sew around its base, pointing it very slightly downwards.
2. Sew on the throat patch. Place the ruby disc under the beak, wide edge tucked beneath its base, point down the chest. Sew around the edge with tiny stitches — it should sit flat like a bib.
3. Sew the head to the body. Sit the head on the body's neck end, tilted forwards so the beak points down at roughly 45 degrees. Pin, check the side profile, then sew two passes around the join.
4. Attach the tail. Sew the chained base edge to the underside of the body's rounded end, angled down and back — only the fork and a centimetre should show.
5. Attach the wings — the hovering pose. Pin one wing to each side of the body, just behind the head join, straight edge against the body, tip pointing up and back at about 60 degrees — a bird frozen at the top of a wingbeat. Sew firmly along the front part of the straight edge only, tips free. Match both angles before sewing the second: hold the bird up and sight along it like a dart.
6. Add the hanging loop (optional). Thread 25 cm (10 in) of matching yarn or clear nylon thread through the top of the body behind the head join, tie a loop, and hide the knot inside a stitch. It should settle nose-down; if it hangs tail-heavy, move the loop one stitch closer to the head.
7. Final tidy. Weave in ends by travelling at least 1 cm inside the work before trimming. Fluff the wing layers apart, ease the tail prongs apart, and press the throat patch flat.
Tips for a hummingbird that looks right
The beak sells the species. Too short and you have a generic garden bird; too thick, a toucan. Aim for a beak roughly as long as the head is deep — about 1.5 to 2 cm (0.6 to 0.75 in). If your cone is stubby, add one plain round at Round 4.
Sew the wings higher than feels natural. Hovering hummingbirds hold their wings up beside their heads, so pin them high, tips above the back line, and photograph the pinned bird from the side before sewing — the camera is brutally honest about angles.
Make a charm, then make the set. Keep the emerald body and swap the head and throat colours — violet crown with magenta throat, sapphire on teal, coppery orange for a rufous hummingbird. Three or five hung at different heights make a beautiful mobile.
Going bigger or smaller. The counts stay the same — just change yarn and hook together. Worsted with a 4.0 mm hook gives about 15 cm (6 in); fine 4-ply with a 2.5 mm hook, a 9 cm (3.5 in) keyring bird. Scale the eyes too.
Safety note. For a child under three, embroider the eyes and beak so nothing small can work loose, and give the wing seams a firm tug before gifting.
FAQ
Is this hummingbird pattern really free and original?
Yes — a complete, original Little Loop Finds design with our own stitch counts, published in full on this page. Make as many as you like for yourself, gifts and charity.
How long does a crochet hummingbird take to make?
About 2 to 3 hours. Body and head take about 40 minutes each; the wings, beak, throat and tail are all quick. Assembly — especially the wings — takes roughly 30 minutes, worth every second of pinning.
Can I make this hummingbird without safety eyes?
Absolutely — and you should for babies and toddlers. Embroider two or three black satin stitches, or a French knot, between Rounds 6 and 7 after stuffing and closing the head.
My wings keep flopping down instead of hovering — how do I fix that?
Three things help. Sew along more of the wing's straight edge, not just the top corner. Add an anchor stitch from the middle of the edge into the body. And check the angle as you sew, not after — pin, hold the bird up, and sight along it. A drooping finished wing can be rescued with yarn run through its edge stitches, pulled slightly towards the tail.
Can I sell hummingbirds I make from this pattern?
Yes — you may sell finished hummingbirds made by hand from this pattern in small quantities, crediting Little Loop Finds as the designer. Please do not republish the pattern text and photos.
What to crochet next
Your hummingbird has started something — a whole aviary in the same style:
- Go tall and pink with our flamingo crochet pattern free — long legs, a curved neck, just as much personality.
- Make the other great garden visitor with the free crochet parrot pattern — bold colours and a characterful beak.
- Build the garden it hovers in with the crochet hanging plants free pattern, and hang the pair side by side.
Happy crocheting — may your hummingbird hover somewhere sunny, flashing its ruby throat at everyone who passes.
The box below contains an Etsy link. If you buy through it, we may earn a small commission at no extra cost to you. Learn more.
No time to make one?
Short on time? Find handmade crochet hummingbirds from independent makers on Etsy.
Browse on Etsy (opens Etsy in a new tab)