Large Crochet Pumpkin Pattern (Statement Decor)
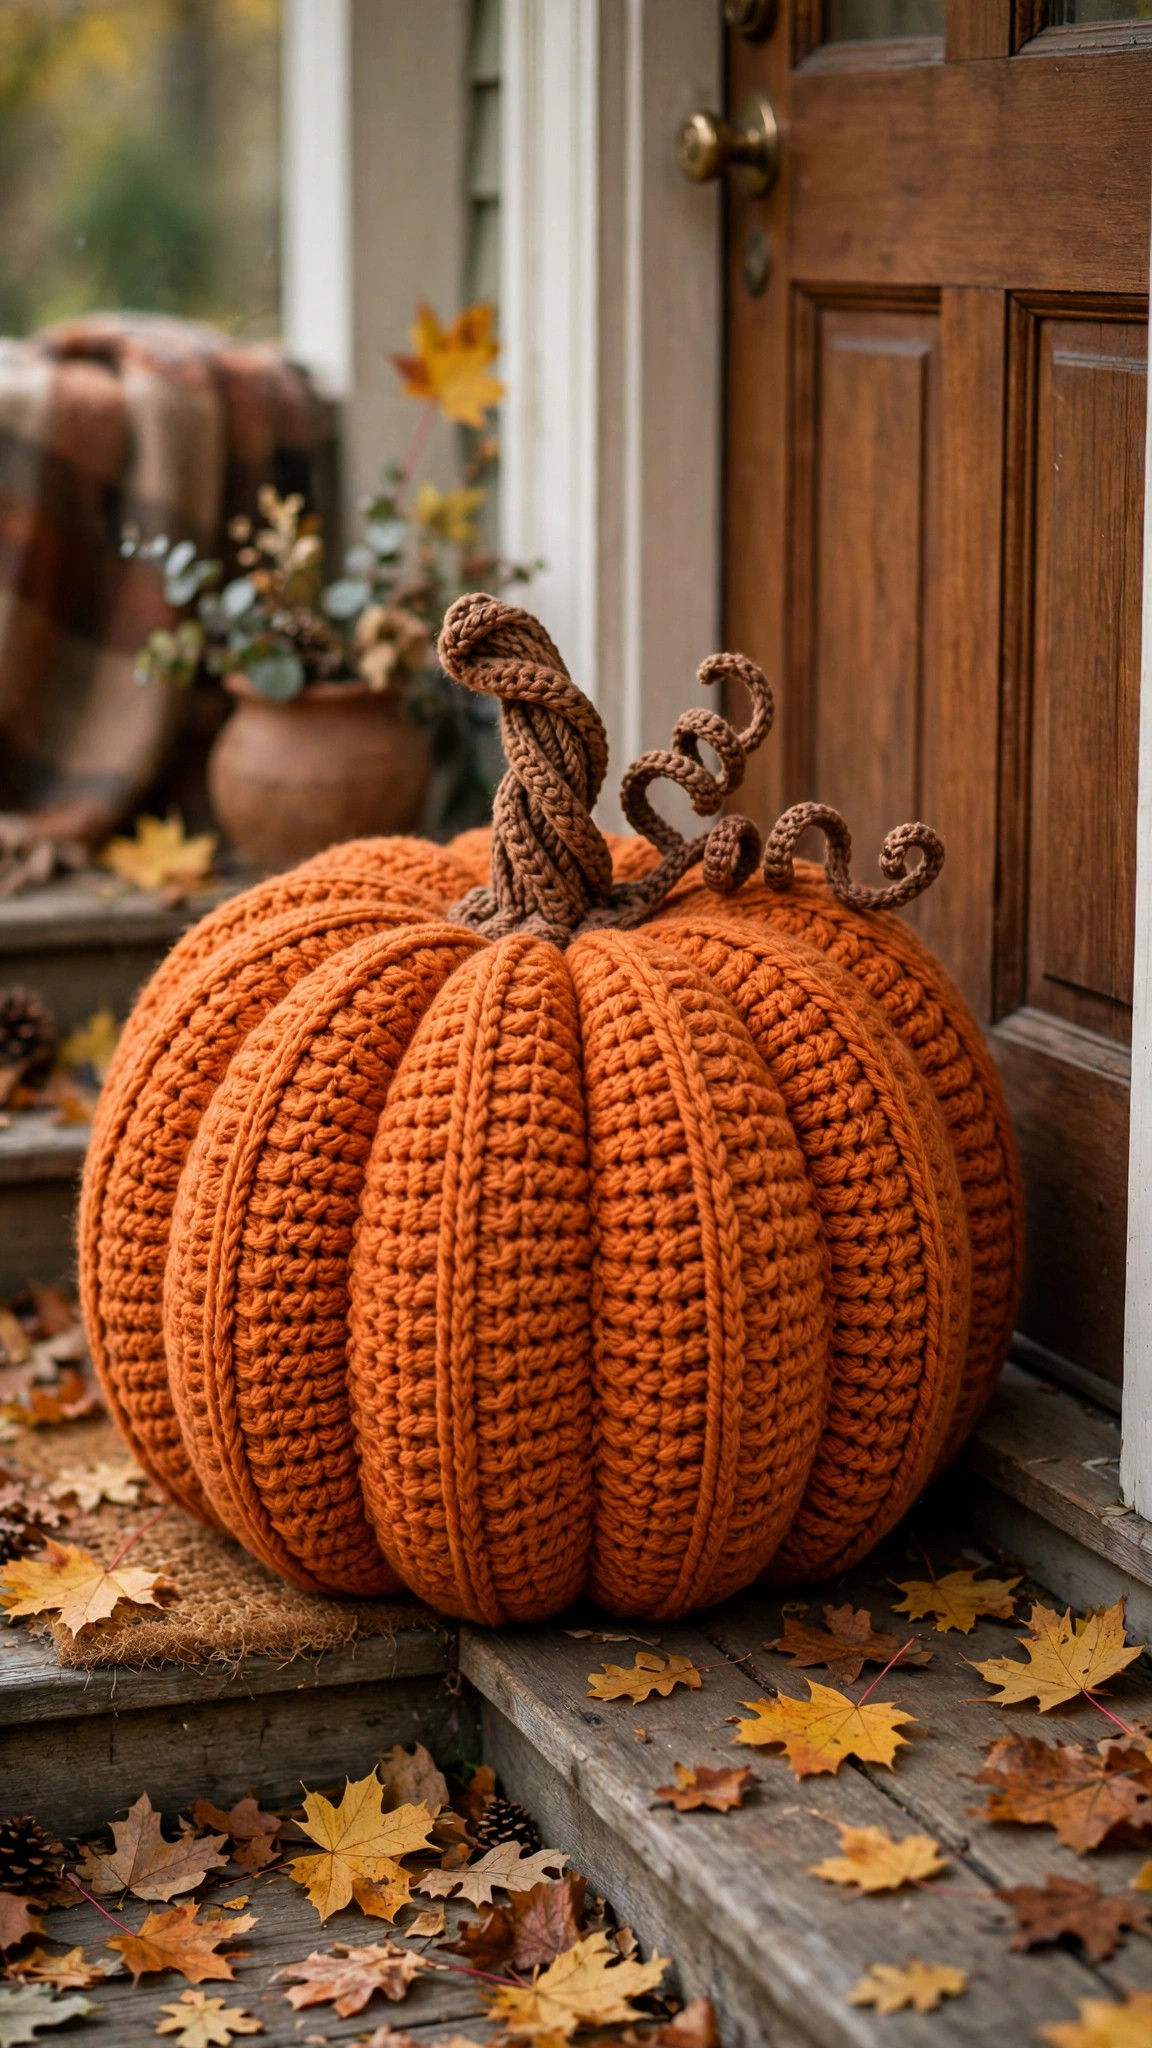
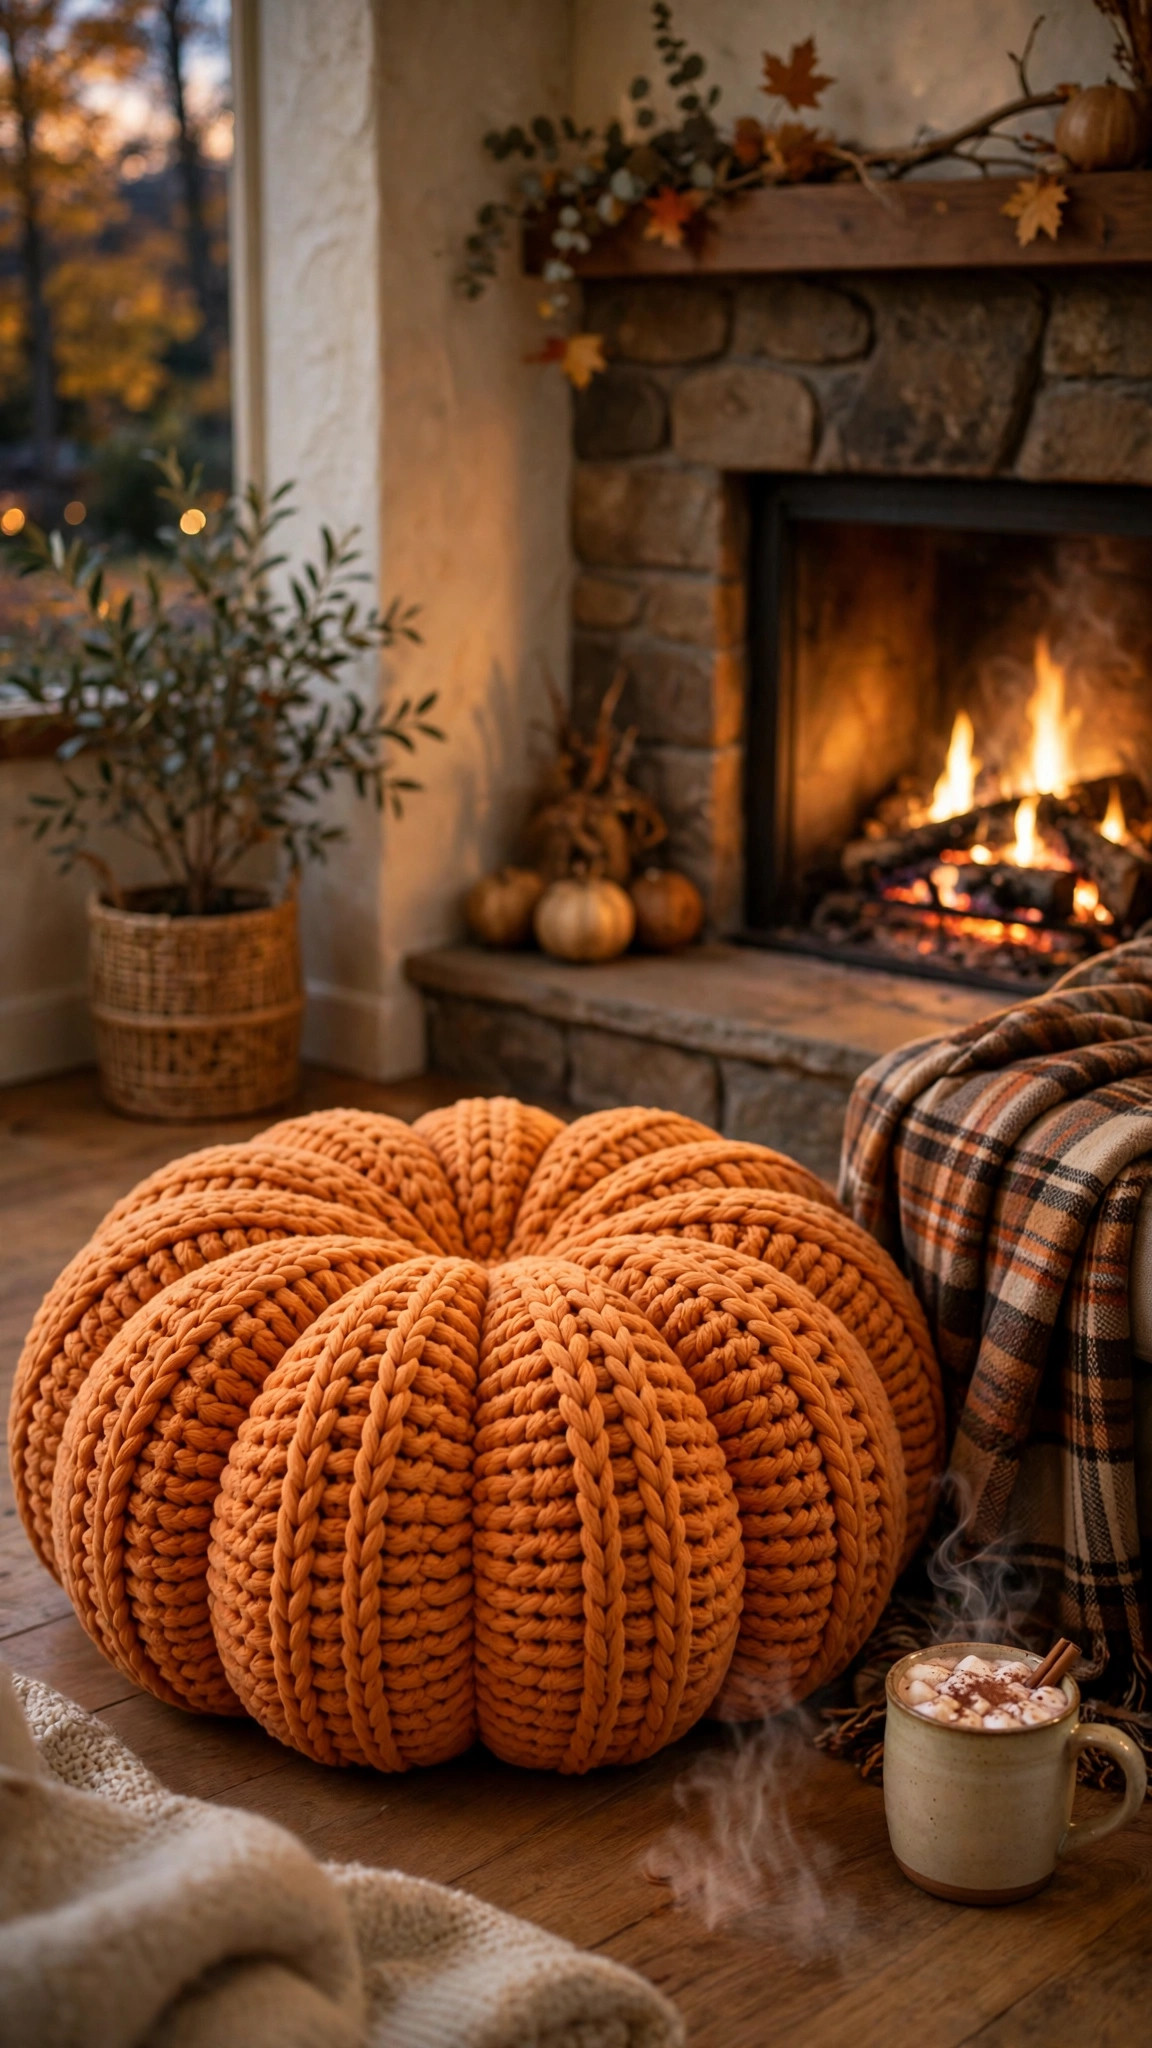
A plump, ribbed statement pumpkin over 12 inches across, big enough for the floor, the porch, or a Thanksgiving centerpiece.

Home Decor · Crochet
- Finished size
- 13 in across, 10 in tall
- Making time
- About 8 to 10 hours
- Hook
- US L/11 (8.0 mm)
- Set
- 8 panels, stem, vine, leaves
- Skill
- Easy
In this post
- Key Takeaways
- Table of Contents
- Why go big with your pumpkin
- Materials you will need
- Size, gauge, and skill level
- Abbreviations in US terms
- The pattern: eight panels
- Shaping the top and bottom
- Stuffing and closing
- Stem, vine, and leaves
- Adding the ribs
- Styling your statement pumpkin
- Variations to try
- Troubleshooting
- Care instructions
- Frequently Asked Questions
If your fall decorating dreams are bigger than a tabletop pumpkin, this large crochet pumpkin pattern is for you. This is not a cute little pumpkin for the dining table. It is a statement piece: a plump, ribbed pumpkin more than 12 inches across, big enough for the floor beside your front door, a porch display, or a living room corner. It is soft, squashy, and shatterproof, a far better porch pumpkin than anything grown in a field.
To be clear about how this pattern differs from our other pumpkin post: our easy tabletop pumpkin is a small, quick make that fits in the palm of your hand and looks sweet on a shelf or a mantel. This pattern is the opposite end of the scale. It uses chunky yarn, a big hook, and eight wide panels sewn together into a gloriously oversized pumpkin with deep ribs, a twisted stem, and a curly vine. It takes a weekend, not an evening, and the result is the kind of decor piece that makes guests stop and ask where you bought it.
The good news is that the techniques stay friendly. If you can chain, half double crochet, and sew a seam, you can make this pumpkin. The panels are worked flat, one at a time, so you never have to wrestle a giant ball of yarn in the round. You can make one pumpkin in a classic burnt orange, or a whole porch full in cream, sage green, mustard, and dusty rose. They look wonderful grouped in threes on a step, flanking a door, or piled into a basket by the fireplace.
Key Takeaways
- An oversized statement pumpkin, more than 12 inches across, made from eight flat panels sewn together
- Worked in chunky yarn with a large hook, so it grows fast despite its size
- Deep ribs, a twisted stem, a curly vine, and optional leaves give it a realistic pumpkin shape
- Distinct from a small tabletop pumpkin: this one is floor and porch decor, not shelf decor
- Original pattern in US terms, with sizing options, color ideas, troubleshooting, and care tips
Table of Contents
- Why go big with your pumpkin
- Materials you will need
- Size, gauge, and skill level
- Abbreviations in US terms
- The pattern: eight panels
- Shaping the top and bottom
- Stuffing and closing
- Stem, vine, and leaves
- Adding the ribs
- Styling your statement pumpkin
- Variations to try
- Troubleshooting
- Care instructions
- Frequently Asked Questions
Why go big with your pumpkin
Small pumpkins disappear on a porch. A pair of real pumpkins beside a door reads instantly from the street, while a tiny crochet pumpkin gets lost behind the doormat. At more than 12 inches across, this pumpkin holds its own next to a rocking chair or lantern, and photographs beautifully for fall porch photos and Thanksgiving gatherings.
There is a practical side as well. A big crochet pumpkin never rots, never attracts bugs, and never collapses into a sad puddle in November rain. You bring it inside at the end of the season, tuck it into a storage bin, and bring it out again next year looking exactly the same. If you have toddlers or pets who love to knock things over, a soft pumpkin is a blessing: it bounces, it does not break, and nobody cries over it.
Materials you will need
| Supply | What to get |
|---|---|
| Yarn (A) | Bulky weight (#5) yarn in burnt orange, about 450 yards (411 m) for the pumpkin body |
| Yarn (B) | Worsted weight (#4) yarn in dark brown, about 40 yards (37 m) for the stem |
| Yarn (C) | Worsted weight (#4) yarn in sage green, about 30 yards (27 m) for the vine and leaves |
| Crochet hook | US L/11 (8.0 mm) for the body, US H/8 (5.0 mm) for the stem and vine |
| Stuffing | Polyester fiberfill, about 24 oz (680 g) |
| Tapestry needle | A large-eye blunt needle for seaming and embroidery |
| Notions | Scissors, stitch markers, pins, a measuring tape |
| Optional | A small bag of dried beans or poly pellets for weight in the base |
Choose a soft, plush bulky yarn rather than a stiff one: a soft acrylic blend gives a gentle squash and shows the ribs well. Avoid fuzzy novelty yarns, which hide the ribs, and use a matte brown yarn for the stem.
For a porch pumpkin, a small pouch of dried beans tucked into the base keeps it steady in a breeze. Skip the weight if it will live indoors.
Size, gauge, and skill level
This pattern makes one oversized pumpkin about 13 inches across and 10 inches tall, not counting the stem. The finished size depends on your yarn and tension, so measure your first panel before you make all eight. If your panel is shorter than the pattern states, your pumpkin will be a little smaller, which is fine, as long as all eight panels match each other.
| Size | Finished width | Body yarn needed | Hook |
|---|---|---|---|
| Statement (as written) | About 13 in (33 cm) | About 450 yards | US L/11 (8.0 mm) |
| Large | About 11 in (28 cm) | About 350 yards | US K/10.5 (6.5 mm) |
| Extra oversized | About 16 in (41 cm) | About 600 yards | US M/13 (9.0 mm) |
- Finished size (statement): about 13 inches wide and 10 inches tall, with a stem about 4 inches tall.
- Gauge: 10 hdc and 8 rows = 4 inches (10 cm) with an 8.0 mm hook and bulky yarn. Gauge matters less here than in a garment, but it matters for panel matching: all eight panels must be the same size, or the pumpkin will lean.
- Skill level: easy. You need to chain, half double crochet, increase, decrease, and sew a seam. The stem uses single crochet in the round. If you can make a simple scarf, you can make this pumpkin.
Abbreviations in US terms
| Abbreviation | Meaning |
|---|---|
| ch | chain |
| sc | single crochet |
| hdc | half double crochet |
| dc | double crochet |
| tr | treble crochet |
| sl st | slip stitch |
| inc | increase: 2 stitches in the same stitch |
| dec | decrease: 2 stitches worked together |
| st(s) | stitch(es) |
| RS | right side |
| FO | fasten off |
All instructions use US crochet terms. If you normally work in UK terms, remember that a US half double crochet is a UK half treble, and a US double crochet is a UK treble.
The pattern: eight panels
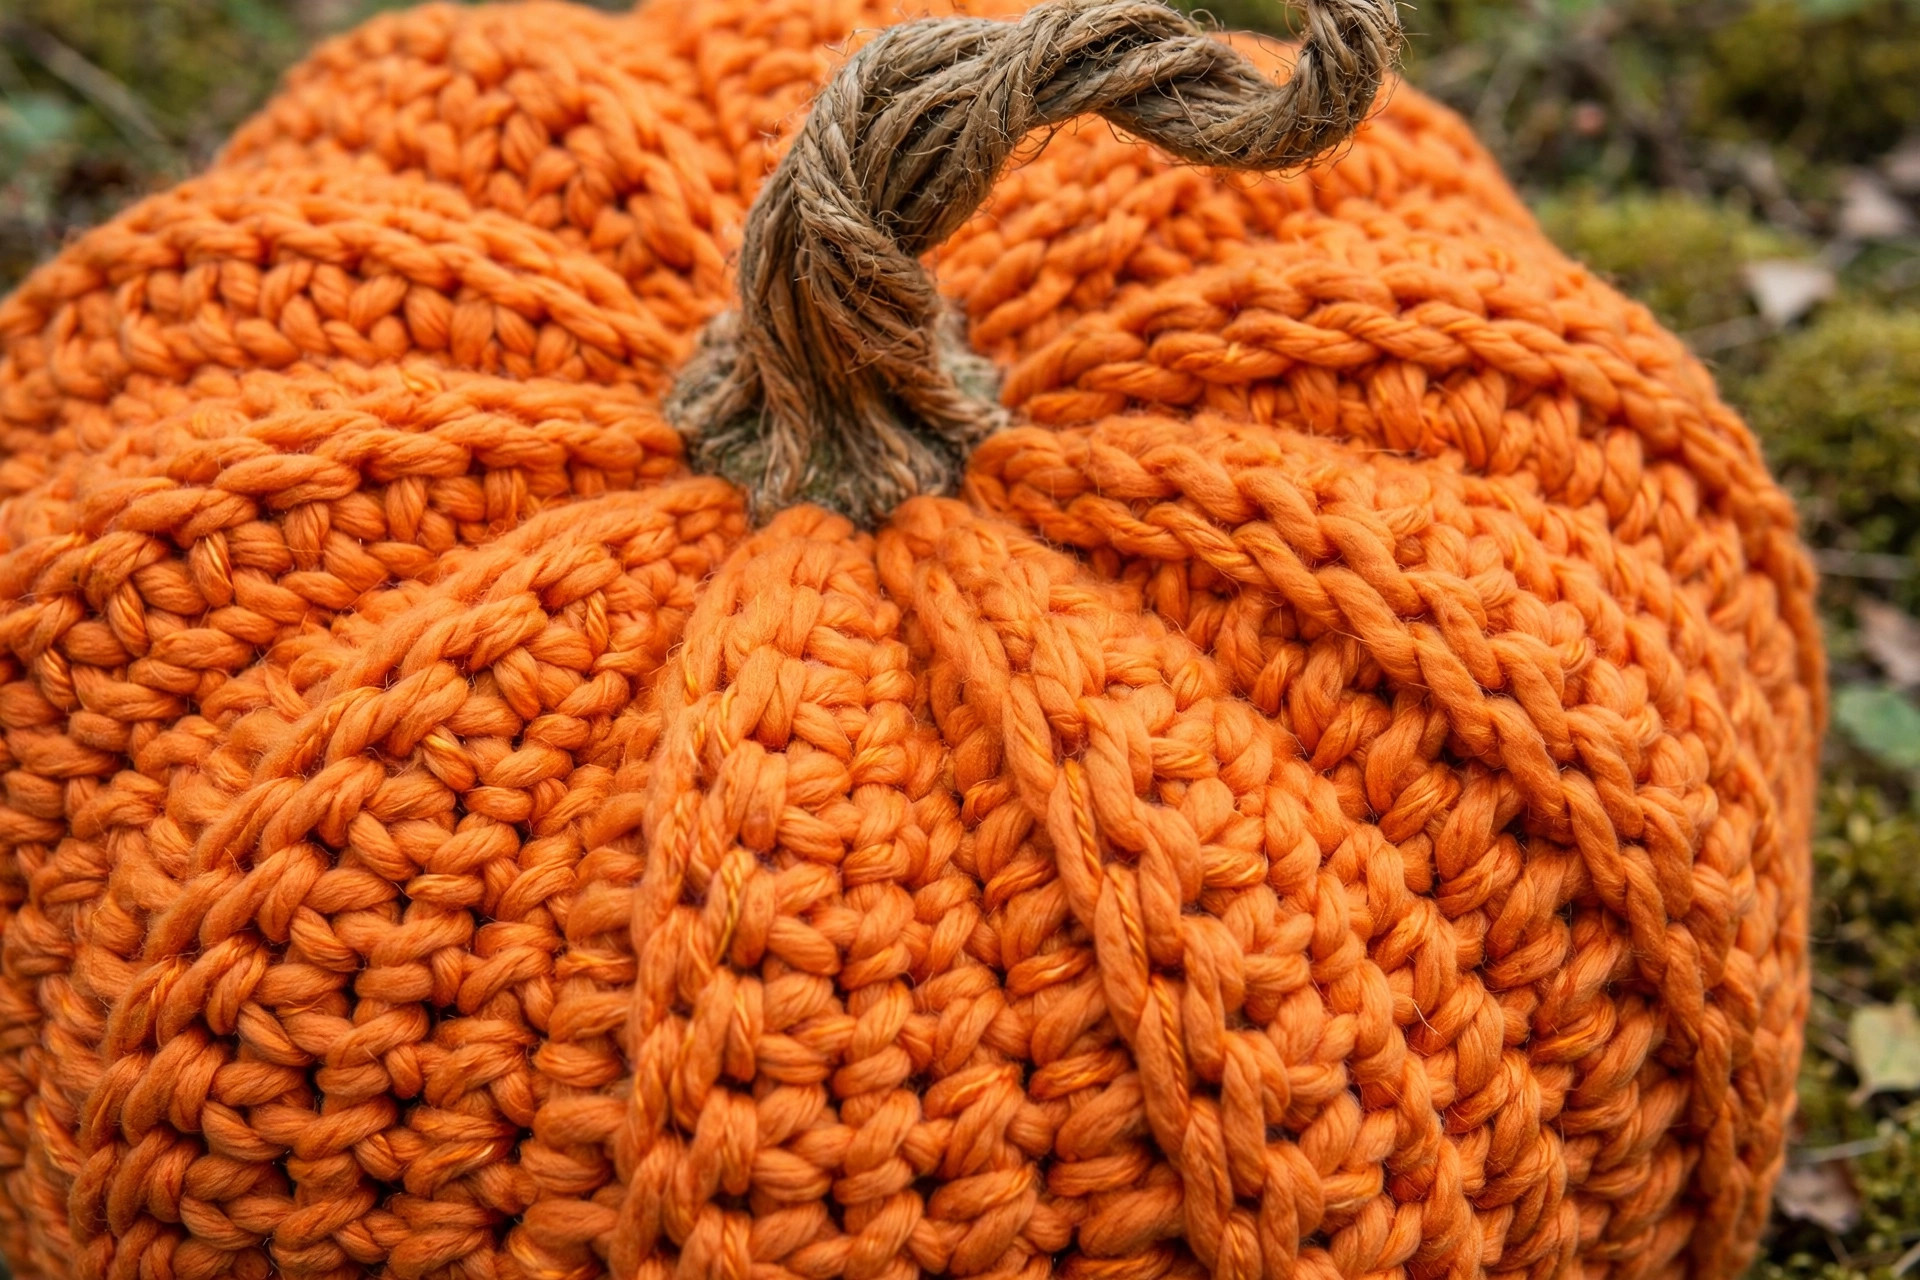
The body is eight identical panels, each shaped like a wide leaf: narrow at top and bottom, widest in the middle. Sewn side by side, the seams form the ribs and the shape pulls inward for the classic pumpkin silhouette. Work all eight before sewing, and check they match in length.
Panel (make 8)
With yarn A (burnt orange) and an 8.0 mm hook, chain 3 to start.
- Row 1: 2 hdc in the 2nd ch from the hook, 1 hdc in the next ch. Turn. [3]
- Row 2: ch 1, inc in the first st, hdc in each st to the last st, inc in the last st. Turn. [5]
- Row 3: ch 1, inc in the first st, hdc in each st to the last st, inc in the last st. Turn. [7]
- Row 4: ch 1, inc in the first st, hdc in each st to the last st, inc in the last st. Turn. [9]
- Row 5: ch 1, inc in the first st, hdc in each st to the last st, inc in the last st. Turn. [11]
- Row 6: ch 1, inc in the first st, hdc in each st to the last st, inc in the last st. Turn. [13]
- Row 7: ch 1, hdc in each st across. Turn. [13]
- Row 8: ch 1, inc in the first st, hdc in each st to the last st, inc in the last st. Turn. [15]
- Row 9: ch 1, hdc in each st across. Turn. [15]
- Row 10: ch 1, inc in the first st, hdc in each st to the last st, inc in the last st. Turn. [17]
- Rows 11 to 20: ch 1, hdc in each st across. Turn. [17]
- Row 21: ch 1, dec over the first 2 sts, hdc in each st to the last 2 sts, dec over the last 2 sts. Turn. [15]
- Row 22: ch 1, hdc in each st across. Turn. [15]
- Row 23: ch 1, dec over the first 2 sts, hdc in each st to the last 2 sts, dec over the last 2 sts. Turn. [13]
- Row 24: ch 1, hdc in each st across. Turn. [13]
- Row 25: ch 1, dec over the first 2 sts, hdc in each st to the last 2 sts, dec over the last 2 sts. Turn. [11]
- Row 26: ch 1, dec over the first 2 sts, hdc in each st to the last 2 sts, dec over the last 2 sts. Turn. [9]
- Row 27: ch 1, dec over the first 2 sts, hdc in each st to the last 2 sts, dec over the last 2 sts. Turn. [7]
- Row 28: ch 1, dec over the first 2 sts, hdc in each st to the last 2 sts, dec over the last 2 sts. Turn. [5]
- Row 29: ch 1, dec over the first 2 sts, hdc in the next st, dec over the last 2 sts. Turn. [3]
- Row 30: ch 1, dec over all 3 sts together. FO, leaving a long tail for seaming. [1]
You should now have a panel about 15 inches long and 7 inches at its widest point. The exact measurements will vary with your tension. What matters is consistency: lay all eight panels on top of each other and check that the edges line up. If one panel is noticeably shorter, it is worth remaking it now, because a short panel will pull the pumpkin out of shape later.
Shaping the top and bottom
Lay two panels side by side with right sides facing out and whip stitch them along one long edge, from bottom point to top point. Keep adding panels until all eight form a tube open at top and bottom, then join the last panel to the first.
Gather the bottom points together. Thread a tapestry needle with a long piece of yarn A, run it through the bottom point of each panel, and pull gently so the bottom closes like a drawstring bag. Knot it securely and weave in the end. Turn the pumpkin right side out if needed, and check the shape: it should look like a pumpkin bowl with an open top, ready for stuffing.
Stuffing and closing
Stuffing is where an oversized pumpkin succeeds or fails, so take your time. Use handfuls of fiberfill, pushing it into the sides and ribs first, then filling the middle. The pumpkin should feel firm and springy: understuffed pumpkins slump, while overstuffed ones stretch the seams and show gaps.
If you are adding a weight pouch, place it in the center of the base before the last layers of stuffing. Once you are happy with the fullness, gather the top points the same way as the bottom, leaving a small 2 inch opening in the center where the stem will sit.
Stem, vine, and leaves
Twisted stem
With yarn B (dark brown) and a 5.0 mm hook, work in the round.
- Round 1: 6 sc in a magic ring. [6]
- Rounds 2 to 8: sc in each st around. [6]
- Round 9: (sc in the next st, inc) x 3. [9]
- Rounds 10 to 12: sc in each st around. [9]
- Round 13: (sc in the next st, dec) x 3. [6]
- Round 14: sc in each st around. FO, leaving a tail for sewing. [6]
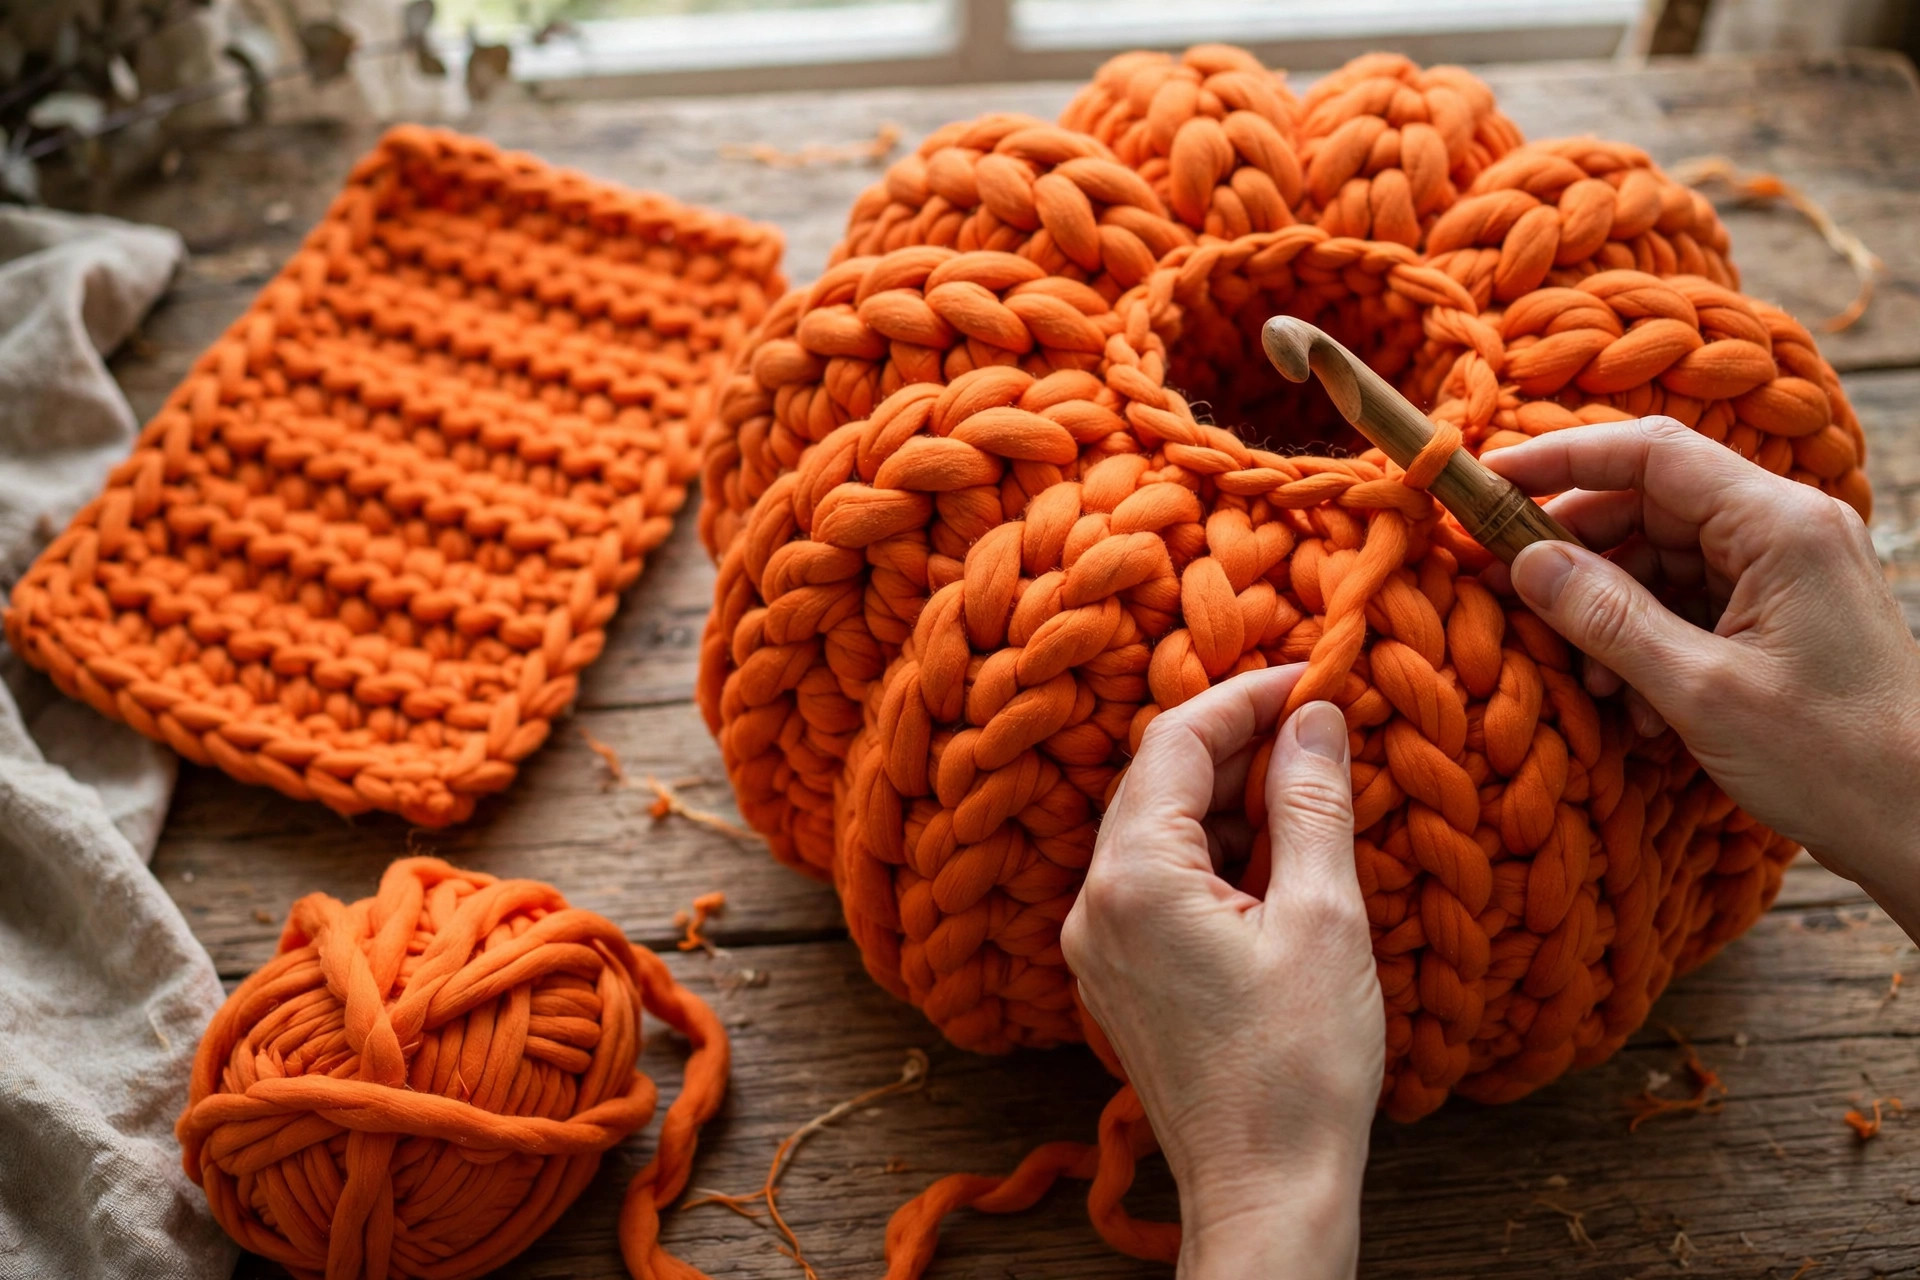
Stuff the stem lightly so it stands up but still bends a little, then sew it into the opening at the top of the pumpkin. To get the twisted look, wrap a second strand of brown yarn around the stem in a spiral and tack it in place with a few stitches. A slightly crooked stem looks more realistic than a perfectly straight one, so do not worry about perfection.
Curly vine
With yarn C (sage green) and a 5.0 mm hook, chain 25. Work 3 sc in each chain across, which will force the strip to curl into a tight spiral. Fasten off and sew one end of the vine to the base of the stem, letting the curl drape over the side of the pumpkin. You can make two vines of different lengths for a fuller look.
Leaves (make 2)
With yarn C and a 5.0 mm hook, chain 8. Work as follows: sl st in the 2nd ch from the hook, sc in the next ch, hdc in the next ch, dc in the next 2 ch, hdc in the next ch, sc in the last ch. Chain 1, then work back along the other side of the chain in reverse: sc, hdc, dc, dc, hdc, sc, sl st. Fasten off and sew the leaves near the base of the stem, angled outward like real pumpkin leaves.
Adding the ribs
The panel seams already create ribs, but you can deepen them. Thread yarn A onto a tapestry needle, anchor it at the bottom center, bring it up along a seam line to the top center, pull it snug, and anchor it again. Repeat along all eight seams with gentle, even tension. This optional step transforms a round cushion into a convincing pumpkin.
Styling your statement pumpkin
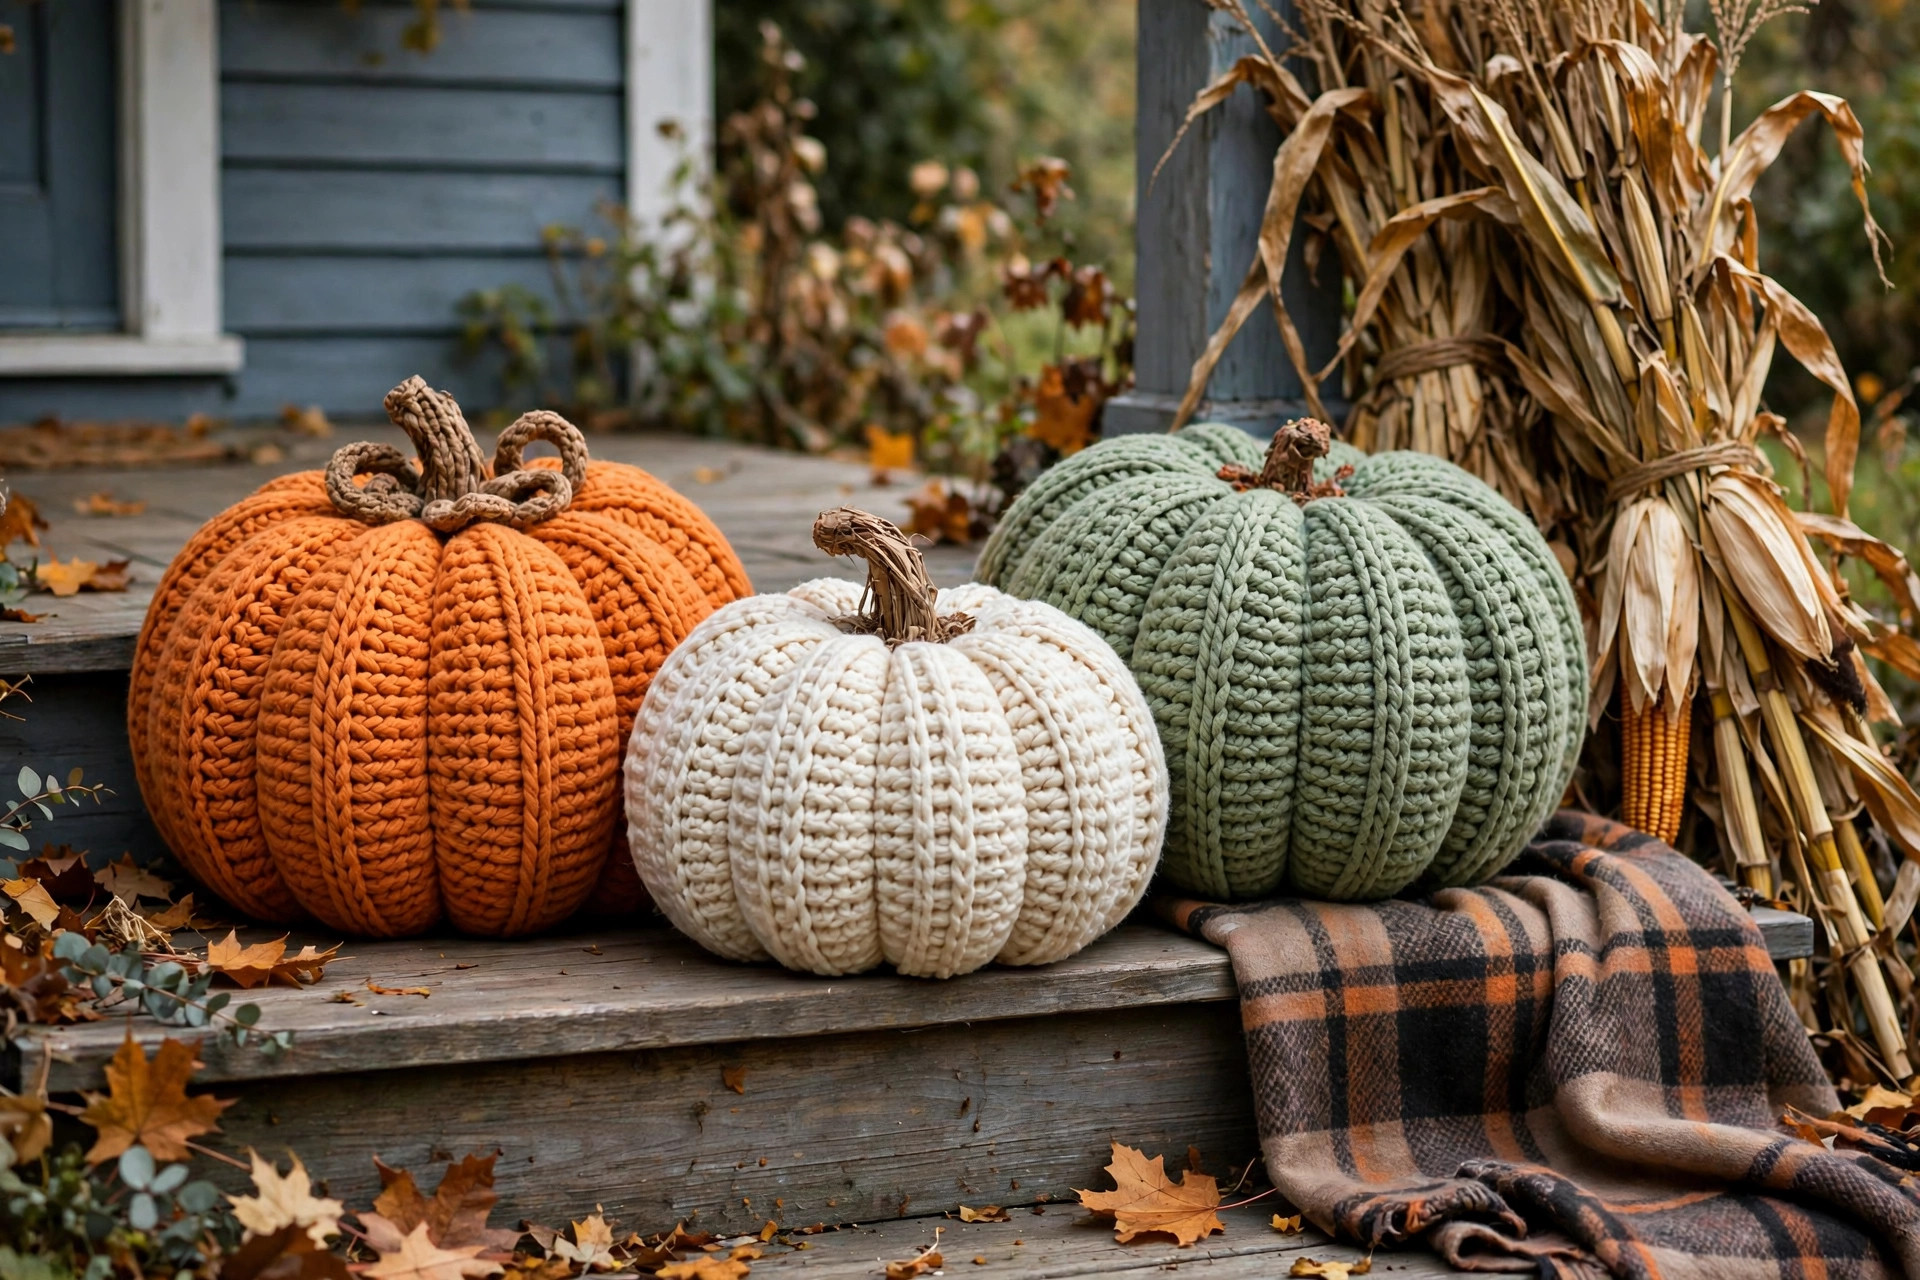
A single statement pumpkin looks best with a little company. Place it beside your front door with a lantern and a few small gourds, or group three pumpkins in different colors on a porch step. Inside, it works on the floor beside a fireplace, in a basket with a plaid throw, or as a Thanksgiving table centerpiece.
For a full fall porch, pair your pumpkin with other handmade pieces. A pumpkin hat makes a sweet photo prop for little ones sitting beside the big pumpkin, and a crochet Christmas tree later in the season can take over the same corner when autumn ends. If you are decorating for Thanksgiving, a crochet turkey on the table and a Christmas tree skirt under the tree in December will keep the handmade theme going all season long.
Variations to try
- Cream and sage collection: make the same pumpkin in cream, sage green, and dusty rose for a modern farmhouse look that works from September through Thanksgiving.
- Striped pumpkin: change yarn color every four panels for a bold striped effect, or work two panels in a contrast color for an accent.
- Velvet pumpkin: use a velvet bulky yarn for a luxurious pumpkin with a soft sheen, perfect for an elegant mantel display.
Troubleshooting
My pumpkin leans to one side. One panel is probably shorter or narrower than the others, or the stuffing is uneven. Check the panels against each other and redistribute the stuffing, pushing more into the sagging side.
The seams are showing gaps. Your stitches may be too loose, or the panels were sewn with too little tension. Go down half a hook size for the next pumpkin, and sew seams with a snug whip stitch that catches the edge of every row.
The top will not close neatly. The gathered points may be uneven. Undo the top gathering, line up all eight top points, and gather again slowly, pulling a little at a time so the points meet in the center.
My pumpkin looks like a ball, not a pumpkin. The ribs need deepening. Add the rib yarns described above, pulling them snugly along each seam, and make sure the top and bottom are pulled in firmly.
Care instructions
Spot clean with a damp cloth and mild soap. For a deeper clean, hand wash gently in cool water, press out the water with a towel (do not wring it), and reshape while damp. Let it air dry fully before storing it in a breathable bag out of direct sunlight, which can fade bright yarn.
Frequently Asked Questions
How big is this large crochet pumpkin really?
The finished pumpkin measures about 13 inches across and 10 inches tall, not counting the stem. That is more than twice the width of a typical tabletop crochet pumpkin, which is why it works as floor and porch decor rather than shelf decor.
How long does it take to make?
Most makers finish one statement pumpkin in a weekend, roughly 8 to 10 hours in total, with each panel taking about an hour.
How much yarn do I need?
You need about 450 yards of bulky weight yarn for the body, plus small amounts of worsted yarn for the stem, vine, and leaves. Buy one extra skein if you are unsure, since dye lots can vary.
Can I make it smaller or bigger?
Yes. Use a smaller hook and lighter yarn for a smaller pumpkin, or a bigger hook and more panels for a larger one. Keep all eight panels the same size, and adjust the stuffing amount to match. The sizing table earlier in this post gives three tested options.
Is this pumpkin safe for kids and pets?
Yes, it is soft and lightweight. If it is for a baby or toddler, skip the weight pouch and sew the stem on very securely.
Will it survive on a covered porch?
Yes, on a covered porch it holds up all season. Bring it inside during heavy storms, and let it dry fully if it gets wet.


