Crochet Turkey Pattern Free (Thanksgiving)
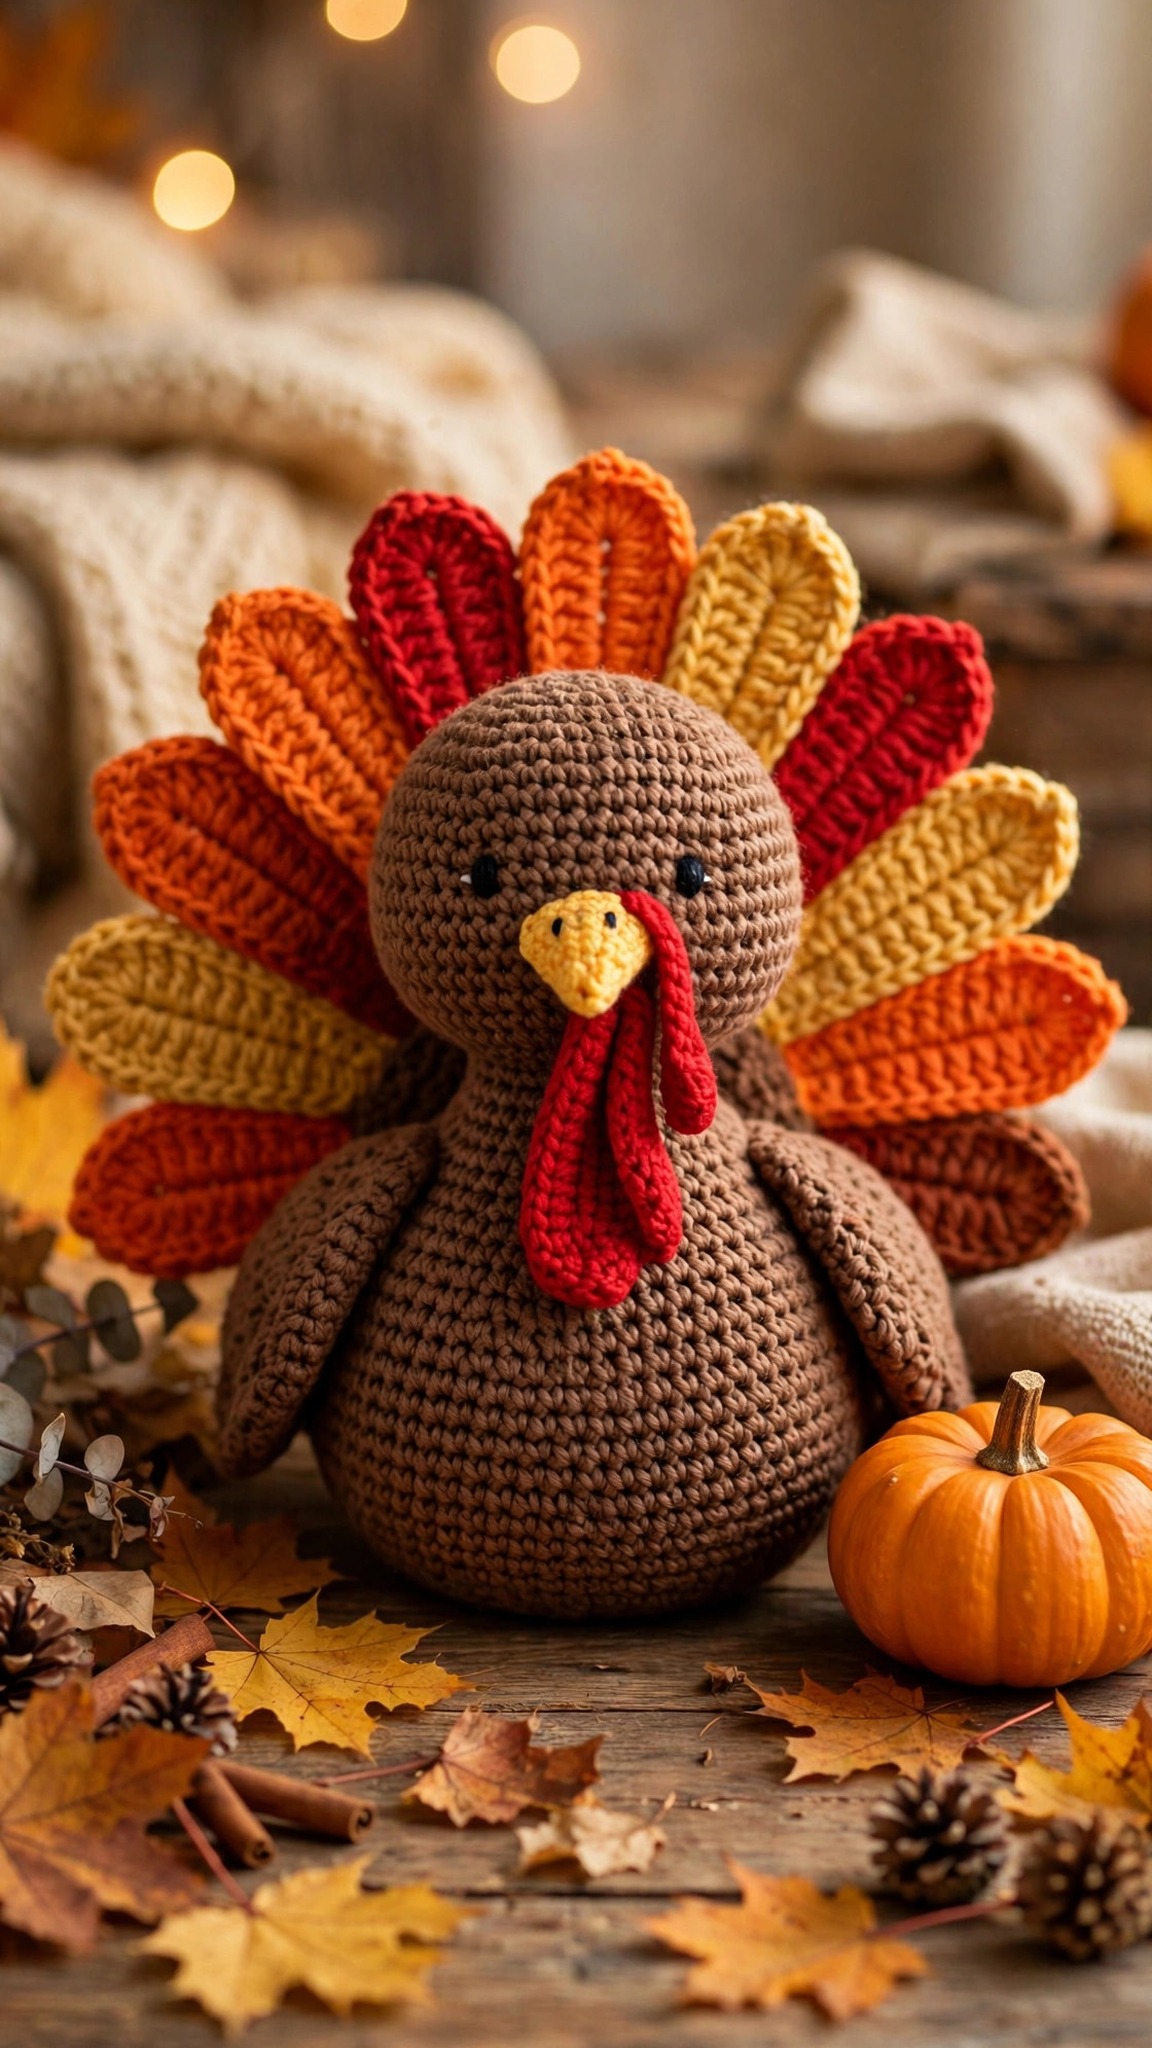
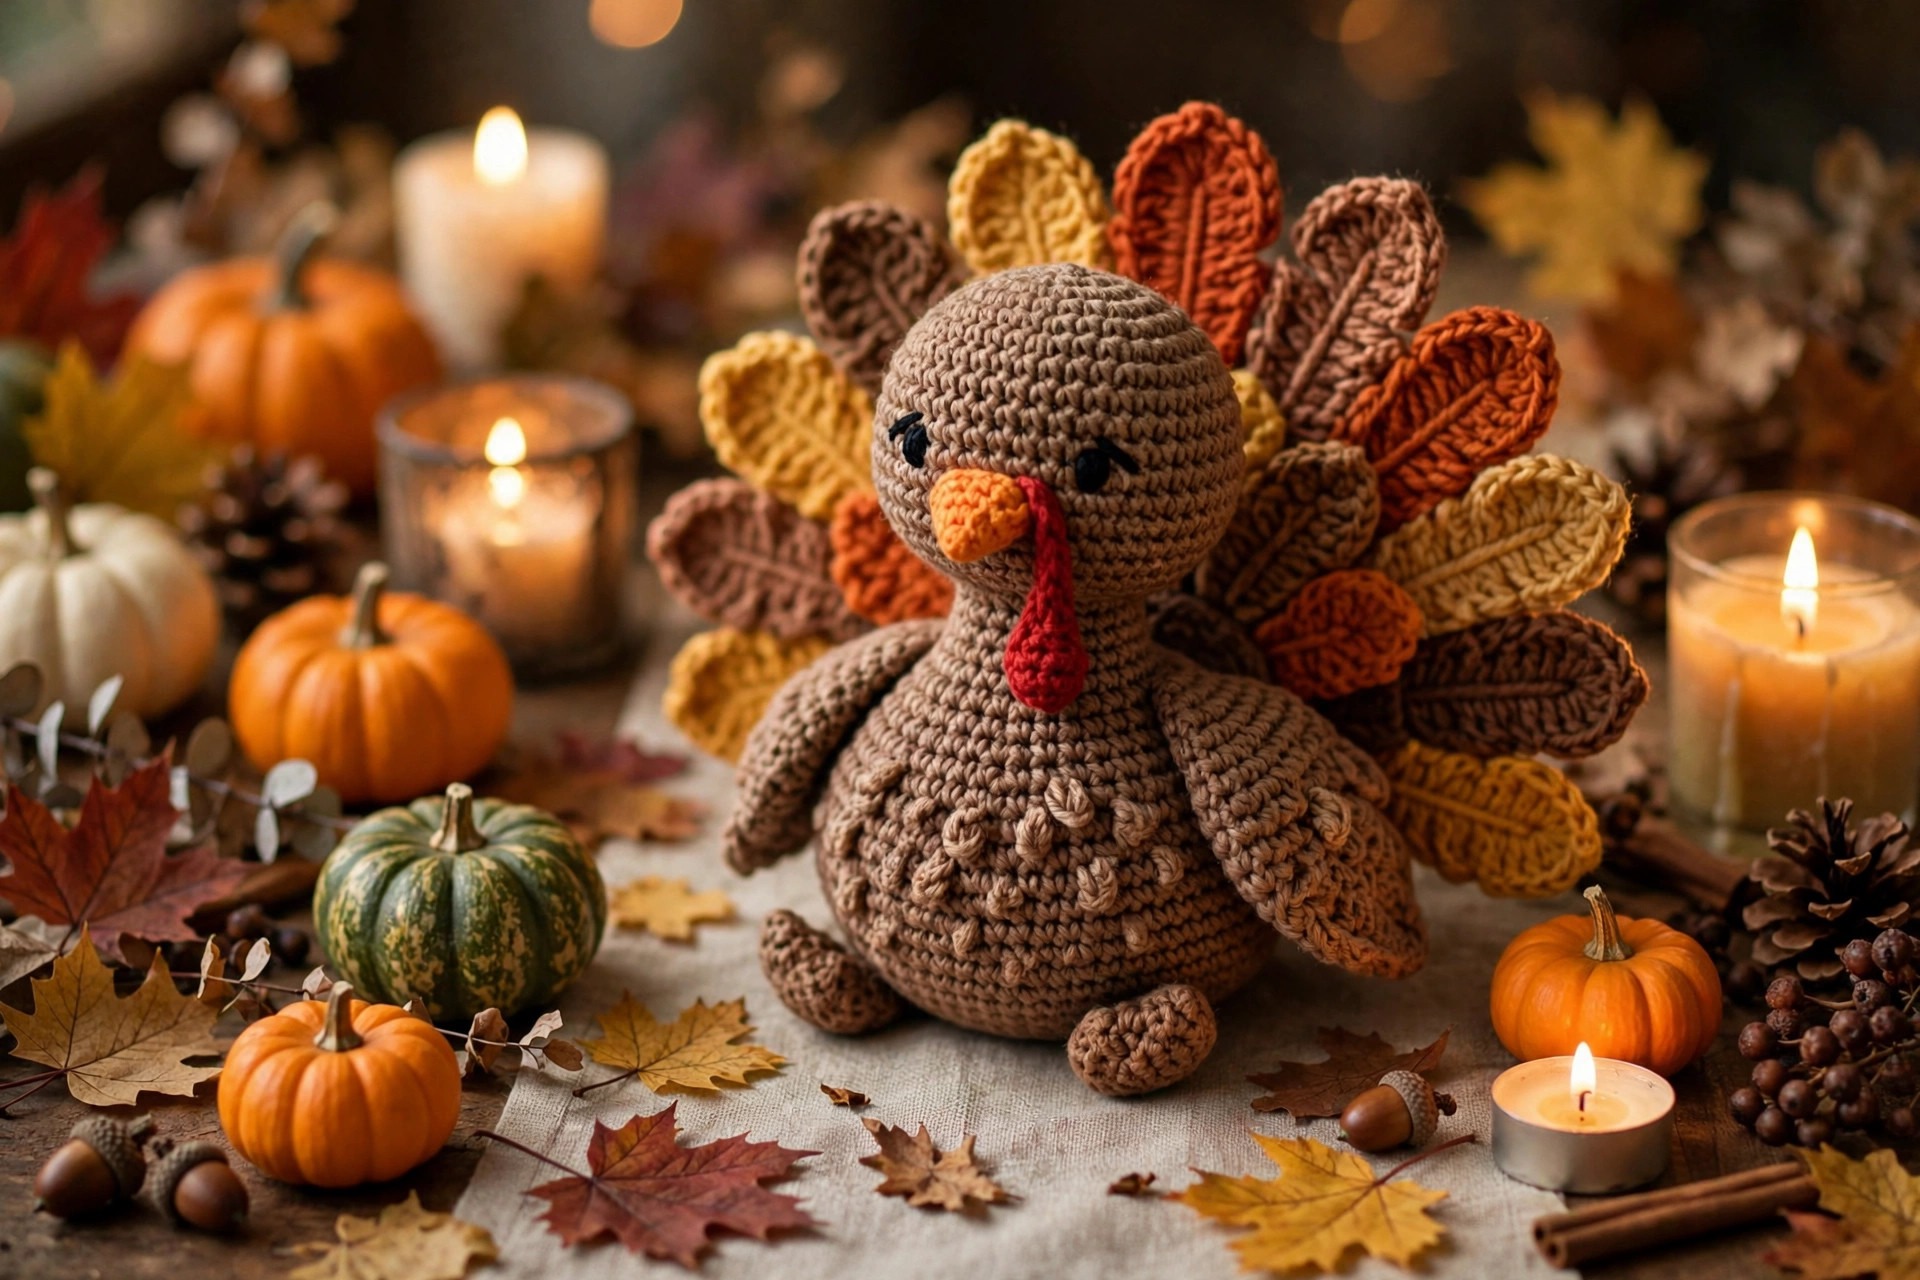
Crochet a plump 10 inch Thanksgiving turkey plush with a colorful feather tail fan, yellow beak, and red wattle.

Amigurumi · Crochet
- Finished size
- 10 in tall
- Making time
- 7 to 9 hours
- Hook
- US F-5 (3.75 mm)
- Set
- Turkey, tail fan, beak and wattle guide
- Skill
- Easy
In this post
- Key Takeaways
- Table of Contents
- Why You Will Love This Turkey
- Finished Size, Skill Level, and Time
- Materials You Need
- Abbreviations (US Terms)
- Part 1: The Body
- Part 2: The Head
- Part 3: The Tail Fan
- Part 4: Beak, Wattle, and Face
- Part 5: Wings and Feet
- Assembly
- Variations: A Whole Flock
- Troubleshooting Amigurumi Turkeys
- Care Instructions
- Frequently Asked Questions
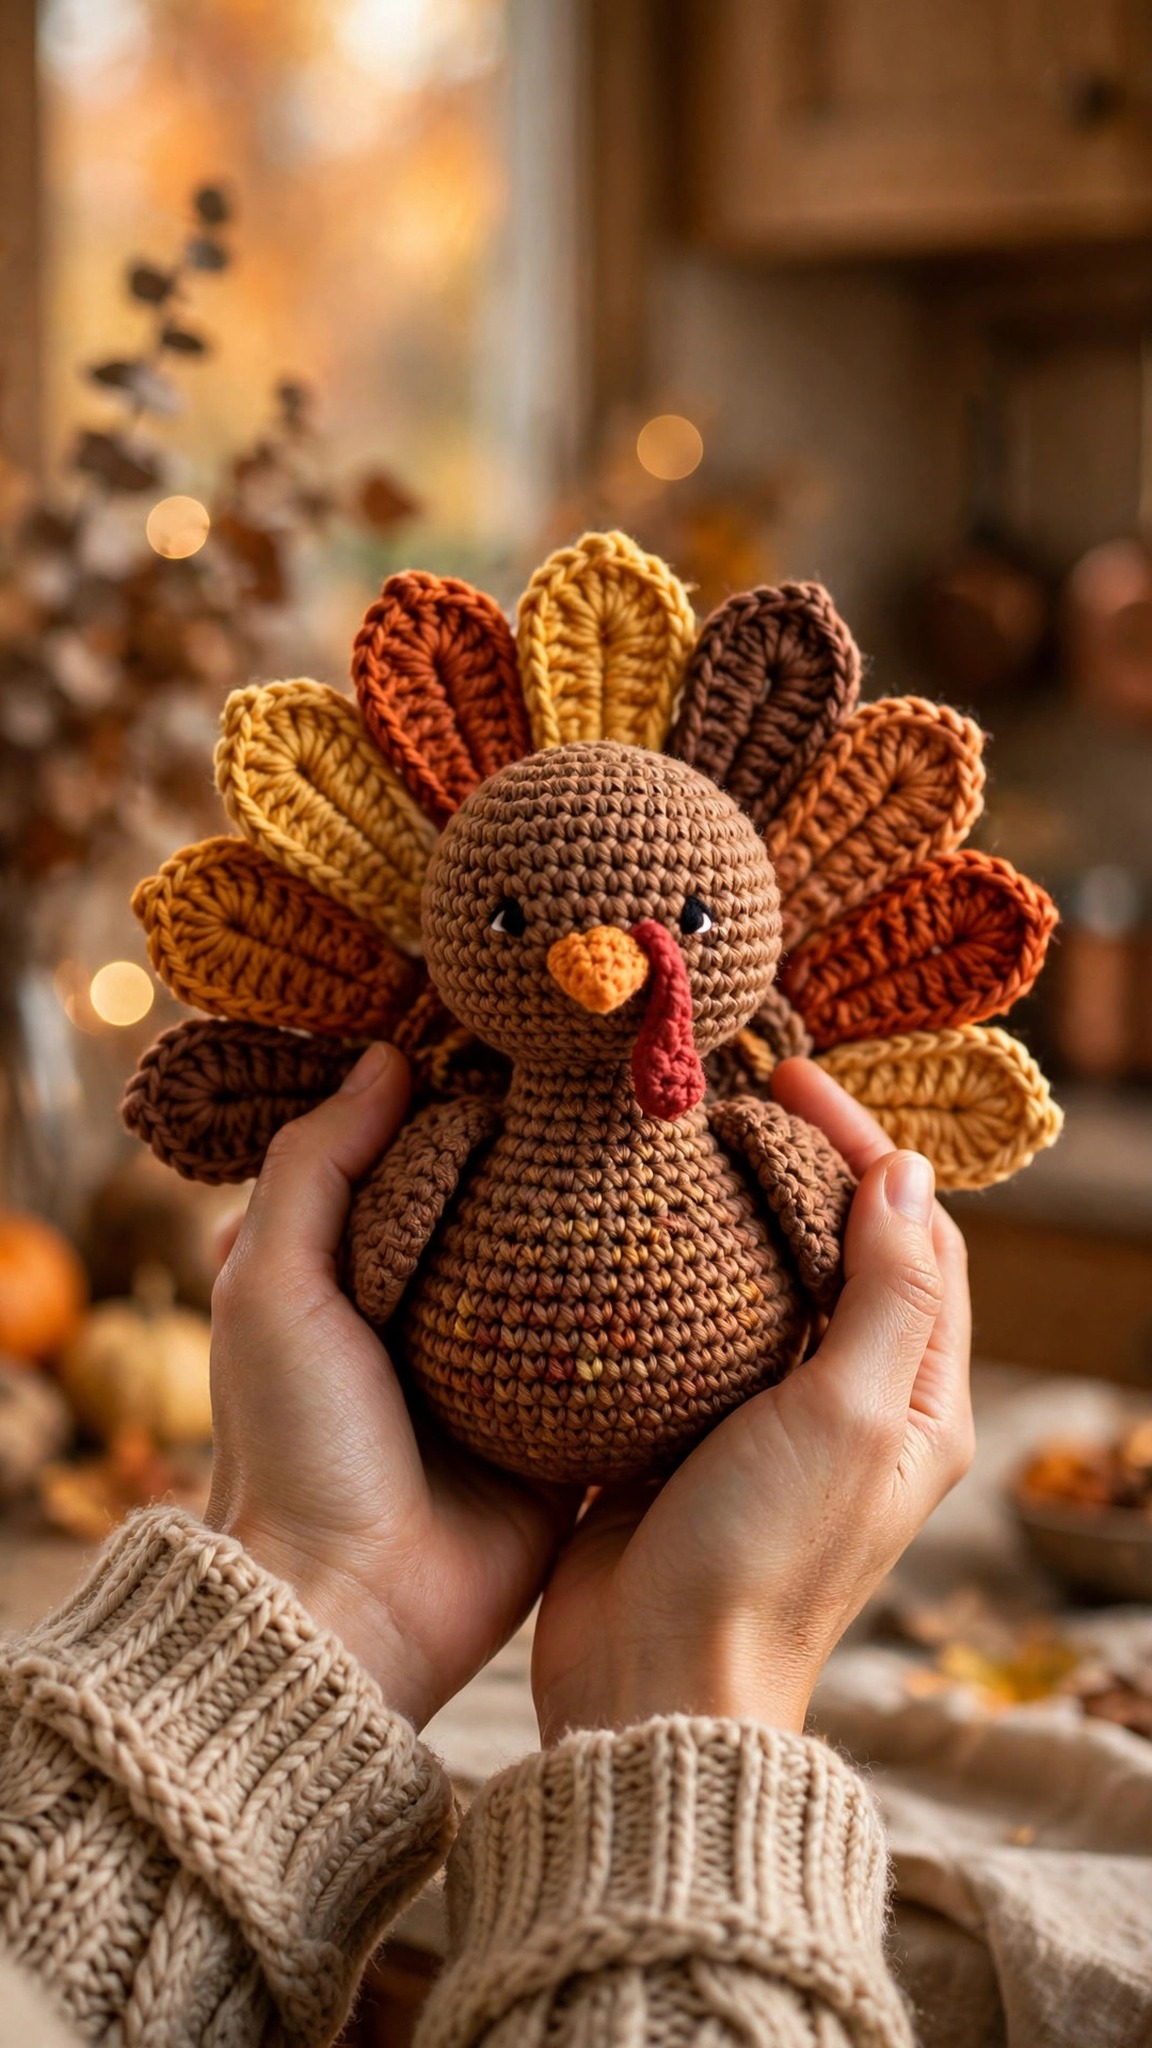
There is something about a plump little turkey that instantly says Thanksgiving: the proud tail fan, the cheerful wattle, and the way a handmade turkey looks right at home next to the pumpkins and the pie. This free crochet turkey pattern makes a soft, huggable amigurumi turkey plush, about 10 inches tall from feet to the top of its tail fan, with a round brown body, a rainbow of tail feathers, a yellow beak, and a bright red wattle.
This is an original Little Loop Finds design, written in US terms and completely free. The turkey is worked in simple single crochet rounds with basic increases and decreases, so if you can crochet a ball shape, you can crochet this bird. The tail fan is made from separate flat feather pieces in autumn colors, sewn in a layered fan behind the body, which gives the turkey its classic Thanksgiving silhouette without any tricky colorwork or shaping.
He is a perfect Thanksgiving table centerpiece, a sweet gift for kids, and a lovely piece of autumn decor. Make him in classic brown, try a cream turkey for a farmhouse look, or stitch a whole flock in different feather colors.
Key Takeaways
- Free original pattern: this crochet turkey pattern is a Little Loop Finds original amigurumi design, written in US terms, and completely free.
- Classic Thanksgiving shape: plump brown body, layered feather tail fan, yellow beak, and red wattle.
- Beginner friendly amigurumi: only single crochet, increases, and decreases, with simple flat feather pieces.
- Weekend project: about 7 to 9 hours of stitching plus assembly.
- Great for gifting and decor: table centerpiece, kids gift, mantel display, or craft fair table star.
Table of Contents
- Why You Will Love This Turkey
- Finished Size, Skill Level, and Time
- Materials You Need
- Abbreviations (US Terms)
- Part 1: The Body
- Part 2: The Head
- Part 3: The Tail Fan
- Part 4: Beak, Wattle, and Face
- Part 5: Wings and Feet
- Assembly
- Variations: A Whole Flock
- Troubleshooting Amigurumi Turkeys
- Care Instructions
- Frequently Asked Questions
Why You Will Love This Turkey
Amigurumi turkeys are a November favorite, and this one shows why. The plump body works up fast, the feather fan is pure color therapy, and the finished bird has so much personality. There is no fiddly colorwork, no tiny parts, just round, squishy, satisfying crochet plus a joyful stack of feathers.
He is also wonderfully forgiving. The body is a simple ball shape, so minor tension wobbles disappear under the stuffing, and the embroidered eyes mean you never have to commit to safety eye placement or worry about little hands. If you have made any amigurumi animal before, like our crochet goose pattern, you will recognize the construction instantly and breeze through it.
And let us talk about giftability. A handmade turkey is the kind of gift people keep and bring out every November. It works for Thanksgiving hosts, for kids who love farm animals, and for anyone decorating in farmhouse style. Pair him with a crochet garland pattern across the mantel and your whole room feels like Thanksgiving morning.
Finished Size, Skill Level, and Time
- Finished size: about 10 inches tall from feet to the top of the tail fan, and about 7 inches wide across the feather fan, in worsted weight yarn with a 3.75 mm hook. Using chunky yarn and a 5.0 mm hook makes a 13 inch jumbo turkey.
- Skill level: easy. You should know how to single crochet in the round, increase, and decrease. The feathers are flat rows, and the face is simple embroidery.
- Making time: 7 to 9 hours of crocheting, plus about 1 hour for the face, tail fan, and assembly.
Materials You Need
| Material | Details |
|---|---|
| Worsted weight (#4) yarn | About 180 yards of brown for the body and head, 40 yards each of orange, red, gold, and cream for the feathers, plus small amounts of yellow and red for the beak and wattle |
| US F-5 (3.75 mm) crochet hook | Go down to 3.5 mm if your stitches look gappy, since stuffing should never show through amigurumi |
| Polyester fiberfill stuffing | A generous amount, since a plump turkey drinks stuffing |
| Yarn needle with a large eye, and scissors | For sewing pieces and weaving in ends |
| Stitch marker | For marking round beginnings |
| Black worsted weight yarn | For embroidering the eyes (or two 10 mm safety eyes if the turkey is not for a small child) |
| Optional blush | A little pink yarn for embroidered cheeks |
A note on yarn choice: smooth worsted weight acrylic is ideal, because the stitch definition shows off the feather shaping and the body holds its plump shape. Fuzzy yarn works for the body, but the feather details get lost, so use smooth yarn for the feathers if you mix.
Abbreviations (US Terms)
- MR = magic ring
- ch = chain
- sc = single crochet
- hdc = half double crochet
- dc = double crochet
- inc = increase (2 sc in same st)
- dec = decrease (single crochet 2 together; invisible decrease recommended)
- sl st = slip stitch
- st(s) = stitch(es)
- FO = fasten off
Part 1: The Body
Worked in continuous rounds in brown yarn. Place a stitch marker in the first stitch of each round and move it up as you go. Count your stitches at the end of every increase round.
- Round 1: MR 6 sc. (6)
- Round 2: Inc in each st around. (12)
- Round 3: (Sc in next st, inc) 6 times. (18)
- Round 4: (Sc in next 2 sts, inc) 6 times. (24)
- Round 5: (Sc in next 3 sts, inc) 6 times. (30)
- Round 6: (Sc in next 4 sts, inc) 6 times. (36)
- Round 7: (Sc in next 5 sts, inc) 6 times. (42)
- Rounds 8 to 14: Sc in each st around. (42) Work 7 rounds even.
- Round 15: (Sc in next 5 sts, dec) 6 times. (36)
- Round 16: Sc in each st around. (36)
- Round 17: (Sc in next 4 sts, dec) 6 times. (30)
- Round 18: Sc in each st around. (30) Begin stuffing firmly, shaping a plump round body.
- Round 19: (Sc in next 3 sts, dec) 6 times. (24) Add more stuffing.
- Round 20: (Sc in next 2 sts, dec) 6 times. (18)
- Round 21: (Sc in next st, dec) 6 times. (12)
- Round 22: Dec 6 times. (6) FO, leaving a long tail. Thread the tail through the front loops of the remaining stitches, pull tight to close, and weave in the end.
The body should feel firm and springy, like a well stuffed pillow. Under stuffed amigurumi sags and wrinkles, so pack the fiberfill in generous handfuls until the body holds a round shape on its own. The finished body is slightly wider at the bottom so the turkey sits upright without tipping forward.
Part 2: The Head
Worked in brown yarn, in continuous rounds. The head sits high on the front of the body, so the turkey looks alert and proud.
- Round 1: MR 6 sc. (6)
- Round 2: Inc in each st around. (12)
- Round 3: (Sc in next st, inc) 6 times. (18)
- Round 4: (Sc in next 2 sts, inc) 6 times. (24)
- Rounds 5 to 9: Sc in each st around. (24) Work 5 rounds even.
- Round 10: (Sc in next 2 sts, dec) 6 times. (18)
- Round 11: (Sc in next st, dec) 6 times. (12) Stuff firmly, shaping a round head.
- Round 12: Dec 6 times. (6) FO, close the same way as the body.
Set the head aside for now. The face goes on before the head is sewn to the body, because embroidery is much easier on a loose head you can turn in your hands.
Part 3: The Tail Fan
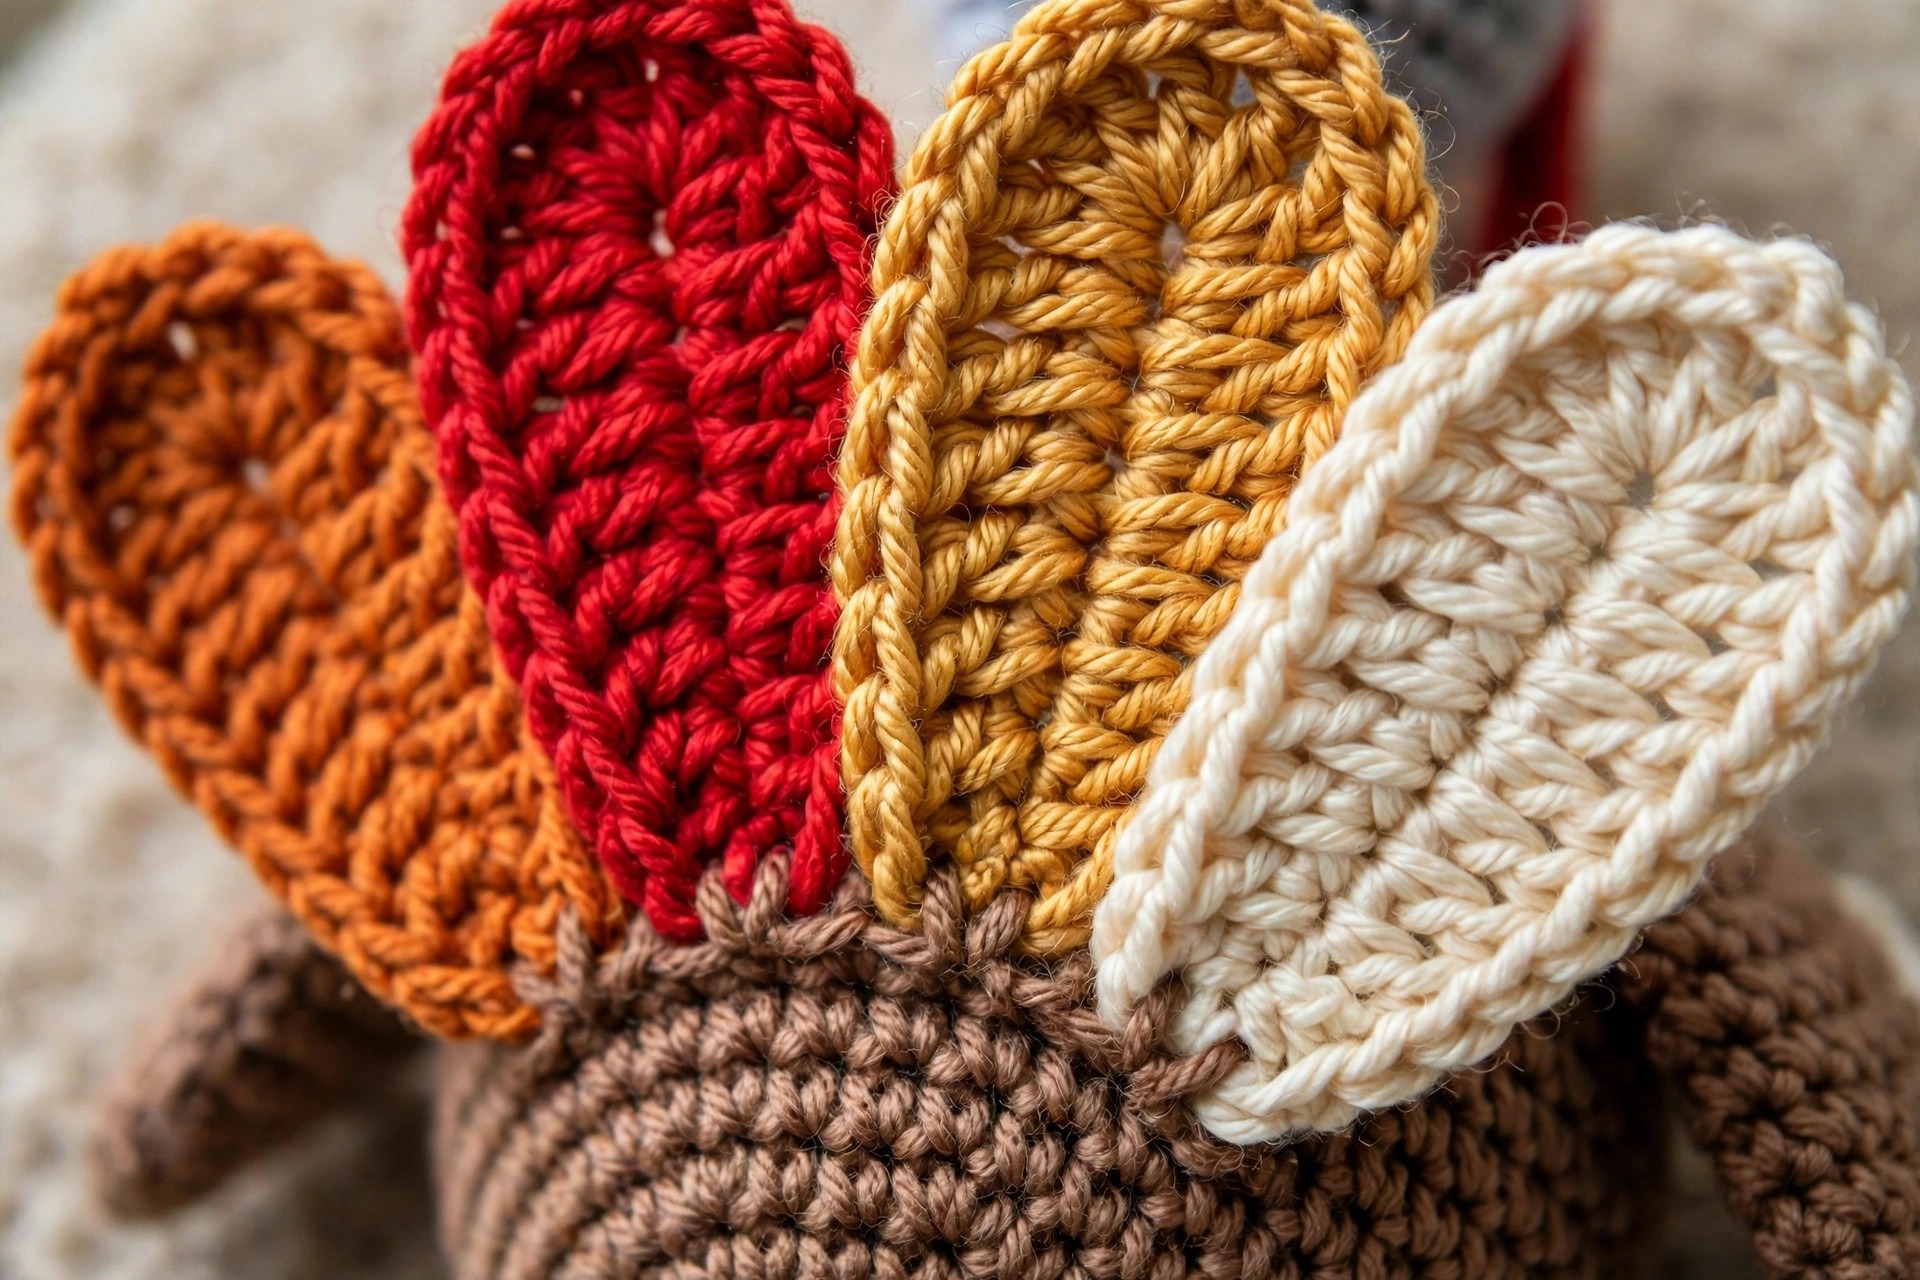
This is the star of the show, so take your time and enjoy it. Each feather is a flat piece worked in rows, shaped with increases at the start and decreases at the tip. Make 7 feathers: 2 in orange, 2 in red, 2 in gold, and 1 in cream for the center, or mix the colors however you like.
Feather (make 7, in your chosen color):
- Row 1: Ch 2, sc in 2nd ch from hook, ch 1, turn. (1)
- Row 2: 2 sc in the single st, ch 1, turn. (2)
- Row 3: Sc in next st, inc, ch 1, turn. (3)
- Row 4: Sc in next 2 sts, inc, ch 1, turn. (4)
- Row 5: Sc in next 3 sts, inc, ch 1, turn. (5)
- Row 6: Sc in next 4 sts, inc, ch 1, turn. (6)
- Rows 7 to 12: Sc in each st across, ch 1, turn. (6) Work 6 rows even.
- Row 13: Dec, sc in next 2 sts, dec, ch 1, turn. (4)
- Row 14: Dec 2 times, ch 1, turn. (2)
- Row 15: Dec, FO, leaving a tail for sewing. (1)
Each feather should measure about 5 inches long and 1.5 inches wide. If your feathers curl at the edges, give them a light steam or a gentle press with a warm iron through a cloth, and they will lie flat.
To build the fan, lay the feathers out in your chosen order, overlapping each one slightly over the last. Sew the bottom inch of each feather to its neighbors with a few whip stitches, working from the center outward, so the fan holds together as one piece before you attach it to the body.
Part 4: Beak, Wattle, and Face
Beak (make 1, in yellow yarn):
- Row 1: Ch 2, sc in 2nd ch from hook, ch 1, turn. (1)
- Row 2: 2 sc in the single st, ch 1, turn. (2)
- Row 3: Sc in next st, inc, ch 1, turn. (3)
- Row 4: Sc in next 2 sts, inc, FO, leaving a tail for sewing. (4)
Press the beak flat into a small triangle. Sew it to the front of the head, centered, with the wide edge around round 5 and the point reaching toward round 7.
Wattle (make 1, in red yarn):
- Row 1: Ch 6, sc in 2nd ch from hook and in each ch across, ch 1, turn. (5)
- Rows 2 to 4: Sc in each st across, ch 1, turn. (5)
- Row 5: Dec, sc in next st, dec, FO, leaving a tail for sewing. (3)
The wattle is a small teardrop that hangs below the beak. Sew the wide top edge just under the beak, letting the pointed end dangle freely.
Face: Embroider two oval eyes with black yarn on either side of the beak, around rounds 6 to 7 of the head, spacing them about 4 stitches apart. Each eye is just a few straight stitches worked over the same spot twice for thickness. Add optional pink blush cheeks below and slightly outward from the eyes, using 3 short straight stitches in a tiny fan shape. Step back and check the face from arm's length before you finish the ends.
Part 5: Wings and Feet
Wing (make 2, in brown yarn):
- Round 1: MR 6 sc. (6)
- Round 2: (Sc in next st, inc) 3 times. (9)
- Round 3: (Sc in next 2 sts, inc) 3 times. (12)
- Rounds 4 to 6: Sc in each st around. (12) Work 3 rounds even.
- Round 7: (Sc in next 2 sts, dec) 3 times. (9)
- Round 8: Sc in each st around. (9) FO, leaving a tail for sewing. Do not stuff.
Press each wing flat, and sew them to the sides of the body with the rounded end at the top, angled slightly downward.
Foot (make 2, in yellow or orange yarn):
- Row 1: Ch 5, sc in 2nd ch from hook and in each ch across, ch 1, turn. (4)
- Row 2: Sc in each st across, FO, leaving a tail for sewing. (4)
Each foot is a small flat rectangle. Sew one foot to the bottom of the body on each side, centered front to back, so the turkey stands on its feet rather than on its belly.
Assembly
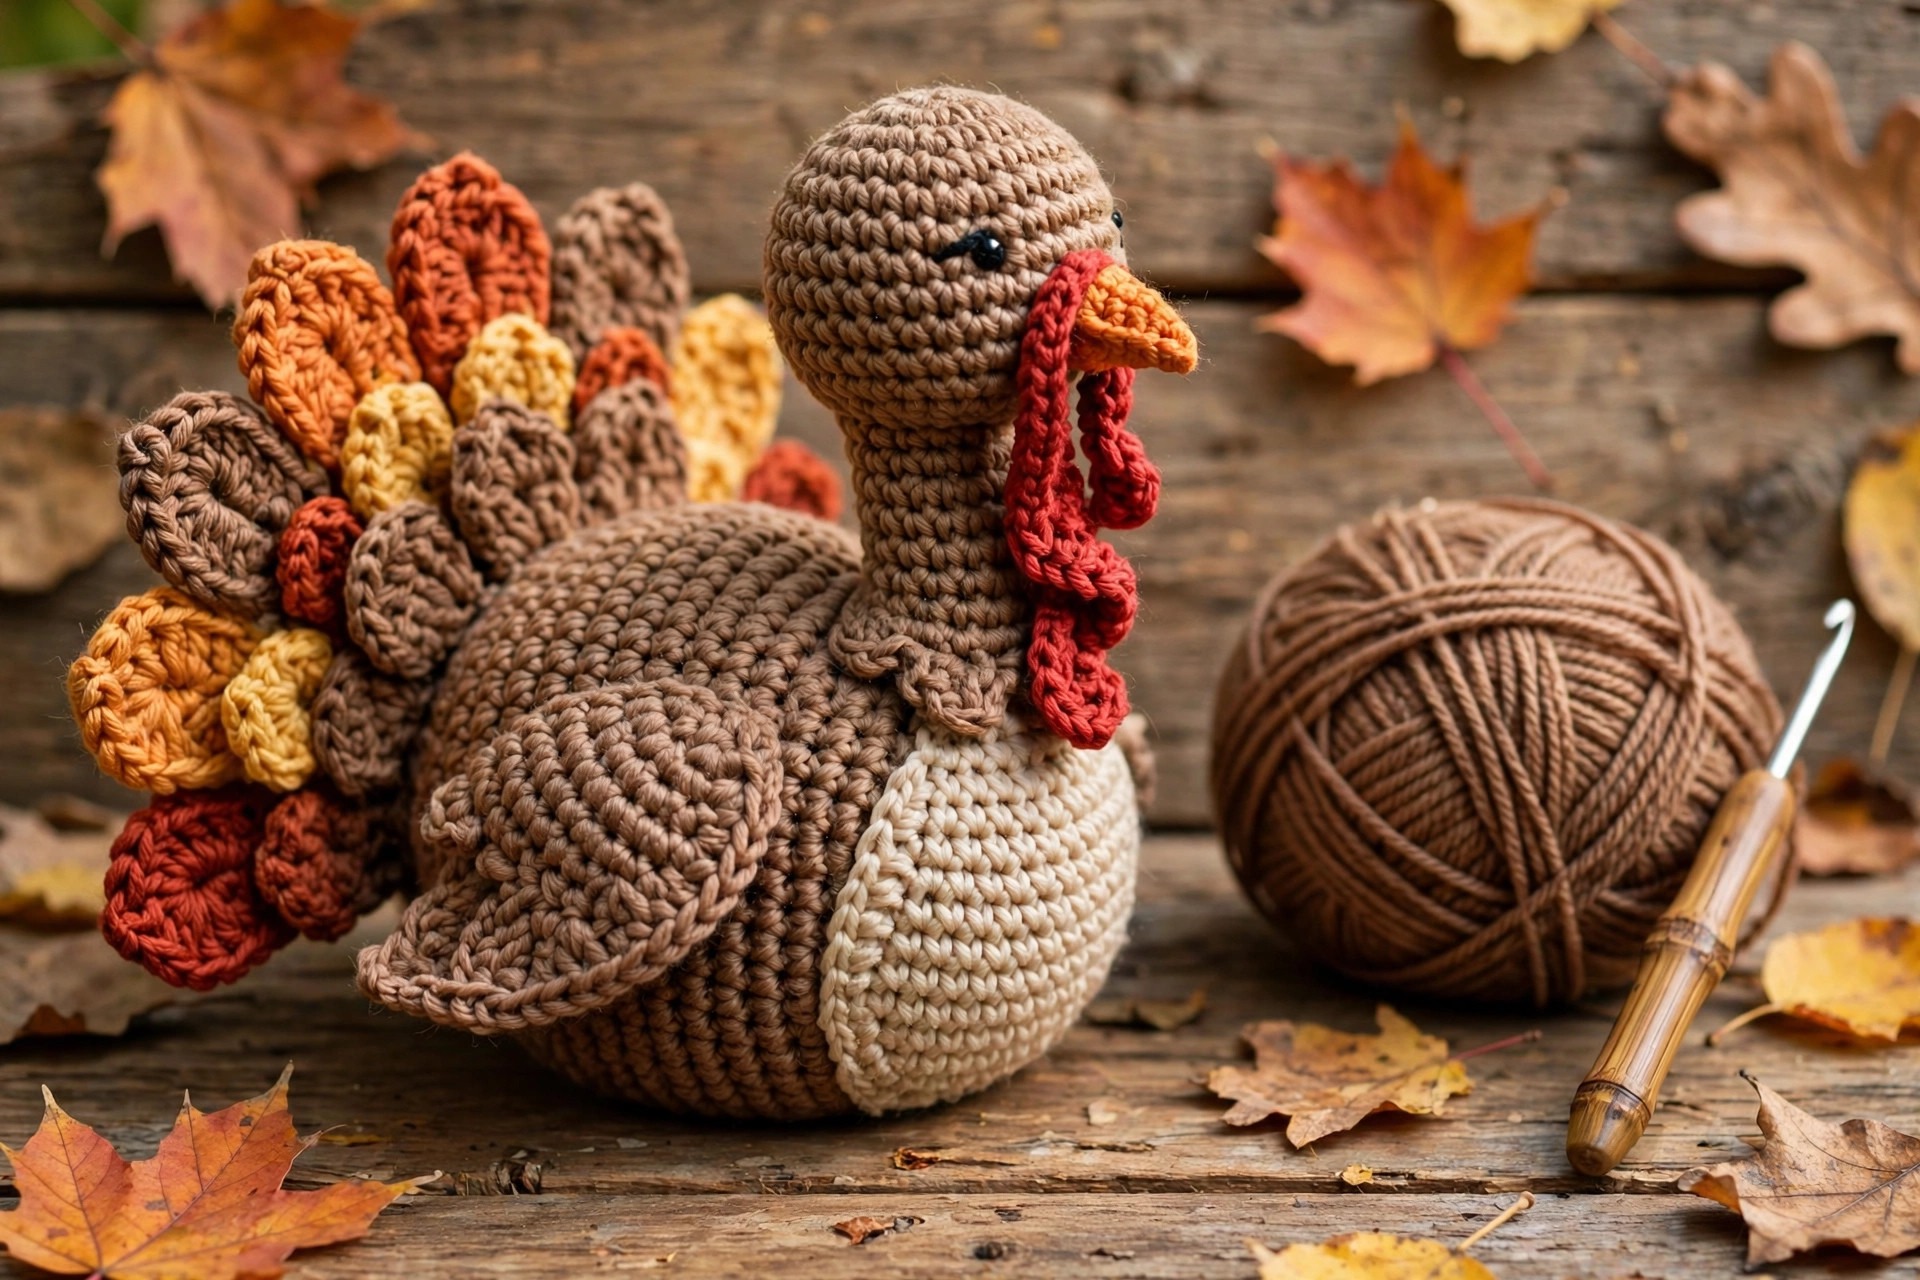
Follow this sequence, and try the pieces on with pins before you sew anything permanently.
- Attach the tail fan: Pin the feather fan to the back of the body, with the bottom of the fan around round 10 and the feathers rising above the body. Sew through the bottom inch of the fan and into the body with strong stitches, going back over your stitching twice.
- Attach the head: Pin the head to the front top of the body, slightly forward of center. Sew all the way around the join, adding a little extra stuffing into the neck area as you close the gap if the head wobbles.
- Attach the wings: Sew one wing to each side of the body, with the top of the wing around round 12 and the tip pointing down and slightly back.
- Attach the feet: Sew the feet to the bottom of the body and test that the turkey stands on his own. Adjust the foot position before you finish the ends.
- Final check: Look at the turkey from the front, the sides, and the back. The tail fan should be centered, the eyes should be level, and the beak and wattle should be centered. Weave in all remaining ends.
If you are making this turkey as a centerpiece, consider sewing him to a small felt base or sitting him in a shallow basket, which stops curious hands (and cats) from knocking him over. He also pairs beautifully with a crochet Christmas tree pattern later in the season.
Variations: A Whole Flock
- Farmhouse cream turkey: Make the body and head in cream yarn and the feathers in muted sage, dusty orange, and cream.
- Mini turkey ornaments: Use fingering weight yarn and a 2.5 mm hook, make only 5 feathers instead of 7, and add a hanging loop to the top of the fan. These minis are adorable on a Thanksgiving tree or as place setting favors.
- Rainbow pride turkey: Make each feather a different bright color, from red through violet, for a joyful modern turkey that kids especially love.
- Turkey family: Make one full size turkey, one at three quarter size using a smaller hook, and one mini, and display them as a family group.
- Thanksgiving table runner companion: Make two turkeys facing each other as bookends for a runner, with pumpkins and leaves between them. Our crochet nativity set pattern uses the same ball body construction.
Troubleshooting Amigurumi Turkeys
- My tail fan flops forward: Sew the fan lower on the body, add a second row of stitches, and press the feathers flat so they overlap tightly.
- My turkey will not stand up: Move the feet toward the back of the body, add more stuffing to the bottom, and check that the tail fan is centered.
- My feathers curl: Block each feather with steam before assembly, and keep your turning chains loose.
- My body shows stuffing: Go down a hook size for the next turkey, and work the invisible decrease for neater shaping.
- My eyes look uneven: Embroider the eyes on a loose head, mark the eye positions with pins first, and step back to check from arm's length before you commit.
- My wattle looks stiff: Remake it with a slightly larger hook and let the point hang free instead of sewing it down.
Care Instructions
Spot clean your turkey with a damp cloth and mild soap, and let him air dry away from direct heat. If he gets truly dirty, hand wash gently in cool water, reshape the body and fan while damp, and lay flat to dry. Do not machine wash or tumble dry. Keep him out of prolonged direct sunlight, which fades the bright feather colors, and store him in a breathable bag with tissue paper tucked around the tail fan.
Frequently Asked Questions
Is this crochet turkey pattern really free?
Yes. This is a free original Little Loop Finds pattern, written in US terms. You can make as many turkeys as you like for gifts, decor, or sale of finished items, and the pattern itself is for personal use, so please link back to this page rather than copying the instructions elsewhere.
What skill level do I need for this turkey?
This turkey is rated easy. You need single crochet in the round, increases, and decreases, plus simple flat rows for the feathers.
How long does the turkey take to crochet?
Most crocheters finish in 7 to 9 hours of stitching, plus about an hour for the face and assembly. The body and head take about half the time, and the seven feathers take the rest. It is a perfect long weekend project.
Can I make this turkey with chunky yarn?
Yes, and it makes a wonderful jumbo turkey. Use chunky (#5) yarn with a 5.0 mm hook for a bird about 13 inches tall, and go down a hook size if the stuffing shows through.
Is this turkey safe for babies and toddlers?
With embroidered eyes, yes, since embroidered eyes have no small parts. Skip safety eyes for any toy intended for a child under three, sew all pieces on very securely, and check the seams regularly for wear.
Can I sell finished turkeys made from this pattern?
Yes, you may sell finished turkeys made from this pattern at craft fairs or in your own shop. Credit to Little Loop Finds as the pattern designer is appreciated.
What if I want a turkey hat instead of a plush?
This pattern is specifically a plush turkey, not a hat. If you are after wearable Thanksgiving crochet, our pumpkin hat crochet pattern is a great autumn wearable project.
Happy Thanksgiving stitching.


