Pumpkin Hat Crochet Pattern (Cozy, Free)
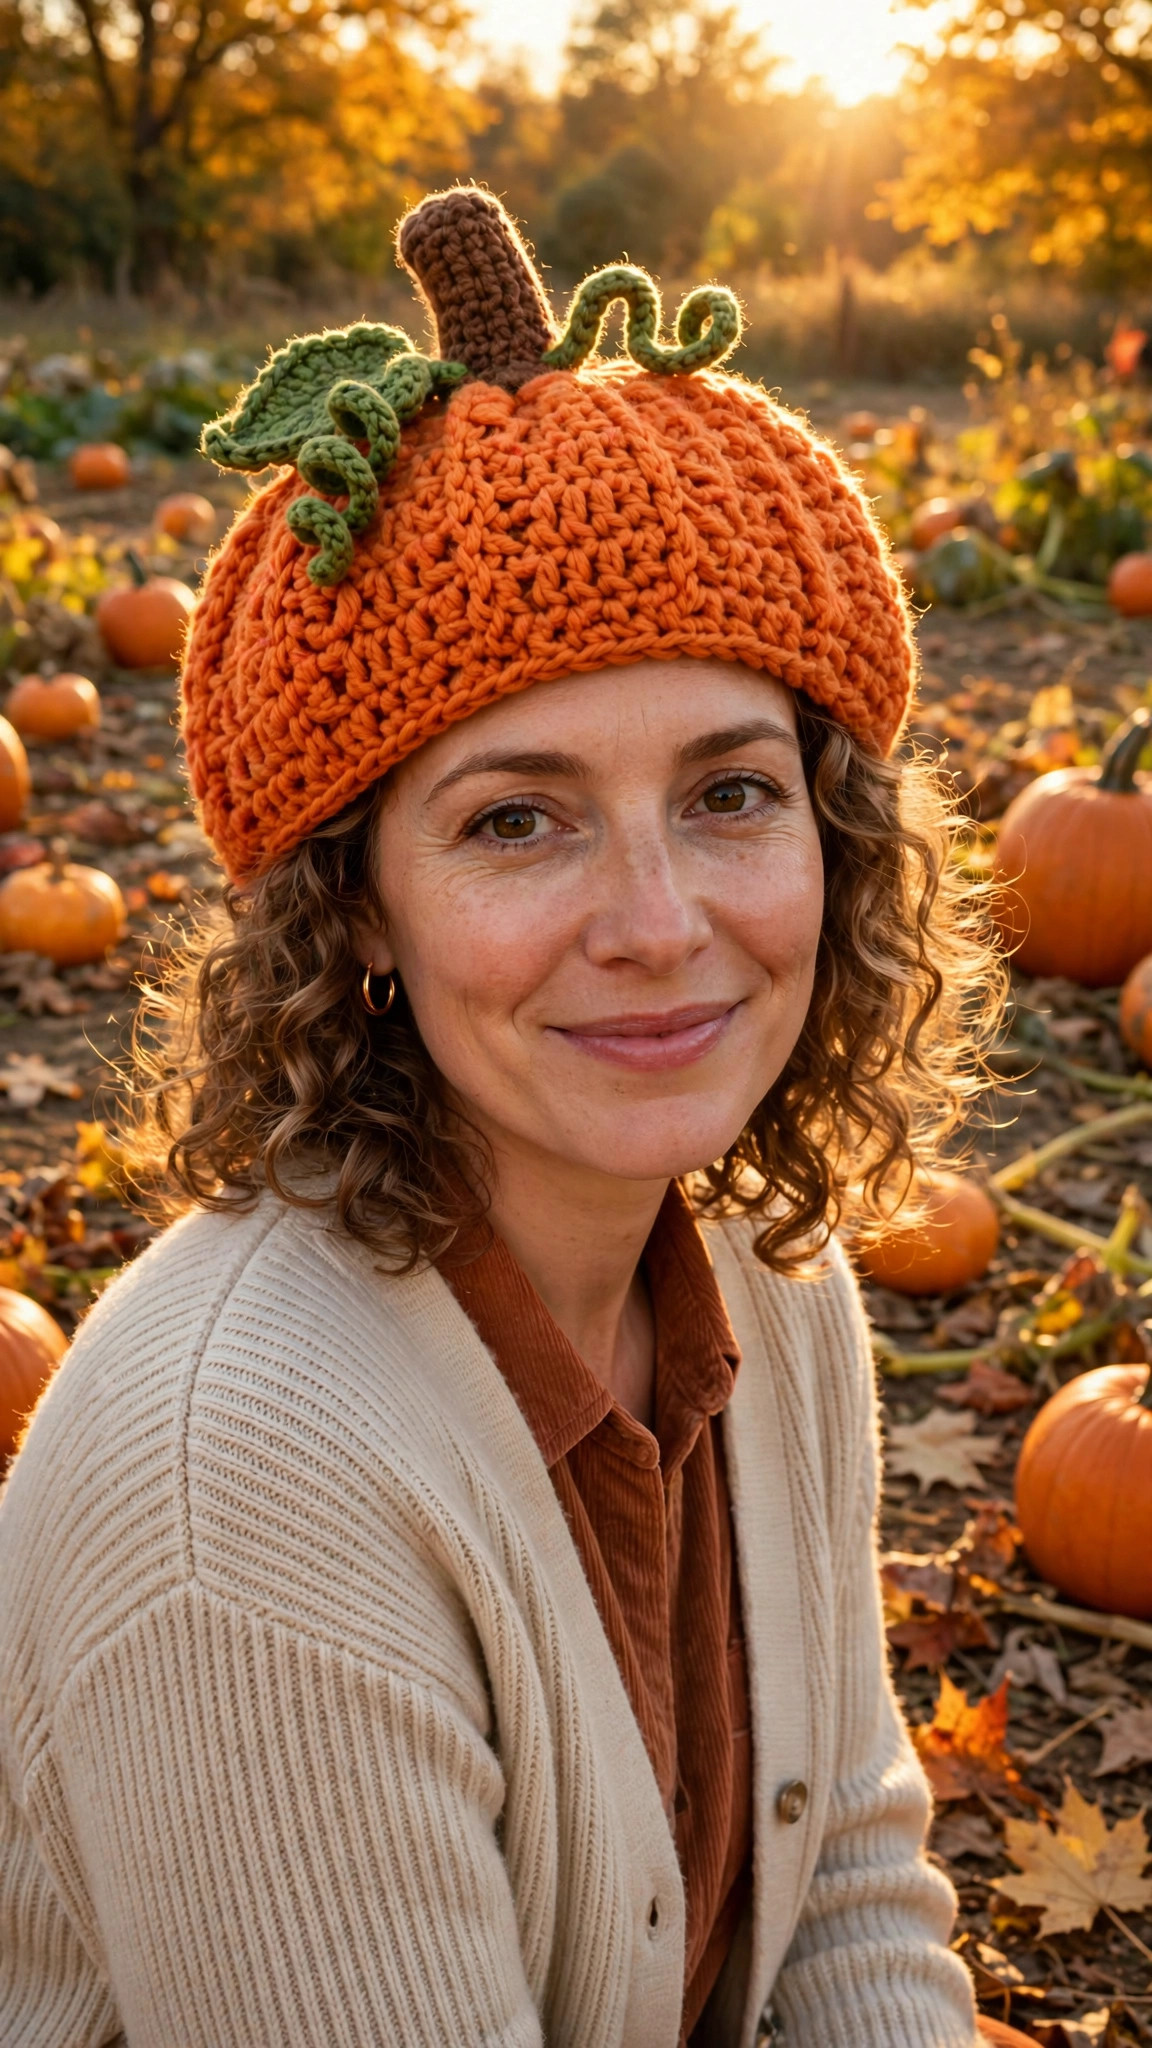
Crochet a cozy adult pumpkin hat with ribbed segments, a brown stem, and a curly green vine.

Accessories · Crochet
- Finished size
- Adult, 21 to 23 in head
- Making time
- 5 to 6 hours
- Hook
- US H-8 (5.0 mm)
- Set
- Hat, stem, vine and leaf
- Skill
- Easy
In this post
- Key Takeaways
- Table of Contents
- Why You Will Love This Pumpkin Hat
- Finished Size, Skill Level, and Time
- Materials You Need
- Abbreviations (US Terms)
- Gauge and Sizing Notes
- Part 1: The Pumpkin Hat Body
- Part 2: The Ribbed Brim
- Part 3: Stem and Vine Curl
- Assembly and Finishing
- Variations: Colors, Sizes, and Styles
- Troubleshooting Pumpkin Hats
- Care Instructions
- Frequently Asked Questions
Fall has a smell, and it smells like cinnamon, woodsmoke, and a pumpkin patch after rain. This free pumpkin hat crochet pattern bottles a little of that feeling into the coziest hat you will own all autumn: a soft adult beanie in pumpkin orange, shaped into gentle ribs like a real pumpkin, with a sturdy brown stem and a curly green vine on top. It is warm, it is cheerful, and it gets compliments everywhere from the farmers market to the school run. Wear it to pick pumpkins, wear it to a Halloween party, or wear it on a grey November morning just because it makes you smile.
This is an original Little Loop Finds design, written in US terms and completely free, sized for adults. That adult sizing matters, so let us be clear about it: this hat is not the baby version. It uses a deeper crown, a wider circumference, and a taller ribbed brim, so it fits a grown-up head comfortably and stays put in a chilly wind. If you are looking for the tiny version for a first Halloween photo shoot, try our baby pumpkin hat crochet pattern instead, and come back here for the matching grown-up hat. Together they make the sweetest parent and child photo.
The construction is simpler than it looks. The hat body is worked in rounds with a ribbed stitch pattern that naturally pulls into pumpkin segments, the brim is worked in back loops for stretch, and the stem and vine are quick separate pieces you sew on at the end. If you can single crochet, half double crochet, and work in the back loop, you can make this hat in a weekend.
Key Takeaways
- Free original pattern: this pumpkin hat crochet pattern is a Little Loop Finds original design, written in US terms, and completely free.
- Adult sizing: sized for a grown-up head (about 21 to 23 inches around), distinct from our baby pumpkin hat pattern.
- Real pumpkin shape: a ribbed stitch pattern creates natural pumpkin segments, no fiddly shaping required.
- Stem and vine included: a sturdy brown stem and a curly green vine finish the pumpkin look.
- Weekend project: about 5 to 6 hours from first stitch to last weave-in, perfect for a cozy autumn weekend.
Table of Contents
- Why You Will Love This Pumpkin Hat
- Finished Size, Skill Level, and Time
- Materials You Need
- Abbreviations (US Terms)
- Gauge and Sizing Notes
- Part 1: The Pumpkin Hat Body
- Part 2: The Ribbed Brim
- Part 3: Stem and Vine Curl
- Assembly and Finishing
- Variations: Colors, Sizes, and Styles
- Troubleshooting Pumpkin Hats
- Care Instructions
- Frequently Asked Questions
Why You Will Love This Pumpkin Hat
Most novelty hats are fun for one photo and then live in a drawer. This one is different, because underneath the pumpkin charm it is a genuinely good winter hat: warm worsted weight yarn, a deep ribbed brim that covers your ears, and a crown with enough ease to fit comfortably without squeezing. You will actually reach for it on cold mornings, not just on Halloween, and that is the test a novelty hat has to pass.
It is also a brilliant gift for Halloween parties, Thanksgiving gatherings, and harvest festivals. Make one for yourself first to check the fit, then batch the rest in different oranges.
Finished Size, Skill Level, and Time
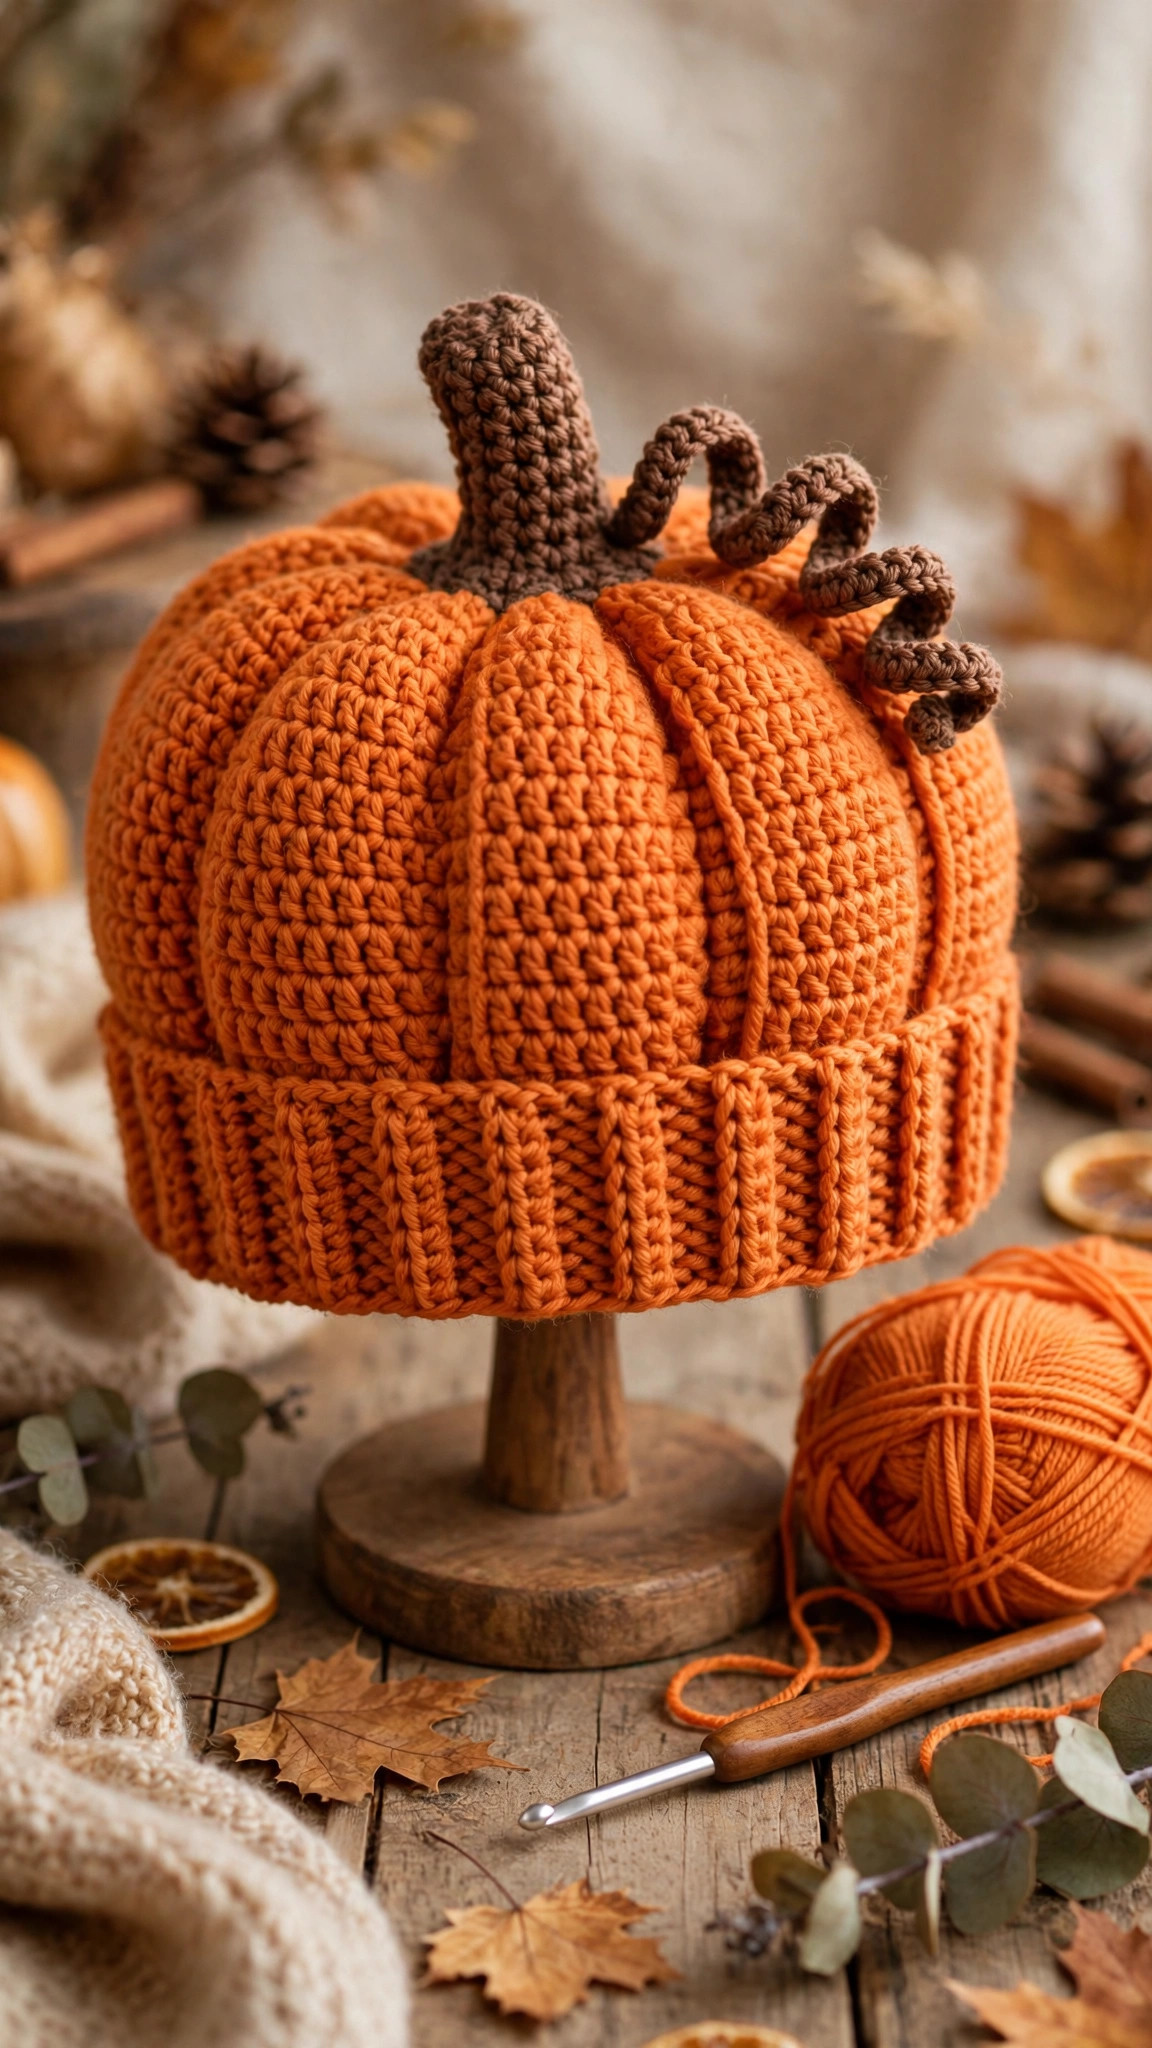
- Finished size: adult medium, fits a head circumference of about 21 to 23 inches. Hat measures about 9 inches tall including the stem, and about 10 inches across when laid flat. The brim is about 2 inches deep.
- Skill level: Easy. You need a magic ring, chains, slip stitches, single crochet, half double crochet, and working in the back loop only.
- Time: about 5 to 6 hours total: roughly 4 hours for the hat body and brim, 30 minutes for the stem and vine, and 30 minutes for assembly and finishing.
Materials You Need
| Item | What to get |
|---|---|
| Yarn, main color | Worsted weight (medium 4) acrylic or wool blend in pumpkin orange, about 200 yards |
| Yarn, stem | Small amount of worsted weight yarn in brown, about 20 yards |
| Yarn, vine and leaf | Small amount of worsted weight yarn in green, about 20 yards |
| Hook | US H-8 (5.0 mm), or the size that matches your gauge |
| Notions | Tapestry needle, scissors, stitch markers, flexible tape measure |
A soft acrylic or wool blend is ideal for a hat you will actually wear: warm, washable, and not scratchy. Pure cotton is less stretchy and less warm, so save it for decorative pumpkins.
Abbreviations (US Terms)
- ch = chain
- sl st = slip stitch
- sc = single crochet
- hdc = half double crochet
- dc = double crochet
- inc = increase (2 sts in the same stitch)
- dec = decrease (2 sts together)
- BLO = back loop only
- FLO = front loop only
- st(s) = stitch(es)
- rnd(s) = round(s)
- rep = repeat
- MR = magic ring
Gauge and Sizing Notes
Gauge matters for a hat, because a hat that is too small will not stay on and a hat that is too big will slide over your eyes. Work a gauge swatch in the ribbed pattern: 14 hdc stitches and 10 rows should measure about 4 inches square with a 5.0 mm hook. If your swatch is smaller, go up a hook size. If it is larger, go down a hook size.
Measure the head the hat is for, around the forehead just above the eyebrows, and compare it to the finished size. For a head smaller than 21 inches, work the crown increases to 60 stitches instead of 66, then follow the same body rounds. For a head larger than 23 inches, increase to 72 stitches before starting the body, and add one extra body round. The ribbed brim has natural stretch, so it forgives about an inch either way, but the crown does not, so get the crown right first.
A note on the sibling pattern: our baby pumpkin hat crochet pattern uses a much smaller crown, a shorter body, and a tiny stem, for a head of about 14 to 17 inches. Do not try to shrink this adult pattern by just using a smaller hook; the proportions, especially the brim depth and stem size, are different, and the baby pattern is written for those proportions.
Part 1: The Pumpkin Hat Body
The hat is worked top down, starting at the crown and working outward, then down the sides. Work in continuous rounds for the crown, then join rounds for the body so the ribbed segments line up neatly. Use a stitch marker for continuous rounds, and join with a slip stitch at the end of each joined round.
Crown
With orange yarn, MR, ch 1.
- Rnd 1: 8 hdc in MR, join with sl st to first hdc. (8 sts)
- Rnd 2: ch 1, 2 hdc in each st around, join. (16 sts)
- Rnd 3: ch 1, (hdc, 2 hdc in next st) rep around, join. (24 sts)
- Rnd 4: ch 1, (2 hdc, 2 hdc in next st) rep around, join. (32 sts)
- Rnd 5: ch 1, (3 hdc, 2 hdc in next st) rep around, join. (40 sts)
- Rnd 6: ch 1, (4 hdc, 2 hdc in next st) rep around, join. (48 sts)
- Rnd 7: ch 1, (5 hdc, 2 hdc in next st) rep around, join. (56 sts)
- Rnd 8: ch 1, (6 hdc, 2 hdc in next st) rep around, join. (64 sts) Note: for a slightly looser fit, add Rnd 9: (7 hdc, 2 hdc in next st) rep around, join, for 72 sts, and follow the large size notes above. The standard adult pattern continues with 64 stitches, which stretches comfortably to about 22 inches.
Check your crown now: it should measure about 7 inches across when laid flat. If it is much smaller, your tension is tight, and you should go up a hook size rather than forcing the fit later.
Ribbed Body (the pumpkin segments)
This is the clever part. By alternating front post and back post style texture using BLO hdc, the fabric naturally falls into vertical ribs, and those ribs read as pumpkin segments. Work as follows, joining each round:
- Rnds 9 to 10: ch 1, hdc in BLO in each st around, join. (64 sts)
- Rnd 11: ch 1, (hdc in BLO, hdc in FLO) rep around, join. This round deepens the rib valleys.
- Rnds 12 to 20: ch 1, hdc in BLO in each st around, join. (64 sts)
- Rnd 21: ch 1, (hdc in BLO, hdc in FLO) rep around, join, to refresh the rib definition before the brim.
- Rnd 22: ch 1, hdc in BLO in each st around, join. (64 sts)
The body should now measure about 6.5 inches from the crown center to the last round. Try it on if you can: it should cover the top of your head and reach just above your eyebrows, before the brim is added. If it feels short, add one more BLO round. If it feels long, skip Rnd 22.
Part 2: The Ribbed Brim
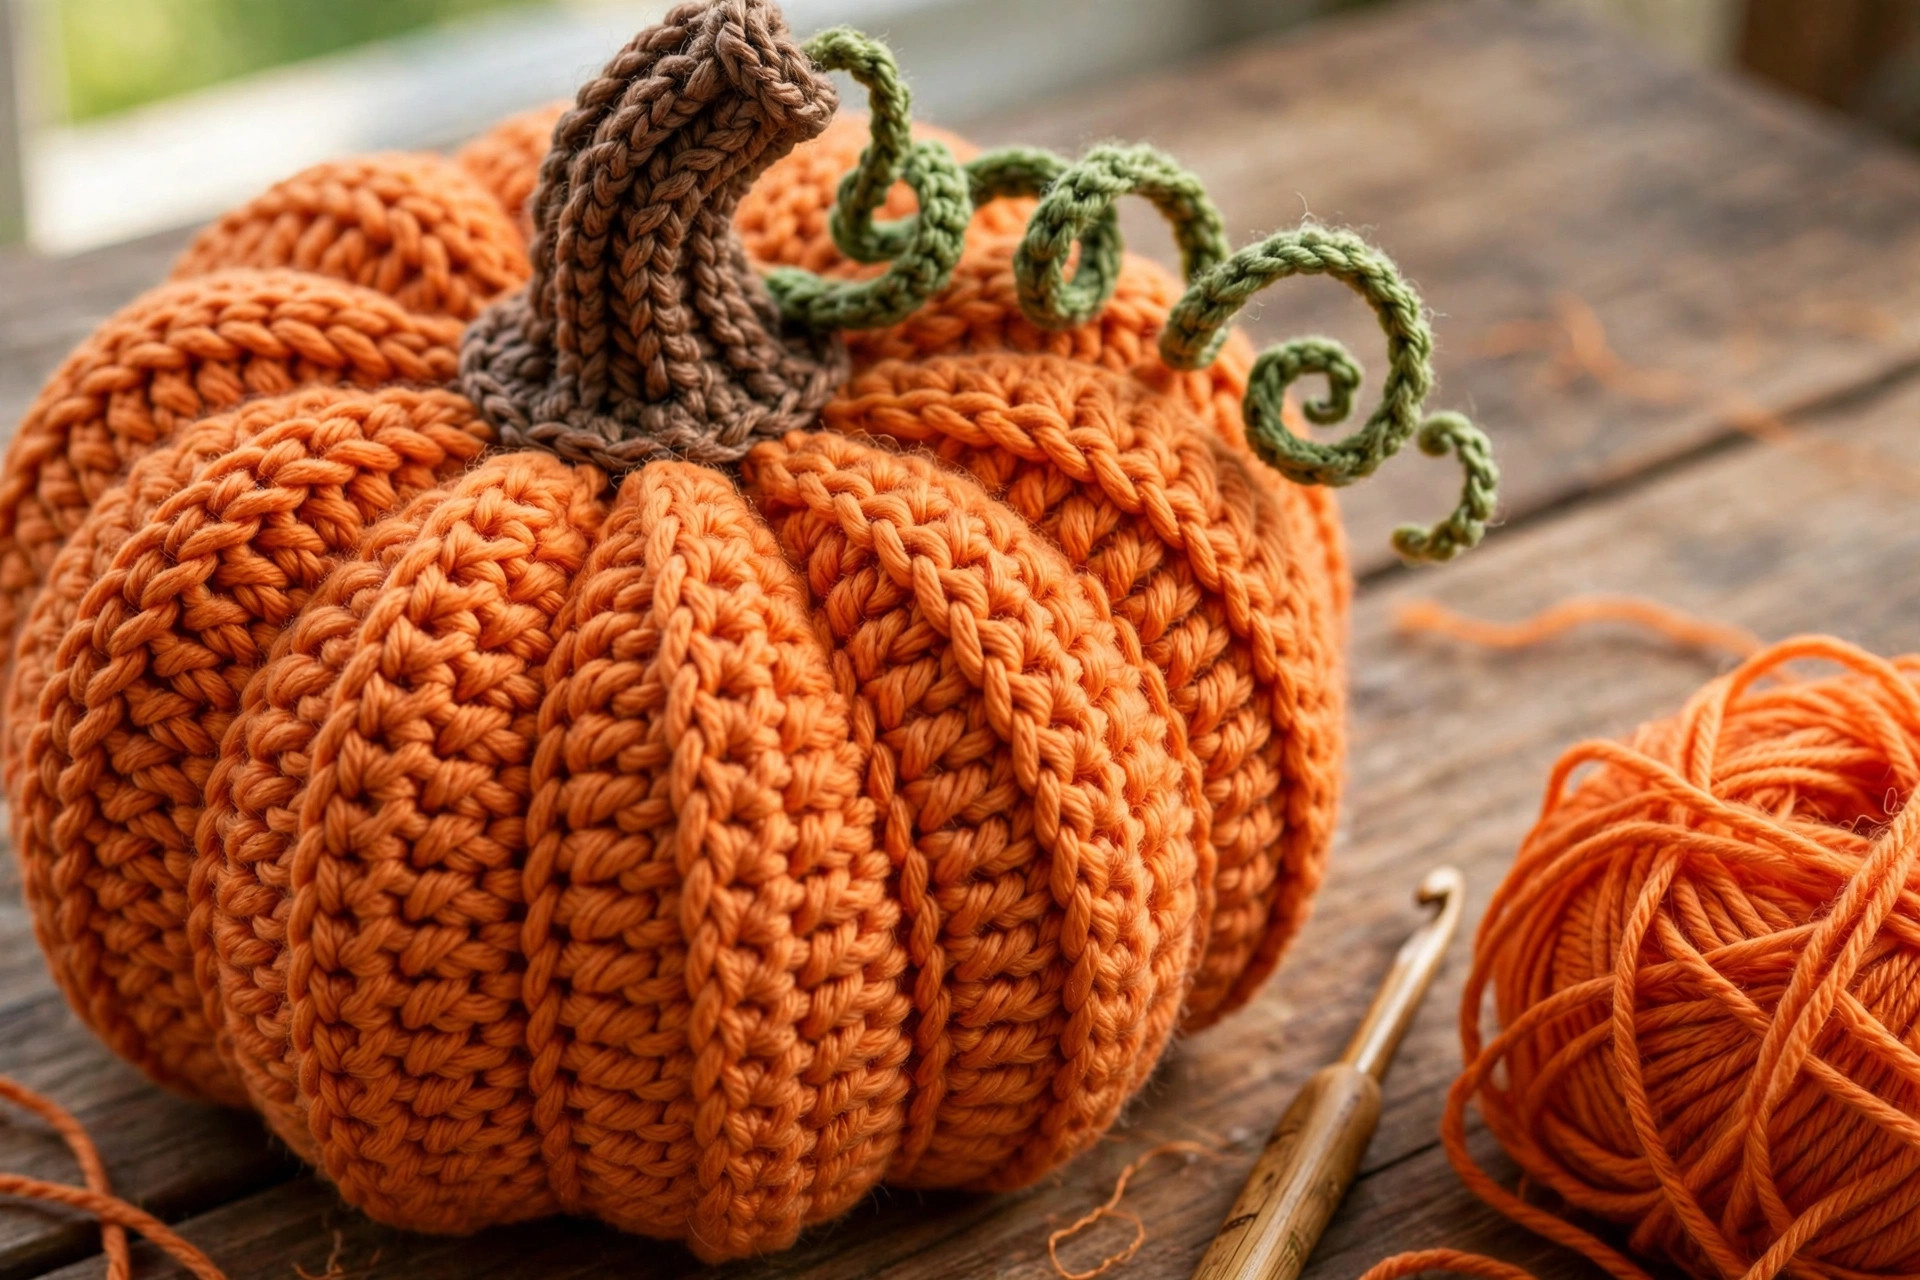
The brim is worked in rows back and forth, attached to the body as you go, which gives a stretchy ribbed edge that hugs comfortably without squeezing. Alternatively, if you prefer a simpler finish, you can work the brim in the round in BLO sc for 6 rounds, but the row method below gives a much better fit, so it is worth the extra attention.
Row brim method
With orange yarn, ch 9.
- Row 1: sc in 2nd ch from hook and in each ch across. (8 sts) Sl st into the next 2 body stitches to attach, turn.
- Row 2: sc in BLO across. (8 sts) Ch 1, turn.
- Row 3: sc in BLO across, sl st into the next 2 body stitches, turn.
- Repeat Rows 2 and 3 all the way around the hat, attaching as you go, until you reach your starting row.
- Join the first and last brim rows with slip stitches through both layers, fasten off, and weave in the end.
Fold the brim up about 1 inch for a classic beanie look, or leave it down for full ear coverage on windy days. The brim should stretch to fit snugly but not leave a mark on your forehead after an hour of wear; if it does, work the brim rows with a hook one size larger next time.
Part 3: Stem and Vine Curl
Stem
With brown yarn, MR, ch 1.
- Rnd 1: 6 sc in MR. (6 sts)
- Rnd 2: (sc, inc) rep around. (9 sts)
- Rnds 3 to 7: sc around. (9 sts)
- Rnd 8: (sc, dec) rep around. (6 sts)
- Stuff firmly with a tiny amount of fiberfill, or leave unstuffed and flatten slightly for a floppier stem.
- Fasten off, leaving a long tail for sewing. Bend the stem slightly to one side before sewing, because a perfectly straight stem looks less like a pumpkin and more like a chimney.
Vine Curl
With green yarn, ch 26. Work 3 sc in each ch across, starting in the 2nd ch from the hook. The fabric will curl naturally into a spiral as you go; do not fight it, that curl is the whole point. Fasten off, leaving a tail for sewing. If your vine curls too tightly, work 2 sc in each chain instead of 3. If it barely curls, work 4 sc in each chain, but watch that the edge does not ruffle.
Leaf (optional, but lovely)
With green yarn, ch 9. Sc in 2nd ch from hook, hdc in next 2 ch, dc in next 3 ch, hdc in next ch, sc in last ch. Work back along the other side of the chain in reverse order, sl st to join, fasten off, leaving a tail. One leaf beside the vine is plenty; two leaves start to look like a salad.
Assembly and Finishing
- Sew the stem to the very center of the crown, through the top of the hat and the bottom of the stem, with several passes so it cannot wobble loose.
- Sew one end of the vine curl beside the base of the stem, letting the rest of the curl flop naturally to one side.
- Sew the leaf at the base of the vine if you made one, angled outward like a real pumpkin leaf.
- Weave in all ends on the inside of the hat, trimming closely so nothing tickles your forehead.
- Try the hat on, adjust the brim fold, and give the stem a final bend so it leans jauntily rather than standing at military attention.
Variations: Colors, Sizes, and Styles
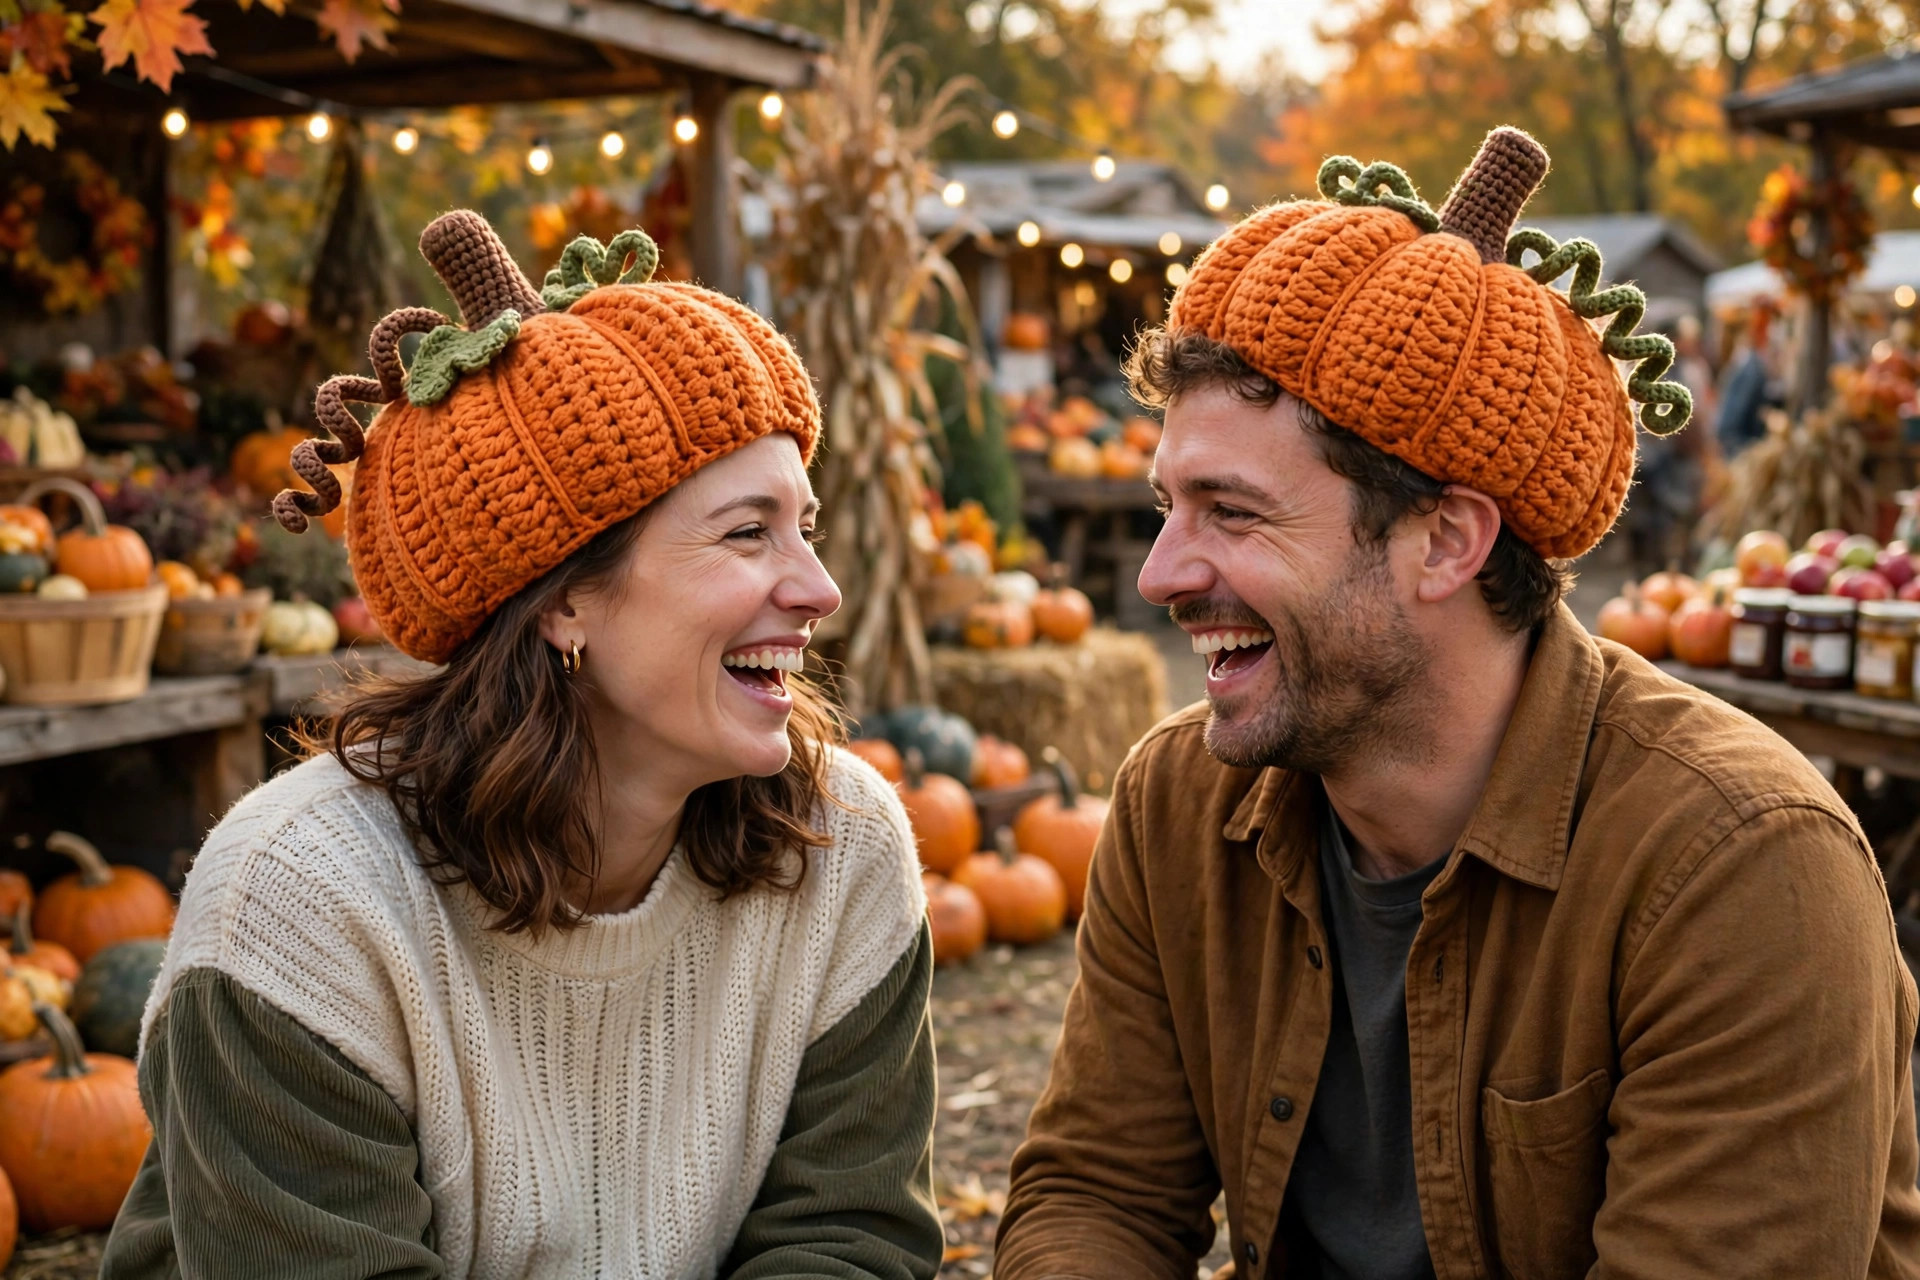
- White pumpkin: use cream or ivory yarn for an elegant white pumpkin hat that goes with everything and photographs beautifully.
- Mini pumpkin patch set: make this adult hat, then make the baby pumpkin hat crochet pattern for the littlest pumpkin in your life, and a large crochet pumpkin pattern for the table. Instant family photo.
- Slouchy version: add 4 extra body rounds before the brim and skip the brim fold, for a relaxed slouchy pumpkin beanie.
- Earflap version: after finishing the brim, add two small earflaps in sc at the sides, with short ties, for extra warmth on bitter days.
- Sparkle version: hold a strand of metallic gold yarn together with the orange for the last two body rounds, for a party pumpkin that catches the light.
Troubleshooting Pumpkin Hats
- My hat is too tight. Check your gauge first, then check your crown stitch count. A hat that is tight across the crown will not be fixed by stretching the brim. Go up a hook size, or add the extra increase round to 72 stitches.
- My hat slides over my eyes. The body is too long. Remove one or two body rounds before the brim, or fold the brim up twice. A hat should sit just above the eyebrows, not on them.
- The ribs do not look like pumpkin segments. Make sure you are really working in the back loop only for the body rounds. If you accidentally work through both loops, the fabric goes flat and the pumpkin effect disappears.
- The stem flops over. Stuff it more firmly, or insert a short piece of pipe cleaner inside before sewing it closed, bending it to the angle you want. Keep the pipe cleaner fully enclosed so it cannot poke through.
- The vine will not curl. You need more stitches per chain. Frog it and work 3 sc per chain, or 4 if your yarn is very soft. The curl should appear within the first few chains, so you will know quickly if it is working.
Care Instructions
Hand wash in cool water with mild soap, reshape gently, and lay flat to dry. Do not machine wash a hat with a sewn-on stem and vine unless you are prepared for the vine to come out looking like it survived a storm, because agitation tangles curls. If your yarn label says machine washable and you have no delicate attachments, a gentle cold cycle in a mesh bag is usually fine, but air drying is still best. Never put a pumpkin hat in the dryer on high heat, which can shrink wool blends and melt acrylic if it gets too hot.
Frequently Asked Questions
Is this pumpkin hat pattern for adults or babies?
This pattern is for adults, fitting a head of about 21 to 23 inches around. The baby version is a separate pattern with a smaller crown, shorter body, and tiny stem, and you will find it linked in this post. If you want matching hats, make one of each, not two of the same pattern in different yarn weights.
How long does it take to crochet a pumpkin hat?
About 5 to 6 hours for most crocheters, spread over a weekend. The body is the longest part, because it is a lot of half double crochet in the back loop, but it is rhythmic and easy to do while watching a show. The stem and vine take about 30 minutes together.
What yarn is best for a pumpkin hat?
Worsted weight acrylic or a wool blend is best: warm, soft, washable, and stretchy enough for a good fit. Choose a true pumpkin orange, not a neon orange, for a handmade look. Brown for the stem and a muted green for the vine keep the whole hat looking like a real pumpkin.
Can I make this hat without the stem and vine?
Yes, of course. Without them it is a lovely ribbed orange beanie, which is still perfectly wearable. The stem and vine are what make it read as a pumpkin, though, so we recommend at least the stem, even if you skip the vine curl.
Will this hat fit over long hair or a bun?
Yes, with a small adjustment. Add one extra body round before the brim for extra depth, and leave the brim unfolded so there is more room inside. If you wear a high bun, position the stem slightly forward on the crown so it does not compete with the bun.
Can I sell hats made from this pattern?
Yes, you may sell finished hats made from this free pattern, with credit to Little Loop Finds. Please do not sell, share, or republish the pattern text itself, and do not claim this original design as your own.
How do I wash a pumpkin hat with a vine?
Hand wash in cool water, reshape the vine curl gently with your fingers while it is damp, and lay flat to dry. Do not wring the hat, and do not hang it by the vine, which will stretch the curl out of shape over time.
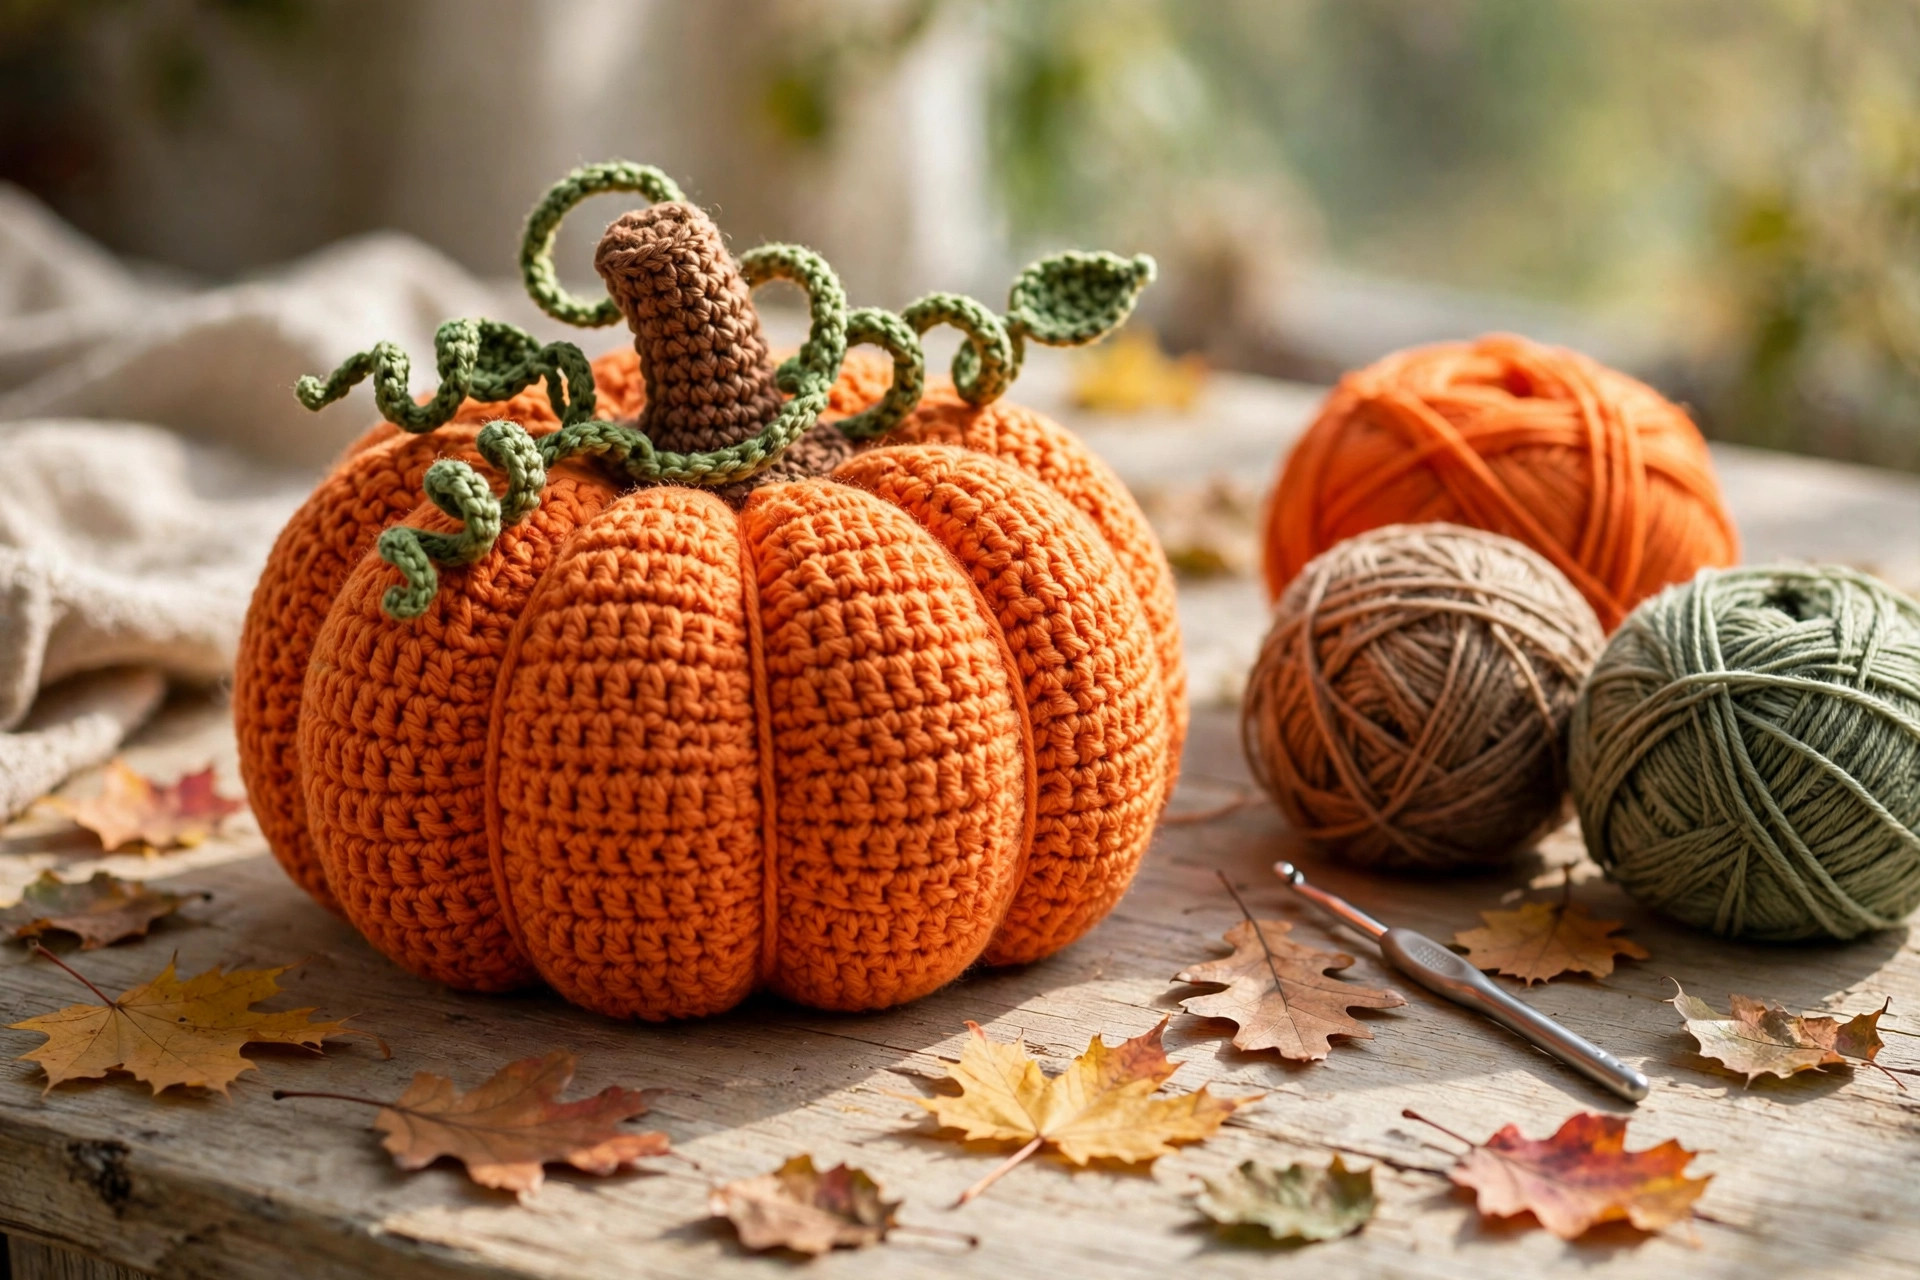
Happy autumn stitching, and may your pumpkin patch, and your hat collection, grow beautifully.


