Crochet Christmas Tree Skirt Pattern (Free)
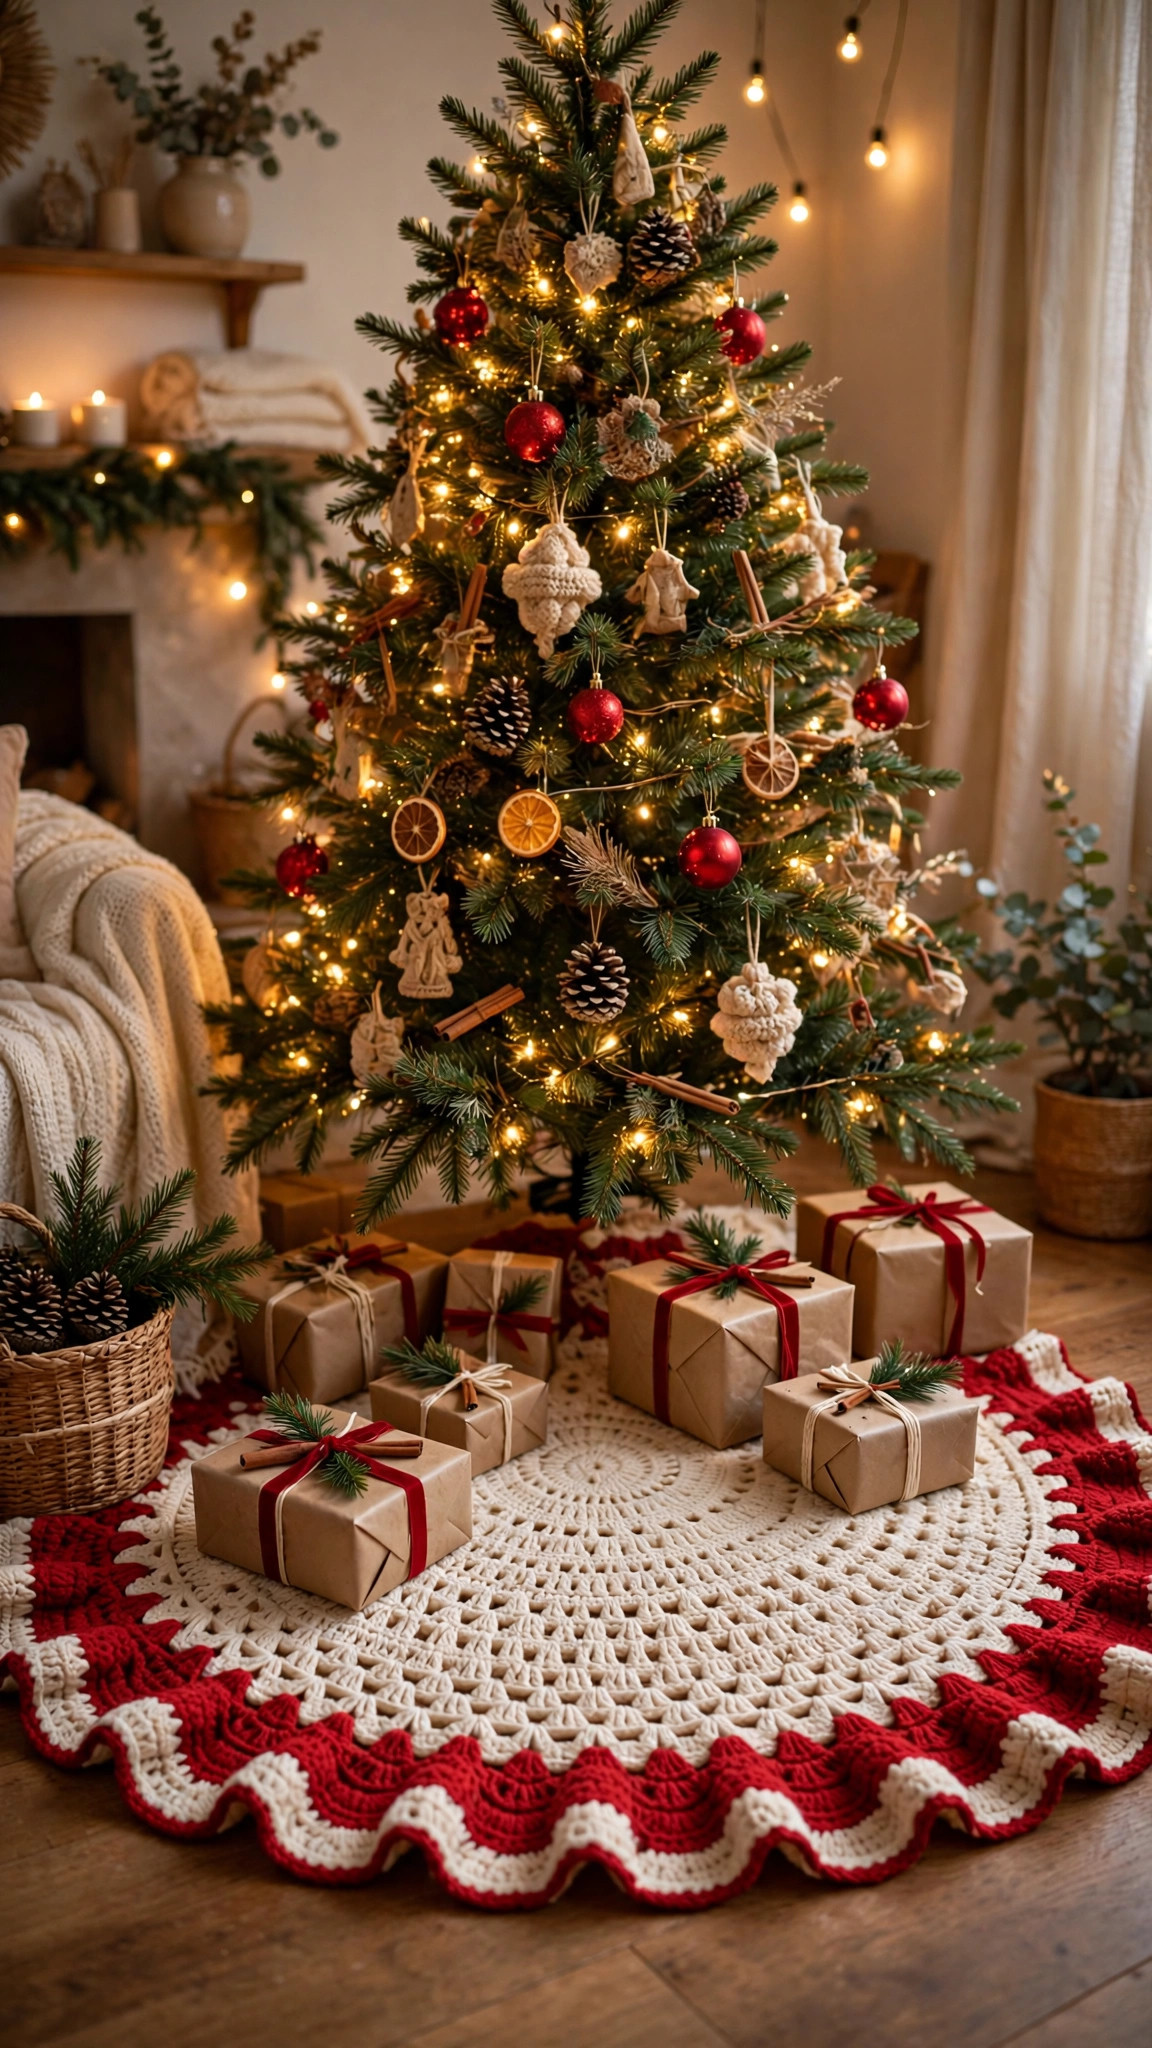
A round tree skirt that hides the stand, with a ruffled edge and a back opening with ties.

Home Decor · Crochet
- Finished size
- About 48 in across
- Making time
- About 10 to 12 hours
- Hook
- US J-10 (6.0 mm)
- Set
- Skirt, ruffle, and ties
- Skill
- Easy
In this post
- Key Takeaways
- Table of Contents
- Why you will love this tree skirt
- Materials you will need
- Sizes, gauge, and skill level
- Abbreviations in US terms
- The pattern: skirt body
- The pattern: ruffled edge, opening, and ties
- Finishing and fitting under your tree
- Tips for a skirt that lies flat
- Variations to try
- Troubleshooting
- Care and storage
- Frequently Asked Questions
A Christmas tree looks finished when it has a skirt under it. Without one, you see the stand, the cord, and a bare patch of floor. With one, the whole corner looks dressed, the presents have a soft place to sit, and the tree itself seems taller and more generous. This crochet Christmas tree skirt pattern makes a round skirt that goes under the tree, with a ruffled edge, a back opening, and ties, so you can slip it around the trunk in seconds, even after the tree is already up and decorated.
This is not a tree, and it is not a table runner. It is the flat, round piece that sits on the floor under the tree, catching fallen needles, hiding the stand, and giving your ornaments a beautiful backdrop from every angle. For the tree itself, see our crochet Christmas tree pattern. For a matching table piece, our crochet table runners pattern is a different item for a different spot in the room, and the two look lovely together without competing.
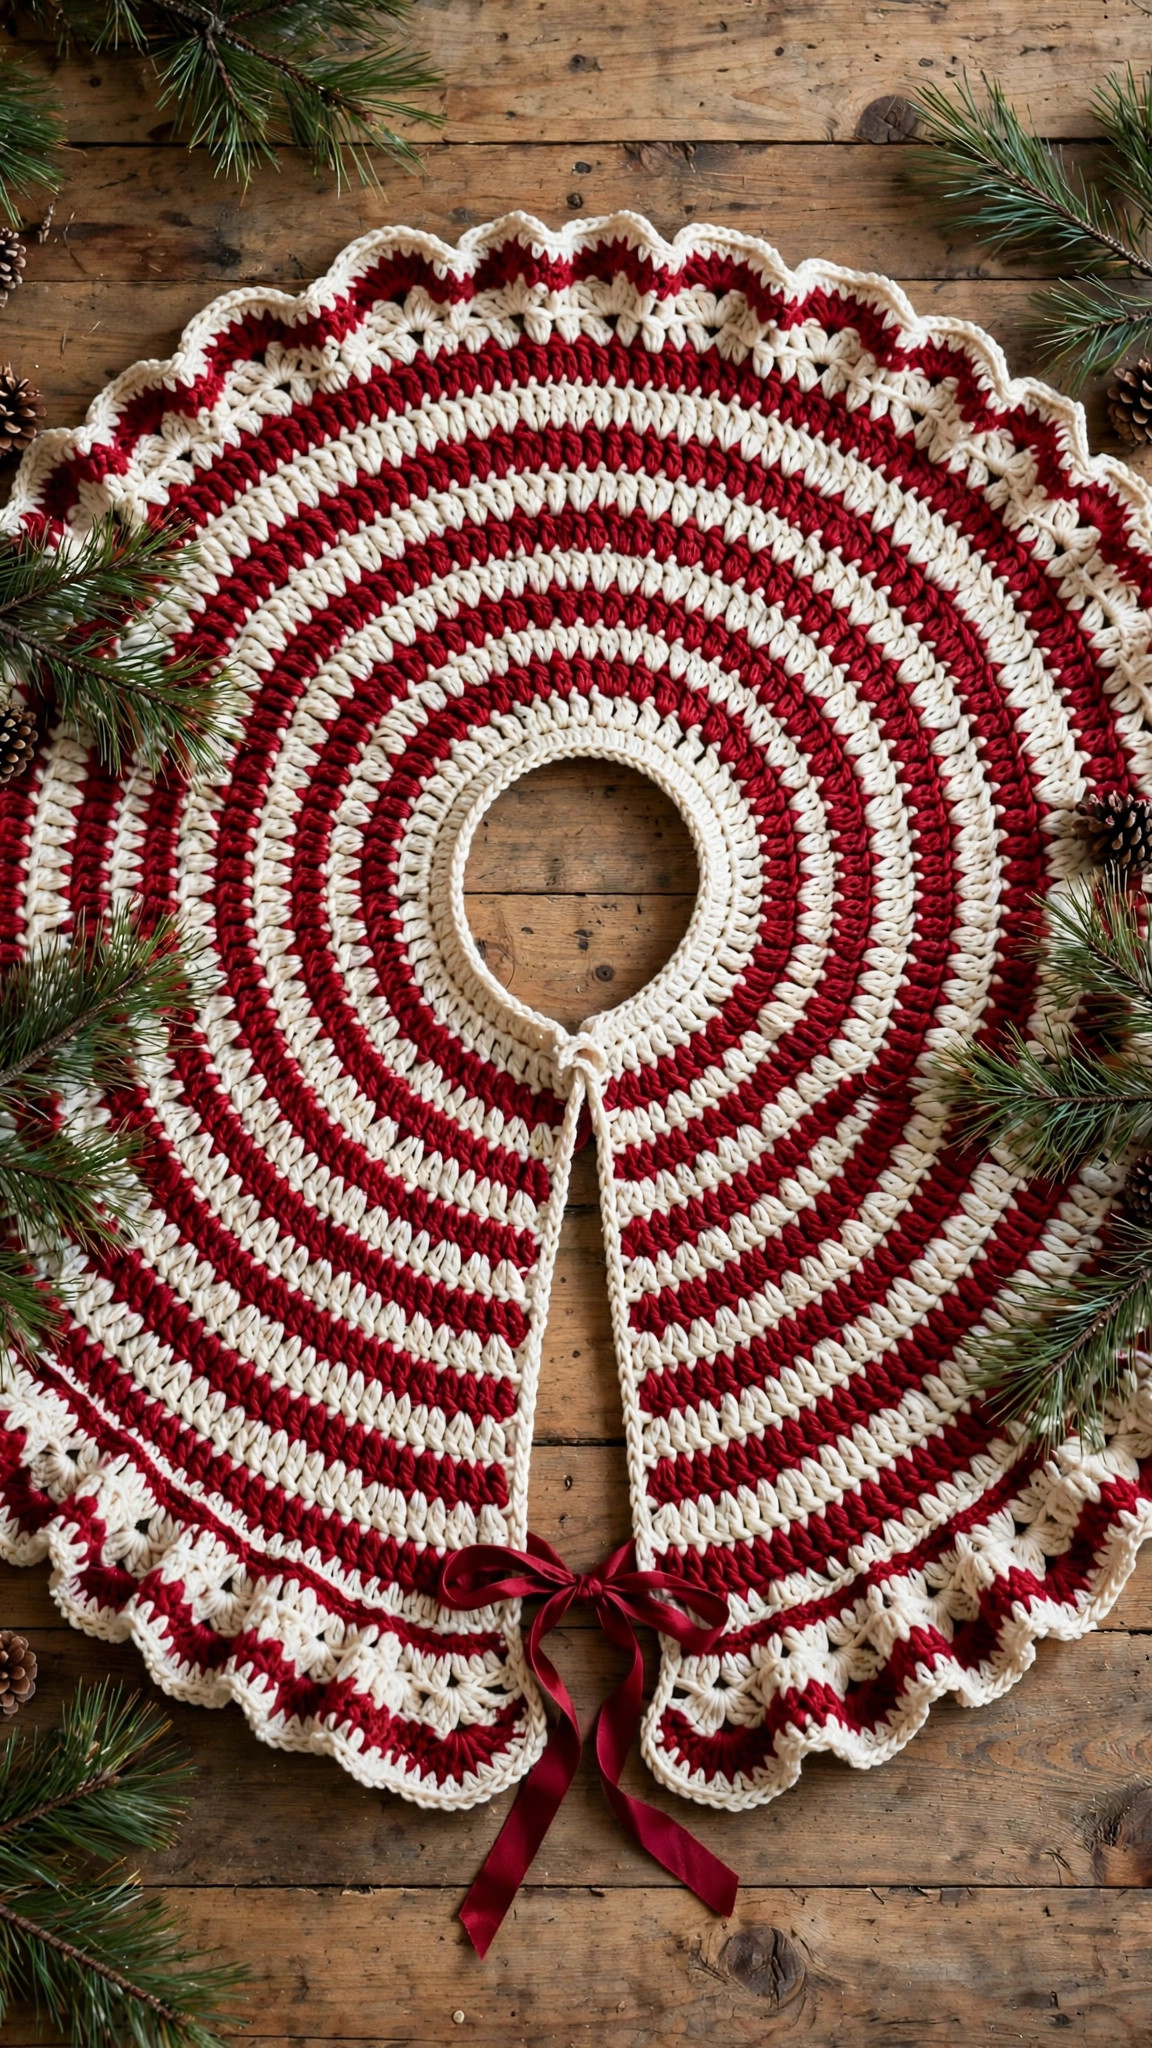
The skirt is worked in the round from the centre out, in simple double crochet with easy increases, and it finishes with a wide scalloped ruffle that lies flat on the floor. The back opening is a straight slit from the outer edge to the centre hole, closed with two sets of ties, so you never have to lift a heavy tree or thread the trunk through a tiny hole. One size fits most standard trees, about 48 inches across, and the pattern explains how to make it larger or smaller. Most makers finish it in a weekend of relaxed crochet, or in about 10 to 12 hours spread over a few evenings.
Key Takeaways
- A free, original round crochet Christmas tree skirt pattern in US terms, about 48 inches across.
- Worked from the centre out in double crochet, with a scalloped ruffled edge that lies flat.
- A back opening with ties, so it fits around the trunk after the tree is already decorated.
- One size, with clear instructions to make it larger or smaller for tabletop or oversized trees.
- About 10 to 12 hours, using worsted weight yarn and a 6.0 mm hook.
- Machine washable, easy to fold and store, and simple to customise with stripes or a second colour for the ruffle.
Table of Contents
- Why you will love this tree skirt
- Materials you will need
- Sizes, gauge, and skill level
- Abbreviations in US terms
- The pattern: skirt body
- The pattern: ruffled edge, opening, and ties
- Finishing and fitting under your tree
- Tips for a skirt that lies flat
- Variations to try
- Troubleshooting
- Care and storage
- Frequently Asked Questions
Why you will love this tree skirt
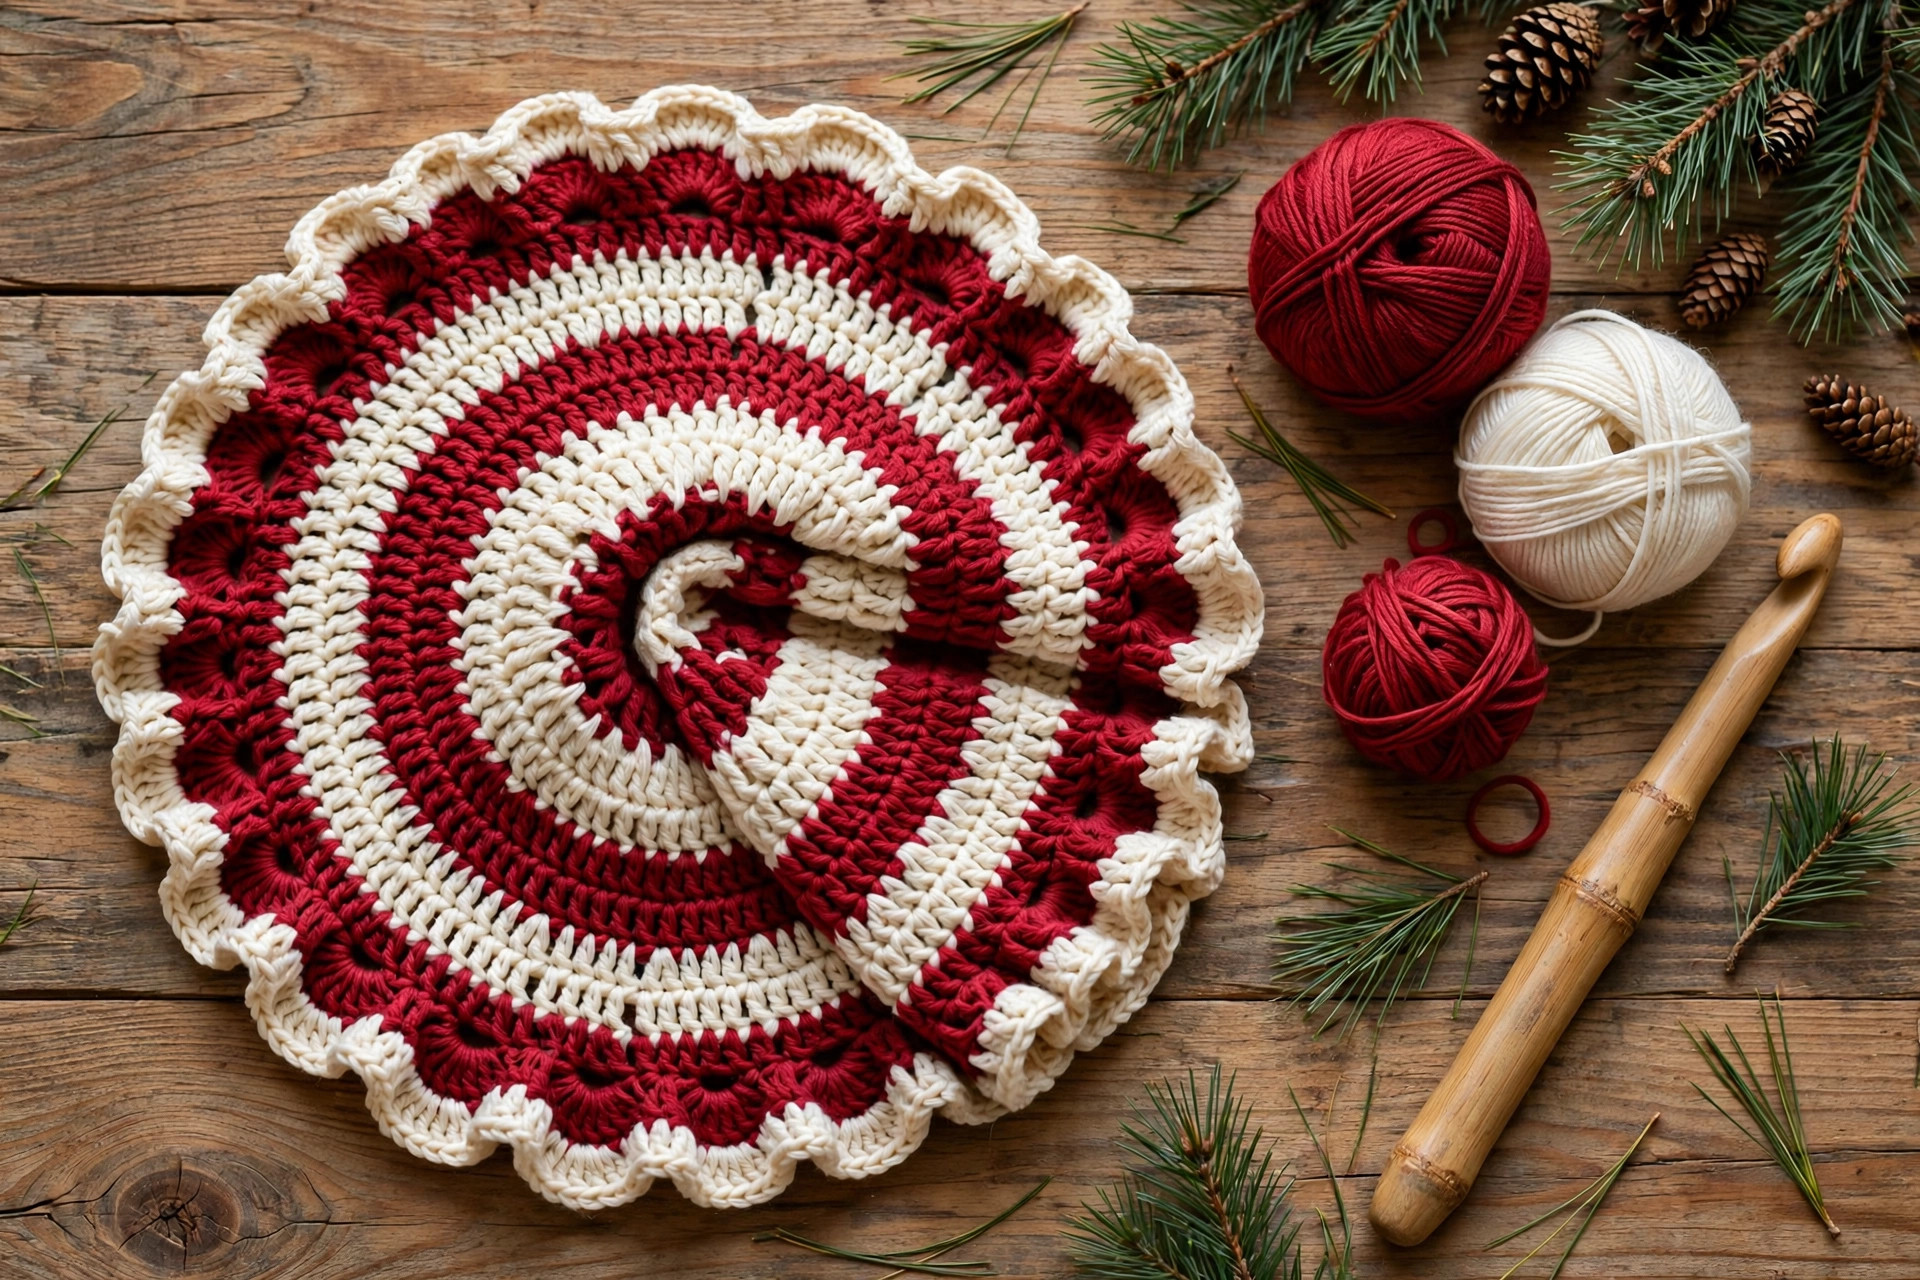
A bought tree skirt is often thin, slippery, and a little too small, so it bunches up under the presents or slides out from under the tree every time someone walks past. A crocheted skirt has weight, texture, and grip. It stays where you put it, it cushions the presents, and it looks handmade in the best sense: substantial, cosy, and clearly made with care. The red and cream version in the photos suits a classic Christmas scheme, but the pattern works in any colour combination, from sage and cream to navy and gold.
The construction is simpler than it looks. Because the skirt is just a large circle with increases, there is no shaping to memorise, no seaming, and no tricky counting once you settle into the rhythm. The increases follow a steady pattern, the rounds get longer in a satisfying way, and the ruffle at the end is pure fun: a row of shells that turns a plain circle into something festive. If you can double crochet and increase, you can make this skirt, and if you have never made a large circle before, this is an excellent first one, because the finished piece is forgiving and the floor hides small tension wobbles.
Materials you will need
| Supply | What to get |
|---|---|
| Main colour (A) | Worsted weight (#4) yarn in cream, about 1,100 yards |
| Contrast colour (B) | Worsted weight (#4) yarn in deep red, about 550 yards |
| Crochet hook | 6.0 mm (J-10) |
| Tapestry needle | For weaving in ends |
| Notions | Stitch markers, scissors, tape measure |
| Ties | 2 lengths of matching yarn or ribbon, about 18 inches each |
Choose a sturdy, machine-washable worsted weight acrylic or acrylic blend. The skirt will be walked on, sat on by presents, and possibly visited by pets, so softness matters less than durability and washability. Avoid novelty yarns, metallic threads, and anything that sheds, because the skirt sits on the floor and will collect dust. If you want a heavier, more luxurious skirt, you can use two strands of worsted weight held together with a larger hook, but you will need roughly double the yardage, and the finished skirt will be thicker and warmer underfoot.
Sizes, gauge, and skill level
One size, about 48 inches across, fits most trees from 5 feet to 7.5 feet tall. As a rough guide, a tree skirt should be about one third of the tree height in diameter, or a little more if you like a generous look. A 6 foot tree looks balanced with a 48 inch skirt, while a small 4 foot tabletop tree needs only a 30 to 36 inch skirt, and a very tall 9 foot tree looks best with a 56 to 60 inch skirt.
Gauge: 12 double crochet stitches and 7 rows equal 4 inches with a 6.0 mm hook. Gauge is less critical here than in a garment, because a skirt that is 46 inches instead of 48 still works beautifully, but do check it, because a large gauge difference over 30 rounds adds up. If your skirt is coming out much smaller than planned, go up a hook size. If it is growing too fast, go down a hook size, or check that you are not adding extra increases by accident.
Skill level: easy. You should know how to chain, single crochet, double crochet, and work in the round. The ruffle uses shell stitches, which are simply several double crochets worked into the same stitch, and the pattern explains them step by step. This is a relaxing, repetitive project, ideal for television crochet or for a maker who wants a big, satisfying finish without complicated stitch patterns.
Abbreviations in US terms
| Abbreviation | Meaning |
|---|---|
| ch | chain |
| sc | single crochet |
| hdc | half-double crochet |
| dc | double crochet |
| sl st | slip stitch |
| inc | increase: 2 dc in the same stitch |
| dec | decrease: 2 dc worked together |
| st (sts) | stitch (stitches) |
| RS | right side |
| FO | fasten off |
| [ ] | total stitch count at the end of the round |
Pattern notes: the skirt is worked in joined rounds, starting with a centre ring that leaves a hole for the tree trunk. Chain 3 at the start of each double crochet round counts as the first double crochet. Join each round with a slip stitch to the top of the chain 3. Place a stitch marker in the first stitch of each round until the increase rhythm feels automatic. The opening is made by working back and forth in rows for a short section at the end, not by cutting the yarn, so there is no raw edge to finish.
The pattern: skirt body
Centre ring: with colour A, chain 8, join with a slip stitch to form a ring. This ring is the centre hole, about 3 inches across, which fits around most tree trunks and stands. If your stand is very wide, chain 10 instead, and adjust the first round counts by adding 2 stitches.
Round 1: ch 3 (counts as dc), work 15 dc into the ring, join to the top of the chain 3. [16 sts] Round 2: ch 3, dc in the same stitch, 2 dc in each stitch around, join. [32 sts] Round 3: ch 3, (dc in the next stitch, 2 dc in the next stitch) repeat around, join. [48 sts] Round 4: ch 3, (dc in the next 2 stitches, 2 dc in the next stitch) repeat around, join. [64 sts]
From here, the increase pattern continues in the same way: each round adds one more plain double crochet between increases. Round 5 works (dc in the next 3 stitches, 2 dc in the next stitch) repeated, for 80 stitches. Round 6 works 4 plain stitches between increases, for 96 stitches. In general, round N has 16 times N stitches, and the number of plain stitches between increases is N minus 2. Keep going in this rhythm, and check your stitch count every few rounds, because a missed increase early on will make the skirt cup instead of lying flat.
Colour stripes: work rounds 1 to 8 in cream (colour A), rounds 9 to 12 in deep red (colour B), rounds 13 to 20 in cream, rounds 21 to 24 in red, and rounds 25 to 28 in cream. Change colour at the join, by completing the last stitch of the old colour with the new colour, and carry the unused yarn loosely up the back of the work if you prefer, or cut and weave in the ends for a neater finish. The stripes in the photos are 4 rounds of red between wider cream sections, which gives a classic, calm look without a busy pattern.
Continue increasing until the skirt measures about 42 inches across, not counting the ruffle. For most makers, this is around round 28 to 30, depending on tension. Measure across the centre, through the hole, while the skirt is lying flat on the floor, not hanging over your lap, because a large circle stretches under its own weight and a lap measurement will be misleading. If your skirt is still cupping upward at this point, work one plain round with no increases, which lets the fabric relax and flatten before you add the ruffle.
The pattern: ruffled edge, opening, and ties
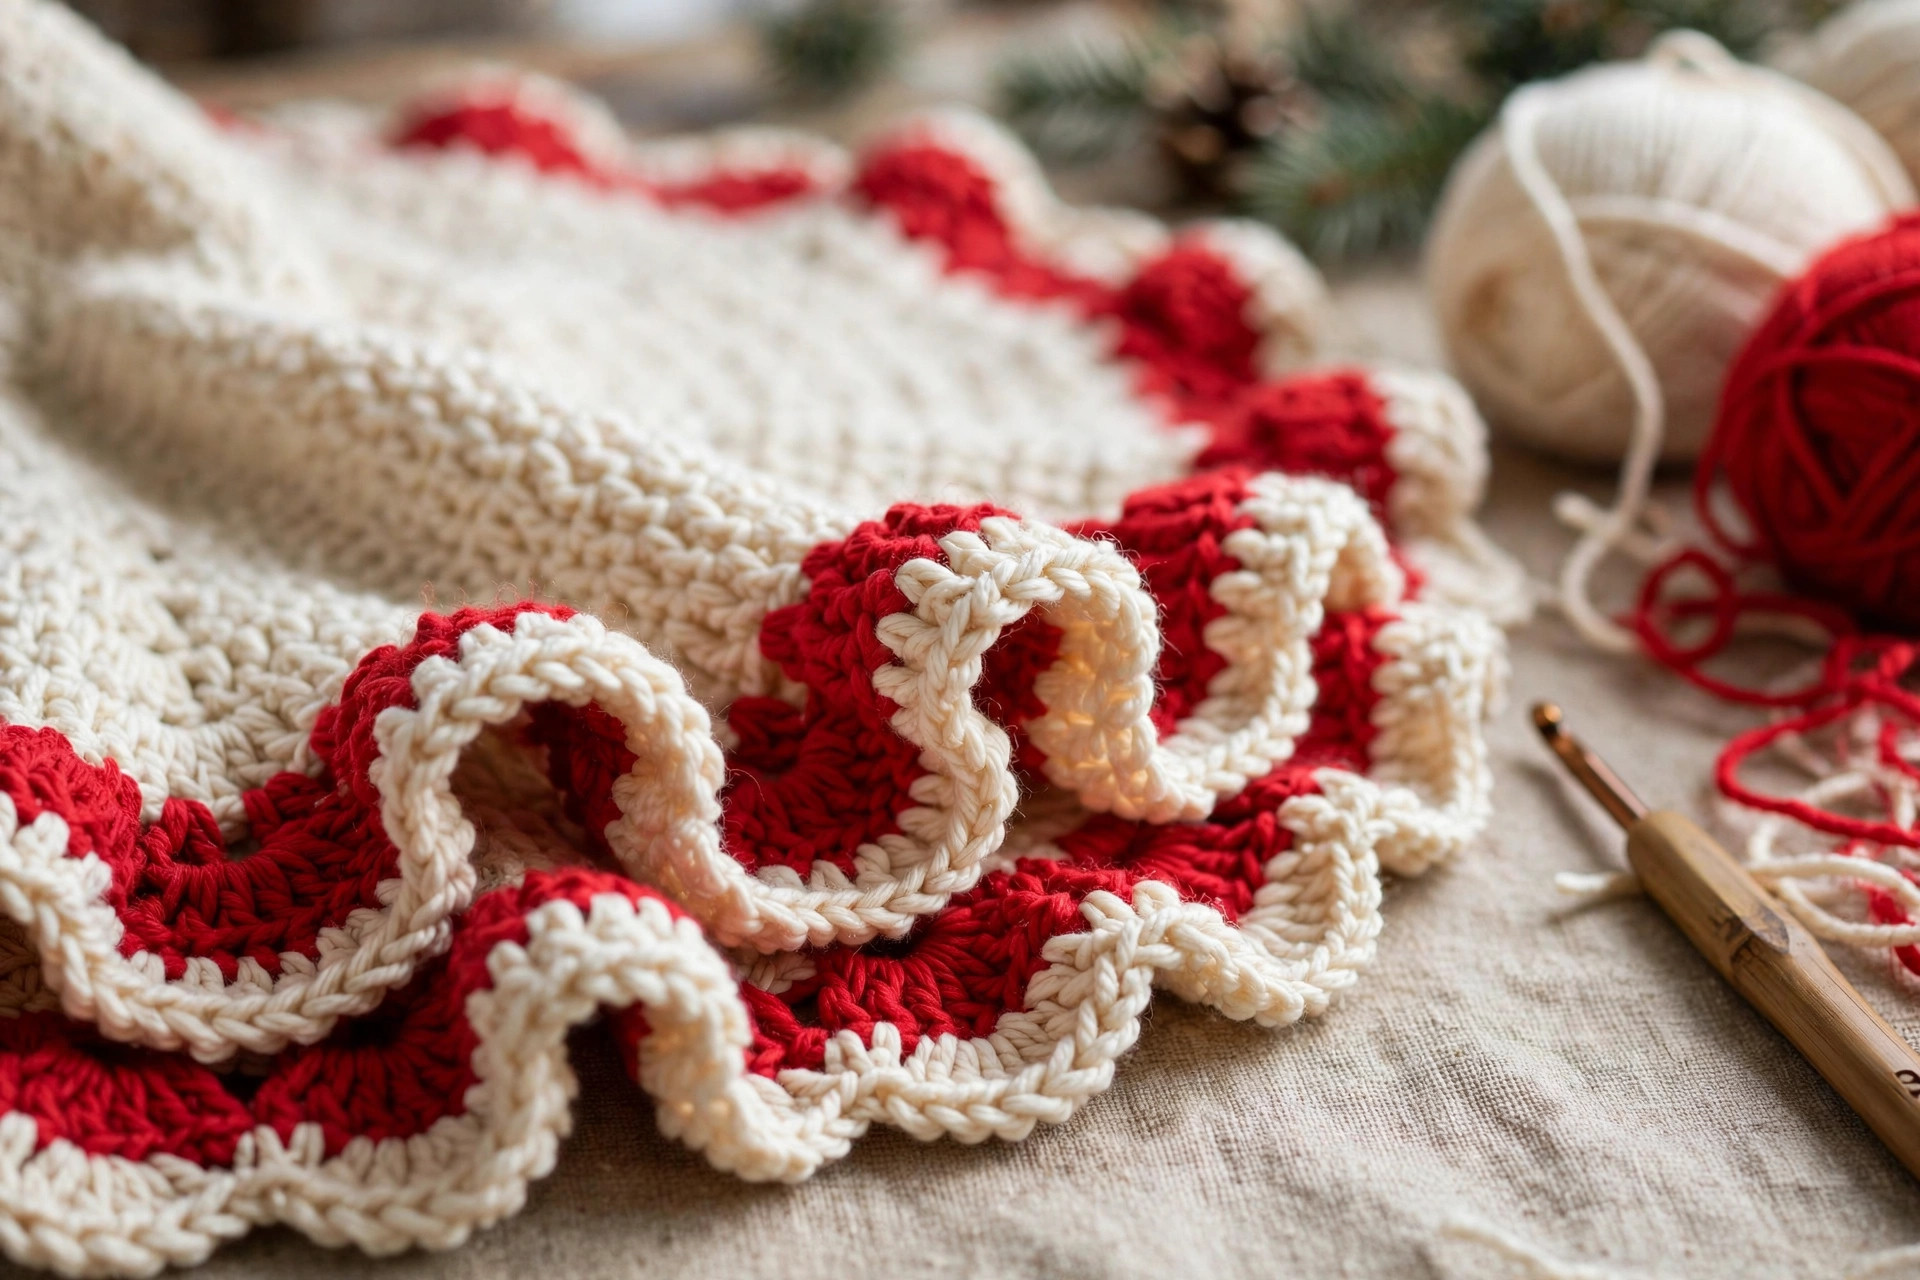
Ruffled edge: with colour B (red) for a bold finish, or colour A for a softer one, work one round of single crochet in each stitch around, join. Then work the shell round: (skip 1 stitch, 5 dc in the next stitch, skip 1 stitch, sc in the next stitch) repeat around, join. This creates a scalloped ruffle that stands slightly proud of the skirt edge. Work a second shell round if you want a wider, more dramatic ruffle: work the same shell pattern, placing each shell in the centre double crochet of the shell below, and a single crochet in the single crochet below. Two shell rounds add about 3 inches to the diameter, bringing the total to about 48 inches.
Back opening: to make the opening, do not cut the skirt. Instead, choose a point on the edge as the back of the skirt, and work the final shell round in rows rather than in the round: work shells back and forth along the edge, turning at each end, leaving a straight slit from the outer edge to the centre hole. In practice, most makers find it simpler to finish the full ruffle in the round, then cut one straight line from the edge to the centre hole, and edge the cut sides with a row of single crochet in the matching colour. If you cut, work the single crochet edging immediately, before the fabric can unravel, and weave in the ends very securely. Either method gives a clean opening that sits at the back of the tree, out of sight in photos.
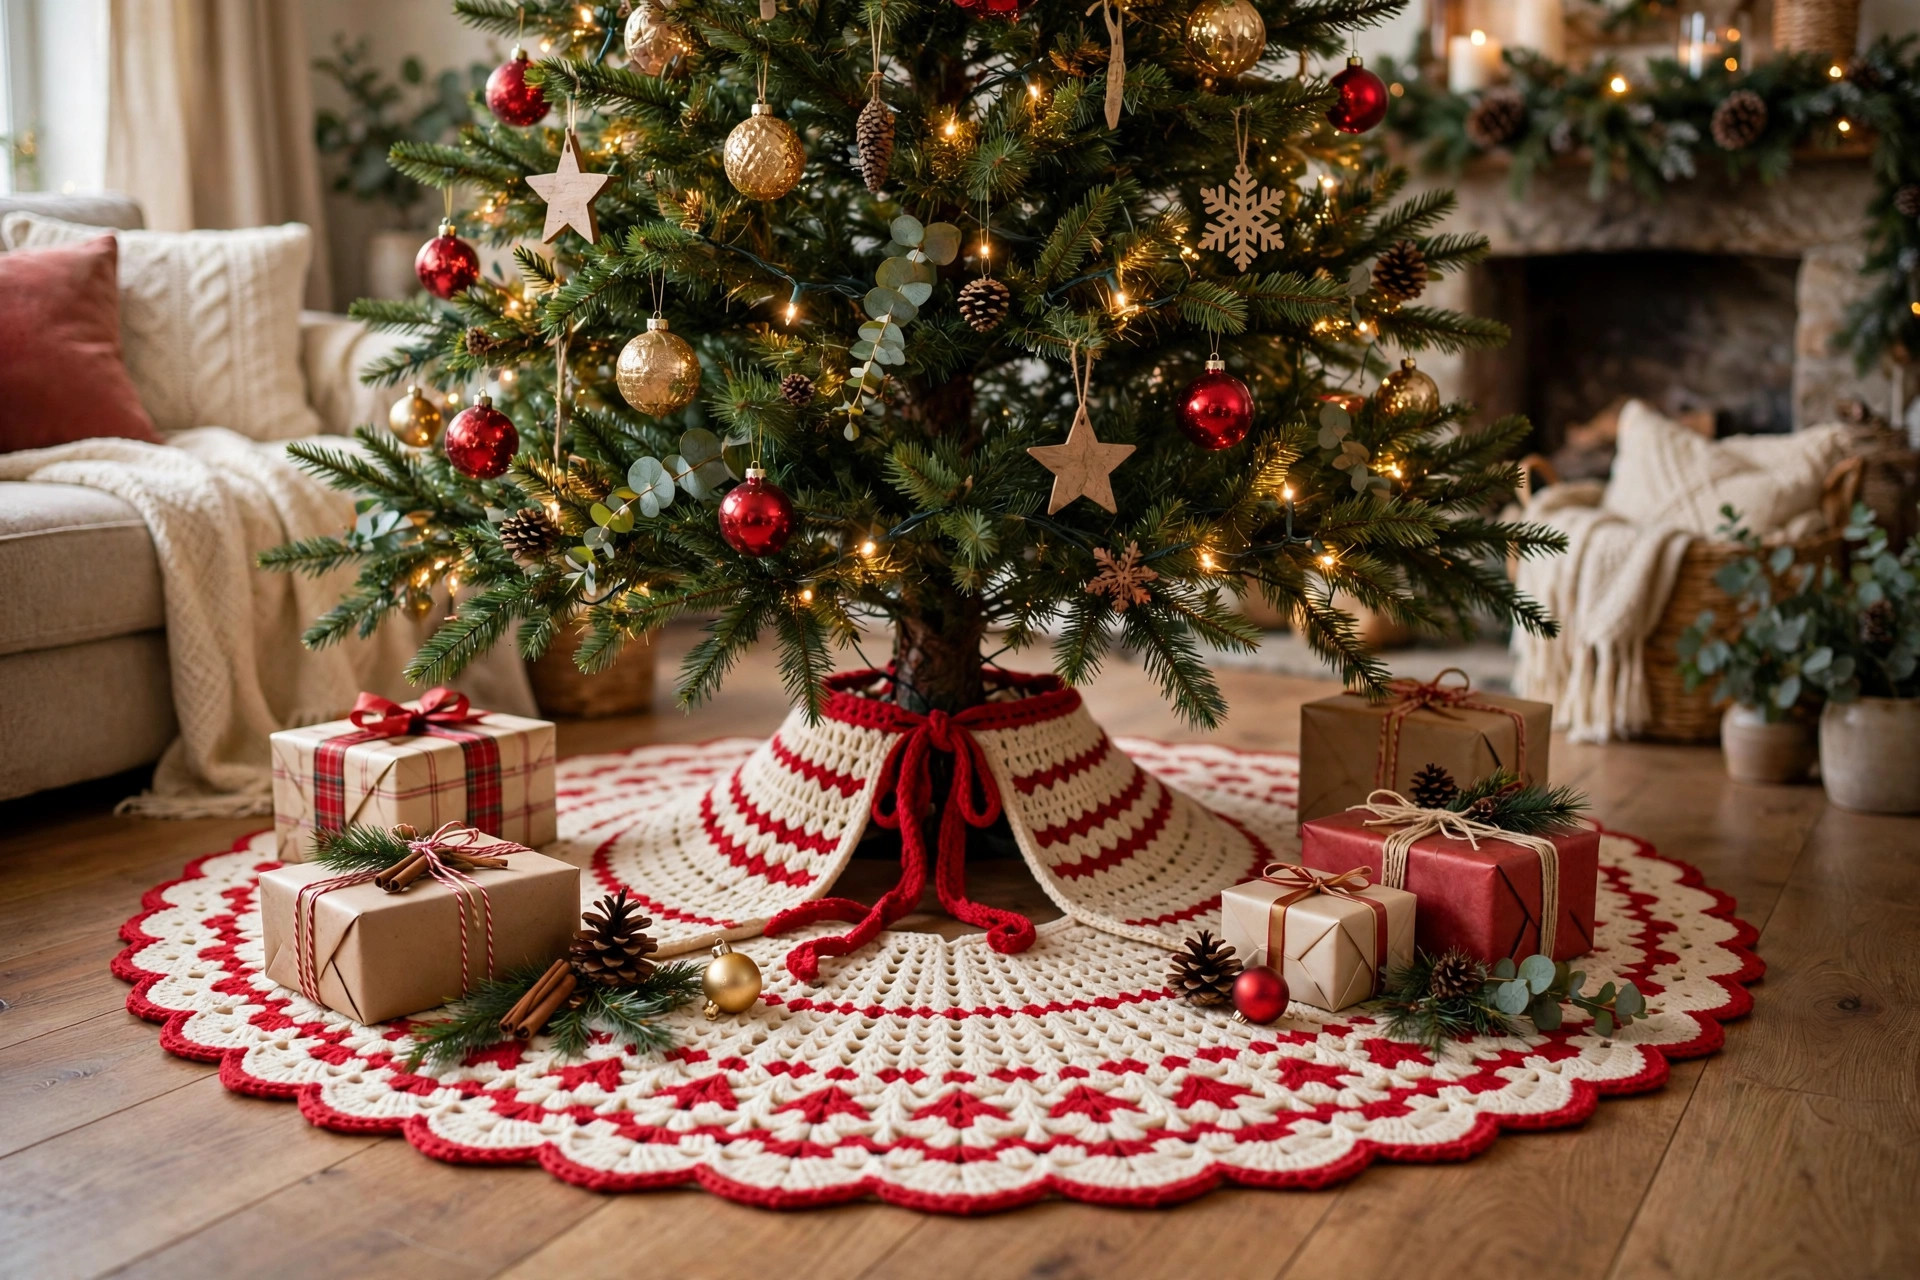
Ties: make two pairs of ties, one pair near the outer edge of the opening and one pair near the centre hole. For each tie, chain 40, fasten off, and sew or crochet the tie to the edge of the opening with several firm stitches. Alternatively, use 18 inch lengths of matching ribbon, sewn on with a tapestry needle. To put the skirt under the tree, open the slit, slide the skirt around the trunk, and tie the two pairs loosely, so the skirt can be adjusted but will not gape open. The ties should be flat and soft, not bulky, because presents will sit on top of them.
Finishing and fitting under your tree
Weave in every end on the wrong side, and check the skirt by laying it flat on the floor. It should lie flat with no strong cupping or waving. If the centre cups, the increases were too slow, and a light blocking will help. If the edge waves, the increases were too fast, or the ruffle is too full, and removing one shell round usually fixes it. Block the skirt by dampening it, pinning it flat on a clean floor or on blocking mats, and letting it dry completely. For a large skirt, blocking on a bed with towels underneath works well, as long as pets and small children are kept away until it is dry.
For a coordinated room, pair the skirt with a simple garland on the mantel: our crochet garland pattern uses the same red and cream palette and a similarly relaxed stitch rhythm. At the table, a runner in the same colours ties the room together, and coasters protect the surfaces where hot drinks land during present opening: our crochet Christmas coasters pattern is a quick companion make for the same weekend.
Tips for a skirt that lies flat
The most common problem with a large circle is cupping or waving, and both come from the increase rate. If your skirt cups like a bowl, you need more increases, or you need to work a plain round to let the fabric relax. If it waves like a potato chip, you have too many increases, and you should work two plain rounds in a row to calm the edge. Check the skirt flat on the floor every 6 rounds or so, because it is easy to keep crocheting a wavy edge for ten more rounds before you notice, and frogging a large circle is nobody's idea of fun.
Variations to try
Troubleshooting
Opening gaps open in photos: move the opening to the true back of the tree, tie both pairs of ties, and place a present or a basket over the opening if it still shows. A small stitch or a decorative button, sewn on the inside only, can hold the opening closed, but do not glue or pin it, because you will need to open it again to remove the skirt.
Care and storage
Machine wash cold on a gentle cycle, in a large mesh bag if you have one, then reshape and lay flat to dry. Do not tumble dry on high heat, because the skirt is large and can go stiff or misshapen. If the skirt has been under a real tree, shake it outside first to remove fallen needles, and check the ties before washing, because a loose tie can tangle in the machine. Fold the skirt in quarters, then roll it loosely, and store it in a breathable cotton bag, not a sealed plastic bag, so it stays fresh until next Christmas.
Frequently Asked Questions
What size tree does this skirt fit?
The standard size, about 48 inches across, fits most trees from 5 feet to 7.5 feet tall. For a tabletop tree, stop increasing earlier for a 30 to 36 inch skirt. For a very tall tree, keep increasing until the skirt is about 56 to 60 inches across. The pattern explains both adjustments.
How is a tree skirt different from a Christmas tree pattern?
A tree skirt goes under the tree, on the floor, and hides the stand. A Christmas tree pattern makes the tree itself, usually as a decoration or amigurumi piece. This post is only for the skirt, while our crochet Christmas tree pattern makes the tree. The two are companion pieces, not the same item.
Can a beginner make this tree skirt?
Yes. The skirt uses only chain, single crochet, and double crochet, plus shell stitches for the ruffle, which are just groups of double crochets. The rounds are repetitive, the increases follow a steady rhythm, and there is no shaping to memorise. It takes time because it is large, but it is not difficult.
How long does this tree skirt take to make?
Most makers take about 10 to 12 hours, spread over a few evenings or a weekend. The centre rounds are quick, the outer rounds are longer, and the ruffle is the most enjoyable part at the end. If you crochet for an hour a day, you can finish in about two weeks, well before Christmas.
How do I get the skirt around the tree trunk?
Use the back opening. Open the slit, slide the skirt around the trunk, centre the hole over the stand, and tie the two pairs of ties loosely. You do not need to lift the tree, and you can fit the skirt after the tree is decorated, which is why the opening is such a useful feature.
Can I wash a crochet Christmas tree skirt?
Yes, if you use machine-washable acrylic yarn as recommended. Wash cold on gentle, lay flat to dry, and reshape the ruffle by hand while it is damp. Avoid high dryer heat, and shake out any fallen needles before washing if you have a real tree.
What colours work best for a tree skirt?
Classic red and cream suits most trees, while sage and cream, navy and gold, and white and pale blue all make beautiful alternatives. Choose colours that echo your ornaments and your room, keep the ruffle in a contrasting colour so the edge stands out, and avoid very dark colours if your floor is dark, because the skirt can disappear into the floor in photos.
Happy crocheting, and happy decorating. When the tree is up, the lights are on, and the skirt is spread out underneath with the first presents on top, you will see why this one project makes the whole room feel like Christmas.


