Easy Crochet Pumpkin Pattern: 3 Sizes, Ribbed & Cute
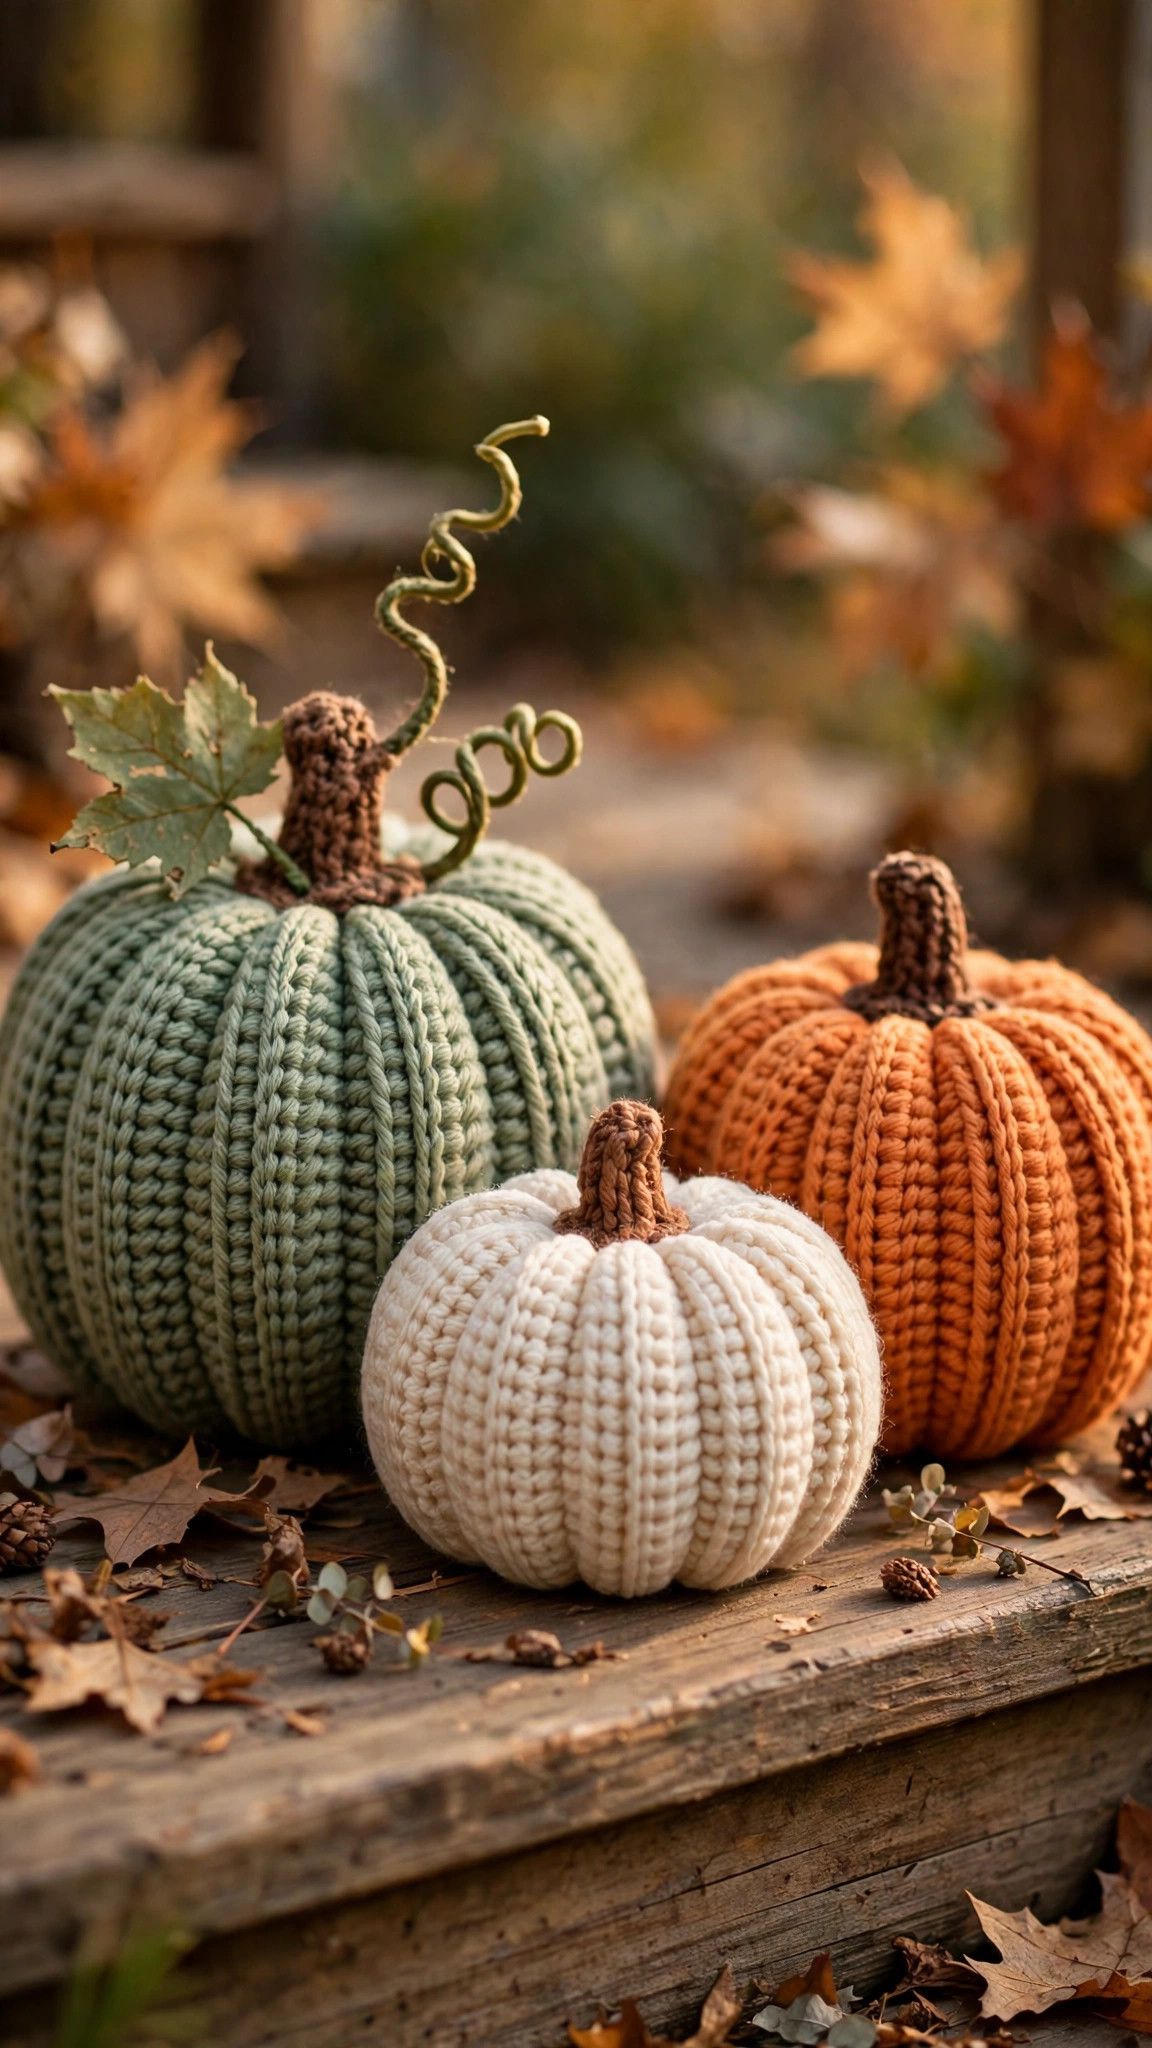
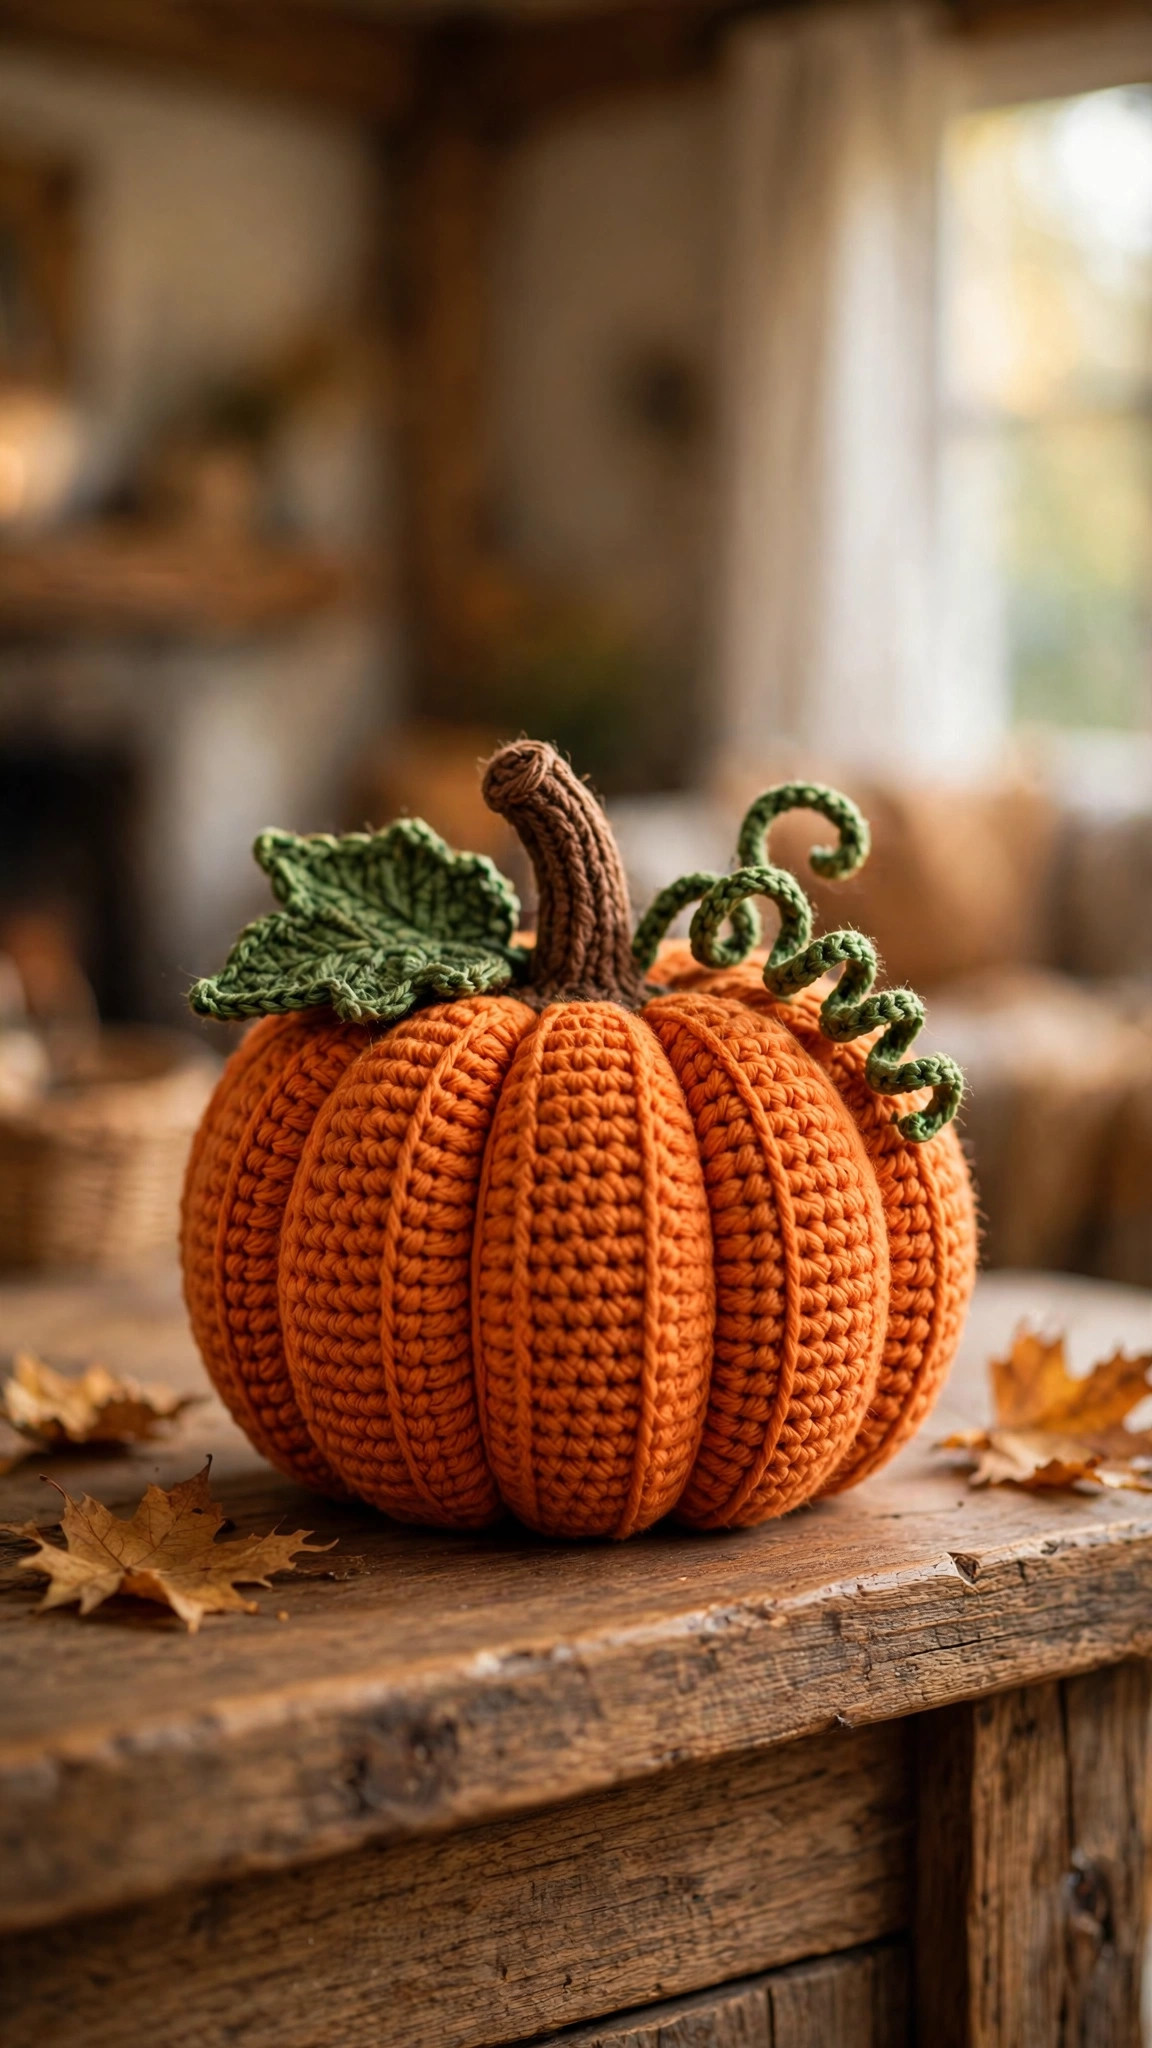
Soft, deeply ribbed crochet pumpkins in three sizes — each one worked as a flat back-loop-only rectangle, then seamed, gathered, stuffed and cinched into plump segments, with a crochet stem and optional leaf and curly vine.

Fall · Crochet
- Finished size
- 3 sizes: about 10–16 cm / 4–6.5 in tall
- Making time
- About 45 minutes–2.5 hours
- Hook
- 5.0 mm, worsted-weight yarn
- Sizes
- Small, medium and large included
- Skill
- Beginner
In this post
Every autumn the porch, mantel and dining table start to look a little bare — and that is exactly when this easy crochet pumpkin pattern earns its keep. No carving, no mess, no real pumpkin going soft on the doorstep. Just soft, deeply ribbed pumpkins in three sizes that you make once and bring out year after year.
Each pumpkin starts as a flat rectangle in half double crochet in the back loop only — the stitch that creates the deep vertical ribs. Seam the short ends into a tube, gather one end closed, stuff it, gather the other end, then weave one long tail through the centre, top to bottom, several times to pull in the middle and define the segments. Add a stubby brown stem, and you are done.
This is an original Little Loop Finds design with our own sizing for small, medium and large pumpkins. If you can chain, half double crochet and sew a simple seam, you can make every size here — and the small one takes under an hour, which is why most makers do not stop at one.
Contents
- Why you'll love these ribbed pumpkins
- Materials you'll need
- Size, gauge and skill level
- Abbreviations — US terms
- The pattern (US terms)
- Finishing and assembly
- Tips for plump, well-shaped pumpkins
- FAQ
- What to crochet next
Why you'll love these ribbed pumpkins
First, there is no shaping to count — no increases marching around a sphere, no decreases in the wrong place. You work a flat rectangle, row after relaxed row, and all the shaping happens at the end with your yarn needle. A gift for beginners, and the perfect television project for everyone else.
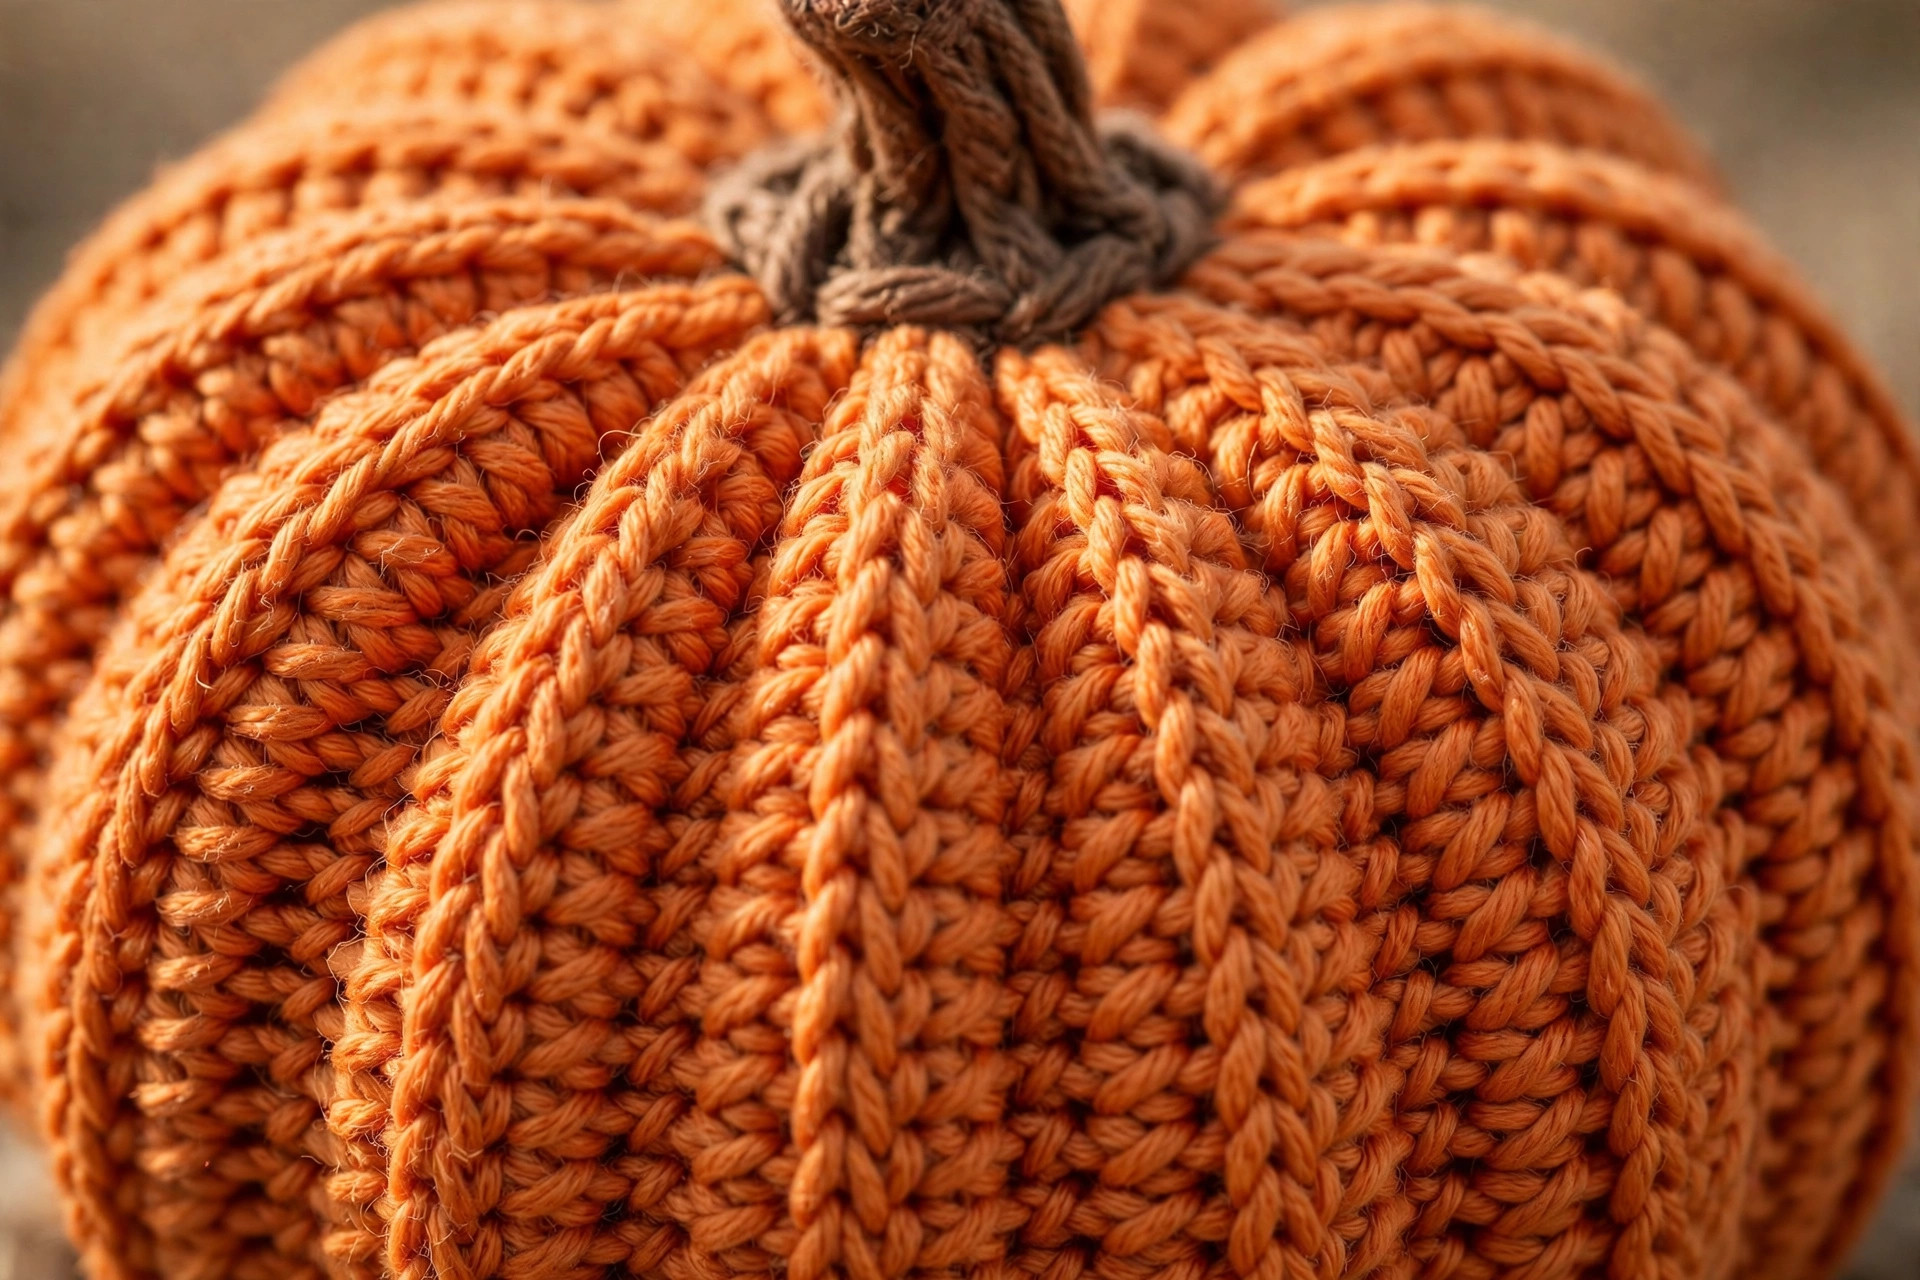
Second, the ribs are real texture, not an illusion. Working in the back loop only leaves the front loop of every stitch on the surface as a raised ridge. Row after row, those ridges line up into deep grooves. When you cinch the centre, the ribs fall naturally into segments, and the pumpkin looks far more skilled than the rectangle it started as.
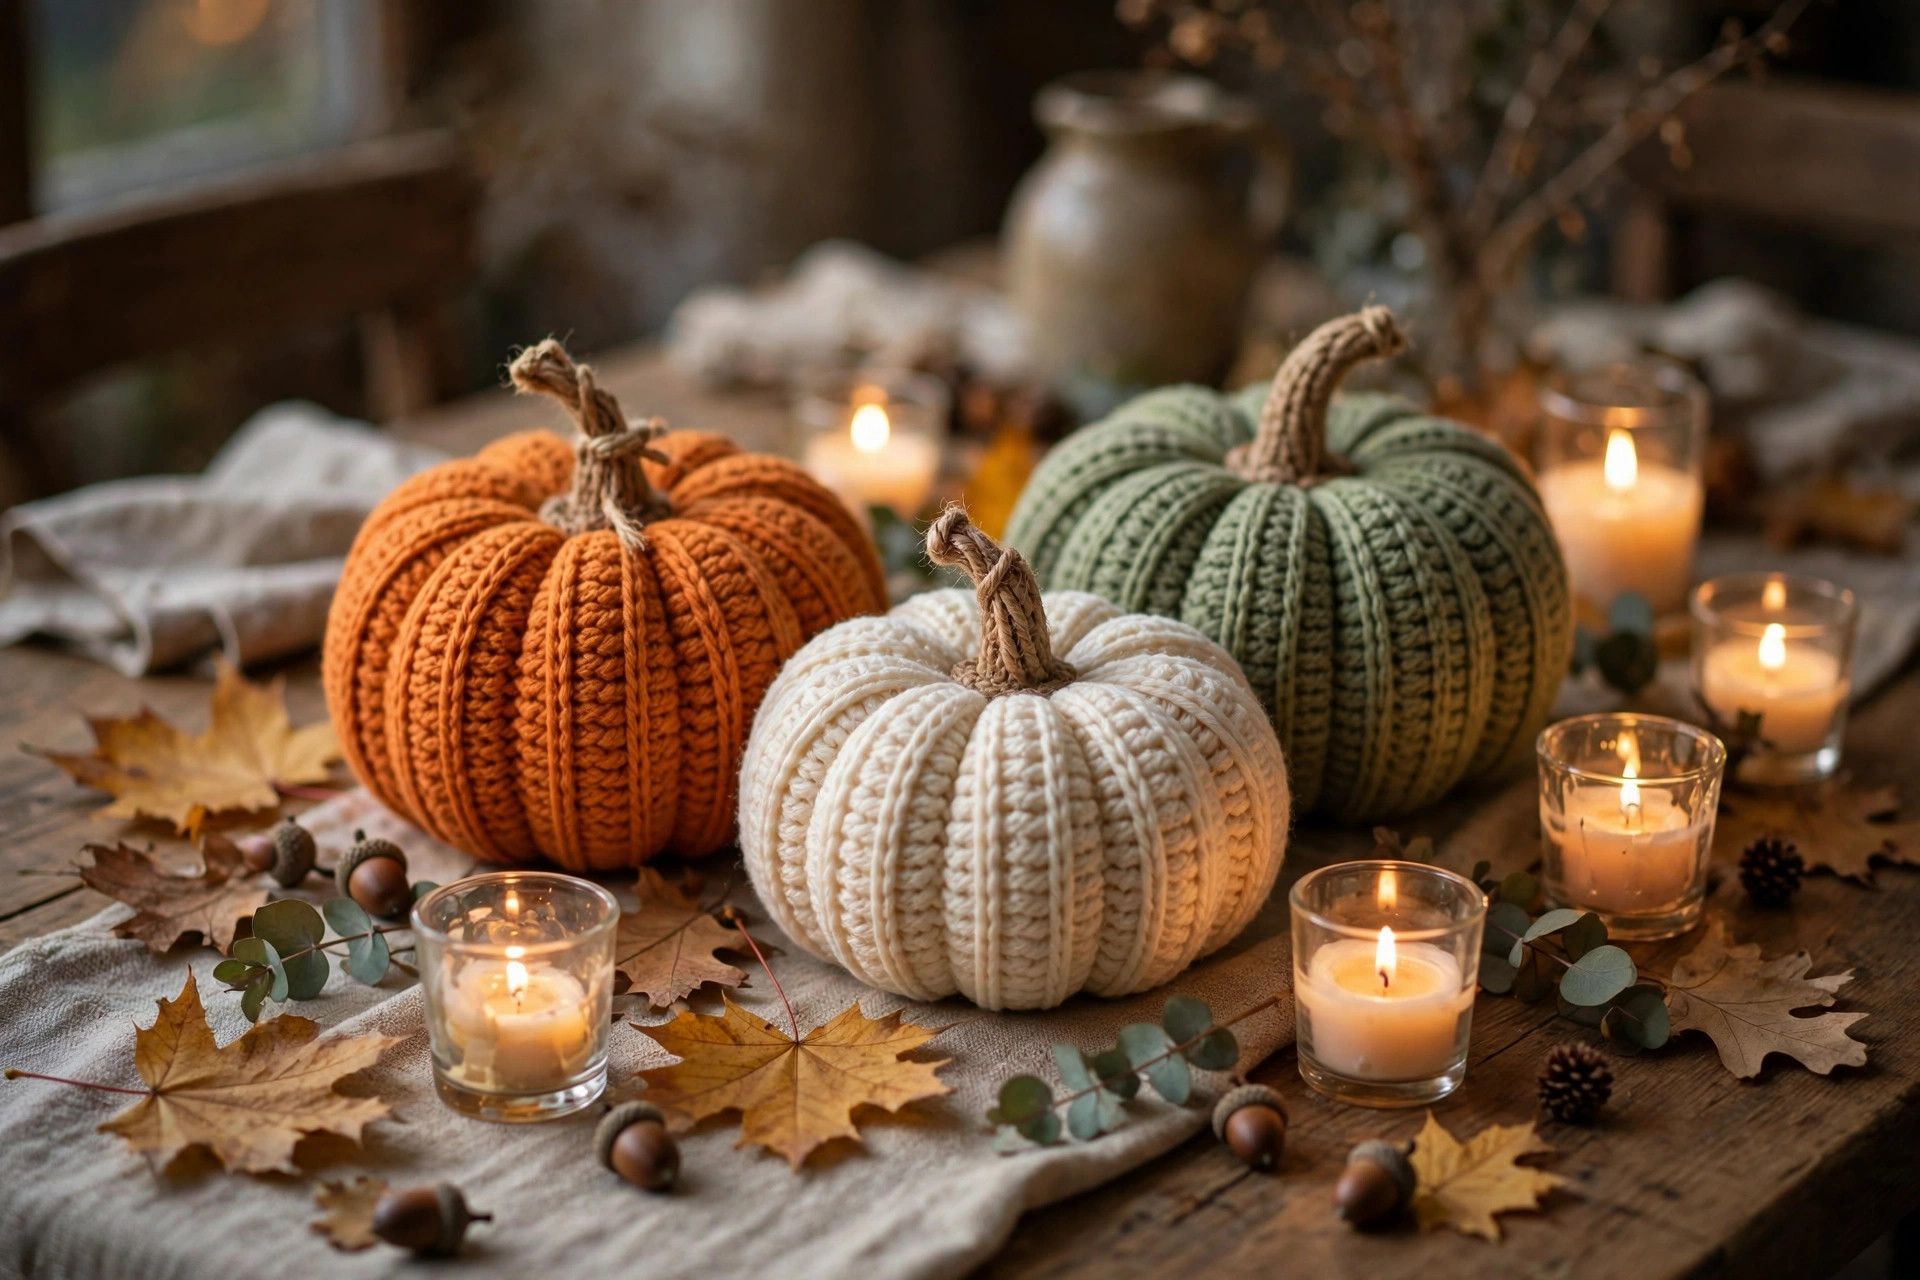
Third, the three sizes work as a set. The small is a sweet shelf and place-setting size, the medium is the classic mantel pumpkin, and the large makes a proper centrepiece — especially sitting on our autumn acorn granny square pattern used as a table mat. Make a matching set in one colour, or mix orange, cream and sage for the full harvest look.
Finally, they are forgiving and giftable. A row too many barely shows, a wonky gather hides under the stem, and with no small parts they are safe decor around children and pets.
Materials you'll need
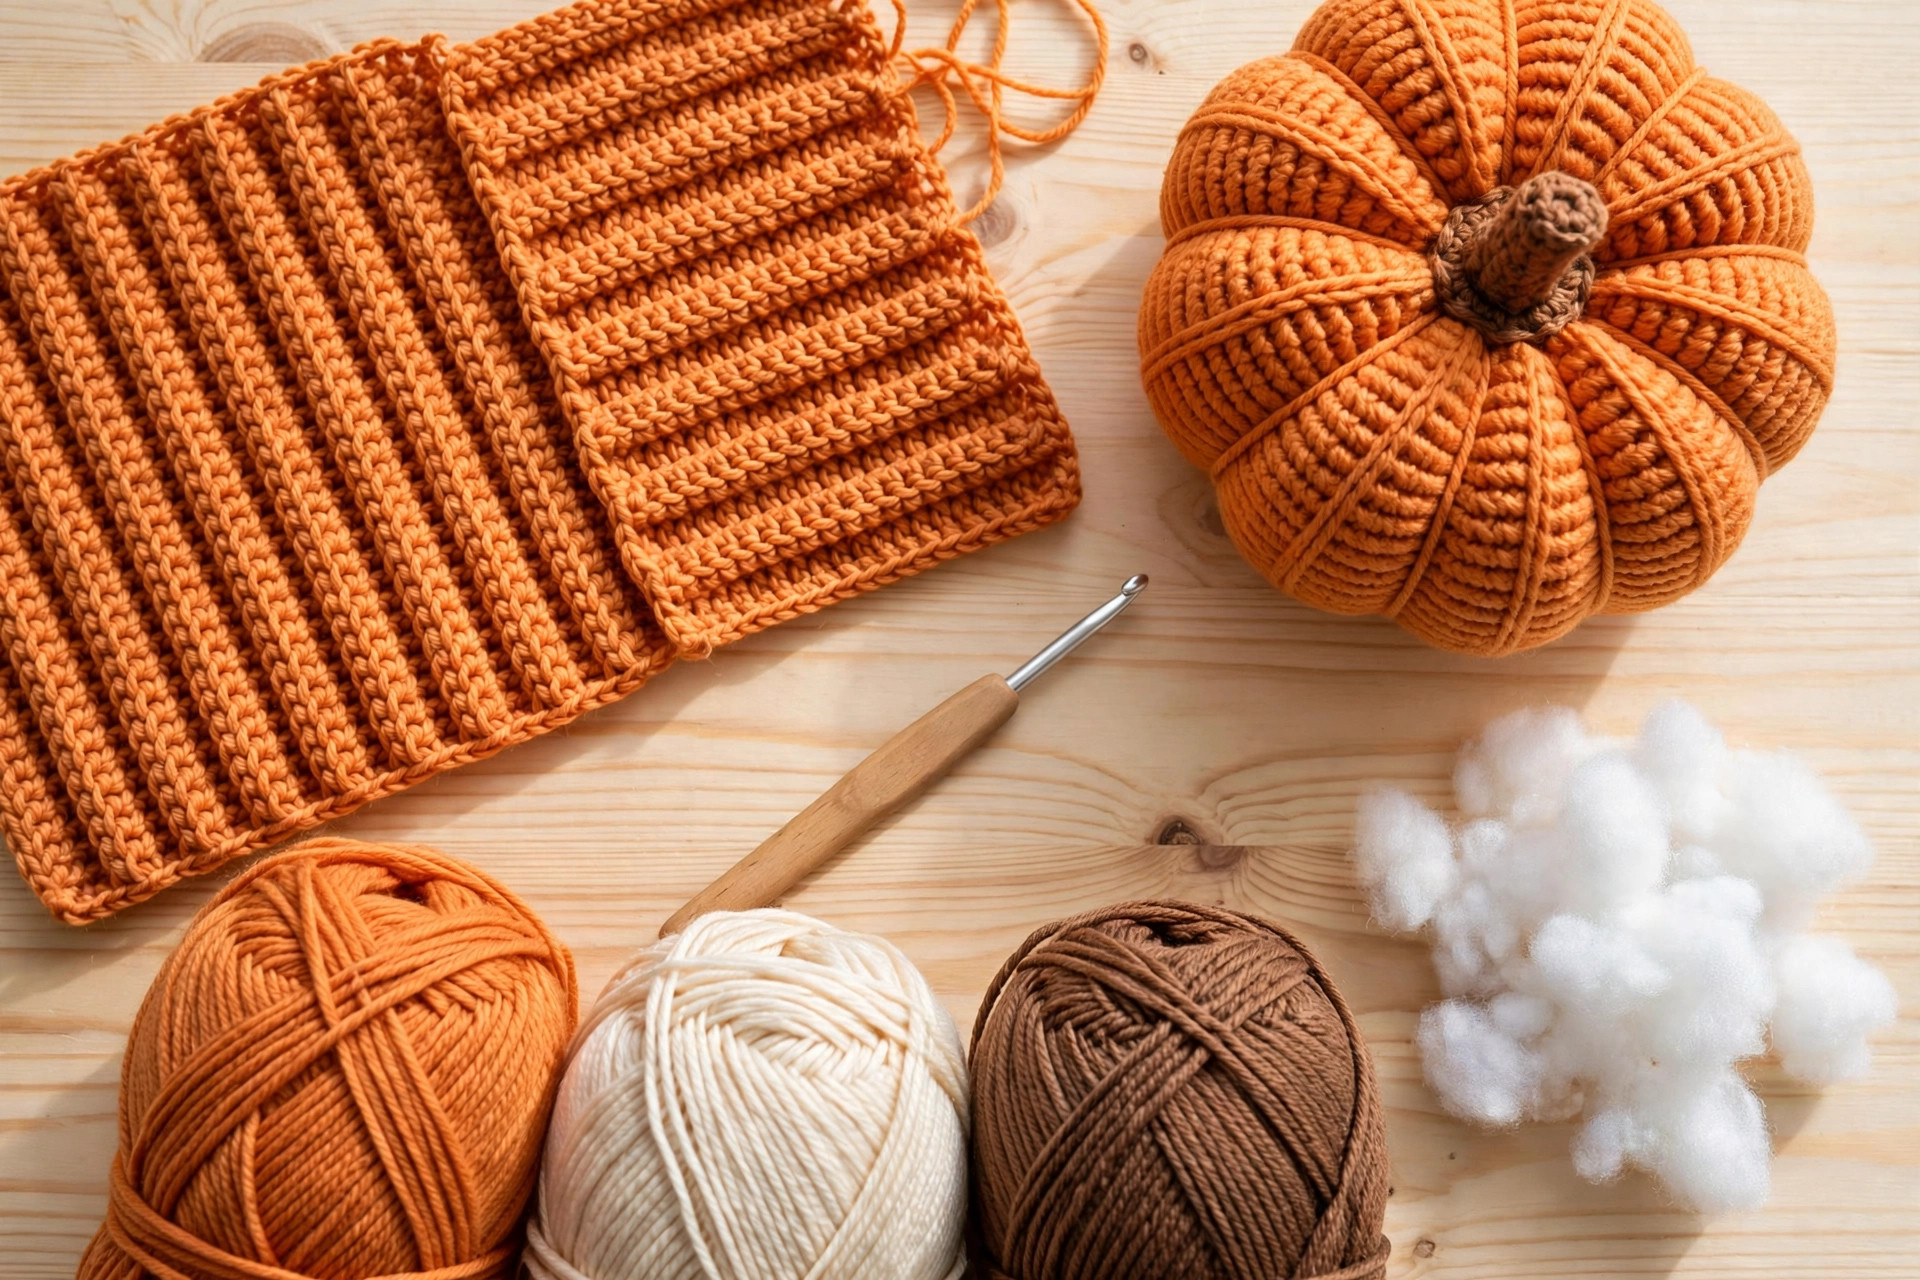
Worsted yarn is the sweet spot: thick enough to grow quickly, fine enough to show the ribs crisply. Choose a smooth acrylic or acrylic-cotton blend — it slides easily, holds the gathered shape, and comes in every shade of autumn. Avoid fluffy yarn for your first pumpkin; you want to see every back loop clearly. One ball makes the small and medium pumpkins, or one large; plan on about 150 g for a full trio in one colour. The stem, leaf and vine use only scraps.
| Supply | What to get |
|---|---|
| Main yarn | Worsted weight (category 4) — about 45 g / 90 yards (small), 70 g / 135 yards (medium), 110 g / 215 yards (large) |
| Stem yarn | Worsted weight in brown, about 10 g / 20 yards per pumpkin |
| Leaf and vine yarn | Small amount of worsted weight in green, about 5 g (optional) |
| Hook | 5.0 mm (US H-8) crochet hook |
| Stuffing | Polyester fibre fill, about 20 g (small), 35 g (medium), 60 g (large) |
| Notions | Yarn needle with a large eye, stitch marker, sharp scissors |
| Optional | A long doll needle for cinching the large pumpkin, pins |
A note on your needle: cinching asks it to travel straight through a stuffed pumpkin, top to bottom, several times. A standard yarn needle manages the small and medium sizes; for the large, a longer needle helps, or work in two stages — top to centre, then out through the bottom.
Size, gauge and skill level
Skill level: Beginner. You need to chain, half double crochet, work in the back loop only, and sew one short seam. Every technique is explained below. New to back-loop work? Practise on a ten-stitch swatch for five rows first — by row three your hook will find the back loop on its own.
Finished sizes: Small — about 10 cm (4 in) tall and 11 cm (4.5 in) across. Medium — about 13 cm (5 in) tall and 14 cm (5.5 in) across. Large — about 16 cm (6.5 in) tall and 18 cm (7 in) across. Height excludes the stem, and every pumpkin squashes a little when cinched, so treat these as friendly approximations.
Gauge: 14 half double crochet stitches and 10 rows measure about 10 cm (4 in) in back loop only with a 5.0 mm hook. Gauge is not critical for decor, but it changes finished size and yarn use. Panel coming up much narrower than the chart? Go up to a 5.5 mm hook. Much wider? Drop to a 4.5 mm hook.
How the sizes work: Your starting chain sets the height, because you work upwards from the chain. Your row count sets the circumference, because the rows wrap around. So customising is easy — add chains for taller, add rows for wider.
Abbreviations — US terms
US terms throughout. (UK note: a US half double crochet is a UK half treble, and a US single crochet is a UK double crochet.)
| Abbreviation | Meaning |
|---|---|
| ch | chain |
| hdc | half double crochet |
| sc | single crochet |
| inc | increase — 2 sc in the same stitch |
| dec | decrease — single crochet 2 together |
| BLO | back loop only |
| st(s) | stitch(es) |
| FO | fasten off |
Half double crochet in the back loop only (hdc BLO): Yarn over, insert your hook into the back loop only — the loop furthest from you — yarn over and pull up a loop (3 loops on hook), yarn over and pull through all 3. The untouched front loop becomes the rib. Every stitch has a V on top: the leg closest to you is the front loop, the furthest is the back loop — working only into that far leg is the entire secret of the ribbed fabric. The chain 1 at each row start does not count as a stitch, so work your first hdc into the first stitch and your count should match the chart every row.
The pattern (US terms)
Make the ribbed panel first, then the stem. The leaf and vine are optional. All three sizes use the same instructions — only the starting chain and row count change.
Before you start — how the panel works
Chain, work back along the chain for Row 1, then turn and work row after row of hdc in the back loop only. Once seamed and gathered, the ribs run from the bottom of the pumpkin up over the top — the direction of a real pumpkin's grooves. Keep tension relaxed: tight rows make a stiff pumpkin, while a comfortable tension gives soft ribs that gather beautifully.
Size chart
| Size | Starting chain | Stitches per row | Rows | Panel size before seaming |
|---|---|---|---|---|
| Small | ch 26 | 25 hdc | 30 rows | About 25 cm wide × 13 cm tall (10 × 5 in) |
| Medium | ch 32 | 31 hdc | 38 rows | About 32 cm wide × 16 cm tall (12.5 × 6.25 in) |
| Large | ch 40 | 39 hdc | 46 rows | About 40 cm wide × 20 cm tall (15.75 × 7.75 in) |
The ribbed panel — all sizes, main colour
- Foundation: Ch 26 (32, 40) — small (medium, large).
- Row 1: Hdc in the 2nd ch from the hook and in each ch across, turn — 25 (31, 39) hdc
- Row 2: Ch 1 (does not count as a stitch), hdc BLO in the first st and in each st across, turn — 25 (31, 39) hdc
- Rows 3 onwards: Repeat Row 2 until you have 30 (38, 46) rows in total, counting Row 1.
That is the whole panel — one row, repeated. After Row 2 you should see a neat line of untouched front loops — your first rib. By Row 6 the texture looks like corduroy. If it looks flat, you are working through both loops; find the far leg of the V and carry on. Measure against the chart: a centimetre or two either way is fine, but adjust big differences now by adding or removing rows — width matters most, as it becomes the circumference that must gather closed.
FO, leaving a very long tail — at least 90 cm (36 in) for small and medium, 120 cm (48 in) for large. This one tail does the seam, the gathers and all the cinching, so if in doubt, leave it longer.
The stem — brown
The stem is a small, stubby tube in single crochet spirals — deliberately short and wonky-friendly, since real stems are never straight.
- R1: MR, 6 sc (6)
- R2: [sc, inc] × 3 (9)
- R3: sc BLO in each st around (9) — this round makes the neat edge where stem meets pumpkin
- R4–R6: sc in each st around (9) — 3 rounds even
- R7: [sc, dec] × 3 (6)
FO, leaving a 25 cm (10 in) tail for sewing. Stuff very lightly — a pea-sized pinch — or leave it unstuffed for a floppier, rustic stem. Flattening one side slightly helps it sit at a charming angle rather than bolt upright.
The leaf — green, optional
- Row 1: Ch 9, sc in the 2nd ch from the hook, hdc in the next ch, 2 hdc in each of the next 3 ch, hdc in the next ch, sc in the next ch, 3 sc in the last ch — 15 sts; you now turn the corner to work back along the other side of the chain
- Row 2 (other side of chain): Sc in the next ch, hdc in the next ch, 2 hdc in each of the next 3 ch, hdc in the next ch, sc in the last ch — 13 sts
FO, leaving a tail for sewing. Pinch the base for a gentle fold and a natural curl. One leaf is plenty; two looks lush on the large size.
The curly vine — green, optional
- Ch 21.
- Work 3 sc in the 2nd ch from the hook and 3 sc in each ch across — 60 sc
FO, leaving a tail for sewing. The vine curls by itself — three stitches per chain forces a spiral. Stretch and twist to set the curl, sew just its base beside the stem, and let the rest spring free.
Finishing and assembly
This is where a flat rectangle becomes a pumpkin. Read the sequence once before starting, and keep your long tail threaded throughout.
1. Seam the panel into a tube. Fold the panel in half, short ends together, ribs vertical. With the long tail, whipstitch through both layers, catching the edge stitch of each row. Keep it snug but not puckered — the seam simply becomes one of the grooves.
2. Gather the bottom closed. With the same tail, work a running stitch around one open edge — in and out through the end of every row. Pull steadily until the centre hole closes, then lock it with two or three small stitches across the centre, pushing the folds flat. This is the bottom: check the tube stands level on it, and flatten any wobble with extra stitches.
3. Stuff the pumpkin. Add stuffing in small, teased-apart handfuls, pushing it into the sides as well as the middle. Stuff firmly — cinching compresses the centre, and an understuffed pumpkin cinches into a sad, wrinkled disc. Aim for a plump tube that bulges slightly, while the top edge can still just be pinched together.
4. Gather the top closed. Running stitch around the top edge, exactly as at the bottom, pull closed and lock with two small stitches — but do not cut your tail. Before pulling fully tight, check the ribs run straight from bottom to top rather than spiralling; a gentle twist now corrects any drift.
5. Cinch to define the segments — the important step, done slowly. With the remaining tail (top up with a fresh 90 cm length if needed), push the needle straight down through the centre — in through the gathered top, through the stuffing, out through the bottom. Loop the yarn over the outside, settling it into a rib groove, and push the needle back up through the centre. Pull firmly, with real intent: the centre dimples inwards and a segment appears. Repeat, moving a few ribs further round each time — four passes for the small pumpkin, five or six for medium and large, spaced evenly by eye. Knot the tail securely at the bottom and bury the end inside. If a pass sticks in the stuffing, ease back and angle the needle; and if one segment is wider than its neighbours, remember real pumpkins are lopsided too.
6. Sew on the stem, leaf and vine. Sew the stem over the gathered centre, covering the dimple — which is why the gather never needs to be beautiful. Angle it slightly, sew the leaf flat beside it and the vine by its base only, weave in ends, then roll the pumpkin between your palms to settle the stuffing.
Tips for plump, well-shaped pumpkins
Even tension beats tight tension. Back-loop rows worked too tightly fight the gather and leave the pumpkin stiff. Relax your hands and check every few rows that your panel width is staying consistent.
Stuff in clouds, not clumps. Tease every handful apart before it goes in. Clumps make lumps, and lumps show through ribs. Fill the sides first, the middle last.
Cinch in the grooves. Settle every cinching pass into an existing rib groove, never across a ridge. The yarn disappears, the ridge stays proud, and the segments look carved rather than tied.
Make the set. One colour in three sizes looks calm and modern; mixed colours look abundant and harvest-y. Using the same brown for every stem ties the patch together. Tuck the smallest pumpkin inside a crochet basket pattern free with a handful of acorns for an instant doorstep display.
Reshape without fear. A pumpkin sat on by a toddler, a cat or a season in storage just needs a firm squeeze and a roll between your palms. The cinching holds; the stuffing forgives.
FAQ
Is this crochet pumpkin pattern really beginner friendly?
Yes. The whole body is one stitch — half double crochet in the back loop — in a flat rectangle with no increases or decreases. The only other skills are a whipstitch seam, a running-stitch gather and the cinching passes, each explained step by step. If you can make a scarf, you can make this pumpkin.
How long does each pumpkin take to make?
The small takes about 45 minutes to an hour, the medium about 1.5 hours, the large about 2 to 2.5 hours — mostly relaxed, repetitive rows. Assembly adds roughly 15 minutes and gets faster each time.
Can I use a different yarn weight?
Yes, if you match hook to yarn. Chunky yarn with a 6.0 mm hook gives a bigger, squishier pumpkin from the same counts; DK with a 4.0 mm hook gives a daintier one. Keep the counts, enjoy a different size, and judge your panel by shape, not measurements.
Why does my pumpkin look like a ball instead of a pumpkin?
Almost always, the cinching needs to be firmer. Segments appear only when the centre yarn dimples the top and bottom inwards. Add one or two more snug passes through the exact centre — and a little more stuffing, so the cinch has something plump to sculpt.
How do I make a taller or wider pumpkin?
Your chain controls height, your rows control width. For taller, add 4 to 6 chains; for wider, work more rows. Change one at a time so proportions stay pumpkin-like.
How do I wash and store crochet pumpkins?
Spot clean for dust. For a full wash, hand wash in cool water with mild detergent, press water out in a towel — never wring — reshape and dry flat. Store unstacked in a dry box; a quick squeeze revives the shape next autumn.
Can I sell pumpkins I make from this pattern?
Yes — you may sell finished pumpkins made by hand from this pattern in small quantities, crediting Little Loop Finds as the designer. Please do not copy or republish the pattern text and photos themselves.
What to crochet next
Your pumpkin patch is started — keep the autumn table growing:
- Drape a string of leaves over the mantel with our maple leaves crochet pattern — the perfect partner for a pumpkin display.
- Add a spooky shelf-mate with this crochet ghost pattern free — cute, quick and very Halloween-friendly.
- Hang everything along the mantel with the crochet garland pattern free for the full harvest effect.
Happy crocheting — may your patch be plump, your ribs be deep, and your smallest pumpkin be claimed by everyone who visits.
The box below contains an Etsy link. If you buy through it, we may earn a small commission at no extra cost to you. Learn more.
No time to make one?
Short on time? Find handmade crochet pumpkins from independent makers on Etsy.
Browse on Etsy (opens Etsy in a new tab)